How to Make a Baby Announcement Sign: Complete DIY Guide with Methods & Tips
Figuring out how to make a baby announcement sign means choosing materials and a design that reflect your excitement and style. Start with a medium-sized wooden board around 19×15 inches, which is easy to handle and decorate. Paint and simple tools let you create a lasting, personal sign to share your joyful news.
Key Takeaways
- Pick a 20×20 particle board and cut it to 19×15 inches for the ideal baby announcement sign size.
- Choose non-toxic paints and apply them in a well-ventilated area to keep the sign safe for the nursery.
- Include baby’s handprints or footprints using safe ink pads designed for infant skin.
- Personalize your sign with digital design tools before painting for clean, professional-looking lettering.
- Paint with an angled edge and add a bottom notch to make hanging the sign simpler and more secure.
- Let freshly painted signs cure for at least 24 hours to ensure durability and reduce fumes.
What Is a Baby Announcement Sign and Why Make One?
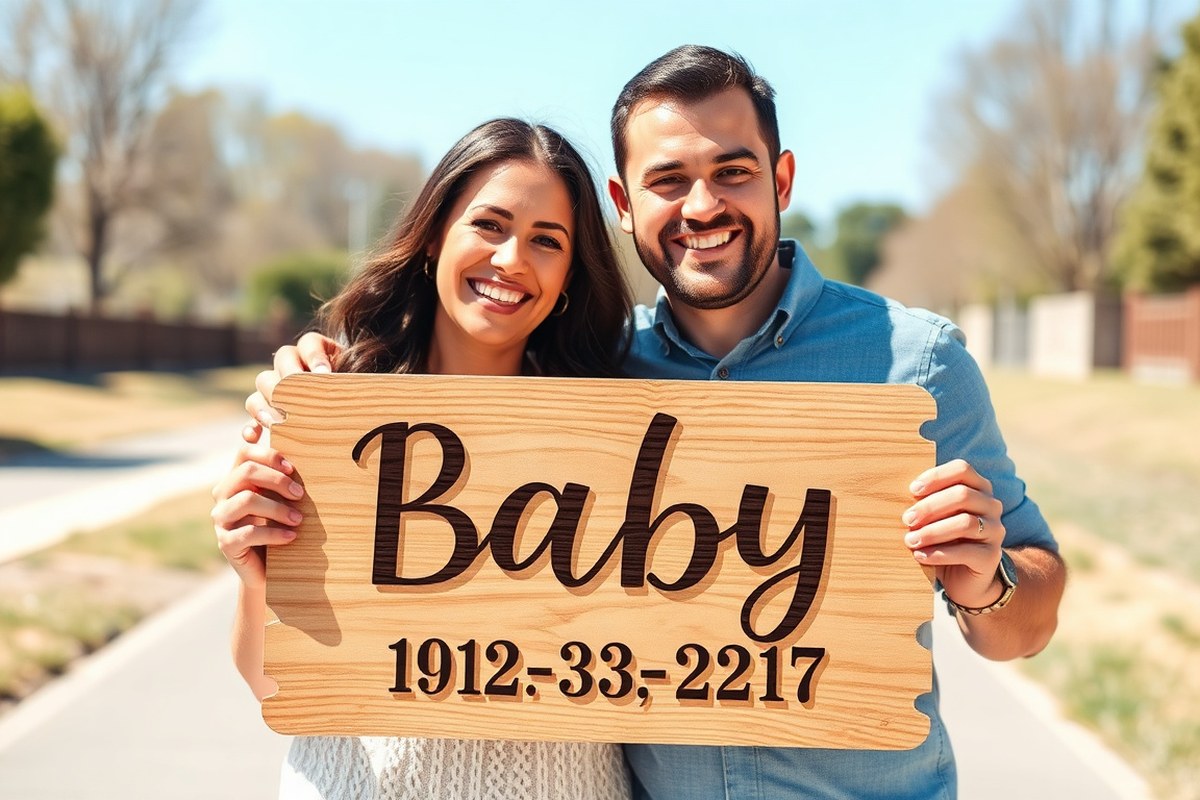
A baby announcement sign is a personalized display used to share the exciting news of a new arrival. Typically, it includes details such as the baby’s name, birth date, weight, and sometimes a special message or decorative elements. These signs serve as a tangible way to mark the occasion and invite friends and family into the celebration.
People usually use baby announcement signs at various moments: outside their home after bringing the baby home from the hospital, during a baby shower, or as part of social media posts announcing the birth. Some parents display them in the nursery or keep them as keepsakes. The sign becomes both a celebratory decoration and a heartfelt memento, capturing emotions that words alone may not fully express.
Making your own sign allows you full creative control over its style, colors, and message, which can reflect your personal story and preferences. Instead of buying a ready-made sign, crafting one yourself can be more meaningful and often more affordable. For example, using a painted wooden board sized around 12 by 18 inches provides enough space for the essential birth details and small decorative touches like bows or hand-painted images. The materials for a DIY sign can cost under $20, making it accessible for most families.
To make a baby announcement sign successfully, you choose or design a layout that includes the baby’s key details and any decorative elements you want to add. Using an online design tool like Canva helps create a polished look before transferring your design onto the board. Painting the base layer with a durable, non-toxic paint takes about two hours, including drying time. Adding personalized elements like bows or a handprint can require an additional hour. A well-made sign features clear lettering, balanced spacing, and decorations that improve but don’t overwhelm the message.
Some parents prefer using chalkboard-style signs for a more casual or reusable approach, which involves writing with chalk markers and wiping clean for future updates. Another variation is a photo announcement tableau, where a sign is mixed with baby accessories like booties, toys, or a onesie, arranged for a photo shoot. These options offer flexibility depending on the announcement style and budget.
Choosing to handcraft your baby announcement sign means committing to some time for painting, designing, and assembling. Risks include uneven paint application or smudged lettering, but these issues can often be fixed with light sanding or touch-ups rather than starting over. The emotional value comes from creating something uniquely yours that captures the joy of welcoming your baby, making the effort worthwhile beyond just sharing the news.
Materials and Tools Needed to Create Your Sign
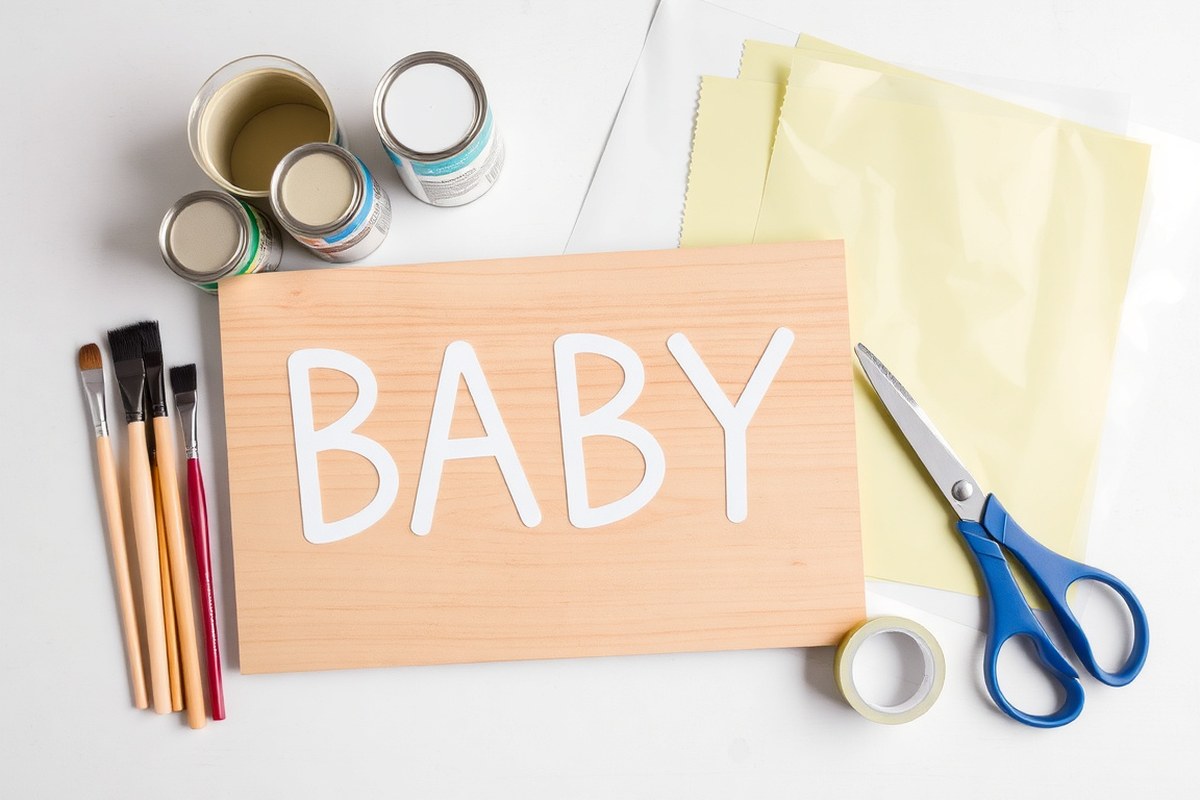
To make a baby announcement sign yourself, start with the right base material and gather appropriate paints or markers along with a few specialized tools. The choices vary by method, whether you’re painting a wooden board, applying vinyl letters, or using chalk markers on a chalkboard. Having all essentials on hand helps the project go smoothly and ensures your sign looks professional and lasts long.
Wood and Board Options
Wood and boards form the foundation of many baby announcement signs and come in different forms depending on how long you want the sign to last and the look you want. Particle board around 19×15 inches is a common size, offering a sturdy surface that you can paint or stencil on. It’s affordable, costing about $30 to $50 for a pre-cut piece plus the paint. This works well for heirloom-quality signs meant to last.
For a simpler, more minimalist style, chalkboard panels costing $15 to $30 let you use chalk markers and easily update or personalize the sign with baby handprints. Store-bought wooden letter boards, usually $20 to $30, come with removable letters and allow quick, no-tools announcements that can be reused. Wooden discs about 4 to 5 inches wide add charm for smaller signs featuring phrases like “It’s a Boy” or “It’s a Girl.” These come pre-cut from craft stores or online.
Painting and Lettering Supplies
Choosing the right paint and lettering tools depends on the board’s surface and the look you want to create. For particle boards, water-based acrylic paints dry within 1 to 2 hours but require multiple thin coats for smooth coverage. Avoid thick coats that may smudge or crack. Chalk markers work perfectly on chalkboard surfaces and dry quickly, letting you add handprints or messages easily.
Vinyl lettering helps achieve a clean, professional look for wooden discs or particle boards. Use adhesive vinyl in gold or other colors alongside transfer tape and a weeding tool to place the letters precisely. Paint pens provide another option for handwriting messages, especially on smaller wooden pieces or for decorative borders.
- Acrylic paints in your chosen colors (preferably water-based)
- Chalk markers for chalkboard signs
- Adhesive vinyl sheets (gold or colored)
- Transfer tape for vinyl application
- Paint pens or permanent markers for details
- Sanding block for wood preparation
- Pencil for tracing before painting or writing
Let painted surfaces cure in a well-ventilated area for at least 24 hours before handling or displaying to prevent smudging and ensure durability.
Cutting, Adhesives, and Finishing Tools
Specialized tools can make the crafting process easier and improve the professional appearance of your baby announcement sign. For wood projects involving particle board or discs, a fine-toothed saw and sanding block help create smooth edges and surfaces ready for painting or vinyl application. A drill might be necessary if you plan to hang the sign with screws or hooks.
Adhesives like strong craft glue or double-sided tape can secure decorations or vinyl in place, especially when the backing doesn’t hold firmly. Vinyl weeding kits, including a pick and scraper, aid in removing extra vinyl pieces before transferring letters or shapes. Painters tape is useful for masking off areas while painting to create clean lines.
Choosing the Best Method to Make Your Announcement Sign
Choosing the best method to create your baby announcement sign depends on your budget, skill level, and the time you have available. The main types of signs include painted wooden signs, printed vinyl decals on wood or canvas, chalkboard signs, and digital photo prints. Each approach has different costs, required tools, and time commitments.
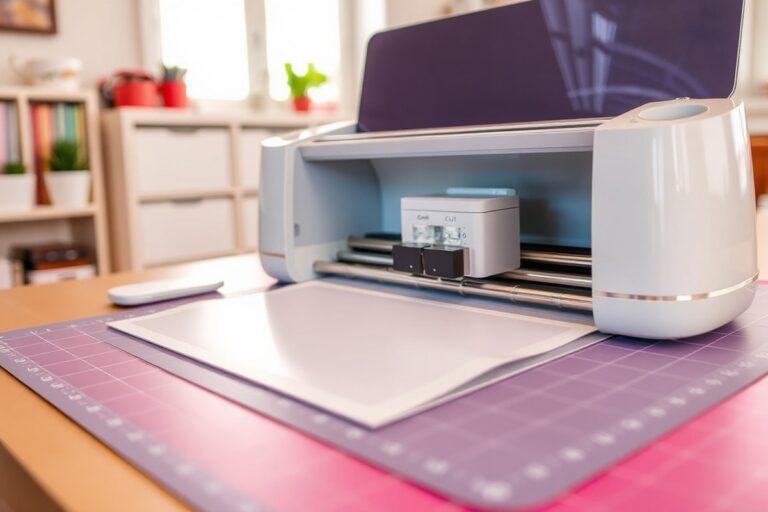
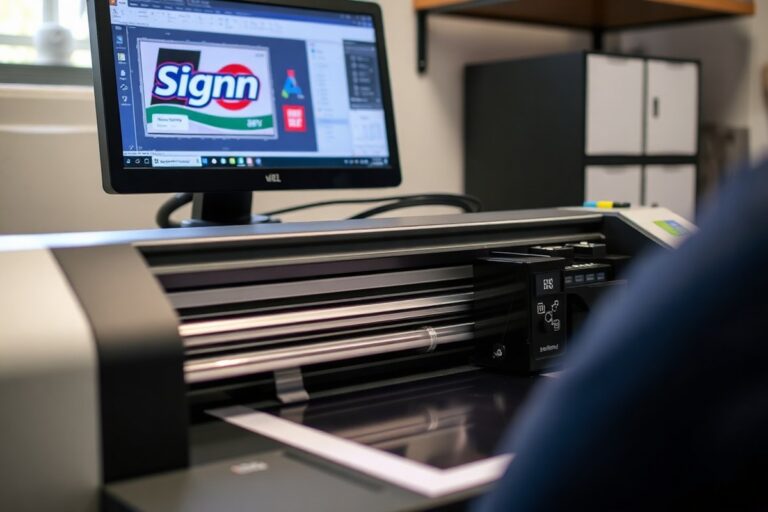
Painted wooden signs offer a classic, handcrafted feel but require some painting skill and drying time. Choose vinyl decals applied to wood or canvas for a quicker and cleaner look; they can be bought or created with a cutting machine and require little artistic skill. Chalkboard signs offer flexibility for multiple announcements but can be messy and less durable. Lastly, digital prints are fast and easy but lack the personal touch of a handmade item.
| Method | Cost Estimate | Skill Level | Time Required | Pros | Cons |
|---|---|---|---|---|---|
| Painted Wooden Sign | $15, $40 (materials) | Medium (basic painting skills) | 2, 4 hours plus drying | Personalized, durable, hospital-ready | Requires drying time, risk of smudging |
| Vinyl Decals on Wood/Canvas | $10, $50 (depending on decal or cutter) | Low to Medium (applying decals) | 30 minutes to 1 hour | Sharp, clean design; reusable templates | Needs decal cutter or custom purchase |
| Chalkboard Sign | $10, $25 | Low (hand lettering) | 15, 30 minutes | Reusable, customizable for milestones | Messy, less durable, can fade quickly |
| Digital Photo Print | $5, $20 | Very Low (upload & order) | Minutes plus shipping time | Fast, no skill needed, professional look | Less personal, no physical crafting |
For a budget-friendly and straightforward option that fits most skill levels, consider starting with a chalkboard sign if you want something reusable and quick. Painted wood signs suit parents eager to add a personal touch and don’t mind waiting for paint to dry. Vinyl decals or digital prints offer a cleaner, more polished look and don’t demand much artistic skill.
Choose vinyl decals when you enjoy some crafting but want durability and precision. Digital prints work well if time is tight or you want a professional announcement ready quickly. The best approach is to match the method with your comfort level and the setting where the sign will be used, for example, wooden signs for hospital photos and digital prints for sharing online the same day you bring your baby home.
Step-by-Step Guide to Making a Painted Wooden Birth Announcement Sign
Making a painted wooden birth announcement sign starts with selecting and preparing your board, then applying paint and lettering carefully for a clean, lasting finish. The process includes priming the board, painting the background, adding detailed lettering, sealing the work, and choosing the best way to hang the sign for display. Each step matters to ensure your sign looks professional and lasts for years.
Preparing and Cutting Your Board
Choose a smooth wooden board, ideally 19 by 15 inches, for a size that fits well in photos and displays clearly. Use a straight edge and pencil to mark your board before cutting. Sand the edges and surface thoroughly to avoid rough spots or splinters. Clean off dust before priming to ensure paint adheres evenly and lasts longer. You can buy a basic plywood or pine board from a hardware store for $10 to $25, depending on the thickness, if you don’t already have a pre-cut one.
Painting the Base and Lettering
Apply a wood primer first to seal the surface. Use a foam roller or large brush to get a smooth coat, letting it dry for 30 to 60 minutes in a well-ventilated room at about 70°F. Choose a durable acrylic paint in your preferred color for the background, applying two coats for even coverage. Let each coat dry fully, usually 1 hour per layer.
Begin by gently drawing your letters with a pencil or by applying stencils to outline your layout. Use a Sharpie or a fine-tipped paint pen to add precise details such as the baby’s name, birth date, weight, and length. For bigger letters, you can hand-paint them using a thin brush or use alphabet stencils to keep the lettering uniform.
Adding Details and Sealing the Sign
Add extra elements such as a small wooden heart in a corner or decorative items like a tiny teddy bear, keeping the design balanced but uncluttered. After all paint and decorations are dry, seal the entire sign with a clear Mod Podge or water-based polyurethane to protect from wear and moisture.
Apply two thin coats of sealer, letting each dry for at least 1 hour between applications. This step prevents chipping and makes cleanup easier, especially if you plan to use a chalk pen to write final birth details.
Best Ways to Hang and Display
Attach picture hanging wire or sawtooth hangers to the back using screws or strong adhesive strips rated for wood. Consider lightweight metal brackets if you need more secure mounting. The sign can also be propped on a wooden easel or framed for table display during baby showers or photos.
Place the sign where it is visible but safe from direct sunlight and moisture to maintain paint vibrancy and seal integrity. Hanging at eye-level in nursery rooms or near the entrance makes a welcoming statement.
- Measure and mark a 19×15-inch wooden board. Cut to size if necessary.
- Sand the board edges and surface smooth. Remove dust with a damp cloth.
- Apply one coat of wood primer. Let dry 30-60 minutes.
- Paint two coats of acrylic background color. Allow 1 hour dry per coat.
- Sketch lettering layout lightly with pencil or use stencils.
- Use a Sharpie or fine brush to add baby’s name, birth date, and details.
- Glue decorative items like a wooden heart or small toys in corners.
- Seal with two coats of Mod Podge or polyurethane. Let dry between coats.
- Attach hanging hardware or set sign on an easel in a protected spot.
Including Baby’s Handprint or Footprint Safely and Clearly
Taking your baby’s handprint or footprint for a birth announcement sign involves using safe, gentle materials and a careful pressing technique to avoid smudging or discomfort. Using non-toxic, water-based paint or ink designed for skin ensures safety, while pressing firmly and holding for about 10 seconds helps create a clear print. Protecting the print afterward with a proper sealant will preserve the crisp details.
Choosing Safe Paints and Inks
Only use paints or inks labeled as non-toxic and safe for skin, especially those formulated for babies or children. Water-based paints or pigment inks with no harmful chemicals prevent skin irritation and are easy to wash off after use. Avoid oil-based or permanent inks, which can be toxic or difficult to clean, posing a risk to your baby.
Most craft stores carry “baby-safe” or “washable” water-based paint for hand and footprint projects. These products usually cost between $5 and $15 for a small bottle, making them an affordable choice. Double-check ingredient labels and product descriptions to confirm safety before purchase.
Correct Technique to Take Prints
Getting a clear handprint or footprint without smudging requires steady hands and timing. Feed and calm your baby first so they are relaxed. Keep the baby’s hand or foot open but gentle. Once the paint or ink is applied evenly, press the hand or foot firmly onto the sign surface and maintain pressure for a full 10 seconds. Then, lift straight up without sliding to prevent smears or distortions. Practice on a scrap surface to get comfortable with the timing and pressure.
- Feed and soothe your baby to ensure they are calm and cooperative.
- Apply a thin, even layer of water-based paint or ink on the baby’s hand or foot.
- Hold the hand or foot open gently to get the full print.
- Press the hand or foot firmly onto the sign’s surface, ensuring full contact.
- Hold steady for 10 seconds without moving.
- Lift the hand or foot straight up to avoid smudging.
- Clean the baby’s skin immediately with gentle baby wipes or warm water.
Press firmly and hold for the whole 10 seconds before lifting straight up; lifting too quickly causes smudges.
Sealing and Protecting the Prints
After the print dries completely, usually within 1 to 2 hours depending on paint thickness, apply a clear sealant suitable for the sign’s material. Use a non-toxic, water-based clear acrylic sealer spray or brush-on varnish. This layer protects the print from fading, smudging, or damage over time. For wooden signs, make sure the sealer is compatible with wood crafts and safe for use around children.
Apply 1 or 2 thin coats, allowing each coat to dry for at least 1 hour before the next. Avoid heavy coats that can run or cloud the print. Store the sign away from direct sunlight and excessive moisture to further preserve the design.
Design Tips and Digital Tools to Personalize Your Sign
Choosing clear, easy-to-read fonts is key for a baby announcement sign. Sans-serif fonts like Arial, Helvetica, or Montserrat offer clean lines that look modern and work well from a distance. You can mix fonts by pairing a simple sans-serif for most text with a fun script font for your baby’s name or key message to add personality. Stick to two or three fonts max to keep the design balanced. Soft pastel colors such as blush pink, baby blue, mint green, or lavender coordinate nicely with typical nursery themes and create a gentle mood. Backgrounds in neutral tones like white, cream, or light gray help text stand out clearly. Avoid overly busy backgrounds or colors that clash with your fonts, as they make reading harder.
Free and paid online tools can simplify your design process significantly. Canva offers many free printable templates specifically for pregnancy and baby announcements. These templates usually allow you to swap out fonts, colors, and even backgrounds to match your nursery theme or personal taste. Canva’s drag-and-drop interface lets you add shapes, graphics, and text boxes easily. Kapwing provides user-friendly editing as well, including the ability to upload personal photos and customize elements without prior design skills. Both platforms let you download high-resolution files suitable for printing or sharing digitally.
To personalize your sign, start by choosing a template that fits your message and style. Upload your baby’s ultrasound image or a photo of the announcement item if you want to include a picture. Place it thoughtfully so it complements your text rather than overpowering it. Adding simple icons like tiny footprints, rattles, or stork illustrations can improve the theme. Make sure these icons are subtle and consistent in style with the fonts and colors. Adjust the spacing between lines and letters to ensure your sign looks polished and professional.
Your design layout should have a clear hierarchy. The baby’s name or due date should be the most prominent element. Place it near the center or top of the sign. Supporting text, such as “Coming Soon” or “Big Brother/Sister” can be smaller and beneath the main heading. On digital platforms like Canva or Kapwing, use built-in alignment tools to center or evenly space your text for a clean appearance. Save your work frequently and preview your design at actual print size to check readability.
A simple yet effective script you can use for text on your announcement sign might read: “Baby [Last Name] Arriving [Due Date],” with “[Last Name]” in a playful script font and the rest in a clean sans-serif. Swap placeholder text in templates with your details, then adjust colors to soft pastels or neutral shades matching your nursery. Expect to spend 20-40 minutes customizing a template fully. Printing costs vary; standard 8×10 inch prints typically run around $5 to $15 at local print shops or online.
One common pitfall is overcrowding the sign with too much text or too many images. Keep your message simple for better visual impact. Avoid fonts that are too thin or decorative, as they can become illegible, especially at smaller sizes. If you notice readability issues during preview, increase font size or choose bolder styles. Using a template ensures your design elements are balanced, but you will still need to check color contrast and spacing manually.
Common Mistakes and How to Fix Them Without Starting Over
Paint runs, smudges, and misaligned letters are the most frequent problems when making a baby announcement sign. These issues usually happen because the paint is too thick, the brush is overloaded, or you skipped marking the layout with pencil first. Without a clear guideline, lettering tends to shift and become uneven, which looks unprofessional and may be hard to fix later.
Start by checking your workspace for proper lighting and steady your hand by resting your elbow on a table when painting or applying vinyl. Always sketch the text lightly with a pencil to plan the spacing and alignment before adding paint or adhesive letters. This step prevents most misplacements.
When you see a paint run or smudge still wet, gently wipe it off immediately using a damp cloth or cotton swab, avoiding the surrounding areas. Letting mistakes dry makes them more difficult to correct. For dried errors, carefully sand the affected area with fine-grit sandpaper (220-grit works well) before repainting. Make sure the surface is smooth and free of dust before applying a new layer.
Vinyl lettering can peel or bubble if applied on a dusty surface or if the adhesive isn’t pressed down evenly. Use a credit card or a flat edge to press down firmly from the center outward. When a letter lifts or bubbles, carefully lift and reposition it, then press firmly again. Never try to stretch vinyl, as this causes distortion.
When mistakes are too large, such as a major text misalignment or smearing across the sign, starting over may be the best option. Removing dried paint is time-consuming and may damage the surface, especially on wood. Covering errors with additional layers of paint or decorations only works if the mistake is small and the area allows blending smoothly.
- Always lightly pencil your design before painting or applying vinyl
- Keep paint thin and brushes clean to avoid runs and clumps
- Fix wet paint mistakes immediately with a damp cloth or cotton swab
- Sand and repaint areas with dried paint errors for smooth correction
- Press vinyl lettering firmly and apply evenly to avoid bubbles
- Remove and reposition vinyl lettering gently if needed
- Consider starting over if multiple mistakes affect design clarity
Knowing how to troubleshoot common issues saves you time and frustration. It costs little to have sandpaper and spare paint on hand for quick fixes. Preparing your sign’s surface thoroughly and working patiently prevent many errors that are difficult to cover up later. Correct alignment and clean lettering make your baby announcement sign look professional and heartfelt without the need to redo everything.
Preserving and Displaying Your Baby Announcement Sign for Longevity
To keep your baby announcement sign looking fresh and vibrant, sealing it properly is essential. Use a clear polyurethane finish, which works well on wood and painted surfaces. Choose an acrylic-based polyurethane for indoor signs, as it is low odor and dries clear without yellowing. For signs intended for outdoor use, select an exterior polyurethane or marine varnish to protect against moisture, UV rays, and temperature changes. Applying two to three thin coats, allowing each coat to dry for at least 4 hours, will help prevent peeling or bubbling.
Painting requires patience during the curing process. After your final coat of paint or sealant, let your sign cure for at least 24 to 48 hours before handling. This curing time ensures the paint hardens fully and reduces the risk of fingerprints or smudging. Make sure to keep your sign in a dry, dust-free area with good ventilation during curing, ideally at temperatures around 65 to 75 degrees Fahrenheit. Avoid stacking or placing anything on the sign until it has fully cured to maintain a smooth finish.
Storing your announcement sign correctly preserves the colors and materials over time. Store the sign upright and wrapped loosely in acid-free tissue paper or a soft cloth to prevent scratches. Keep it in a climate-controlled environment, avoiding direct sunlight and areas with high humidity, such as basements or attics. Excessive moisture can cause wood to warp and paint to peel, while sunlight can fade colors and deteriorate finishes.
Displaying indoor signs indoors will extend their life. Place your sign on a shelf, mantel, or hang it using a frame or sturdy wire hanger. Avoid locations near heat sources like radiators or vents, which can cause cracking or drying. For outdoor display, use weatherproof sealants mentioned above and consider applying a UV-protectant spray every six months for added protection. Outdoor signs hold up best in shaded or covered areas to avoid direct rain or harsh sun exposure.
Wait until each coat of finish dries completely before applying the next to avoid uneven surfaces and ensure long-lasting protection.
Step-by-Step Action Plan for Your Baby Announcement Sign
Follow this plan to create a meaningful baby announcement sign from start to finish without feeling overwhelmed.
- Before You Start: Gather all your materials and tools, including wood, paint, brushes, and sealant. Confirm you have everything to avoid interruptions.
- Day 1: Choose your design and layout, either sketch it by hand or use a digital tool. Make sure the design fits your chosen sign size comfortably.
- Day 2: Prepare your wood by sanding and cleaning the surface. Smooth wood ensures paint adheres well and lasts longer.
- Day 3: Paint the background and let it dry completely before adding details. Check that the paint is fully dry to avoid smudging.
- Day 4: Add lettering and decorations with steady strokes or stencils for clean lines. Verify letters are readable and evenly spaced.
- Day 5: Apply your baby’s handprint or footprint using non-toxic paint, then clean immediately. Confirm the print is clear and the paint is safe for skin.
- Day 6: Seal the entire sign with a clear, protective coat to preserve your work. Wait until the sealant dries to the touch and looks smooth.
- After 1 Week: Display your sign in a dry, temperate spot away from direct sunlight or moisture. Confirm it shows no signs of wear or fading.
Frequently Asked Questions
What Size Should a Baby Announcement Sign Be?
The sign should be easily readable, typically 12 to 18 inches wide. A size like this fits well on doors or walls and allows for clear visibility of text and designs without being bulky.
Can I Use Chalkboard Paint for a Reusable Baby Announcement Sign?
Yes, chalkboard paint allows you to update the sign with new details. This method is practical if you want to change announcements frequently without creating new signs each time.
How Do I Safely Add Baby’s Name Stickers to a Wooden Announcement Sign?
Use vinyl stickers designed for crafts to avoid peeling or damage. Apply them smoothly and seal with a clear coat to protect the finish and keep the letters secure.
What Type of Paint Lasts Best on Outdoor Baby Announcement Signs?
Exterior acrylic paint resists weather and fading better than regular indoor paints. It keeps colors bright and makes your sign durable when displayed outside.
Should I Laminate My Baby Announcement Sign for Protection?
Laminating paper signs helps protect from moisture and tears; for wood, sealing with a clear varnish works better. Choose the method based on your sign material to extend its life.
Can I Include Digital Photos on a Handmade Baby Announcement Sign?
You can print digital photos on adhesive paper to add to your sign design. This adds a personal touch and works well with digital tools before applying to the physical sign.
Before You Go
Creating a baby announcement sign yourself adds a personal touch that store-bought options can’t match. Start your project today by selecting your materials and sketching your design. That first concrete step moves your idea toward a lasting keepsake your family will treasure.