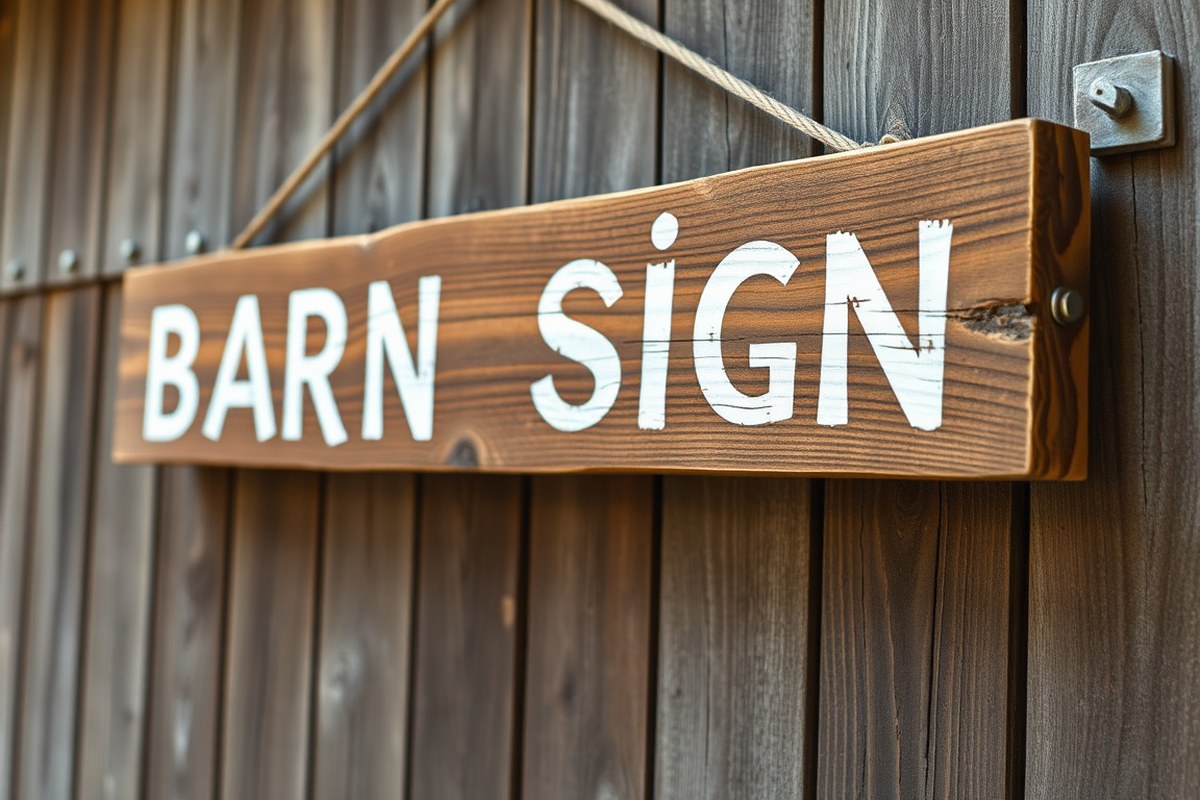
How to Make a Barn Wood Sign: Simple Steps for Rustic, Professional Results
How to make a barn wood sign starts with choosing the right reclaimed or new wood and preparing it by cleaning and sanding. Next, transfer your design using stencils or printed templates for precise lettering. Adding depth with carving or paint gives your sign a rustic, professional look that lasts. Beginning with smooth, clean wood ensures paint and stain adhere evenly, helping your homemade barn wood sign look authentic and last for years.
Key Takeaways
- Select wood that is dry, clean, and free of nails for easier staining and painting.
- Rough-sanded barn wood highlights rustic character, but finish edges for a safer, polished feel.
- Use carbon paper or printed templates to trace lettering neatly onto wood before painting.
- Carving letters adds 3D dimension, making your sign more eye-catching than simple paint.
- Apply stain before lettering to create a rich background that improve your design.
- Seal your sign with a clear, weather-resistant finish to protect it from wear and moisture.
What Is a Barn Wood Sign and Why Make One?
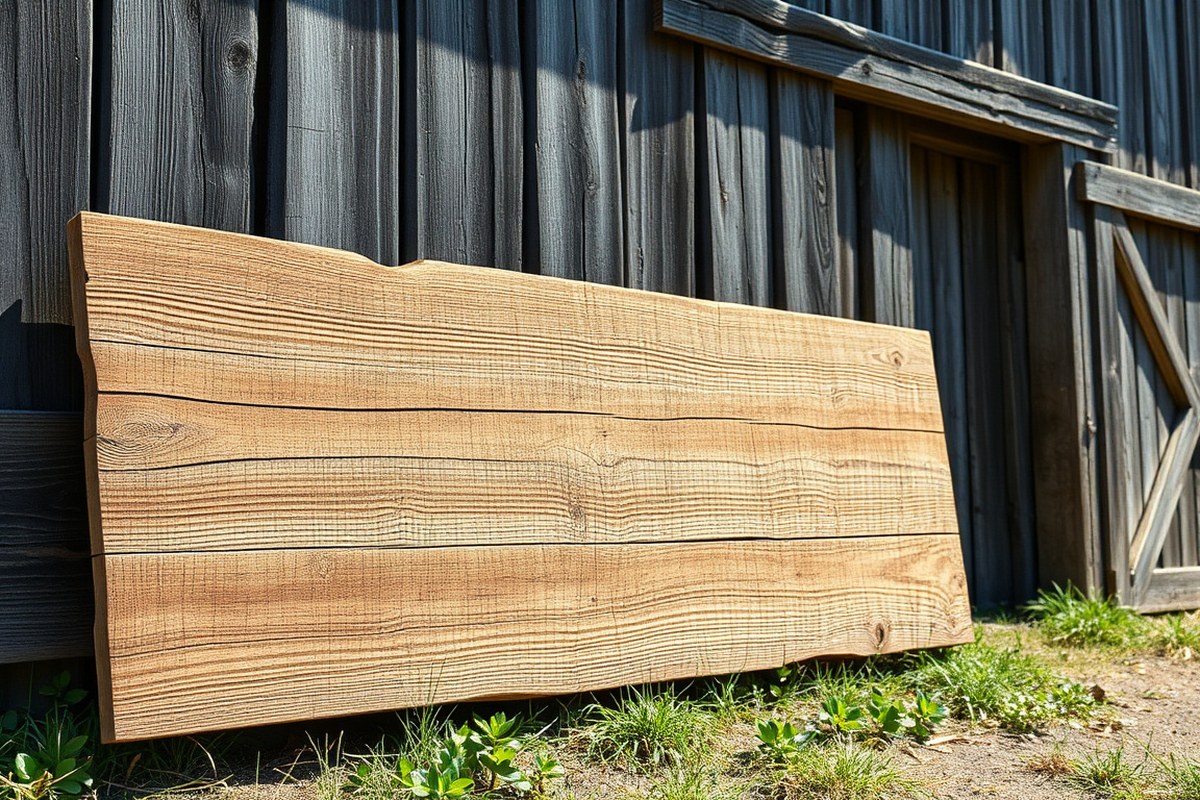
A barn wood sign is a decorative piece made from reclaimed or distressed wood, often featuring a rustic, weathered look that hints at its outdoor, aged origins. These signs generally lack a smooth or polished finish, which contributes to their charm. Typically, they show natural textures like knots, cracks, and aged paint. The rustic appearance is key, created either by using wood that has been exposed to the elements or by applying techniques that simulate years of aging and wear. This look fits well with farmhouse-style decor and adds character to any room.
Choosing barn wood signs for decoration brings an authentic, warm feeling to your space. They are popular because they combine wood’s natural beauty with handcrafted appeal, which mass-produced signs often lack. These signs are versatile: you can personalize them with painted or carved letters, numbers, or images that suit your style or occasion. Stenciling letters or carving adds depth and gives you options for a two-dimensional or three-dimensional effect. Their natural, rough texture works well in living rooms, kitchens, or entryways, offering a cozy, vintage vibe without the high cost of antique pieces.
Styles and sizes of barn wood signs vary widely, letting you customize a sign to fit your space or gifting needs. Some signs measure around 12 by 24 inches, ideal for easy wall placement, while others are much larger for statement pieces. You can create narrow, horizontal signs for simple messages like “Welcome” or “Family,” or larger, square boards highlighting complex designs or quotes. The wood itself can be pallet wood, which offers built-in distressing, or more carefully selected reclaimed barn wood with a distinct grain and color. Your choice depends on the look you want, more rugged or slightly refined, and where you want to hang it.
Successful barn wood signs maintain their rustic quality by avoiding heavy finishes. Instead, a light coat of polyurethane can protect the wood while preserving the textured surface and weathered appearance. Many crafters choose to leave the wood unfinished to show natural wear and improve authenticity. Using reclaimed wood generally costs less, sometimes under $10 for enough material to form a small sign, but prices rise with rare woods or custom sizes. A sign with a handcrafted, aged appeal adds a meaningful touch to home decor or gifts, standing out because no two pieces age identically. This uniqueness is why barn wood signs remain trendy among DIY enthusiasts and rustic style lovers.
Choosing and Preparing Wood for Your Barn Wood Sign

Selecting the right wood and preparing it properly sets the foundation for a successful barn wood sign. Your choice affects the sign’s look, durability, and ease of work. Preparing the wood with proper sanding and cleaning ensures your paint or carving will adhere well and last.
Common Wood Choices for Barn Signs
Pine, cedar, and reclaimed wood rank among the most popular woods for barn signs. Pine is affordable and easy to find at around $5 to $10 per board foot. It’s soft, which allows smooth carving or sanding but dents easily. Cedar costs more, about $10 to $15 per board foot, but it’s naturally resistant to rot and insects, making it better for outdoor signs. Reclaimed wood comes from old barns, pallets, or fence pickets and offers an authentic rustic look with a unique texture and weathered colors.
The choice depends on your budget and the style you want. Pine and cedar can be bought new and uniform in size, while reclaimed wood has character but requires more prep work. Consider the size and thickness of the board you need; thicker boards around 1 to 1.5 inches thick work well for carving and durability.
| Wood Type | Cost | Rustic Look | Durability |
|---|---|---|---|
| Pine | Low ($5, $10/board foot) | Light texture, minimal aging | Low; dents and scars easily |
| Cedar | Moderate ($10, $15/board foot) | Moderate aging, nice grain | High resistance to weather |
| Reclaimed Wood | Varies; can be free or low-cost | Highly rustic, natural aging, unique | Varies; may need treatment |
Benefits and Drawbacks of Reclaimed Wood
Reclaimed wood delivers the authentic barn wood sign appearance with weathered marks, nail holes, and color variations you can’t replicate with new lumber. It is often free or low-cost when sourced from old barns, fence pickets, or pallets. This makes it a budget-friendly choice if you have time to salvage and select good wood.
Reclaimed wood requires careful inspection to avoid rot, insect damage, or hidden nails that can damage tools or your project. Pallet wood is readily available but varies widely in quality and must be cleaned thoroughly. You should allow time to remove dirt, old paint, or sealers. Watch for chemical treatments on pallets; those marked “HT” (heat-treated) are safer than chemically treated wood.
Using reclaimed wood fits outdoor or rustic indoor signs but may need sealing for protection. If you want uniform size and less prep work, new pine or cedar boards may suit better.
Steps to Prepare and Smooth Your Wood
Proper wood preparation removes rough spots and contaminants for a professional-looking sign. Start by cleaning your wood with a stiff brush or damp cloth to remove dust, dirt, and cobwebs, especially on reclaimed wood. Let it dry completely before sanding.
Begin sanding with 120-grit sandpaper to smooth rough edges and surfaces. Focus on removing splinters, rough patches, or paint remnants without sanding too much of the wood’s natural character away. Finish sanding with 220-grit paper for a fine, smooth surface ready to accept paint or stain.
- Scan for leftover nails or staples and remove them safely.
- Use a hand sander or sanding block for better control.
- Sand along the grain of the wood to avoid scratches.
- Wear a mask and eye protection when sanding dusty wood.
- Wipe dust off the wood with a clean, dry cloth before painting.
- Check edges and corners to avoid sharp points.
- Test your wood’s moisture if reusing reclaimed pieces; it should be dry.
Always remove nails and staples before sanding to avoid damaging your tools or injuring yourself.
Following these steps ensures your barn wood sign will have a smooth, clean background that improve your lettering or design. Skipping preparation can lead to uneven paint coverage, splintering, or poor adhesion.
Essential Tools and Supplies Needed for Making Barn Wood Signs
To make a barn wood sign, you need a set of essential tools and materials focused on woodworking, painting, and lettering. The right combination of these supplies ensures your sign looks professional and lasts outdoors or indoors. Choosing suitable paints, stains, and lettering supplies depends on your design and intended use.
Basic Woodworking Tools
Start with simple woodworking tools to prepare and shape your barn wood. You’ll need a saw for cutting the wood board to size. A power or hand sander smooths the surface and edges, removing splinters and old paint. Sandpaper with grits ranging from 80 to 220 works well for initial sanding and fine finishing. A measuring tape and pencil help mark dimensions and layout your design. Optional tools include a drill or screwdriver if you plan to add a frame or hanging hardware.
Investing in quality tools doesn’t have to be expensive. A basic hand saw costs around $15 to $30, and an orbital sander is typically $30 to $70, both useful for other woodworking projects too. Keeping your tools sharp and clean will improve your work quality and safety.
Painting and Staining Supplies
Selecting the right paints and stains depends on whether your sign will be indoors, outdoors, and the look you want. Acrylic latex paints are popular for barn wood signs for their vibrant colors, fast drying time (about an hour to dry to the touch), and durability. Choose outdoor-grade options if your sign will face the elements. For a rustic look, consider wood stains that penetrate and highlight the wood grain without hiding it. Oil-based stains usually last longer outdoors but take longer to dry (6 to 8 hours). Water-based stains dry faster and clean up with soap and water.
Always test your stain or paint on a scrap piece of similar wood to check the color and finish before applying it to your sign. This helps avoid mismatches and surprises.
- Exterior-grade acrylic latex paint or wood stain
- Quality paintbrushes (1 to 2 inches wide) for smooth coverage
- Foam brushes or rags for applying stains
- Painter’s tape for sharp edges and protecting unfinished areas
- Clear topcoat or polyurethane for sealing and protecting your finished sign
A clear protective finish applied last extends your sign’s life by guarding against moisture, fading, and wear.
Lettering and Design Materials
Several options exist for transferring and creating lettering on barn wood signs. You can use stencils, vinyl decals, or freehand painting. Stencils provide clean, uniform letters and are best when you want a professional appearance without advanced skills. Use stencil brushes or sponges with minimal paint to avoid bleeding. Vinyl decals can be cut with a craft vinyl cutter or purchased ready-made, offering a crisp look without painting.
For personalized touches, paint pens or chalk markers allow freehand lettering with control and ease. Look for paint pens made for wood surfaces that resist smudging. If carving is part of your design, wood chisels and rotary tools with engraving bits will be necessary. Good lighting and a steady surface help keep your lettering neat.
- Lettering stencils or vinyl lettering
- Stencil brushes or sponges
- Paint pens or chalk markers for fine details
- Carving tools like chisels or rotary engravers (optional)
- Tracing paper or transfer paper for image and letter placement
Choosing the right lettering materials depends on your skill level and the style you want. Testing on scrap wood can save time and frustration.
How to Transfer Lettering or Images Onto Barn Wood
Transferring your design onto barn wood involves different methods that fit your tools and the detail of your artwork. Options like pencil scribbling, carbon paper, and stencils offer a range of precision and ease. Choosing the right method depends on the complexity of your design and how much time you want to spend on transfer accuracy.
Pencil Scribbling Method
This manual method works well if you don’t have special materials or machines. The idea is to reverse your design’s lines with pencil shading, then trace it on the wood so the pencil marks transfer. It’s straightforward but takes a little patience for clean results.
- Print your design on regular paper in the size you want for your sign.
- Turn the printed paper over and scribble the entire back of the design area with a soft pencil, like a 4B, covering all the lines you plan to trace.
- Position the paper pencil-side down on your prepared wood, secured with tape to prevent shifting.
- Use a ballpoint pen to carefully trace over each line of your design, pressing firmly but not so hard as to tear the paper.
- Remove the paper to reveal faint but clear pencil lines transferred onto the wood surface.
- Touch up any sections that did not transfer well with a pencil or fine brush before painting or carving.
Good spacing and alignment start with measuring your wood surface and marking a light centerline or guide with a pencil. This helps position your design evenly and prevents crooked lettering on your rustic sign. The main drawback here is that very detailed artwork can be hard to transfer precisely, and it takes more time than other methods.
Carbon Paper Transfer
Carbon or graphite transfer paper speeds up detailed tracing and works well for intricate designs. It costs about $10 for 100 sheets, making it an affordable and reusable option. This method keeps your original print intact and creates a clear line on the wood to follow.
- Print your design at the correct size.
- Place a sheet of carbon transfer paper graphite side down onto your wood surface where you want the design.
- Secure the carbon paper with tape to stop it from moving.
- Position your printed design on top of the carbon paper and tape that down as well.
- Using a ballpoint pen or pencil, carefully trace over the outlines of your design with firm pressure.
- Peel off both papers to find your design lines transferred cleanly onto the wood.
- Touch up any faint areas with a pencil if needed before painting or carving.
This method is efficient for fine lettering or detailed artwork on uneven wood, but pressure must be even to avoid broken lines. It’s less reliable on rough barn wood textures because deep grain can break the transfer lines.
Using Pre-Made Stencils
Stencils simplify the transfer of intricate or repeated patterns and letters. They suit beginners or projects requiring precise, uniform fonts. Stencils come in plastic or adhesive paper and either reusable or disposable formats.
- Select or buy stencils matching your design lettering or pattern.
- Prepare your wood surface by sanding lightly so the stencil lays flat.
- Secure the stencil to the barn wood using painter’s tape or spray adhesive to avoid shifting.
- Apply paint or a pencil by dabbing or brushing over the stencil openings, applying firm but controlled strokes.
- Slowly lift the stencil to avoid smudging and allow the paint or pencil to dry.
This method ensures consistent letter shape and spacing if you position each stencil carefully. Overlapping letters require separate stencil cuts or repositioning with new tape. The downside is that some stencils may not conform well to uneven barn wood surfaces, potentially causing bleeding or fuzzy edges.
Painting and Carving Techniques for Barn Wood Signs
Adding letters or images to a barn wood sign typically involves hand painting or carving, each offering distinct appearances and durability. Hand painting is quicker and allows for vibrant colors and detailed designs on flat surfaces. Carving creates a textured, three-dimensional effect that lasts longer but requires more skill and time. Distressing the sign after painting or carving gives the wood a weathered, rustic look that suits barn-style decor and can help hide minor imperfections.
Hand painting your letters neatly requires patience and the right tools. Use acrylic paint for durability and a fine, angled brush for clean edges. A slow, steady hand helps avoid drips and uneven strokes. You can also lightly sand the letters between coats for a smoother finish. Carving requires tools like gouges, chisels, or small rotary grinders; select the size based on your design detail. Start by outlining your letters or images using a sharp tool, then gradually deepen the cuts. Practice on scrap wood to avoid mistakes on your sign.
Distressing involves lightly sanding edges or using a wire brush to remove small wood fibers, creating a worn look without damaging the sign’s structure. Some woodworkers stain after distressing to emphasize raised grain and carved edges. This process improve the rustic charm but can shorten paint longevity if overdone. Balance distressing with protective finishes to maintain durability.
| Method | Appearance | Durability | Time & Skill | Tools/Materials Needed |
|---|---|---|---|---|
| Hand Painting | Flat, colorful, detailed | Moderate; may need touch-ups in 2-3 years outdoors | Low to moderate; few hours for small sign | Acrylic paint, fine brushes, stencil (optional) |
| Carving | 3D textured, rustic | High; letters less prone to fading or chipping | High; requires practice, several hours | Gouges, chisels, rotary tools, safety gloves |
| Distressing | Worn, weathered, vintage | Depends on how much paint or finish remains intact | Low to moderate; 15-30 minutes per sign | Sandpaper, wire brush, staining supplies (optional) |
Knowing these differences helps you choose the best method for your project. Carving provides a durable sign that resists weather damage better than paint alone. It also gives a striking appearance but needs more time and tools, potentially costing $20 to $50 for carving tools if you don’t already own any. Painting costs less with basic supplies under $15 but may require more frequent maintenance. Distressing adds charm and personal style but should be done carefully not to remove too much finish. Always wear gloves and eye protection when carving to avoid injury and work in a well-ventilated area if sanding or using stain.
Use a light hand and test your distressing technique on a scrap piece to avoid overdoing it and weakening the wood surface.
Staining, Finishing, and Protecting Your Barn Wood Sign
Choosing the right stain or paint and applying a durable finish are essential to achieve the rustic look and lasting protection your barn wood sign needs. For a natural, weathered effect, use oil-based or gel stains in colors like walnut, gray, or weathered oak. These stains soak into the wood’s grain, improving texture and depth without hiding knots or imperfections that give barn wood its character.
After staining, protecting your sign depends on where you plan to display it. For indoor signs, a matte or satin water-based polyurethane finish works well to preserve the wood and maintain the rustic look. For outdoor use, choose an exterior-grade spar urethane or marine varnish to guard against UV rays, moisture, and temperature changes. These finishes form a flexible, waterproof barrier and typically last several years before needing reapplication.
Drying and curing times vary by product and conditions but are critical for a durable finish. Stains usually dry to the touch in 1 to 2 hours, but allowing 24 hours before finishing ensures better adhesion. Finish coats generally dry within 4 to 6 hours, but full curing can take up to 7 days for outdoor-grade finishes. To speed drying, apply thin coats in a warm, well-ventilated area, aiming for temperatures between 65°F and 75°F (18°C to 24°C) with low humidity. Follow these steps for staining, finishing, and protecting your barn wood sign:
- Prepare the surface: Lightly sand the wood with 120-grit sandpaper to smooth rough patches but keep the rustic texture.
- Apply stain: Using a clean cloth or brush, spread a thin, even coat of your chosen stain along the grain. Wipe off excess after 5 minutes to avoid blotches.
- Let stain dry: Allow the sign to dry for 24 hours in a dust-free, ventilated space before applying any finish.
- Choose finish: Select a matte or satin water-based polyurethane for indoor signs, or a spar urethane for outdoor signs.
- Apply finish coat: Use a high-quality synthetic brush or foam applicator to apply a thin, even finish coat, following the wood grain.
- Dry and sand: Let the first finish coat dry 4 to 6 hours, then lightly sand with 220-grit sandpaper to remove raised grain or dust nibs.
- Add additional coats: Apply at least two finish coats total, sanding between coats for a smooth, protective surface.
- Cure fully: Allow the finished sign to cure away from dust and high humidity for 5 to 7 days before handling extensively or mounting.
Avoid heavy coats that can cause clouds or runs. Test stains on a scrap piece to ensure you like the color and texture. Keep in mind that oil-based stains generally cost $8 to $15 per quart, while water-based polyurethane ranges from $10 to $20 per quart. Spar urethane tends to be more expensive but provides the best outdoor protection. Proper finishing not only improve your sign’s appearance but also preserves the wood for years to come.
Building a Frame and Hanging Options for Stability and Display
Building a sturdy frame or backing provides stability and gives your barn wood sign a polished, finished look. Framing also protects the edges of the sign from damage during handling and display. You can use solid wood strips cut to fit around your sign backing, fastening them securely with screws or nails. Using a Kreg Jig to drill pocket holes ensures strong joints, while clamps keep everything aligned during assembly. Properly attaching the frame prevents warping or shifting over time, especially if your sign will hang outdoors or in a high-traffic area.
After framing, decide how you want to display the sign. Common hanging options include D-rings, sawtooth hangers, picture wire, and twine. Each has different weight limits and installation methods. Sawtooth hangers work well for lightweight signs and require only small nails, while D-rings with wire allow flexible positioning but need more wall space behind the sign. For a rustic look, you can knot twine through holes or attach it to eye screws on the back. Whatever method you choose, make sure your hardware is rated for the size and weight of your finished sign to avoid accidents.
Tools required for framing include a drill with screwdriver bits, a brad nailer or hammer, clamps, a tape measure, and optionally a Kreg Jig for pocket holes. Wood glue adds extra holding strength when used along with nails or screws. Hanging hardware installation usually needs a screwdriver and sometimes nails for sawtooth hangers. Wood strips for the frame typically cost around $5 to $10 each, depending on size and wood type.
- Measure and cut four wood strips to match the edges of your sign backing, usually 1 inch thick and cut to the exact width and height of the sign.
- Clamp one frame piece to the bottom edge of the backing, ensuring it aligns flush with the sign surface and edges.
- Drill pocket holes on the inside faces of the horizontal and vertical frame pieces using a Kreg Jig for strong joints.
- Attach the frame pieces to the backing by driving 1¼-inch Kreg screws through the pocket holes and directly into the backing, starting with the bottom then the sides and top.
- Apply wood glue along the mating edges before nailing the frame pieces in place with 1¼-inch brad nails. Use a brad nailer for clean and quick fastening.
- Add corner braces on the inside corners of the frame, securing them with ¾-inch wood screws to boost stability further.
- Install hanging hardware suitable for your sign’s weight: sawtooth hangers for small signs or D-rings and picture wire for heavier pieces. Attach screws and hangers about one-third from the top edge on both sides.
- Check the sign’s balance on a wall hook or nail and adjust wire tension or twine knots to ensure it hangs evenly without tilting.
Wall mounting tips include using studs or appropriate anchors designed for the sign’s weight. Signs heavier than 5 pounds usually require wall anchors to prevent damage to drywall. Avoid hanging in direct sunlight or damp areas unless you’ve sealed your sign thoroughly for weather resistance.
Avoiding Mistakes and Troubleshooting Common Issues
Common mistakes with barn wood signs often stem from issues with the wood surface, paint application, lettering precision, or sealing the finish. Rough or uneven wood can cause paint and stain to absorb inconsistently, leading to blotchy results. Always spend extra time sanding the surface using fine-grit sandpaper (220 grit) for a smooth finish that helps paint adhere better and prevents rough texture. Avoid skipping this step because unfinished wood may also splinter or chip easily during handling.
Poor paint results, such as peeling, smudging, or uneven coverage, usually happen if the paint is applied too thickly or the wood was not properly prepped. Thin your paint slightly with water or a paint conditioner designed for acrylic paint like Behr Premium Plus Ultra for a smoother finish. Apply multiple thin layers using a high-quality foam brush, letting each layer dry completely, typically 2-4 hours at 70°F, before adding the next. Avoid painting in humid or cold conditions to prevent slow drying.
Lettering can become uneven or blurry if the transfer method is off. Using a quality printer to print your stencil or design helps achieve sharp edges. Secure the paper firmly with tape while applying stain or paint over it. For intricate designs, consider using a stencil brush or a detail paintbrush for better control. If freehand painting, practice on scrap wood first to build confidence.
- Inspect your wood for nails or dirt before starting and remove any debris.
- Test stain and paint colors on scrap wood to ensure the desired look before applying them to your sign.
- Use gloves and masks when handling stains and paints to protect your skin and lungs.
- Allow wood to dry completely after sanding or staining, usually 24-48 hours in dry conditions.
- Store paints and stains in a cool, dry place below 80°F to maintain consistency.
Applying a clear sealant like a polyurethane or spar varnish after painting and staining protects the design from moisture and sun damage. Use a satin finish for a classic barn look. Apply thin coats, roughly 4-6 hours apart, and lightly sand with 320-grit sandpaper between coats for durability.
Consider professional help if you encounter deep cracks in your wood that require extensive filling or if your project needs precise laser cutting or engraving beyond hand tools. A professional can also assist if you work with toxic or solvent-heavy finishes requiring special ventilation and safety equipment. Most DIY projects stay manageable with proper preparation and patience.
Wear protective gloves and a respirator mask when sanding or applying stains to avoid skin irritation and inhaling dust or fumes.
Step-by-Step Action Plan for Making Your Barn Wood Sign
Follow these steps to create a rustic barn wood sign that stands out. Each phase builds on the previous to help you achieve a polished and lasting result.
- Day 1: Select and Prepare Your Wood, Choose reclaimed or new wood with natural grain and age marks. Sand the surface smooth enough for painting while keeping texture.
- Day 2: Transfer Your Design, Print or sketch your lettering or image, then use carbon paper or stencils to transfer it onto the wood. Check that outlines are clear and complete.
- Day 3: Paint or Carve Your Design, Use acrylic paint or carving tools to trace your design. Make sure paint coverage is even or carvings are consistent before drying.
- Day 4: Apply Stain and Finish, Stain the wood to protect it and improve the rustic look. Let it dry fully, then seal with a weather-resistant finish for durability.
- Day 5: Build a Frame and Attach Hanging Hardware, Cut and assemble a frame to stabilize your sign. Attach hooks or wire securely, and test hanging weight and balance.
- Day 6: Display and Evaluate, Hang your sign in the desired spot and check for any touch-ups needed. Address fading, peeling paint, or loose hardware promptly.
Frequently Asked Questions
What Types of Wood Are Best for a Weather-Resistant Barn Wood Sign?
Hardwoods like cedar and redwood resist weather well, ideal for outdoor barn wood signs. These woods naturally repel moisture and insects, which helps your sign last longer outdoors without frequent maintenance.
Can I Use a Laser Cutter for Detailed Designs on Barn Wood Signs?
Yes, laser cutters can add precise and intricate designs on barn wood signs. This method works best on smooth, dry wood and gives a clean look that’s hard to replicate by hand carving or painting.
How Do I Get a Uniform Stain on Barn Wood That Has Knots and Grooves?
Applying a conditioner before staining helps achieve a more even color on barn wood. Knots and grooves absorb stain differently, so pre-treating the wood balances the finish and prevents blotchiness.
Can I Combine Painting and Carving on the Same Barn Wood Sign?
You can combine painting and carving to add depth and contrast to your sign. Carve the letters or images first, then paint over or inside the carved areas for a 3D effect that stands out visually.
Is Using Reclaimed Barn Wood Better Than New Wood for Authenticity?
Reclaimed barn wood offers a weathered, authentic look that new wood can’t replicate easily. It also adds character through unique marks and wear, but may require extra prep to remove nails or dirt before use.
How Do I Safely Hang a Heavy Barn Wood Sign on an Exterior Wall?
Use heavy-duty wall anchors or lag bolts appropriate for the exterior surface. Secure the sign to studs if possible, and consider professional help if the sign is large or very heavy for safe mounting.
Wrapping Up
Creating a barn wood sign offers a satisfying mix of rustic charm and personal craftsmanship. Start by picking the right wood, then take your time with lettering and finishes to bring out its character. Grab your tools and try transferring your first design today to see the potential of your new project.