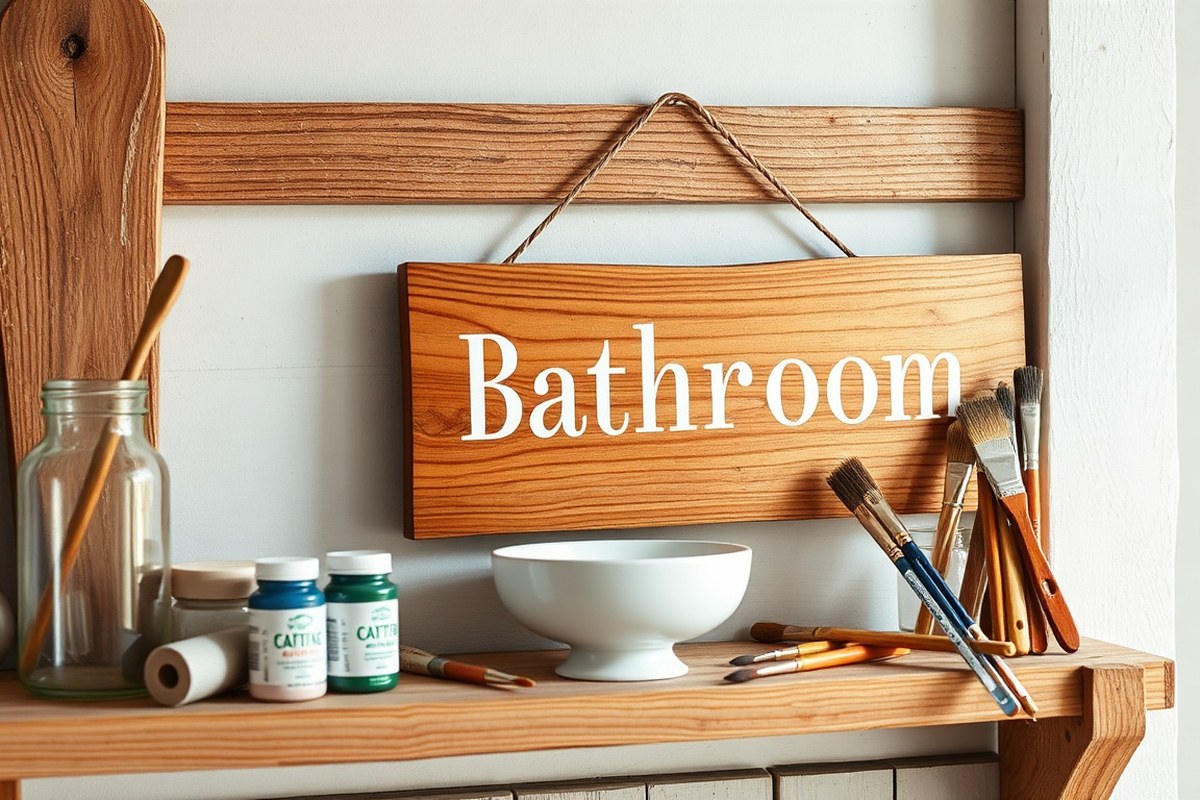
How to Make a Bathroom Sign by Hand: Simple Steps for Beautiful DIY Decor
Knowing how to make a bathroom sign by hand means you can create a personalized touch that fits your style perfectly. Start with selecting a sturdy base like wood or a chalkboard and gather the right paints and brushes. This approach lets you express creativity while making a useful, charming addition to your bathroom.
Key Takeaways
- Choose a base that suits your bathroom’s style, such as wood for rustic charm or chalkboard for easy updates.
- Use acrylic paints for bright, durable colors that resist moisture common in bathrooms.
- Prep the surface by sanding it smooth and cleaning off dust for better paint adhesion.
- Practice hand lettering on paper before applying directly on your sign to avoid mistakes.
- Select sayings that match your tone, from playful remarks to elegant quotes, to personalize your sign.
- Seal your finished sign with a water-resistant clear coat to protect it from humidity and wear.
What Materials and Tools You Need to Make a Bathroom Sign
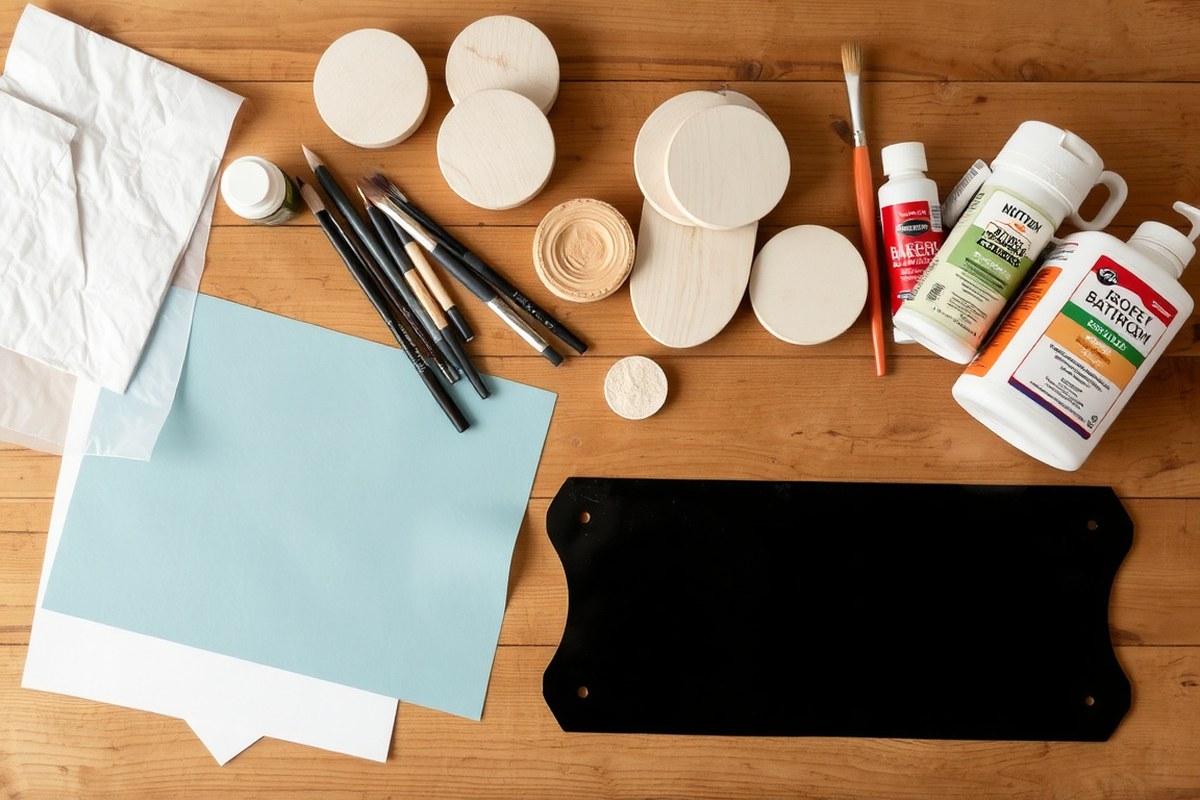
Creating a handmade bathroom sign calls for a few essential materials and tools, which vary based on your budget and the style you want to achieve. For an affordable option, consider using reclaimed wood or inexpensive craft plywood, which costs around $5 to $15 per board depending on size. Acrylic paints are budget-friendly and typically cost $3 to $7 per small bottle, offering a wide color range suitable for bathroom moisture levels. To add lettering, an affordable stencil set or printable vinyl letters usually cost between $5 and $15. These materials keep costs low while still allowing you to create a durable and visually appealing sign.
Premium materials improve durability and finish but come with a higher cost. Opt for high-quality hardwood like birch or maple, which can run $20 to $50 per board. Use enamel or oil-based paints priced from $10 to $20 per quart for a longer-lasting finish that resists humidity commonly found in bathrooms. For lettering, consider hand-painting with fine brushes or using a professional vinyl cutter for precise designs, which require an upfront investment in tools priced from $50 to over $200. These materials deliver a polished, refined look and stand up well to bathroom conditions.
- Base material: inexpensive plywood ($5-$15) or hardwood boards ($20-$50)
- Paint: acrylic paints for budget-friendly use ($3-$7 per bottle) or enamel/oil-based paints for durability ($10-$20 per quart)
- Brushes: basic set for painting ($5-$15) or fine detail brushes for hand lettering ($10-$25)
- Lettering tools: stencil sets/vinyl letters ($5-$15) or vinyl cutter and transfer tape ($50+)
- Sealant: clear acrylic spray or polyurethane ($5-$15) to protect against moisture
- Sandpaper: medium grit (80-120) and fine grit (220) for smoothing surfaces ($5-$10)
- Optional: transfer paper or carbon paper ($3-$8) to trace designs onto the base
Choosing quality sandpaper helps avoid rough finishes that can make painting uneven or lettering sloppy. Applying a protective sealant like a clear acrylic spray or polyurethane shield prevents paint from peeling or fading in the bathroom’s humid environment. Basic brushes work fine for larger strokes, but fine detail brushes give you more control for hand lettering, especially on smaller signs. Deciding to stencil means using a stencil or printable vinyl letters to control letter shapes and reduce mistakes.
For the base, smooth, flat surfaces give the best results. Rough plywood might require extra sanding to remove splinters or uneven spots. Hardwood bases reduce preparation time and naturally resist water damage better. Consider the size where you’ll hang the sign; standard sizes like 8×10 inches or 12×12 inches work well above toilets or near sinks without crowding the space. Planning your materials around your bathroom’s decor style and size helps the finished sign fit smooth into your room.
How to Choose the Right Base for Your Handmade Bathroom Sign
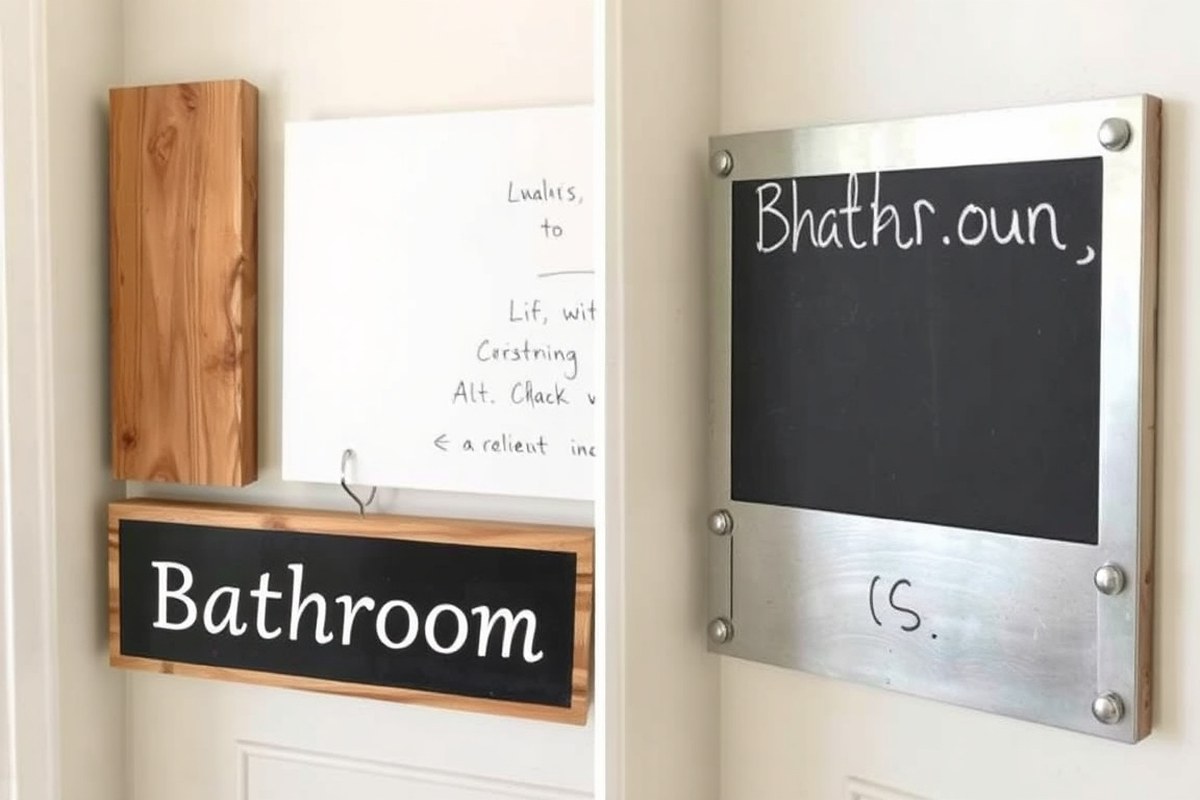
Choosing the right base for your handmade bathroom sign depends on factors like durability, cost, ease of use, and how it holds up in damp bathroom conditions. Popular materials include wood, canvas, metal, and acrylic. Each has pros and cons depending on your bathroom size, style, and where you plan to place the sign.
Wood offers a classic, warm look ideal for rustic or nautical-themed bathrooms but requires sealing against moisture. Canvas provides a lightweight, inexpensive option that works well for wall art but may warp in very humid bathrooms. Metal bases, such as aluminum or tin, resist moisture well and give a sleek, modern style but typically cost more and can be harder to personalize by hand. Acrylic is smooth, water-resistant, and easy to clean, making it great for contemporary bathrooms, though it may scratch easily and is pricier than wood or canvas.
Your bathroom sign’s size and style also factor into material choice. Smaller signs (8 by 10 inches) require lighter bases for easy mounting, while larger signs benefit from sturdy materials to avoid bending. Style-wise, wooden signs fit vintage or nautical décor, canvas suits artistic or playful designs, metal fits minimalist looks, and acrylic matches bright, modern finishes.
| Material | Durability in Bathroom | Approximate Cost | Ease of Use for DIY |
|---|---|---|---|
| Wood (pine, cedar) | Moderate; needs sealing to resist moisture | $5, $15 per small board | Easy to sand, paint, and letter by hand |
| Canvas | Low to moderate; can warp if very humid | $5, $10 for stretched canvas | Simple to paint or stencil; lightweight |
| Metal (aluminum, tin) | High; resists moisture well | $10, $25 depending on size/thickness | Harder to letter by hand; may need engraved or vinyl letters |
| Acrylic | High; water-resistant and easy to clean | $10, $20 for small sheets | Easier to paint or use adhesive letters; scratches easily |
Preparing your chosen base correctly improves results. For wood, sanding smooth and applying a clear waterproof sealer extends lifespan. On canvas, choose pre-stretched cotton or linen canvas and avoid placing near direct water streams. Metal signs typically require primers to help paint or vinyl adhere, while acrylic surfaces clean easily with mild soap but scratch from rough handling.
Tip: Select a base material that matches your bathroom’s humidity level; environments without ventilation demand moisture-resistant options like sealed wood, metal, or acrylic to prevent warping and damage.
Step-by-Step Guide to Hand Lettering Your Bathroom Sign
Creating neat hand lettering on wood or canvas starts with choosing the style and using stencils or free templates to guide your designs. Hand lettering can be combined with stenciling or decals to add variety and polish. A steady hand and the right tools help ensure your letters look professional and clean.
Choosing a Lettering Style and Font
Select a font that matches the bathroom’s style and your skill level. Simple block letters or classic serif fonts often work best for clear viewing. Script fonts add elegance but require more practice to paint neatly. Free printable templates for popular fonts like Arial, Times New Roman, or casual handwritten styles are widely available from craft websites and can be printed at home to use as guides.
Consider the size of your sign and how far away viewers will be. Larger, bolder letters improve readability in bigger spaces. For visual interest, mix uppercase and lowercase or add simple icon designs like a water droplet or towel silhouette. These choices help keep your sign both functional and attractive.
Preparing and Using Stencils for Accuracy
Stencils ensure consistent, neat letters, especially if you’re new to hand lettering. You can buy pre-made stencils or create your own with printable templates and a craft knife. Preparing your stencil carefully will improve your final result and reduce paint bleed.
- Choose or print a lettering template that fits your sign size.
- Trace the letters onto stencil material like cardstock or plastic stencil sheets.
- Using a sharp craft knife, cut out the letter shapes on a self-healing mat to protect your work surface.
- Position the stencil on your sign, securing it with painter’s tape to prevent slipping.
- Use a stencil brush or small foam roller to apply paint with gentle, tapping motions to avoid bleeding under edges.
- Carefully lift the stencil straight up while paint is still wet to avoid smudging.
- Allow paint to dry fully before adding any additional details or coats.
Free printable lettering templates can be found at sites like Fontspace.com or Dafont.com. Make sure the templates are at the correct scale before printing to match your sign’s dimensions.
Tips for Steady Hand-Painting and Brush Control
Steady hand-painting requires patience and the right tools. Use small, fine-tipped brushes made for detail work, typically size 0 to 2. Load your brush with paint but wipe off excess to avoid drips and uneven lines. Smooth, slow strokes produce cleaner edges.
Rest your painting hand on the edge of the sign or table to stabilize it and minimize shaking. Practice the letter shapes on scrap wood or paper beforehand to build confidence. Combining hand painting with stenciling allows you to add personal flourishes, like shadowing or outlines, after the stencil base dries.
For letters on canvas, a slightly thinner paint works better, helping prevent raised edges that can wrinkle the fabric. Acrylic paints are ideal for both wood and canvas as they dry quickly, clean up easily with water, and last well when sealed.
Creative Design Ideas and Bathroom Sign Sayings to Inspire You
Designing a bathroom sign by hand gives you a chance to add personality and charm to your space. Popular sayings, clever humor, and designs tailored for guests or kids make these signs both fun and functional. Personalizing your sign helps it fit the style and mood of your bathroom, whether it’s a powder room or a vibrant kid’s bath.
Classic and Popular Sayings for Every Bathroom
Choosing familiar bathroom sayings keeps your sign recognizable and welcoming. Many popular phrases add warmth or a touch of wit without overwhelming the decor. You can write these in any style you prefer, from elegant script to simple block letters, depending on your bathroom’s look.
- “Please Seat Yourself”, suitable for casual guest bathrooms
- “Wash Your Hands, Please”, practical and polite for family or powder rooms
- “Refresh & Renew”, adds a spa-like feel to any bathroom
- “Powder Room”, classic label for small guest bathrooms
- “Clean Hands, Happy Hearts”, friendly phrase for kids’ bathrooms
These sayings typically take up the central space on the sign and pair well with simple decorative elements like small borders or icons (e.g., water drops, soap bars). Keep the text size large enough to easily read from a short distance, 4 to 6 inches in height for letters usually works well for signs around 12 to 18 inches wide.
Adding Humor and Interactive Elements
Humorous signs keep guests smiling and make your bathroom feel unique. Puns, light jokes, or playful instructions encourage engagement and can serve as conversation starters. You can combine humor with interactive touches like checkboxes or erasable sections for added fun. Examples of humorous phrases include:
- “If You Sprinkle When You Tinkle, Please Be Neat and Wipe the Seat”
- “This Bathroom Is 100% Chance of Winning Smiles”
- “Sit Happens”
- “Soap Is to Hands What Coffee Is to Mornings”
- “Don’t Forget to Smile (It Confuses People)”
You can add interactive elements by painting small “to-do” checkboxes next to steps like “Wash,” “Rinse,” and “Dry.” Use chalkboard paint or a laminated section so the checklist can be wiped clean regularly. This creative approach draws attention and encourages good hygiene while adding personality at a low cost, chalkboard paint costs around $8 to $15 per small can and lasts for multiple project signs.
Personalizing Bathroom Signs for Kids
Kids’ bathroom signs should combine fun designs with easy-to-read text. Bright colors, playful fonts, and images like rubber ducks or bubbles make the bathroom inviting and friendly for children. Use phrases that encourage good habits with a touch of cheerfulness. Good kid-friendly sayings for signs include:
- “Splash Zone, Proceed With Caution”
- “Wash Like a Superhero”
- “Brush, Floss, Flush!”
- “Little Hands, Big Clean”
- “Make a Splash, Not a Mess”
Choose water-resistant paint or sealants to protect colorful elements from moisture, ensuring the sign lasts through humidity and cleaning. Keeping the sign around 12 by 9 inches suits smaller kids’ bathrooms or lowers walls for easier visibility, costing about $5 to $10 for the base material like wood or plastic.
Design Themes to Match Bathroom Styles
Selecting a design theme helps unify your bathroom’s look and makes the sign stand out as a decor piece. For modern white bathrooms, minimalist black lettering on a white base offers a clean, timeless look. Rustic or farmhouse styles can use distressed wood bases with hand-painted lettering in cozy earth tones. Consider these themes and what fits your space:
- Minimalist: simple fonts, monochrome palettes, and clean lines
- Rustic: wooden bases with rough edges and hand-drawn flourishes
- Coastal: sea-inspired colors like blues and greens with shell or wave motifs
- Kids’ themes: bright, whimsical fonts and playful graphics
- Classic vintage: ornate lettering with borders or filigree details
Combining the right theme with your phrase and colours usually requires testing your lettering on paper first. Drafting designs before committing to paint helps avoid errors and ensures the style fits your bathroom’s dimension and colour scheme.
Creating Guest Bathroom Signs That Feel Welcoming
Guest bathroom signs should feel inviting and polite, helping visitors navigate and feel comfortable. Opt for elegant but straightforward sayings that suit a variety of guests. Including special touches like a welcome note or instructions for towels adds a considerate element. Examples for guest bathroom signs:
- “Welcome, Make Yourself at Home”
- “Guest Bath, Your Comfort Is Our Priority”
- “Please Do Not Flush Paper Towels”
- “Fresh Towels Here”
- “Wash & Relax”
Use neutral colours like grays, creams, or soft blues for these signs. Keeping size moderate, around 14 by 7 inches, fits most powder rooms without crowding. Adding decorative flourishes like small floral or geometric borders, created with paint pens ($5 to $10 each), rounds out the look without adding clutter.
How to Prepare the Surface for Painting or Lettering
Preparing your sign surface correctly ensures that paint and lettering stick well and last for years. Different base materials like wood, canvas, or chalkboard need specific steps to clean, sand, and prime them. Proper preparation also helps prevent peeling, smudging, or fading on your handmade bathroom sign.
Preparing Wood Surfaces for Durable Signage
Wood is a popular choice because it’s sturdy and easy to personalize. Before painting or lettering, lightly sanding the wood smooths rough spots and opens up the grain, allowing paint to grip better. Remove all sanding dust with a tack cloth or damp rag to avoid a gritty finish.
Applying a primer designed for wood helps prevent blotchy paint and improves adhesion. Use a brush to apply a thin, even coat of primer and let it dry fully for at least 2 hours or as indicated on the label. This step also seals any knots in the wood that might bleed through the paint.
Light Sanding and Cleaning Canvas Signs
Canvas offers a more textured base with an artistic look. Lightly sanding the entire canvas surface with fine-grit sandpaper gives a subtle distressed finish that helps lettering stand out. Make sure to sand gently to avoid damaging the fabric weave.
After sanding, wipe the surface with a dry cloth to remove dust. When your canvas has a removable frame, remove it and cover both sides to prevent smudges. Canvas doesn’t usually need primer, but a layer of clear gesso can be applied if you want a smoother surface or brighter colors.
Conditioning Chalkboards and Painted Walls
Chalkboards and painted walls require special care so paint and markers hold without chipping. Clean the surface with mild soap and water to remove grease and dirt, then dry with a lint-free cloth.
When the chalkboard surface is old or flaky, gently sand it with fine-grit sandpaper to smooth imperfections. Avoid heavy sanding that removes the chalkboard coating. For painted walls, applying a bonding primer can help new paint or lettering adhere, especially if the wall gloss is high.
Safe Work Practices During Surface Prep
Working with paints, primers, and sanding dust calls for good ventilation. Open windows or use fans to prevent inhaling fumes or dust particles. Wear a dust mask or respirator when sanding wood or canvas, and protect your eyes with safety goggles.
Gloves help keep your hands clean and prevent irritation from chemicals. Avoid eating or drinking in your workspace to reduce accidental ingestion of dust or paint residues.
Step-by-Step: Prepping a Wood or Canvas Sign Surface
Follow these steps for basic preparation of wood or canvas before painting or lettering:
- Inspect the surface and choose appropriate grit sandpaper (120, 220 grit for wood; 220 grit for canvas).
- Sand evenly in the direction of the wood grain or gently on the entire canvas surface to create light texture.
- Remove all dust with a tack cloth or damp microfiber cloth; allow to dry.
- Apply a thin, even coat of primer for wood or optional gesso for canvas; use a synthetic brush for smooth coverage.
- Let the primer or gesso dry for at least 2 hours in a well-ventilated area.
- Lightly sand again with fine-grit sandpaper (320 grit) to smooth any raised grain or texture; wipe clean.
- Your surface is now ready for painting and lettering.
Tip: Test your primer or gesso on a small, hidden area first to confirm it won’t alter the surface color too drastically or cause adhesion problems.
Tips for Painting and Adding Colors to Your Bathroom Sign
Select paint types that stand up well to the bathroom environment, where moisture and humidity are common. Acrylic paints work great because they are water-resistant once dry and adhere well to wood, metal, or plastic bases. Look for paints labelled as semi-gloss or satin finish to help resist water spots and make cleaning easier. Avoid flat or matte paints as they tend to absorb water and stain more easily. Keeping paint quality moderate to high improves durability but expect to pay around $3 to $7 per small bottle or tube depending on the brand.
For easy layering, start with lighter colors as your base coat and let each layer dry completely before adding darker or complementary hues on top. Quick-dry acrylics typically dry to the touch within 15 to 30 minutes at room temperature, but waiting at least an hour ensures the paint is solid enough to avoid smudging. Applying thin, even layers uses less paint and dries faster, which is ideal if you want to add multiple colors or shading effects to your sign. Use a small fan or open a window to improve airflow and speed drying time further.
To create clean edges when hand painting your bathroom sign, apply painter’s tape along borders or shapes you want to keep crisp. Press the tape’s edge firmly to prevent paint bleeding underneath. After applying your first layer of color, remove the tape carefully while the paint is still slightly tacky for the sharpest line. For freehand edges, use a fine-tipped brush and steady your hand by resting your wrist on the table. Practice brush control on scrap wood or paper before painting the sign itself to get comfortable with the pressure and stroke length.
Blending two colors smooth requires working while the paint is still wet. On your section, apply two adjacent colors side by side and use a clean, slightly damp brush to gently stroke back and forth along the joining line. This technique softens harsh borders and creates gradual transitions. Try blending sunset shades like soft pink to orange or blue to teal for a smooth gradient. For beginners, experiment with just two colors and a small blending area to reduce mistakes and paint waste. Expect to spend 5 to 10 extra minutes blending each section depending on size and complexity.
Beginners benefit from quick-dry paints or markers designed for crafts. Paint markers, such as acrylic paint pens, cost around $5 to $10 each and give you precise control and minimal drying time. These are especially useful for adding detailed lettering or accents after laying a solid color base. Brands often label markers as fast-drying and water-resistant once cured, perfect for bathroom signs that face humidity. Always test your materials on a small surface first to ensure compatibility with your sign’s base and preferred finish.
Using these materials and techniques, your bathroom sign will have vibrant, sharp designs that hold up well in humid spaces. Avoid thick paint layers that stay wet too long or cause dripping, which results in uneven texture and longer drying times. Clean edges and layered colors increase the sign’s professional look and help your personalized message stand out clearly in your bathroom décor.
Sealing and Protecting Your Handmade Bathroom Sign for Longevity
Making a durable hand-painted bathroom sign that withstands humidity and wear starts with choosing the right sealant. Bathrooms are humid spaces where moisture can damage paint and wood over time, so sealing your sign is essential. Clear acrylic spray sealants are a popular choice because they provide a waterproof layer without altering the look of your paint. You can find these sprays for around $8 to $15 per can at most craft stores. Apply several thin coats, waiting 15 to 30 minutes between each, to build up a protective barrier. Make sure to work in a well-ventilated area and allow the sign to dry completely, about 24 hours, before hanging it up. This sealant works well with acrylic paints, which are commonly used for hand-painted signs due to their quick drying time and water-resistant properties once sealed.
Consider using a polyurethane clear coat when you used oil-based paints. Water-based polyurethane is suitable for acrylic paint, while oil-based polyurethane pairs better with oil paints for greater durability. Polyurethane costs about $10 to $20 for a quart and is available in matte, satin, or glossy finishes. Apply with a synthetic brush in thin, even layers, letting each coat dry for 2 to 4 hours or longer in humid conditions. Two to three coats should be enough to protect your sign from bathroom moisture and general wear. Avoid thick coats, which can create bubbles or tacky areas. This finish adds extra toughness to the surface, protecting against scratches and fading.
For signs exposed to direct water splashes, such as those near sinks or showers, consider marine-grade varnishes designed for high-moisture environments. These varnishes contain UV protection and extra water resistance but take longer to dry, expect at least 24 hours per coat and 3 to 4 coats total. They’re pricier, costing about $20 to $40 per quart, but offer strong protection. Using a marine varnish over your paint ensures your sign resists peeling, warping, or discoloration even in steamy bathrooms.
Before sealing, make sure the paint is fully dry to avoid trapping moisture. Lightly sanding between coats with fine-grit sandpaper (around 220 grit) improves adhesion and smoothness by removing imperfections or dust. Wipe the sign clean with a tack cloth after sanding. Pay attention to edges and corners by applying extra sealant there; these areas can be more vulnerable to moisture damage.
Avoid using wax or oil-based finishes on bathroom signs, as they do not hold up well against humidity and can encourage mold growth. Also, avoid sealants with strong odors if your bathroom lacks good ventilation. You need extra care to prevent brush strokes and bubbles when you prefer brush-on sealants to spray types.
Finishing Touches That Make Your Bathroom Sign Look Professional
Adding finishing touches like distressing, aging effects, edging, and small embellishments can transform your handmade bathroom sign from simple to professionally styled. Distressing mimics wear and time, giving a vintage or rustic look that suits many bathroom decor styles. Aging adds depth and character, making new wood or paint feel like a cherished piece. Edging frames your design, and embellishments provide personality, so thoughtful finishing can boost your sign’s appeal without needing expensive materials.
For distressing, gather fine sandpaper (120 to 220 grit), a stiff wire brush, and a small hammer or chain. Light sanding around edges and raised areas creates natural wear. For bold distressing, rough up larger areas or tap randomly with the hammer or chain to dent and chip the wood surface. Keep the effect balanced, use subtle distressing for a refined look on painted signs and bolder distressing on raw or stained wood. Test on scrap wood first to control how much paint or finish you remove.
Aging your sign can be done using stain, tinted wax, or diluted paint. Apply dark stain or watered-down black paint with a cloth or sponge after distressing to settle into grooves and knots, then wipe off excess. Tinted wax adds a smooth patina and seals the effect. For water-based paints, dry brushing a darker or contrasting color lightly over the base coat imitates fading and dirt buildup. Let each layer dry well before adding another to avoid blotchiness.
Edging adds definition and can be done by painting a thin line with a steady hand or applying wood trim pieces. For painted edges, use a fine angled brush and painter’s tape to get clean lines. Trim pieces can be glued with a hot glue gun and stained or painted to match or contrast the sign. Embellishments like small metal hooks, decorative nails, or wooden appliques can be glued on with a glue gun, adding texture and interest.
- Fine sandpaper (120-220 grit) for subtle distressing
- Wire brush or chain for bold wood texture
- Dark stain or watered-down paint for aging effects
- Tinted wax or dry brush paint technique for patina
- Painter’s tape and fine brush for edge lines
- Hot glue gun to secure embellishments such as hooks or appliques
Always distress and age in light layers; you can build up gradually but going too far at once can ruin the look and waste time fixing it.
For neat professional looks, focus distressing around edges and corners where natural wear occurs. Avoid uniform scratches or chipping over flat surfaces unless you want an extremely worn vibe. Use painter’s tape to protect lettering or detailed artwork when distressing or adding aging washes. The combination of clean edges, natural wear, and subtle embellishments creates an inviting handmade sign that feels thoughtfully crafted and durable enough for bathroom use.
How to Hang and Style Your Handmade Bathroom Sign Effectively
Place your handmade bathroom sign where it naturally catches the eye without cluttering the space. The best spots tend to be near the bathroom entrance, above the towel rack, or close to the mirror. Positioning it at eye level, roughly 57 to 60 inches from the floor, helps maximize visibility. Avoid placing the sign where it can get splashed or damaged, such as directly above the sink or bathtub.
Choose a mounting method that suits both your sign’s weight and your bathroom walls. Lightweight signs under 2 pounds can easily hang from a loop, ribbon, or sawtooth hanger attached to the back. Use adhesive strips made for bathroom use if you want to avoid holes in the wall; however, these work best on flat, smooth surfaces and signs that aren’t too heavy. For heavier or larger signs, secure them with screws or wall anchors designed for tile or drywall. Drill carefully to avoid cracks or damage.
Adding a loop or ribbon at the top of your sign makes repositioning simple. This also offers flexibility if you update your bathroom decor or paint colors down the line. You can switch out your sign without any hassle, which keeps your bathroom fresh at minimal cost and effort. Keep in mind that ribbons or hooks should match your sign’s style and the bathroom’s overall theme for a cohesive look.
Complement your handmade sign with decor elements that improve its style and help tie the bathroom’s design together. Pair rustic wooden signs with matching wood or woven baskets, natural fiber rugs, and greenery to create a cozy vibe. Modern signs with clean lettering suit minimalistic metal or ceramic fixtures in monochrome or neutral palettes. Avoid mixing too many patterns or colors around your sign to maintain visual focus. Coordinating your framed sign with bathroom hardware color, like brushed nickel or matte black, boosts harmony.
Good results mean your sign stays visually prominent without dominating the bathroom. It should be easy to read and free from obstructions such as hanging towels or other wall decor. If your bathroom layout limits wall space, consider mounting the sign on a door or a narrow shelf at eye level to keep it noticeable. Check that moisture exposure is minimal to prevent warping or paint damage. Regularly inspect the mounting hardware to ensure it remains secure, especially in high-humidity spaces.
Costs vary based on mounting choices; simple adhesive strips and ribbons usually run under $10, while installation requiring wall anchors and drilling can cost $15 to $30 if you buy materials yourself. Professional installation might cost more but ensures durability. A good rule is to select mounting methods that balance sturdiness and flexibility with minimal wall damage, matching your signs’ size and weight.
Common Mistakes When Making Bathroom Signs and How to Fix Them
Uneven paint and lettering mistakes are common problems when making a bathroom sign by hand. These issues usually happen because of rushed work, inadequate surface preparation, or using the wrong tools. Uneven paint can cause your sign to look sloppy, and peeling paint reduces its durability. Lettering that is shaky or inconsistent can make your message hard to read. Fixing these problems early prevents frustration and saves time in the long run.
One typical error is uneven paint coverage. This occurs when paint is applied too thickly or too thinly in spots. To fix uneven paint, lightly sand the surface with fine-grit sandpaper (220-grit works well) after the paint dries. Then, apply a thin, even second coat using a foam brush or high-quality paintbrush. Thin coats dry faster and prevent drips. The key is to let each coat dry fully, usually at least 2 hours, before adding more paint.
Peeled or chipped paint often comes from poor surface preparation or using non-stick surfaces like raw wood. Fix it by gently sanding the peeled area until smooth, cleaning off dust with a damp cloth, and reapplying primer before repainting. Primer costs about $10 to $20 per quart but helps the paint stick better, reducing peeling over time. For bathroom signs, sealing with a water-resistant clear coat after painting protects against moisture and wear.
Lettering mistakes tend to happen from shaky hands or improper guides. You can fix minor slip-ups by carefully scraping off the paint with a toothpick or small craft knife before it fully dries. After cleanup, touch up with matching paint or use a fine-tipped paint pen for precision. To avoid these mistakes, practice lettering on scrap material, use stencils or transfer paper for consistent shapes, and keep your hand steady by resting your wrist on the work surface.
- Apply paint in thin, even coats and allow each coat to dry fully before the next.
- Sand and prime raw or uneven surfaces to avoid peeling later.
- Use fine-grit sandpaper to smooth out uneven paint before repainting.
- Correct lettering errors quickly with a toothpick or craft knife before paint dries.
- Practice lettering or use stencils for clean, consistent text.
- Seal your finished sign with a water-resistant clear coat to protect against bathroom humidity.
Rushing through painting increases the chance your sign will have a streaky or blotchy finish. Taking at least 30 minutes per coat, including drying time, helps avoid this. Lettering mistakes are often a sign to slow down and steady your hand. In some cases, a small design error can turn into a unique, charming touch when fixed creatively. Investing in quality brushes and paint pens, which cost around $5 to $15 each, often results in a much cleaner look and fewer mistakes overall.
Step-by-Step Action Plan for Your Handmade Bathroom Sign
Follow this plan to create and showcase your bathroom sign with confidence and style.
- Day 1: Gather all materials and tools you need, such as wood or canvas, paints, brushes, and sealant. Make sure everything is clean and ready to use.
- Day 2: Choose and prepare your base by sanding and cleaning it until smooth. The surface should feel even and clean before painting.
- Day 3: Sketch your design lightly on the base using a pencil or transfer method. Check that spacing and alignment look balanced.
- Day 4: Hand-letter your design with paint or markers, working slowly. Allow each section to dry before continuing to prevent smudging.
- Day 5: Paint additional colors or decorative details, letting each layer dry completely. Touch up any mistakes with small brushes.
- Day 6: Apply a clear sealer to protect your sign from moisture and wear. Confirm the finish is even and covers all painted areas.
- Day 7: Attach hanging hardware securely on the back based on the sign’s weight. Test the sign’s balance by hanging it temporarily.
- Day 8: Hang your sign in your bathroom, positioning it where it complements the space and is easy to see.
Frequently Asked Questions
What Is the Best Budget-Friendly Material for Making a Bathroom Sign?
Wood is usually the cheapest and easiest base to work with for bathroom signs. It’s durable and can be painted or stained to match your decor.
Can I Use Fabric for a Handwritten Bathroom Sign?
Yes, fabric like hessian adds a rustic charm and is easy to decorate with fabric paint or markers.
How Do I Size a Bathroom Sign Appropriately for the Space?
Measure the wall area where you plan to hang the sign, then choose a size that fits neatly without overwhelming the space.
Can I Make a Bathroom Sign Waterproof?
Sealing your sign with a waterproof sealant or varnish helps protect it from humidity and water splashes.
What Type of Paint Is Best for Bathroom Signs?
Acrylic paint works well because it dries fast and resists moisture when sealed properly.
How Do I Fix Smudged Lettering on a Bathroom Sign?
Let the paint dry completely, then carefully use a fine brush to correct edges or cover smudges with matching paint.
Before You Go
Creating your own bathroom sign by hand lets you add personal style and charm to this everyday space. Start with a smooth base and take your time perfecting the lettering and colors. Your next step is to choose the perfect spot in your bathroom for hanging your new sign, so it shines where everyone can appreciate your craftsmanship.


