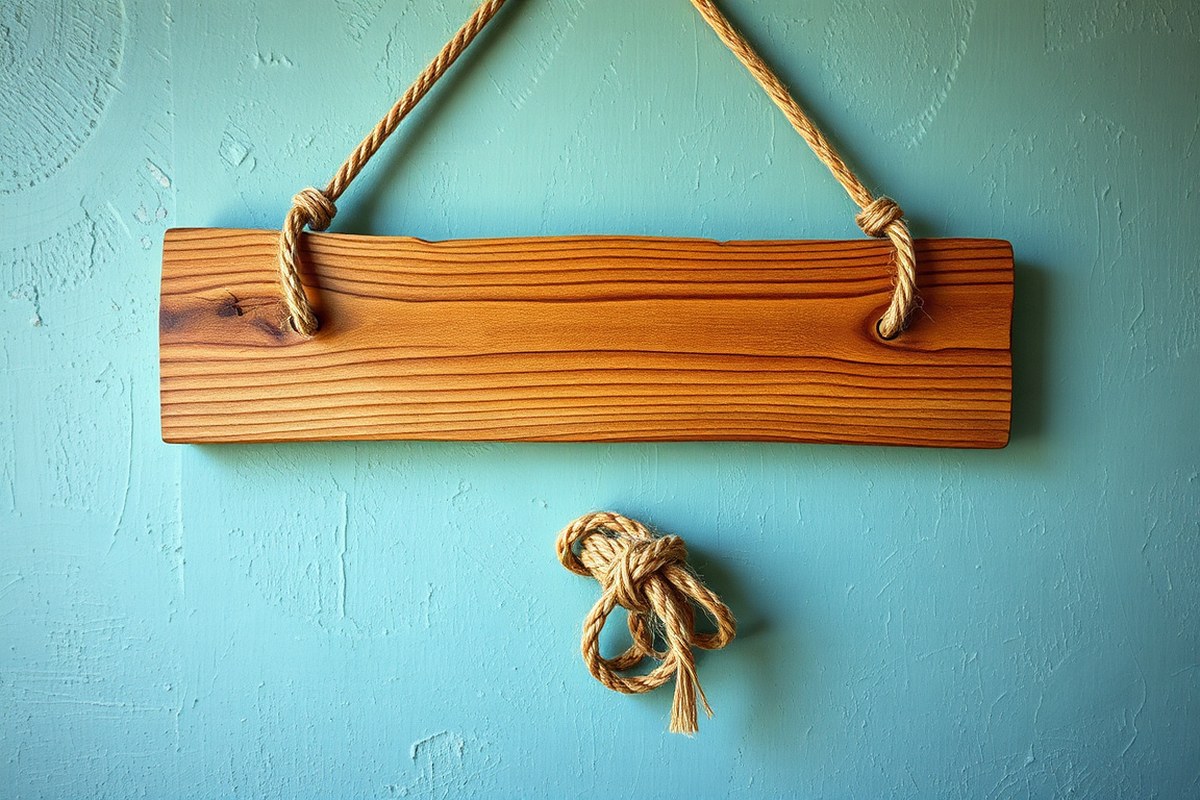
How to Attach Rope to a Wood Sign: 8 Effective Ways for Secure Hanging
Knowing how to attach rope to a wood sign ensures your sign hangs securely and looks great. Use sturdy knots or hardware to fasten the rope tightly to the sign’s back. Start by tying the rope to the sign’s edges or drilling holes for better support, keeping the attachment point balanced for even hanging.
Key Takeaways
- Choose a rope thickness that matches the sign’s weight for safe and strong support.
- Select hardwood or treated wood signs for better durability when hanging with rope.
- Tie a strong knot like a bowline or double overhand knot to secure the rope firmly to the sign.
- Drill holes near the top corners of the wood sign for threading the rope if not using knots alone.
- Position the rope attachment points evenly to keep the sign level while hanging.
- Use mounting hooks or picture hangers rated for your sign’s weight to complement rope strength.
1. Secure Rope Attachment Methods for Wood Signs
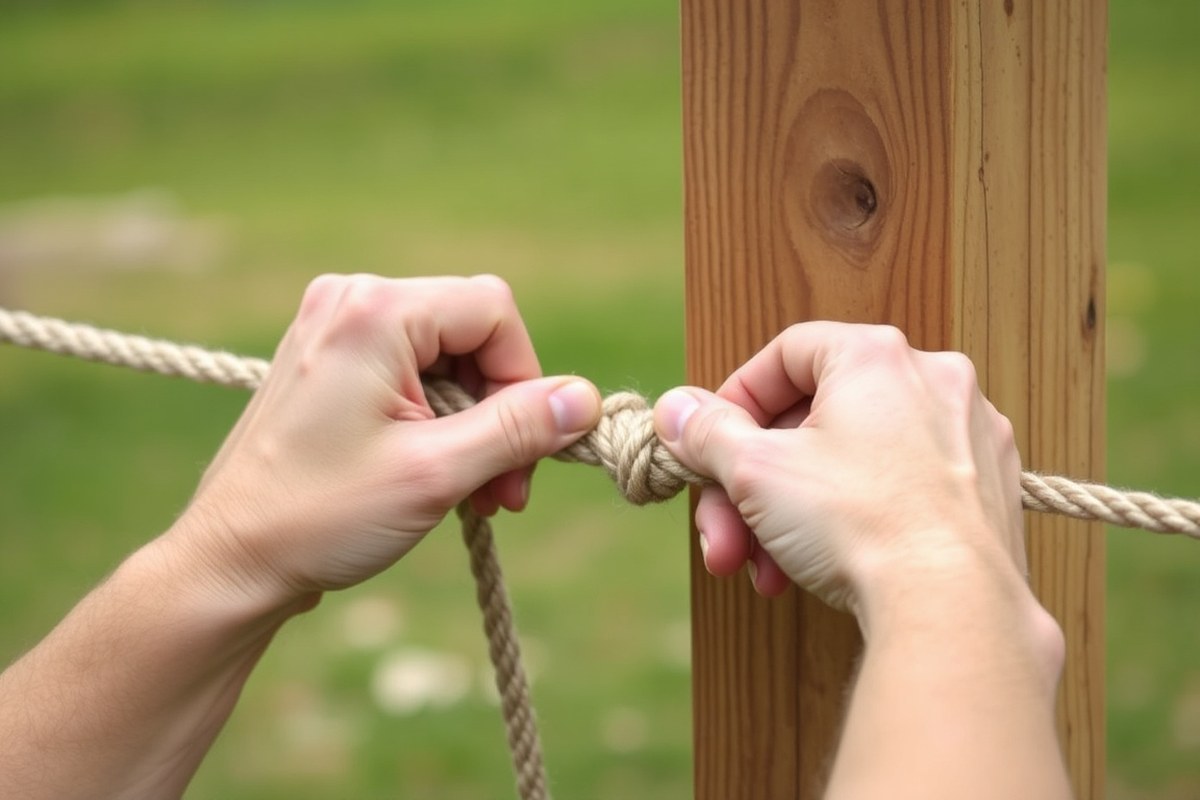
To attach rope securely to a wood sign, several proven methods offer various levels of strength and ease. The main approaches include drilling holes into the wood for threading the rope, using staple guns, screw eyes, clamps combined with glue, rope cleats, hot glue for temporary holds, and Velcro adhesive strips for removable options.
Drilling holes and threading the rope through is one of the most secure methods. This creates a strong mechanical bond, suitable for heavy signs or outdoor use where wind and movement are factors. Use a drill bit 1/8 to 1/4 inch larger than your rope diameter for easy threading. Drill two holes spaced evenly apart near the top edge. Thread the rope through each hole, knotting or securing the ends inside the sign to prevent slipping.
Staple guns offer a faster application, especially for thinner twine or decorative pieces. Position the rope where you want it attached, pull tight, and staple directly onto the wood. Use a heavy-duty staple gun with stainless steel staples to resist rust if the sign will be hung outdoors. Typically, two to three staples per attachment point provide enough holding power.
Screw eyes (or eye screws) provide a neat, adjustable solution. Screw a pair of eye screws near the top of the sign, spaced evenly. Then tie your rope through the eyes, which allows quick removal or length adjustment. This method requires a screwdriver or drill for installation and works well with natural or synthetic ropes.
Clamps and adhesive glue combine for a clean, durable bond when stapling isn’t desired. Apply wood glue or specialized rope glue along the attachment line, press the rope into place, and use clamps to hold it while the glue dries, usually for 30 minutes to 1 hour. This creates a professional finish but works best on flat rope sections used as trim or decoration rather than hanging.
Rope cleats, often used for nautical decor, offer versatility in hanging length adjustment while providing secure attachment points. Screw the cleats into the wood and loop the rope around them. They add a decorative touch and solid support but require extra hardware and precise placement.
Velcro adhesive strips attach easily and offer a removable solution especially for temporary displays or lightweight signs. Apply the Velcro strips to both the rope and wood surface, press firmly, and let the adhesive set. Although convenient, Velcro strips provide less holding strength and may not be suitable for heavier signs.
| Method | Tools Needed | Strength | Ease of Installation | Best Use Case |
|---|---|---|---|---|
| Drilling holes & threading | Drill, rope, drill bit, knots | Very strong | Moderate | Heavy signs, outdoor |
| Staple gun | Staple gun, staples | Moderate | Easy | Quick projects, lightweight rope |
| Screw eyes | Screwdriver or drill, screw eyes | Strong | Moderate | Adjustable hanging, clean look |
| Clamps & glue | Clamps, wood glue or specialized glue | Strong | Slower (drying time) | Decorative trim, permanent hold |
| Rope cleats | Screws, screwdriver, cleats | Strong | Moderate | Adjustable length, nautical look |
| Hot glue | Hot glue gun, glue sticks | Low to moderate | Easy | Small, temporary signs |
| Velcro adhesive strips | Velcro strips | Low | Very easy | Temporary or lightweight signs |
Choosing the right method depends on your sign’s size, weight, and how permanent the hanging should be. For heavy or outdoor signs, drilling holes and using screw eyes offer the most secure hold. Stapling is best for quick jobs on lighter signs. Clamps and glue provide a tidy appearance if you want no hardware showing. Rope cleats add style and adjustability, while hot glue and Velcro strips suit temporary or decorative projects.
2. Choosing the Right Rope and Wood for Hanging Signs
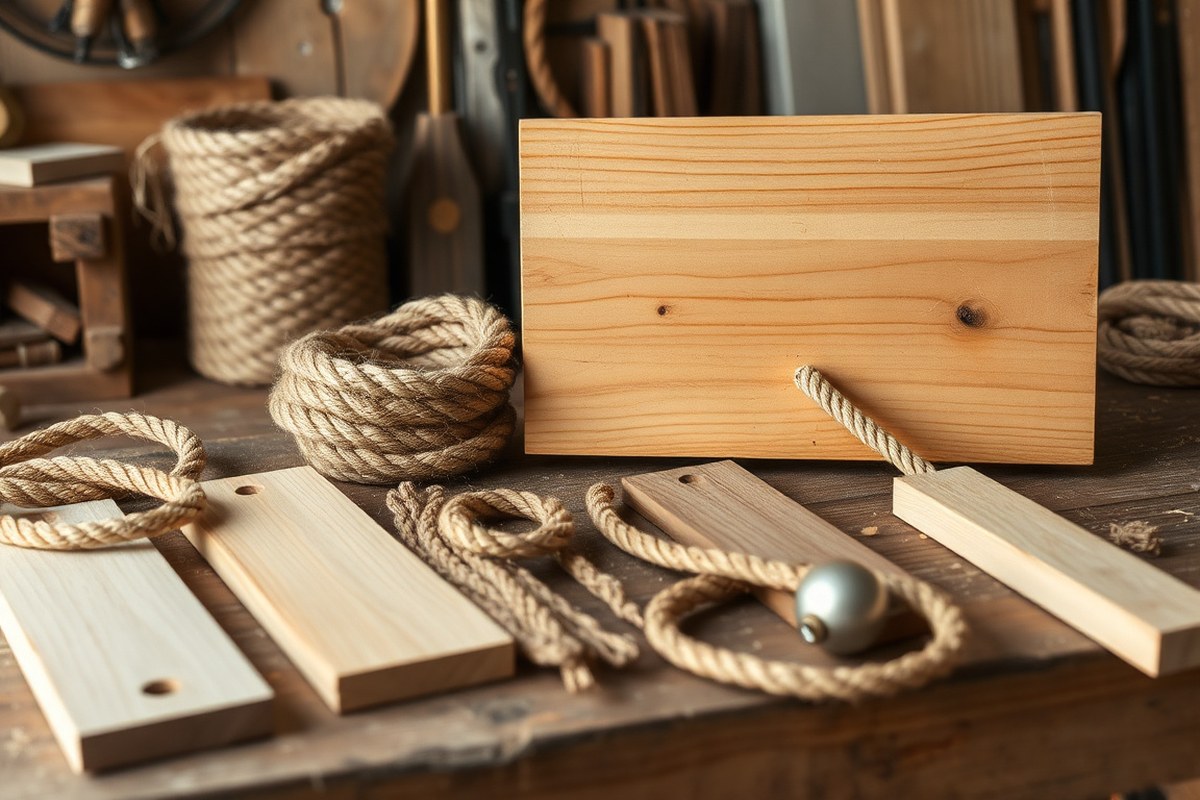
Choosing the right rope and wood type is important for safely hanging your wood sign. Rope thickness and material depend on the size, weight, and placement of your sign, especially whether it’s indoors or outdoors. The wood’s type and condition also influence your attachment options and mounting hardware requirements.
For indoor signs, cotton and jute rope are common choices due to their softness and ease of tying. These materials work well for lighter indoor signs under 5 pounds. Outdoor signs demand more durable rope types like nylon or polyester, which resist moisture and UV damage. Thicker rope, between 1/4 inch and 3/8 inch, supports heavier signs ranging from 8 to 15 pounds, especially hardwood varieties.
Wood types differ in density and grain structure, impacting sign weight and how well screw or nail hardware holds. Solid hardwoods provide a sturdy base but increase weight, requiring strong mounting solutions and thicker rope. Pine is lightweight, ideal for smaller signs under 5 pounds, and easier to hang with lighter rope and mounting hooks. Engineered wood panels need moisture-resistant hardware outdoors to prevent warping, while reclaimed wood may have uneven surfaces needing customized attachment.
| Rope Type | Best Use | Thickness for Weight | Durability | Price Range (per 25 ft) |
|---|---|---|---|---|
| Cotton | Indoor, decorative | 1/8″ to 1/4″ for signs up to 5 lbs | Moderate, not weather-resistant | $5 – $12 |
| Jute | Indoor rustic look, light signs | 1/8″ to 1/4″ for signs up to 5 lbs | Low moisture resistance | $4 – $10 |
| Nylon | Outdoor, heavy-duty | 1/4″ to 3/8″ for signs 8 to 15 lbs | High resistance to moisture and UV | $8 – $15 |
| Polyester | Outdoor, heavy signs | 1/4″ to 3/8″ for signs 8 to 15 lbs | Very durable, UV and moisture resistant | $10 – $18 |
Mount your sign securely by matching rope thickness and material to the sign’s weight and environment. For example, a 10-pound hardwood sign intended for outdoors should use nylon rope at least 1/4 inch thick along with moisture-resistant mounting hardware. A 3-pound pine sign indoors may only need cotton twine and simple picture hangers.
Always anchor screws or hooks into wall studs or use wall anchors rated for your sign’s weight to prevent accidental falls.
Keep in mind that uneven or reclaimed wood may require pilot holes for screws to avoid splitting, and softwoods like pine may not hold heavy screws well over time. For heavier signs, also consider knot strength: larger knots with multiple wraps increase security when tying ropes to wood. Thickness and compatibility between rope and hardware reduce the risk of loosening or rope wear under weight and weather changes.
3. Preparing Your Wood Sign and Rope for Attachment
To prepare your wood sign and rope for attachment, make sure the wood surface is smooth and clean, and the rope is cut to the right length with sealed ends. Applying the correct glue type will improve adhesion and keep your sign secure. Taking these steps ensures a strong bond, reduces slipping, and extends the life of your project.
Sanding and Cleaning the Wood
Start by sanding the area where the rope will be attached. Use medium-grit sandpaper (around 120-grit) to smooth the wood surface, then finish with fine-grit (220-grit) for an even texture. This roughens the wood slightly, improving glue adhesion without damaging the sign.
After sanding, wipe the surface with a damp cloth or tack cloth to remove dust and debris. The wood must be dry and clean before applying glue or rope to prevent weak bonds or slipping.
Cutting and Measuring the Rope
Measure the exact length of rope needed for your design, considering any knots or loops. Cut the rope cleanly using sharp scissors or a utility knife to prevent fraying. After cutting, seal each end by melting synthetic ropes lightly with a flame or wrapping natural fiber rope ends with clear adhesive tape or twine knots.
Untreated ends may unravel over time, weakening the attachment or making the sign look untidy. Properly sealed rope ends help maintain durability and appearance.
Choosing and Applying Glue
Use wood glue or hot-melt adhesive for best results. Wood glue, such as PVA (polyvinyl acetate), offers strong, flexible bonds and dries clear. Hot glue bonds quickly but may not hold as well under heavy tension or outdoor exposure. For outdoor signs, consider waterproof polyurethane glue for extra durability.
Apply a thin line of glue both on the wood surface where the rope will rest and along the corresponding section of the rope. Match these glued spots when pressing the rope onto the wood. This double application strengthens the bond and reduces slipping.
Once glued, clamp or press the rope against the wood for at least 30 minutes to ensure proper curing. After the glue dries (typically 24 hours), spray a clear coat over both surfaces to protect the wood and rope from moisture and wear.
- Sand the wood where you will attach the rope using 120- to 220-grit sandpaper.
- Clean the sanded surface with a damp or tack cloth and let it dry completely.
- Measure and cut the rope length needed for your design, factoring in knots or loops.
- Seal the rope ends with flame (for synthetic) or wrap with tape or knots (for natural fibers).
- Apply a thin line of wood glue on the wood surface and the rope contact area.
- Press and hold the rope onto the glued wood, matching glue lines for best adhesion.
- Clamp or press the rope in place for 30 minutes, then let the glue cure fully (about 24 hours).
- Spray a clear protective coat over the rope and wood to safeguard against moisture.
4. Measuring and Positioning Rope for Balanced Hanging
Measure the rope carefully so it will hang your wood sign evenly and at the right height. Mark the attachment points on the sign to make sure the rope is centered and balanced. These steps prevent uneven hanging and improve the sign’s appearance on your wall.
Measuring Required Rope Length
To find the right rope length, start by measuring the width of your wood sign and deciding how high you want it to hang. Include extra rope length for knots and allowances to reach the wall hook comfortably. Using a tape measure can make this task precise.
For example, if your sign is 18 inches wide and you want the sign to hang 6 inches below the hook point, add about 12 to 18 inches of rope. This extra length accounts for tying knots and looping over hooks. Total rope length often equals the width of the sign plus twice the desired hanging height, plus 8 to 12 inches for knotting.
Marking Attachment Points on Wood
Center the sign and measure its top edge to place attachment points evenly. Position two marks at one-third intervals from either end of the sign’s top, which improve stability and weight distribution.
Mark with a pencil where the rope will connect, making sure the points are equidistant from the sign’s center. This helps balance the sign and stops one side from sagging or tilting.
Checking for Level and Balance
Use a level to check your marks and the wall location before hanging. Mark the center point of the wall space to align it with the sign’s center for even placement. Placing hooks or nails at a 45-degree angle can provide better support.
After attaching the rope, hang the sign on the wall hooks and use the level again to confirm it is perfectly horizontal. Adjust the rope or attachment points if you notice any tilt. Proper balance avoids stress on the rope and mounting hardware.
- Measure the width of the wood sign carefully with a tape measure.
- Decide your desired hanging height and add twice that number plus extra 8, 12 inches for knots to get the rope length.
- Mark the exact center of the sign’s top edge with a pencil.
- From the center, measure one-third of the width toward each edge and mark the attachment points.
- Attach hooks or drill pilot holes at the marked points for rope installation.
- Find the center point on the wall where you want to hang the sign and mark it with a pencil.
- Install wall hooks or nails at points aligned with the sign’s attachment marks, checking level.
- Hang the sign using the rope and confirm it is level and balanced using a level tool.
5. Decorative and Functional Knotting Techniques
Using decorative and functional knots offers a way to both securely attach rope to your wood sign and improve its look. Different knots suit different needs, some hold tight under tension, while others let you adjust the rope length later. Learning how to tie these knots ensures your sign hangs safely and adds character to your project.
Square Knot for Secure Hold
The square knot holds well under tension and won’t slip easily if tied correctly. It’s a basic knot for joining two rope ends of similar thickness, perfect for securing the rope to itself or forming a strong connection point on your sign. It’s especially useful when you want a neat, flat knot that blends with rustic or classic wood styles.
- Cross the right rope end over the left one.
- Wrap the right end under and through the loop created on the left side, then pull both ends tight (forming the “overhand” part).
- Cross the left end over the right end this time.
- Wrap the left end under and through the loop and pull both ends tightly to form the finished square knot.
- Dress the knot by pulling all four ends to straighten and tighten it fully.
- Attach the knotted rope end around an anchor point like a screw or a drilled hole on your sign.
Always tighten the square knot firmly; a loose knot risks slipping and weakening your sign’s hold.
Bowline Knot for Adjustable Loop
The bowline knot creates a fixed loop that won’t slip under tension but can be undone easily. This makes it ideal for adjustable hanging loops, allowing you to change the rope length without retieing the entire setup. It works well for signs you might hang at varying heights or want to remove often.
- Make a small loop in the rope a few inches from the end, ensuring the working end is on top.
- Pass the working end up through the loop from underneath.
- Wrap the working end around the standing part of the rope (the longer end leading away from the knot).
- Bring the working end back down through the initial loop.
- Pull the standing part to tighten the loop while holding the working end steady.
- Test the loop by pulling the rope taut; it should hold firm but remain easy to untie when needed.
Do not use the bowline knot with slippery or synthetic rope alone; it may loosen under heavy load without added security knots.
Double Overhand Knot for Decoration
The double overhand knot adds both strength and visual texture to your rope attachment. It’s easy to tie and looks appealing when placed near the ends of the rope or between sections, ideal for added flair on rustic or country-style wood signs. This knot helps prevent the rope from fraying or slipping through drilled holes or anchors.
- Make a loop in the rope with enough length on the working end.
- Wrap the working end around the standing part of the rope twice, creating two turns.
- Thread the working end through both turns of the loop you just formed.
- Pull both ends to tighten the knot, ensuring it sits snugly without gaps.
- Place the knot where you want extra decoration or rope thickness, such as on either side of the sign.
- Trim any excess rope close to the knot but leave a small tail to prevent unraveling.
Ensure the double overhand knot is tight and well-dressed for the best appearance and to avoid loosening over time.
6. Hardware Options to Reinforce Rope Attachment
Choosing the right hardware to reinforce rope attachment depends on the weight of your wood sign and how permanent the hanging solution needs to be. Signs heavier than about 3 pounds usually require screw eyes or hooks for a secure hold. These metal fixtures screw directly into the wood, offering strong anchor points that prevent the rope from pulling loose over time. For lighter signs under 3 pounds or those with smooth backs, adhesive mounting squares provide a drill-free, less invasive option, but they may not hold as well under weight or outdoor conditions.
Screw eyes and hooks come in various sizes and materials; choose corrosion-resistant types for outdoor signs. Wire nails are a traditional and durable method for affixing twine to wood, especially for rustic styles, but they lack the strength of screw eyes for heavier signs. Rope cleats are decorative hardware that work well for nautical or rustic signs, giving you a hook-in-place feature rather than a hole to tie through. These typically screw into the top edge of the wood sign and allow adjustable rope positioning. Here is a step-by-step method to install common hardware types to support your rope-hung wood sign:
- Gather tools and hardware: You’ll need a drill or screwdriver, a drill bit slightly smaller than your screw eyes or hooks, the hardware itself, a tape measure, and a pencil.
- Mark attachment points: Measure evenly along the top edge of the sign where you want your rope to attach. Mark these points with a pencil. Space them about 4 to 6 inches apart for balanced weight distribution on heavier signs.
- Pre-drill pilot holes: Use the drill bit to make shallow pilot holes at your marked points. This helps prevent the wood from splitting and makes screwing easier.
- Screw in hardware: Twist your screw eyes or hooks into the pilot holes by hand, then tighten with pliers or a screwdriver handle if needed. Make sure they sit flush and are firmly anchored.
- Attach rope using cleats or hardware: Loop your rope through the screw eyes or hooks, or wrap around rope cleats if used. Tie double knots or decorative knots for a secure finish.
- Try drill-free adhesives if sign is light: For signs under 3 pounds and smooth backs, affix adhesive mounting squares spaced about 6 inches apart along the top edge. Press firmly and allow 24 hours to cure before hanging.
- Inspect and test hang: Hang the sign on your designated spot and gently test the rope’s strength. Adjust knots or hardware if you notice any slipping or instability.
Costs for hardware vary. A pack of six screw eyes or hooks costs around $5 to $10 at most hardware stores. Adhesive mounting squares are about $8 to $15 per pack but don’t require tools. Using hardware ensures your sign remains safely suspended and prevents damage from heavy weight or outdoor elements. Drill-free options save time and prevent wood damage but suit lighter signs and indoor use best.
7. Preventing and Fixing Common Mistakes When Attaching Rope
Rope slipping, weak knots, and wood damage are common issues when attaching rope to a wood sign. A slipping rope often means the knot is not secure or the wood surface is too smooth. Weak knots can come undone under the weight of the sign, risking damage or injury. Wood damage, such as splitting or cracking, happens if you drill holes that are too close to the edge or use excessive force.
You can tell a rope attachment is failing if the sign shifts easily when touched, the rope slides through knots, or visible cracks appear near attachment points. These signs indicate a need for immediate correction to avoid losing or damaging your sign.
- Use knots designed for strength, like the bowline or double fisherman’s knot, to prevent slipping.
- Drill pilot holes slightly smaller than your screws or eye hooks to reduce wood splitting.
- Avoid placing holes too close (less than 1 inch) to the wood edge to maintain structural integrity.
- Apply sandpaper to smooth overly rough edges that might cut or fray the rope.
- Seal wood around holes with wood glue or varnish to strengthen the attachment area.
- Check knots and hardware twice a year as part of regular maintenance, especially for outdoor signs.
- Replace frayed rope at the first sign of wear to ensure safety and appearance.
To fix slipping rope, retie knots with more tension and check that the rope is dry and clean; dirty or damp rope slips more easily. Strengthening knots with a backup knot also helps secure the main attachment. If the wood splits near the hole, remove the hardware and plug the hole with a wooden dowel glued in place. After drying, drill a new hole at least half an inch away and reattach.
Improving durability involves choosing the proper rope thickness and material for your sign’s weight and environment. For example, nylon rope resists weather better than cotton but can be slippery. Thicker ropes (around 1/4 to 3/8 inch diameter) provide better support and grip. Tightening knots firmly but not over-tightening prevents rope damage and wood splitting. Using hardware like eye screws or hooks matched to the rope size distributes force evenly, reducing wear over time.
Keeping your rope-attached sign safe and long-lasting requires periodic inspections. Look for signs of rope degradation such as fading or fraying and wood aging like discoloration or cracks. Address issues promptly by tightening knots, replacing worn ropes, or reinforcing attachment points with new hardware. Taking these steps helps maintain your wood sign’s charm and function for years.
8. Best Practices for Hanging and Maintaining Rope-Attached Signs
Signs meant for promotional or retail purposes should hang between 4 and 5 feet off the ground to catch eye level easily. Decorative wood signs placed in entryways or hallways can be hung slightly higher, around 5.5 to 6 feet, to clear obstacles and maintain a clean sightline. Avoid hanging signs too low where they can be bumped or touched frequently. Also, keep your rope-attached sign’s weight under 10 pounds or use wall anchors to prevent nails or hooks from pulling out under stress. Hang the sign so the rope forms about a 30-degree angle with the wall to ensure stability and prevent excess strain on the attachment points.
Weather exposure presents challenges for both rope and wood. To protect the rope, choose synthetic blends, such as nylon or polyester, which resist rot and UV damage better than natural fibers like jute. For the wood sign, use a water-resistant sealant or outdoor-grade varnish designed for wood furniture to prevent warping, cracking, and fading. Apply two or three coats, letting each dry fully according to product instructions. Keep your signs out of direct, harsh sun or heavy rain when possible, or bring them indoors during extreme weather. Attaching a plastic sleeve or clear acrylic cover over the sign can offer extra protection without hiding the wood grain or rope texture.
- Check hanging location for clearance and avoid high-traffic contact zones
- Confirm wall anchors or heavy-duty hooks are rated for sign weight
- Maintain a 30-degree rope angle for even weight distribution
- Apply weatherproof coatings annually in spring or fall
- Inspect ropes monthly for fraying, stiffness, or softness
- Replace rope every 1 to 2 years, sooner in harsh climates
- Wipe wood clean with a damp cloth every 3 months to remove dirt
Regular inspections ensure your sign stays secure and attractive. Look for frayed rope strands, discoloration, or softness that indicate weakening fibers. The wood should remain solid and free from mold or soft spots. Re-tension or tighten knots if sagging occurs. Plan a maintenance schedule keyed to seasonal changes: deep clean and reseal wood annually while performing lighter rope and sign checks monthly. Expect replacement of rope every year or two depending on weather exposure and material quality. Gathering materials for upkeep usually costs under $20 per season, mostly for sealant or replacement rope lengths.
Always test the hanging hardware’s strength by gently pulling on the sign before finalizing placement to avoid accidents or damage.
Step-by-Step Action Plan
Follow these steps to securely attach rope to your wood sign and hang it safely while adding a nice look.
- Before you start: Select a rope that’s durable and matches your sign’s style, and choose a wood type that won’t easily split or crack when you drill or tie knots.
- Day 1: Drill pilot holes or attach eye hooks in balanced positions on your sign. Test that each hardware piece feels firmly set by gently pulling on it.
- Day 1: Thread your rope through the hardware or wrap it around the sign according to your chosen knot method. Secure knots tightly and trim excess rope, leaving a small tail.
- Day 2: Hang the sign on your desired wall or outdoor spot. Make sure the sign sits level and the rope holds steady under pressure.
- Week 1: Inspect knots and hardware. Tighten any loose knots and check for signs of rope fraying or wood damage. Replace any damaged rope immediately.
- After 1 month: Apply outdoor sealant on the rope and wood if the sign is exposed to weather, to extend its life and prevent fading or rot.
Frequently Asked Questions
What Is the Easiest Way to Attach Rope to a Wood Sign?
Using a staple gun is the quickest and simplest method to attach rope securely to a wood sign, especially for beginners. It holds the rope firmly and speeds up the process without needing advanced tools or skills.
Can I Use Hot Glue to Attach Rope to a Wood Sign?
Yes, hot glue works well for smaller projects or temporary displays as it bonds quickly and is easy to apply. However, it might not hold up for heavier signs or long-term use, so consider other methods for durability.
How Do Rope Cleats Help in Hanging Wood Signs?
Rope cleats offer a decorative way to attach rope and allow easy adjustment of the hanging length. They add style and functionality, especially if you want to change the sign’s height without retying knots.
Are Screw Eyes Strong Enough to Hang Heavy Wood Signs?
Screw eyes provide a secure attachment point for rope and can support heavier signs if installed correctly into solid wood. Choose the right size and screw them deeply for the best holding power.
Can Ribbon Be Used Instead of Rope to Hang Wood Signs?
Ribbon can be used and adds a decorative touch, but it may not be as strong as rope. It works well for lighter signs or indoor displays where aesthetics matter more than durability.
Why Is It Important to Measure and Position Rope Carefully on Wood Signs?
Accurate measurement ensures the sign hangs balanced and straight, preventing tilting or uneven weight distribution. Marking positions before attaching rope helps maintain professional and neat results.
Wrapping Up
Attaching rope to a wood sign takes thoughtful preparation and the right technique to keep it strong and attractive. Start by choosing compatible materials, then follow secure knotting and hardware steps to avoid issues. Hanging your sign properly ensures it stays balanced and safe. Try attaching rope this way on a small practice piece first to build your skill and confidence.