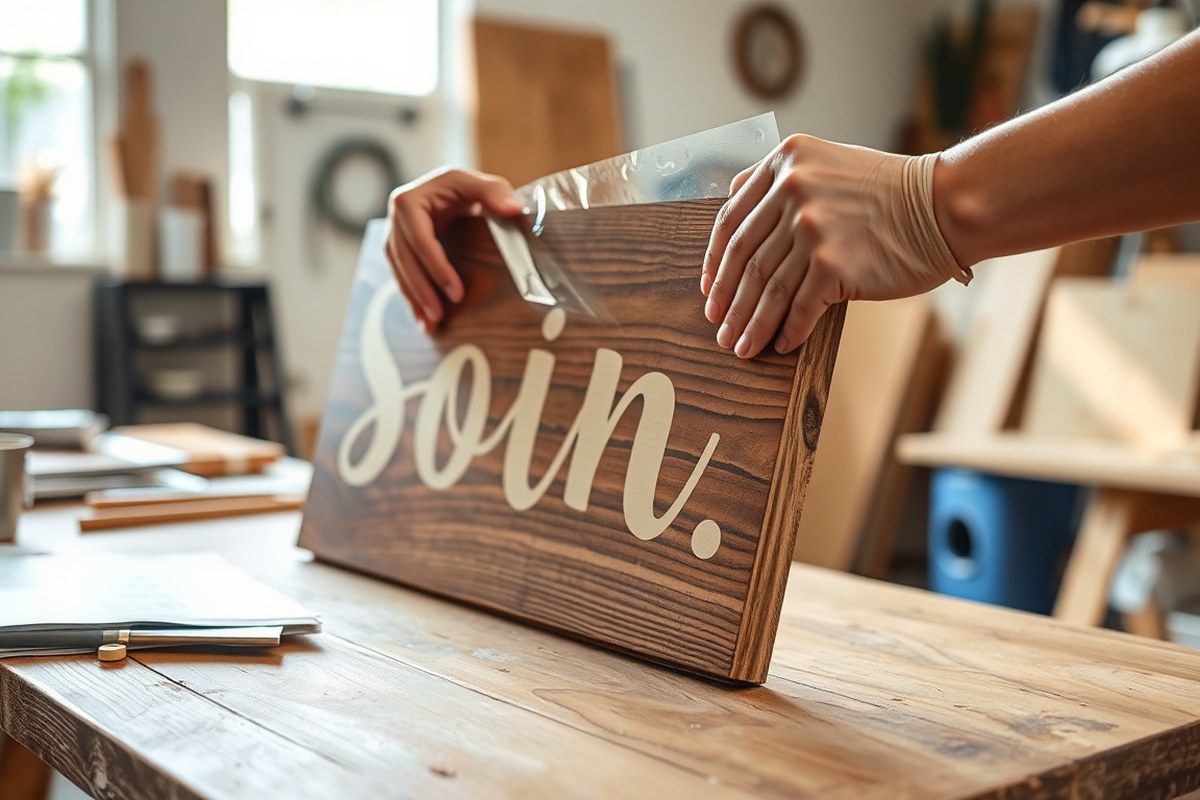
How to Make Signs with Vinyl and Stain: A Complete Step-by-Step Guide
How to make signs with vinyl and stain starts with choosing the right wood and allowing the stain to dry completely before applying the vinyl. Use permanent vinyl for the best durability, and press the vinyl at about 300°F for 10 to 20 seconds to achieve strong adhesion. Patience in drying times ensures your sign will last indoors or outdoors.
Key Takeaways
- Allow stained or painted wood to dry for at least 24 hours before applying vinyl for proper vinyl adhesion.
- Use permanent vinyl (like 651) instead of regular vinyl to prevent peeling and ensure long-lasting signs.
- Press vinyl onto wood at 300°F to 330°F for 10 to 20 seconds using a protective Teflon sheet or parchment paper.
- Wait 12 to 24 hours after sealing stained wood before applying vinyl to protect your design.
- Remove tape and vinyl stencils after paint dries at least 1 hour to avoid smudging or damage.
- Set your heat press or EasyPress carefully to recommended temperature and time based on vinyl type to avoid damage.
How to Make Signs Combining Vinyl and Stain on Wood
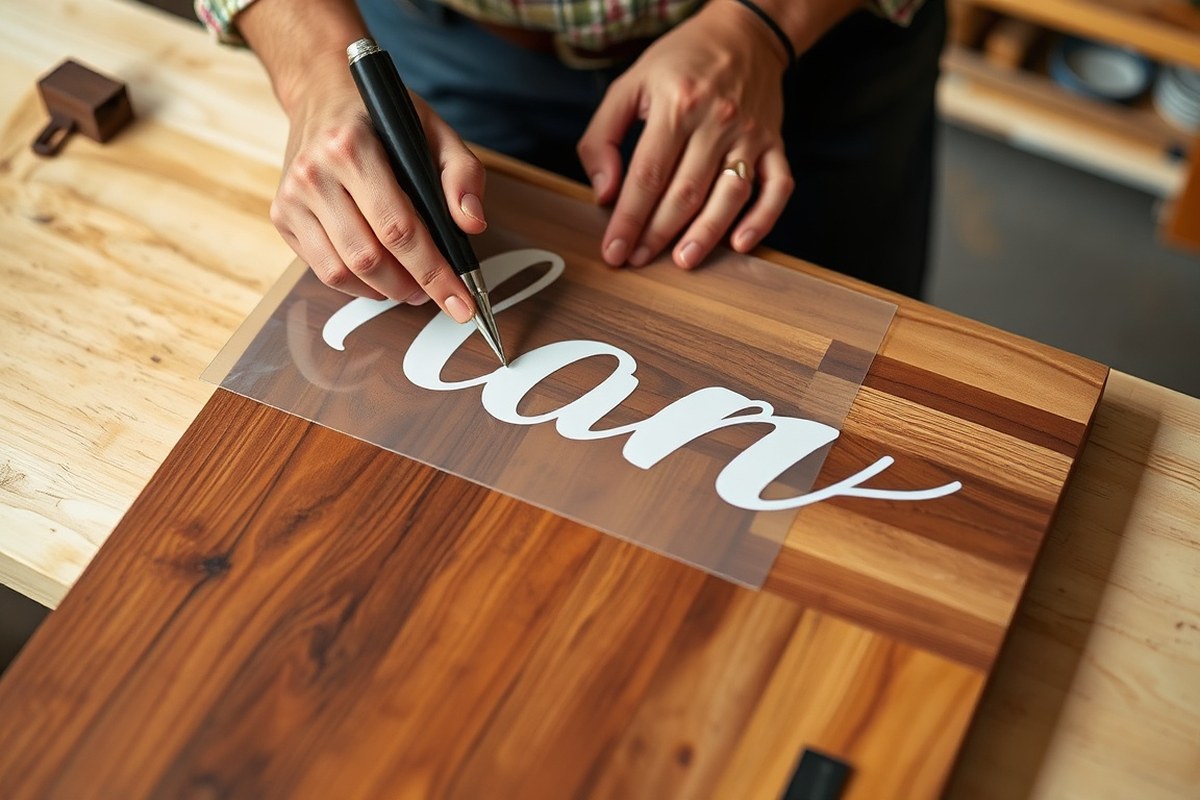
Making signs with vinyl and stain on wood involves several clear steps that combine these materials to create a professional-looking finish. The process begins with preparing a smooth wood surface, applying stain for color and texture, then layering vinyl for crisp, detailed designs. After the vinyl is securely applied, sealing the entire sign helps protect it from moisture and wear, especially for outdoor use. Patience during drying and curing times is essential for best results. Follow these key steps to create your stained wood sign with vinyl:
- Sand the wood surface thoroughly with fine-grit sandpaper (around 220 grit) to ensure it’s smooth. This step prevents uneven staining and helps vinyl adhere better. Clean off dust with a tack cloth.
- Apply the wood stain evenly using a brush or cloth, following the wood grain. Let the stain penetrate for 5 to 15 minutes depending on desired darkness, then wipe off excess. Allow it to dry for at least 24 hours in a warm, dry environment. Cold or humid conditions may require up to 48 hours.
- Prepare and cut your vinyl stencil or design using permanent adhesive vinyl, such as Oracal 651, which is designed for lasting outdoor use and bonds well to wood. Weed out excess vinyl and lay transfer tape on top.
- Apply vinyl to the stained wood by carefully positioning your transfer tape with the vinyl design on the dry stained surface. Press down firmly using a scraper or credit card tool to ensure full adhesion, especially into any wood grain or slight texture. Gently remove the transfer tape, leaving the vinyl in place.
- Seal the wooden sign only once the vinyl and stain are completely dry. Use a clear, outdoor-rated polyurethane or acrylic sealer sprayed or brushed gently over the entire sign. This protects the stain and vinyl from moisture, UV rays, and temperature changes. Allow the sealant to cure for 24 to 48 hours depending on the product instructions.
Drying and curing times are critical. Applying vinyl too soon on damp stain can cause peeling or bubbles. Not sealing can drastically reduce the sign’s lifespan, especially outdoors. Permanent vinyl offers durability but requires careful transfer to avoid wrinkles or gaps.
Typical costs for materials include wood blanks ($5 to $20), stain ($5 to $15 per quart), permanent vinyl sheets ($2 to $10 each), transfer tape ($5 to $10 per roll), and sealant ($8 to $20). You should expect to spend 2 to 3 days total for the full project to account for drying and curing without rushing steps.
Choosing and Preparing Wood for Vinyl and Stain Signs
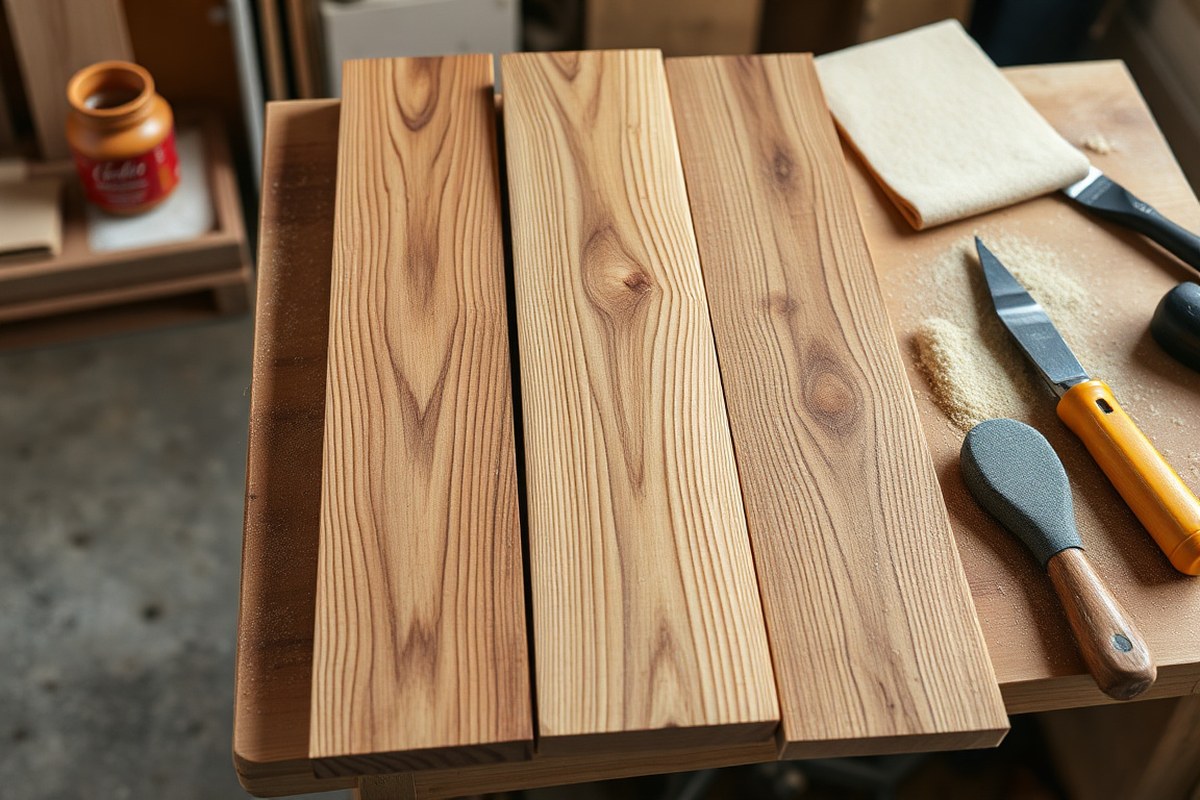
For creating wood signs with vinyl and stain, choosing the right type of wood significantly impacts the final look and durability. Softwoods like pine and cedar are popular because they absorb stain well and have a smooth grain that makes vinyl application easier. Hardwoods such as oak or maple offer a strong surface but may require more preparation to ensure the vinyl adheres properly. Look for wood that has a flat, smooth surface without knots or heavy grain patterns, since unevenness can cause bubbles or peeling in the vinyl.
Start by sanding and cleaning the wood to make sure the surface is just right for both stain and vinyl. Use 150-grit sandpaper or a finer grit to smooth the surface until it feels even. For wood that’s very rough, start with a coarser sandpaper and finish with 150 grit to create a consistent texture. This process clears away splinters, evens out pores, and smooths imperfections so the stain soaks in well and the vinyl sticks firmly. After sanding, wipe the wood with a damp cloth to get rid of dust, then let it dry fully before applying stain or vinyl.
Applying stain before vinyl is generally the best approach. Stain improve the wood’s natural grain and color, creating a vibrant background that shows through any cutouts or stencil areas on your sign. Once the stain is fully dry, typically 24 hours to avoid tackiness, you can apply the vinyl on top. Applying vinyl over wet or tacky stain can trap moisture and prevent proper adhesion, leading to peeling or bubbling later.
- Select softwoods like pine or cedar for easy staining and vinyl application
- Smooth the wood with 150-grit sandpaper until no roughness remains
- Clean off dust with a damp cloth and allow the wood to fully dry
- Apply stain first and let it cure for at least 24 hours before vinyl
- Use even, light coats of stain to prevent blotchiness
- Do a test on a scrap piece for stain color and vinyl adhesion
- Avoid wood with many knots or heavy grain to reduce surface bumps
Never apply vinyl directly to unfinished or unsealed wood, even stains that seem dry may trap moisture and cause adhesion problems over time.
After preparing the wood and staining, your surface should feel smooth with an even color. Smoothness ensures vinyl lays flat without wrinkles or bumps, and a clean, dry surface boosts vinyl adhesion. When the wood still seems rough or dusty after sanding, do some light sanding again and wipe it clean before continuing. Paying careful attention to these preparation steps makes the difference between a sign that looks professional and one that may peel, bubble, or fade prematurely.
Designing and Cutting Vinyl Stencils for Stained Wood Signs
Designing and cutting vinyl stencils for wood signs with machines like Cricut or Silhouette involves selecting and preparing your design in software, setting your machine to appropriate cutting parameters, and resizing the design to fit your wood panel perfectly. Precision in each step ensures clean edges and a stencil that adheres well, making your stained wood sign look professional. Good preparation avoids issues like vinyl lifting or misplaced designs.
Choosing the Right Design Software
The design software you use should be compatible with your cutting machine and support vector or SVG files for clean cuts. Cricut Design Space and Silhouette Studio are the most common choices. Both allow you to upload, edit, and arrange your design elements easily. You can also create text-based designs or import images, but aim for bold, simple shapes for easier weeding and a crisp stencil.
Use software features to convert text to outlines or paths to ensure the machine reads the shapes correctly. Avoid overly intricate lines that might tear during cutting or weeding. Both Cricut Design Space and Silhouette Studio let you preview the cut lines before sending the design, which helps catch any errors early.
Setting Machine Parameters for Wood Sign Vinyl
After your design is ready, adjust your vinyl cutting machine settings based on the vinyl type and thickness. For stencil vinyl used on wood signs, select the “Stencil Vinyl” or similar custom setting in your machine software. For Cricut machines, this means choosing “Custom” as the material and searching for “Stencil Vinyl” within Design Space.
These settings typically adjust blade pressure, cut speed, and blade depth to avoid cutting the backing paper fully. Check your blade condition and test cut on a scrap piece to prevent wasting vinyl. Cricut Maker 3, for example, handles permanent and stencil vinyl with preset options, reducing guesswork. Silhouette machines require a blade adjustment dial; set it to roughly 2 to 3 depending on your vinyl thickness.
Preparing Design Files and Resizing
Matching your stencil size to your wood sign requires accurate measurement and layout planning. Start by measuring your wood panel precisely, accounting for any edges or uneven surfaces. Create or resize your design in the software to fit within these dimensions, leaving small margins for easier vinyl application.
It’s good practice to add a solid square or rectangle cut line around your design. This acts as a guide and makes transferring the stencil easier. Use the software’s artboard or page size settings to match the cutting mat size (12″x12″ for most machines), then position your design centrally or off-center if your sign demands.
To resize designs with Cricut Design Space or Silhouette Studio, select all design elements and use the scale tool or enter exact dimensions manually. Keep proportions locked unless you want a stretched effect. Before cutting, preview your layout to ensure no part extends beyond the cutting mat limits.
- Open Cricut Design Space or Silhouette Studio and start a new project.
- Upload your chosen SVG or image file for the wood sign design.
- Use the software tools to adjust your design’s size to match your wood panel measurements (e.g., 11.75″ x 11.75″).
- Add a solid square cut line around the design as a registration mark.
- Choose stencil vinyl as your material in the machine settings, or select “Custom” and find the stencil option.
- Set blade pressure and depth according to your machine’s recommendation for vinyl stencils.
- Perform a test cut on a vinyl scrap to validate settings before the final cutting.
- Place your vinyl carefully on the cutting mat, then send your design to the cutting machine.
Applying Vinyl to Stained Wood: Best Practices and Techniques
Applying vinyl to stained wood requires careful preparation and technique to ensure the vinyl sticks well and the edges stay crisp. Using the right type of transfer tape and smoothing tools helps avoid bubbles and wrinkles. Properly weeding your vinyl ensures a clean design before application.
Selecting Transfer Tape for Stained Wood
Choosing the right transfer tape is important for a clean application on stained wood. A transfer tape with a grid pattern helps align the vinyl precisely, preventing crooked designs. For Oracal 631 vinyl, which is popular for indoor/outdoor wood signs, use a compatible transfer tape like Oratape HT55 designed to match its adhesive strength.
A slightly tacky transfer tape works best because it lifts the vinyl without pulling off the wood stain. Using transfer tape that’s too sticky might lift the stain or make the vinyl shift when you remove the tape. Cutting the transfer tape just a bit larger than your vinyl design gives you more control and support during positioning.
Applying and Smoothing Vinyl Decals
Proper application technique helps the vinyl lay flat with no bubbles or wrinkles. Before applying, weed the vinyl carefully by removing excess material to reveal your design. Weed slowly to avoid stretching or tearing the vinyl, especially on intricate shapes. Follow these steps to apply vinyl firmly and smoothly:
- Cut a piece of transfer tape slightly larger than the vinyl stencil or decal.
- Peel the backing sheet off the transfer tape and press the tape evenly onto the vinyl, using a scraping tool or squeegee to remove bubbles as you go.
- Slowly peel the vinyl’s carrier sheet away, making sure all parts stick to the transfer tape.
- Position the vinyl on the stained wood where you want it, aligning it using the grid lines on the transfer tape.
- Press down firmly with a squeegee or scraper tool, working from the center outward to push out air and ensure strong adhesion.
- Go over the vinyl again with the scraper, applying firm pressure to eliminate any bubbles that form.
Working at room temperature between 65°F and 80°F generally helps adhesive bond well. Avoid applying vinyl on dusty, oily, or rough stained wood, and make sure the stain is fully dry and cured for at least 24 hours to prevent lifting.
Removing Transfer Tape Without Disturbing Vinyl
Patience and technique prevent peeling vinyl off the wood when removing transfer tape. Peel the transfer tape back slowly and at a sharp angle close to the surface. This keeps the vinyl flat and reduces the chance of lifting edges.
Press the area firmly again with your squeegee and peel the tape away once more if any part of the vinyl lifts off with the transfer tape. After the transfer tape is fully off, run the scraper gently over the vinyl one more time to secure any edges or corners.
Sealing and Protecting Vinyl Signs on Stained Wood
Sealing your wood sign after applying vinyl and stain adds a protective layer that helps the sign endure outdoor conditions and everyday wear. The best sealer depends on your project’s final use, especially if the sign will be placed outside. Polyurethane, acrylic spray, and epoxy resin are common choices, each offering different durability and finish options.
Choosing the right sealer matters because some sealers can lift or peel permanent vinyl if applied incorrectly. Generally, applying the sealer over both the stained wood and the vinyl decal ensures even protection. Avoid letting sealer seep under the vinyl to maintain adhesion. Here is a comparison of common sealer types with their key features, including cost estimates and curing times:
| Sealer Type | Finish | Durability | Application | Drying & Curing Time | Cost Range |
|---|---|---|---|---|---|
| Polyurethane (water-based) | Clear, satin or gloss | Good for outdoor, resists moisture | Brush or foam applicator | Dry 2 hours between coats; full cure 24 hours | $8, $15 per quart |
| Acrylic Spray Sealer | Clear, matte or gloss | Moderate outdoor protection | Spray can | Dry 15 minutes between coats; cure 24 hours | $6, $12 per can |
| Epoxy Resin | Clear, thick gloss | High durability, waterproof | Pour or brush on | Touch dry 8, 12 hours; full cure 72 hours | $25, $50 per kit |
To apply sealer effectively, start by waiting 24 to 48 hours after placing your vinyl on the stained wood. This ensures vinyl adhesion and stain drying. Use a squeegee to press the vinyl firmly onto the surface before sealing. Then, apply your chosen sealer carefully to avoid lifting the vinyl edges.
- Prepare a clean working area and lightly dust off the sign.
- Apply the first coat of sealer using a brush (for polyurethane or epoxy) or light spray (for acrylic) in thin, even layers.
- Allow the first coat to dry according to the sealer’s instructions (usually 15 minutes to 2 hours).
- Apply 2 to 3 total coats to ensure sufficient protection, letting each coat dry before adding the next.
- Let the final coat cure fully for 24 hours indoors before handling or 48 hours before outdoor use.
Allowing full curing time prevents damaging the sign surface and ensures maximum protection. The longer drying also avoids clouding or softening of the vinyl decal. Signs not exposed to weather do not require sealing unless you want extra gloss or scratch resistance.
Apply sealer gently along vinyl edges to prevent moisture from getting under the decal, which can cause peeling over time.
Common Mistakes and How to Fix Them When Making Vinyl Stain Signs
Vinyl peeling off stained wood often happens because the stain is not fully dry or the wood surface is too rough or uneven. Stain needs at least 24 hours to dry completely before applying vinyl. If you apply vinyl too soon, the adhesive won’t bond well and edges may lift or peel. Also, lightly sanding the stained surface with fine-grit sandpaper (220 grit) can help create a smooth base for better vinyl adhesion without removing the stain layer.
Bubbles or wrinkles after vinyl application usually result from stretching the vinyl too much or trapping air underneath. To fix this, gently lift the vinyl from the edge nearest the bubbles. Use a plastic scraper or a credit card to smooth the vinyl back onto the wood, pushing out air pockets as you reapply. Applying the vinyl slowly and using a squeegee tool during initial placement can prevent bubbles from forming. For minor wrinkles, reheating the vinyl lightly with a hairdryer while smoothing can relax the material and allow it to settle flat.
Bleeding of stain colors onto vinyl is commonly caused by applying stain too thickly or not wiping it off soon enough. The longer stain sits, the more it soaks into the wood and risks bleeding under or onto the vinyl. Using a second thin coat of stain can make the color darker but may increase the chance of bleed-through. To avoid this, apply stain thinly and wipe quickly with a clean cloth to control the saturation. Testing a small patch before full application helps you see how your stain and vinyl interact.
- Vinyl peeling: Ensure stain dries 24+ hours and lightly sand surface before applying vinyl.
- Bubbles/wrinkles: Lift vinyl edge, smooth with a scraper, and avoid stretching vinyl during application.
- Color bleed: Apply stain thinly, wipe off excess quickly, and test on scrap wood first.
- Use a squeegee for smooth vinyl application, pressing from center outward to push out air.
- Reheat wrinkles gently with a hairdryer to relax vinyl fibers before smoothing.
Correcting peeling might require removing the vinyl completely, cleaning the wood surface to remove dust or oils, and then reapplying the vinyl after ensuring full dryness and surface smoothness. Resolving bubbles becomes easier if caught immediately after application but can still be handled with careful lifting and smoothing later. For bleed stains, sanding lightly after stain cures and re-staining in a thinner layer before vinyl application may solve ongoing problems.
Differences Between Vinyl Types for Wood Signs with Stain
Choosing the right vinyl for wood signs with stain depends on your project’s location, durability needs, and installation method. Permanent vinyl is the most common choice for wood because it sticks well without extra tools and comes with affordable transfer tape. Outdoor-rated permanent vinyl variants offer stronger weather resistance, ideal for signs exposed to sun, rain, or frost, especially when combined with an outdoor sealant. Removable vinyl doesn’t hold up long-term on wood and often peels off, so avoid it unless you want a temporary design. Heat transfer vinyl (HTV), often called iron-on vinyl, can work on wood, but only certain types do well and it requires a compatible heat press or iron, adding cost and technique.
| Vinyl Type | Adhesion Method | Durability (Wood Use) | Outdoor Suitability | Equipment Needed | Typical Cost | Best Use |
|---|---|---|---|---|---|---|
| Permanent Adhesive Vinyl (e.g., Oracal 651/751) | Stick-on with transfer tape | High, lasts years indoors, months outdoors without sealant | Good if outdoor-rated and sealed | No heat press needed | $1-$3 per sq ft | Long-lasting indoor/outdoor signs, easiest for beginners |
| Removable Vinyl | Stick-on with transfer tape | Low, peels off quickly on wood | Poor, not recommended | No heat press needed | Similar to permanent vinyl | Temporary or test designs on smooth surfaces, not wood |
| Outdoor-Rated Permanent Vinyl | Stick-on with transfer tape | Very high, can last years outdoors | Excellent when combined with sealant | No heat press needed | Usually higher, $3+ per sq ft | Outdoor wood signs exposed to weather |
| Heat Transfer Vinyl (HTV/Iron-On) | Heat press or iron application | Moderate, may crack or peel without proper sealing | Limited, weather exposure shortens life | Heat press or iron (up to 320°F) | $2-$4 per sq ft plus equipment | Decorative indoor projects or layering effects on wood |
Permanent vinyl is a solid starting place because it requires no heat press and is easier to apply with simple transfer tape. If you want your sign to last outside, choose outdoor-rated permanent vinyl and seal your stained wood with an outdoor-grade clear coat. This combination protects your vinyl and wood from weather damage. Avoid removable vinyl on wood since stained wood’s texture doesn’t hold removable adhesives well, leading to early peeling.
Heat transfer vinyl works on wood but demands a heat press or iron at about 320°F (160°C) to activate the adhesive. You’ll need to be careful applying heat evenly and protect your wood surface from scorching. HTV gives you layering options and different textures, but its outdoor durability is limited, and it takes extra equipment and practice to avoid poor adhesion or vinyl cracking. Use heat transfer vinyl mainly for indoor wood signs or experimental designs.
For beginners making stained wood signs, permanent adhesive vinyl with transfer tape offers the best ease and results. Outdoor-rated variants are your choice if weather resistance is needed. Use removable vinyl only for quick, short-term projects on smooth, non-wood surfaces. Heat transfer vinyl suits crafters comfortable with heat application tools and who want textured or layered looks on wood indoors.
Finishing Touches: Framing, Touch-Ups, and Displaying Your Sign
Adding a frame to your wood sign improve its look and durability. Touching up imperfections in the vinyl or stain ensures your design is crisp and clean. Preparing the sign properly helps it hold up well when displayed or sold.
Selecting Lumber and Cutting Frame Pieces
Choose 1×2 lumber for framing that matches or complements your sign’s style. Pine or poplar are common choices since they are easy to cut and finish. The frame should cover the sign perimeter fully for a clean edge and added protection.
Start by measuring the width of your sign’s top and bottom edges, then add the thickness of your vertical frame pieces on both sides to find the length needed for the frame boards. For instance, a 42-inch wide sign with 3/4-inch side frame pieces requires top and bottom boards cut to 42 + 3/4 + 3/4 = 43 1/2 inches. Use a miter saw or hand saw to cut each piece accurately so the corners fit together cleanly.
Attaching the Frame Securely
Once your stain and vinyl are dry and fully cured, usually 24 hours, attach the frame pieces using wood glue and nails for a sturdy hold. The frame adds stability and prevents damage to the edges of your sign. You can optionally stain or paint frame pieces before attaching them.
- Arrange the frame pieces around the sign’s edges to check fit.
- Apply wood glue along the back edge of each frame piece.
- Press the frame onto the sign evenly to ensure full contact.
- Use a brad nailer or hammer and finishing nails to secure the frame, spacing nails every 6 to 8 inches.
- Wipe away excess glue immediately with a damp cloth.
- Clamp the frame if needed to hold it tight while drying.
- Allow glue to dry fully, at least 1 to 2 hours before handling.
Use small finishing nails and countersink them slightly to avoid damaging the frame surface.
Fixing Minor Vinyl or Stain Imperfections
After removing the vinyl stencil, inspect your sign carefully. Small paint or stain bleeds, uneven edges, or leftover vinyl residue can distract from the design. You can spot-correct most flaws to improve the finished look.
For tiny paint bleeds or edges, use a small detail brush and matching stain or paint to carefully touch up areas. Make sure to work in thin layers and build up coverage if needed. Gently remove any leftover vinyl using a craft knife or soft cloth with rubbing alcohol, but test a small spot first to avoid damage.
Once touch-ups dry completely, consider adding one last clear protective coat to seal the repairs and provide durability. This helps protect your sign from moisture and wear during display or shipping.
Avoid over-applying touch-up paint; multiple thin coats blend better than one heavy coat.
Step-by-Step Action Plan for Creating Vinyl and Stain Wood Signs
Follow these clear steps to create your own custom vinyl and stained wood sign that looks professional and lasts.
- Day 1: Choose and prepare your wood. Select a smooth, untreated hardwood or plywood and sand it thoroughly until smooth. A well-prepped surface shows clean stain and helps vinyl stick properly.
- Day 2: Design and cut your vinyl stencil. Use craft software to create your design, then cut it on a vinyl cutter. Test adhesion by applying a small scrap vinyl to your stained wood sample.
- Day 3: Apply the stain evenly. Apply your chosen wood stain using a brush or rag, following the grain. Let it dry fully, usually 24 hours, to avoid smudging when adding vinyl.
- Day 4: Apply the vinyl stencil to the stained surface. Carefully position and press the vinyl down, smoothing with a scraper tool. Check edges for bubbles or lifting and press down firmly.
- Day 5: Apply a clear sealer over the entire sign. Use a water-based polyurethane spray or brush-on sealer to protect both stain and vinyl. Allow 24 hours drying between coats if applying multiple layers.
- Day 6: Inspect and do final touch-ups. Remove any vinyl lifting, touch up small stain spots with a brush, and sand lightly if needed before resealing.
- After 1 week: Display your sign. Mount or hang your sign indoors or in a covered outdoor area to protect it from harsh weather, extending its life.
Frequently Asked Questions
What Kind of Vinyl Should I Use for Outdoor Wood Signs?
Permanent vinyl like Oracal 751 is best for outdoor signs because it resists peeling and handles uneven surfaces well. It lasts longer than regular vinyl, making it ideal for weather exposure and bumpy wood.
How Long Should I Wait to Apply Vinyl After Staining Wood?
Wait at least 24 hours after staining or painting before applying vinyl. In cold or humid conditions, drying might take longer to ensure proper adhesion and prevent bubbling or peeling.
Can I Reuse Vinyl Stencils on Multiple Wood Signs?
You can reuse vinyl stencils if handled carefully and stored properly. Cleaning them gently and keeping them flat will extend their life, but repeated use may reduce stickiness and accuracy.
What Is the Best Way to Seal Vinyl on a Stained Wood Sign?
Use a clear, brush-on sealant after the stain and vinyl are fully dry. This protects the vinyl and wood from moisture and wear, extending the sign’s durability, especially for outdoor display.
Can I Use Heat Transfer Vinyl Instead of Adhesive Vinyl for Wood Signs?
Adhesive vinyl is generally better for wood signs than heat transfer vinyl because it sticks directly to the wood surface. Heat transfer vinyl works best on fabrics, so adhesive vinyl gives cleaner results on wood.
How Do I Fix Peeling Vinyl on a Finished Wood Sign?
Gently lift the peeling edge, reapply adhesive if possible, and press down firmly. Applying a clear sealant over the vinyl after repairs can help prevent future peeling and protect the sign’s surface.
Wrapping Up
Using vinyl and stain together on wood lets you make unique, eye-catching signs that stand up to wear when done right. Start by picking your wood and preparing it carefully, then move through each step with patience, especially drying and sealing. Once you’ve finished your first sign, try experimenting with different fonts, stains, and sealers to find your perfect style and technique.