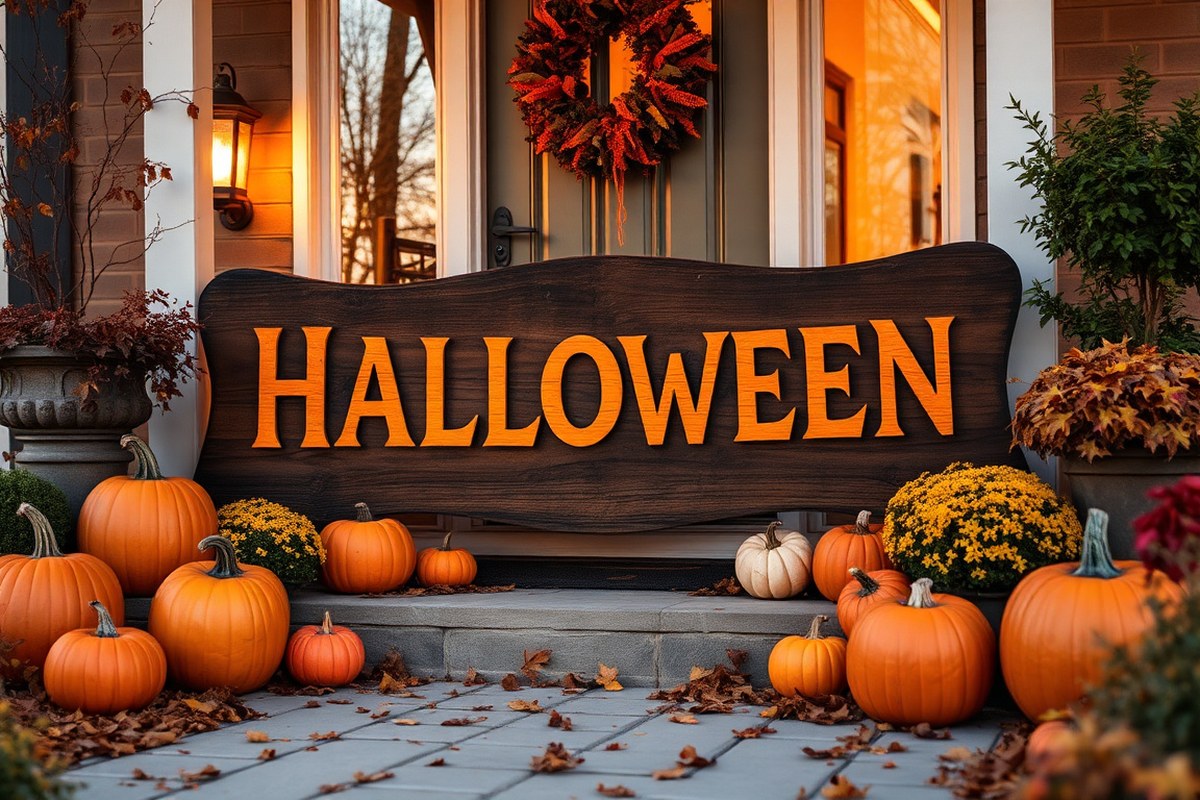
Halloween Sign Ideas: Creative DIY Projects and Durable Decor for Any Space
Halloween sign ideas offer a simple way to add festive charm without spending a fortune. Craft your own using wooden boards, paint, and rope to create striking decorations that fit any space. Starting with a clear theme helps you select colors and materials that set the right spooky or cozy tone.
Key Takeaways
- Use three wooden boards sized 15.7 by 7.87 inches for signs that reach a visible 47.2 inches tall.
- Paint wood planks with craft paint and let dry for 10 to 20 minutes for smooth, lasting color.
- Look for specific SVG files like “Halloween Sign SVG” to find focused design templates faster.
- Free printable signs include 18 designs in one PDF, fitting standard 8.5×11 inch paper for easy printing.
- Upgrade larger yard signs using 11×17 inch prints or professional blow-ups for crisp, clean artwork.
- Durable wood signs of about 47 inches tall fit well hanging by a door or leaning on a porch wall.
Popular Themes and Styles for Halloween Signs
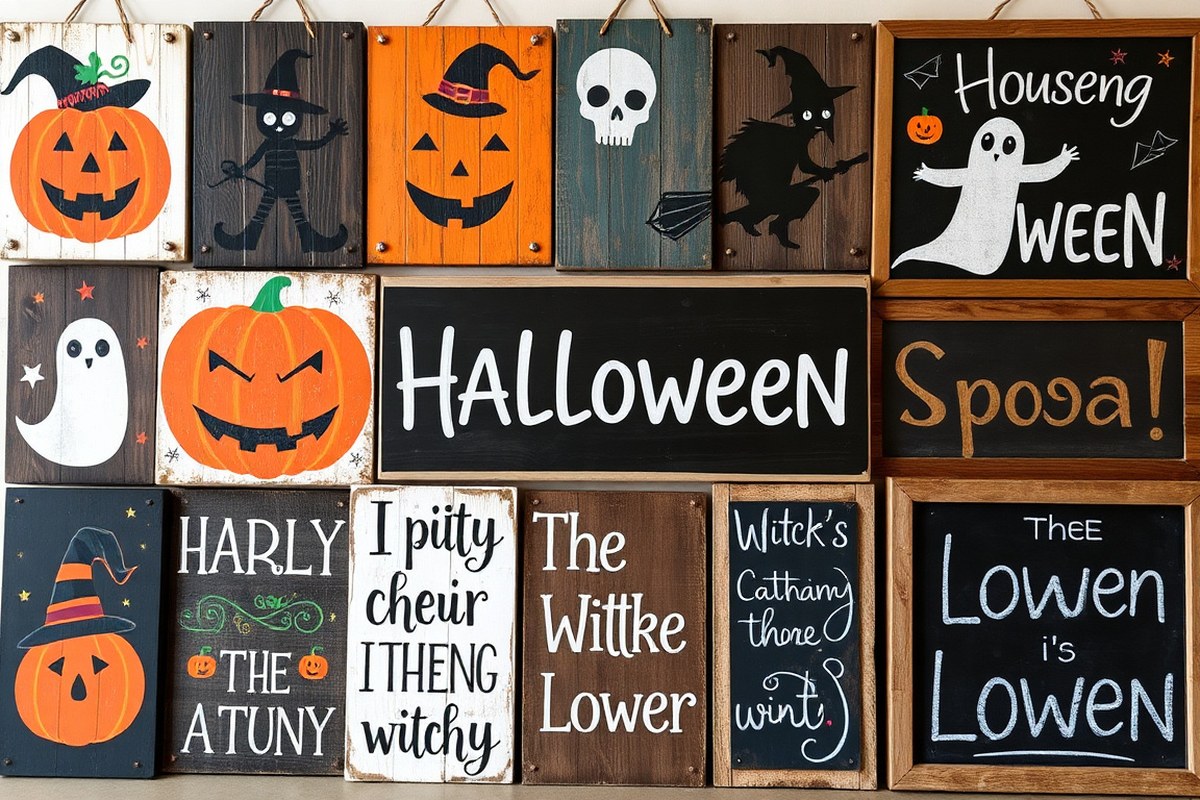
Popular Halloween sign themes blend traditional spookiness with playful charm, shaping a festive atmosphere for both indoor and outdoor spaces. Classic designs often feature imagery like pumpkins, black cats, ghosts, witches, and skulls, which instantly convey the Halloween spirit. These visuals pair well with straightforward phrases such as “Trick or Treat,” “Beware,” or “Happy Halloween.” For a humorous touch, sayings like “Boo to You,” “Dead & Breakfast Inn,” or “Friendly Spirits Welcome” add personality, making signs suitable for porch displays or party areas.
Outdoor signs benefit from bold, durable designs that can withstand fall weather. Using weather-resistant wood paired with painted or vinyl lettering keeps signs readable through October’s cool, often damp conditions. Layered elements like stacked Jack-o’-lantern faces or puff paint accents create depth, helping signs catch the eye on your yard or porch. Places that receive sunlight early help glow-in-the-dark paint charge properly, improving nighttime visibility without extra lighting. Simple rectangular or arrow-shaped signs are common for yard stakes or mailbox posts, adding directional charm or welcoming messages.
Indoor Halloween signs may lean into playful or cute themes to keep a warm ambiance. Using lighter materials like paper silhouettes or wreath-style signs with Halloween motifs works well. Fun, short phrases such as “Witch Better Have Candy” or “Spooky Vibes Only” can brighten entries, living rooms, or kitchen counters. Signs that cleverly switch themes from Halloween to Thanksgiving, like ones with reversible panels or removable elements, maximize seasonal décor without clutter.
Effective Halloween sign designs also consider size and font choice based on placement. Large, bold lettering increases readability for outdoor displays where viewers may be several feet away, while smaller, delicate fonts suit indoor spaces where people can get closer. To keep costs reasonable, you can create signs from inexpensive wood or sturdy cardboard, customizing with vinyl decals or weatherproof paints that range from $10 to $25 per project depending on size.
Integrating well-known sayings supports the Halloween vibe and engages visitors quickly. Phrases like “Candy Zone,” “Enter if You Dare,” or “Boo Crew” work well for outdoor hallway or porch signs. Indoors, signs with “Eat, Drink, and Be Scary” or “Creep it Real” add to holiday gatherings. Selecting a phrase that matches your overall décor theme, scary, funny, or family-friendly, ensures your Halloween sign feels intentional and contributes to your home’s festive look.
Essential Materials and Tools for DIY Halloween Signs
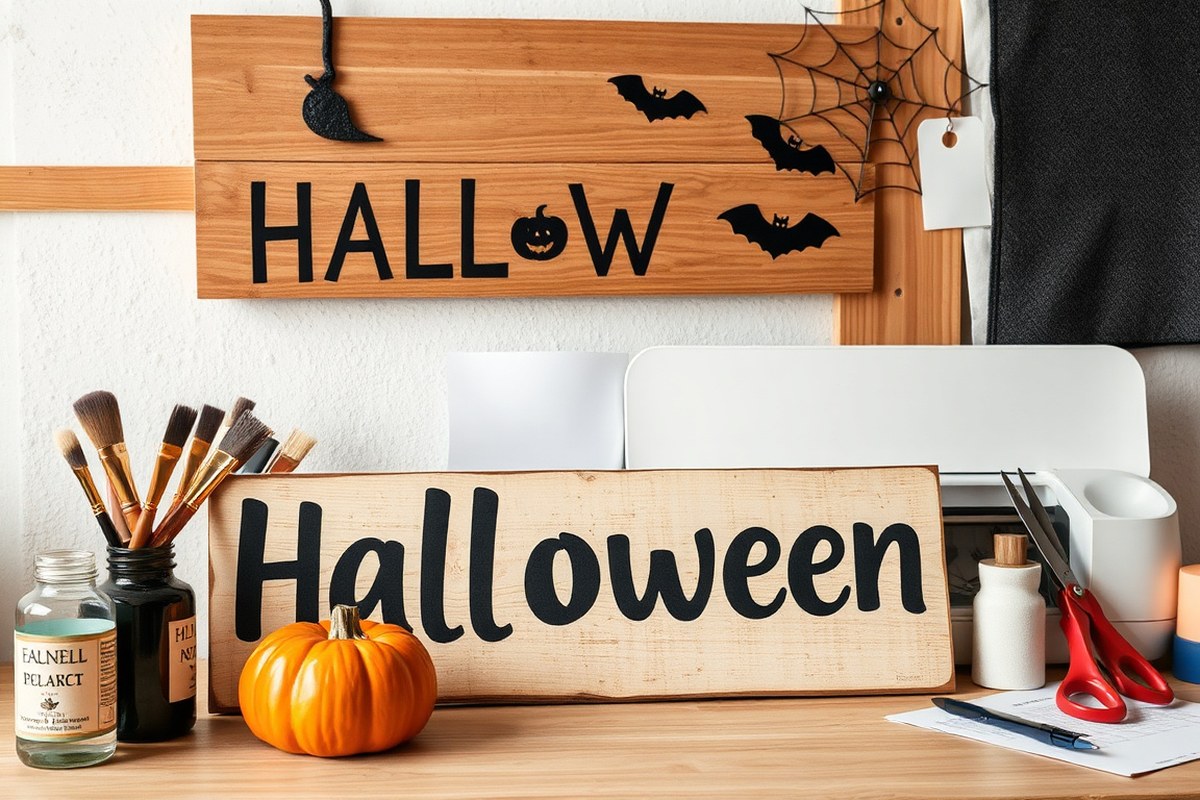
Choosing the right materials and tools for DIY Halloween signs depends on whether your sign will be indoors or outdoors, as well as the style and size you want. Wood and canvas work well for larger, durable signs, especially outdoors when sealed properly, while vinyl and paper are ideal for detailed designs and indoor use. Having the correct tools will make cutting, painting, and assembling your signs easier and will help ensure they last through the Halloween season.
Wood and Canvas Materials
Wood is a popular choice for outdoor Halloween signs because it’s sturdy and can be treated to withstand weather changes. Use weather-resistant wood such as treated plywood or scrap wood, which can often be sourced inexpensively. These pieces make great bases for painting messages like “BOO” or themed phrases such as “Dead & Breakfast.” Apply outdoor paint and finish with a clear sealant to protect your paint from moisture and fading. Canvas is better suited for indoor signs or covered porch areas since it’s not as weatherproof, but it offers a nice texture for spooky effects when paired with acrylic paint and stencils.
For a rustic or vintage look, stain wood with layers of charcoal and white to create a weathered effect before painting. Canvas signs should be stretched on a frame to remain taut and painted with acrylics that dry quickly. Consider sizes that fit your space: smaller wooden signs can be about 12″ x 18″, while porch signs might be 24″ or larger.
Vinyl and Printable Paper Supplies
Vinyl is especially useful for sharp, crisp lettering and detailed Halloween designs. Use waterproof outdoor vinyl for porch or yard signs to resist weather damage. You can cut vinyl with machines like the Cricut, allowing precise placement on wood, canvas, or acrylic sign bases. For indoor signs, printable paper or cardstock works well, especially with free SVG or printable Halloween designs. Print on thick paper for durability, then mount your designs on foam board or cardboard for a more solid sign. To handle vinyl and paper signs, consider the following materials:
- Waterproof adhesive vinyl sheets for outdoor use
- Printable cardstock or photo paper for interior signs
- Transfer tape to help place vinyl graphics cleanly
- Clear laminate sheets to protect printed paper from spills
- Foam board or cardboard backing to add stability
These supplies let you create detailed tricks or treats signs, personalized messages, or festive candy bowl labels with clean lines and vivid colors.
Essential Tools and Equipment
A few basic tools cover most Halloween sign projects. A handsaw or jigsaw will help you cut wood to the desired shapes. Sandpaper smooths rough edges before painting, while paintbrushes or foam brushes apply outdoor or acrylic paint evenly. A Cricut or similar cutting machine greatly simplifies cutting vinyl and detailed paper stencils. Other helpful items include transfer paper or tape to move vinyl pieces, wood glue or nails for assembly, and a clear spray sealant for weatherproofing wooden signs. Here’s a practical checklist of tools to gather:
- Jigsaw or handsaw for cutting wood
- Sandpaper (medium to fine grit)
- Paintbrushes and foam brushes
- Cricut machine or craft knife for vinyl and paper cutting
- Transfer tape for vinyl application
- Wood glue, nails, or screws for assembly
- Clear outdoor sealant spray or varnish
Make sure to wear a mask when sanding painted wood to avoid inhaling dust, especially on old or treated wood.
For indoor signs, you can often skip heavy tools and simply use scissors, glue, and paint or markers. A crafting mat protects surfaces when cutting vinyl or paper. Investing in these tools improves precision and durability for your Halloween décor.
Step-by-Step Guide to Making Your Own Halloween Sign
Making your own Halloween sign involves selecting a base material, preparing it properly, applying your chosen lettering and designs, then finishing it with decorations and a protective coat. Depending on the complexity, such as a simple painted sign or one with a stencil and multiple colors, expect the project to take from a couple of hours to a full afternoon. With careful preparation and attention to detail, your sign will stand out as a festive centerpiece for your Halloween décor.
Preparing and Priming Your Base
Choosing the base affects both the look and durability of your sign. Wood offers a classic, handcrafted appearance but may need sanding and sealing. MDF or pallet boards provide smooth surfaces good for detailed painting but can absorb moisture if untreated. Start by sanding the surface to remove rough spots or splinters. For outdoor signs, use a waterproof primer to protect from moisture and to create an ideal painting surface.
Apply one or two coats of primer, allowing each coat to dry for at least 30 minutes. For a classic Halloween background, an off-white or black base works well and sets the stage for bright or dark lettering. Drying time between coats ensures the paint adheres properly and prevents bubbling or peeling later.
Applying Lettering and Designs
Lettering can be added using freehand painting, stencils, or a cutting machine like a Cricut. Stencils cut from vinyl provide crisp edges and repeatable shapes, making this step easier for beginners. Prepare your design before you start by printing and cutting the stencil if you’re using one. Follow these steps to apply the lettering and designs:
- Lay the stencil flat on the primed surface and secure it with painter’s tape to prevent shifting.
- Use a sponge or stencil brush to dab white or black craft paint carefully inside the stencil cutouts. Avoid too much paint at once to prevent bleeding.
- Remove the stencil immediately after painting to reveal sharp letters or shapes.
- Let the paint dry for 1 to 2 hours before adding any additional details like outlines, shadows, or small Halloween icons such as bats or pumpkins.
For bright, cheerful signs like a Candy Corn Welcome, block paint in orange, yellow, and white sections before adding lettering for a colorful effect. For a rustic look, leave some wood grain visible beneath your paint.
Adding Decorative and Protective Finishes
Finish your Halloween sign by adding decorative touches and protecting your work. Small accents like silver trays painted with chalkboard paint can add interactive elements, such as a countdown to Halloween. Use festive lights or stiff wire shapes to frame your sign for extra flair.
Seal your sign with a clear outdoor polyurethane spray or brush-on sealant if the sign will be outside. This step is important for prolonging the life of your decorations, especially in wet or cold weather.
Allow sealant to dry fully, typically 24 hours, before placing your sign outdoors or handling it frequently. Regular touch-ups of the sealant can extend the life of your Halloween décor across several seasons.
Free Printable and SVG Halloween Sign Resources
Many trusted sites provide free Halloween sign templates and SVG files, catering to various DIY experience levels and craft types. Searching with precise keywords like “Halloween Sign SVG” or “Fall Front Porch Sign SVG” narrows the results, avoiding the more than 400,000 irrelevant files a general search like “Halloween” brings up. Well-known platforms such as Cricut Design Space feature Halloween-themed SVG files, some free and some for purchase, which are compatible with cutting machines.
Using SVG files with cutting machines like Cricut is straightforward once you have the right file. After downloading, open Cricut Design Space and select “Upload” to add your SVG. You can resize the image by selecting it and using the top menu to set exact dimensions, making your sign fit perfectly on a 12”x24” cutting mat or smaller sizes. This flexibility lets you customize your sign’s size, which typically prints or cuts anywhere from 8 inches to 24 inches wide depending on your project space, like a porch or indoor wall.
Several websites offer free Halloween printables without requiring an email, such as free PDFs containing multiple signs for indoor or outdoor use. These printable signs are quick to use, just download, print, and frame or mount on wood for a rustic look. Watercolor spider web designs and spooky wall art are common, adding festive flair without any cutting machine needed. This approach is budget-friendly and works well for last-minute decorating.
When Cricut’s selection doesn’t match your desired style, alternative marketplaces offer distinctive SVG files that can customize your painted wood signs or vinyl decals. For example, Etsy hosts many individual sellers offering Halloween sign files for purchase, often at a low cost under $10. Buying from these sources supports artists and broadens your style options beyond free downloads.
Quality results depend on selecting the right file format and following software guidelines. Problems may arise if files aren’t in SVG or compatible formats, or if the image resolution is too low for printable signs, causing blur or pixelation. When cutting vinyl or wood, incorrectly sized designs can waste materials or ruin the sign’s proportions. Always preview and adjust size before cutting or printing.
Some popular free packs include around 18 different Halloween signs in one PDF, giving variety for different spaces, like a porch welcome sign or a candy station marker for trick-or-treaters. For fast printable art or detailed cut files designed for Cricut-made wood signs, these resources simplify the process of adding a unique touch to your Halloween décor.
Choosing Weatherproof Materials for Outdoor Halloween Signs
Choosing the right materials and protective treatments is essential for Halloween signs that will be displayed outdoors. Durable wood, weather-resistant composite materials, and plastics all offer good bases that hold up against moisture, wind, and temperature changes common in fall. Applying weather-resistant paint and sealants further extends your sign’s life by protecting colors and details from fading, peeling, or warping. The table below compares popular materials and treatments for outdoor Halloween signs, highlighting their strengths, weaknesses, and best-use cases.
| Material | Durability | Treatment Needed | Best Use | Estimated Cost |
|---|---|---|---|---|
| Durable Wood (e.g., cedar, redwood) | High | Waterproof sealant; weather-resistant paint | Traditional, rustic signs that can be reused | $10-$30 per board foot |
| Weather-Resistant Composite (PVC, HDPE) | Very High | Usually no sealant needed; UV-resistant paint | Smooth finish signs, modern look | $15-$40 per sheet |
| Durable Plastic (Acrylic, Polycarbonate) | High | Weather-resistant paint or vinyl decals | Colorful, bright signs, suitable for light fixtures | $10-$25 per sheet |
| Metal (Aluminum) | Very High | Rust-proof coating, outdoor paint | Long-lasting, professional outdoor signs | $20-$50 per sheet |
After selecting the base material, apply a clear, waterproof outdoor sealant on wooden signs to block moisture and prevent warping or rotting. For composites and plastic, use paints labeled for exterior use with UV protection to maintain vibrant colors despite sun exposure and rain. Signs frequently exposed to rain or harsh wind benefit from multiple sealant layers spaced out over at least 24 hours drying time. Attach your sign securely with sturdy hooks, nails, or zip ties to prevent wind damage.
Test your sealant and paint on a small scrap piece before applying the final coat to avoid ruining your sign with incompatible materials.
Keep your Halloween signs in a spot shielded from direct exposure to the elements when possible, such as under a porch overhang. This thoughtful placement increases visibility and prolongs durability, helping your outdoor decorations stay festive throughout the season. Properly treated and supported signs cost more upfront but can be reused for several falls, making them a cost-effective choice over time.
Creative DIY Halloween Sign Ideas for Different Spaces
Customizing Halloween signs for different spaces means choosing the right size, style, and message to suit where they’ll live. Signs on porches and entryways should be welcoming but bold enough to catch attention, while yard signs can be larger and themed for outdoor viewing. Indoor and party area signs usually focus on creating atmosphere with playful or spooky designs that fit the room size and theme.
Front Porch and Entryway Signs
Front porch signs work best when sized to fit the space without overcrowding. A sign about 12 to 18 inches wide and 18 to 24 inches tall suits most door areas. Choose friendly or spooky messages like “Skeleton Welcome” or “Candy Corn Welcome” to greet guests. Since porches are often covered, use painted wood or weather-resistant materials for durability.
Personalize porch signs by using colors that match your other décor. Black, orange, white, and purple stay traditional but consider adding metallic accents for a modern touch. Adding hooks or stakes makes placement easier, whether hanging from a door or standing near stairs. Layer signs with pumpkins and cobwebs for a complete look. Keep signs visible by trimming nearby plants and adjusting porch lighting.
Yard and Garden Display Ideas
Yard signs can be bigger since they’re viewed from farther away. Printing on 11×17-inch sheets and mounting on stakes or foam board creates eye-catching lawn markers. Choose themes like haunted cemetery signs or a witch parking spot that transform your lawn into a Halloween scene. Size signs 18×24 inches or larger for maximum visibility.
Outdoor signs should be weatherproof, using vinyl or sealed wood to resist rain and wind. Consider glow-in-the-dark paint or adding solar-powered lights for nighttime effects. Place signs near walkways or garden beds where guests naturally look, and create a path with multiple coordinated signs. Well-placed yard signs help guide visitors to your porch or party area while boosting curb appeal.
- Haunted garden cemetery stakes for spooky emphasis
- Witch parking signs to direct trick-or-treaters
- Large “Monster Mash Party” panels at driveway entrances
- Glow-in-the-dark ghost or bat displays for evening glow
- Multiple smaller signs spread along garden paths
- Weatherproof materials like painted wood or vinyl
Starting by cleaning plant areas and adding lights helps your lawn signs stand out. Combine signs with pumpkins and spider webs for layered visual interest.
Indoor and Party Decor Signs
Indoor Halloween signs focus on creating party ambience or seasonal accents on tables, walls, or near a fireplace. Smaller signs around 8 to 12 inches wide fit well on shelves or hang on walls. Messages like “Welcome Spooktacular Friends” or playful phrases raise the fun factor for gatherings.
Choose lightweight materials like foam board, canvas, or thin wood for easier hanging inside. Glow-in-the-dark paint or battery-operated fairy lights add extra effects suitable for indoor use. Coordinate colors and fonts with your party theme, like classic orange and black or neon green for a glowing look. Combining signs with themed table runners or centerpiece displays ties the room together.
Common DIY Halloween Sign Mistakes and How to Fix Them
One common mistake in DIY Halloween signs is poor lettering. Uneven, smudged, or hard-to-read fonts can make your sign look amateurish. To fix this, use stencils or vinyl letters for clean edges. Applying vinyl transfer slowly and carefully helps avoid bubbles and tears, giving your sign a professional appearance. Practice on scrap material first to improve your technique.
Weather damage often spoils outdoor signs fast. Rain, sun, and wind can cause paint to peel or wood to warp. Prevent this by choosing weatherproof materials, such as synthetic wood or sealed plywood, and use outdoor-rated paint or sealant. Applying a clear waterproof sealant after painting adds an extra protective layer. Keep signs under some cover or bring them indoors during extreme weather for longer life.
Poor placement is another error that stops your sign from getting noticed. Setting the sign too low or high can cause guests to miss it. Place your sign at eye level to catch attention quickly. Consider well-trafficked spots near your front door or walkway for best visibility. Common mistakes and fixes include:
- Using low-quality paint that fades: switch to outdoor-rated paint
- Skipping a weatherseal coat: add a polyurethane or acrylic sealant
- Messy lettering: use stencils or vinyl letters instead of freehand
- Poor vinyl transfer: apply slowly, smooth out bubbles carefully
- Wrong sign placement: place at eye level near entrances
- Ignoring sign weight: use lightweight materials for easy mounting
- Ignoring maintenance: clean and touch up paint each season
Maintaining your Halloween signs extends their lifespan and keeps them looking sharp. Wipe signs with a damp cloth to remove dirt and debris before repainting any faded spots. Store signs in a dry, cool area when not in use to minimize warping. Depending on your local climate, resealing might be necessary every one to two years. Keeping your signs in good condition means you can reuse them season after season, saving money compared to buying new ones.
Improving Halloween Signs with Lighting and 3D Effects
Adding lighting and three-dimensional effects to Halloween signs can transform simple decorations into eye-catching focal points for your Halloween setup. Using layers and varied materials creates depth and shadow, improving the spooky atmosphere. To incorporate lighting, consider string LED fairy lights or battery-operated mini spotlights along the edges or behind cut-out sections to create a glowing halo effect. Warm orange or purple LED lights complement Halloween color schemes well, while white lights work for ghostly or more graphic signs.
For 3D effects, layering materials like lightweight plywood, foam board, or corrugated plastic adds dimension. Start by cutting your sign base from plywood for durability, then add raised elements using foam board shapes adhered with outdoor-grade adhesive or small nails. Painted wooden bats, pumpkin cutouts, or lettering made from carved foam can pop out from the background. Cost-friendly foam is especially useful for intricate shapes since it is easy to cut and light, typically costing between $5 and $15 per sheet.
Another technique involves layering translucent materials like frosted acrylic or vellum over painted backgrounds to soften painted images and allow backlighting. Attaching LED strips behind frosted acrylic brings artwork to life through diffused light. Secure all wiring with waterproof cable clips when signs are outdoors, and opt for battery packs with automatic timers to simplify daily use. Battery packs usually cost around $10 to $20 and last 6 to 12 hours depending on usage.
Installation matters for both lighting and 3D components. Make sure raised pieces are firmly attached to avoid shifting in wind if used outside. Using weatherproof paint on foam or plywood layers protects colors and surfaces. Drill small drainage holes in foam layers to prevent water pooling. Keep electrical components sheltered from rain by installing signs under eaves or inside screens when possible.
Good results show in clear contrast where shadows highlight the layered aspects and lighting accentuates key features without overwhelming. Problems often arise from loose layers, exposed wiring in wet conditions, or signs that are too heavy for mounting surfaces. For an outdoor porch setup, mount your layered sign on a sturdy board and attach it to a stand or wall with heavy-duty hooks rated for at least 10 pounds.
Ensure all lighting components are rated for outdoor use and never leave battery-powered lights unattended for long periods to avoid fire hazards.
Quick-Start Action Plan for Your Halloween Sign Project
Get your Halloween sign ready with this straightforward plan. Follow these steps to create a festive decoration that suits your space.
- Day 1: Choose your theme and style. Pick a Halloween motif that fits your décor and personal taste, such as spooky, vintage, or whimsical, to guide your design decisions.
- Day 2: Gather your materials and tools. Collect weatherproof paints, wood or PVC boards, stencils, brushes, and lighting elements to ensure your sign looks great and lasts outdoors.
- Day 3: Download or sketch your design. Use free printable and SVG resources for inspiration or create your own outline; confirming the design fits your sign’s dimensions before you start painting.
- Day 4: Prepare the surface and paint. Sand and clean your board, apply a base coat, then add your design with durable, outdoor-grade paint, checking each layer dries evenly.
- Day 5: Add 3D elements and lighting. Attach raised features with glue or small nails, then install battery-operated or solar lights; test the lighting in a dark room to ensure it works as planned.
- Day 6: Seal and weatherproof your sign. Apply a waterproof sealant to protect your paint and decorations from rain and sun exposure; check for even coverage and smooth finish.
- Day 7: Install your sign. Mount it using sturdy hooks or stakes in your desired location; ensure it’s secure and visible from the street or your porch.
- After 2 weeks: Inspect and maintain. Check for any weather damage or fading; touch up paint and replace batteries in lights to keep your sign looking fresh throughout the season.
Frequently Asked Questions
What Are Some Unique Sayings to Put on a Halloween Sign?
Short, witty phrases like “Witch’s Brew Kitchen” or “Trick-or-Treat Candy Station” grab attention and add personality to your décor. Aim for sayings that are easy to read from a distance to make your sign stand out.
Can I Use Non-Traditional Materials to Make Halloween Signs?
Yes, materials like scrap wood or repurposed objects work well for rustic or quirky signs. Using what you have adds character and can lower costs while still delivering a festive look.
How Do I Make a Halloween Sign Kid-Friendly?
Choose bright colors and simple, fun messages that kids will enjoy, like “Candy Station.” Avoid sharp edges and small parts to keep it safe near children.
What Size Should a Halloween Porch Sign Be?
A medium size around 18 to 24 inches wide fits most porch spaces perfectly. It’s large enough to be visible but won’t overwhelm your entryway décor.
Is It Better to Hand Paint or Use Vinyl Lettering on Halloween Signs?
Vinyl lettering gives a clean, professional look and is easier for beginners. Hand painting adds a personal touch but takes more time and skill.
Can I Reuse Halloween Signs Year After Year?
Using weatherproof materials ensures your signs last multiple seasons outdoors. Store them properly in a dry place to prevent damage between Halloweens.
Final Thoughts
Creating your own Halloween sign brings a personal touch to your decorations and sets the festive mood for your home. Choose one step from today’s plan and start your project right now, whether that’s picking a design or gathering supplies. Your efforts will make your space memorable for neighbors and guests alike this fall.