How to Make Garden Signs: A Complete Guide with Materials, Designs & Tips
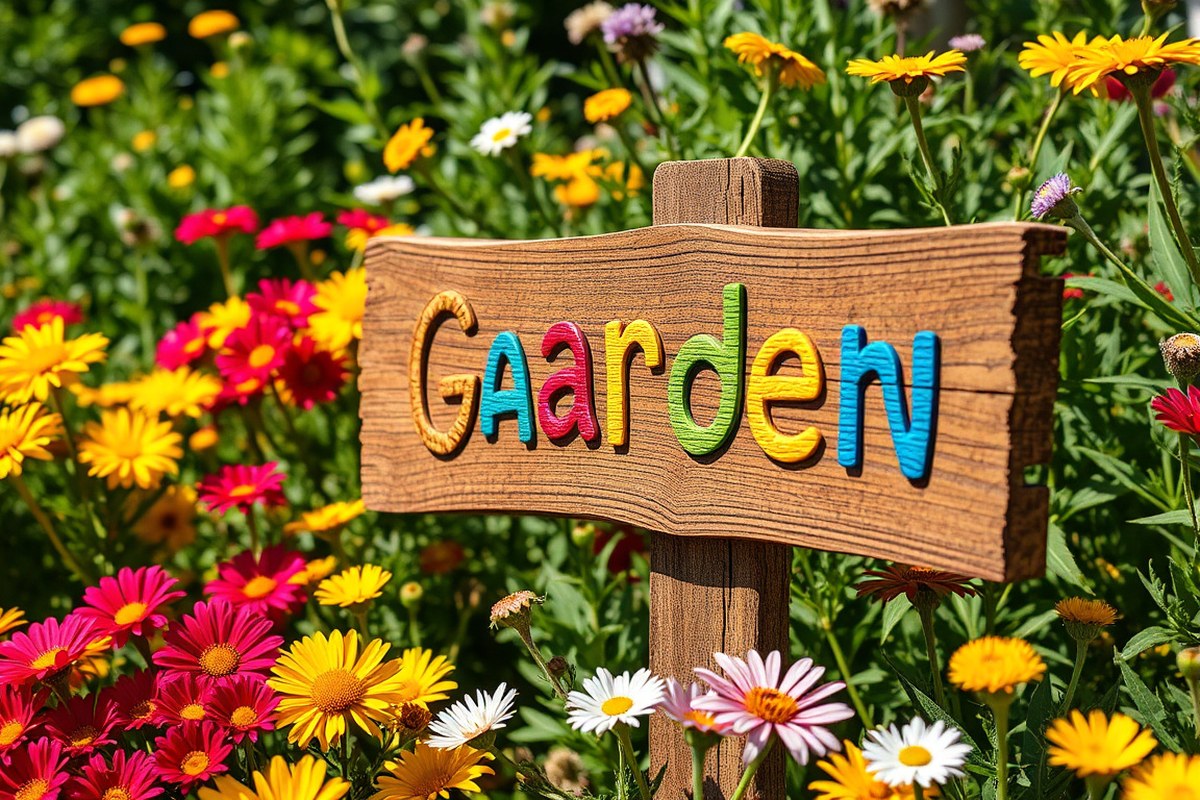
Learning how to make garden signs is a simple way to add charm and function to your outdoor space. Using weather-resistant materials like wood or smooth stones creates durable signs that withstand the elements. Starting with a clear design or message helps guide your material choice and crafting method for the best results.
Key Takeaways
- Choose weatherproof materials such as treated wood, metal, or sturdy stones for lasting garden signs.
- Use stencils and outdoor paint to create clear, professional-looking lettering and designs.
- Personalize your sign by adding plant names, welcoming messages, or unique garden quotes.
- Seal wooden or painted signs with waterproof sealant to protect against sun and rain damage.
- Position signs where they’re easily visible but won’t obstruct plant growth or garden paths.
- Keep garden markers simple and legible to identify plants before and after germination.
What Materials Are Best for Garden Signs?
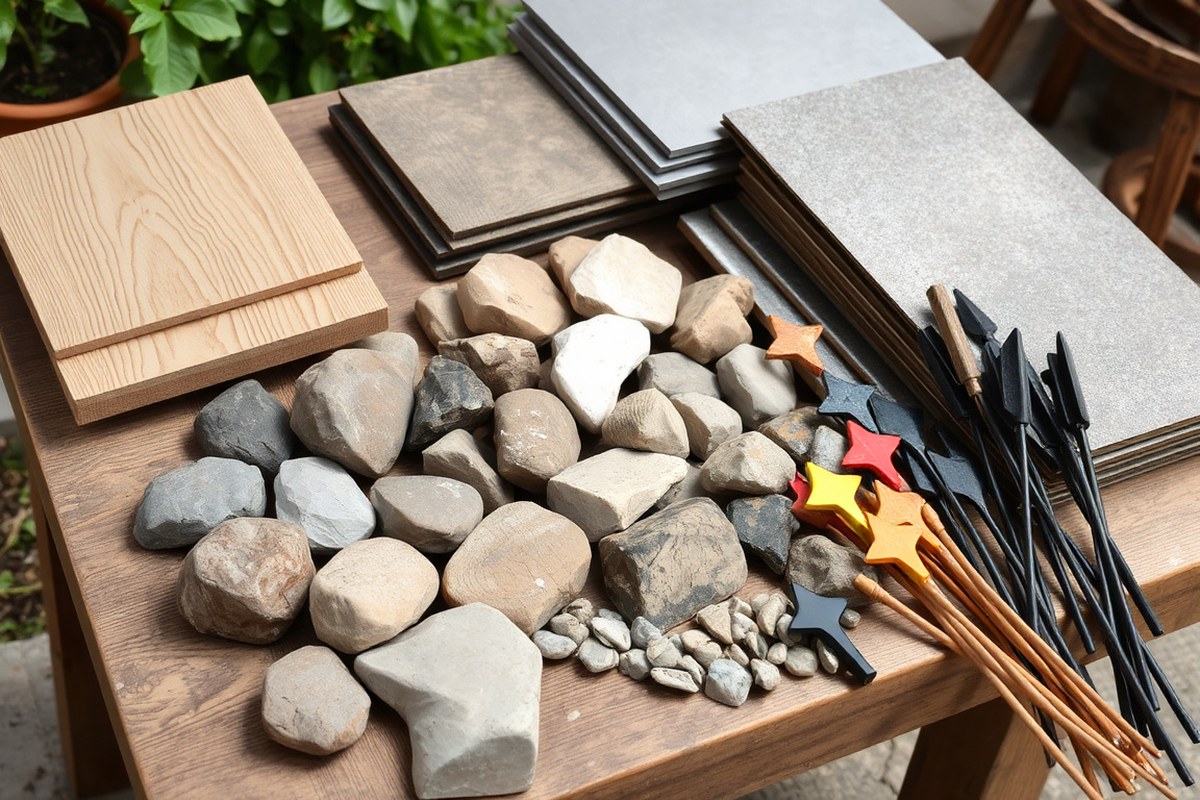
Choosing the right material for your garden signs depends on durability, cost, style, and environmental impact. Wood offers a natural look that blends well with most gardens and is easy to customize with paint or wood-burning tools. However, untreated wood can rot or fade within one to three years outdoors. Stone signs provide excellent durability and a classic feel but usually cost more and require heavier tools or professional help to carve or paint. Metal signs resist weather and last for many years but may rust or need a protective coating depending on the metal type.
Plastic signs, often made from PVC or acrylic, are lightweight and affordable. They can be easily printed or painted but may crack or fade in strong sunlight over time. For eco-conscious gardeners, recycled materials such as reclaimed wood, upcycled metal scraps, or painted rocks offer a creative, sustainable option that also adds unique character. Using recycled items like old wooden crates or painted metal buckets can save money and reduce waste while fitting various garden styles.
The following table compares common materials used for garden signs on key features. This should help you decide which suits your garden’s needs and your crafting skills.
| Material | Durability | Cost Range | Ease of Customization | Eco-Friendly Options |
|---|---|---|---|---|
| Wood | 1-3 years untreated; longer if sealed | $5 – $20 per sign | Easy to paint, carve, or stencil | Reclaimed or untreated wood |
| Stone | 10+ years, weather resistant | $20 – $50+ per sign | Harder; requires carving or painting | Natural material, long-lasting |
| Metal | 5-20 years, depends on metal | $10 – $40 per sign | Good for painting; some rust risk | Recycled metal possible |
| Plastic | 2-5 years, fades in sun | $3 – $15 per sign | Easy to print or paint | Recycled plastics available |
| Recycled Materials | Varies widely | Often free or low cost | Depends on material | High, reduces waste |
For a small vegetable patch or herb garden, lightweight wood or plastic might be easiest to work with and replace yearly. Larger flower gardens can benefit from sturdy stone or metal signs that withstand weather over many seasons. Upcycling old materials not only trims costs but also creates one-of-a-kind signs full of character. Always seal wood with an outdoor wood sealer or paint metal with rust-resistant coats to extend your sign’s life. Choose materials that fit your garden style and the tools you have on hand to get the best results.
How to Design and Personalize Your Garden Sign
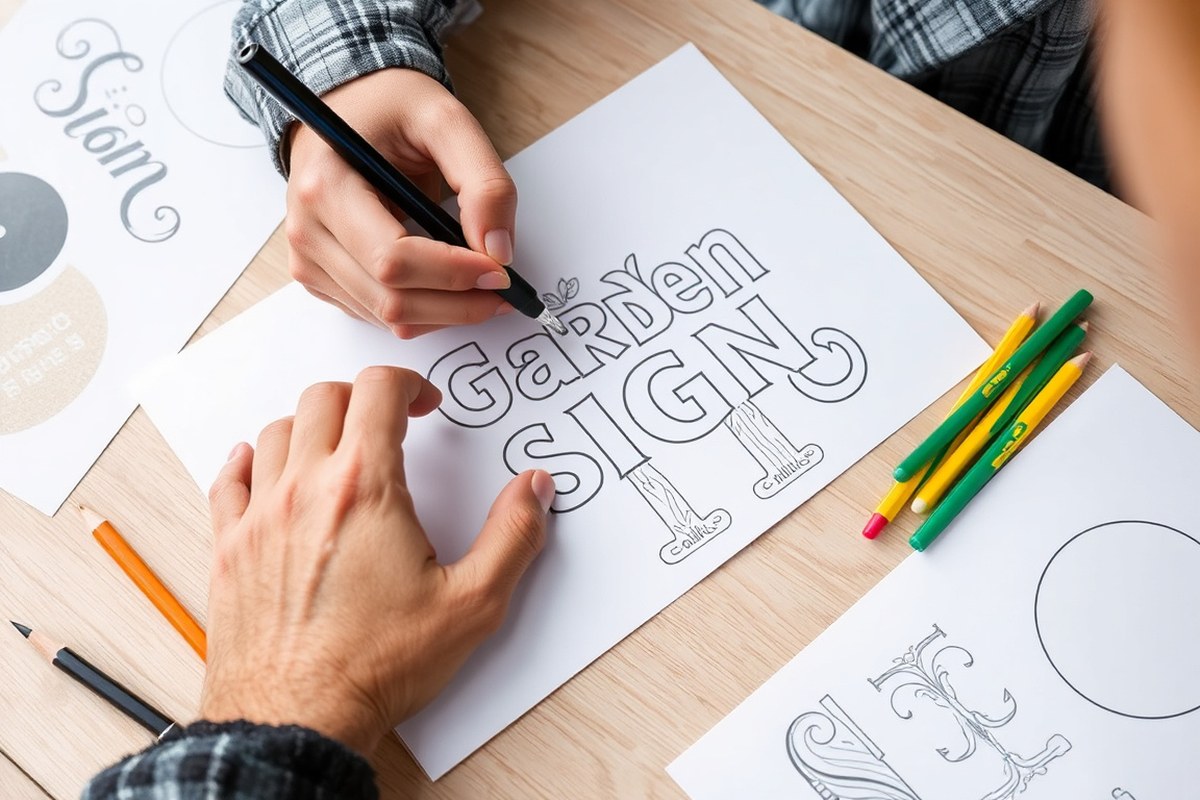
Designing and personalizing a garden sign means choosing the right style, lettering, and decorative elements that match your garden and your personality. Using simple tools like paint pens, stencils, and vinyl decals can help you add clear lettering and creative touches without needing artistic skills.
Choosing a Style and Theme
Start by thinking about your garden’s overall look. Do you prefer a rustic wood sign with a weathered finish, a bright and colorful piece, or something quirky like a painted rock or even a repurposed object such as an old shovel? Your sign’s style should complement your garden’s vibe and the plants you grow. For example, a vintage wood sign fits a cottage garden, while sleek metal signs may suit a modern vegetable garden.
Decide on the message or purpose of your sign too, welcome greetings, plant names, or witty quotes add personality. Consider whether you want the sign to blend in subtly or stand out as a focal point. Sketching a rough design on paper that includes your lettering and any decorations helps clarify your vision.
Techniques for Lettering and Painting
Adding lettering doesn’t require perfect handwriting or art skills. Start by lightly sketching your message with a pencil on the sign surface to get the placement right. This allows for easy adjustments before committing to paint.
Use paint pens or fine-tip acrylic paint brushes to apply your letters. Paint pens are beginner-friendly and offer good control. For a natural look on wood, try the dry brush technique: dip a brush lightly in paint, dab off the excess, and use quick, light strokes following the wood grain. Let your paint dry completely before any further decoration. Here’s a simple step-by-step method to add lettering:
- Clean the sign surface to remove dirt and dust.
- Sketch your letters lightly with a pencil, adjusting size and spacing.
- Choose paint pens or thin brushes and paint over the pencil letters carefully.
- Allow the paint to dry thoroughly, usually 30 minutes to an hour for acrylic paint.
- Add a second coat if needed for better coverage.
- Erase any remaining pencil marks gently once paint is dry.
- Seal your painted letters, especially for outdoor signs, with a clear waterproof coating.
Always test paint pens or markers on a scrap piece of your chosen material to check how they absorb and dry.
Using Stencils and Vinyl Decals
Stencils provide consistent, professional-looking letters and shapes without requiring freehand drawing. You can buy pre-made stencils with letters, shapes like flowers or vegetables, or even custom order vinyl stencils to cut your own designs.
To use stencils, place the stencil securely on your sign using painter’s tape. Paint inside the stencil openings with a sponge or brush, removing excess paint to avoid bleeding. Lift the stencil carefully to prevent smudges. Allow the paint to dry fully before reapplying the stencil for additional layers or colors.
Vinyl lettering decals are an alternative that sticks to the sign’s surface and can be removed or replaced easily. They come pre-cut and peel-and-stick, saving time and effort. Applying vinyl is simple: clean the surface, position the decal, press down firmly, and slowly peel off backing paper.
Adding Decorative Touches
Decorate your sign with small designs like leaves, flowers, or vegetables to tie it to your garden theme. Use acrylic paint to add hand-painted accents or apply embellishments like glued-on stones, buttons, or miniature garden tools for texture.
Another option is distressing the paint once dry by sanding edges lightly to expose the wood underneath, this adds a weathered, vintage look that suits rustic gardens. Attaching small hanging elements like wind chimes or dried flowers can make your sign more dynamic and charming.
For hanging signs, use hot glue or small hooks to add hanging wire or twine that matches the style. Make sure decorative additions are securely attached and weatherproofed to last outdoors.
Tips for Color Selection
Choose colors that contrast well to ensure your messages are readable from a distance. For wooden signs, natural shades like dark green, white, or black paint stand out against wood tones. Bright colors like red, yellow, or turquoise work well if you want your sign to pop.
Consider your garden’s color palette too, matching your sign’s colors to the flowers or plants nearby creates a cohesive look. Avoid too many bright colors that might clash or fade quickly. Use high-quality outdoor acrylic paints designed to withstand sun and rain.
Step-by-Step Guide to Making a Wooden Garden Sign
Making a wooden garden sign involves selecting the right wood, cutting it to size, smoothing the surface, painting or staining it, adding lettering, and sealing it for protection. Essential tools include a saw, sandpaper or sander, paintbrushes, and protective gear. The whole process typically takes a few hours spread over drying times between finishing steps.
Preparing and Cutting the Wood
Choose scrap wood or a smooth, untreated wood board about 1 inch thick for durability and ease of working. Pine, cedar, or redwood work well. Cut the wood to your desired size, commonly around 12 inches by 6 inches for a readable garden sign. Use a handsaw or a power saw for precise cuts, wearing safety goggles and gloves throughout.
Check the edges for splinters and uneven spots after cutting. Keeping the board lightweight but sturdy helps with installation later.
Sanding and Priming the Surface
Start with coarse sandpaper (around 80 grit) to remove rough patches and then switch to finer sandpaper (150 to 220 grit) to smooth the surface completely. Sanding helps the paint or stain adhere evenly and prevents rough textures that can cause splinters.
Wipe the board with a damp cloth to remove all dust before applying primer. Use a wood primer designed for outdoor use to help the paint stick and last longer in garden conditions. Let the primer dry according to the label instructions, usually 1 to 2 hours.
Applying Paint or Stain
Pick outdoor acrylic paint or exterior wood stain depending on the look you want. Paint offers vibrant color but may cover the wood grain. Stain highlights the natural texture but gives a more subtle effect. Use a foam brush or a soft cloth for stain application.
Apply your chosen finish in thin, even coats. For paint, 2 to 3 coats may be necessary for full coverage, with drying times of about 30 to 60 minutes between coats. For stain, apply one coat evenly, let it soak for 5 minutes, and wipe off excess for a classic weathered look. Always work in a well-ventilated space.
Adding Lettering and Decorations
Use stencils, vinyl cutouts, or freehand paint with fine brushes to add names, plant types, or decorative elements. To ensure clean lines, apply lettering when the paint or stain is dry but the surface is not too rough. Remove vinyl stencils carefully at a 45-degree angle while the paint is slightly tacky for crisp edges.
Practice your lettering on scrap wood or paper first to avoid errors. Multiple thin coats of paint for letters work better than one thick coat.
Sealing and Protecting the Sign
Protect your garden sign by applying a clear exterior polyurethane or a waterproof sealer after all paint and decorations are completely dry. This creates a barrier against moisture and UV damage.
Apply at least two thin coats of sealer with a clean brush, allowing 2 to 4 hours to dry between coats. Make sure you cover all edges, including the back and sides, to prevent water from seeping in. This step can extend the lifespan of your sign from one season to several years, depending on exposure.
- Cut the wood to size using a saw, wearing safety gear.
- Sand the board from coarse to fine grit and wipe clean.
- Apply a wood primer and let it dry thoroughly.
- Paint or stain the sign with thin, even coats, allowing drying time.
- Add lettering or decorations using stencils or paint.
- Seal the sign with a waterproof polyurethane, covering all surfaces.
Easy Methods for Beginner-Friendly Plant Markers
Simple garden markers can be made quickly using materials like rocks, old spoons, and sticks, which you may already have at home. These easy options let you label plants without spending much and add a personal touch to your garden. Upcycling household items saves money and can be a fun, last-minute project if you need markers fast.
Using Rocks as Plant Markers
Choose flat or slightly rounded rocks that won’t easily roll away. Smooth surfaces work best for painting or writing the plant names. Clean the rocks with soap and water, then let them dry completely before decorating.
Paint the plant name on the rock using acrylic paint or permanent markers for clear lettering. After the paint dries, spray a matte-finish clear coat to protect your design from rain and sun. This coating typically dries within 30 to 60 minutes and helps your markers last through seasons outdoors.
Repurposed Metal Spoons for Markers
Old metal spoons can become unique garden signs, especially for herbs and small plants. Place the spoon handle into the soil with the bowl facing up or sideways. Use a permanent marker or paint to write the plant name on the spoon’s bowl area.
For a rustic look, gently scrape off any rust and brighten the spoons before writing. For weather protection, cover the marked area with a layer of clear nail polish or spray sealant. This simple step keeps the writing legible in wet conditions and extends the life of the marker.
Stick Markers from Garden or Yard Cuttings
Find sturdy sticks or small branches about 6 to 8 inches long and 0.5 to 1 inch thick. Remove any loose bark and clean off dirt. You can write plant names directly on the smooth wood using waterproof markers or acrylic paint.
For better durability, seal the sticks with a clear outdoor varnish after the paint completely dries. Think of these as easy-to-make, rustic markers that work well for raised beds or container gardens. Having a drill allows you to poke holes in the sticks to tie on labels for extra customization.
Quick Painting Steps for DIY Plant Markers
Painting your markers follows a straightforward process. First, prep the surface by cleaning and drying it well to help paints adhere better. Next, sketch the plant name lightly with a pencil if needed.
Use acrylic paint or oil-based paint pens to write the labels. Let the paint dry at room temperature for at least 15 to 30 minutes between coats. Finish by applying a protective clear spray to shield colors from fading and weather damage.
Household Items You Can Upcycle as Markers
Many common household objects serve as excellent garden markers. Recycling these items costs little to nothing and cuts waste. Some creative options include:
- Wine corks with plant names written on the sides, placed on sticks or skewers
- Broken terracotta pot shards painted with plant labels
- Plastic spoon handles painted and stuck into the ground
- Wooden clothespins clipped to plant stems or small stakes
- Used popsicle sticks marked clearly and placed in soil
Whichever item you choose, make sure to use weatherproof materials for writing and a sealing layer to preserve your work. This approach keeps your garden organized without extra cost and puts everyday objects to good use.
How to Waterproof and Protect Outdoor Garden Signs
Waterproofing and protecting your garden signs is essential to keep them looking good and lasting through rain, sun, and temperature changes. The most common and effective way to protect wooden garden signs starts with using outdoor acrylic paint. This paint type resists moisture and fading better than regular indoor paint. After applying your design layers, let the paint dry completely, usually 24 hours, then lightly sand any rough spots or edges. This helps the surface stay smooth and reduces peeling later.
Once the paint is dry and smooth, apply a clear sealant to lock in the colors and add a waterproof barrier. A clear polyurethane or acrylic sealer designed for outdoor use works best. Spray or brush on two to three thin coats, allowing each coat to dry fully, typically 2 to 4 hours, before adding the next. Make sure to cover all edges and the back of the sign because water can enter through unsealed spots and cause damage. The sealant will protect the sign from moisture, UV rays, and temperature swings.
In areas with heavy sun exposure, choose a sealant that offers UV protection to prevent colors from fading quickly. Your garden sign exposed to frequent rain or snow benefits from a waterproof epoxy finish, which offers stronger protection but needs careful application and good ventilation because of strong fumes. Epoxy is more expensive, costing around $20 to $30 for small kits, but it creates a thick, hard coating that can extend the life of your sign by several years.
Weather affects garden signs by causing wood to swell, crack, or warp, and paint to peel. Cold winters with moisture and freeze-thaw cycles are toughest on signs. Applying your sealant during dry, mild weather, ideally between 50°F and 80°F, helps it cure properly. Avoid painting or sealing in direct sunlight or temperatures below 50°F because dry times and finish quality suffer. Touch up your paint or sealant every year or two to maintain full protection, focusing on any chips, cracks, or worn spots.
A solid approach is to start with outdoor acrylic paint for color, gently sand after drying, then apply several coats of an outdoor clear sealant with UV and waterproof features. For harsher climates or longer-lasting protection, consider a professional-grade epoxy finish but use it carefully. Monitoring your signs annually allows you to catch and fix damage early, keeping them vibrant and legible season after season.
Always apply sealant or paint in thin, even coats, letting each layer dry fully to prevent peeling or bubbling caused by trapped moisture.
Installing and Positioning Garden Signs Effectively
Place garden signs at eye level, generally about 3 to 4 feet above the ground, so they are easy to read without bending down or stretching up. Position signs where paths or seating areas guide people, such as near garden beds or along walkways, to maximize visibility. Avoid placing signs too close to plants that could grow and obscure them over time. Securing signs firmly into the ground helps them resist wind and weather; driving a sturdy stake or using a metal post with a soil anchor offers reliable support. For heavier wooden signs, pre-drilling holes and using galvanized screws can prevent splitting and rust.
Seasonal changes affect where to place your garden signs. In spring and early summer, position them where new growth will be highlighted. By late summer or fall, reposition signs to remain visible as plants mature or die back. Consider movable mounts like clip holders or removable stakes for flexibility. In colder climates that receive snow, raise signs above expected snow depth, usually 12 to 18 inches, to prevent burying. If signs stay in place over winter, check them after storms and re-secure if needed.
- Choose durable materials like treated wood, metal, or weather-resistant plastics for long-lasting signs
- Install sign stakes 6 to 12 inches deep for stability in most soil types
- Place signs away from dense foliage to avoid hidden or damp conditions that speed decay
- Use solar-powered lights or reflective paint for signs in shaded or low-light areas
- Clean signs with mild soap and water every few months to remove dirt and algae
Keeping garden signs clean and well-maintained preserves their appearance and function. Gently wipe off dirt and pollen with a soft, damp cloth every 6 to 8 weeks. Avoid harsh chemicals that could damage finishes. Reapply waterproofing sealants or varnish annually, particularly for wooden signs, to protect from rain and sun exposure. Inspect attachment points and stakes each season to tighten screws or reset loose posts. By following these steps, your garden signs will remain attractive and readable for several gardening cycles.
Common Mistakes When Making Garden Signs and How to Fix Them
One common mistake when making garden signs is using the wrong type of paint or finish, which can lead to quick fading or peeling. Outdoor signs face sun, rain, and temperature changes, so using exterior-grade acrylic paint and sealing with a waterproof clear coat can extend the life of your sign. Applying multiple thin coats rather than one thick coat helps avoid drips and uneven surfaces.
Another frequent error is poor lettering technique. Trying to paint fine details directly on rough wood without practice often results in uneven or hard-to-read text. Using stencils or applying vinyl decals can give cleaner lines and improve readability. Decals are especially useful if you want crisp lettering without investing a lot of time in painting.
- Choosing untreated wood without weatherproofing
- Skipping sanding or prepping surfaces before painting
- Using indoor paint instead of weather-resistant types
- Painting or writing without stencils or guides
- Not sealing the sign properly after decoration
- Placing signs where they don’t get enough sun or air circulation, leading to mold
- Ignoring fading or damage signs until they become unreadable
Refreshing faded or damaged signs starts with cleaning the surface gently using a soft brush and mild soap to remove dirt and mold. Next, remove loose paint by sanding lightly with fine-grit sandpaper. For wooden signs, spot-priming bare wood with an exterior primer before repainting prevents peeling and extends durability.
Deciding between painting directly and using decals depends on your priorities. Painting offers a handcrafted look and lets you customize freely, but it requires steady hands and more drying time. Decals provide clean details and faster application but can peel over time if not applied or sealed properly. For quick repairs, replacing decals costs about $5 to $15 each, while repainting may take a few hours plus materials totaling around $10 to $20 depending on paint and sealant brands. Follow these steps to fix an old wooden garden sign by repainting:
- Clean the sign thoroughly with soap and water; let dry completely.
- Lightly sand to remove loose paint and rough up the surface.
- Apply exterior primer to bare spots; let dry as directed (usually 1-2 hours).
- Paint your design or letters using outdoor acrylic paint; apply two thin coats with drying time between.
- Seal with 2, 3 coats of waterproof clear sealer, allowing drying time per product instructions (typically 12-24 hours).
This approach can restore an old sign’s appearance without full replacement and help it last another season or two. Always check local weatherproofing recommendations and product labels for best results.
Safety Tips and Essential Tools for DIY Garden Signs
Working with paints, sealants, and tools requires attention to safety to avoid injuries and health hazards. Always wear gloves and use a mask or respirator when painting or applying sealants to prevent skin irritation and inhaling fumes. Work outdoors or in a well-ventilated area, especially when using solvent-based products. Keep tools sharp and clean to reduce slipping or accidents, and store them safely when not in use. Use eye protection when sanding or cutting wood, as wood particles and debris can cause injury.
To make the process of creating garden signs easier and more efficient, gather some basic and optional tools. A handsaw or jigsaw is useful for cutting wood to size, especially if you are making custom shapes. Sandpaper or an electric sander smooths edges and surfaces, which helps paint adhere better and looks more professional. For painting, use brushes with synthetic bristles for acrylic paints or natural bristles for oil-based paints. A ruler or measuring tape and pencil help you plan your layout precisely. You might also want a stencil or vinyl letters for consistent lettering, along with painter’s tape to create straight lines or block off areas.
Beginners should start with these essential items: a piece of untreated wood or a pre-cut board, acrylic paint, a small set of brushes, sandpaper (100- to 220-grit works well), painter’s tape, and a pencil. The total cost can range from $15 to $40 depending on what you already own and the size of your project. Optional tools like a jigsaw typically cost $40 and up, while a small electric sander costs around $20-$50. Investing in these can save time and produce smoother, cleaner signs, but you can always use hand tools and basic materials for simple designs.
The key to safe, effective work is organizing your workspace and handling materials correctly. Keep your working surface stable and clear of distractions. Always read product labels for paint and sealants to ensure they are suitable for outdoor use, since indoor paints may not resist weather. Follow recommended drying times, usually 24 hours per coat, before sealing or installing your sign.
Wear safety glasses and a dust mask whenever sanding wood; inhaling fine dust can be harmful, and particles can damage your eyes.
Step-by-Step Action Plan for Making Your Garden Sign
Follow these clear steps to create a durable, personalised garden sign that suits your space and style.
- Before you start: Choose your material based on durability and look. Confirm it’s suitable for outdoor conditions by testing a small painted area for water resistance.
- Day 1: Sketch your design on paper, keeping letters and images clear and simple. Check legibility by holding the sketch at a distance.
- Day 2: Transfer your design onto the chosen wood or material using pencil or stencil. Ensure the lines are easy to see without smudging.
- Day 3: Paint or carve your design carefully, letting each layer dry before adding details. Inspect for even coverage and clear edges.
- Day 4: Apply at least two coats of waterproof sealant or outdoor varnish. Confirm dryness and even coverage by touch and appearance.
- Day 5: Attach mounting hardware securely, selecting screws or hooks suited to your sign’s weight and the installation surface. Test sturdiness by gently tugging on the hardware.
- Day 6: Install your sign where it’s visible but protected from harsh winds or direct sun to prolong its life. Step back to check if the sign is readable and nicely positioned.
- After 2 weeks: Inspect for damage or weathering. Touch up paint or sealant as needed to maintain longevity.
Frequently Asked Questions
How to Make Garden Signs?
Make garden signs by choosing durable materials, designing your message, and using paint or markers to personalize them. Seal the signs to protect them from weather.
What Are Some Creative Uses for Garden Signs Other Than Plant Labels?
Garden signs can welcome guests, mark garden sections, or add decorative charm to outdoor spaces.
Can I Use Recycled Materials for Making Garden Signs?
Yes, recycled wood, metal, or containers can add unique character while being eco-friendly.
How Long Do Waterproofed Garden Signs Typically Last Outdoors?
With proper sealing, garden signs can last several years but may need resealing annually.
What Are Good Tools for Beginners Making Garden Markers?
Simple tools like paintbrushes, stencils, and waterproof markers help create easy, appealing plant labels.
Can Garden Signs Improve Garden Organization and Maintenance?
Definitely, they help track seed rows and plant types, making garden care more efficient.
Final Thoughts
Making your own garden signs is a rewarding way to add charm and clear identification to your plant spaces. Starting with the right materials and a simple design leads to a lasting, weatherproof sign you can proudly display. Get your supplies today and begin crafting your personalized garden marker to brighten your outdoor space.