Diy Reverse Canvas Sign Step-By-Step Guide with Pro Tips and Techniques
A DIY reverse canvas sign is a creative home decor project where you flip an artist’s canvas inside out and reuse the wooden frame for a rustic look. It works by carefully removing the stapled canvas, customizing the fabric with paint or vinyl, then reattaching it to the original frame. Start by prepping your workspace and gathering basic tools like a staple remover and heat press for a smooth process.
Key Takeaways
- Use a staple remover or flathead screwdriver to gently detach the canvas without tearing it.
- Prep the canvas fabric by ironing or heat pressing 10, 15 seconds to remove moisture before applying vinyl or paint.
- Set your heat press to 270°F for applying heat transfer vinyl (HTV) to secure your design properly.
- Place staples about every 2, 3 inches along the canvas edges for a tight, neat reattachment.
- Repeat staining after the first coat dries 30 minutes to achieve a darker wood finish on the frame.
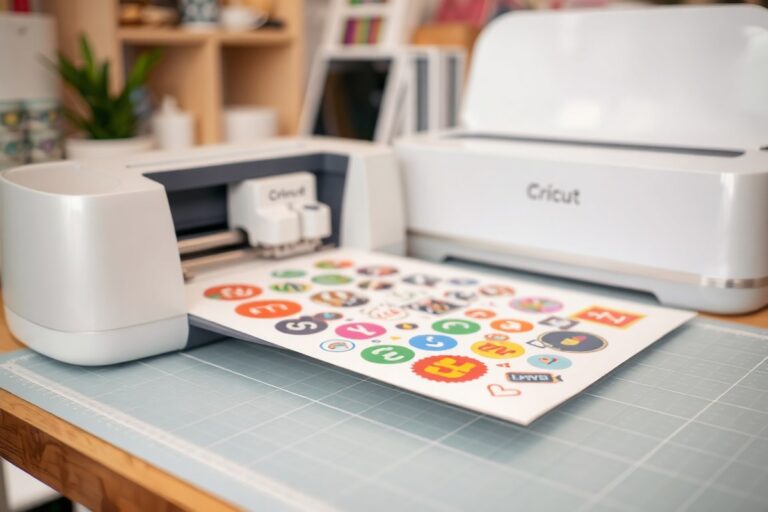
- Using a Cricut or Silhouette Cameo makes cutting vinyl designs easier but isn’t required.
What Is a DIY Reverse Canvas Sign and How Does It Work?
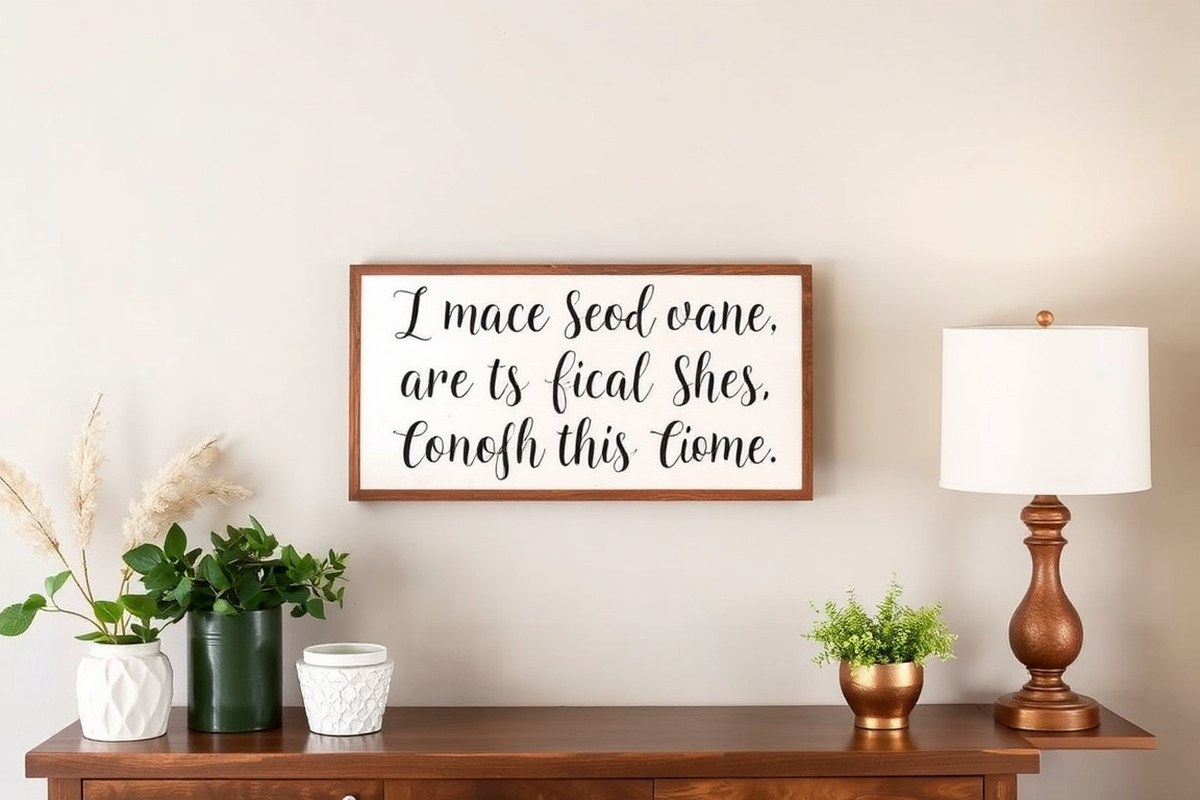
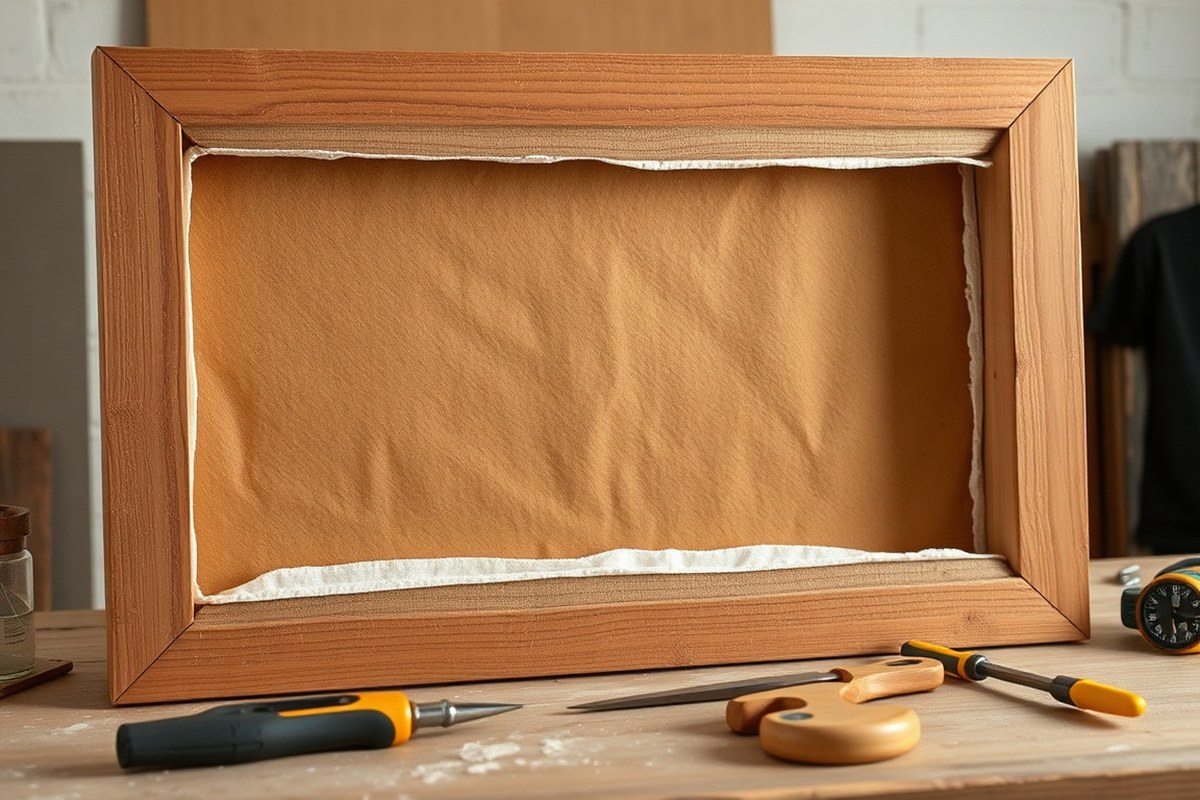
A DIY reverse canvas sign reuses a stretched artist’s canvas by taking it off its wooden frame and flipping it inside out onto the back side of the frame. Instead of painting or decorating the face of the canvas stretched over the frame, you create your design directly on the canvas material once it’s pulled tight on the frame’s back. This flip gives the project its name: the “reverse” canvas. It changes the usual canvas display by showing the raw wooden frame on the front, usually painted or stained, and featuring the canvas with your design recessed behind the edges of the frame.
The reverse canvas sign works by separating the canvas from the wooden stretcher bars that hold it taut. You carefully remove staples or tacks securing the canvas, then lay the frame down and flip the canvas over so that the backside faces outward. Once flipped, the canvas is pulled tight and stapled again, this time to the back of the frame, exposing the wooden edges around the front perimeter. This technique merges the warmth and texture of wood with the softness of canvas fabric, creating a unique frame-and-sign combination that has a craft store decor vibe often linked with farmhouse styles.
Materials used in this project include a basic artist’s canvas, which usually costs under $10, and the wooden stretcher frame that comes with it. The canvas material is typically cotton or linen primed for painting, but it also works well with vinyl decals, stenciling, or paint markers. Since the wood frame is now visible and framed around the canvas, you can paint or decorate the wood edges to complement or contrast with your design. This makes each sign customizable, whether you choose to paint the frame white, stain it dark, or use colors that fit your room decor.
The appeal of the reverse canvas sign lies in how it transforms inexpensive art supplies into a stylish home decor piece. You save money by repurposing the canvas and frame rather than buying a premade sign. The canvas provides a flexible surface for detailed lettering, graphics, or quotes created with vinyl or paint. The exposed wood frame adds dimension and sturdiness, making the sign easy to hang. Good results show canvas stretched smoothly without wrinkles, a clean frame finish without paint smudges, and a centered design that fits nicely inside the visible wood border.
Common issues arise if the canvas loosens or wrinkles after flipping, which means it wasn’t pulled taut enough before stapling. The frame can also warp if staples aren’t placed evenly or if the canvas is too tight in one area. The cost is mostly the price of the canvas itself since you reuse existing materials, keeping this project budget-friendly. This DIY method appeals to beginner and intermediate crafters because it requires minimal tools but offers a polished, personalized sign once complete. It works well with various sizes, though larger canvases might need extra steps to keep the canvas stable after flipping.
Supplies and Tools Needed for Making a Reverse Canvas Sign
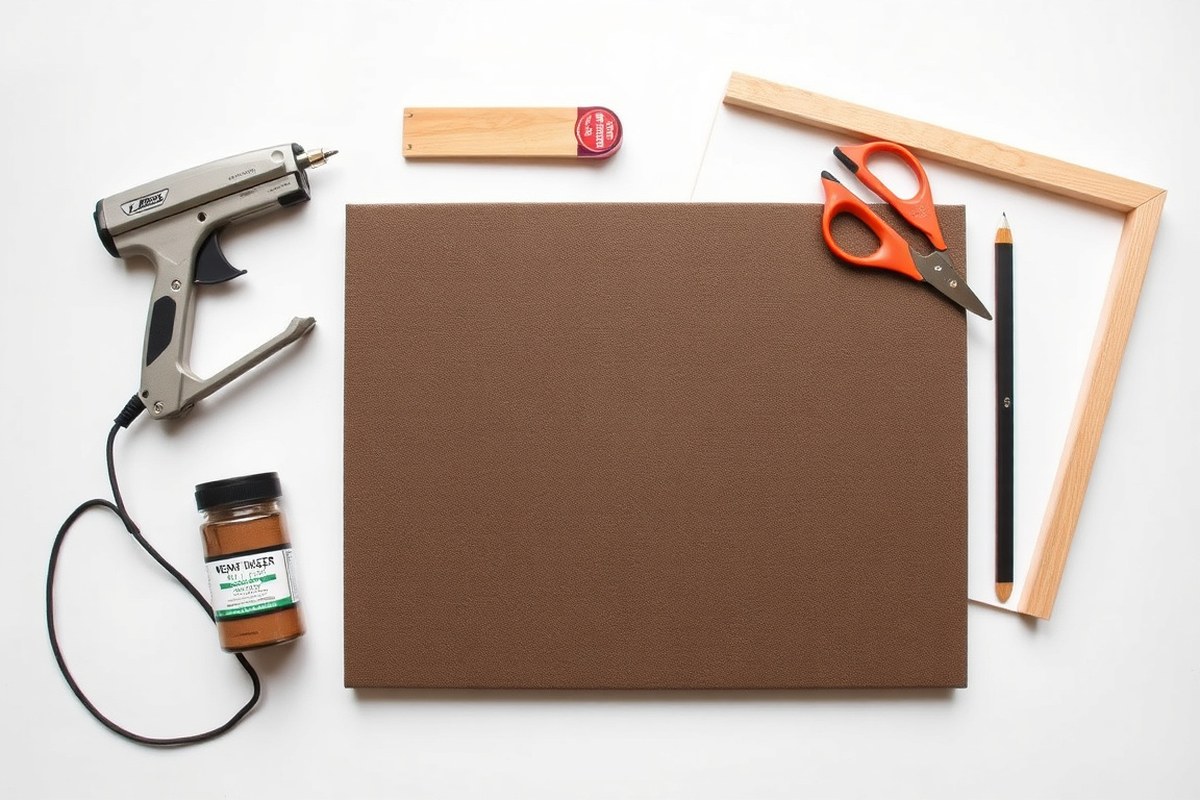
Removing and refastening the canvas requires basic tools to avoid damaging the fabric and frame. A staple remover or flat-head screwdriver helps to carefully pull out staples holding the canvas. Needle-nose pliers assist in removing stubborn staples where a staple remover can’t reach. A utility knife or sharp scissors is essential for trimming excess canvas after removal to ensure a clean backing. When reattaching, a staple gun is necessary to securely fasten the canvas back to the wooden frame, making sure it stays tight and wrinkle-free.
Choosing between vinyl and paint depends on your design and finish preference. Heat transfer vinyl (HTV) and permanent adhesive vinyl (like Oracal 651) are popular for crisp, clean designs. Using a cutting machine such as a Silhouette Cameo or Cricut makes applying detailed vinyl shapes easier. Acrylic paint is the most commonly used for painting or stenciling directly on canvas, as it adheres well and dries quickly, usually within 20 to 30 minutes. You can use stencils to paint lettering or intricate patterns, providing a professional look even if your freehand skills are basic.
Extra supplies make your project smoother and improve results. A spray adhesive or temporary adhesive spray is helpful for keeping stencils firmly in place without damaging the canvas. Paintbrushes in various sizes allow you to cover both large areas and fine details. Mod Podge or a clear sealant can be used to protect your painted design once it’s dry, preventing chipping or fading over time. Masking tape helps mark off areas while painting or keep vinyl steady during application.
- Staple remover or flat-head screwdriver for lifting out staples
- Needle-nose pliers for stubborn staples
- Utility knife or scissors for trimming canvas edges
- Staple gun to reattach the canvas securely
- Heat transfer vinyl (HTV) or permanent adhesive vinyl with cutting machine
- Acrylic paint and a variety of paintbrushes for painting or stenciling
- Spray adhesive or masking tape for stencil application
- Mod Podge or clear sealant to finish and protect painted designs
Carefully remove staples without tearing the canvas to avoid uneven edges that are hard to staple back cleanly.
Investing in a quality staple remover makes the removal process more efficient and reduces risk of fabric damage. Using a cutting machine allows for precise and repeatable vinyl designs, but for simple shapes or lettering, cutting by hand may suffice. Always allow adequate drying time for paint and sealants, typically 1 to 2 hours, before reassembling the canvas and frame to avoid smudges. This extra patience ensures clean, professional-looking results on your reverse canvas sign.
How to Safely Remove and Prepare the Canvas and Wooden Frame
Removing the canvas and preparing the wooden frame carefully ensures your DIY reverse canvas sign looks great and lasts. Focus first on releasing the canvas without damage, then clean and prep the wood frame to accept paint or stain. Taking your time during these steps prevents tearing the fabric or damaging the frame surfaces.
Removing Staples Without Tearing Canvas
To keep the canvas intact, start by loosening the staples that hold it to the frame. Avoid pulling hard or ripping; instead, go slowly, removing staples in a way that preserves the fabric. Using a small screwdriver or needle-nose pliers works best for gently prying the staples up before you pull the canvas free. Follow these steps for careful staple removal:
- Place the frame face down on a flat surface with the wooden back exposed.
- Insert a small flat-head screwdriver under one side of a staple to lift it slightly.
- Use needle-nose pliers to grasp the staple ends and pull straight up to remove it.
- Move around the frame, working slowly to remove each staple without bending or cracking it.
- Once all staples are out, gently pull the canvas away from the frame to release it.
- If any staples resist, use an X-Acto knife to carefully cut around them without cutting into the canvas.
- Trim any excess canvas hanging beyond the original frame edges to prepare for re-stretching.
Removing staples 2 to 3 inches apart spaced along the edges offers enough support without making extraction difficult. This approach reduces the risk of ripping the fabric during removal.
Inspecting and Sanding the Wooden Frame
Once the canvas is off, carefully check the wooden frame for leftover staples, rough patches, or splinters that could interfere with painting or staining. Removing any remaining canvas bits stuck in the staples is important for a smooth surface.
Prepare the frame by sanding it lightly with medium grit sandpaper (around 120 to 150 grit). This will smooth out rough spots and help paint or stain adhere evenly.
Clean the frame thoroughly by wiping it with a dry cloth or tack cloth to remove dust after sanding. Allow the frame to dry completely and avoid using water, as moisture can warp thin wood.
Safety Tips When Using Staple Guns and Pliers
Using staple guns and pliers safely protects both you and your materials. Always point a staple gun away from your body and fingers. Keep your hands clear of the gun’s staple outlet to avoid accidental punctures.
Wear safety glasses to shield your eyes from flying staples or wood splinters. When removing staples with needle-nose pliers, grip firmly but avoid excessive force that could cause the staple to snap and fly loose.
Use tools in good condition and inspect staple gun mechanics before use. Work on a stable surface to prevent slips or accidental injury. Keeping children and pets away from your workspace reduces distractions and safety risks during staple removal and frame prep.
Using Vinyl and Heat Transfer Techniques on Canvas
You can use vinyl to add custom designs to your canvas by choosing between heat transfer vinyl (HTV) or adhesive vinyl, then applying your cut design with heat. Setting the right temperature, pressure, and timing helps the vinyl stick well on the canvas. Centering and transferring your vinyl without wrinkles takes some preparation and the proper tools, like transfer tape and heat protectors.
HTV vs. Regular Vinyl for Canvas Signs
Heat transfer vinyl is designed to bond with fabric and materials like canvas when heated, making it ideal for reverse canvas signs. Regular adhesive vinyl, such as 651 vinyl, sticks on surfaces without heat but may not adhere as strongly or last as long on textured canvas. HTV requires a heat press or iron to activate its adhesive layer, while adhesive vinyl sticks by itself and can be transferred using transfer tape.
You should cut your design mirrored on the vinyl’s carrier sheet for HTV so the image appears correctly after pressing. Adhesive vinyl doesn’t require mirroring but needs transfer tape to move the design from its backing to the canvas properly. You might find HTV sticks better on canvas fabric than regular vinyl, which often struggles to adhere well.
| Feature | Heat Transfer Vinyl (HTV) | Adhesive Vinyl (651 Vinyl) |
|---|---|---|
| Application Method | Requires heat press or iron | Peel and stick using transfer tape |
| Design Cut Orientation | Cut mirrored | Cut regular |
| Durability on Canvas | Better adhesion and longevity | May peel or fade over time |
| Ease of Use | Requires heat and timing control | Simple peel and stick |
| Common Issues | HTV can melt if overheated | Adhesive can lift on textured surfaces |
Choosing between these types depends on your tools and how long you want your sign to last. HTV is more work but yields a professional finish with strong adhesion on canvas.
Using Cricut or Silhouette Machines for Cutting
Cutting machines like Cricut or Silhouette can create precise vinyl designs perfect for your reverse canvas sign. Use a blade suitable for vinyl, and adjust settings based on vinyl thickness and type. When cutting HTV, mirror your design so it aligns correctly after transfer. For adhesive vinyl, cut the design as is.
After cutting, weed away excess vinyl with a weeding tool, removing all unwanted bits to reveal your design. Applying transfer tape over adhesive vinyl helps move the vinyl smoothly onto the canvas without shifting or wrinkles. For HTV, you handle the carrier sheet directly since it protects the adhesive side during the pressing process.
Heat Press and Iron Application Tips
To apply HTV to canvas, place your design on the desired area, cover with parchment or heat-resistant paper, then press with an iron or heat press. Maintain a temperature around 305°F (150°C) for about 15 seconds. Avoid overheating because it risks melting the vinyl and possibly damaging your iron or press.
Centering the vinyl requires patience. Lay the canvas flat, align the vinyl visually, then press gently once in place to prevent wrinkles. You can secure the edges of your design with heat-resistant tape to keep it stable during pressing. After pressing, peel the carrier sheet while warm or cool, depending on the vinyl type instructions.
Wrinkles or bubbles can be fixed by carefully lifting a vinyl edge and repositioning it, or by pressing more smoothly to apply heat evenly. Using a flat, stable surface for pressing helps maintain even pressure, essential for good adhesion.
Painting and Stenciling Options for Reverse Canvas Signs
Painting your design on a reverse canvas sign provides a personal touch different from vinyl lettering. To get clean, lasting results, you’ll want the right paint for canvas, proper stencil techniques, and enough drying time between layers. These steps help you create custom art that fits your style.
Choosing the Right Paint for Canvas
Acrylic paint works best for painting on canvas because it adheres well, dries quickly, and offers good color vibrancy. Choose a paint labeled for fabric or multi-surface use to ensure flexibility and durability. Avoid oil-based paints since they are slow drying and may crack on stretched canvas.
Look for paint brands costing $5 to $10 per small bottle, enough for several signs. You can also use paint pens for detailed work, which range from $2 to $5 each. Matte or satin finishes usually create the most natural look on canvas. Glossy paint might feel stiff and unnatural.
Stencil Preparation and Placement
Preparing your stencil carefully makes the difference between sharp edges and blurry lines. Use cardstock, stencil vinyl, or freezer paper to cut your design. Freezer paper stencil can be ironed onto the canvas for a secure hold without glue.
Test the stencil placement on the canvas inside the wood frame first by marking lightly with pencil or painter’s tape. Position it so the design is centered or aligned as you want. You can use spray adhesive made for stenciling to keep it from shifting, but use it sparingly to avoid paint bleeding.
- Cut your stencil using a craft knife or cutting machine for clean edges.
- Place stencil on canvas and secure with painter’s tape or ironed freezer paper.
- Test position before painting to ensure symmetry and fit.
- Use spray adhesive for extra hold, avoiding excess to prevent bleeding.
- Prepare paint and brushes or sponges before starting.
Remove stencils carefully right after your final coat dries to prevent peeling paint or smudging edges.
Painting Techniques and Curing Time
Apply paint in thin layers with a stencil brush, foam sponge, or small flat brush to avoid bleeding under the stencil. Dab gently rather than brushing side to side. Several light layers dry evenly and minimize texture buildup.
Allow each paint layer to dry for 15-30 minutes before applying the next. Full curing of acrylic paints takes about 24 hours for hardness, so avoid handling or reattaching the canvas until then. Heat or humidity can increase drying time.
- Load your brush or sponge with paint and dab gently within stencil cutouts.
- Let the first thin layer dry for at least 15 minutes.
- Repeat dabbing with thin coats until you achieve desired opacity.
- Peel off the stencil as soon as the last coat is dry to touch, but not fully cured.
- Allow the painted canvas to cure 24 hours before finishing your project.
Painting in thin layers and removing stencils promptly helps prevent bleeding and maintains crisp lines on your design.
Reassembling and Stapling the Canvas Back Onto the Frame
Positioning the canvas evenly and stapling it securely to the frame ensures your reverse canvas sign looks professional and holds up over time. The canvas should be tight without wrinkles, and staples placed strategically will prevent sagging or loosening. Trimming excess canvas carefully avoids frayed edges that can unravel and spoil your finished piece.
Start with the frame fully dry and flipped upside down. Center the canvas so the design area aligns neatly with the frame edges, leaving enough margin all around for stapling. Holding the canvas firmly in place keeps it from shifting as you secure it.
- Lay the frame upside down on a flat surface. Place the canvas on the back of the frame, ensuring the design is centered and aligned. Check for even margins on all sides before proceeding.
- Flip the frame and canvas over carefully. Hold the canvas tightly to keep it from moving and begin stapling on one side. Use a staple gun loaded with heavy-duty staples sized about 1/4 inch for a firm grip.
- Staple the center of one side first. Then move to the opposite side, pulling the canvas tight before placing the staple. Repeat this for the two remaining sides to create an even tension across the canvas.
- Add staples evenly along each side. Place staples roughly 1 to 2 inches apart, focusing more on the corners where stress is higher. Secure corners with a staple close to the edge, folding the excess canvas neatly under before stapling.
- Check the canvas tension. If you notice slack, remove a few staples and re-stretch the canvas gently but firmly before replacing staples. Avoid overstretching, which could distort the fabric or design.
- Trim the excess canvas. Use sharp scissors or an X-Acto knife to cut close to the staples, leaving about 1/4 inch beyond the last staple to prevent fraying. For better durability, apply a fabric sealant or fray check along the cut edges if desired.
Good results mean a smooth, wrinkle-free surface visible from the front with a clean, tight staple pattern on the back. Avoid uneven pulling or too few staples, which cause puckering or sagging over time. Tight staples spaced evenly provide the best hold and a neat, finished look for your reverse canvas sign.
Ways to Finish, Hang, and Display Your Reverse Canvas Sign
Finishing your reverse canvas sign properly protects your work and makes hanging easier. Applying a clear, matte sealant over the painted or heat-transferred design helps prevent damage from moisture, dust, and fading. Use a spray acrylic sealer or brush-on polyurethane specially formulated for fabric. Apply two to three light coats, allowing 15 to 20 minutes to dry between each. Make sure you cover the entire canvas surface but avoid soaking the fabric, which can wrinkle or loosen it.
Attach hangers that suit your display location. Small sawtooth canvas hangers are popular for their simplicity and ability to keep frames level. You can buy these for around $3 to $5 at craft or hardware stores. To install, center the hanger along the top inner frame edge of the wooden back, then use small nails or brads to secure it. For heavier signs, consider D-ring hangers paired with picture wire for more stability. Alternatively, mounting brackets or command strips work well for damage-free walls, especially if you prefer not to put holes in your wall.
Once your sign is finished and ready to display, consider different ways to showcase or gift it. A plate holder or easel is effective for resting your sign on a shelf, mantel, or table. This option works great if wall space isn’t available or if you want to rotate your decor seasonally. The natural wood frame and visible canvas texture allow these pieces to complement farmhouse, rustic, or modern styles.
- Seal the canvas with a clear acrylic sealer, applying 2 to 3 coats
- Attach small sawtooth hangers centered on the top back frame for an easy hang
- For heavier signs, use D-ring hangers with picture wire for secure mounting
- Use adhesive mounting strips for temporary or renter-friendly hanging
- Display your sign on an easel or plate holder for tabletop placement
- Gift your sign wrapped in tissue paper with twine for a personal touch
To gift your sign, wrapping it in tissue paper inside a shallow box or tying it with twine highlights the handmade quality. These thoughtful details make your creation feel special and ready for giving. When choosing display spots, avoid direct sunlight to minimize fading and moisture-prone areas like bathrooms to protect the wood frame and canvas. With proper finishing and hanging, your reverse canvas sign will remain a charming focal point in your home or a meaningful gift that lasts.
Common Mistakes and Troubleshooting for Reverse Canvas Projects
Troubles with vinyl sticking or wrinkling on canvas usually come down to surface preparation and temperature control. Canvas has a textured surface that doesn’t always hold vinyl well, especially heat transfer vinyl. To ensure better adhesion, work on a clean, dry canvas and preheat your canvas with the heat press or iron for 5 to 10 seconds at around 305°F to 310°F. After placing the vinyl, apply firm and even pressure during heat pressing. If wrinkles appear, peel back the vinyl slowly at a 45-degree angle and reapply heat and pressure gently to smooth it out without damaging the canvas.
Tears or punctures in canvas often happen during removal or restretching onto the frame. You can fix small tears by applying a patch of similar-weight canvas behind the tear. Use a strong fabric glue or heat-activated adhesive tape designed for canvas repairs, pressing firmly and letting it dry or set according to the product’s instructions. Larger holes require a replacement piece attached carefully so it blends with the rest of the canvas when painted or stenciled. Avoid trying to staple too close to a tear, as this can worsen damage.
Uneven staple lines and warping of the wooden frame occur mostly due to inconsistent tension and improper stapling technique. To prevent this, stretch the canvas evenly on all sides before stapling to avoid loose or overly tight spots that cause puckering. Use a staple gun and place staples approximately 1 to 2 inches apart, starting in the center of each side and working toward the corners. Place staples opposite each other in sequence to maintain even tension on the canvas and keep the frame square.
Always check that your canvas has enough overlap, at least 2 to 3 inches past the frame edges, to allow for secure stapling without risking tears or loose fabric.
- Wipe canvas clean of dust before vinyl application
- Preheat canvas briefly to improve vinyl adhesion
- Apply even pressure with a heat press or iron, avoid quick movements
- Patch small canvas tears with matching fabric and proper adhesive
- Stretch canvas evenly, stapling from the center outward in pairs
- Keep staples 1 to 2 inches apart, avoiding clustering at corners
- Inspect frame for warping before reassembly and adjust tension as needed
Following these steps helps avoid common pitfalls and ensures your reverse canvas sign looks professional. Skipping careful stapling or rushing the vinyl heat application often leads to wrinkled designs or damaged canvas. Fixing these problems before final assembly means your finished sign will hold up better and display beautifully on any wall.
Step-by-Step Action Plan
Follow these steps to create your reverse canvas sign and enjoy a smooth crafting experience.
- Before you start: Gather all supplies and tools, including canvas, wooden frame, staple remover, vinyl or paint materials. Confirm your workspace is clean and well-lit to avoid mistakes.
- Day 1: Carefully remove the original canvas from the wooden frame using a staple remover. Check that the canvas remains intact without tears to ensure a successful project.
- Day 2: Choose your design approach: vinyl transfer or painting. Test your chosen method on a scrap piece of canvas to verify adhesion and appearance.
- Day 3: Apply your design to the canvas using heat transfer or stenciling techniques. Inspect your work for clean lines and even coverage before proceeding.
- Day 4: Re-stretch the canvas onto the wooden frame and staple it securely. Confirm the canvas is tight with no wrinkles or sagging.
- Day 5: Seal your project with an appropriate finish if using paint, then add hanging hardware. Test your sign’s durability and balance before displaying.
Frequently Asked Questions
What Is a DIY Reverse Canvas Sign?
A DIY reverse canvas sign involves removing the canvas from its frame and flipping it to use the wooden frame as part of the design. This technique is popular for creating rustic, farmhouse-style decor using customizable images or sayings.
Can You Make a Reverse Canvas Sign Without a Cricut or Silhouette?
Yes, you can create a reverse canvas sign without cutting machines by using stencils or hand-painting your design on the canvas before reassembling the frame. This method keeps costs low and is beginner-friendly.
How Do You Prevent Tearing the Canvas When Removing It from the Frame?
Gently remove staples with a staple remover and carefully separate the canvas to avoid ripping. Keeping the canvas intact is important since it will be flipped inside out for the final sign.
What Types of Paint Work Best for Decorating a Reverse Canvas Sign?
Acrylic paint is ideal for painting or stenciling as it adheres well to canvas and dries quickly, allowing detailed designs. Water-based paints can wrinkle the canvas, so avoid them for best results.
How Do You Hang a Finished Reverse Canvas Sign Securely?
Use sawtooth hangers or D-rings attached to the wooden frame for stable wall mounting. This keeps the sign flush against the wall and supports the weight evenly.
What Size Frame Is Best for a Reverse Canvas Project?
A frame between 12×12 inches and 16×20 inches is manageable for DIY, offering enough space for creative designs without being too bulky to handle. Larger frames can be tricky for beginners.
Final Thoughts
Making a reverse canvas sign lets you personalize your home decor with a unique, handcrafted touch. Start by selecting a simple design and focus on careful preparation to avoid common pitfalls. Try your first project on a small frame to build confidence and refine your skills for more complex signs.