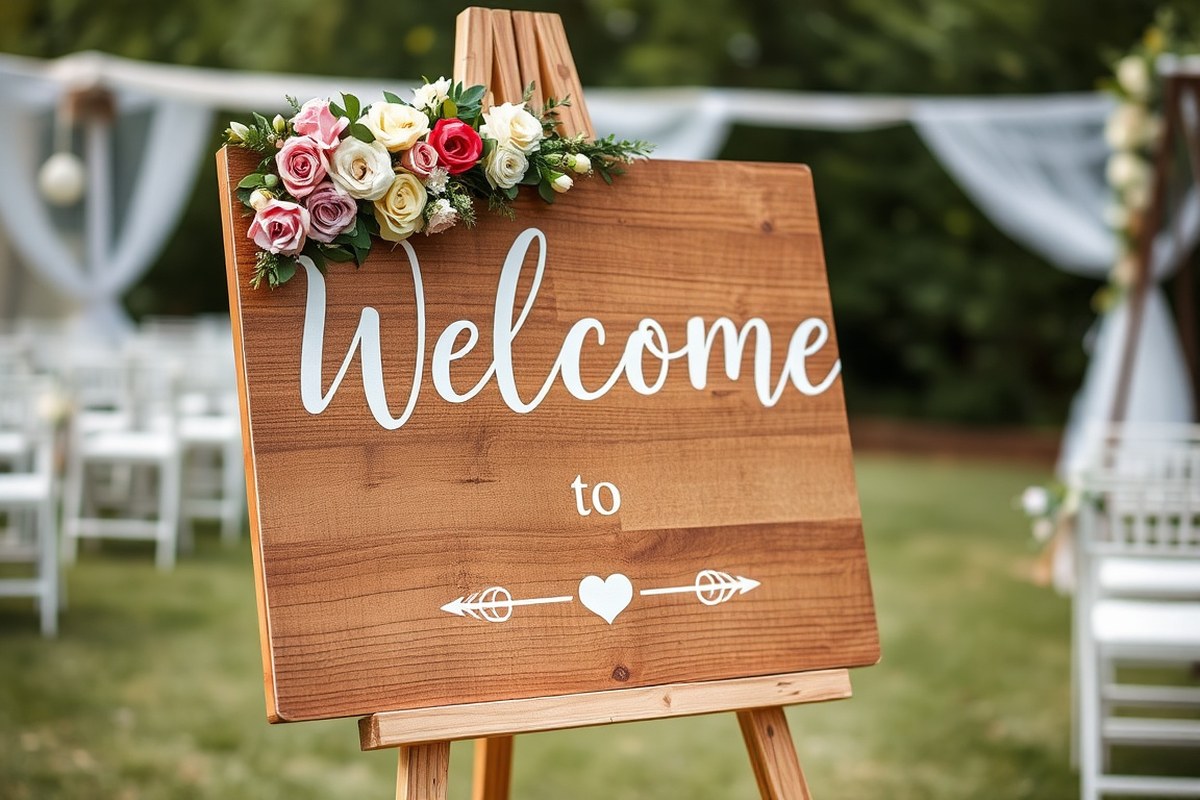
Diy Wedding Sign Ideas and Tips a Complete Guide to Beautiful Custom Signs
Creating a DIY wedding sign lets you add personalized charm while saving money compared to buying premade options. Choosing the right materials and design upfront ensures your sign looks professional and fits smooth with your wedding theme. Start by picking simple, clear text and a durable surface like foam insulation board or acrylic for clean, lasting results.
Key Takeaways
- Select signage materials that match your venue, such as acrylic for elegance or foam board for easy painting and cutting.
- Use large, easy-to-read fonts especially for table numbers to keep signs visible amid table settings.
- Prep your surfaces with primer to help paint adhere better and prevent peeling throughout the event.
- Focus on directional and functional signs that help guests navigate smoothly, like welcome signs and restroom markers.
- Budget carefully: handmade signs can save money, but materials and time are key cost factors to track.
- Add simple decorative touches like floral numbers or hand-painted accents to improve basic sign designs.
What Is a DIY Wedding Sign and Why Make One?
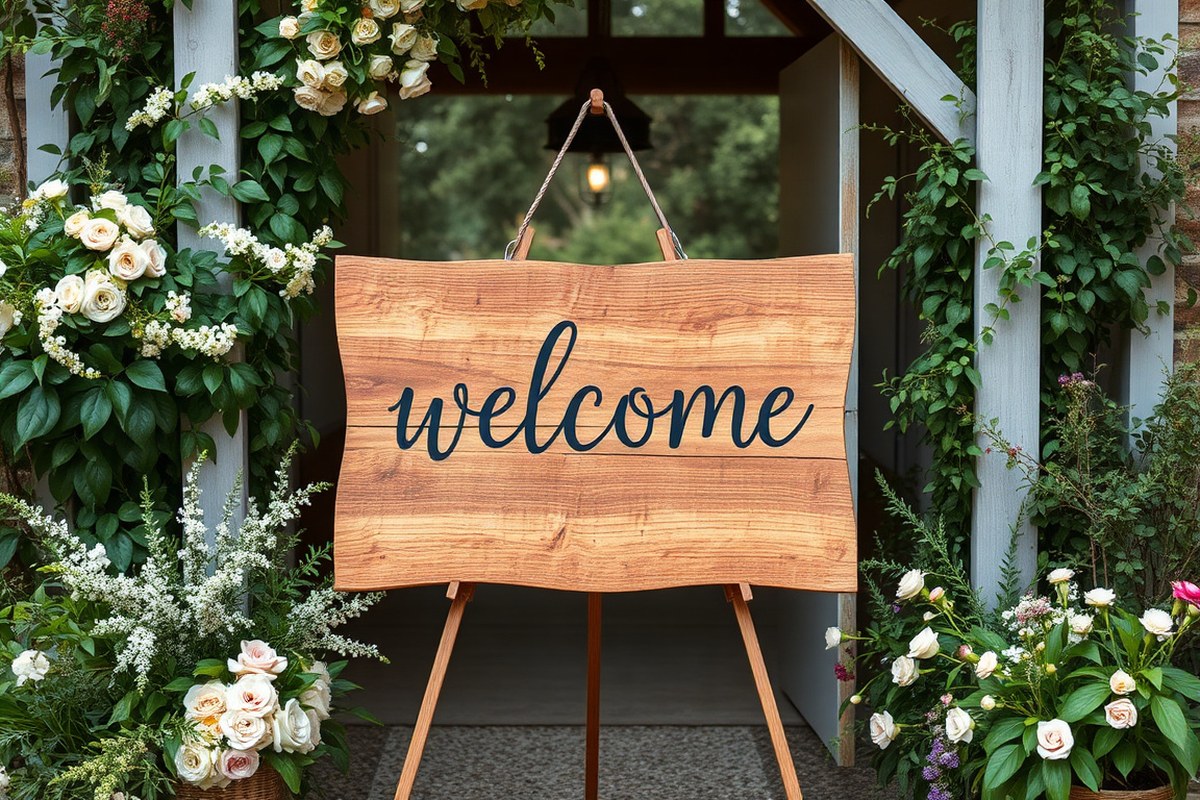
A DIY wedding sign is a handmade decorative board or display created by the couple or their friends and family for use during the wedding. These signs serve various purposes, such as welcoming guests, directing them to different areas, announcing the schedule, or sharing personal messages. Unlike pre-made signs, DIY signs reflect your style and personality, bringing an authentic and intimate feel to your wedding decor.
Making your own wedding signs offers several benefits. First, it allows you to customize every detail, such as the wording, design, and materials, so the signs fit perfectly with your theme and vision. Using seasonal blooms, natural wood, acrylic boards, or metallic markers are just a few ways to create unique elements that complement your overall decor. Choosing to DIY also helps control costs, as materials can range from as little as $10 to $50 per sign depending on size and complexity, which is often less than hiring a professional.
The personal touch a handmade sign adds is hard to match. When you design and craft your signs, guests notice the care and creativity involved. For example, a welcome sign placed on a simple wooden easel adorned with fresh or faux flowers feels warm and inviting right when guests arrive. Even simple additions like elegant calligraphy or playful shapes can improve a sign and turn it into a memorable piece that matches your personality as a couple. These customized touches also help tie your wedding’s style together, making the entire event feel cohesive and thoughtfully planned.
Creating DIY wedding signs is not about perfection. It’s about having fun and expressing your unique story. Start by choosing a surface that works for you, wood panels, chalkboards, clear acrylic sheets, or even copper pipe frames, and think about your message. Common phrases include “Welcome to our wedding,” “This way to the ceremony,” or “Love, laughter, and happily ever after.” Using acrylic paint, waterproof markers, or vinyl letters are straightforward methods to make the words stand out. Plan for a few hours to complete a sign, including drying or setting time, so you won’t rush on the big day.
Good results come from balancing creativity with simplicity. Too many decorations can overwhelm the sign and clash with the wedding look, while a clean design with thoughtful details draws more attention. Be mindful of readability by choosing contrasting colors and clear fonts. A sign that guests can quickly read and appreciate adds charm while serving its practical purpose. Mistakes like crooked lettering or smudged paint can happen, but these can usually be fixed by gently sanding wood surfaces or touching up acrylic boards with a small brush. Remember, the goal is a sign that feels personal and inviting, not one that looks factory-made.
Types of DIY Wedding Signs You Can Create
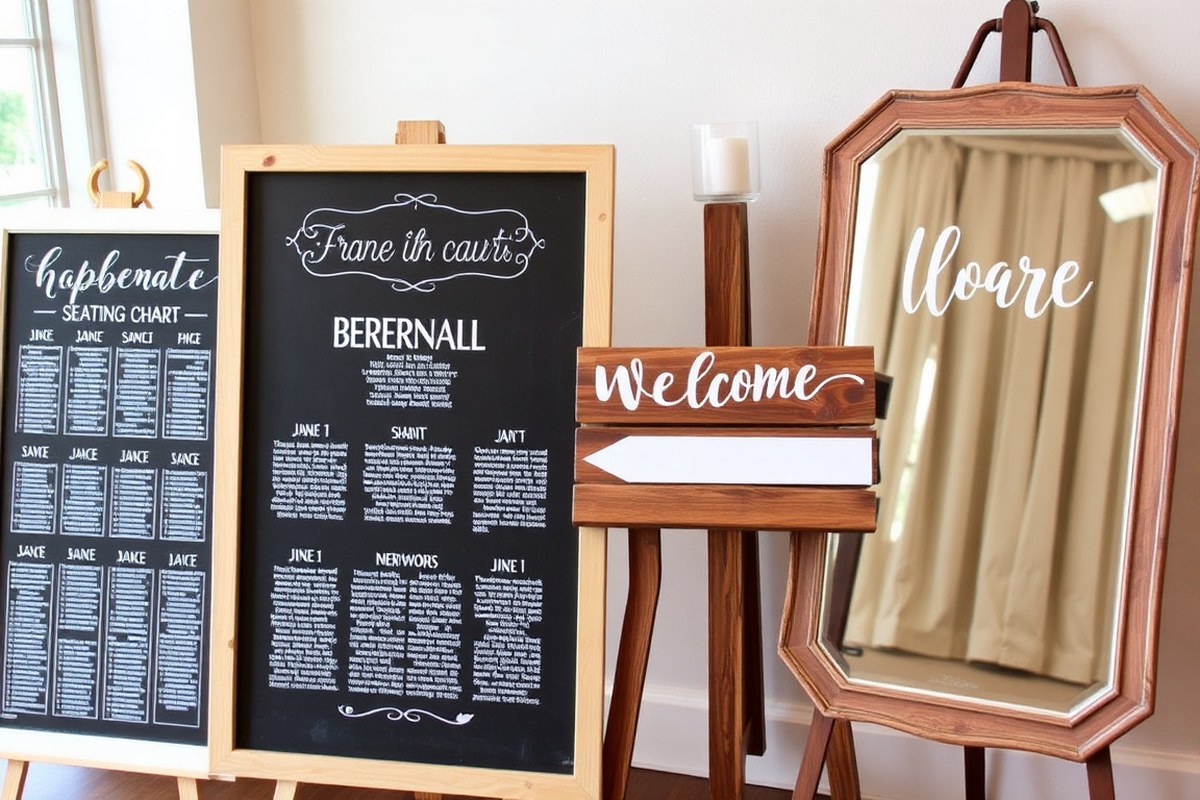
DIY wedding signs cover a variety of purposes, from welcoming guests to directing them and organizing seating. Signs for the ceremony tend to focus on setting a tone and greeting attendees, while reception signs often provide functional information like menus and table numbers. Navigation signs help guests find their way around, ensuring smooth movement between ceremony and reception areas.
Welcome Signs to Set the Tone
Welcome signs are usually the first thing guests see and help create the right mood. They often display the couple’s names, wedding date, and a warm greeting. These signs can be large and prominently placed at the ceremony entrance and later moved to the reception space. Materials range from rustic wood to vintage frames or even antique windows, which add charm and personality. Including florals or themed decorations like copper accents or pastel colors creates an inviting atmosphere that matches your overall design.
To build a welcome sign, start with a large wooden board, thrifted window, or oversized frame. Paint or write the wording clearly with permanent markers, paint pens, or vinyl lettering. Attach decorations artistically around the edges or base. Budgeting around $20 to $50 covers materials, depending on what you already own and your design complexity.
Directional Signs for Guest Navigation
Directional signs help guests find key spots like parking, restrooms, ceremony, and reception rooms. These signs are functional yet a common DIY choice because they reduce confusion, especially in large or complex venues. Using yard stakes with scrap wood or repurposed art easels is a cost-effective way to guide people. Painted arrows or simple text such as “Ceremony →” or “Cocktails This Way” keep navigation straightforward.
Creating directional signs requires wood or sturdy cardboard, stakes, weather-resistant paint or markers, and time to paint legibly. Allow drying time of at least 1 hour between coats to avoid smudges. Signs can cost between $10 and $30 each depending on size and materials used. Planting them securely ensures they remain visible and stable throughout the event.
Place directional signs at key forks or entrances to avoid guests missing turns; take a walk-through before the event to check visibility and clarity.
Seating Charts and Table Numbers
Seating charts organize where guests sit and avoid confusion, especially at larger receptions. These can be presented on chalkboards, framed prints, or repurposed windows with guest names and table assignments. Table numbers help guests find their seats and match the seating chart. Instead of traditional numbers, creative signs themed to your wedding interests, like movie posters or floral designs, add a personalized touch.
Small thrifted picture frames often work well for table numbers or menus. Tri-fold tabletop signs made with cardstock or foam board are easy to customize and display. When making seating charts or table signs, use clear fonts and sufficient contrast for legibility. Expect to spend 30 minutes to several hours depending on the number of guests and design detail.
- Welcome signs with couple’s names and date
- Directional yard signs or easels pointing to venues
- Seating charts displayed on vintage windows or large frames
- Table numbers in thrifted frames or cardstock formats
- Menu and schedule signs as tri-fold tabletop pieces
- Decorative enhancements like florals or gold paint accents
Effective seating charts and table signs streamline guest arrival and contribute to the overall aesthetic. Planning signs around your wedding’s theme and venue layout ensures a smooth flow and personalized environment.
Choosing Materials and Tools for Your Wedding Signs
Choosing the right materials and tools shapes how your wedding signs look, how long they last, and how much effort they require. Wood is a common choice with a rustic or classic vibe, while paint pens and vinyl decals offer easy customization. Consider your budget, the style you want, and your crafting skills to pick materials that suit your wedding vision and timeline.
Wood Types and Finishes
Wood offers durability and a timeless feel for wedding signs. Common options include plywood, reclaimed wood, and solid hardwoods like pine or oak. Plywood is budget-friendly and lightweight, often used as scrap wood with decals or acrylic paint for a personalized look. Reclaimed wood adds character but might need extra sanding and finishing to prevent splinters or warping. Hardwood signs cost more but create a polished, sturdy sign that can double as a keepsake.
Applying a clear varnish or outdoor sealant protects wooden signs from weather damage, especially if your wedding is outdoors or the sign will be reused. A matte finish prevents glare in photos, while a glossy finish improve colors but can reflect light. Sanding the wood smooth before applying paint or decals ensures crisp lettering and lines.
Paint, Markers, and Lettering Supplies
Paint pens and chalk markers are popular for detailed lettering because they come in many colors and allow easy control for DIYers. Chalk markers have the advantage of being erasable on chalkboard surfaces, ideal if you want reusable signs. Acrylic paint creates vibrant, waterproof designs but requires brushes and more drying time. Using vinyl decals is a low-skill option that provides crisp, professional lettering without freehand painting.
Essential tools include fine and medium brushes, a ruler or stencil for straight lines, and painter’s tape to mask edges. Choose paint pens or markers designed for outdoor use if the signs will be outside for several hours or days. Remember that cheap markers can bleed or fade, so investing in craft brands saves frustration and results in cleaner designs.
Alternative Materials Like Acrylic and Fabric
Acrylic sheets offer a modern, sleek look with durability and weather resistance. They’re heavier than wood but can be cut into clear or colored signs with sharp tools, then painted or decorated with vinyl decals. Acrylic works well for minimalist or contemporary weddings but typically costs more and requires special cutting tools or professional help.
Fabric banners are lightweight, easy to hang, and budget-friendly. Canvas or burlap makes rustic or boho-style signs that you can hand-paint or stencil. Fabric signs roll up and transport easily, but they wrinkle and may not be as sturdy outdoors without a frame or grommets. Using fabric also lets you add textures or embellishments like tassels or greenery for a personalized touch. The table below summarizes common materials and tools with their pros and cons to guide your choice.
| Material/Tool | Cost Range | Durability | Skill Level | Best For |
|---|---|---|---|---|
| Plywood | $10 – $30 per board | Good with sealant | Beginner to intermediate | Rustic, budget-friendly signs |
| Hardwood (pine, oak) | $20 – $60 per board | High, long-lasting | Intermediate | Keepsake-quality signs |
| Chalk markers | $5 – $15 per set | Temporary on chalkboards | Beginner | Reusable, erasable signs |
| Paint pens | $5 – $20 per set | Permanent with outdoor versions | Beginner to advanced | Colorful lettering, small details |
| Acrylic paint | $3 – $10 per tube | Permanent, weather-resistant | Intermediate to advanced | Bright, detailed artwork |
| Vinyl decals | $1 – $10 per decal | Durable, crisp designs | Beginner | Professional-looking lettering |
| Fabric (canvas, burlap) | $5 – $15 per yard | Moderate, needs framing outdoors | Beginner | Lightweight, rustic banners |
Selecting your materials and tools depends partly on your wedding’s style and how much time you have to practice techniques. Plywood with paint pens or decals suits most beginners who want a budget-friendly sign that lasts through the event. Acrylic or hardwood signs work better if you want a more polished, durable piece but expect longer prep and higher costs. Fabric offers a lightweight option if portability and texture matter more than weatherproofing.
Planning Your DIY Wedding Sign Design and Layout
Creating a clear and attractive layout for your DIY wedding sign makes it easier for guests to read and complements your overall wedding décor. Choosing the right font style ensures readability while matching the vibe of your event, whether that’s rustic charm, modern minimalism, or classic elegance. Proper spacing and sizing stop your message from looking crowded or lost, while coordinating colors, graphics, and materials keeps every sign consistent with your wedding theme.
Start by deciding what your sign needs to say and how important readability is from a distance. Bigger events or outdoor weddings usually require larger fonts and simpler messages. Fonts like serif (Times New Roman), sans-serif (Arial, Helvetica), or script styles (Brush Script) each fit different moods but avoid using more than two font styles on one sign to maintain a polished look. Keep contrast high by pairing dark text with a light background or vice versa.
Spacing between letters, lines, and margins affects how easy your sign is to read. Too little space can make text look cramped and messy; too much space wastes valuable sign area. Measure your sign surface and plan each text element size based on the viewing distance, for example, 2-inch tall letters work well for direction signs viewed from 10 feet away. Coordinate visuals like floral borders or icons by matching your wedding’s color palette, either by painting, vinyl decals, or printed inserts. Use the following steps to plan your wedding sign design and layout effectively:
- List your sign’s message: Write down the exact text you want, keeping it brief and straightforward for quicker guest comprehension.
- Choose your font styles: Pick one or two fonts that fit your wedding style and ensure good readability; test printing sample letters before committing.
- Determine the size and spacing: Measure your sign area, then decide on letter sizes and line spacing; aim for 1.5 to 2 times the letter height between lines for clarity.
- Sketch your layout: Draw your sign on paper or use free online design tools to arrange text and any decorative graphics, keeping equal margins around edges.
- Select your colors: Choose font and graphic colors that contrast well with the background and complement your wedding palette.
- Coordinate with wedding décor: Match materials and design styles (wood, chalkboard, acrylic) to your venue and theme for a unified look.
- Review and test: Print a scaled version or create a digital mock-up to check readability from typical guest distances and adjust as needed.
- Get feedback: Ask a couple of trusted people to review your design early on to catch any confusing wording or layout issues.
Planning your design carefully can save time, reduce wasting materials, and make your signs a highlight that guests notice and appreciate. Avoid cluttered fonts, poor contrast, or overly long messages to prevent frustration or missed information during your event.
Step-by-Step Guide to Making Common Wedding Signs
Making your own wedding signs lets you add a personal touch while controlling style and budget. For popular types like welcome signs, directional arrows, and seating charts, focus on clear lettering and materials that match your wedding theme. Here’s how to create each one step-by-step.
Making a Wooden Welcome Sign
A wooden welcome sign sets the tone at your entrance and greets guests warmly. Wood pieces like pallets or smooth boards give a rustic or classic look depending on finishing. Paint or stencil your message clearly so it’s readable from a short distance.
- Choose a wooden board size around 18×24 inches for good visibility.
- Sand the surface lightly to smooth splinters and create paint adhesion.
- Apply a base coat of paint or wood stain matching your wedding colors; let dry 24 hours.
- Use a stencil or freehand paint your welcome message with outdoor acrylic paint.
- Seal the finished sign with clear waterproof sealant to protect from weather.
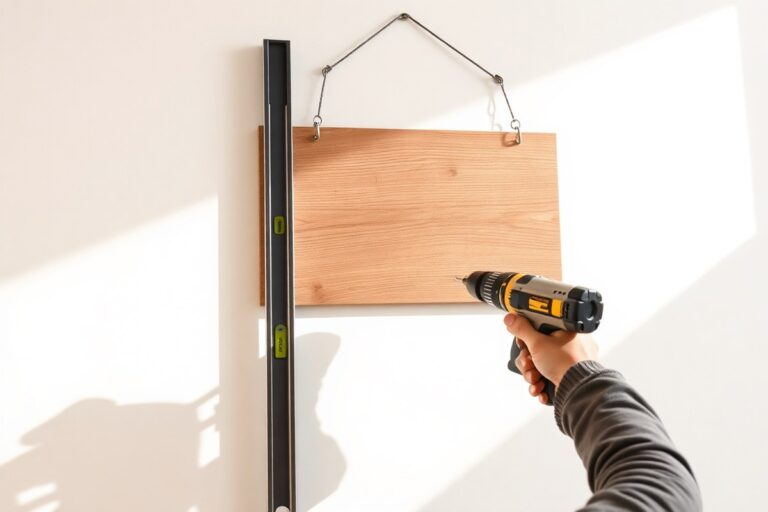
- Attach a stand or hooks on the back for easy display at the venue.
Make sure to practice your lettering on scrap wood before painting the final sign to avoid mistakes.
DIY Chalkboard Directional Signs
Chalkboard signs offer a classic, flexible way to guide guests around your wedding site. You can create arrows or list locations like “Ceremony,” “Reception,” or “Parking” easily with chalk or chalk markers.
- Purchase a chalkboard surface or paint a wooden board with chalkboard paint (two coats, 1 hour apart).
- Measure and plan your directional arrows or text layout on paper first.
- Write the directional signs with chalk markers for clean lines; traditional chalk can smudge.
- Add small decorations like floral drawings or borders using chalk markers in accent colors.
- Mount the signs on stakes or place on easels near walkways.
Keep a damp cloth nearby to quickly correct any mistakes without leaving permanent marks.
Upcycling Thrifted Items into Seating Signs
Transforming thrifted frames, window panes, or mirrors into seating chart signs combines sustainability with charm. Your guests will appreciate the vintage vibe, and you can customize the layout to your guest list easily.
- Find a sturdy thrifted item like an old window pane or frame with glass.
- Clean the surface thoroughly and remove any dust or debris.
- Write guest names and table numbers using vinyl stickers, paint pens, or attach printed cards with string or clips.
- Decorate the edges with simple greenery, flowers, or ribbons to tie in wedding colors.
- Place the seating chart in a prominent area where guests can gather comfortably to view it.
Check that any glass is secure and free of cracks to avoid accidents at the venue.
Adding Decorative Touches to improve Your Signs
Adding flowers and greenery to your wedding signs brings natural beauty and can tie the sign’s look to your overall wedding theme. Faux peonies or roses in your wedding colors offer a low-maintenance way to decorate without worrying about wilting, especially if your sign will be outside for several hours. Fresh flowers look great but require careful timing to stay vibrant. Wrap floral wire or floral tape around stems before attaching them with hot glue or thin wire to avoid damage to your sign’s surface.
For evening weddings or dimly lit venues, integrating lighting into your signs makes them stand out and guides guests clearly. Battery-operated fairy lights are safe and simple to use, especially those with small LED bulbs that run cool and won’t harm materials. Secure the string lights by weaving them through vines or attaching with clear adhesive clips. Keep batteries fresh and have spares on hand to avoid dimming during your event.
Choosing supplementary decorations smartly means your sign looks elegant without becoming cluttered. Adding subtle wood accents, ribbons matching your color palette, or small metallic details can improve the style without distracting from the message. Avoid oversized or too many elements to maintain readability and cohesion with your wedding decor.
- Use faux flowers for longer-lasting, color-perfect decor matched to your wedding palette.
- Add real greenery like eucalyptus or ferns for texture and natural tone but attach them securely to prevent falling.
- Wrap fairy lights around leafy vines for evening impact; choose battery-powered LEDs for safety.
- Apply floral wire or hot glue to fix decorations firmly without damaging sign materials.
- Incorporate small wood or metallic accents to complement your theme without overcrowding the sign.
- Test lighting and attachments days before the wedding to ensure stability and brightness.
While flowers and lights improve visual appeal, balance is key. Overloading a sign with decorations can make it hard to read or detract from the sign’s function. Planning your embellishments to reflect your venue’s style and lighting conditions will help your DIY sign achieve a polished, coordinated look that welcomes guests and fits smooth into your wedding day aesthetic.
Safety and Preservation Tips for DIY Wedding Signs
Using paints and adhesives safely starts with choosing non-toxic, low-VOC products designed for craft use, especially if the signs will be handled frequently. Work in a well-ventilated area and wear gloves to avoid skin irritation. Follow the product instructions on drying times to prevent smudging or sticking, which can ruin your design.
Protecting your DIY wedding signs from weather damage is essential if your event is outdoors. Water-resistant sealants like polyurethane or marine varnish create a clear coating that shields paint and wood from moisture. Apply two to three thin coats, allowing each coat to dry for at least 4 hours. For fabric signs, consider waterproof sprays that repel rain and dew without affecting the material’s texture. Heat and sunlight can also cause fading, so UV-resistant sprays help keep colors vibrant throughout the day.
Transporting signs without damage requires careful packing and handling. Use bubble wrap or soft cloth around fragile signs to cushion them during transit. Flat signs should be kept horizontal to avoid bending, while standing signs can be broken down or collapsed if the design allows. During set-up and display, secure signs on stable surfaces or stakes driven firmly into the ground to prevent tipping in wind or crowds.
- Wear protective gloves and ensure good ventilation when applying paint or glue.
- Allow adequate drying time, commonly 24 hours before transport or sealing.
- Use two to three coats of clear waterproof sealant for outdoor signs.
- Wrap signs in bubble wrap or thick cloth for transport.
- Keep signs flat and avoid stacking heavy items on top.
- Use UV-protective spray if exposure to sunlight lasts over 3 hours.
- Secure signs firmly at the venue to prevent wind or accidental knockdown.
Signs made with these precautions usually look fresh and hold up well throughout the ceremony and reception. Signs left unprotected often suffer from water spots, peeling paint, or fading colors, resulting in a less polished appearance. Taking time for these safety measures can prevent costly last-minute replacements or damage that distracts from the event’s decor.
How to Make Directional and Functional Wedding Signs
Directional and functional wedding signs help guests find their way smoothly and reduce confusion. Creating signs that clearly point to important locations such as the parking area, ceremony site, cocktail hour, and reception maximizes your guests’ comfort. Good placement and readable design ensure signs serve their purpose without overwhelming your wedding’s style.
Start by identifying key spots guests need directions to, then choose styles that blend with your wedding theme. Rustic wood signs work well for outdoor venues, while acrylic or framed prints fit formal spaces. Placement matters most: place signs where they catch attention before a decision point, like a fork in the road or entrance to the venue. Signs near pathways or parking should be stable and visible from a distance, about 3 to 5 feet off the ground.
Keep directional signs simple yet stylish. Use concise wording like “Ceremony This Way” or “Reception →” with easy-to-read fonts at least 2 inches tall. Adding symbols like arrows or icons improve quick understanding. Using consistent colors and materials throughout your signs ties the look together. To balance aesthetics and function, combine clear information with design elements, like hand-painted lettering on distressed wood or chalkboard signs with elegant script. Follow these steps to make your directional signs for a practical, attractive result:
- List key locations guests must reach, including parking, ceremony, bathrooms, and reception areas. Keep the list focused to avoid too many signs.
- Choose materials that suit your venue’s style, such as wood, chalkboard, or acrylic. Consider weather resistance if outdoors, using sealant or protective coating.
- Select fonts and colors that match invitations or décor. Use bold, clear fonts with high contrast against the background for visibility.
- Create sign wording that is brief and direct. Include arrows or simple icons to guide clearly without clutter.
- Design layout with ample spacing so each element stands out. Avoid too many words or decorative elements that hinder readability.
- Decide placements before printing or painting. Position signs near roads leading to the venue, parking entrances, pathway junctions, and venue entrances about 3 to 5 feet high.
- Test visibility by viewing signs from a distance and in different lighting conditions. Adjust size or location for better clarity.
- Secure signs using stakes, easels, or hanging methods to prevent tipping or blowing away, especially outdoors.
Place directional signs where guests must make choices about the route, not just at the final destination, to prevent confusion and improve flow.
Budgeting and Managing Time for DIY Wedding Sign Projects
DIY wedding signs usually cost between $10 and $50 each, depending on materials and size. Using inexpensive wood or foam boards with paint and vinyl decals keeps costs low, while premium materials like stained wood and engraved acrylic signs push prices higher. Know your budget before shopping so you can pick affordable supplies without overspending.
Time needed varies by sign complexity. Simple printed or painted signs take 1 to 3 hours each. More detailed woodburned or hand-lettered designs require 5 to 8 hours or more. Allow extra time for paint drying, stenciling, lettering corrections, and assembling multi-part signs. Start early, two months before the wedding is a safe window.
Outsourcing parts of the project can streamline your process. Ordering pre-cut wood shapes or printed vinyl lettering cuts crafting time. Hiring a calligrapher to write a key sign section frees you to focus on assembly or simpler signs. Balance this against your budget since outsourcing usually adds cost, but it saves stress and improves finished quality.
| Type of DIY Wedding Sign | Typical Cost Range | Estimated Time to Complete | Outsourcing/Shortcut Options |
|---|---|---|---|
| Painted wood or poster board | $10 – $30 | 1 – 3 hours | Buy pre-cut boards, use stencils |
| Hand-lettered chalkboard | $20 – $50 | 3 – 5 hours | Pre-printed chalkboard vinyls |
| Woodburned or engraved sign | $30 – $60 | 5 – 8+ hours | Order custom engraved pieces |
| Acrylic or glass signs | $40 – $70 | 3 – 6 hours | Use printed vinyl decals |
| Directional/postal sign post assembly | $20 – $40 | 2 – 4 hours | Buy ready-made posts, pre-print signs |
Planning a schedule that staggers smaller, quicker signs with longer, more detailed ones helps keep the process manageable. Work in short sessions to avoid burnout and finish ahead of deadlines so you can make adjustments. Tracking purchases alongside timing stops overbuying or last-minute rushes. If you find you’re short on time or craft skills, pick one or two main signs to DIY and outsource or simplify the rest. Using this checklist can help organize your budget and timeline:
- Set total sign budget and number of signs needed.
- List each sign type and target cost from the table above.
- Estimate total hours per sign type and spread across your schedule.
- Research potential shortcuts or partial outsourcing to save time.
- Purchase all materials at least a month in advance to avoid rush fees.
- Plan work sessions weekly, completing simpler signs first.
- Allow extra days for drying, touch-ups, and errors.
Following a clear budget and timeline you’re more likely to finish your DIY wedding signs with less stress and at a cost you can handle, while still adding a personal touch to your big day.
Common DIY Wedding Sign Mistakes and How to Fix Them
Many DIY wedding signs suffer from lettering mistakes and weak materials, which can ruin the look and functionality. Poor lettering often happens when paint bleeds or handwriting is uneven, making signs hard to read or unprofessional. Weak materials might warp, crack, or get damaged before your wedding day, especially if exposed to weather or handling. Fixing these issues requires specific techniques to improve the final product and avoid last-minute stress.
Lettering errors are common when using permanent markers or paint without proper preparation. To fix uneven or smudged lettering, lightly sand the surface and start over with a waterproof chalk marker or paint pens specifically made for signs. Practice your lettering style on scrap wood or cardboard to maintain consistent sizing and spacing. Using stencils can also create clean lines and uniform letters, which is especially helpful for cursive or elaborate fonts.
Choosing the right materials keeps signs sturdy and looking fresh. Signs made from thin plywood or chipboard may warp if they get wet or are stored in humid places. Instead, pick medium-density fiberboard (MDF) or sanded plywood around 1/2 inch thick. Seal the surface with a weatherproof varnish or clear spray sealant to protect paint and lettering. Avoid placing signs directly on damp grass or unstable surfaces to prevent bending.
- Use waterproof paint pens or chalk markers for clean lettering.
- Practice lettering on scrap materials before writing on the main sign.
- Apply a clear, weatherproof sealant after painting to protect signs.
- Choose sturdy, water-resistant materials like MDF or sealed plywood.
- Keep signs in a dry, stable place until the event to prevent damage.
- Bring a touch-up kit with paint or markers for last-minute fixes.
- Use stencils or transfer paper to maintain letter consistency.
Sometimes signs suffer damage like scratches, fading, or chipping before the wedding. To fix scratched paint, gently sand the affected area, reapply primer if needed, then repaint and reseal. For faded colors, applying a fresh coat of paint and sealant can brighten the sign. Keep touch-up supplies handy during setup to correct any issues. In cases of severe damage, having a backup sign or a printable version available can save the day.
Ensuring signs stay neat and durable requires attention during both creation and storage. Avoid rushing lettering or skipping sealants to prevent mistakes. Allocate time in your schedule for multiple lettering attempts and drying periods. Signs that look sharp, hold up well to handling, and clearly display messages contribute significantly to your wedding’s polished atmosphere.
Step-by-Step Action Plan for Your DIY Wedding Signs
Start turning your wedding sign ideas into reality with this simple timeline. Follow these steps to stay organized and create beautiful, functional signs on time and on budget.
- Before You Start: Choose which signs you need most, such as welcome, directional, or seating charts. Confirm the number and size to avoid last-minute changes.
- Day 1: Select materials and tools based on your design and venue style. Gather everything in one workspace to streamline your crafting.
- Days 2-3: Sketch your design layouts on paper or digitally. Check proportions and readability, improving the design until it feels balanced.
- Day 4: Transfer your design onto the chosen material with pencil or stencil. Make sure lines are clear and centered before painting or decorating.
- Days 5-6: Apply paint, markers, or embellishments carefully. Let each layer dry completely to avoid smudges and faded letters.
- Day 7: Add protective coatings like sealant or clear spray. This helps preserve colors and prevents damage from weather or handling.
- Week 2: Practice placement by setting up signs at the venue. Adjust positioning and make any final fixes for maximum visibility and aesthetic appeal.
- One Week Before Wedding: Pack your signs securely for transport. Double-check you have stands or hooks ready for easy installation.
Frequently Asked Questions
What Size Should a DIY Wedding Sign Be?
The ideal size depends on placement and visibility, usually 18×24 inches works well for welcome signs. Larger signs suit outdoors or big venues, while smaller ones fit intimate settings better.
How Can I Make a Weather-Resistant Wedding Sign?
Use waterproof materials like acrylic or treated wood and seal with outdoor-grade varnish. This protects your sign from rain or sun during outdoor ceremonies.
Is Handwriting or Stenciling Better for DIY Wedding Signs?
Both are good, but stenciling offers cleaner, more uniform letters, while handwriting adds a personal touch. Choose what fits your style and skill level best.
Can I Reuse My DIY Wedding Sign for Another Event?
Yes, signs with neutral designs and removable personalized details like names or dates can be used again. Storing them properly extends their lifespan.
What Are Budget-Friendly Materials for DIY Wedding Signs?
Cardboard, plywood, chalkboard paint, and acrylic sheets are affordable and versatile. Dollar stores often carry supplies that look high-end when decorated thoughtfully.
How Long Does It Typically Take to Create a DIY Wedding Sign?
Most signs take a few hours to a day, depending on complexity and drying time for paints or sealants. Planning ahead helps avoid last-minute stress.
Before You Go
Creating your own wedding signs lets you add a personal, budget-friendly touch that complements your wedding style. Start by selecting your top three signs and gathering your materials today. This simple step sets you on a path to crafting memorable, charming signs that welcome and guide your guests with ease.