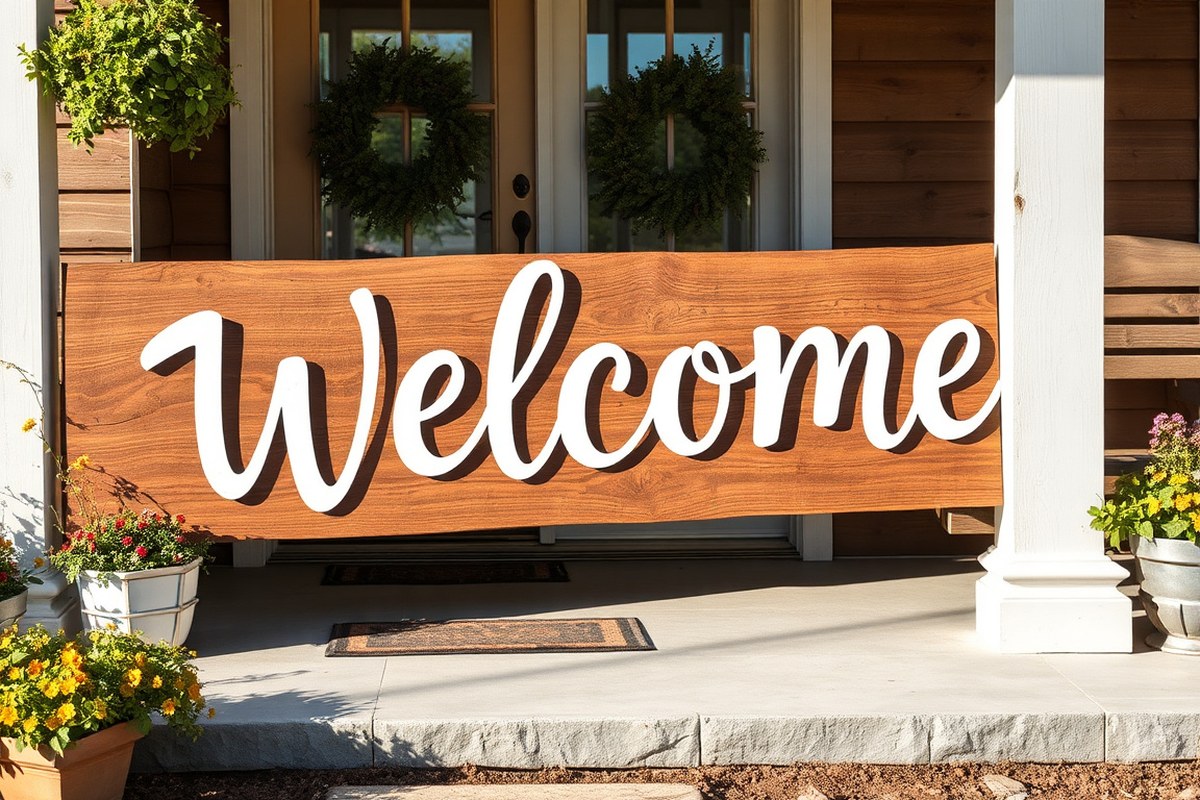
Diy Welcome Sign: 8 Easy Methods to Create Your Perfect Door Decor
Creating a DIY welcome sign can add a personal touch to your home’s entrance without spending much money. Simple materials like wood and paint can help you craft a charming sign in under an hour. Start with basic tools and plan your design to match your home’s style for the best results.
Key Takeaways
- Choose affordable materials like cedar wood or reclaimed boards to keep your project under $20.
- Use vinyl decals or stencils for clean, custom lettering that looks professional and lasts.
- Pick a sign size that complements your door, too big can overwhelm, too small might go unnoticed.
- Seasonal interchangeable signs offer a quick way to refresh your front door decor throughout the year.
- Gather essential tools upfront: sandpaper, paint brushes, measuring tape, and a drill make the process smoother.
- Test your design on scrap wood before committing to the final sign to avoid costly mistakes.
1. Essential Materials and Tools for a DIY Welcome Sign
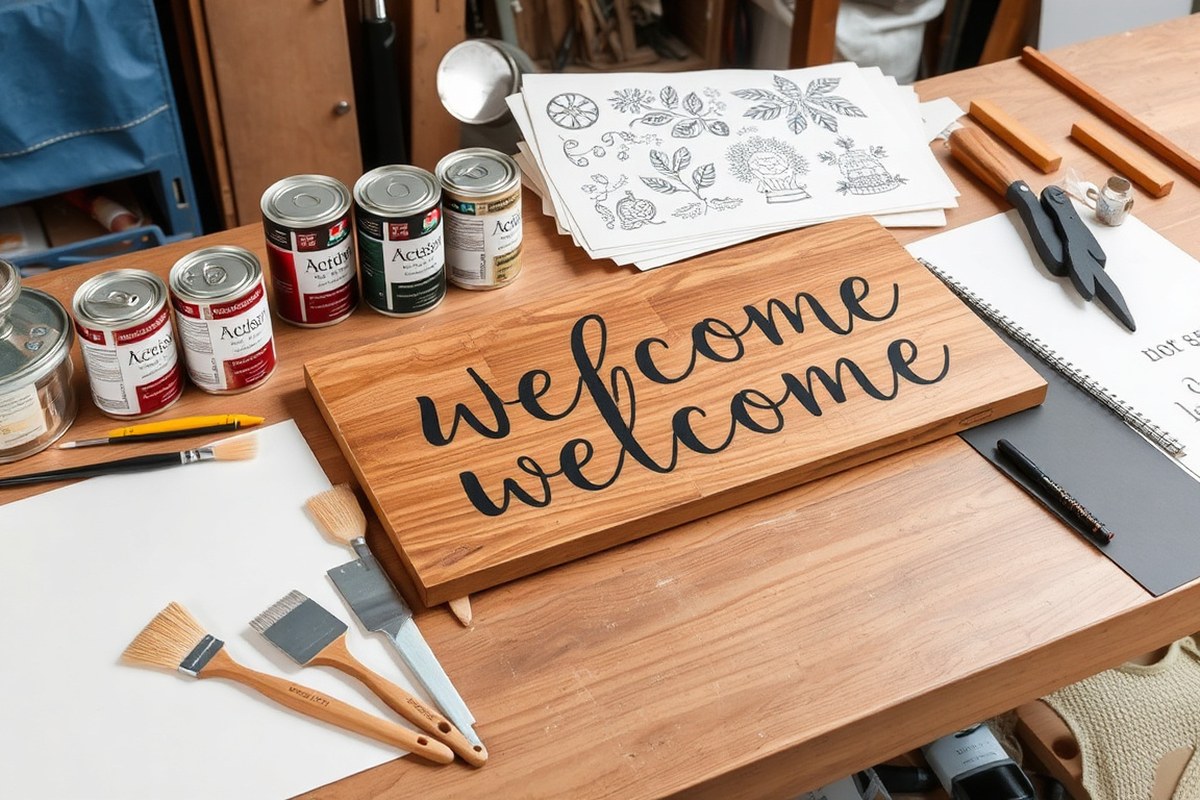
Creating a DIY welcome sign requires selecting the right materials and tools to fit your style and budget. For a classic wooden sign, choose wood types like cedar or pine, which balance durability with affordability. Cedar resists weather better but costs about $15 to $25 per 1×6-foot board, while pine typically runs $7 to $12. For paint, acrylic or outdoor latex paint works well to withstand outdoor conditions. Seal the sign with a clear polyurethane or exterior varnish to boost longevity.
Tools depend on your design. A basic setup includes a hand saw or power saw to cut wood, sandpaper for smoothing edges, brushes or foam rollers for painting, and a drill if you want to add hanging hardware. Many prefer using vinyl decals and stencils for clean lettering. Owning a vinyl cutter is not necessary; using printable stencil sheets or letter transfers from craft stores is a budget-friendly option. You can paint over these stencils with a small brush for professional-looking results without the cost of machines, typically $20 to $40 each.
- Wood board (cedar for durability, pine for budget): $7, $25 per board
- Acrylic or exterior latex paint: $5, $15 per color
- Clear outdoor sealant or polyurethane: $10, $20 per can
- Cutting tools (hand saw, power saw, or jigsaw)
- Sandpaper or sanding block (medium and fine grits)
- Brushes/foam rollers for painting
- Vinyl decal sheets, printable stencils, or letter transfers (alternatives to vinyl cutting machines)
To keep costs down, use pine boards along with paint and stencils rather than vinyl decals. Craft stores offer letter transfer kits for under $10, which only require scissors and paint. Avoid vinyl cutting machines if your project is small or a one-timer, as cutters cost over $150 upfront. For beginners, sanding edges thoroughly ensures paint adheres without peeling. Apply two thin coats of paint rather than one thick coat for a smoother finish that won’t crack.
Your sign’s stability matters too. Thicker wood boards (around 3/4 inch) provide weather resistance and feel substantial. Attach hanging hardware or saw kerfs at the back for mounting on porch walls or fences. Remember to protect your work surface with craft paper or drop cloths during painting and always work in a well-ventilated area when using sealants.
2. Choosing Your Welcome Sign Style and Size
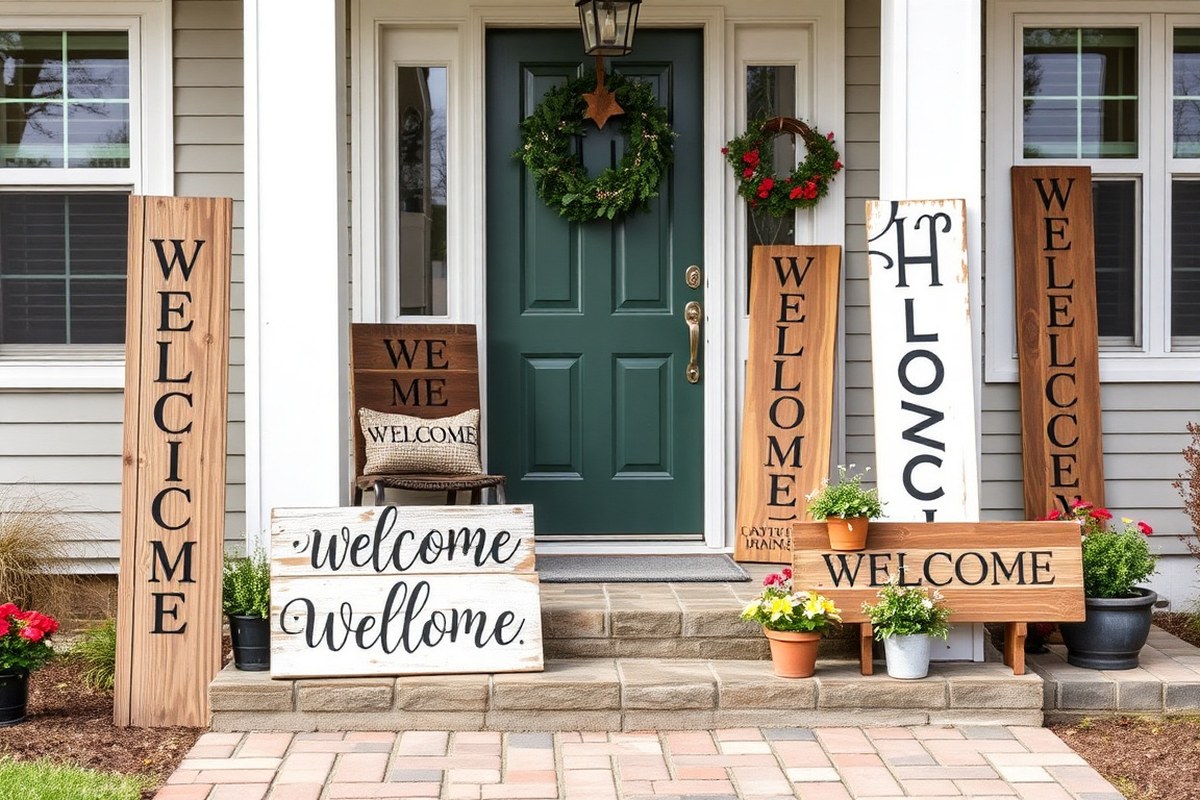
Choosing the right size and style for your welcome sign depends largely on where you plan to display it and the look you want to achieve. A sign that’s too small can get lost near a large door or wide porch, while an oversized sign might overwhelm a narrow entryway. A practical rule is to measure the available wall or door space and pick a sign that uses roughly 60 to 80 percent of that width, ensuring visibility without crowding. For example, a common finished size for many DIY signs is about 26 inches long by 10.5 inches high, which fits well on most standard front doors or porch walls.
Legibility greatly depends on your font and design choices. Bold, sans-serif fonts or simple script fonts like Blackfat Script and Acres (used in some popular DIY projects) make words easy to read from several feet away. Avoid overly intricate or thin fonts, as they can blur at a distance, especially outdoors. High contrast, such as light-colored letters against a dark background, boosts readability. Before finalising your font, print it out at full size to see if the letters stand out clearly and are easy to read from about 6 to 10 feet away, the typical viewing distance for a porch sign.
Welcome signs can express many themes or personal styles. Classics like farmhouse or rustic styles fit well with natural wood and simple block letters, while coastal or garden themes work nicely with brighter colours and decorative elements like twine. Seasonal signs or interchangeable boards add versatility, allowing you to change greetings or designs throughout the year. Choosing a theme helps guide your colour, font, and decoration choices, making the project more cohesive and visually appealing. Here’s a simple comparison table to help you decide style and size based on common entryway types and themes:
| Entryway Size | Recommended Sign Size | Font Style | Suitable Themes |
|---|---|---|---|
| Narrow Door (20-26 inches wide) | 18″ to 22″ long | Simple Script or Bold Sans-Serif | Farmhouse, Modern Minimalist |
| Standard Door (28-36 inches wide) | 24″ to 30″ long | Friendly Script (e.g. Blackfat Script), Block Letters | Rustic, Coastal, Southern Charm |
| Wide Porch Wall | 36″ to 48″ long | Bold Block or Mixed Styles | Farmhouse, Garden, Seasonal |
| Garden or Yard Display | Varies – usually larger for visibility | Bold Sans-Serif, Playful Script | Garden, Seasonal, Personalized Themes |
Experimenting with different fonts on scrap wood or paper helps visualize your sign before committing. Plan your colour scheme to ensure good contrast against your home’s exterior paint or porch décor. Creative themes can include layering materials like plywood and twine or cutting out cardboard letters for a 3D effect. Your welcome sign should feel inviting and reflect your personal style, whether that means a warm “Welcome to Our Home,” a cheerful “Aloha,” or a seasonal greeting.
Test your font and size in the space before finalizing to avoid a sign that’s hard to read or doesn’t fit well. Sanding your wood smooth before staining or painting improves the look and durability of your design.
3. Step-by-Step Instructions for a Wooden Welcome Sign
Building a wooden welcome sign involves cutting your wood to size, preparing the surface, applying stain or paint, adding your lettering, and sealing the finished piece. The total project time can range from about 1 to 3 hours, depending on drying times and the complexity of your design. Following safety rules when working with stains and sealers helps keep your project safe and enjoyable.
Preparing and Cutting the Wood
Start by selecting a wood board that fits the size you want for your welcome sign. Common choices include pine, cedar, or reclaimed barn wood for a rustic look. Measure and mark your board to your desired dimensions, often something around 12 by 24 inches or larger for porch signs.
Use a saw suitable for your woodworking skill level, a handsaw or circular saw, to cut along your marks. After cutting, smooth the edges and surface with medium and then fine-grit sandpaper. This step ensures paint or stain will apply evenly and prevents rough spots.
Applying Stain or Paint Safely
Choose a wood stain or paint that works for indoor or outdoor use, depending on where you plan to display the sign. Apply your stain or paint in a well-ventilated area or outside, wearing gloves and a mask if needed to avoid inhaling fumes. Keep rags away from flames, as some wood stains are flammable.
Use a foam brush for stain or a flat paintbrush for paint, spreading it evenly along the grain or surface. Apply thin coats and wipe off excess stain with a clean cloth to prevent blotchy spots.
Adding Lettering and Sealing the Sign
After your base coat dries, apply your lettering with stencils, vinyl decals, or hand-painting. Stencils help beginners create neat letters, while vinyl decals offer a clean, professional look. Use acrylic paint or outdoor paint for lettering if the sign will be outside.
Once the lettering is dry, seal your sign with a clear wood sealer or polyurethane to protect against weather and wear. Apply two to three thin coats, allowing each to dry completely between applications.
Best Practices for Drying and Curing
Allow each coat of stain, paint, or sealer to dry fully before applying the next. Drying times vary by brand and environmental conditions but typically range from 2 to 4 hours per coat. Ideal drying temperatures are between 65 and 80 degrees Fahrenheit, with low humidity.
After the final coat, let the sign cure for 24 to 48 hours to harden the finish. This step is important for durability, especially if the sign will be hung outdoors.
- Measure and mark your wood board to the desired size.
- Cut the wood using a proper saw and sand all surfaces smooth.
- Apply a thin coat of wood stain or paint in a ventilated area, wearing protective gloves and mask.
- Let the first coat dry completely, then apply additional coats as needed.
- Place stencils or decals and paint the lettering carefully with acrylic paint.
- After letters dry, apply two to three thin coats of clear sealer, allowing drying time between coats.
- Let the final coat cure for 24 to 48 hours before use or display.
4. Using Vinyl Decals and Stencils for Custom Lettering
Customizing a welcome sign using vinyl decals or stencils gives you clean, professional lettering and designs without needing advanced freehand skills. Vinyl cutting machines let you create precise, reusable templates, while hand-cut stencils can be an affordable alternative. Both methods allow you to transfer your chosen message neatly onto your sign, adding a polished and personalized touch.
Cutting and Weeding Vinyl Decals
Start with a design you like on your computer or use a free printable from an online library. Vinyl cutting machines, such as the Silhouette Cameo, cut out your design on adhesive vinyl sheets. This method is precise and creates sharp edges for letters. Once cut, you’ll need to weed the vinyl, meaning carefully peel away the excess material around and inside the letters to leave only the lettering and design elements you want to apply.
- Prepare your design file and load the adhesive vinyl sheet into the cutting machine.
- Cut the vinyl, ensuring the blade and settings match material thickness (typically 1-2 mm deep).
- Remove the vinyl from the machine and trim to reduce excess around the design.
- Use a weeding hook or tweezers to peel away the parts of vinyl outside the lettering and inside letter holes.
- Apply transfer tape over the weeded vinyl to lift the entire design from its backing.
- Position the transfer tape with the vinyl lettering onto your sign’s surface.
- Press firmly using a scraper tool or credit card to adhere the vinyl letters onto the sign.
- Slowly peel away the transfer tape, leaving the vinyl lettering on the sign.
Accurate weeding and proper use of transfer tape helps achieve a crisp, professional look. Vinyl sheets cost around $2 to $5 per 12×12-inch sheet, making it an affordable way to customize many signs.
Applying Stencils and Paint Without Bleeding
Hand-cut or pre-made stencils can create professional lettering using paint instead of vinyl. Choose a stencil material like Mylar or cardstock, which resists paint bleeding. Secure the stencil firmly on your sign with painter’s tape. Use a dry brush or stencil sponge and apply paint with light tapping motions to avoid pushing paint under the edges.
- Print or draw your lettering design on stencil material and carefully cut out the letters using a craft knife.
- Position the stencil on your dry sign and tape the edges to keep it flat and secure.
- Dip your stencil brush or sponge lightly into the paint and remove excess on a paper towel.
- Apply paint using a tapping or pouncing motion rather than brushing side-to-side.
- Remove the stencil carefully before the paint fully dries to avoid lifting paint off the sign.
- Allow paint to dry for at least 1 to 2 hours, or longer if outdoor conditions are humid or cool.
Using paint with a thicker consistency (acrylic or outdoor craft paint) reduces bleed risk. Stencils cost from under $5 for basic pre-made sets up to $15 for custom materials.
Fixing Common Lettering Mistakes
Bubbles in vinyl decals usually occur if air gets trapped during application. Gently lifting the vinyl and repositioning while smoothing with a scraper can reduce bubbles early on. If bubbles are stubborn, use a pin to poke a tiny hole, then press out the air. Clean surfaces before application to improve adhesion and reduce lift.
Paint bleeding under stencils often happens when too much paint is applied or the stencil moves during painting. Correct this by sanding light bleed spots with fine-grit sandpaper after the paint dries, then touch up with a small artist brush matching your sign’s background color.
Sometimes letters may misalign slightly. For vinyl, carefully lift the affected letter and reposition it promptly. With paint stencils, minor smudges can be cleaned up with a damp cloth before drying or painted over carefully once dry. Taking your time during each step avoids these common errors and keeps your welcome sign looking sharp.
5. Creating Seasonal and Interchangeable Welcome Signs
You can create a DIY welcome sign that changes with the seasons or special occasions by designing it with interchangeable components. Using removable elements attached by hooks, Velcro, or magnetic strips makes updating your sign simple and fun. This approach lets you celebrate holidays or seasons without making an entirely new sign each time.
Designing the Base Sign for Interchangeability
Start by building a solid, neutral base sign that fits your home’s style. Choose materials like wood or sturdy plastic with a smooth surface so seasonal parts stick well and remove easily. A classic rectangular shape around 12 to 18 inches wide and 6 to 12 inches tall offers enough space to showcase interchangeable decorations.
Plan where you’ll attach changeable pieces like letters, symbols, or decorative cutouts. Leave these areas clear of permanent paint or writing so they stand out when swapped out. Using a reversible or double-sided base can add versatility.
Making and Attaching Seasonal Inserts or Decor
Prepare seasonal inserts or decor elements sized to match the designated interchangeable spaces on the base. Use lightweight materials such as thin plywood, felt, or foam board for easy attachment and removal. Create themed decorations for fall (mini wreaths or leaves), winter (holly or snowflakes), spring (flowers or butterflies), and summer (beach motifs or suns).
Attach hooks, Velcro strips, or small magnets both to the base and to the back of each interchangeable piece. Test the attachment for secure hold during outdoor exposure or wind. Strong Velcro strips sized about 1 to 2 inches work well for most setups, and magnetic tape can provide a clean look but requires metal backing on the base.
- Choose a base with space for changeable components.
- Create multiple decor inserts sized to fit the base.
- Attach removable fasteners (hooks, Velcro, or magnets) to inserts and base.
- Swap inserts according to season or occasion.
- Store unused inserts properly.
Test attachment strength before hanging your sign to avoid losing parts in wind or rain.
Storage Solutions for Off-Season Components
Keep interchangeable pieces organized and protected during off seasons. Use a plastic storage bin or a labeled box lined with soft tissue paper to prevent scratches or dents. Avoid stacking heavy items on top of delicate pieces like wreaths.
Store the base sign separately or hang it somewhere accessible so you can quickly refresh the decor. Clear storage containers priced around $10 to $20 offer visibility and protection while keeping everything in one place. Dehumidify the storage space if possible to extend the life of wooden or fabric components.
6. Budgeting Your DIY Welcome Sign Project
Creating a personalized welcome sign can cost as little as $10 to $20 if you plan carefully and use budget-friendly materials. The biggest expenses often come from wood, paint, and tools, but you can keep costs low by repurposing scrap materials and choosing affordable paint options. Repurposed wood can be found for free or very cheap from old pallets or leftover trim, and acrylic paint often costs less than specialty paints but still provides vibrant, lasting color.
Shopping at discount stores for paintbrushes, stencils, or small hardware items can also reduce expenses. While some specialized supplies can improve your sign’s finish, you don’t need to spend much to get a stylish and durable product. For example, instead of buying a new wooden board, a smooth scrap of plywood or an old cabinet door can serve as a solid base. Acrylic craft paints typically range from $1 to $3 per bottle, keeping the total well below $20 if you don’t need new brushes or wood.
| Material | Cost Range | Budget Tips |
|---|---|---|
| Wood | $0 to $10 | Use scrap wood, old pallets, or leftover trim |
| Paint (Acrylic) | $1-$3 per bottle | Buy small bottles from craft or dollar stores |
| Paintbrushes | $1-$5 each | Reuse brushes if possible or buy multipacks |
| Stencils or Vinyl Decals | $0 to $5 | Create your own stencils or use printable vinyl sheets |
| Sealer (Optional) | $3-$8 | Use leftover sealers or skip for indoor signs |
Avoiding specialty wood or premium paints is the most effective way to save money. If you plan to keep your sign outdoors long-term, spending a few extra dollars on a weatherproof sealer might be worth it, but for indoor or covered porch signs, acrylic paint alone is usually enough. You can also make your own stencils with paper or cardboard to save on vinyl decals, although printed vinyl sheets offer easier application for beginners.
Choosing budget options might mean a bit more prep work, such as sanding rough wood or cutting your own stencils, but these steps do not cost money and add to the personal touch of your sign. The most expensive tools, like power drills or saws, are not mandatory for every style and can often be borrowed or skipped.
7. Avoiding and Fixing Common DIY Welcome Sign Mistakes
Common mistakes in making a DIY welcome sign can make your project look less polished. One frequent error is uneven painting or lettering, often due to rushing or skipping proper surface preparation. To avoid this, sand your wood smoothly and wipe it clean before applying paint or vinyl. Using painter’s tape or properly applied stencil adhesive helps keep paint inside the lines and reduces bleeding. Allowing each paint layer to dry fully, usually 1 to 2 hours depending on temperature and humidity, prevents smudging or running.
Paint bleeding happens when paint seeps under stencil edges. Fix it by applying a thin base coat before stenciling and pressing the stencil firmly. Use a stippling brush or sponge with minimal paint rather than a large brush. When paint bleeds despite precautions, wait for it to dry, then carefully scrape off excess with a craft knife or lightly sand the edges before repainting.
- Prevent vinyl bubbles by cleaning the surface with isopropyl alcohol before application.
- Apply vinyl decals slowly from one edge, smoothing out bubbles with a plastic scraper or credit card.
- Heat stubborn vinyl bubbles gently using a hair dryer to soften the material, then press them out.
- Choose outdoor-rated paint and sealers for longer-lasting signs exposed to weather.
- Keep lettering size balanced to avoid overcrowding or hard-to-read signs.
- Double-check spelling and layout before painting or applying vinyl to avoid costly fixes.
- Allow at least 24 hours for all paint and sealants to cure before hanging or handling your sign.
Vinyl bubbles appear when air gets trapped during decal application. Cleaning the wood surface removes oils and dust, which interfere with adhesion. Slowly applying the vinyl lets you work out the air in small sections for a smooth finish. Bubbles that remain can be warmed to make the vinyl more flexible and easier to flatten.
Uneven edges or lettering size inconsistencies can make your welcome sign look amateurish. Carefully planning your layout on paper then transferring it with a grid or chalk lines improves symmetry and spacing. Avoid overcrowding text by choosing a readable font size for the sign’s dimensions, such as letters at least 2 inches tall on a 12-by-18 inch board.
Letting paint and sealer cure fully helps ensure your sign withstands handling and outdoor conditions like rain or sun. Using quality, weatherproof materials might increase the project cost by 10 to 20 percent, but it prevents peeling or fading, saving money on repairs or replacements.
8. Hanging, Displaying, and Protecting Your Finished Sign
Mounting your finished welcome sign properly ensures it stays secure and looks great. For heavy wooden signs, use sturdy hanging hardware like D-ring hangers or sawtooth hangers screwed into the back, ideally spaced evenly near the top edge. Hang your sign on nails or screws anchored into wall studs to provide extra support when mounting it on a wall. For lighter signs, adhesive hooks or Command strips can work but are better indoors or on smooth surfaces. You can also lean large signs against a wall on a porch or inside your entryway for a casual look, avoiding extra wall damage.
Protecting your welcome sign for outdoor use extends its life and keeps your design sharp. Start by choosing wood types that handle weather well, such as cedar, redwood, or treated pine. These woods resist rot and insect damage better than untreated softwoods, which may last only one season outdoors. Once your sign is dry and painted or decorated, apply at least two coats of a clear, water-based exterior sealer or marine varnish. Allow 24 hours of drying time between coats and cure for a week before outdoor exposure. These sealers block moisture and UV rays, preventing warping and fading.
Specific situations affect your display and protection approach. For signs exposed to direct rain and sunlight, apply an outdoor polyurethane sealer rated for decks or boats, as these formulas offer stronger protection against cracking and sun damage. Place your sign in a covered location like under a porch roof, and regular exterior acrylic spray sealers typically provide enough protection. In cold climates, wood can expand and contract seasonally. Leave a small gap between hanging hardware and the wall or use flexible hangers to reduce pressure on screws and nails. Attach hooks or a hanging system that allows you to swap seasonal signs easily without needing to remount hardware.
After sealing, maintain your sign by wiping it down every few months with a damp cloth to remove dust, then reapply sealer once a year or when you notice signs of wear such as dulling or peeling. Outdoor signs can cost between $10 to $25 in sealant materials depending on size, a small investment to protect a larger DIY project. Quality hardware costs $5 to $15 but prevents accidents or damage to your walls or sign.
Always allow full drying and curing times for sealants outdoors to avoid trapped moisture that leads to peeling or mold growth.
Step-by-Step Action Plan
Follow these simple steps to create and display your personalized DIY welcome sign with confidence.
- Day 1: Gather your tools and materials listed in the article to ensure you have everything on hand before starting. Verify all items are ready by checking your workspace is clean and organized.
- Day 2: Choose the style and size of your sign based on your home’s entry space and your decorating preferences. Confirm your choice by measuring the area where you plan to hang your sign.
- Day 3: Cut and prepare the wooden base or purchase a suitable blank sign. Check that edges are smooth and the wood surface is clean before moving on.
- Day 4: Apply your chosen lettering method using vinyl decals or stencils carefully, ensuring letters are straight and centered. Step back and view the sign to confirm the design looks balanced.
- Day 5: Paint or seal your sign to protect it from weather and wear. Allow full drying time as specified on the product label and check for an even finish before handling further.
- Day 6: Attach hanging hardware securely based on the weight and location of your sign. Test by gently pulling on the hardware to see that it holds firm.
- Day 7: Hang your sign in the chosen spot and adjust as needed for the best visibility and style impact. Confirm that the sign hangs straight and is easily readable from your entry view.
Frequently Asked Questions
What Materials Can I Use Besides Wood for a DIY Welcome Sign?
You can use metal, canvas, or reclaimed materials for a unique welcome sign. Different materials change the look and durability, so choose based on your decor and how your sign will be displayed.
How Can I Weatherproof My DIY Welcome Sign for Outdoor Use?
Apply polyurethane or exterior-grade sealants to protect it from moisture and UV rays. Proper sealing extends your sign’s life and keeps colors vibrant even in harsh weather.
Can I Personalize a Welcome Sign for Special Occasions?
Yes, create interchangeable elements or attach seasonal decorations to adapt your sign easily. This lets you celebrate holidays or events without making a new sign each time.
What Is the Best Way to Attach Vinyl Decals on Textured Wood?
Clean and lightly sand the surface to ensure decals stick well on textured wood. Smooth application prevents peeling and keeps your lettering crisp and readable.
How Do I Make My DIY Welcome Sign Visible at Night?
Add solar-powered LED lights or reflective paint for nighttime visibility. Lighting improve safety and makes your sign inviting during evening hours.
Can I Recycle Old Materials to Make a Welcome Sign?
Repurposing wood from pallets or old furniture works well and adds character. Recycling reduces cost and environmental impact while creating a distinctive sign.
The Bottom Line
Your DIY welcome sign can be a charming and personalized addition to your home’s entryway, reflecting your style and creativity. Take your time with each step to ensure a polished and durable result you’ll enjoy year-round. Start today by selecting your materials and envisioning the perfect spot to display your new sign.