Garden Sign Ideas: 10 Creative Ways to Beautify Your Outdoor Space
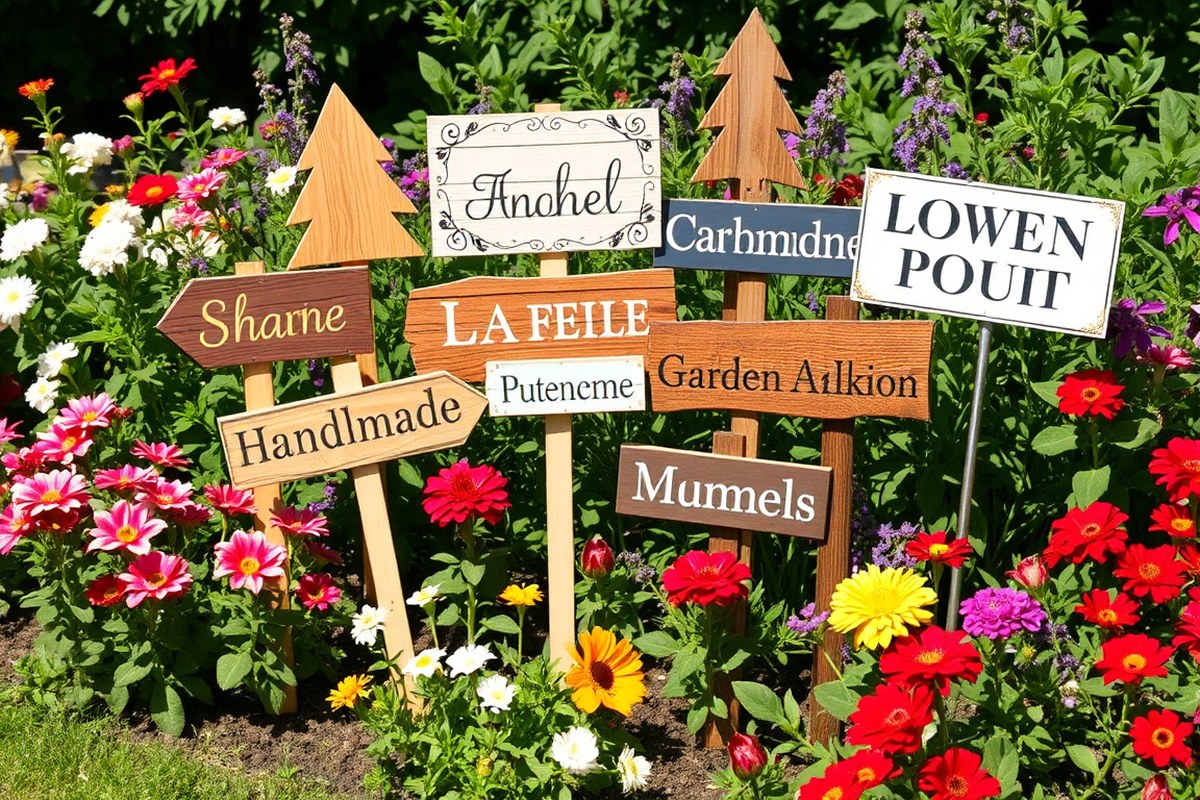
Garden sign ideas can transform a dull outdoor space into a personal and inviting garden. Using creative signs helps you mark plants, add humor, or highlight areas, giving character and charm. Start by choosing a style that fits your garden’s theme to unify its look and feel.
Key Takeaways
- Choose signs that reflect your garden’s style, from rustic wood to vibrant colorful flags.
- Use weather-resistant materials to ensure your garden signs last through seasons.
- Incorporate quirky sayings to inject personality and make your garden more welcoming.
- Label plants with clear, artistic signs to keep track of your garden’s layout.
- Create signs in sizes appropriate to the space to avoid clutter and maintain balance.
- Consider using fabric paint for easy, colorful signs on garden flag blanks.
1. 10 Creative Garden Sign Ideas with Styles and Uses
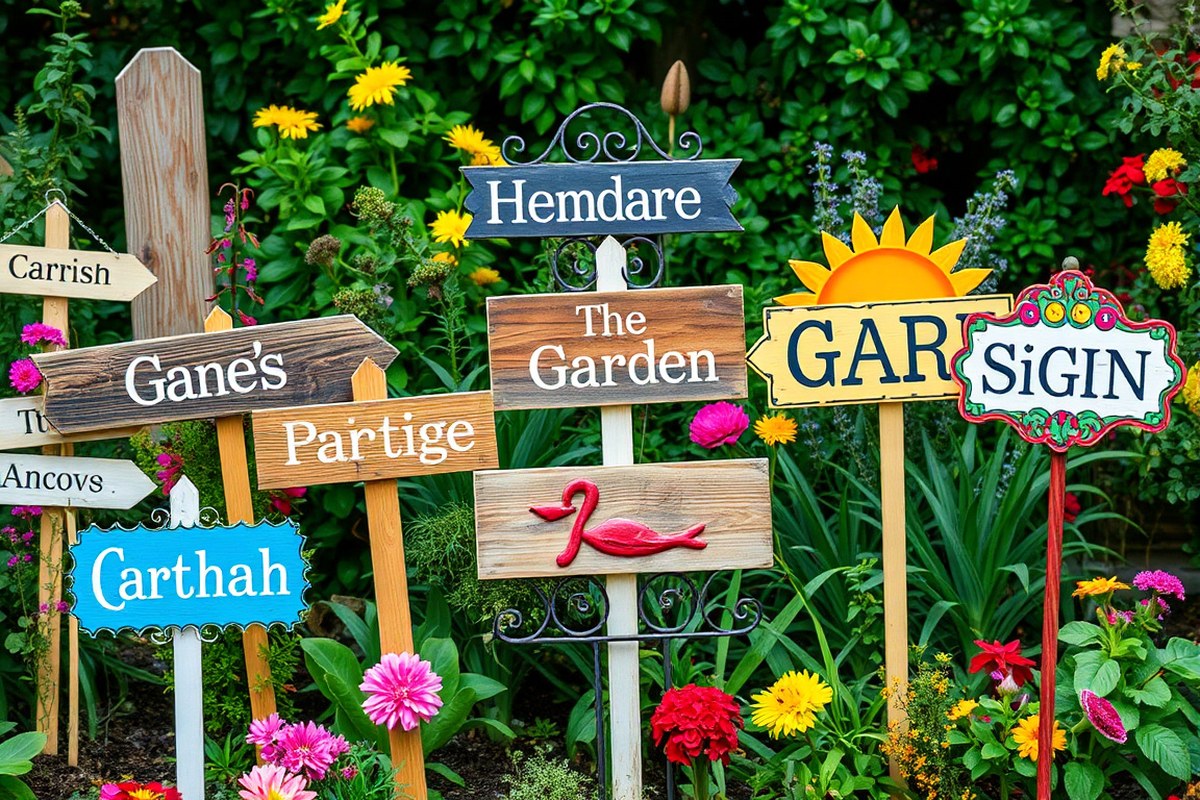
Garden signs can bring personality, charm, and useful information to your outdoor space. Choosing a creative style depends on your garden’s theme, your personality, and the message you want to share. Signs can be humorous, sentimental, practical, or purely decorative, made from various materials that suit your style and budget.
Wooden signs with rustic, hand-painted lettering often add warmth and a classic charm. Using reclaimed wood or driftwood adds a natural, eco-friendly touch. Metal signs with bold colors and modern fonts stand out in contemporary gardens, while stone or ceramic plaques work well in formal or Mediterranean-style gardens. Bright, whimsical signs with quirky sayings bring a playful feel, perfect for family-friendly spaces.
Humor and personal messages make garden signs memorable. Funny lines like “Weed it and Reap” or “Gardeners Know All the Dirt” lighten the mood and invite smiles. Positive quotes such as “Grow Through What You Go Through” inspire resilience and joy. Personal milestones like “First Tomato Harvest” mark your gardening progress and create sentimental value, encouraging ongoing care. Here are some creative garden sign ideas that cover styles and uses to inspire you:
- Rustic wooden sign with plant names hand-painted in white on dark-stained wood for an organic look
- Metal plaque with bright enamel paint, featuring witty gardening sayings to entertain visitors
- Stone marker engraved with inspirational quotes about growth and nature for a serene spot
- Recycled pallet-wood sign with colorful letters to label vegetable patches and guide harvests
- Chalkboard sign mounted on a stake for changing seasonal messages or plant care tips
- Whimsical garden stake shaped like a flower, with a humorous greeting or family name
- Hand-painted ceramic tile displaying your garden’s name with bright underglaze colors for durability
Choosing a style that fits your garden’s character shapes the atmosphere and reflects your tastes. Incorporating humor or heartfelt messages invites connection with visitors and adds uniqueness. Whether you want to teach about plants, mark milestones, or just brighten the space, the right garden sign delivers both function and personality.
2. Choosing the Best Materials for Long-Lasting Signs
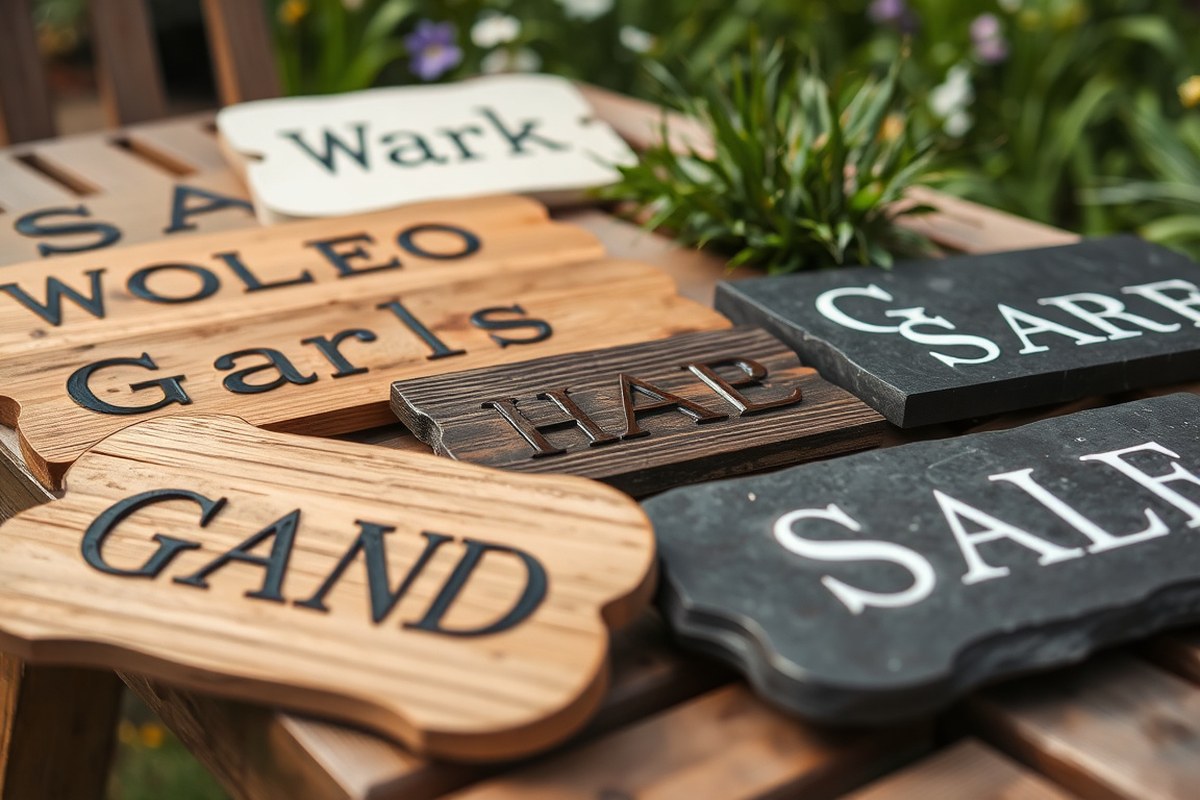
Choosing the right material for your garden signs impacts their durability, style, cost, and ability to resist weather. Wood offers a natural and rustic look that suits many garden themes, especially when painted or stenciled with your garden’s name or plant types. Thicker wood pieces allow you to hammer nails at angles for easy propping or attach stakes for stability. Metal signs provide strong support and weather resistance, especially if supported by metal posts or hooks, and they add a sophisticated touch. Glass signs bring elegance but need protective mounting to prevent breakage and require etched designs to avoid glare. Bamboo stands out as an eco-friendly option that balances style and sustainability.
Costs vary with material and preparation. Wood signs can cost around $10 to $30 for blanks, plus paint and finish. Metal signs may run $20 to $50 depending on thickness and treatment, while glass signs usually start above $40 due to etching and fragility. Bamboo blanks provide a budget-friendly, renewable choice, often under $15 each. Weather protection is important for all materials to extend lifespan; sealing wood with outdoor polyurethane or varnish and painting metal with rust-resistant coatings help prevent damage from moisture and UV rays.
| Material | Benefits | Cost Range | Weather Resistance | Style Notes |
|---|---|---|---|---|
| Wood | Natural look, easy to customize, can be stenciled or painted | $10-$30 per blank | Needs sealing or varnishing to prevent rot | Rustic, vintage, or Victorian garden styles |
| Metal (e.g., copper, decorative steel) | Highly durable, strong, weather and rust resistant with coating | $20-$50 | Minimal; some require anti-rust paint or treatment | Sophisticated, modern, or elegant with quote signs |
| Glass (etched) | Elegant reflection of light, unique garden feature | $40 and up | Fragile; must be mounted securely on metal posts | Formal or upscale garden spaces |
| Bamboo | Eco-friendly, renewable, lightweight | Under $15 | Fairly weather-resistant but benefits from sealing | Natural, sustainable, casual garden themes |
Proper protection improves the signs’ lifespan regardless of material. Wood benefits from applying two coats of outdoor polyurethane or marine varnish, allowing each coat to dry about 24 hours. Metal signs should receive rust-inhibiting primer and paint if they aren’t pre-treated. Bamboo signs last longer with a natural oil finish or light clear coat to resist moisture. Glass signs require a sturdy mounting system, such as a decorative metal post, to prevent breakage from wind or impact.
Tip: Use metal garden sign hooks or stakes to securely hang or support your signs, reducing movement that can cause wear and breakage.
3. Easy DIY Garden Sign Projects for Beginners
Creating your own garden sign can be both fulfilling and straightforward, even for beginners. With just a few basic supplies and some creative flair, you can make a charming wooden sign that personalizes your outdoor space. This project takes about two hours and costs around $15 to $25, depending on the materials you choose.
Materials and Tools Needed
To start your garden sign project, gather some simple and affordable materials. You’ll need a wooden slat or board; a piece about 6 to 12 inches wide and 12 to 18 inches long works well for visibility in most gardens. Acrylic craft paint in colors like white, green, or black provides good coverage and holds up outdoors. Include some paintbrushes in different sizes, a stencil or pencil for lettering, and a sealant spray to protect your sign from weather.
Tools consist of sandpaper to smooth the wood’s surface, a hammer and nails or a drill if you want to attach stakes for planting the sign upright, and a ruler or tape measure to keep your design balanced. Optional items are wooden letters that you can glue on for a raised effect, and twine or wire if you plan to hang the sign instead of staking it.
Step-By-Step Tutorial for a Painted Wooden Sign
Follow these steps to create a simple, beginner-friendly wooden garden sign. This approach allows you to customize with any message or plant name.
- Select and prepare the wood. Choose a smooth wooden slat and sand the surface lightly to remove splinters. Wipe clean with a damp cloth.
- Prime the wood with a base coat. Apply one coat of white or light-colored acrylic paint to create a blank canvas. Let it dry for about 30 minutes.
- Sketch your design. Use a pencil or stencil to draw your garden sign message or image lightly onto the dry base coat. Keep letters simple and bold for easy reading from a distance.
- Paint the letters and decorations. Fill in your design using small brushes and contrasting paint colors. Two coats may be needed for good coverage, drying 15 minutes between coats.
- Seal the sign for outdoor durability. Spray a clear waterproof acrylic sealant over the entire sign. Apply 2 to 3 light coats, allowing 15 minutes of drying time between coats.
- Attach stakes or hanging hardware if needed. Hammer small nails into the bottom for stakes or fix hooks on the back for hanging.
- Let your sign cure. Allow it to dry in a shaded, well-ventilated area for 24 hours before placing in your garden.
Budget and Time Estimates
This garden sign project typically costs between $15 and $25. Basic wood slats can be found for around $5 to $10 at hardware stores or even free from repurposed scrap wood. Acrylic paint and brushes usually cost under $15 for enough supplies to complete several signs. A can of acrylic sealant spray ranges from $5 to $10 and lasts for multiple seals.
Expect to spend roughly two hours from start to finish. Drying times between paint coats add to the process but can be used to prepare your next sign or gather supplies. This timeline offers a satisfying pace without rushing, helping ensure your design looks neat and your sign lasts outdoors.
4. Personalizing Garden Signs for Plants and Themes
Customizing garden signs with plant names, quotes, or artistic touches lets you add personality while helping you stay organized. You can match the sign’s style to your garden’s theme through color, materials, and design. Using techniques like carving, painting, or assembling natural elements creates unique markers that blend function and charm.
Marking Herbs and Vegetables Clearly
Labeling herbs and vegetables helps you identify plants easily and track growth. Popular methods include staining, burning, or stenciling the plant name onto wooden signs. You can also use metal cutouts of plant names for a sleek, modern look that withstands moisture well. Attaching a small ceramic sign to a pot works great for container gardens indoors or out. To label herbs or vegetables:
- Choose a durable material like cedar wood or metal that resists moisture.
- Use a stencil or wood-burning tool to add plant names accurately.
- Apply weatherproof paint or sealant after lettering for longer durability.
- Attach the sign to a wood or metal stake before placing it in the soil.
- Consider matching sign size to plant maturity for neatness, small for sprouts, larger for mature plants.
This process takes about 30 minutes to an hour for basic signs, plus drying time for paint or sealant. Signs with clearly painted or burned names last 1 to 3 years outdoors if sealed properly. A common mistake is skipping sealing, which leads to fading text.
Adding Popular Quotes and Sayings
Garden signs with inspiring or humorous quotes brighten your outdoor space and reflect your personality. Some popular sayings are “Grow Food, Not Lawns,” “Herbs Are for Healing,” and “Plant Lady Is the New Cat Lady.” You can choose playful lines or motivational phrases that suit the garden’s vibe. To add quotes:
- Pick a short quote that fits your sign size, around 3 to 5 words for smaller signs.
- Use stencils or printable vinyl lettering if you want clean, precise text.
- Paint the quote with exterior acrylic paint, which resists weather and UV rays.
- Decorate around the quote with flowers or simple line art for artistic flair.
- Consider humorous lines if the garden is a casual, fun space; use inspiring ones in formal gardens.
Quotes add meaning and create conversation starters. Avoid complex fonts that can be hard to read from a distance. High-contrast colors, like white lettering on dark wood, improve visibility.
Incorporating Color and Artistic Flair
Colorful designs attract attention and tie your garden signs to your garden’s overall style. Mosaic tiles provide a bright, lasting burst of color in geometric or floral patterns. Painting signs lets you add sparkle, patterns, or matching colors to your flower beds. Gluing twigs or small natural items into shapes creates rustic, textured signs that fit natural themes. Tips to add artistic touches:
- Use exterior-grade paint or weatherproof grout for mosaics to ensure durability.
- Match colors in your sign to plants or outdoor furniture for a coordinated look.
- Add glitter paint sparingly to create sparkle without overwhelming the design.
- Combine materials like ceramic tiles and wood for varied textures.
- Attach signs securely with waterproof adhesive and seal all painted surfaces.
You can spend as little as $10 on basic painting supplies or $25 to $50 on mosaic tiles. The time investment ranges from a couple of hours for simple painted signs up to a day or two for detailed mosaics or glued designs. Artistic signs become focal points, so be careful with placement and weatherproofing to avoid fading or damage.
Using Natural Elements for Rustic Style
Rustic garden signs add charm by incorporating elements you find around your yard or garden. Twigs glued together to form words give a natural, handcrafted feel. These signs are lightweight and easy to personalize by varying twig length, shape, or thickness. Steps to create twig signs:
- Collect straight twigs about ¼ inch thick and roughly the same length.
- Arrange the twigs on a flat surface to form the desired word.
- Glue the twigs together with outdoor-grade adhesive that dries clear.
- Seal lightly with a clear water-resistant spray to prevent decay.
- Attach twine or wire to hang or place on stakes in your garden.
Budget for materials is often under $15, mainly for glue and sealant. These signs last about 1 to 2 seasons outdoors before needing replacement or resealing. Ideal for informal gardens meant to feel close to nature, rustic twig signs create warmth and texture unmatched by other types.
5. Where and How to Place Garden Signs for Maximum Impact
Positioning garden signs thoughtfully can boost both their visual appeal and functionality. Place signs at eye level or slightly below to ensure easy readability for adults without bending. Use sturdy stakes or posts driven into the ground at least 12 inches deep for stability, especially along garden beds or pathways. Avoid placing signs too close to plant leaves or flowers to prevent damage and allow the sign to stand out clearly.
Think about high-traffic areas such as entrances, near seating areas, or beside unique plants where visitors naturally look. Signs near pathways help guide guests, while those marking plant varieties near garden rows provide useful information and add charm. For hanging signs, secure them with weather-resistant hooks or wires from sturdy branches or pergolas about 5 to 6 feet above the ground to keep them visible without obstructing movement.
Garden signs can serve practical purposes beyond decoration. Positioning them around vulnerable plants can deter pets and small pests. For example, add a friendly “Please Don’t Pick” or “Gentle on the Roses” sign near delicate blooms to remind visitors or kids to be careful. Some gardeners use signs with mild pest-repelling messages or images, although effectiveness varies, so do not rely on signs alone for pest control.
The material and size of your sign impact placement options. Lighter signs made from wood or vinyl can be hung or staked with minimal hardware, while heavier metal signs require stronger mounts. Expect to spend around $10 to $30 per sign post or bracket, with DIY options costing less if you use scrap wood or repurposed materials. Properly placing a sign increases its lifespan because it avoids harsh direct sunlight during midday when possible and reduces exposure to water runoff.
For gardens with various themed sections, use directional symbols like mosaic arrow signs made from colorful glass shards to lead guests smoothly from one area to another. This practice not only improve aesthetics but helps organize the space logically. Signs marking the year you planted your garden create a nostalgic focus and sit well in open spots where they age naturally alongside your plants.
Hanging signs work well in shaded areas or on fences. Use hot glue or waterproof adhesive for attaching decorative elements securely, and check regularly for weather damage. Temporary signs might be made from chalkboard paint, allowing seasonal messages or plant info to be updated. Permanent signs can be painted or engraved and fade less if displayed away from intense afternoon sun.
Place signs where they won’t block plant growth or sprinkler spray to maintain both plant health and sign readability over time.
6. Repurposing Household Items into Unique Garden Signs
Using household items for garden signs offers a budget-friendly way to add personality while reducing waste. Repurposing things like old cutting boards, broken tool handles, or wooden pallets transforms everyday clutter into charming, eco-friendly markers. These materials tend to weather nicely outdoors with basic sealing and become conversation starters that reflect your garden’s style.
Start by selecting items that are flat or can hold paint well, such as unused picture frames, license plates, or even old shutters. Clean the surface thoroughly and sand rough edges for safety and better paint adherence. Use outdoor acrylic paint or weatherproof markers to add plant names, garden zones, or playful quotes. Seal your work with a clear, outdoor polyurethane spray to protect from sun and rain. Attach hooks, stakes, or hang them on fences depending on their size and weight.
For a unique twist, mosaics made from broken tiles or glass pieces can decorate wooden boards, giving your signs bright color and texture. Pick up inexpensive tile fragments at craft stores or salvage old ceramics. Arrange the pieces on a board with outdoor tile adhesive, filling gaps with grout sealed for outdoor use. This method requires dry time and some patience but results in durable, eye-catching art.
- Cut old kitchen cutting boards into rectangles and paint plant names with stencils.
- Use weathered wooden pallets as large, rustic signs by painting garden sections on the slats.
- Transform broken garden tools by attaching small signs to their handles for raised markers.
- Repurpose metal cookie sheets or trays by painting them with chalkboard paint for changeable labels.
- Create mosaic signs by gluing broken ceramic or glass pieces onto flat boards, then grouting.
- Upcycle old picture frames by inserting painted cardboard or fabric with garden sayings inside.
- Reclaim vintage signs like café or estate sale finds to bring a nostalgic vibe to your garden.
Costs vary but usually remain under $20 if using recycled materials; you may only spend on paint, sealant, and adhesives. Signs made this way can last multiple seasons if sealed well but expect to touch up paint or replace adhesives every year, especially in harsh climates. Avoid cheap spray sealants that peel easily; instead, choose brands rated for outdoor use and reapply annually. These signs blend creativity with sustainability, connecting your garden to your home’s personality.
7. Protecting and Maintaining Your Garden Signs Outdoors
Protecting your garden signs from weather damage ensures they stay attractive and legible throughout the seasons. Most signs outdoors face sun, rain, wind, and temperature swings. These elements can cause fading, warping, rust, or peeling over time. Applying a weatherproof sealant suited for your sign’s material is key to preventing this damage. Use outdoor varnish or polyurethane on wood signs, and clear enamel spray on metal or painted surfaces. Reapply every one to two years or after harsh winter conditions.
Cleaning garden signs regularly keeps dirt, pollen, and mildew from building up, which can obscure text or designs. Use a soft cloth or brush with mild soap and warm water. Avoid harsh chemicals that might strip paint or damage finishes. Rinse thoroughly and dry with a clean towel to prevent water spots or rust. For metal signs prone to rust, check for spots and treat them with rust remover or touch-up paint as soon as you see any corrosion starting.
Different materials require specific maintenance to extend their lifespan and maintain their appearance. Wood signs need sanding and resealing to avoid splintering and water damage. Enamel or ceramic signs resist fading better but benefit from gentle cleaning and the occasional protective coat. Plastic signs resist weathering but can become brittle or discolored from UV exposure, so placing them in partial shade can help.
- Apply a weatherproof clear coat once a year on wood or painted signs
- Clean signs with mild soap and water every few months
- Dry signs thoroughly after rain or cleaning to prevent mold and rust
- Touch up paint or finish on faded or chipped areas promptly
- Store removable signs indoors during harsh winter or storms
- Use UV-resistant sprays to minimize sun fading for plastic signs
- Check sign posts and fix any loosening or leaning to avoid damage
Protecting garden signs from moisture and sun can add several years of life. For example, a painted wooden sign left untreated outdoors may start peeling or cracking after one season of rain and sun exposure. With proper sealing and cleaning, the same sign can look good and stay sturdy for three to five years. Signs with writable slate survive better but still need cleaning and occasional sealing to keep writing clear and free from algae.
Maintaining signs also improves your garden’s overall look by keeping messages readable and colors bright. Signs that are dirty, faded, or broken can make a well-tended garden seem neglected. Investing time and some modest supplies, sealants cost $10 to $30, and cleaning materials are inexpensive, can pay off in long-lasting beauty and enjoyment of your personalized garden décor.
8. Common Mistakes in Making and Using Garden Signs
One common mistake in garden signs is using materials that easily warp or rot, especially if they aren’t properly sealed. Water seeping in through unsealed backs or edges causes most damage, often within just one or two seasons. To avoid this, always seal all sides of wooden or bamboo signs with outdoor-rated sealant or varnish, paying special attention to edges. Without this step, even the best design will quickly degrade.
Poor placement also reduces the effectiveness and lifespan of garden signs. Placing them where they get too much direct sun, heavy rain, or constant contact with soil speeds wear and fading. Signs should be mounted at a moderate height, away from sprinklers, and secured firmly so wind won’t knock them over. Signs near large plantings need good airflow to prevent moisture buildup.
- Choose weather-resistant paints and sealants designed for outdoor use to prevent color fading and surface damage.
- Avoid placing signs directly in the path of heavy rain or standing water to reduce rot risk.
- Regularly check for damage or loosened fasteners and fix issues promptly to maintain sign stability.
- For bamboo signs, apply a UV-protective finish and reseal every year to keep wood from cracking and fading.
- Gently clamp a warped sign flat and apply sealant as it dries to restore its shape and offer protection.
- Paint or stain bare wood before assembling to seal edges thoroughly and prevent future water entry.
- Use corrosion-resistant screws or nails to avoid rust stains and weakening attached parts.
Signs that get damaged should be repaired quickly to prevent further problems. Warped signs can often be fixed by moistening the wood slightly, then clamping it flat between two boards for 24 to 48 hours. Afterward, apply a generous coat of sealant all over, focusing on edges and the back. Repainting or restaining helps protect the surface and restores appearance. Visible rot calls for prompt replacement of the damaged section or the entire sign if the rot is widespread.
During maintenance, clean signs gently with mild soap and water, avoiding harsh chemicals that break down protective coatings. Refresh sealants and finishes every one to two years depending on weather exposure. Choosing bamboo for your signs is eco-friendly but requires annual resealing to resist sun and rain damage. These steps extend your signs’ life and keep your garden looking inviting.
Seal every edge and back surface of your garden sign before placing it outside to prevent warping and rotting from water damage.
9. Garden Signs That Support Pollinators and Eco-Friendly Gardening
Garden signs can play an important role in promoting pollinator-friendly and environmentally conscious gardening. Well-designed signs inform visitors and gardeners about sustainable practices, encouraging actions that support local ecosystems. For example, a “Butterfly Haven” sign highlights areas planted specifically for butterflies, promoting awareness of pollinator needs while creating a visual appeal that attracts attention to butterfly-friendly flowers.
Using eco-friendly materials is key to aligning your garden signage with sustainable gardening values. Signs made from recycled wood, bamboo, or biodegradable composites reduce environmental impact. These materials resist weather damage for up to three years with proper sealing, balancing durability with eco-consciousness. Avoid plastics and chemically treated woods, which can leach harmful substances into the soil. To create informative and thematic garden signs that encourage eco-friendly gardening, follow these steps:
- Choose a sustainable sign material such as reclaimed wood or bamboo, which cost around $10 to $25 for a small sign; apply non-toxic outdoor sealer.
- Write clear, concise messages using outdoor chalk markers to make the text vibrant yet weatherproof.
- Include educational content about pollinators, water conservation, or organic gardening practices.
- Use symbols or illustrations of bees, butterflies, and birds to quickly convey the sign’s purpose.
- Place signs near relevant garden sections like native plant beds or compost areas for contextual relevance.
- Rotate or update sign content seasonally to reflect changing gardening practices or pollinator activity.
Examples of effective thematic signs include messaging like “Welcome Pollinators: Plant Native Flowers,” “Bird-Friendly Zone: Feed and Shelter Provided,” or “Organic Gardening Only: No Pesticides.” These signs guide gardeners toward sustainable habits and educate guests on the importance of protecting pollinators and native wildlife. They may also mention water-saving tips or composting encouragement, contributing to a more complete ecological message.
Signs that focus on local wildlife create a peaceful garden atmosphere and emphasize the ecological benefits of your gardening choices. Visitors will appreciate the thoughtful design that respects nature while adding personality to your outdoor space. Failure to choose durable, weather-resistant materials or to place signs thoughtfully can cause messages to fade quickly or confuse visitors about intended practices. Regular upkeep and clear wording ensure that the educational value remains high over time.
10. Celebrating Garden Milestones with Custom Signage
Marking milestones in your garden with custom signage adds a personal touch and celebrates your progress. Creating signs for garden events or milestones involves choosing meaningful messages and selecting materials that suit your garden’s style. Personalized signs make your gardening journey memorable and can also inspire others who visit your space.
Popular Milestone Sign Themes
Milestone signs often highlight significant moments like the first bloom, harvest season, or completion of a new garden section. Other ideas focus on seasonal changes, anniversaries of your garden’s start date, or accomplishments like reaching native plant goals. Choosing a theme helps keep the message clear and meaningful. Common milestone sign themes include:
- “First Bloom of Spring” with date
- “Harvest 2024” marking the year’s produce
- “Planted with Love: [Your Name/Date]”
- “Butterfly Haven Established” for pollinator gardens
- “Garden Anniversary” celebrating years maintained
- “New Section Dedication” for family or friends
- Seasonal reminders like “Welcome Summer” or “Autumn Colors”
These themes work well because they mark progress and moments worth revisiting. Milestone signs provide not just decoration but also a story, creating an emotional connection with your garden.
DIY Sign Template Examples
Crafting your own milestone sign can be simple and budget-friendly, especially using materials like wood, metal sheets, or garden flags on an Esttop garden flag holder. Personalizing your message begins with a straightforward template you can customize:
- Event announcement: “[Milestone Name] – [Date]” (e.g., “First Tomatoes Harvested – July 15, 2024”)
- Celebratory message: “Celebrating [Number] Years of Growing Joy”
- Inspirational phrase: “Planting Dreams Since [Year]”
- Invitation or note: “Please Enjoy the Flowers – Planted with Care”
For example, if you choose a wooden plaque, paint the background with outdoor acrylic paint and stencil your message in contrasting colors. A garden flag can feature a printed or hand-painted version of the same message and be swapped seasonally. Another easy option is using weatherproof markers on slate or stone markers.
Tips for Durable Milestone Signs
Since custom signs will face outdoor exposure, durability is key. Choose weather-resistant materials like treated wood, metal with rust-proof coatings, or heavy-duty fabric for flags. Seal painted signs with a clear outdoor varnish to protect colors from fading under sun and rain. Position signs in spots sheltered from harsh winds or direct water spray. Additional tips include:
- Use UV-resistant paints and inks to prevent color loss
- Attach signs securely to prevent wind damage
- Bring fabric flags indoors during storms to extend life
- Check and replace sealing coatings annually
- Choose sizes that fit your garden’s scale for visibility
Properly maintained milestone signs can last multiple seasons, serving as lasting reminders of your garden’s journey. Signs that fade or deteriorate quickly lose their impact, so investing some time in weatherproofing improve your garden’s charm and your personal connection to it.
Step-by-Step Action Plan for Adding Garden Signs
Get started on your garden signs quickly by following these key steps in order. Each phase focuses on simple actions to ensure your signs look great and last outdoors.
- Before You Start: Choose the location and purpose for your garden signs. Clear spots will tell you if your sign is visible enough.
- Day 1: Select materials suitable for weather resistance like cedar or metal. Test a small piece by leaving it outside to check durability.
- Day 2: Plan your design, including personalized texts or images. Sketch it out on paper or use a digital tool to confirm the look.
- Day 3: Gather tools and supplies for your DIY project, such as paint, brushes, and sealant. An organized workspace helps avoid mistakes.
- Days 4, 5: Create your sign using your chosen projects and materials. Allow paint or finishes to dry fully before moving or installing.
- Day 6: Place and secure your sign in the garden where it complements plant themes or supports pollinators. Step back to see if it stands out clearly.
- Weekly: Inspect and clean signs as needed, reapplying sealant when weathering appears. This keeps signs vibrant and long-lasting.
Frequently Asked Questions
What Are Some Simple Garden Sign Ideas for Beginners?
Simple garden sign ideas for beginners include painted wooden stakes or repurposed items featuring plant names or fun sayings. These require minimal tools and can be personalized with waterproof paint or markers to brighten your garden easily.
How Can I Create Garden Signs That Resist Weather Damage?
Use weatherproof materials like treated wood, metal, or acrylic for garden signs to ensure durability outdoors. Sealing your signs with waterproof varnish or spray helps protect them from rain, sun, and fading.
What Are Creative Ways to Label Plants Without Using Traditional Signs?
Creative labeling can include painted rocks, hanging tags from branches, or crafting signs from old kitchen utensils. Such alternatives add charm while clearly identifying plants without the need for standard boards or stakes.
How Do I Make Humorous Garden Signs That Still Look Nice?
Choose witty phrases and pair them with rustic or vintage styles for charming, funny garden signs. Use clear, bold fonts and durable materials to maintain both legibility and aesthetic appeal in your outdoor space.
Can Garden Signs Help Protect Plants?
Garden signs can deter pets and pests by indicating which plants to avoid. Combining signage with physical barriers, like fencing, offers better protection for delicate or newly planted blooms.
What Size Should a Garden Sign Be for Visibility Without Overpowering?
A garden sign 8 to 12 inches wide balances visibility with subtlety in most garden beds. Pick a size that complements plant heights and won’t overshadow the natural beauty of your garden layout.
Key Points to Remember
Crafting garden signs adds charm and information to your outdoor space while reflecting your style. Start with a small project that fits your garden size and skills. Choose a spot to install your first sign and enjoy the little boost it gives your garden’s personality.