Why Is My Transfer Tape Not Picking Up Vinyl? 8 Key Fixes & Tips
Why is my transfer tape not picking up vinyl? Usually, it fails because the tape’s tack isn’t right for your vinyl type.
Transfer tape can be too sticky or not sticky enough to lift the vinyl properly. Checking the tape’s tack level against your vinyl’s needs often fixes the problem.
Another big reason is dirt or oils on the vinyl’s surface. Even a small dust speck or grease can stop the tape from grabbing the vinyl pieces. Wipe the vinyl gently with a little rubbing alcohol first.
This helps the tape stick better. Let it dry before applying the tape.
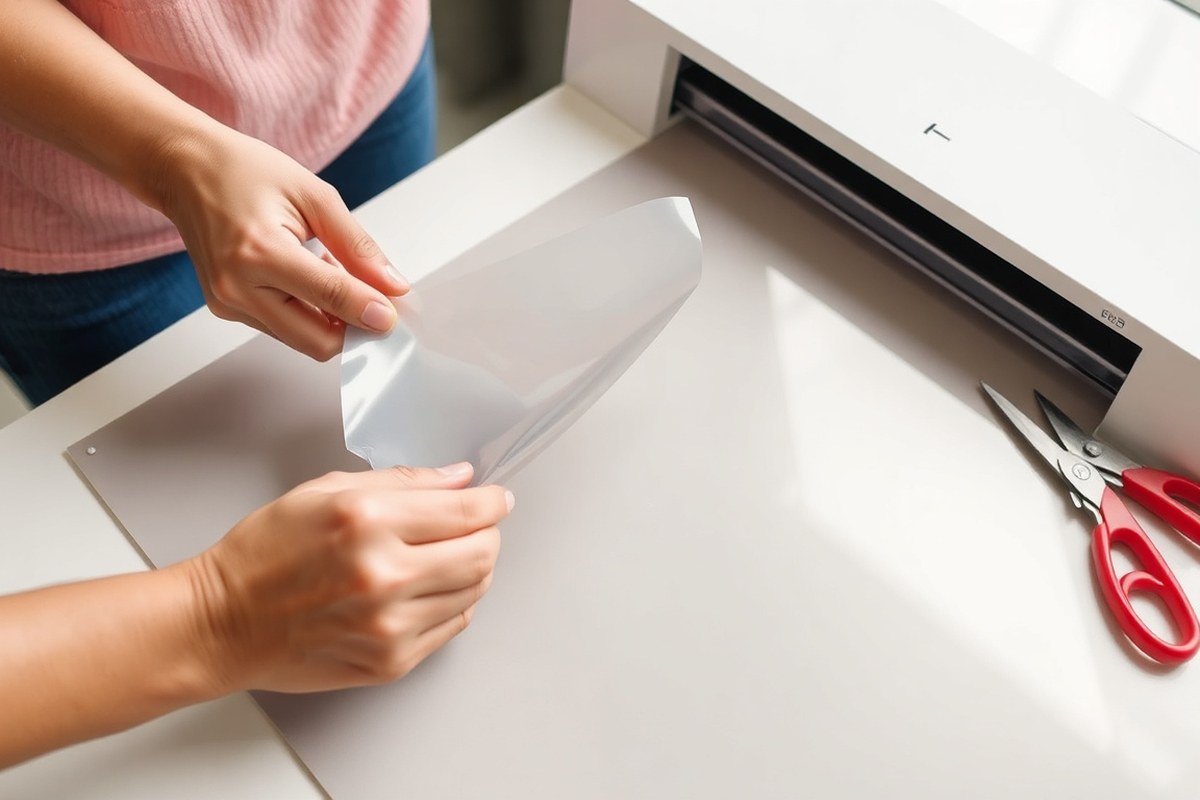
Applying the transfer tape unevenly can also cause poor pickup. You want to burnish firmly and smooth out air bubbles but avoid stretching the tape. Peel the tape back slowly to remove the vinyl.
Pull the tape almost flat, not upwards. This method gives the best vinyl release.
Key Takeaways
- Match transfer tape tack strength to your vinyl’s adhesive level.
- Clean vinyl with a 91% rubbing alcohol wipe before applying transfer tape.
- Use clear transfer tape for easier alignment and better visibility.
- Burnish the tape onto vinyl firmly to press all parts evenly.
- Peel the tape back slowly at a low angle, nearly 180 degrees.
- Avoid pulling the transfer tape upward to prevent vinyl pieces staying behind.
Why Transfer Tape Fails to Pick Up Vinyl
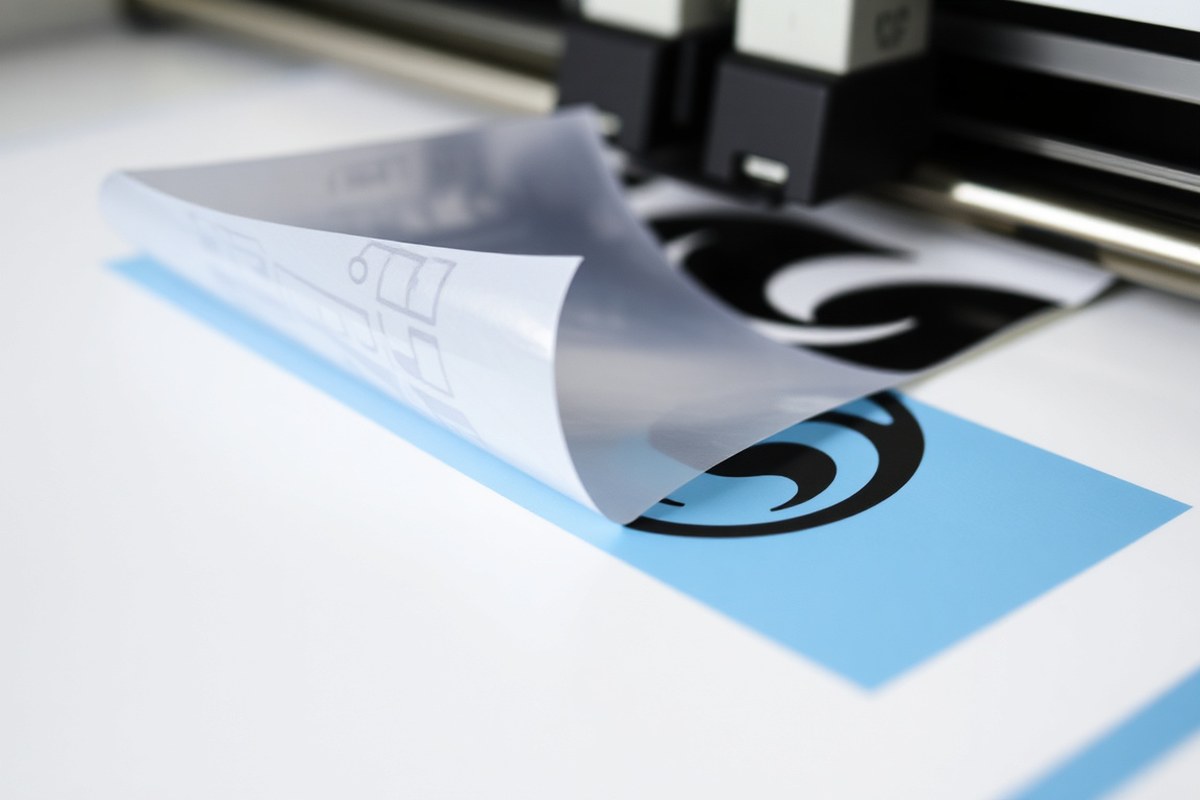
The most common reason transfer tape fails to pick up vinyl is an adhesive mismatch. Transfer tape and vinyl adhesives must work together. The tape’s adhesive failing can mean it won’t grab the vinyl well.
Using the wrong transfer tape for your vinyl causes pickup issues. It may leave chunks stuck on the tape.
Vinyl age also plays a role in transfer tape adhesion. Vinyl adhesive bonds weaken over time and exposure to dust or oils. Old vinyl, months or years old, might not stick well to new tape.
Fresh transfer tape can struggle with aged vinyl. This happens because the vinyl’s tackiness fades and contaminants build up on the surface.
Technique errors often ruin pickup attempts. Not applying enough pressure when pressing the transfer tape on the vinyl can leave pieces behind. Pulling tape off too fast or at a shallow angle leaves vinyl behind.
It sticks to the backing liner instead. Aligning the transfer tape carefully before making contact helps avoid missed spots or wrinkles.
Choosing the right transfer tape tack matters a lot. Using transfer tape two or three times can work better for smooth vinyl. Brand-new tape doesn’t always pick it up well.
Tape loses some of its stickiness, reducing the chance of lifting unwanted material. Glitter vinyl and tricky materials need strong tape from the start. Without it, they won’t pick up cleanly.
Environmental and storage conditions affect adhesion as well. Working in temperatures between 65°F and 80°F improves tape stickiness. Cold or hot rooms can reduce how well the tape grabs the vinyl.
Dirt, dust, or oils from handling the vinyl also stop the transfer tape from bonding correctly. Wiping the vinyl surface gently before applying tape can fix this.
Choosing the Right Transfer Tape for Each Vinyl Type
Different vinyl types need matching transfer tapes for good results. Standard glossy vinyl works well with regular or medium tack tapes. Glitter and textured vinyl require stronger tack to grab every detail.
Clear transfer tape suits projects needing precise placement or layering. Paper tape has a grid to help align large decals. It hides the vinyl underneath it.
This makes it hard to see your design through the tape. Tack strength affects how well the tape lifts vinyl without sticking too much or too little.
| Tape Type | Best For | Watch Out For |
|---|---|---|
| Regular / Medium Tack | Standard glossy vinyl (651/631), most projects | May struggle to pick up glitter vinyl |
| Strong Grip / High Tack | Glitter and textured vinyl only | Refuses to release smooth vinyl, the #1 mismatch |
| Clear Tape | Precise placement, layering | Tack weakens slightly as tape ages |
| Paper Tape with Grid | Big text decals, alignment | Cannot see through tape, relies on grid for placement |
For glitter vinyl, high tack transfer tape is essential or the vinyl won’t lift. Smooth vinyl needs medium tack tape to avoid stuck layers. The wrong tack causes frustration like vinyl not lifting or tearing.
Brands matter too. Cheaper tapes may not hold well, especially on specialty vinyl.
Weak tape won’t stick well to the vinyl. This causes problems when moving the decal. You want tape that holds the vinyl firmly.
Very strong tape grabs the vinyl but may not release it. This stops the vinyl from sticking to your project. Use tape with balanced tack.
Test the tape with a small vinyl piece first. See how well it lifts the vinyl off the backing. Then check if it releases the vinyl smoothly onto your surface.
Save high tack tape for glitter or textured vinyl only. Using it on smooth vinyl can cause stuck pieces. Smooth vinyl works better with lighter tack tape.
Some crafters peel the vinyl backing off instead of lifting it with low tack tape. That works for weak adhesives.
Burnishing the vinyl to transfer tape well also helps improve hold. Keep your workspace warm and clean for best adhesion.
Preparing Vinyl and Transfer Tape Before Application
Preparing vinyl and transfer tape starts with cleaning the vinyl. Next, weed out extra vinyl parts. Then check the tape’s condition before use.
You want a dust-free, sticky surface so the tape picks up all the cut vinyl cleanly. These three steps help avoid transfer problems later.
Cleaning Vinyl and Work Area
Remove dirt, dust, and oils from the vinyl surface before applying transfer tape. Use 91% isopropyl alcohol and a clean paper towel to wipe down the vinyl gently. This step improves the tape’s grip on the vinyl by clearing away debris that blocks adhesion.
Also clean your work table to avoid dust landing on the sticky sides. A clutter-free area helps keep the vinyl clean and easier to handle. Avoid sprays or cleaners with wax that could leave a residue on the vinyl surface.
Weeding and Removing Excess Vinyl
Weeding means removing extra vinyl around your design. Do this while vinyl is on the backing or cutting mat. This keeps only the parts you want to transfer.
So the tape doesn’t pick up unwanted bits. Use fine tweezers or a pointed weeding tool for small details.
Work slowly to avoid ripping or stretching the vinyl pieces you want to keep. For best results, weed after the vinyl’s been cut but before applying the transfer tape. This allows the tape to stick only to the intended design.
Checking Transfer Tape Condition and Tack
Use transfer tape that is clean and free of dust or wrinkles. Older transfer tape might lose some stickiness. So check if it feels tacky but not too sticky.
You may need more pressure if the tape is old. Heat storage can also affect tape stickiness.
Test the tape on a small vinyl scrap before working with your full project. Testing the tape shows if it will pick up vinyl well.
It helps avoid pulling or leaving bits behind. Replace the tape if it sticks too weakly or leaves adhesive residue.
- Clean vinyl surface with 91% isopropyl alcohol using a lint-free cloth.
- Wipe down your workspace to keep dust off the vinyl and tape.
- Cut vinyl design and keep it on its cutting mat to hold shape.
- Use a weeding tool or tweezers to remove unwanted vinyl carefully.
- Check transfer tape for dust, wrinkles, or loss of stickiness.
- Lightly press the transfer tape onto the cleaned vinyl surface.
- Smooth tape with a squeegee or credit card applying firm pressure.
- Peel back tape to confirm it lifted all vinyl parts cleanly.
Applying Transfer Tape Correctly to Vinyl Designs
Starting Your Transfer Tape Application
Peel a small corner of the transfer tape backing to expose the sticky side. Place the tape at a shallow angle on your vinyl design. Align it carefully before applying pressure to avoid shifting the design.
Pull the backing paper off at a 90-degree angle slowly. This keeps the transfer tape taut and prevents wrinkles. When the vinyl starts to lift, stop and press it down again.
Applying Firm Pressure Evenly
Use a scraper tool or burnishing tool to press the transfer tape onto the vinyl. Apply firm pressure across the entire design to ensure good adhesion. Don’t rush; take your time and cover every part.
For large designs, press in sections to avoid air bubbles. Overlapping your strokes works well. A smooth, even burnish creates a solid bond between tape and vinyl.
Handling Small and Intricate Designs
Use medium-tack transfer tape for delicate or detailed vinyl shapes. Too much pressure can stretch or distort thin parts. Focus on gentle but steady pressure to lift every piece.
Carefully lift small decals by raising the tape at a low angle. When pieces begin to peel from the backing, lay the tape back down and press again. This helps hold tiny parts firmly.
Best Practices and Common Pitfalls
Your transfer tape should be clean and free of dust or lint. Dirty tape can cause uneven sticking and unpredictable picking. Always store tape flat and away from heat to keep the tackiness consistent.
- Test a small vinyl piece with your tape first
- Apply transfer tape slowly to avoid bubbles
- Press firmly using a scraper tool over the whole design
- Pull transfer tape backing away at a 90-degree angle
- Use medium-tack tape for delicate or intricate vinyl
- Reapply pressure if vinyl lifts when peeling tape
- Avoid overly rough or old transfer tape with weak adhesive
Following these tips ensures the tape picks up the vinyl clearly. Skipping pressure or rushing the process can cause vinyl to stay behind. Clean, firm, and careful steps make a big difference.
Adjusting for Different Vinyl Types and Surfaces
Some vinyl sticks better than others, so adjust your technique slightly. For smooth surfaces and basic vinyl, medium-tack tape is usually enough. For textured vinyl, increase pressure and go slower when peeling.
Using the right angle during removal is key to preserving your vinyl shape. Pull the transfer tape slow and steady at a 90-degree angle. For very detailed designs, lower the angle and peel more gently.
Peeling Transfer Tape to Lift Vinyl Without Errors
Remove transfer tape at a low peel angle, close to 180 degrees. Drag the tape slowly back over itself, almost flat against the surface. Peeling upward or at a steep angle lifts the tape too fast and leaves parts behind.
The speed you peel affects how vinyl moves with the tape. Peeling slowly helps vinyl stick to the tape. Pulling too fast might leave parts on the backing paper.
After a good burnish, flip the whole design over to peel. Pull the backing paper away from both the vinyl and tape instead of the tape from the backing.
- Peel transfer tape slowly at a shallow angle (150, 180°).
- Avoid peeling straight up or at angles below 90°.
- Flip the entire layered piece before pulling backing paper.
- Pull backing paper away from tape, not tape from backing paper.
- Burnish both front and back of the design firmly before peeling.
- Change peel direction if vinyl resists lifting after a firm burnish.
These steps help stop vinyl from sticking to the backing paper. Doing it right means less rework and fewer ruined designs.
Older vinyl or cold room temperatures can reduce how well vinyl sticks. So use warm hands or a brief warm-up to soften material.
Don’t pull the tape off the backing paper. Peel the backing paper off from the vinyl and tape. Use gravity and a good angle to help the peel. This method works better than pulling tape off the backing.
The Flip Method: How to Rescue Stubborn Vinyl Transfers
The flip method helps lift vinyl that sticks to its backing instead of the transfer tape. It works by burnishing the vinyl from the backside of the backing paper. This extra step encourages the vinyl to stick to the tape, making your transfer easier.
When to Attempt the Flip Method
Try the flip method when some letters or parts stay stuck to the vinyl backing. This usually happens when the transfer tape doesn’t grab the vinyl fully. It’s a useful fix before blaming the tape or vinyl for being defective.
Use it if your usual burnishing and peeling don’t lift all pieces cleanly. It’s common with intricate designs or vinyl types with low tack transfer tape. This method helps save time and material when transfers get tricky.
How to Flip and Burnish Back Side
Burnishing the backside of the vinyl backing is the key step most skip. Use a scraper tool or a hard flat item to rub the paper.
Rub it hard against the paper backing. This helps loosen the vinyl from the backing.
Start by rubbing the scraper over the center area of the backing paper. Push firmly as you move the scraper out toward the edges. This pressure helps the vinyl choose the tape over the paper.
- Place the vinyl and transfer tape on a flat surface with the backing side up.
- Use a scraper or credit card to firmly rub the backing paper’s center.
- Work your way slowly from the center to the edges, burnishing evenly.
- Flip the sheet back over, so transfer tape faces up this time.
- Burnish the top side of the transfer tape, starting again from the center.
- Smooth out any air bubbles or wrinkles as you press the tape on fully.
Peeling After Flip Method Treatment
Peel the vinyl backing away slowly at a low angle after burnishing both sides. Go gently to keep all vinyl pieces sticking to the tape.
You might see pieces stuck to the backing. Burnish more before peeling again.
This helps get all parts off cleanly. Good pressure during burning usually cleans up the transfer well.
Environmental and Storage Factors Affecting Adhesion
High temperatures can warp transfer tape and weaken its adhesive. Storing vinyl or tape in a hot garage or near heat makes them lose flatness or stickiness.
Keep vinyl and transfer tape at room temperature, about 70°F. Store them in a shaded spot. Avoid direct sunlight to keep them good.
Humidity also influences how well your tape grabs the vinyl. When the air is very damp, the adhesive may feel tacky but actually won’t bond well.
Store materials in a dry place below 50% humidity to prevent this issue. A closet or sealed container with a desiccant pack works well.
Static electricity can make transfer tape either stick too much or push away vinyl. This can cause poor vinyl pickup.
Tap gloves or lightly mist your work area with water to reduce static build-up. Avoid working in dry heated rooms during winter, where static is strongest.
Improper storage speeds up aging of the adhesive on your vinyl and tape. Avoid keeping rolls left open for many months or stacked tightly under heavy objects. Store rolls standing upright on a shelf.
Keep them sealed in their original plastic wrap until use. This preserves tackiness and smoothness.
Cold temperatures make the adhesive stiff and less sticky, especially with low-quality vinyl. Let your tape and vinyl warm to room temperature before starting your project. Warming them for 30 minutes inside your craft room usually does the trick.
Pressure-sensitive adhesives on transfer tape respond to temperature and time. For example, after applying tape to vinyl, don’t leave it sitting for days before use.
The bond actually gets stronger with normal handling on the day you cut and apply. So avoid long storage with tape already laminated on vinyl.
Use these tips and your tape will pull vinyl in clean, even sheets. It stops gaps and slipping.
A firm but gentle pull after storage in cool, dry conditions shows good adhesion. Uneven peeling or falling vinyl usually means temperature, humidity, or static caused trouble.
Troubleshooting Common Transfer Tape Problems
Wrinkles and bubbles often happen when applying transfer tape to vinyl. They trap air or cause uneven pressure, making vinyl lift poorly. Applying the tape slowly and using a scraper to smooth it out helps avoid these problems.
Residue left from old tape or dirt on vinyl stops good adhesion. Clean both surfaces with rubbing alcohol and a lint-free cloth before applying tape. This takes just a few minutes and prevents sticky spots or peeling.
Transfer tape loses its grip after multiple uses. Old tape may peel unevenly or leave bits behind.
Replace transfer tape once it feels less sticky or starts breaking apart during use. Vinyl sheets can also lose tackiness if left exposed to dust or sunlight for too long.
- Press transfer tape firmly with a scraper to remove air pockets
- Use fresh tape for each project to avoid adhesion issues
- Clean vinyl surface thoroughly before applying transfer tape
- Avoid stretching transfer tape to prevent wrinkles
- Store both tape and vinyl in a cool, dry place away from sunlight
- Peel transfer tape slowly and at a low angle to reduce lifting problems
- When bubbles show up, lift tape gently and press it down smoothly
Fatigue in transfer tape happens after repeated stretching and rewinding. You’ll notice it feels weaker or pulls apart.
Vinyl that ages or sits too long can lose its cling. Vinyl that lifts easily or feels brittle should be replaced soon
Always smooth transfer tape with a scraper after laying it down to stop wrinkles and bubbles.
Sometimes bubbles form because the tape isn’t firmly pressed onto vinyl. A hard, even push from a squeegee or credit card usually fixes this.
When transfer tape wrinkles, it’s often from pulling too hard or applying unevenly. Slow, careful application keeps the tape flat and sticky all over.
Step-by-Step Action Plan for Successful Vinyl Pickup
Follow these steps to get your transfer tape to pick up vinyl without trouble. Check each step to make sure the vinyl lifts cleanly.
- Before you start: Clean the vinyl surface and your hands. This removes dust and oils that block adhesion.
- Right after cutting: Weed your vinyl carefully. Avoid pulling small pieces that should stay on the backing.
- Just before applying tape: Choose the correct transfer tape type for your vinyl finish. Dull vinyl needs a stronger tape.
- While applying tape: Use firm, even pressure with a scraper. This helps the tape stick well to the vinyl.
- Right after applying tape: Let the tape sit a few seconds before peeling. It improves grip for tougher designs.
- Peeling the tape: Pull slowly and at a low angle. Stop if vinyl lifts off and adjust pressure or angle.
- When the tape won’t pick up: Stick tape to a flat surface first. Roll it onto the vinyl side afterward.
- After use: Store unused tape in a cool dry place away from sunlight. This keeps its stickiness strong.
Frequently Asked Questions
Why Is My Transfer Tape Not Picking Up Small Vinyl Pieces?
Small vinyl pieces need firmer pressure and a slower peel angle. Make sure to press evenly and lift transfer tape slowly to catch tiny parts.
Can Dirty or Oily Hands Cause Transfer Tape Not to Pick Up Vinyl?
Yes, oils and dirt reduce transfer tape’s stickiness. Always wash and dry your hands before handling transfer tape or vinyl.
Does the Vinyl’s Backing Paper Affect Transfer Tape Pickup?
Yes, some backing papers have coatings that resist transfer tape adhesion. Make sure your vinyl’s backing is clean and smooth before applying tape.
Can Using Transfer Tape Multiple Times Cause It to Pick Up Vinyl Poorly?
Yes, after 2 to 4 uses, transfer tape’s tack weakens. Slightly used tape can be better than brand new. But too old tape loses grip.
Is the Size or Shape of My Vinyl Design Causing Transfer Tape Issues?
Large or intricate designs need slower, careful peeling. Complex shapes can pull away if you rush or peel too fast.
Can Pressing Transfer Tape with a Tool Damage Vinyl Adhesion?
Pressing too hard with rough tools might stretch or lift the vinyl. Use a soft squeegee and moderate pressure to avoid damage.
Final Thoughts
Transfer tape not picking up vinyl usually means the tape or vinyl surface isn’t prepped right. Check your cleaning and pressure techniques first. Try applying firm pressure to fix your project quickly.
Another step is switching tape types. Use one method now to save time.