How to Make a Rope Hanging Sign: A Complete Guide with Tips and Materials
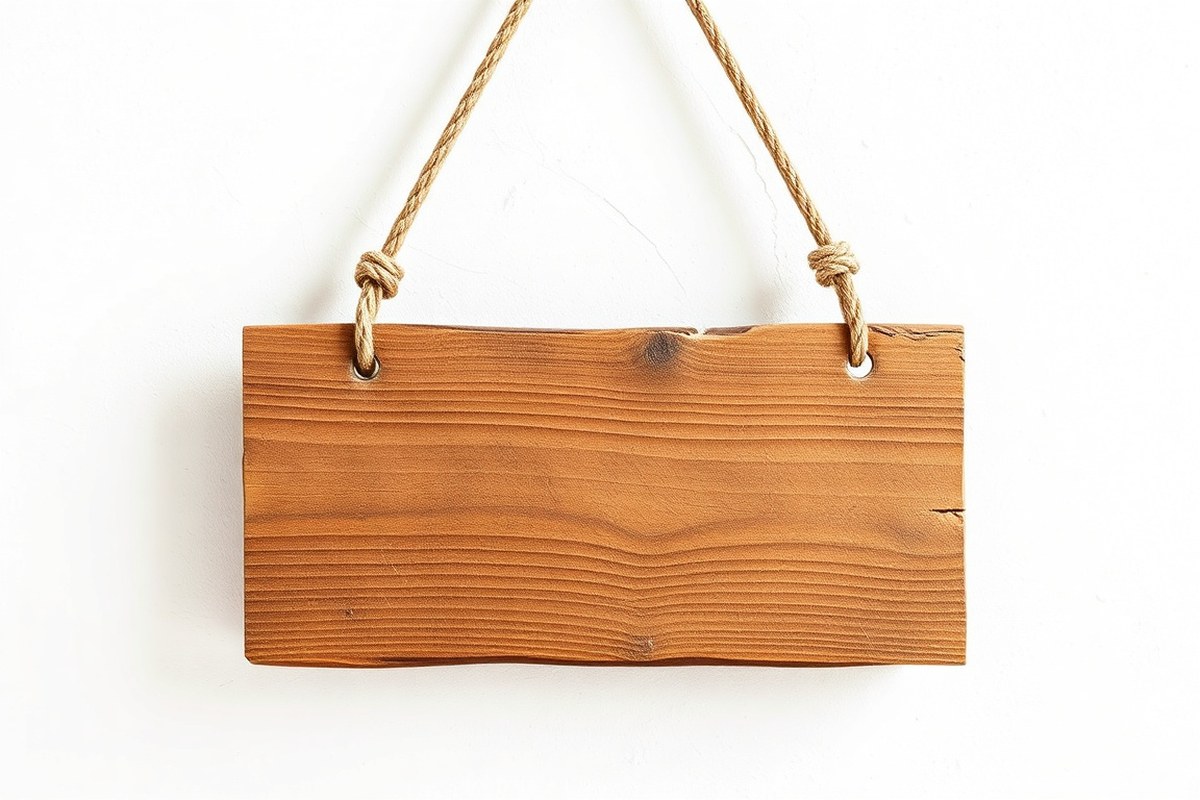
Learning how to make a rope hanging sign means combining wood and rope with simple tools to create a custom decorative piece. Start by selecting sturdy wood, cutting it to size, and choosing a strong rope for durability and style. Secure the rope to the wood with knots and screws to ensure the sign hangs safely and evenly.
Key Takeaways
- Cut wooden planks into equal lengths, about 14 inches, for a balanced sign base.
- Mark 1.5 inches from each wood plank’s ends to align holes for attaching the rope.
- Choose thick, natural fiber rope for strength and a rustic look in hanging signs.
- Measure and cut rope to leave about 20 inches in the middle for hanging clearance.
- Tie secure knots at both ends of the rope behind the wood for reliable support.
- Use 1- to 1.5-inch wood screws to anchor screws or wire on the back for extra stability.
Essential Materials and Tools Needed
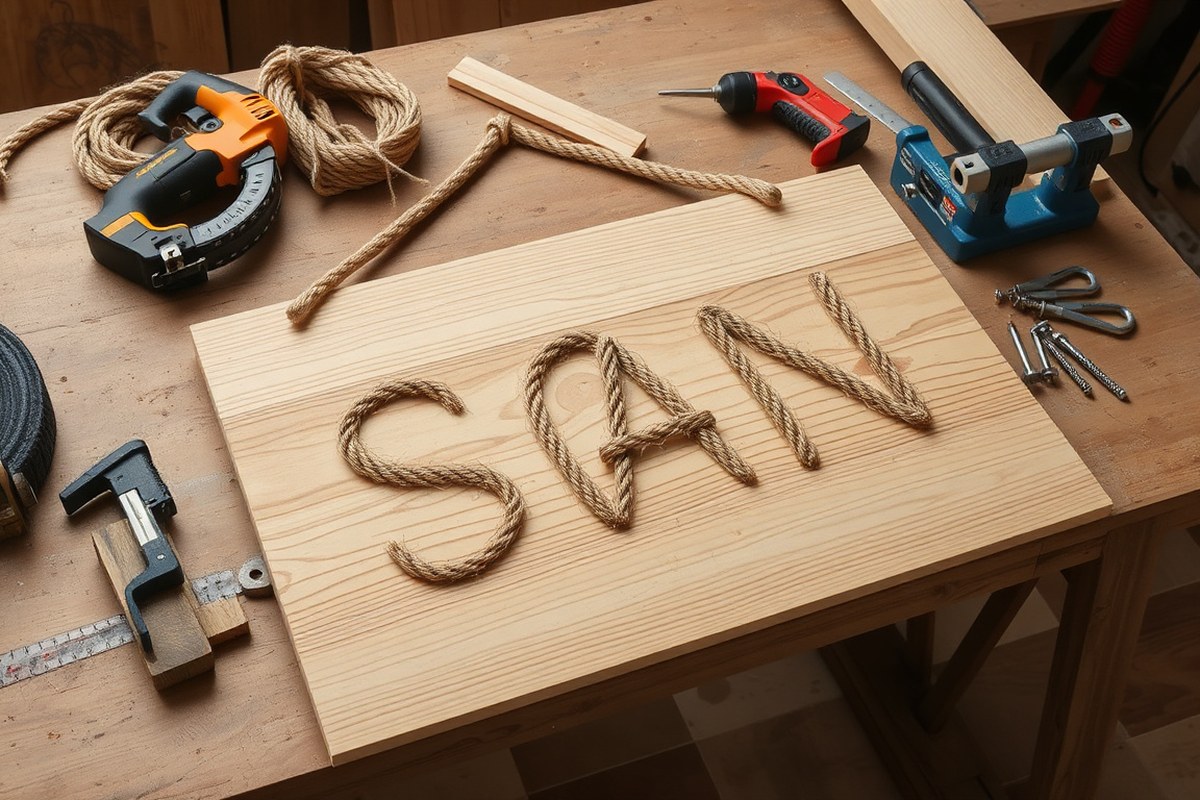
To start making a rope hanging sign, you need a few essential materials and tools that will keep your project simple and effective. The main materials include wood for the sign’s base and rope for hanging. Wood options range from new lumber to reclaimed wood like pallet wood, which is often free and adds rustic charm. Rope types vary, but jute or cotton ropes about 1/4 to 1/2 inch thick work well for ease of handling and a sturdy hang. Having the right tools helps to assemble the sign and secure the rope firmly.
Necessary tools include a saw to cut the wood to size, a drill or screwdriver to insert screws, measuring tape for precise marking, and scissors or a utility knife to cut the rope. You’ll also need hardware like 1/2-inch wood screws to attach the rope to the wood securely. Picture wire can be an alternative if you prefer that for hanging, attached with the screws on the back of the sign. For gluing pieces or decorative elements, an adhesive such as Bostik No More Nails or any strong craft glue helps keep materials in place without visible fasteners.
- Wood: new lumber or reclaimed pallet wood
- Rope: jute, cotton, or similar 1/4 to 1/2 inch thick
- Saw: hand saw or power saw for cutting wood
- Drill or screwdriver with 1/2-inch wood screws
- Measuring tape for accuracy
- Scissors or utility knife for rope cutting
- Strong adhesive like Bostik No More Nails as optional
Using reclaimed wood gives a unique, weathered look and reduces costs and waste. Be sure that this wood is dry, free of nails, and smooth enough to work with; a quick sanding can improve the surface for painting or staining. For rope, thicker and sturdier options hold up better outdoors, while thinner ones suit lighter indoor signs. Measure about 20 inches of rope length beyond what you calculate for hanging, to leave enough slack for knots and secure attachment. Marking your wood pieces about 1.5 inches from each edge helps align the rope holes or screw points accurately.
Tradeoffs include using reclaimed wood, which may require more prep time but adds character, versus new wood that is smoother but costs more. Opting for a stronger rope or metal wire increases durability but might change the aesthetic. Calculating precise lengths and having the right tools ensures your sign hangs safely and looks professional, avoiding common issues like sagging or uneven hangs.
Choosing and Preparing Wood for Your Sign

Choosing the right wood and preparing it carefully sets the foundation for a durable and attractive rope hanging sign. The type of wood affects appearance and durability, while proper cutting and cleaning ensure a smooth working surface and strong rope attachment.
Selecting the Best Wood Types
Softwoods like pine or cedar are popular for rope hanging signs because they are easy to cut and light enough to hang securely. Cedar naturally resists moisture and insect damage, making it good for outdoor signs. Hardwoods such as oak or maple provide a smooth finish and durability but require more effort to cut and sand.
Look for wood boards about 3/4 inch thick for stability without excessive weight. Avoid warped or cracked wood, which can cause uneven surfaces or weaken the sign. Picking boards that are already sanded smooth saves preparation time but smooth out rough spots yourself if needed.
Preparing Wood: Cutting and Sanding
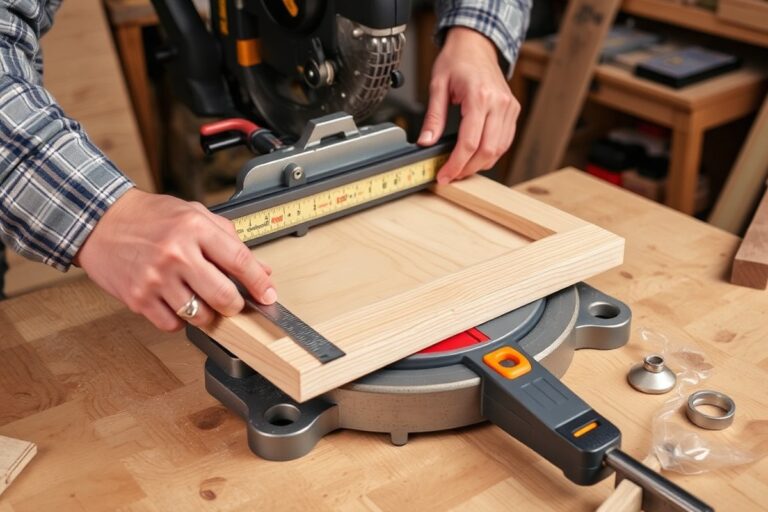
Start by measuring and marking the wood to your desired size. Common dimensions for rope hanging signs are square panels between 12 and 15 inches on each side or planks cut into thirds at around 14 inches long. Use a fine-tooth saw blade for a clean cut and clamp the wood to a stable surface before cutting.
Sanding removes splinters and helps paint or stain adhere well. Begin with medium-grit sandpaper (80-120 grit) on edges and surfaces, finish with fine-grit (220 grit) for a smooth finish. Sand in the direction of the wood grain to prevent scratches.
- Measure the length and width needed for your sign and mark the wood with a pencil.
- Secure the wood to a stable work surface with clamps.
- Cut the wood using a fine-tooth saw, keeping the cut straight and steady.
- Remove any splinters or rough edges with medium-grit sandpaper.
- Use fine-grit sandpaper to smooth the entire surface and edges.
- Remove sanding dust with a tack cloth or damp rag before proceeding.
Tip: Sanding after cutting is essential to prevent rope from getting caught on rough edges and to ensure the paint or stain looks clean.
Cleaning and Prepping Wood Surface
Cleaning the wood surface is necessary to remove dirt, oils, or old finishes that could interfere with paint, stain, or adhesive. Lightly dampen a cloth with water and mild soap and wipe down the wood thoroughly. Avoid soaking the wood to prevent warping. For stains, use a wood cleaner or fine steel wool with mineral spirits.
If you are applying a stain, let the wood dry completely, then apply the stain for about 30 seconds before wiping it off with a cloth to achieve the desired color depth. This step not only improves appearance but also helps the rope attach more securely by creating a consistent surface.
Selecting the Right Rope for Hanging and Design
Choosing the right rope for hanging signs affects both durability and design. Jute, cotton, and synthetic ropes each offer unique strengths. Jute is natural and rustic, perfect for a relaxed or coastal look. Cotton provides softness and flexibility, great for shaping or looping in creative ways. Synthetic ropes like nylon or polypropylene are more durable and weather resistant but less natural looking.
Consider how the rope pairs with your wood finish and intended use. A smooth whitewashed board looks fresh with soft white cotton rope, while rougher reclaimed wood fits well with thick jute for an organic vibe. Synthetic rope suits outdoor signs exposed to rain or sun because it resists decay and fading better than natural fibres.
| Rope Type | Durability | Aesthetic Style | Workability | Cost Range |
|---|---|---|---|---|
| Jute | Moderate (indoors or dry areas) | Rustic, coastal, vintage | Pliable but can fray | $3 – $8 per 50 ft |
| Cotton | Low to moderate (best indoors) | Clean, soft, casual | Very flexible and easy to shape | $5 – $10 per 50 ft |
| Synthetic (Nylon, Polypropylene) | High (weather resistant) | Modern, outdoor-friendly | Less flexible, may need heat sealing | $6 – $12 per 50 ft |
To attach your rope securely and achieve a neat finish, pick a rope thickness between 1/4 and 1/2 inch. Thicker ropes might overpower smaller signs, while thinner ones could look too fragile. For shaping letters or decorative knots, cotton’s pliability is best. Jute’s texture grabs paint or stain well, adding a tactile element to your sign design.
Try testing different rope types with your chosen wood finish before final assembly. Cut small samples of rope and apply them to your wood with the attachment method you plan to use, such as drilling holes or stapling. This helps confirm if the rope’s look and flexibility suit your design goals. Outdoor signs benefit from synthetic rope, but keep the colour natural and match it to the wood tone for a cohesive look.
Step-by-Step Guide to Attaching the Rope to Wood
To securely attach rope to wood for a strong hanging sign, drilling holes and tying knots is the most reliable method. This approach ensures the rope stays in place under the sign’s weight and stress over time. You can also use stapling for quick attachment, but it suits lighter signs better and may not hold as firmly.
Drilling Holes vs Stapling Rope
Drilling holes into the wood lets you thread the rope through, creating a clean look and strong hold. Use a drill bit size slightly larger than your rope thickness, often 1/4 to 3/8 inch, to make threading easy without weakening the wood. This method works well with thick ropes and heavier signs.
Stapling the rope is faster and requires fewer tools, making it good for lightweight signs or temporary projects. Use a heavy-duty stapler and galvanized staples to avoid rust and slipping. Place staples where the rope will not be visible or under high tension to prevent damage.
Tying Secure Knots and Loops
Once the rope is threaded or stapled, tying secure knots at the ends prevents slippage. Use knots like the double overhand, figure-eight, or bowline, which hold tight under weight and are easy to adjust if needed. Leave enough rope length beyond the knot for better security, about 2 to 3 inches.
Form loops at the rope ends for wall hanging by doubling the rope back before knotting. This loop should be sized to fit over your wall hooks or nails comfortably, generally around 2 to 3 inches wide.
Options for Hanging the Finished Sign
After securing the rope, use wall hooks, nails, or screw-in cup hooks anchored properly into the wall studs or drywall anchors. Metal hangers attached to the wall can work well if you want to reuse existing screws. Ensure the hanging hardware supports the sign’s weight, typically rated for at least 20% more than the sign’s total weight.
For signs with drilled holes and loops, slide the rope loops over the hooks or nails. For stapled rope ends, consider adding metal D-rings or eye screws on the wood edges for a cleaner look and stronger support. Always test the hung sign’s stability before finalizing placement.
- Measure and mark where to drill holes on the wood, spacing evenly about 1 to 2 inches from the edges for balance.
- Drill holes with a bit size matching your rope diameter to allow smooth passage without excess play.
- Thread the rope through the holes from front to back or back to front depending on your design.
- Tie a secure knot at each rope end with at least 2 to 3 inches of rope beyond the knot.
- Create hanging loops by folding the rope ends back before knotting.
- Optionally staple the rope ends to the back of the wood for added security, spacing staples about half an inch apart.
- Attach wall hooks or cup hooks into wall studs or anchors appropriate for your wall material.
- Hang the sign by placing rope loops over the wall hooks, and test for firmness and balance.
Decorating and Personalizing Your Rope Hanging Sign
Decorating your wooden rope hanging sign lets you express your style and match your decor. You can add paint, lettering, images, or textures before hanging the sign, which makes it uniquely yours. Choosing the right finishing method protects your design based on whether the sign will be indoors or outdoors.
Painting and Staining Techniques
Painting or staining your wood creates a base that highlights your design and protects it. Use exterior-grade paint or wood stain for outdoor signs to resist moisture and sun damage. Indoor signs allow more variety, like chalk paint or decorative finishes for a shabby chic look.
For a two-tone effect, cover half the wood with stain or paint in a contrasting color. Creating rustic blotched effects with used wood adds character. Preparing the wood by sanding smooth improves paint adhesion and avoids splinters.
- Sand the wood surface lightly with 120-grit sandpaper until smooth.
- Wipe off dust with a damp cloth and let dry.
- Apply a primer coat if using paint to prevent peeling.
- Use a foam brush or cloth to apply stain or paint evenly.
- Allow at least 4 hours for paint or stain to dry between coats.
- Add a second coat if the color looks uneven or thin.
- Allow the final coat to fully cure for 24 hours before handling.
Using exterior-grade paints or stains increases the sign’s lifespan outdoors by preventing cracking and fading.
Adding Lettering with Rope or Paint
Lettering personalizes your sign and can be done with paint or rope for different styles. Rope lettering adds texture and charm, especially on natural wood. To apply rope letters, use a strong adhesive like Bostik No More Nails to bond the rope cleanly to the wood surface.
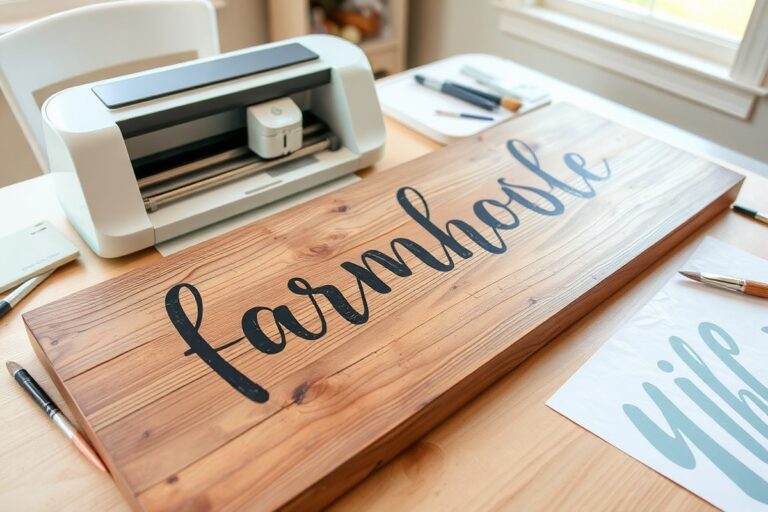
For painted letters, stencils provide clean shapes. You can carve words into the wood with a router for a rustic look before painting over them. Consider the size and contrast of your letters so they remain readable from a distance once the sign is hung.
- Sketch your lettering or image lightly with pencil on the wood.
- Place stencils or arrange pre-cut rope letters to check spacing.
- For rope, apply a thin bead of adhesive along the letter outline.
- Press the rope firmly into the glue and let it dry for at least 2 hours.
- For paint, use a stencil brush or sponge to dab paint within the stencil.
- Remove stencils carefully while paint is still slightly wet to avoid chipping.
- Add touch-ups with a fine brush after the paint dries.
Lettering that’s too small or faint can be hard to see once the sign is hung, so test visibility from the intended viewing distance before finalizing.
Sealing and Finishing for Protection
Sealing your decorative work preserves the color and prevents damage from moisture, dirt, and wear. Use a polyurethane or spar varnish for outdoor signs to ensure weather resistance. Indoor signs can be sealed with a water-based sealer that dries clear and odorless.
Apply protective coats after all paint and glue have fully dried. Multiple thin coats usually perform better than a single thick one. Let each coat dry according to manufacturer instructions, which might take 2 to 24 hours depending on the product and temperature.
- Choose a sealer suitable for your sign’s location (water-based for indoors, spar varnish for outdoors).
- Stir the sealer gently to avoid bubbles.
- Use a clean foam brush to apply an even thin coat over the entire sign.
- Allow the first coat to dry completely, typically 2 to 4 hours indoors.
- Lightly sand the surface with 220-grit sandpaper to help adhesion.
- Wipe off sanding dust with a tack cloth.
- Apply at least one or two more coats, sanding between each.
- Let the final coat cure overnight before hanging or handling.
A poorly sealed sign can peel or absorb moisture, leading to warped wood or faded paint, especially outside.
Common Mistakes and How to Avoid Them
One common mistake when making a rope hanging sign is not securing the rope tightly enough, which can cause slipping or loosening after hanging. This matters because a loose rope increases the risk of the sign falling, damaging the sign or nearby objects. To fix or prevent this, tie strong knots such as a double fisherman’s knot or a figure-eight knot before attaching the rope to the wood. Adding a drop of wood glue or superglue at the knot can increase grip without damaging the rope.
Another frequent error is neglecting to check if the sign is level before final installation. An uneven sign can detract from your design and cause uneven weight distribution, leading to faster rope wear or wood stress. Use a pocket-sized level to ensure the sign is perfectly horizontal. Adjust the rope length or reposition the hooks until the sign sits straight.
Signs that aren’t properly clamped or taped during assembly may also separate or shift, weakening the structure. Use a clamp or tightly wrap a rope around the wood pieces while glue or paint dries to hold everything securely. For temporary solutions, taping a barbecue stick or a similar rigid object alongside the rope can stabilize the hanging elements while you work. Here’s a checklist to avoid common mistakes and troubleshoot issues:
- Tie strong, secure knots and reinforce with glue if needed
- Use a pocket level to check the sign is even before hanging
- Clamp or tightly wrap wood pieces during assembly to prevent shifting
- Choose the correct knots for your rope material (natural fiber vs synthetic)
- Ensure eye hooks or hanging hardware are securely screwed into the support
- Trim excess rope after knotting to avoid loose ends fraying
- Test the hanging strength by gently pulling on the rope before final placement
The durability of your sign depends on both assembly techniques and ongoing maintenance. When you notice slipping, retighten knots or replace worn rope sections promptly. If the rope wears out frequently, consider switching to a thicker or synthetic rope designed for heavier loads. Properly set eye hooks and secure knots help the sign resist movement and reduce wear on both rope and wood.
Avoid using decorative but fragile rope types on larger or heavier signs, as they can fray or snap under weight. Selecting the right rope thickness and texture for your sign’s size and weight reduces long-term issues. Keeping your hanging hardware firmly anchored, using proper knot techniques, and checking alignment with a pocket-sized level will keep your sign looking good and hanging safely over time.
Safety Tips for Using Tools and Handling Rope
Using tools to cut wood and handle rope requires attention to safety to prevent injuries and ensure a clean finish. Always wear protective eyewear and gloves to shield your hands from splinters and sharp hardware edges. When cutting wood, a sharp handsaw can work if you do not have power tools, but take your time and use a stable surface with clamps to hold the wood in place safely. Power tools can speed up the process, but only use them if you understand how they operate and always follow the manufacturer’s safety instructions.
Handling rope means avoiding burns or cuts caused by friction or sudden jerks. Cut rope with a sharp utility knife or scissors, then seal the ends using a lighter or heat source to prevent fraying; keep a fireproof surface nearby and work carefully to avoid burns. When attaching hardware like hooks or screws, pre-drill pilot holes to avoid splitting the wood and use a screwdriver or drill with a proper bit size for a snug fit.
For hanging the sign without damaging walls or risking injury, choose wall anchors or adhesive hooks rated for at least 20 pounds, depending on your sign’s weight. Avoid nails if you cannot patch holes easily or if renting. Hanging the sign at eye level, around 60 to 65 inches from the floor, helps secure it safely and improves visibility. Ensure the rope is double-knotted and tested by gradually applying weight before final mounting.
- Wear safety glasses and work gloves at all times.
- Secure wood with clamps before cutting, using a stable surface.
- Use sharp cutting tools carefully; seal rope ends with heat cautiously.
- Pre-drill holes for screws and use proper-size hardware for secure attachments.
- Select wall hooks or anchors rated above your sign’s weight to prevent falls.
- Hang at a comfortable eye level, approximately 60 to 65 inches high.
- Test the rope and mounting by applying gradual pressure before hanging fully.
You can complete this project without power tools by using handsaws and manual screwdrivers, which may require more time but reduce the risk of accidents if you’re new to power equipment. Avoid hanging your sign in high-traffic or unstable areas to prevent accidental knocks or falls. When using adhesive hooks, follow the weight limits provided, typically between 10 and 20 pounds, and clean the wall surface thoroughly before application to improve adhesion.
Maintaining Your Rope Hanging Sign for Longevity
Caring for your rope hanging sign is key to keeping it looking good and lasting for years. The most important factors are the rope and the wood finish since both can wear down when exposed to sun, rain, and temperature changes. For indoor signs, regular dusting with a soft cloth and occasional wiping with a damp cloth will prevent dirt buildup. Outdoor signs demand more effort to maintain durability and appearance.
Apply a weather-resistant sealant such as exterior polyurethane or a clear spar varnish to your wood sign before hanging it outside. These finishes can protect against moisture and UV damage. Use a brush to apply two or three coats, letting each dry fully (usually 4 to 6 hours at 70°F). Prices range from $10 to $20 a quart, which covers multiple signs. Avoid using standard indoor varnishes that lack water resistance, or the wood could warp or crack.
Rope material choice affects longevity too. Natural fibers like jute or cotton add charm but tend to degrade faster outside. When your rope starts to fray or knots loosen after about six months, replace it to prevent damage to the sign or the risk of it falling. Synthetic ropes like nylon or polypropylene resist rot and mildew better and can last several years with minimal care, though they might feel less rustic.
Regularly check knots and attachment points. Tighten or retie if the sign starts to sag or swing unevenly. This prevents strain on the wood and rope, reducing the chances of breaking. Signs placed near garden beds or busy walkways should be cleaned monthly by rinsing with mild soap and water to clear dirt and stop mold growth. Avoid harsh chemicals that can eat away finishes or fibers.
Using eco-friendly materials for preservation fits many DIY crafters’ goals. Water-based sealants labeled low-VOC (volatile organic compounds) minimize environmental impact and indoor odors. These formulations cost around $15 per quart and still provide solid protection. For the rope, organic cotton certified by the Global Organic Textile Standard (GOTS) offers better sustainability. Line-drying rope after rain rather than using synthetic dryer sheets keeps the fibers intact and chemical free.
Check your hanging sign at least twice a year; untreated wear or loose knots can cause sudden falls or damage. Regular upkeep saves money and preserves your handiwork.
Step-by-Step Action Plan
Follow these steps to create your rope hanging sign with confidence and ease. Each phase helps you check your progress before moving forward.
- Before you start: Gather all materials and tools including wood, rope, drill, screws, and paint or stain. Verify you have everything to avoid interruptions.
- Day 1: Select and prepare your wood by sanding edges smooth. Run your hand over the surface to confirm it feels even and splinter-free.
- Day 2: Cut your rope to the desired length and seal the ends using heat or tape to prevent fraying. Tug gently on the ends to ensure they hold together.
- Day 3: Drill holes in the wood for the rope attachments at equal distances. Test fit the rope through the holes to confirm proper size and placement.
- Day 4: Attach the rope securely using knots or screws, checking that it supports the wood’s weight without slipping.
- Day 5: Decorate your sign with paint, stencils, or wood burning. Allow your design to dry or set fully before hanging.
- After 1 week: Inspect the sign for any loose parts or wear and reinforce or touch up as needed to extend its life.
Frequently Asked Questions
What Type of Wood Works Best for a Rope Hanging Sign?
Softwoods like pine or cedar are ideal for rope hanging signs because they are easy to drill and lightweight. They also absorb paint or stain well, allowing you to customize the look without making the sign too heavy for rope hanging.
Can I Use Synthetic Rope Instead of Natural Jute or Sisal?
Yes, synthetic ropes like nylon or polyester are durable and resist weather better than natural fibers. However, they may not give the same rustic aesthetic as natural rope, so choose based on whether durability or appearance matters more for your project.
How Do I Secure the Rope so It Doesn’t Slip from the Sign?
Tying tight knots at each end and attaching the rope through drilled holes or screw eyelets on the back keeps it secure. Adding a drop of wood glue or clear adhesive on knots can prevent slipping over time.
What Paint Finishes Work Best on Wood Signs Exposed Outdoors?
Semi-gloss or satin exterior acrylic paint provides good weather resistance and lasts longer. Using a clear waterproof sealer after painting offers extra protection against moisture damage.
How Long Should the Hanging Rope Be Compared to the Sign Size?
The rope should leave about 20 inches of slack in the middle when threaded for easy hanging. This length helps the sign hang visibly and evenly without being too short or dangling too low.
Can I Reuse Leftover Wood Pieces for Making Smaller Rope Hanging Signs?
Yes, leftover wood scraps can be cut and sanded into smaller signs for labels or decorative tags. Using smaller rope lengths helps create versatile hanging signs without wasting materials.
The Bottom Line
Making a rope hanging sign is a straightforward project that brings a personal touch to your space. Start by picking your wood and rope carefully, then follow simple steps to assemble and decorate. Hang your finished sign confidently and enjoy the handmade charm it adds to your home. Your next move could be choosing a message or design that reflects your style.