How to Make a Round Wood Sign by Hand: A Complete Step-by-Step Guide
Learning how to make a round wood sign by hand involves selecting the right materials, preparing your wood base, and applying your design with precision. The process is affordable, often around $4 per sign, using simple supplies like plywood, wood stain, and basic tools. Starting with a smooth, properly sized wood round ensures your sign turns out well and lasts longer.
Key Takeaways
- Choose a wood round at least 16 inches wide for outdoor signs to ensure good visibility and durability.
- Use 3/4-inch birch plywood as a stable and affordable wood base for your project.
- Cut two 1×2 boards about 1.5 inches taller than your wood sign height for secure support on the back.
- Stain or paint your wood round and allow at least two hours drying time before adding designs or seals.
- Let paint dry fully for 24 hours after staining to avoid smudging and achieve a smooth finish.
- Transfer designs by hand painting or use heat transfer vinyl, watching tutorials like TeckWrap Craft’s for guidance.
Materials and Tools Required for Round Wood Signs
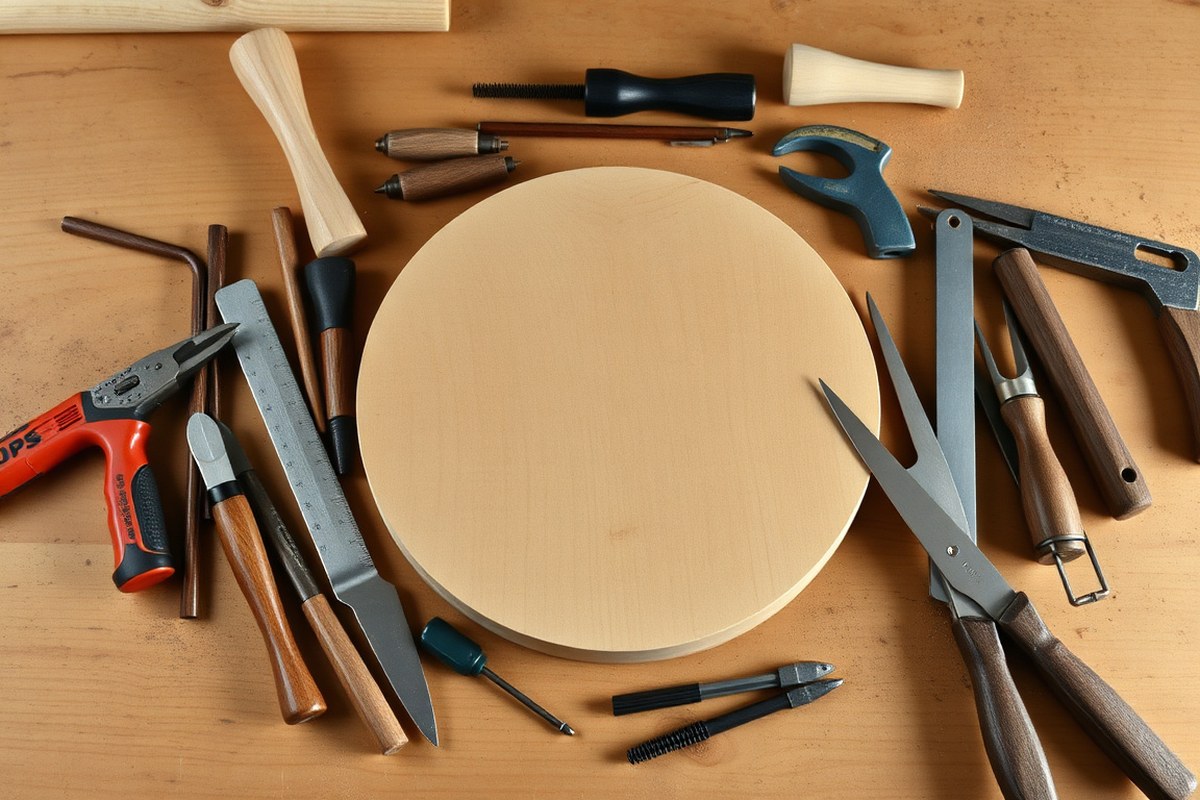
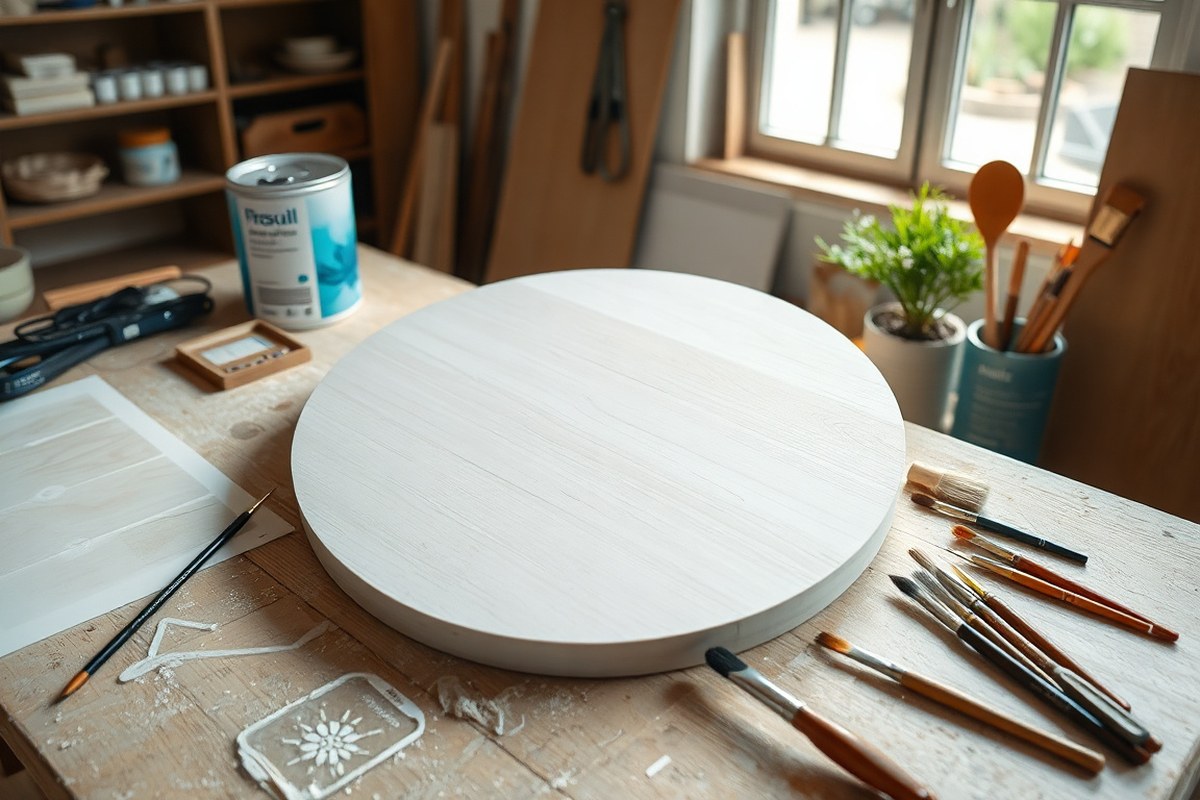
To make a round wood sign by hand, start by gathering basic materials that suit both beginners and those avoiding power tools. Choose a 3/4 inch birch plywood round, which is affordable, smooth, and easy to paint or stain. You’ll also need wood stain or paint, and Mod Podge or another wood sealer to protect your finished work. Using simple, readily available supplies keeps your project cost-effective, typically under $10 for all materials.
Essential hand tools include sandpaper or sanding blocks to smooth edges and surfaces, a pencil to sketch your design, and paintbrushes in various sizes to handle lettering and background painting. A small ruler or tape measure helps keep your design centered and proportioned. Avoiding power tools means using a handsaw or coping saw if you’re cutting the wood yourself, but many craft stores sell pre-cut rounds in the size you want.
- 3/4″ birch plywood round (available in craft or hardware stores)
- Sandpaper (100- and 220-grit) or sanding blocks
- Pencil and eraser for sketching design
- Paintbrushes (small detail brushes and a medium flat brush)
- Wood stain or acrylic paint
- Mod Podge or clear wood sealer for protection
- Optional: handsaw or coping saw for shaping wood
For those who want completely no-power-tool options, buy a ready-made wood round and work exclusively with sandpaper to smooth rough spots. You can create your design entirely with pencils and paintbrushes. Using hand sanding instead of a power sander lets you control the edges more gently and prevents over-sanding the shape. Painting directly on untreated wood provides a natural look but sealing with Mod Podge extends your sign’s life, especially if it will hang outdoors.
Good results come from choosing quality, smooth wood and applying at least two coats of paint or stain. Sand lightly between layers to maintain a clean surface. Use fine-tipped brushes for lettering or stencils to achieve crisp lines. Problems to watch for include rough edges from uneven sanding or paint that chips if the wood was not sealed properly.
Choosing and Preparing the Wood Base for Your Sign
Choosing the right wood and prepping its surface are the foundation for an appealing and durable round wood sign. Different woods affect ease of work, finish, and longevity. Proper sanding and priming ensure paint or stain adheres well and looks smooth.
Types of Wood Suitable for Round Signs
The most common choices for round wood signs are solid wood like pine and smooth plywood. Pine is affordable, lightweight, and easy to cut and sand, making it beginner-friendly. Plywood usually costs less and offers a smooth surface but can have visible layers on the edges.
| Wood Type | Cost | Texture | Workability | Ideal Finish |
|---|---|---|---|---|
| Pine (solid wood) | Moderate ($15, $30 per 12″ round piece) | Smooth with wood grain | Easy to sand and shape | Paint and stain well for rustic looks |
| Smooth Plywood | Lower ($10, $20 per 12″ round piece) | Very smooth surface, layered edges | Easy to cut, edges may need sealing | Paints easily; edges require extra prep |
Inspect the wood for cracks, knots, or rough patches, as these affect the final result. Pine’s natural grains add character but may need more sanding to avoid splinters. Plywood’s smooth top surface is ideal for crisp painting but sealing edges prevents delamination and roughness.
How to Sand and Smooth Wood Surfaces
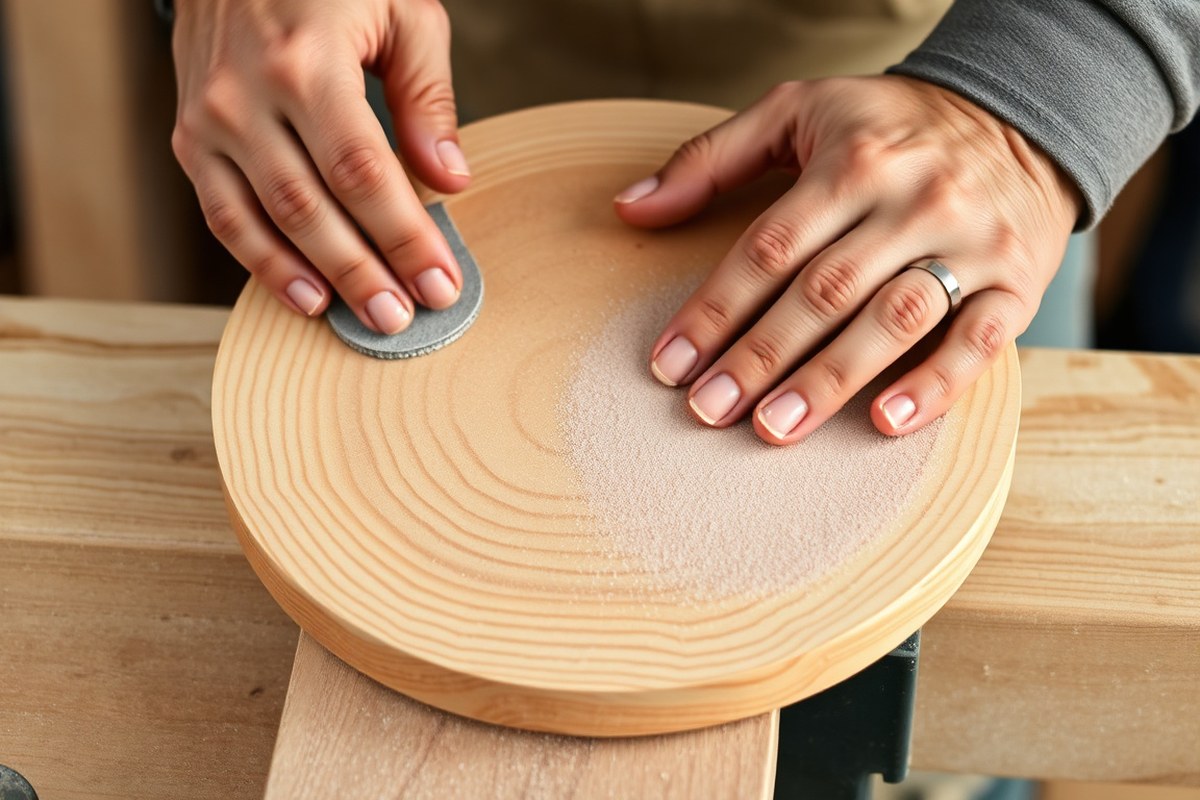
Sanding creates a smooth surface that helps paint or stain adhere evenly and prevents rough spots that catch dirt or flake paint. Aim to remove splinters and smooth edges while keeping the wood surface even.
Start with 120-grit sandpaper to take down rough spots, then finish with 220-grit for a fine finish ready for paint or stain. Use a sanding block or orbital sander for large surfaces, and sand hand edges carefully by hand to avoid rounding the sign’s sides too much.
- Clean the wood by wiping off dirt or dust before sanding.
- Sand the entire surface and edges with 120-grit sandpaper to smooth rough patches.
- Use 220-grit sandpaper to finish and create an even smooth feel across the surface.
- Remove all sanding dust with a tack cloth or damp rag.
- Double-check edges for splinters or uneven spots and resand if necessary.
Use a light touch with fine-grit sandpaper at the end to avoid scratching the wood surface before painting or staining.
Applying Stains and Primers Evenly
Applying stain or primer sets the tone for your wood sign’s final look. Stain brings out wood grain and adds color, while primer creates a uniform surface that improves paint adhesion and durability. Choose stain for natural wood finishes and primer for painted designs.
Test stains on a scrap piece to preview color and absorption, especially on plywood versus pine as they absorb differently. Use a brush or lint-free cloth to apply stain in the wood grain’s direction, wiping away excess to avoid blotches. For primer, select one suitable for wood and your topcoat paint type and apply thin, even layers.
- Choose stain or primer designed for wood surfaces.
- Test your stain color or primer on a spare wood piece similar to your sign.
- Apply with a brush or cloth following the wood grain, covering edges carefully.
- Wipe off excess stain quickly for even color distribution.
- Let stain or primer dry for the recommended time (typically 4, 6 hours).
- Lightly sand the surface with 220-grit paper between coats if applying multiple layers.
Sealing plywood edges with wood glue or primer prevents swelling and peeling under stain or paint.
Transferring Your Design Onto Round Wood
To transfer your design onto a round wood sign, you can choose from vinyl transfer, stencils, or hand drawing. Vinyl transfer offers crisp, repeatable results best for clean, sharp lines, while stencils assist with intricate patterns. Hand drawing works well for personalized, artistic touches or when you prefer a direct approach without machines. Each method suits different skill levels, tools, and desired effects.
Using Vinyl Transfer and Stencils
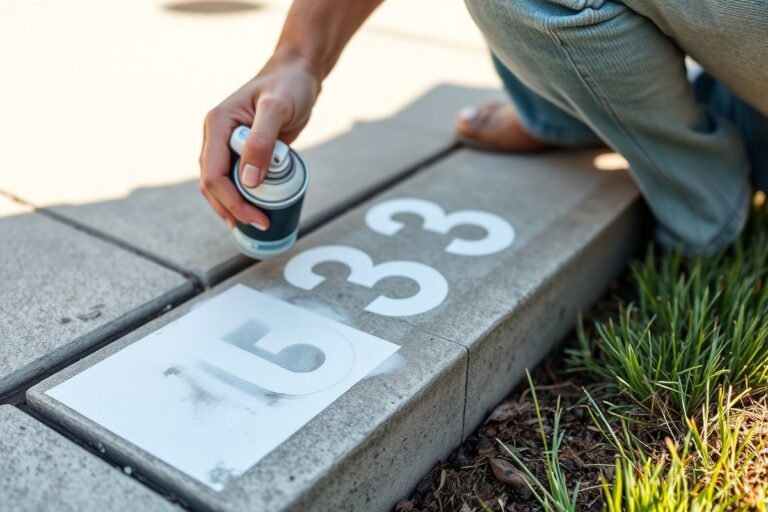
Vinyl transfer uses adhesive vinyl cut with a machine like a Cricut or Silhouette to apply your design to the wood. This method creates precise, clean edges and is ideal for fonts or detailed shapes you want to reproduce multiple times. Stencils, either store-bought or homemade, let you paint the design through cut-out areas, which works well for more complicated or layered artworks.
To use vinyl transfer, position the vinyl cutout on transfer tape, peel away the backing carefully, and place it on your wood round. Secure it gently to avoid lifting paint or splinters. Stencils need to be taped firmly onto the wood to prevent paint bleed underneath and should be removed once the paint is tacky but not fully dry to avoid peeling. Both require smooth, dry wood for best adhesion.
| Method | Best for | Tools Needed | Pros | Cons |
|---|---|---|---|---|
| Vinyl Transfer | Clean lines, multiple copies | Vinyl cutter, transfer tape, vinyl sheets | Sharp edges, durable | Cost of vinyl and machine, delicate placement |
| Stencils | Complex or layered designs | Pre-made or custom stencils, painter’s tape, paint | Reusable, flexible design | Risk of bleed, needs steady hand |
| Hand Drawing | Personalized, one-off artistic signs | Pencil, transfer paper, pens, or brushes | Complete creative control, low cost | Time-consuming, less precise |
Hand Drawing and Freehand Techniques
For a hands-on approach, freehand drawing or tracing with transfer paper lets you put your own mark on the wood. Start by printing or drawing your design on paper, then lay graphite transfer paper between the design and wood round. Trace over the lines firmly with a pencil or stylus, transferring the graphite onto the wood surface.
This method shines when you want to add customized lettering or unique details not easy to achieve with vinyl or stencils. It requires patience and a steady hand, especially on round wood that may have grain or texture. You can use permanent markers, acrylic paint, or wood burners to finalize the design after tracing.
- Print your design to the size of your wood round.
- Place graphite transfer paper face down on the wood surface.
- Set your design on top of the transfer paper.
- Trace the design lines firmly with a pencil or stylus to transfer onto the wood.
- Remove papers carefully to reveal the transferred lines.
- Touch up or finish the design with paint, marker, or another medium.
Heat Transfer Vinyl on Wood Rounds
Heat transfer vinyl (HTV) is an option usually used on fabrics but can also bond to smooth wood surfaces with the right technique. This method requires an iron or heat press set around 300°F. Place your HTV design liner side up on the wood, then apply heat and firm pressure for about 45 seconds. This fuses the vinyl to the wood for a high-quality finish.
HTV works best on unfinished or lightly finished wood rounds with minimal texture. It offers vibrant colors and a durable surface that can endure outdoor exposure if sealed afterward. However, improper heat or timing may cause the wood to scorch or the design to peel prematurely. Always test on scrap wood before applying to your final piece.
Hand-Painting and Color Techniques for Round Signs
Choosing the right paint or stain for your round wood sign depends on the look you want and the sign’s purpose. Acrylic paint is a popular choice because it adheres well to wood, dries quickly, and provides vibrant colors. Wood stains offer a more natural finish that improve the grain and can act as a subtle background. When selecting paint, consider using craft acrylics for detail work and chalk paint for flat, solid backgrounds. For staining, a foam brush or rag works best to apply even coats along the grain of the wood. Allow at least two hours for paint or stain to dry before adding more layers or handling.
Applying multiple colors or layers requires patience and proper technique. Start with a solid background color if your design calls for it, using a foam brush or small roller for smooth coverage. Let the background dry fully, ideally for 24 hours, to prevent colors from bleeding into each other. Use painter’s tape to mask off areas when creating sharp, clean lines between colors. For fine details, such as lettering or small graphics, oil-based paint pens, like Sharpie paint pens, provide excellent control and coverage without the mess of brushes.
Hand-painting techniques include using small brushes for detailed areas and foam rollers or foam brushes for larger surfaces. Brushes with synthetic bristles hold acrylic paint well and help avoid streaks. Pens are practical for crisp edges and precision. Foam rollers speed up painting large backgrounds and create a smooth finish. Avoid using large household rollers since they can overload the paint and cause drips. Layer thin coats of paint rather than one thick coat, waiting about 20 to 30 minutes between each layer for the best results.
Common problems like paint bleeding or uneven coverage can be prevented by preparing the wood surface properly and using the right tools. Sand the wood smooth and remove any dust before you start. When painting, avoid overloading your brush or roller to reduce drips. Painter’s tape will help control paint edges and prevent bleeding, but make sure it’s firmly pressed down. When paint bleeds, wipe away the excess right away using a damp cloth before it dries. Uneven staining often happens when the wood surface isn’t consistent; apply stain with steady pressure following the grain and wipe off excess promptly to avoid blotches.
Touch-ups require you to lightly sand the area once it is dry, then repaint or restain. Sealing the finished paintwork with a clear coat or outdoor sealer protects both paint and wood, especially for signs that will be exposed to weather. Plan for drying times, layers, and surface prep to get a smooth, professional look without costly mistakes or frustration.
Sealing and Protecting Your Finished Wooden Sign
Sealing your finished wooden sign is essential to protect it from moisture, dust, and UV damage, especially if you plan to display it outdoors. For indoor use, a clear polyurethane or acrylic sealer will protect your paint and wood without changing the finish much. Apply two thin coats with a brush or spray, allowing at least 2 to 4 hours drying time between coats at room temperature around 70°F (21°C). Choose a water-based polyurethane for low odor and easy cleanup.
Outdoor signs demand more durable protection due to weather changes like sun, rain, and humidity. Use a spar urethane or exterior-rated clear coat designed to remain flexible and resist cracking. Apply 3 to 4 coats, sanding lightly with fine-grit sandpaper (220 grit) between coats for better adhesion. Let the sealer cure fully, which can take up to 24 hours, before hanging or using the sign outdoors. This extra effort prevents warping and fading caused by harsh conditions.
Before sealing, ensure your paint or stain is completely dry, this usually means waiting 24 to 48 hours depending on humidity. Work in a dust-free, well-ventilated area to avoid particles settling on the wet finish. When brushing on sealant, move in even strokes following the wood grain. Avoid thick layers to prevent dripping and uneven drying. If your sign has delicate painted lettering or intricate details, use a soft brush to protect the design while still covering it fully.
Cleaning a sealed wooden sign is simple if you avoid harsh chemicals or abrasive tools. Use a damp cloth or sponge with mild soap and water. Rinse with clear water and dry with a soft towel. For outdoor signs, regular gentle cleaning every few months helps maintain the sealer’s protective properties. Avoid pressure washers and solvents that can remove or damage the finish.
Costs for quality sealants typically range from $8 to $20 per quart, which covers multiple signs depending on size. Choosing a sealer rated specifically for exterior use is a good investment to extend the life of your handmade round wood signs exposed to sun and rain. Always read label instructions carefully for ideal temperatures and safety precautions during application.
Do not apply sealer in direct sunlight or on very hot days, as it can dry too quickly and cause bubbles or uneven finishes on your wood sign.
Adding Decorative Elements and Frames to Round Signs
Adding decorative elements and frames to your round wood sign improve its visual appeal and makes it stand out as a personalized piece. Bows, floral accents, and simple frames bring character and charm. Choosing the right hanging hardware ensures your sign stays secure while complementing the decorations.
Creating Burlap Bows and Floral Decorations
Burlap bows and faux floral decorations add a rustic, handcrafted touch that pairs well with the natural wood texture. Burlap is inexpensive and easy to work with, costing about $5 to $10 for a yard at craft stores. Faux flowers in small bunches run $3 to $8 depending on style and size. These decorations can be attached after painting and sealing your sign to maintain the finish.
Forming a burlap bow involves cutting strips roughly 4 inches wide and 12 to 15 inches long. You can fluff the loops to create fullness. Fabric glue or a hot glue gun works well to secure the bow’s center and attach floral stems. Twine or jute string tied around the bow and sign hardware can add a cohesive, rustic look.
Building Simple Wooden Frames
Simple frames made of thin wood strips, like ⅜-inch by 1-inch pine molding, can outline the round sign to give it a finished appearance. Frames typically add about 1 to 2 inches of width around the sign. Using a miter box and saw ensures clean 45-degree corner cuts for a neat frame fit. Depending on size, framing materials usually cost between $5 and $15.
Frames attach best with wood glue and small finishing nails or brads. Pre-drill holes for nails to prevent wood splitting, especially with softwoods. After securing the frame, lightly sand the edges and finish with paint or stain to match or contrast the sign design. The frame can also protect the edges from wear.
Attaching Decorative Elements Securely
Attaching bows, flowers, frames, or additional embellishments requires durable methods to keep your sign looking great long-term. Hardware like screws, nails, or strong adhesives provides stability. Pre-drilling holes for screws prevents the wood from cracking, especially on finished surfaces.
Hanging hardware options include sawtooth hangers, D-rings with wire, or heavy-duty picture hooks. For round signs, D-rings placed on opposite sides about one-third down from the top offer balanced support. After installing hooks or screws, try tying twine or decorative rope around the hardware and sign edge to add a charming detail that also reinforces hanging strength.
- Gather your decorative elements: burlap strips, faux flowers, thin wood strips for frames, wood glue, nails, screws, hanging hardware, twine, and hot glue gun.
- Create a burlap bow by forming loops with a 12-15 inch strip and securing the center with hot glue. Add faux flowers as desired.
- Cut wood strips to frame the circumference of your sign using a miter box for clean 45-degree angles.
- Pre-drill holes in the frame pieces and attach them to the sign with wood glue and finishing nails or brads.
- Attach your burlap bow and flower arrangement to the front or edge of the sign using hot glue or small finishing nails.
- Install hanging hardware on the back, spacing D-rings evenly about one-third down from the top edge on opposite sides.
- Secure the hardware with pre-drilled screws to prevent wood splitting.
- Optionally, tie twine or rope around the hardware and the sign’s edge to add a decorative touch and reinforce hanging strength.
Safe Use of Tools and Hanging Your Round Wood Sign
Using hand and power tools safely is essential when making a round wood sign to avoid injury and protect your project. Always wear safety goggles and gloves to guard against flying debris and splinters. Keep your workspace clean and well-lit to reduce accidents. Before using saws, clamps, or heat presses, check that tools are in good condition and make sure blades or surfaces are clean and sharp. Avoid loose clothing or jewelry that could get caught in moving parts.
When it comes to hanging your round wood sign, choosing the right hardware depends on the sign’s size, weight, and the wall surface. D-rings and wire work well for heavier signs, while sawtooth hangers suit lighter ones. For drywall, use anchors or toggle bolts to secure screws firmly. Brick or concrete surfaces require masonry screws or hooked hangers with appropriate wall plugs. Follow these steps to hang your round wood sign securely:
- Measure and mark the wall: Hold the sign at the desired height and mark where the hanger will align on the wall. Use a level to ensure it’s straight.
- Choose suitable wall anchors: Select anchors rated for the sign’s weight and appropriate for the wall type, plastic anchors for drywall under 20 lbs, toggle bolts or masonry anchors for heavier loads or masonry walls.
- Install the hangers on the sign: Attach two D-rings on the back of the sign, about one-third down from the top edge, then connect picture wire firmly between them. For smaller signs under 5 pounds, a sawtooth hanger centered on the back can be used instead.
- Drill pilot holes in the wall: Use a drill bit slightly smaller than the screw or anchor diameter to prevent wall damage and ensure secure installation.
- Insert anchors or screws: Push or hammer anchors into pilot holes, then drive screws partially in, leaving enough thread to hang the wire or sawtooth.
- Hang the sign and check alignment: Place the wire or sawtooth on the screws and use a level to adjust if needed.
- Test stability: Gently nudge the sign to make sure it’s firmly attached and won’t fall.
Using a heat press or soldering tool for decorative elements requires extra care, work in a well-ventilated space to avoid fumes, and use heat-resistant gloves. Only apply heat as long as manufacturer instructions recommend, often 10 to 30 seconds at 300 to 350 degrees Fahrenheit, to prevent burn marks on wood.
Signs weighing more than 10 pounds benefit from wall hooks driven into studs rather than drywall anchors alone. To locate studs, use a stud finder or tap the wall and listen for solid areas. Mounting signs directly on studs improves safety and longevity of the hanging.
Troubleshooting Common Issues and Best Practices
Fixing mistakes in your design or paint on a round wood sign starts with patience and the right tools. When you see a paint slip or an uneven letter, let the paint dry completely before fixing it. Use fine sandpaper (220-grit works well) to lightly sand away the error without damaging the wood beneath. After sanding, wipe off the dust with a tack cloth, then repaint the area carefully with a small brush. For minor design errors, white acrylic paint or a paint pen can help clean up lines or cover unwanted marks. Avoid rushing this process; letting layers dry for at least one hour between steps improves the finish.
Completing a handmade round wood sign typically takes between 4 to 8 hours spread over several days. Preparation like sanding and deciding the wood grain direction is important to getting a smooth surface and appealing look. The painting stage requires multiple thin coats, each needing time to dry. Including steps like framing the sign or adding multiple colors will require extra hours. Planning your sessions in segments allows for better precision and less fatigue.
Cost varies primarily with the type of wood and supplies you use. A smooth wood round suitable for a sign might run between $10 to $25 at craft stores. Acrylic paint sets for crafts cost around $15 to $30, which you can reuse for many projects. Brushes vary widely in price but expect to spend $5 to $15 for quality detail brushes. Sandpaper and sealants add another $10 to $20 combined. You can expect to spend about $40 to $90 initially, with most materials reusable. Spending a bit more on quality paint and preparation materials usually results in a more professional finish.
Best practices to ensure a clean finish include starting with a well-sanded, debris-free wood round, and choosing the wood grain orientation you prefer, horizontal grain tends to look more balanced visually. After transferring your design, keep your workspace clean to avoid dust settling on wet paint. Work in thin coats, allowing ample drying time, and consider using stencils or a transfer paper for sharper lines. Sealing your finished sign properly also protects your work and improve longevity.
Common mistakes like bleeding paint or uneven lettering often come from applying too much paint in one pass or working on a dusty surface. Correct by sanding lightly and repainting with thinner layers. Paint drips can be remedied by sanding once dry and repainting that spot carefully. Using a small brush for details and a flat brush for larger fills helps maintain control.
Always test paint colors and sealants on a scrap piece of your wood first to avoid surprises once applied to your sign.
Step-by-Step Action Plan for Making Your Round Wood Sign
Follow these steps to create your round wood sign efficiently, ensuring each phase sets you up for success.
- Before you start: Gather all the materials and tools on your list, including wood, paint, brushes, and sealant, verifying everything is in good condition.
- Day 1: Select a round wood piece that fits your desired sign size; sand it thoroughly until smooth to prepare the surface for painting.
- Day 2: Transfer your design onto the wood using carbon paper or a stencil; check that the entire design is clear and well-aligned.
- Day 3: Begin hand-painting your sign with chosen colors; apply steady, even coats, letting paint dry between layers to avoid smudging.
- Day 4: Add any decorative details or frames you planned, ensuring they complement the design and are securely attached.
- Day 5: Apply a protective sealant over the painted surface to preserve your work; the wood should feel dry and smooth afterward.
- After 24 hours of sealing: Install hanging hardware appropriate for the sign’s weight and thickness; test to confirm the sign hangs evenly and safely.
Frequently Asked Questions
What Is the Best Type of Wood for a Round Wood Sign?
Pine or birch plywood is best for round wood signs due to their smooth surfaces and easy paint absorption. These woods are also affordable and easy to cut into the round shape you need for your project.
How Can I Create a Perfect Circle Template for My Sign?
Use a compass or a string tied to a pencil to draw a circle on paper or cardboard. This simple homemade template helps you trace the exact size onto your wood before cutting.
What’s a Budget-Friendly Way to Personalize a Round Wood Sign?
Use stencils and acrylic paints to hand-paint names or messages. This method saves money compared to buying custom vinyl decals but still allows for creative, personalized designs.
Can I Use Heat Transfer Vinyl on My Round Wood Sign?
Yes, but ensure you follow tutorials like TeckWrap Craft’s video for proper application and avoid peeling. Vinyl works better on smooth, flat surfaces, so sanding your wood is important before applying.
How Do I Prevent Paint from Cracking on a Curved Wood Surface?
Use a flexible acrylic paint and apply thin, even coats. Let each layer dry fully before adding the next to avoid cracking as the wood expands or contracts with humidity changes.
What’s the Best Way to Hang a Round Wood Sign Securely?
Attach a sturdy sawtooth hanger or D-rings on the back with strong screws. Using wire between the hooks can help balance the sign evenly on your wall or door.
Key Points to Remember
Creating a round wood sign by hand combines careful preparation and thoughtful finishing steps. Taking your time with each phase, from sanding to sealing, boosts the quality and durability of your sign. Start by selecting your wood today and make sure to set up a comfortable workspace where you can focus on each step. This hands-on project will help you build skills and produce a personalized piece to display proudly.