DIY Yard Sign Guide: How to Make Durable, Visible Signs That Last
DIY yard signs offer an affordable and personalized way to improve your outdoor space or share a message. Creating your own sign lets you control the design, size, and materials to fit your style and purpose. Start by selecting weather-resistant materials to ensure your sign lasts through rain and sun.
Key Takeaways
- Choose durable materials like cedar, redwood, or treated plywood for longevity in outdoor conditions.
- Design signs with bold, high-contrast colors to improve visibility from a distance.
- Use weatherproof paint or vinyl to protect your sign’s graphics and text from fading.
- Mount signs at least 8 inches off the ground and tilt forward slightly to prevent water damage and insect problems.
- Plan your layout carefully before starting to avoid mistakes and wasted materials.
- Consider lighter materials like outdoor canvas or thin plywood for easier handling and installation.
What Is a DIY Yard Sign and Why Make One?
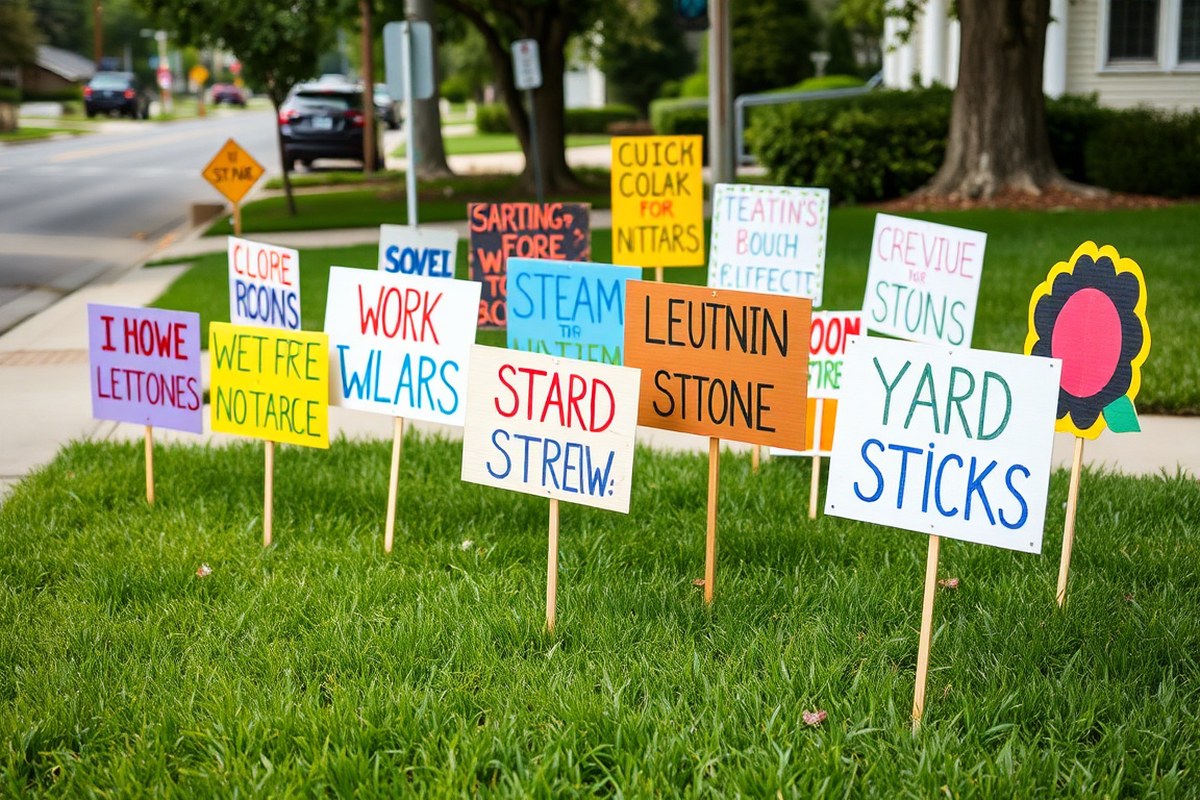
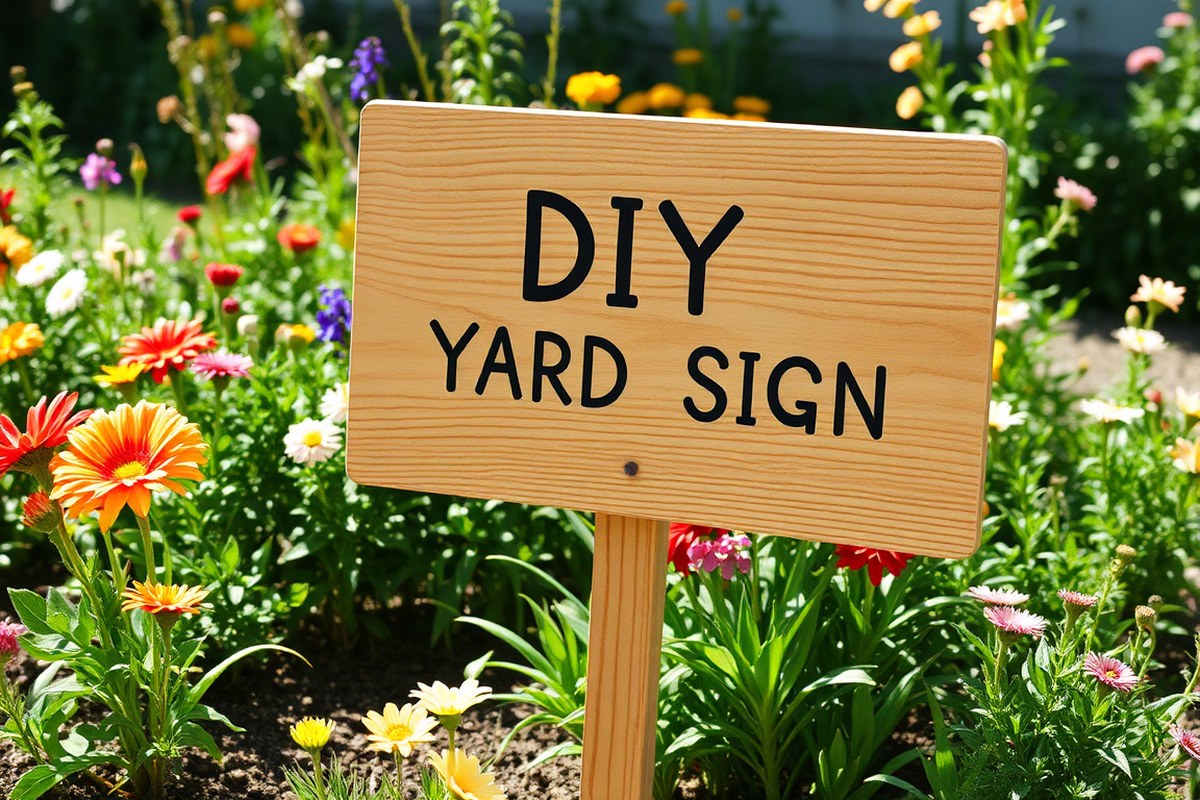
A DIY yard sign is a custom-made sign that you create yourself to display in your yard or garden. These signs can be made from various materials such as wood, cardboard, or plastic and often include hand-painted or printed messages and decorations. Most commonly, DIY yard signs serve as personal statements, seasonal décor, garden markers, or promotional signs. You choose the size, style, and wording, tailoring each sign to fit your specific space and message.
Choosing to make a yard sign yourself instead of buying one offers several advantages. Cost is a big factor because many simple DIY signs can be created for less than $10 using basic materials like scrap wood or cardboard and permanent markers. This approach also allows you to add a personal touch that store-bought signs often lack. For example, you can include quirky sayings, unique colors, or customized garden-related information that matches your outdoor décor. Crafting your own sign gives you full control over the design elements, making it easier to match your yard’s style or theme.
DIY yard signs fulfill a variety of purposes depending on your needs. They might mark garden plants, improve the appearance of your front yard with cheerful or whimsical messages, or serve as understated advertising at yard sales or local events. Since yard signs are often seen by people during short walks or drives, clear, concise text and bold visuals help communicate your message quickly. Creating your own sign means you can pick the exact wording and style that suits your goal, whether that’s welcoming guests, guiding visitors, or highlighting your garden’s theme.
Making a successful DIY yard sign starts with knowing your goal. For example, if you want a sign to identify plants in your garden, you might use waterproof markers on small wooden stakes. For a decorative sign, paint a larger wooden board with bright colors and a seasonal phrase. Typical DIY projects use basic tools like paintbrushes, permanent markers, or stencils, and inexpensive materials found at home improvement stores or craft shops. Because outdoor signs face weather exposure, durable materials and clear finishes that resist fading will improve the life of your sign, especially in areas with rain or strong sun.
Simple DIY signs often avoid technical steps and time-consuming designs, enabling you to finish the project within a couple of hours. To add extra flair, print templates from free online sources to guide your artwork and keep text neat. Sign sizes around 18 by 24 inches work well for visibility, though smaller sizes may suit limited garden spaces. Be careful to create legible letters at least 2 to 3 inches high so passersby can easily read your sign from a short distance. Common mistakes include overcrowding the message or using colors that blend into the background, which reduces readability.
Choosing the Right Materials for Outdoor Signs
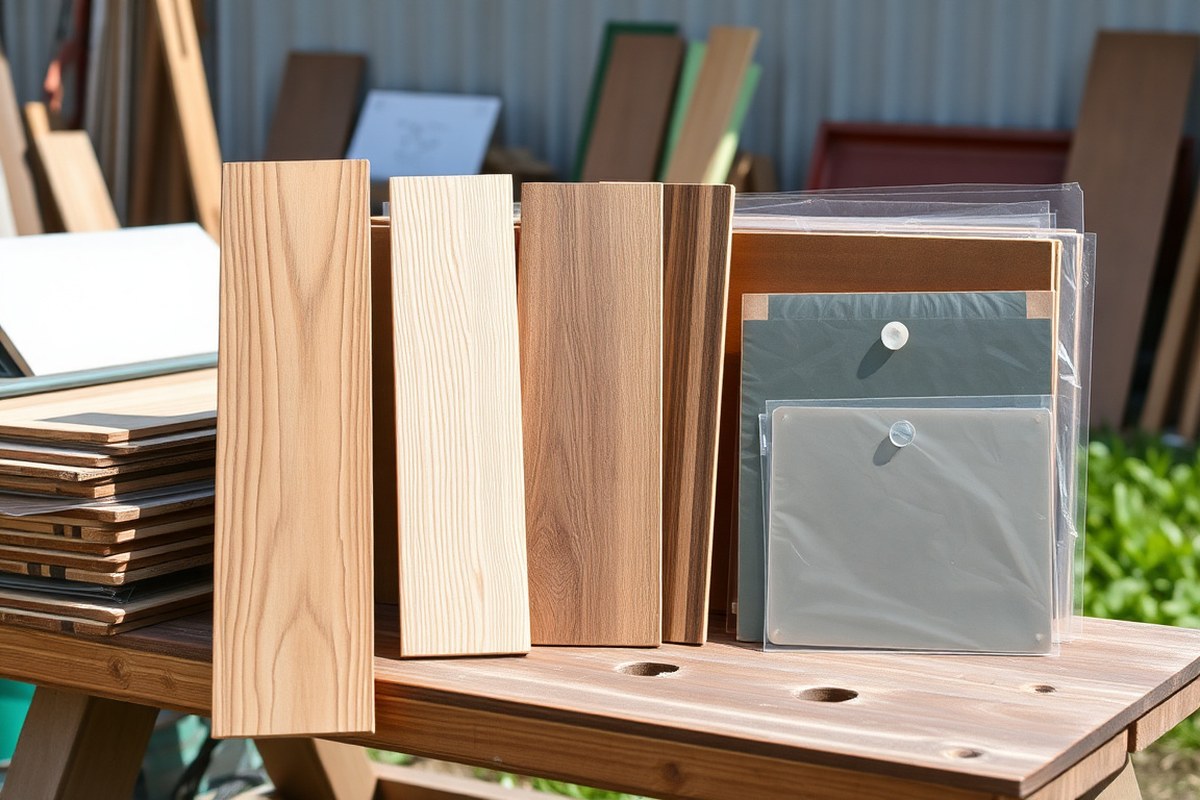
Choosing the right materials for your outdoor yard sign directly impacts its durability, appearance, and maintenance needs. Wood is a popular choice, with several options rated for rot resistance and long-lasting stability. Cedar, redwood, and white oak offer excellent rot resistance, with cedar and redwood being softer and easier to work with, while white oak is harder and heavier but very durable. Teak is rare but offers outstanding stability and durability, making it the longest-lasting wood option if you want a premium sign. Marine-grade plywood is a good budget-friendly option if properly sealed, as it resists moisture well and provides excellent stability.
Besides wood, metal, plastic, and canvas are also common materials to consider based on cost, weather resistance, and appearance. Metal signs, such as aluminum, are durable and can withstand harsh weather without degrading, but they cost more and may require special tools or finishes to avoid rust. Plastic yard signs, often made from corrugated polyethylene (“coroplast”), are lightweight and inexpensive, ideal for short-term or seasonal use but tend to fade or crack over a year or two. Canvas signs add a soft texture and can be sewn or glued after painting or transferring your design on 12×18 inch outdoor fabric. Canvas requires regular maintenance and protection from strong winds and rain to last longer.
| Material | Rot Resistance | Stability | Cost & Notes |
|---|---|---|---|
| Cedar | Excellent | Very Good | Moderate; lightweight and easy to work with |
| Redwood | Excellent | Very Good | High; premium softwood good for lasting signs |
| White Oak | Excellent | Good | High; strong hardwood but heavy |
| Teak | Outstanding | Excellent | Very High; best outdoor durability but costly |
| Marine-Grade Plywood | Good (with sealing) | Excellent | Moderate; needs sealing to resist moisture |
| Plastic (Coroplast) | Fair | Good | Low; affordable but less durable, fades in 1-2 years |
| Canvas | Low | Variable | Low; DIY-friendly but requires maintenance |
Cost and maintenance tend to go hand in hand. Wood signs, especially cedar and redwood, usually require sealing or staining before display to protect against sun, rain, and insects. Expect to apply a fresh coat every 1 to 3 years depending on exposure. Teak needs less frequent upkeep but costs substantially more upfront. Plastic signs are inexpensive but may need to be replaced every couple of years if you want them to look sharp. Canvas signs add a handmade touch but suffer from quick wear outdoors unless you store them in dry conditions. Metal signs hold up well in all seasons but may require rust-preventive coatings, and their cost is generally above plastic but below premium woods.
Choosing the right material depends on how long you want your sign to last and your budget. For long-term signs visible year-round, cedar or redwood with a protective finish strikes a good balance. Use marine-grade plywood if you want stability at a lower price but prepare to seal it well. Plastic suits short campaigns or temporary messaging. Canvas works best for lightweight, artistic signs displayed in mild weather or sheltered spots. Metal fits industrial-style signs and those facing heavy weather but expect a higher initial investment.
Always seal wood signs properly before placing them outdoors; unsealed wood can warp or rot within one year, cutting your sign’s lifespan drastically.
Designing a Yard Sign for Visibility and Impact
Plan your yard sign design with clear visibility and impact by focusing on the right size, bold color contrast, concise wording, and legible fonts. Tailor your design for the distance and speed of viewers, drivers need larger, simpler text while pedestrians can handle smaller, detailed fonts. Keep the message direct and easy to read at a glance for best results.
Size and Lettering Guidelines
A typical yard sign size ranges from 18×24 inches to 24×36 inches, depending on where you’ll place it and who will see it. Larger signs suit roadside display for drivers, while smaller signs work well for foot traffic areas. Text height should ideally be at least 1 inch tall for every 10 feet of viewing distance. For example, if your sign is 30 feet from the road, use at least 3-inch-high letters.
Use block letters or simple fonts that are easy to read quickly. Avoid cursive or overly stylized fonts to prevent confusion. Space letters evenly to prevent crowding, which decreases readability. Remember, fewer words with clear spacing improve the message’s impact.
Color Contrast and Visibility Tips
High contrast between background and text colors is essential for your sign’s longevity and readability. A black background with white lettering or vice versa is a classic choice that maintains visibility even in fading light. Outdoor acrylic paint or weather-resistant vinyl with matte finishes reduces glare, helping maintain clarity from various angles.
Consider environmental factors like foliage color or typical weather conditions. For example, if your yard has a lot of green plants, choose colors like white, yellow, or bright orange to stand out. Bright colors can attract attention but make sure the text remains sharp against the background to avoid visual strain.
- Use black on white or white on black for highest contrast
- Avoid red/green combinations due to color blindness considerations
- Test your color choices outdoors in daylight
- Stick to two or three colors to prevent clutter
- Apply weatherproof coatings to maintain color intensity
- Matte paint reduces reflection and glare
These tactics ensure your sign remains visible from a distance and under different lighting conditions.
Choosing Effective Wording and Font Styles
Limit your words to about 5 to 7 short terms or a phrase. A simple, direct message increases comprehension in seconds. Use active verbs and avoid long sentences or complex ideas that slow down reading. For instance, “Fresh Veggies Here” or “Please Drive Slowly” are concise and clear.
Design distinctly for your audience. Signs meant for pedestrians can use smaller fonts and more detailed messages, while signs aimed at drivers need larger fonts and very short text due to faster viewing speeds. Adjust your font size and wording accordingly to match where and how the sign will be seen.
Use clear sans-serif fonts like Arial, Helvetica, or Futura for modern, clean looks that improve readability. Pair this with consistent letter weight and avoid italic or overly decorative fonts. To finalize layout, sketch your sign on paper or use online tools like Canva or MyCreativeShop to preview text length and placement before painting or printing.
Essential Tools and Supplies for Making Yard Signs
Making a wooden yard sign requires a set of basic tools and supplies that help ensure your project looks good and lasts outdoors. Core tools include a tape measure for accurate sizing, a pencil to mark your design, clamps to hold pieces securely while you work, and sandpaper (ranging from 80 to 220 grit) to smooth rough edges. A drill or drill driver is necessary for making holes for mounting or attaching elements like raised letters.
Using the right paints and brushes is also important for durability and appearance. Exterior-grade acrylic or latex paint resists weather damage better than regular indoor paint. Brushes with synthetic bristles work well with these paints and provide a smooth finish. Avoid cheap brushes that shed bristles or leave streaks. For added protection, apply a clear outdoor sealant after painting to extend your sign’s life.
Safety equipment is often overlooked but essential. Safety glasses protect your eyes from flying debris when drilling or sanding. A dust mask helps avoid inhaling wood dust, which can irritate your lungs. Gloves protect your hands during cutting or handling rough materials, though avoid loose gloves near power tools to reduce risk of accidents. Make sure your work area is well-ventilated when painting or sealing.
- Tape measure for precise measurements
- Pencil for marking cut and paint lines
- Clamps to hold wood pieces steady
- Sandpaper (80 to 220 grit) for smooth surfaces
- Drill or drill driver with appropriate bits
- Exterior acrylic or latex paint and synthetic brushes
- Safety glasses and dust mask
Many tools and supplies can be sourced affordably from local hardware stores, lumber yards, or online. Look for scrap wood at discounts or free from construction sites for a budget-friendly option, 6×6 blocks and 2×2 posts are popular size choices for parts of the sign. Paints and brushes bought in multipacks or at big-box stores often lower costs. Check for sales on clamps and drill bits to build your toolset over time.
When assembling raised letters, cut them from thin wood, typically 1/8 to 1/2 inch thick, then attach them securely to your sign with wood glue or small nails. Hang your finished sign using cup hooks with 1/2 inch wood screws to keep it stable in outdoor conditions. Proper tool use and quality supplies reduce the risk of splintering, chipping paint, or uneven lettering, resulting in a professional-looking, long-lasting yard sign.
Step-by-Step Guide to Building a Wooden Yard Sign
Building a wooden yard sign involves cutting and preparing wood to the right size, painting or staining it for a clean, weather-resistant base, adding clear lettering or decorative elements, then sealing the sign with protective coats. Each step affects how long your sign lasts and how well it stands out outdoors. Follow careful sanding, precise lettering methods, and allow paint and finish coats adequate drying time for a polished result.
Cutting and Sanding the Wood
Start by selecting a solid, untreated wood plank such as pine or cedar, sized to fit your intended message and placement. Common dimensions range from about 12 by 16 inches for small signs to larger planks for more prominent display. Use a saw to cut the board to size, then sand all surfaces thoroughly with medium-grit (around 120-grit) sandpaper followed by fine-grit (220-grit) for a smooth finish. This helps paint adhere better and prevents splinters.
Lightly sand corners and edges to round them off, which reduces chipping and improves durability. Remove all dust with a tack cloth or damp rag before moving to painting.
- Measure and mark your wood plank to desired size for your yard sign.
- Cut the wood using a hand saw or power saw along marked lines.
- Sand the entire board, starting with 120-grit to level rough spots.
- Finish sanding with 220-grit for a smooth surface.
- Round corners and edges with sandpaper or a sanding block.
- Wipe the surface clean of all dust before painting.
Always wear a dust mask while sanding to avoid inhaling wood particles, especially when working with softwoods.
Adding Letters and Designs
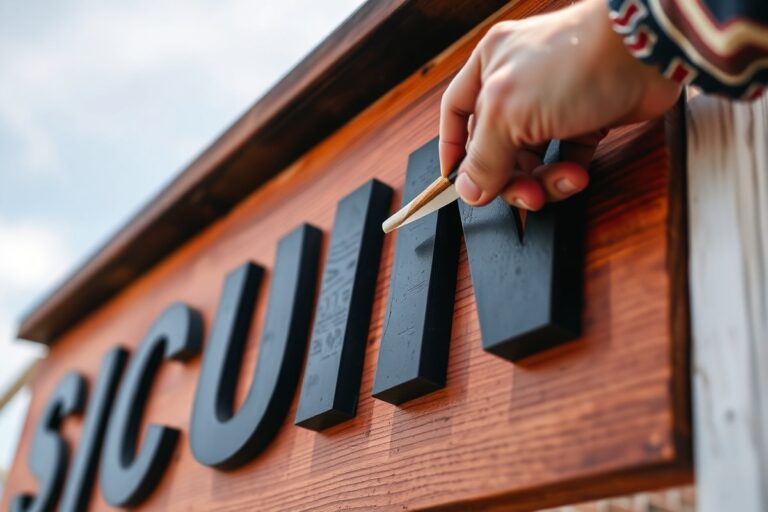
Lettering sets the tone of your sign and can be done in various ways depending on your skill and style preference. One straightforward option is to buy unfinished wooden letters (approximately 3 inches tall) and attach these directly by gluing them onto the painted board. Alternatively, stencil your letters by tracing cutouts onto the wood and filling them with acrylic craft paint using small brushes or colorful paint pens for detail.
Another method is applying weather-resistant vinyl letters over a solid painted background, offering crisp edges and minimal effort. For a rustic, vintage vibe, paint letters and then distress the edges lightly with 60-grit sandpaper once dry. To add character, decorate with small hand-painted features like strawberries or butterflies using fine brushes and craft paint. Position letters or decorations carefully before gluing or painting, use painter’s tape or temporary adhesive to hold stencils in place while you work.
Applying Protective Finishes
Once painting and lettering are complete, protect your sign from moisture, sun damage, and fading by applying a clear finish. Use an outdoor-grade polyurethane or acrylic sealant suitable for wood. Apply two to three thin coats evenly using a foam brush or quality paint brush, following the grain of the wood for best results.
Allow the first coat to dry fully before lightly sanding the surface with fine (220-grit) sandpaper to ensure adhesion of subsequent layers. A floating frame around your sign can also prevent edge cracks and extend its lifespan. Avoid thick coats which can run or bubble and reduce the durability of the finish.
Drying and Curing Times
Let each paint or finish coat dry completely before adding the next. Acrylic paint usually dries to the touch within 30 to 60 minutes at room temperature (68 to 75°F) and low humidity. For outdoor wood sealers, allow at least 2 to 4 hours drying time between coats. The final curing period, where the paint and finish reach maximum hardness, often requires 24 to 48 hours.
Plan to work on your sign over a few days, especially if applying multiple layers of paint and sealant. Avoid exposing your freshly painted sign to rain or harsh sunlight until fully cured to prevent blemishes and peeling.
Mounting and Displaying Your Yard Sign Properly
Mount yard signs at least 8 inches above the ground to keep them safe from moisture and insects. This height prevents bugs from nesting and reduces the chances of water damage, especially after rain. Aim to mount the sign with about a 5-degree forward tilt. This slight angle helps rainwater run off the surface instead of pooling, which can cause faster wear over time.
For mounting options, choose based on your yard’s layout and how permanent you want the sign to be. Stakes are a common, budget-friendly choice costing just a few dollars. Drive stakes directly into firm soil, making sure the sign is secure but not loose. You should set wooden posts at least 2 feet deep or below the frost line to keep them from shifting in cold climates. Stabilize posts with concrete for extra durability. This setup works well for larger or heavier signs that need to stay upright during strong wind or rain.
Hanging signs from porches or fences suits small areas or temporary displays. Attach them with rust-resistant hooks or brackets to avoid damage from wind or moisture. Protect hanging sign edges by sealing with waterproof paint or a clear outdoor sealant to block rain and humidity.
To avoid water damage when installing, never place signs where water naturally pools or stays damp for long periods. A “water trap” location accelerates decay. Check your yard’s drainage patterns before choosing a spot. When you see soggy soil after rain, choose a higher spot or one with better drainage. Placing the sign in a less-than-ideal spot calls for raising it higher or adding a small gravel layer underneath to help with drainage.
Signs mounted in open areas with good air flow dry faster after rain, lasting longer. Avoid placing signs where dense plants or structures block sunlight and trap humidity. For example, a sign near shrubs that stay wet can develop mold or rot. Instead, position the sign near an open lawn or along paths where pedestrians see it easily but it also stays dry.
In windy locations, secure signs with stronger mounting materials like metal stakes or pressure-treated wood posts. Use rust-resistant screws, nails, or brackets to prevent loosening. Loose signs flap and deteriorate faster. Consider tightening mounts twice a year, especially after storms.
Creative DIY Yard Sign Ideas and Personalization Tips
Creating a yard sign that captures attention and reflects your personality starts with choosing a style that fits your space and mood. Combining text, materials, and design elements makes your sign stand out in your garden. Focus on themes that connect to your garden’s character, repurpose materials to add charm and save costs, and select lettering styles that express your voice clearly and stylishly.
Rustic and Vintage Style Ideas
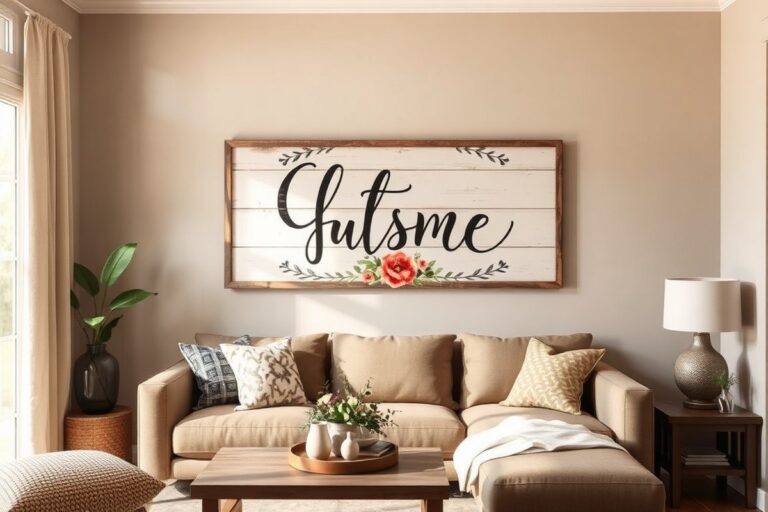
Rustic and vintage styles give your garden a warm, inviting feel with natural textures and classic designs. Wood is the go-to material for this look, especially weathered or reclaimed planks that offer a distressed effect. Painting your sign in muted tones like soft pastels or earthy shades improve that old-time seed shop vibe. Adding floral or nature-inspired artwork, such as hand-painted wildflowers or leaves, deepens the countryside greenhouse atmosphere.
Give your sign a rustic edge by using sanding techniques to weather the paint slightly or applying a wood stain that highlights the grain. Combining script fonts with serif lettering can mimic the swoopy, elegant text typical of vintage signs. Examples include names like “The Pumpkin Patch” or “Rose Garden” paired with wooden arrows to direct visitors, adding both function and charm.
Using Recycled and Found Objects
Reusing old materials cuts costs and adds character to your garden sign. Look for scrap wood, old shutters, broken tools, or even used pallets to create a base. Broken ceramic tiles or bits of pottery glued onto the signboard offer interesting texture and color. Metallic objects like old baking trays or rusted nails can serve as quirky accents or mounting points.
Transforming these found objects takes some care: clean materials thoroughly and seal weather-sensitive pieces with an outdoor varnish or clear coat for durability. Attaching parts securely with weatherproof screws or strong outdoor glue prevents damage from wind and rain.
- Use pallet wood cut to size and sanded smooth as a sign base
- Incorporate old gardening tools (trowels, forks) as borders or holders
- Glue broken ceramic shards in mosaic patterns for decorative flair
- Repurpose window shutters as a multi-panel sign featuring different messages
- Use metal sheets as your sign surface for a modern rustic contrast
- Add natural elements like twigs or pinecones glued around the edges
- Paint over recycled wood with base primer then colorful outdoor paint
Using recycled materials blends sustainability with creativity, resulting in a unique sign that tells a story about your garden and resourcefulness.
Fun and Whimsical Lettering and Quote Ideas
Lettering style plays a big role in giving your yard sign personality and draw. Mixing fonts such as bold block letters for headlines with cursive or hand-drawn fonts for quotes creates visual interest. Adding shadows or outlining letters with a contrasting color helps improve readability from a distance. Stenciling or stamp letters can provide a consistent, handcrafted look with less effort. Choose witty or heartwarming sayings that fit your garden’s mood or purpose, like “I’m Doing My Best” in a playful script to bring smiles, or family-friendly messages like “Welcome to Our Green Haven.” Retro-inspired signs with bright purples and oranges suit parties or seasonal celebrations, while simple, elegant quotes fit perennial gardens.
- Use thick, easy-to-read block lettering for main garden names
- Pair with cursive fonts for added flair on secondary text or quotes
- Add stenciled leaf or flower motifs around the lettering
- Choose colors that contrast well against your sign’s background for visibility
- Try witty puns like “Plant One On Me” or “Sow Much Fun”
- Stamp or stencil letters for precision and uniformity
- Experiment with chalk paint for erasable, changeable messages
Personalizing your yard sign with creative lettering and quotes makes your garden more welcoming and showcases your unique style.
Protecting and Maintaining Your Yard Sign over Time
Sealing wood against rain and sun is essential to keep your DIY yard sign durable. Begin by sanding the wood smooth and removing all dust. Apply a high-quality outdoor wood sealer or spar varnish with a brush, making sure to cover edges and corners where water seeps in. Use two to three coats, allowing 24 hours to dry between applications. This creates a water-resistant barrier and guards against UV damage that causes fading and cracking. Expect to spend around $15 to $25 for a quart of sealer, which covers approximately 125 to 150 square feet.
Maintaining your yard sign involves periodic cleaning and inspection. Use a soft cloth or brush and warm, soapy water to gently clean dirt and mildew from the surface every few months. Avoid harsh chemicals that can degrade paint or sealant. After cleaning, check for any peeling paint, cracks in the wood, or wear in the sealant. Touch up spots with matching outdoor paint and reapply sealer once a year to extend the sign’s life.
For fading or cracking paint, lightly sand the affected areas to remove loose paint and rough spots. Apply an outdoor primer designed for wood to ensure paint sticks properly, then repaint with quality exterior acrylic paint. This process takes about a day, factoring in drying times, and may cost around $10 to $20 per pint of paint. Avoid applying paint too thickly as it may crack further over time.
The lifespan of wood signs outdoors varies with the type of wood and maintenance, typically lasting three to six years with good care. Cedar and redwood resist moisture and insects better than pine, so choosing these woods initially reduces weather damage. Plastic or metal signs last longer without much sealing but still need cleaning and occasional touch-ups for rust or fading.
Place signs in shaded areas if possible to reduce sun exposure. Use mounting hardware that keeps signs slightly improve from the ground to avoid moisture absorption. Keep vegetation trimmed back to prevent mold and mildew buildup. With regular upkeep, your DIY yard sign can maintain its charm and function season after season.
Applying outdoor wood sealer yearly and promptly touching up paint chips can add several years to your yard sign’s life and keep it looking fresh.
Avoiding Common DIY Yard Sign Mistakes
Premature wear on a DIY yard sign often comes from choosing the wrong materials or failing to protect the sign from weather. Using untreated wood or unsealed paint can lead to warping, cracking, or fading within weeks. Selecting weather-resistant materials such as treated plywood, aluminum, or PVC and applying a clear outdoor sealant extends a sign’s life substantially. For example, outdoor varnishes or polyurethane coatings create a barrier against moisture and UV sunlight, helping maintain colors and structural integrity for several seasons.
Poor visibility or readability usually results from design choices like small fonts, low-contrast colors, or cluttered layouts. For a yard sign to communicate well, the lettering should be at least 3 inches tall and use bold, simple fonts. Contrasting colors like black text on a white background improve legibility from 20 feet away or more, depending on your yard size. Avoid overcrowding the sign with too much information; limit the text to essential details such as the event date, contact info, or a brief message. Spend 15 minutes planning to check that all key information is included and easy to read, which cuts down the risk of last-minute changes or reprints.
- Not sealing wood leads to water damage; fix with outdoor sealant or paint
- Using small or decorative fonts reduces readability; use bold fonts at least 3 inches high
- Low-contrast colors make signs hard to see; choose contrasting colors like dark text on light background
- Too much text clutters the sign; keep messages short and clear
- Installing signs without proper support causes leaning or falling; use sturdy stakes or posts firmly anchored
- Ignoring local regulations might result in fines or sign removal; check local rules before installation
Durability suffers when signs are installed improperly. Simply pushing a signpost into hard, rocky ground without anchoring leads to tilting or collapsing in wind or rain. For best results, dig a post hole about 12 to 18 inches deep and fill around the post with packed soil or gravel for stability. When using stakes, ensure they are driven deeply enough to resist wind gusts and secured to the sign with strong fasteners like galvanized screws or heavy-duty zip ties. Some DIYers get creative by adding cross braces on larger signs to prevent wobbling. Remember that improper installation also impacts visibility if the sign leans or rotates away from the intended viewing angle.
When to Hire a Professional for a Yard Sign
DIY yard signs work well for simple projects, but you should consider hiring a professional when your design involves complex materials, precise lettering, or durable weatherproof finishes. Professionals have access to commercial tools, such as laser cutters and high-quality vinyl printers, that create sharper details and more lasting results than typical home equipment. Your sign should last several seasons or have clear visibility for events like real estate listings, political campaigns, or business advertising, so a professionally made option is often more reliable.
Another reason to choose a professional is if you want installation help, especially for large or heavy signs. Improper mounting can cause damage to your property or make the sign unstable. Professionals can advise on the best locations and anchor types, and ensure your sign complies with local codes or HOA restrictions. Installation costs usually range from $50 to $200, depending on size and setup complexity.
Start by defining your needs clearly. For example, if you want a custom wooden sign with intricate carving, ask sign makers about their process and see samples. A reliable company should offer free quotes and consultations, such as Blade & Burnish Wood Sign Co., which provides personalized estimates. Checking reviews and verifying experience with yard signs in your area helps avoid poor results or delays.
Look for a manufacturer who uses weather-resistant materials tailored to your environment, like sealed wood or aluminum, rated for sun exposure and rain. Inquire about turnaround times, which commonly range from one to three weeks depending on order size. Also, confirm their policy on revisions and refunds to avoid surprises. High-quality custom yard signs typically cost between $80 and $300, depending on size, materials, and design complexity.
When deciding, balance your budget and the sign’s intended lifespan. You might only need a temporary sign for a one-time event, making a DIY version with standard plywood or corrugated plastic a suitable choice. On the other hand, a business or long-term campaign demands professional-grade materials and workmanship to maintain a polished image. Choosing professional help means you should clearly share your timeline and design vision to ensure the best result.
Step-by-Step Action Plan for Your DIY Yard Sign
Follow these steps to create a durable and eye-catching yard sign that fits your style and needs.
- Before You Start: Choose your materials based on durability and weather resistance, such as treated wood or corrugated plastic. Confirm you have the essential tools like a saw, paintbrushes, and mounting stakes ready.
- Day 1: Design your sign with clear, bold fonts and high-contrast colors to maximize visibility. Print or sketch your design to use as a reference during building.
- Day 2: Cut and prepare your sign material precisely according to your design dimensions. Check for smooth edges and a clean surface to improve paint adhesion.
- Day 3: Paint or apply your design on the prepared surface, allowing each coat to dry fully for a crisp, professional look. Test visibility by viewing the sign from a typical yard distance.
- Day 4: Apply a weatherproof sealant to protect your sign from rain, sun, and temperature changes. Wait the recommended drying time before handling.
- Day 5: Mount your sign securely using stakes, posts, or wall mounts suitable for your yard environment. Ensure the sign is upright, stable, and visible from the intended direction.
- Week 2: Inspect the sign regularly for any damage or fading and touch up paint or sealant as needed to maintain appearance and durability.
Frequently Asked Questions
What Types of Paint Work Best for Outdoor DIY Yard Signs?
Acrylic latex paint is best for outdoor yard signs because it’s weather-resistant and durable. It also resists fading and peeling better than other paints, helping your sign stay vibrant longer.
Can I Recycle Materials to Make My DIY Yard Sign?
Yes, using reclaimed wood or old metal pieces can create unique yard signs. Recycling materials saves money and adds a rustic or vintage charm to your garden space.
How Can I Make My DIY Yard Sign Visible at Night?
Adding reflective tape or solar-powered lights can improve nighttime visibility. These options light up your sign without complex wiring or electricity, making it easier to spot in low light.
What Is the Best Way to Secure a Yard Sign in Windy Areas?
Use longer stakes or anchor your sign with heavy weights to keep it stable. Properly securing it prevents it from falling or wind damage during storms or high winds.
Can I Use Stencils for Lettering on My Yard Sign?
Stencils help achieve clean, professional-looking letters quickly, especially for those less confident in freehand painting. They keep text uniform and readable from a distance.
How Long Does a Well-Maintained DIY Yard Sign Typically Last?
Depending on materials and weather, a yard sign can last 2 to 5 years outdoors. Regular sealing or repainting extends its lifespan by protecting against moisture and sun damage.
Before You Go
Making your own yard sign allows you to control the design, materials, and quality at a reasonable cost. Start by selecting durable materials and a simple design to get a strong result. Once your sign is up, keep it maintained so it stays looking fresh season after season. Your next step is to gather your materials today and begin designing your unique yard sign that reflects your style and message.