Door Hanger Sign Ideas for Home and Business: Creative Styles & Smart Tips
Door hanger sign ideas offer a simple way to add style and function to any door. Choose the right size and material to match your space and weather conditions, ensuring durability and visual appeal. Start with a standard 3.5 by 8.5 inch hanger and customize it to fit your door’s width for the best statement effect.
Key Takeaways
- Use a door hanger size between 3.5 by 8.5 inches and 5.5 by 17 inches, scaling up for wider doors.
- Plan hanger width at 60 to 70 percent of your door’s width to create a balanced look.
- Select weather-resistant materials like treated wood or coated plastic for outdoor signs.
- Include a standard 1.25-inch hole for easy hanging on most door handles.
- Allow craft projects to cure for 24 hours before placing on the door to ensure durability.
- Attach magnets around the edge of wooden signs for a secure hold without damaging the door.
Creative Door Hanger Sign Ideas for Every Style
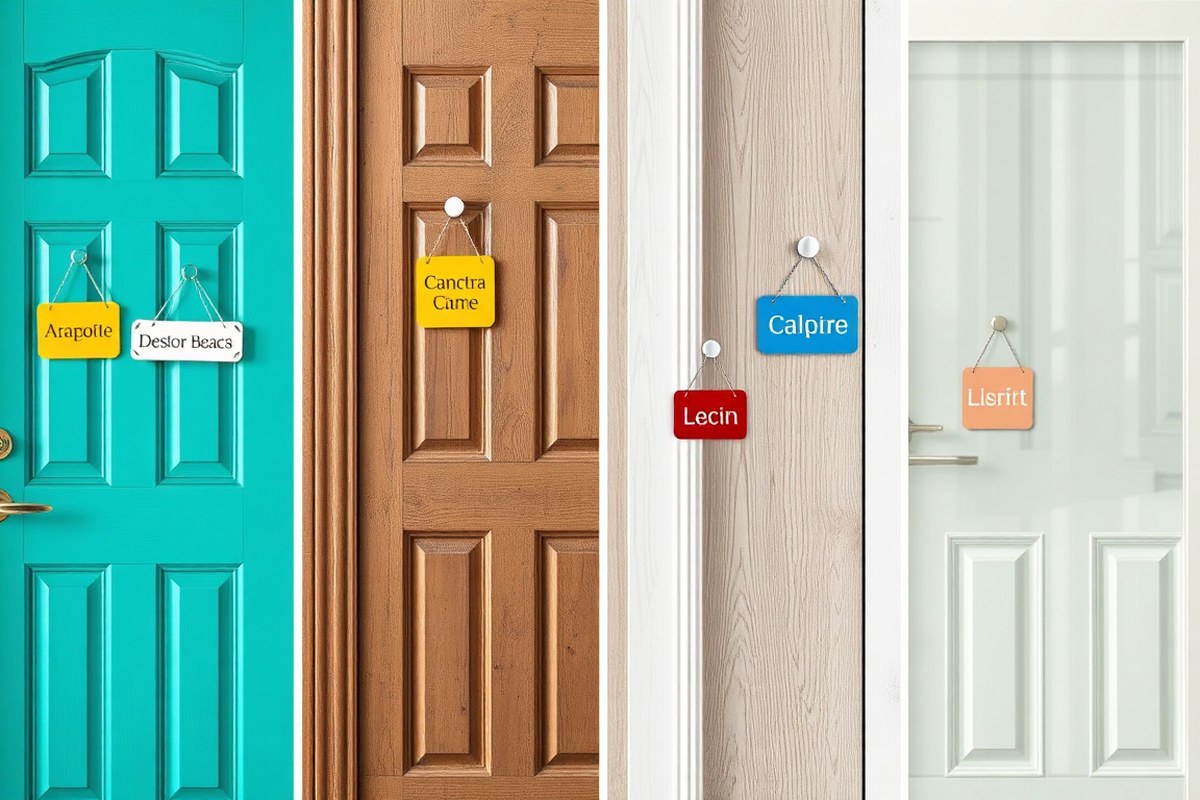
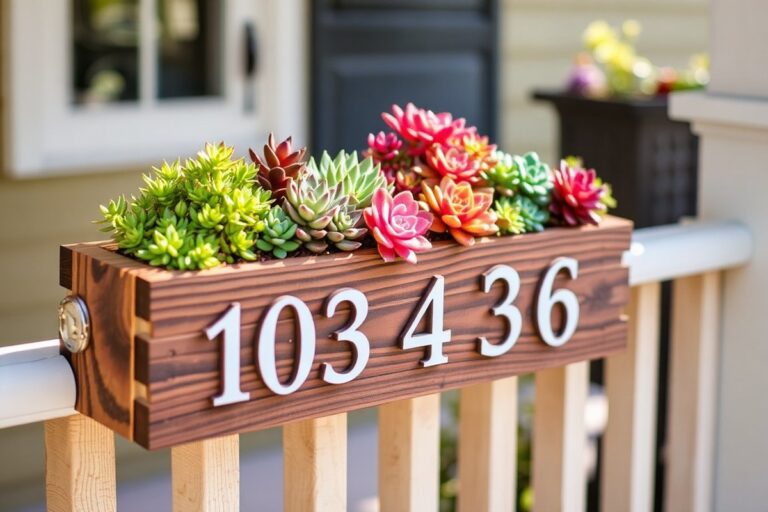
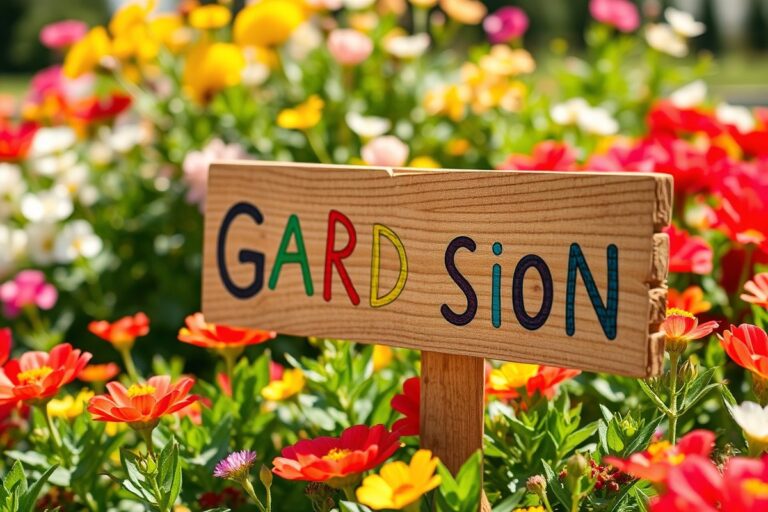
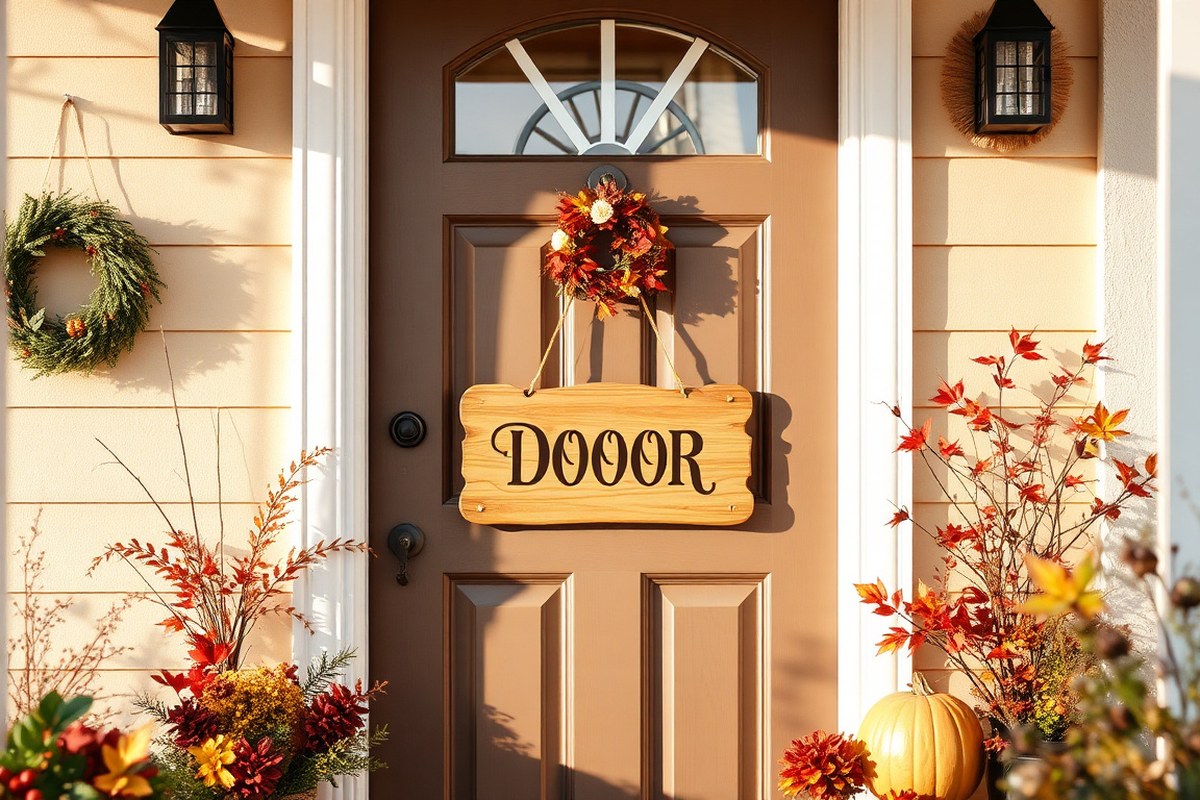
Creative door hanger designs blend style and purpose, making them perfect for front doors, interior spaces, and business settings. For your front door, aim for bold, weather-resistant materials like painted wood or treated metal to withstand outdoor conditions. A modern farmhouse wooden hanger with a welcoming message or seasonal floral motifs fits well here. Interior doors invite more playful or functional signs, such as personalized nameplates for bedrooms or “Do Not Disturb” signs for home offices, often using lightweight materials like foam board or acrylic for ease of hanging and swapping.
Door hangers offer more than decoration; they serve practical purposes too. You can create organizers by adding small hooks or pockets for keys and mail, ideal for entryways or home offices. Business owners find door hangers effective for promotions or instructions, such as “Open,” “Closed,” or “Sanitizing in Progress,” which can be hung easily on store or office doors. Seasonal customization is simple with interchangeable elements: think magnetic or Velcro attachments to swap out holiday-themed decorations like pumpkins, snowflakes, or patriotic stars within minutes, keeping your look fresh year-round.
- Seasonal wood hangers with painted holiday greetings and designs for front doors
- Personalized bedroom nameplates or family motto signs on interior doors
- Key holder organizers with hooks hanging near entry doors for quick access
- Business door hangers with “Open” and “Closed” messages printed on durable cardstock
- Door hangers with pockets for mail or notes, useful in home offices or dorm rooms
- Welcome signs with removable seasonal accents using Velcro for easy updating
- Salon and beauty service door hangers with elegant scripts and product logos for professional appearance
To customize a door hanger for seasons or holidays, start by selecting the base material that matches your door environment, metal or treated wood for outdoor use, foam or acrylic inside. Use stencils or simple paint markers to add crisp designs, or print decals to attach. To keep costs low, repurpose existing materials like scrap wood or print DIY templates found online. High-quality paints and sealants will protect your design and extend its life, especially outdoors where weather can cause peeling or fading within months. Good results show clear, legible text and images visible from a few feet away, durable construction, and secure hanging that won’t damage the door or fall easily.
Standard Sizes and Thicknesses for Effective Door Hangers
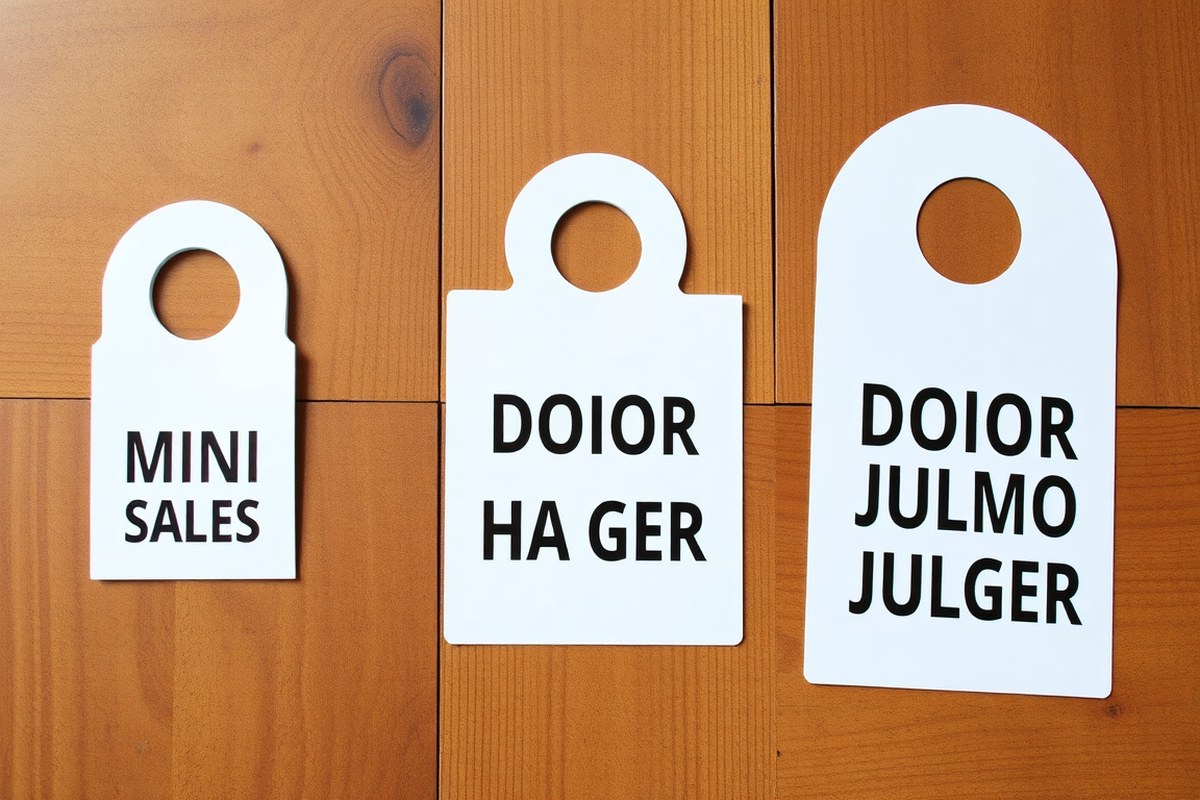
Door hanger sizes largely depend on their use, but three standard dimensions dominate the market: mini, medium, and jumbo. The mini size, typically 3.5 by 8.5 inches, is most common for straightforward messages and fits easily on most door knobs. Medium and jumbo sizes, measuring 4.5 by 11 inches and 5.5 by 17 inches respectively, provide more surface area for messaging that requires larger fonts or additional information without crowding the design.
Thickness plays a key role in a door hanger’s durability. Aim for a width thick enough to resist bending and tearing but not so bulky that it feels heavy or cumbersome. A balanced thickness offers sturdiness while keeping the sign light and easy to hang. Using paper or cardstock in the range of 14-16 points (roughly 0.014 to 0.016 inches) generally achieves this.
The hole size for hanging on door knobs is usually 1.25 inches in diameter. This size accommodates most standard doorknobs comfortably while allowing the hanger to hang freely without slipping off. A pre-cut hole with a slit extending to the edge of the hanger is standard for easy placement and removal.
| Size Category | Dimensions (inches) | Typical Thickness (points) | Hole Diameter (inches) | Common Usage |
|---|---|---|---|---|
| Mini | 3.5 x 8.5 | 14-16 | 1.25 | General door signs, business promos |
| Medium | 4.5 x 11 | 14-16 | 1.25 | Detailed messages, marketing materials |
| Jumbo | 5.5 x 17 | 14-16 | 1.25 | Large-scale communications, event promotion |
Select the size carefully based on the amount of information to display and where you plan to hang the door hanger. Mini sizes excel at concise messages, while medium and jumbo allow for bold headlines and better visibility from a distance.
Choose a sturdy cardstock thickness if your door hangers will be exposed to outdoor elements or frequent handling. Thinner paper will fold or tear quickly and reduce the perceived quality. A clean hole punch with a reinforced edge can also prevent tearing and promote longer use.
Always verify the door knob diameter where your hangers will go; oversized or undersized knobs may require adjusting the hole diameter or adding a slit for easier hanging.
Choosing Materials and Finishes for Lasting Door Hangers
Wood, metal, fabric, and cardstock each offer unique advantages and challenges for door hangers. Choosing the right material depends on where you’ll hang the sign, how much weather exposure it will face, and how long you want it to last. Weatherproofing methods and finishing touches help extend the life of your door hanger while keeping its design sharp and intact.
Wood Options and Treatment Methods
Wooden door hangers strike a good balance of durability and style, especially when made from pine or plywood, which work well outdoors. Layered designs, created by stacking multiple wood pieces, add depth and visual interest but require some moderate woodworking skill.
To protect wood from warping or moisture damage, apply a clear, weather-resistant sealant after painting or staining. Use outdoor-grade polyurethane or spar varnish. These finishes should cover every surface, including edges. Two to three coats spaced 4 to 6 hours apart typically provide solid protection. Reapply every year if hung outside.
Use waterproof glue like Maker’s Magic when attaching details such as printed cardstock backgrounds. This ensures components stay securely bonded in damp conditions.
Metal and Acrylic Pros and Cons
Metal door hangers provide excellent durability and visual impact, making them ideal for doors exposed to rain or direct sunlight. Treated metals like aluminum resist rust and offer long-term performance with minimal maintenance. Acrylic signs combine durability with high customization and a sleek look, functioning best under covered exterior locations.
Both materials resist warping and moisture, unlike wood. However, metal doors require simple tools like metal shears or cutting machines, and acrylic often involves laser cutting or precise scoring. While these options typically cost more than wood or fabric, their lifespan and resistance to weather justify the price for outdoor use.
| Material | Best Location | Weather Resistance | Customization Level | Durability | Skill Level |
|---|---|---|---|---|---|
| Wooden Name Layered | Exterior | Moderate | High | Good | Moderate |
| Seasonal Fabric Insert | Covered Porch | Moderate | Very High | Medium | Easy |
| Functional Pocket | Interior | High | Moderate | Good | Easy |
| Metal Cutout | Exterior | Very High | Medium | Excellent | Easy |
| Kids Themed | Interior | Moderate | High | Good | Easy |
| Acrylic Script | Exterior Covered | High | High | Excellent | Moderate |
This decision rule table helps match material choices to location, weather exposure, and skill level, guiding you toward the best fit for your specific door hanger project.
Fabric and Paper Styles with Durability Tips
Fabric door hangers are best for covered porches where they avoid heavy rain. They offer very high customization thanks to various patterns and colors. Use outdoor-rated fabrics or water-resistant sprays to improve their weather resistance. Fabric inserts can be combined with wood for a layered look that balances softness with structure.
Cardstock is lightweight and budget-friendly but mainly suited for indoor or temporary use due to lower moisture resistance. Printed cardstock patterns give vibrant backgrounds without painting, but sealing with a clear spray varnish can lengthen their life for short-term outdoor display. Avoid direct exposure to rain or sun to prevent warping and fading.
Using vinyl to cover cardstock adds durability and weather protection without heavy tools. Stick vinyl over cardstock and seal edges with clear adhesive tape to keep moisture out. This method creates an affordable yet visually appealing door hanger that lasts longer than plain paper.
Step-By-Step Process to Make Your Own Door Hanger Sign
Making your own door hanger sign involves a straightforward process from selecting supplies to the final finish. The entire project can take a few hours or stretch across a day, depending on drying times for paint and sealants. With basic craft materials and simple painting methods, you can achieve a charming and personalized result that suits your style and purpose.
Gathering Materials and Tools
Start by collecting the right materials and tools needed for your door hanger. Most DIY projects require only basic items readily available at craft stores or home improvement centers.
Your essentials include a wooden board or thick cardstock for the base, acrylic paints or spray paint, brushes or sponges for application, sandpaper to smooth edges, and optional decorations like vinyl decals, ribbons, or stencils. You’ll also need a saw if working on wood, a drill for hanging holes, and a stapler or glue gun for attaching hooks or embellishments.
Choosing wood over cardstock adds durability, particularly for outdoor use, while cardstock offers a quick, lightweight option for indoor or short-term signs. Having a clean workspace and protective coverings for surfaces will help maintain a neat environment during crafting.
Cutting, Painting, and Decorating
Careful cutting and painting define the quality and attractiveness of your finished door hanger. After preparing your base material, plan your design, including text and images, before painting.
Lightly sand all edges and surfaces of your wood base to remove splinters and rough spots. Cut or trace your chosen shape using a saw for wood or scissors for cardstock. Drill a hole at the top center for hanging, ensuring it is large enough for your ribbon or hook.
Apply a primer if painting wood, then use 1 to 2 coats of acrylic paint or spray paint, allowing 15 to 30 minutes to dry between coats. Add painted details, stencils, or vinyl embellishments once the base is dry. This step usually takes 1 to 2 hours depending on complexity.
Finishing Touches and Curing Time
Protect your door hanger with a clear sealant to extend its life, especially for outdoor exposure. Choose between spray or brush-on polyurethane or acrylic sealer according to your paint type.
Apply 1 to 2 coats of sealer, letting each dry for at least 2 hours. After sealing, attach a sturdy ribbon, twine, or a metal hook through the pre-drilled hole to facilitate hanging. Stapling a ribbon loop to the back is a secure option for lightweight signs.
Allow your door hanger to cure fully, ideally for 24 hours, before hanging it on your door. Curing time ensures paint and sealant harden properly, preventing damage from moisture or wear soon after installation.
- Select your base material (wood or cardstock) and gather painting supplies, stencil, ribbon, and tools.
- Cut your base to desired shape and size, then sand edges if using wood.
- Paint your base with primer (for wood) and base color; allow drying between coats.
- Add decorative painting, stencils, or vinyl embellishments.
- Apply a clear sealant to protect your design.
- Attach a ribbon or hook for hanging, securing firmly with a stapler or glue gun if needed.
- Let the door hanger cure for at least 24 hours before use.
Effective Hanging Methods for Different Door Types
Your choice of hanging method depends largely on the door material and the weight of the sign to ensure a secure and lasting display. For lightweight signs made from thin materials like ¼ inch wood or plastic, a simple over-the-door hanger with a wide bracket works well. This spreads the sign’s weight evenly, preventing damage to the door surface and minimizing the risk of slipping. Such hangers are ideal for standard interior doors made of wood or hollow core. To use, slide the bracket securely over the door’s top edge, making sure the sign rests flat against the door. This method requires no drilling and leaves no marks, a plus for rental properties or delicate surfaces.
For heavier signs or doors made from metal or glass, where hanging needs more support, reinforced brackets combined with hardware like D-rings or screws provide the stability required. Brands like Stanley or Lee Valley offer decorative hooks and sturdy screws that can handle greater weight without risking damage. Before drilling, confirm the door type to avoid voiding warranties or compromising door integrity. Attach the D-rings to the back of your sign, and hang it on matching screws secured firmly to the door. This technique works best for solid wood doors where drilling is possible and acceptable.
Doors with uneven or thick moulding, or those that don’t allow easy bracket placement, benefit from alternative methods such as strong ribbons or straps. You can loop durable, wide ribbons over the door, tying or knitting them securely on the sign’s top edge. This approach also suits doors where you prefer not to use hardware or risk holes. Use reinforced seams on your ribbon to avoid fraying, especially for outdoor signs exposed to weather. For extra grip, place small rubber pads behind the sign to keep it from sliding.
Magnet-based hanging works primarily on metal doors and lighter signs. Placing magnets at four corners around the wood sign’s edge holds it firmly without the risk of falling. Strong rare-earth magnets provide enough pull to counteract wind disturbances and vibrations. However, magnets won’t work on wood or glass doors, and signs need to be thin and relatively lightweight to avoid strain.
Always test the hanging method’s weight limit before final installation to avoid damage to your door or losing the sign unexpectedly.
Avoid using standard hooks or nails on glass or hollow metal doors since this can crack or dent the surface. Instead, opt for adhesive hooks designed for your door material’s specific weight capacity. These hooks stick on without hardware but remember that their holding power lessens in high humidity or temperature changes.
Securing your DIY door hanger means matching the hanging method not just to the sign’s weight but also to your door material and daily use conditions. Over-the-door brackets suit most hardwood or hollow core doors and need no tools, while hooks and screws offer permanent, higher-load solutions ideal for heavier signs on solid wood doors. Ribbons and magnets give you options for less common door surfaces. Selecting your method carefully protects your door, keeps your sign visible and secure, and makes changing signs easier when needed.
Design Templates and Tools to Simplify Door Hanger Creation
Templates and design tools can make creating door hanger signs much easier, especially if you lack advanced graphic skills or want to save time. Many free and paid options are available, allowing customization to suit home decor styles or business branding. Using a well-chosen template helps ensure your design fits standard door hanger sizes and maintains a clear, attractive message, which is critical since the door hanger is the first thing people see before entering.
For beginners, user-friendly online platforms like MyCreativeShop offer door hanger makers with ready-to-use templates. These tools often provide drag-and-drop features to change text, colors, and images without needing expensive software. MyCreativeShop provides vector files with downloads, making designs scalable without quality loss, ideal for printing crisp signs. Pricing varies but basic access can be free or start around $10 per design, with subscription plans for ongoing use and updates.
More experienced users benefit from design software like Adobe Illustrator or Inkscape, which support creating custom door hanger shapes and layering complex design elements. These programs require more time to learn but offer full creative control and the ability to export high-quality print files. Paid software like Adobe costs about $20 per month, while Inkscape is a free alternative with fewer features.
Many template sources include seasonal themes or business-specific styles, such as florist or fitness templates, making them adaptable to your market niche or home aesthetic. Check if the platform offers lifetime updates or bonuses, such as video tutorials or CAD files, to get better value and design support.
- MyCreativeShop: user-friendly, customizable templates, vector file support, low to moderate cost
- Canva: free and paid plans, extensive template library, easy online editing
- Adobe Illustrator: professional software, full customization, monthly subscription required
- Inkscape: free open-source alternative to Illustrator, moderate learning curve
- Creative Market: one-time purchase templates, varied styles, suitable for more experienced users
- Vistaprint: design and print integration, helpful for business door hangers, cost depends on order volume
Choosing the right tool depends on your skill level, budget, and the complexity of your door hanger design. Simple templates suit quick projects or beginners, while advanced software fits those wanting unique or highly polished signs. Always preview your design in actual size and on a similar background to ensure visibility and appeal. Avoid overly complex designs that can reduce readability from a short distance.
Seasonal and Themed Door Hanger Ideas Customized by Occasion
Customizing door hangers by season or holiday lets you freshen your home’s look throughout the year. Using materials like wood, felt, or sturdy cardstock with interchangeable parts makes it easy to swap designs without starting from scratch. Creating inserts or attachable decorations helps you reuse the same base structure, saving time and money while keeping your door stylish and relevant.
Fall and Halloween Themes
For fall and Halloween, door hangers featuring warm colors like orange, deep red, and brown highlight the season’s cozy feel. Use natural elements like faux leaves, small pinecones, or acorns attached with hot glue for texture. Felt or burlap work well for a rustic look and tolerate outdoor conditions better than paper.
To make these seasonal hangers reusable, create a basic wooden frame as your base and design interchangeable panels on thin plywood or thick cardboard. Slide or clip the panels into place so you can switch from autumn harvest scenes to Halloween motifs, like pumpkins and black cats. Secure with Velcro strips or magnetic tape for easy changes.
Winter and Christmas Decorations
Winter door hangers often use cool tones like white and silver, alongside traditional reds and greens. Materials such as lightweight wood or acrylic provide good durability for outdoor use and can support painted or glued-on embellishments like faux snowflakes, ribbons, or small ornaments. Adding a vintage touch with distressed paint helps evoke a nostalgic holiday feel.
Interchangeable inserts work well for this season, allowing you to swap messages such as “Happy Holidays,” “Merry Christmas,” or “Winter Wonderland.” Use clear sleeves or pocket holders attached to the base hanger to slide in printed or hand-painted signs. This reduces wear from repeated handling and protects your artwork from moisture.
Spring and Summer Motifs
For spring and summer, choose bright, cheerful designs inspired by flowers, butterflies, or beach themes. Lightweight materials like canvas or foam board are ideal, as you can paint directly or attach decorative elements like silk flowers, shells, or ribbons. These materials hold paint well and resist warping in warmer weather.
To keep the door hanger useful year-round, try a modular system with clip-on or button-on accessories. For example, design a central wreath shape that remains fixed, then add or remove seasonal decorations tied with ribbons or small hooks. This approach makes transitioning from spring blossoms to summer fruits smooth without changing the entire hanger.
- Choose durable, weather-resistant materials like wood or acrylic for outdoor hangers
- Create a sturdy base frame that can hold interchangeable panels or inserts
- Use Velcro, magnets, or clear sleeves for easy swaps of seasonal messages or designs
- Incorporate clip-on or button-on decorations for modular customization
- Pick materials and finishes that protect against moisture and sunlight
- Design panels and inserts to standard sizes for easy printing and reproduction
- Consider lightweight options like foam board or felt for indoor-only hangers
Proper sealing with spray varnish or outdoor clear coat extends the life of reusable parts. Avoid fragile papers for hangers exposed to the elements, since they can fade or tear quickly. Regularly inspect and clean the base and inserts before storing them to maintain their appearance and function for next use.
Common Mistakes in Door Hanger Projects and How to Fix Them
Choosing the wrong materials for your door hanger can cause early wear or damage. Thin plywood less than ¼ inch thick often warps or breaks, especially outdoors. Using thicker wood or high-quality acrylic helps your hanger resist bending and lasts longer. Applying paint without a proper sealant also leads to peeling and fading. Use an outdoor-grade polyurethane or clear acrylic spray to protect your design and keep colors vibrant over time.
Insufficient curing or drying time is a frequent mistake that compromises both paint and sealant durability. Paint generally needs at least 24 hours to dry fully before you apply a sealant, which itself should cure for 48 hours in a dry, well-ventilated space. Rushing this process results in smudges, tackiness, or peeling, reducing the life of your project.
Hanging failures often happen because of poor hardware choices or improper mounting. Lightweight hangers might seem easy to hang with tape or flimsy hooks, but they can slip or fall. Choose sturdy hooks or adhesive strips rated for at least twice the hanger’s weight to ensure stability. Consider the door material too; wood doors typically hold adhesive strips better than metal or glass doors, which may need suction cups or screw-mounted hooks instead.
- Use ¼ inch or thicker wood or acrylic for better durability
- Allow 24 hours drying time between paint coats and 48 hours curing time after sealant application
- Select hanging hardware rated for at least twice your hanger’s weight
- Match hanging method to door type, adhesive for wood, suction or screws for metal/glass
- Seal painted surfaces with outdoor polyurethane or acrylic spray
- Avoid thin or fragile materials for outdoor or heavy-use door hangers
- Check hardware attachment points regularly to prevent failure
Persistence in checking material compatibility and curing times will improve your results markedly. Fixing damage often means stripping back failed paint or sealant layers and restarting after proper surface preparation and waiting times. For hanging issues, upgrading to heavier-duty hardware or changing the hanging method can be done without remaking the entire hanger.
Never skip drying and curing steps; impatience here is the biggest cause of peeling or chipping finishes.
You might want to consult a professional sign maker when your design requires permanent outdoor use in extreme weather, elaborate custom shapes, or specialized printing techniques. Pros can provide industrial-grade materials and finishes that exceed standard DIY options, typically costing $50 to $150 depending on size and complexity. For most home or office projects, proper material choice and curing will suffice for a sturdy, attractive door hanger.
Step-by-Step Action Plan
Follow these steps to create and display your perfect door hanger sign, whether for decoration, business, or gifts.
- Before you start: Choose the size and material that suit your door and purpose. Test your choice by holding a sample against the door to ensure it fits well.
- Day 1: Pick your design style, seasonal, themed, or custom message. Sketch or select a template that matches your style and function.
- Day 2: Gather materials and tools: paint, markers, wood, cardstock, or vinyl. Check that you have all supplies before beginning.
- Day 3: Cut your door hanger base to the correct size and shape using a template or stencil. Confirm the edges are smooth and the hole fits the door handle.
- Day 4: Apply your design, using paints, stickers, or digital printing. Let it dry completely and verify the design is clear and durable.
- Day 5: Add a protective finish like varnish or laminate. Test for smudge resistance and water protection to increase longevity.
- Day 6: Attach hanging hardware if needed, tailored to your door type (hooks, ribbons, suction cups). Check that the hanger stays secure without damage.
- Day 7: Hang your door hanger in place and observe how it holds up over the day. Adjust the placement for visibility and ease of use.
Frequently Asked Questions
What Are Some Unique Materials for Door Hanger Signs Besides Wood or Plastic?
Metal, cork, or fabric can add unique texture and durability to door hangers. These materials also allow for varied finishes and can better suit different indoor or outdoor settings.
How Can I Protect Painted Door Hanger Signs from Weather Damage?
Applying a clear sealant or waterproof varnish will protect against moisture and UV rays. This extends the life of your door hanger, especially if it’s placed outside or on frequently used doors.
What Are Easy Ways to Personalize Door Hangers for Small Businesses?
Adding logos, custom fonts, or business colors personalizes the hanger. Hand-painted details or small embellishments create a welcoming brand impression.
How Can I Use Door Hanger Signs to Improve Home Organization?
Labeling rooms, storage areas, or schedules on door hangers helps keep your home orderly. Use writable surfaces that allow updates and changes without replacing the whole hanger.
What Lighting Options improve Door Hanger Signs at Night?
Solar-powered LED lights or battery-operated clip-on lights increase visibility. This is great for homes or businesses needing to attract attention in low-light conditions.
How Often Should I Update Door Hanger Signs to Keep Spaces Fresh?
Refresh door hangers every season or major event to maintain interest and relevance. This strategy keeps visitors engaged and matches current decor or business promotions.
The Bottom Line
Creating your own door hanger sign opens many possibilities for personal expression or business branding. Start with a clear design and suitable materials for your door type, then follow through with care to protect and display your project properly. Plan your next step by selecting a specific occasion or season to inspire your first design, and watch your creativity add a personal touch to any door.