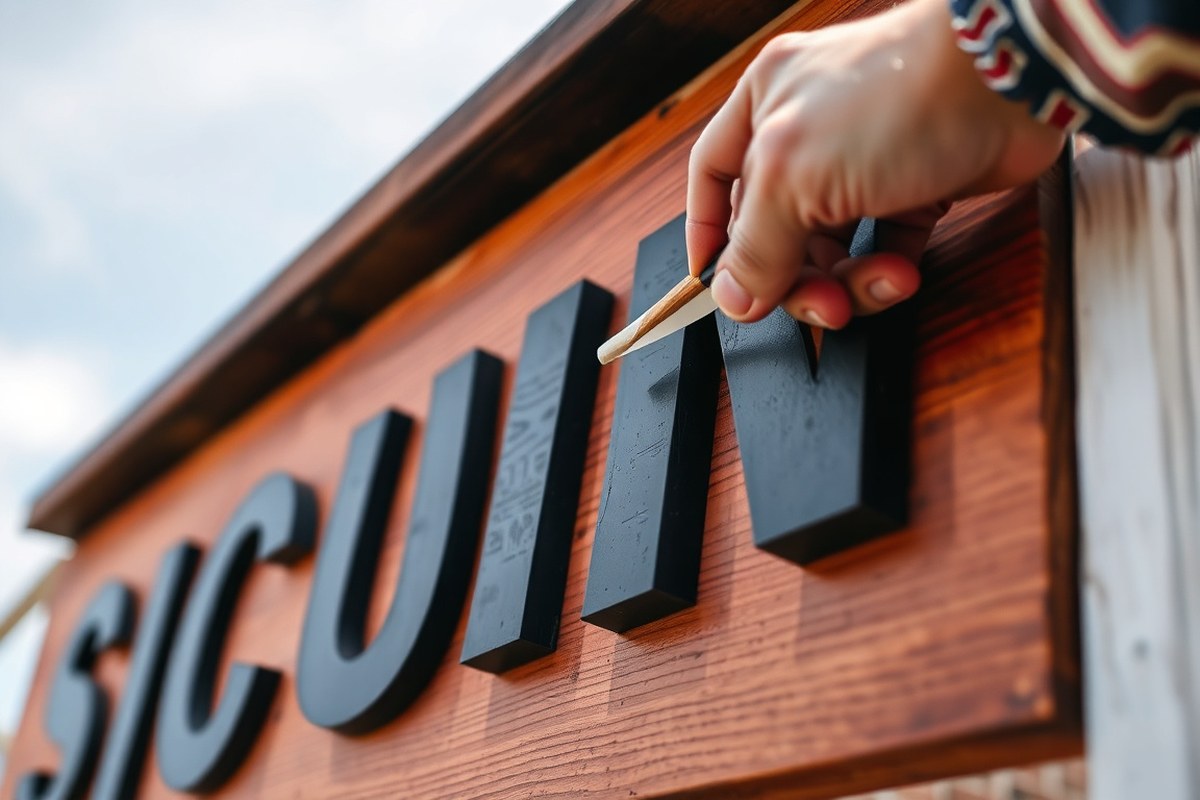
What Vinyl to Use for Wood Signs: A Complete Guide with Proven Tips
Wondering what vinyl to use for wood signs? Permanent adhesive vinyl like Oracal 651 works best.
It sticks well and withstands outdoor wear, making your sign last longer. Avoid raw wood by painting and fully curing it before applying vinyl.
Make sure to wait at least 48 hours after painting your wood before sticking vinyl. This lets the paint cure and creates a smooth surface for vinyl to grab onto. Wiping the wood with isopropyl alcohol removes dirt or oils that block adhesion.
Try Oracal 751 for better durability on rough or outdoor wood. This tougher vinyl holds up to bumps and harsh weather better. Let your vinyl’s adhesive cure for 48 hours.
Avoid heavy rain or sun during this time. The full cure takes up to 72 hours.
Key Takeaways
- Use permanent adhesive vinyl like Oracal 651 for most outdoor wood signs.
- Wait at least 48 hours after painting wood before applying vinyl decals.
- Clean the wood surface with isopropyl alcohol to remove dust and oils.
- Choose Oracal 751 vinyl for bumpy wood or longer outdoor sign durability.
- Let vinyl cure on wood 48 to 72 hours before exposing to harsh weather.
- Reapply vinyl decals every 1 to 2 years on signs exposed to tough conditions.
Which Type of Vinyl Works Best on Wood Signs?
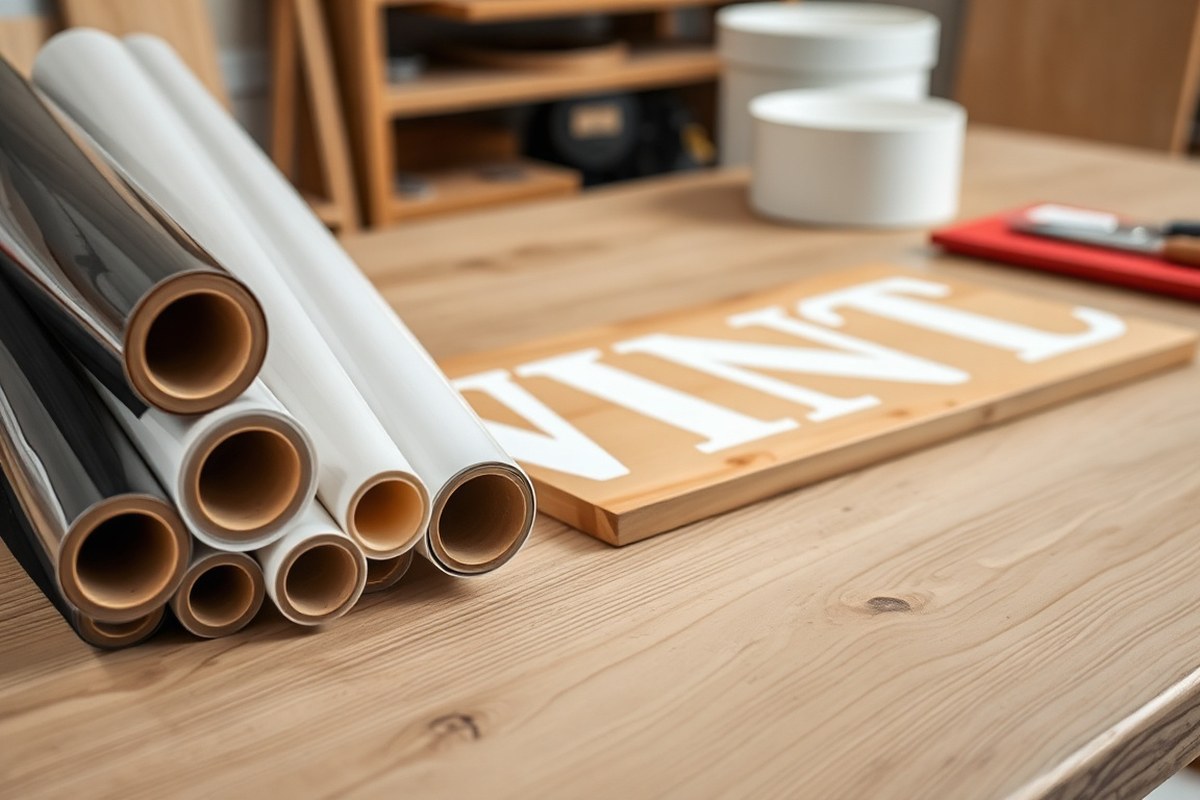
Permanent adhesive vinyl works best on wood because it bonds firmly and lasts longer. It sticks well to sealed wood surfaces and handles outdoor weather for 3 to 6 years. Removable vinyl doesn’t hold as strongly and can peel or leave residue on porous wood.
Heat transfer vinyl (HTV) looks like paint on wood signs. It blends well with the wood grain, making it subtle.
This makes it a good choice for smooth designs. It’s best for indoor signs as it doesn’t resist moisture well outdoors.
Choosing between permanent and removable vinyl depends on how long you want your sign to last. Permanent vinyl suits outdoor and gift signs where toughness matters. Removable vinyl works for temporary or indoor signs that you might change later.
HTV gives a clean, painted look on wood. You need heat to put it on. This works best for polished signs made for indoors.
| Feature | Permanent Vinyl (e.g., Oracal 651) |
Removable Vinyl (e.g., Oracal 631) |
Heat Transfer Vinyl (HTV) |
|---|---|---|---|
| Adhesive Type | Solvent-based, high initial tack | Repositionable acrylic, gentler grip | Heat-activated |
| Adhesion Strength | High, bonds quickly and firmly | Medium, allows repositioning briefly | Good for sealed wood surfaces |
| Durability on Wood | 3, 6 years outdoors with topcoat | 6, 12 months maximum | Best indoors, less moisture resistant |
| Indoor/Outdoor Use | Outdoor signs, business, front doors | Indoor temporary signs | Indoor home decor, framed signs |
| Look and Finish | Sticker-like, sits on top | Sticker-like, sits on top | Painted-on, blends into wood grain |
| Clean Removal | Difficult; may leave residue on wood | Cleaner removal on sealed wood | Not removable after heat pressing |
| Recommended Brands | Oracal 651, Oracal 751 | Oracal 631 | Siser, Cricut Infusible Ink |
Applying permanent vinyl needs a sealed surface and use of transfer tape. It sticks fast, so position carefully. Removable vinyl can be placed and repositioned for a limited time before it locks down.
To apply HTV, use a heat press or iron. Heat it at about 300°F for 15 seconds. This activates the sticky backing to seal it on.
Permanent vinyl costs around $1 to $2 per square foot and lasts years outside. Removable vinyl usually costs less but wears out within months. HTV prices vary by brand and often come in smaller sheets or rolls.
Using HTV adds the step of heat pressing, which takes a few minutes per sign. Choose what fits your project’s look, durability needs, and budget.
How to Prepare Wood Surfaces for Vinyl Application

Preparing wood surfaces is essential to make vinyl stick well and last long. You need to sand, clean, and seal the wood properly before applying vinyl. Different wood types and finishes will require slight changes in these steps.
Selecting the Right Sandpaper and Sanding Tips
Sanding is the first step to create a smooth surface for vinyl adhesion. For most wood types, 150-grit sandpaper works best to remove rough patches.
You can start with coarser sandpaper if the wood is very rough. But finish with 150 grit or finer for smoothness.
MDF boards are usually very smooth, so light sanding is enough. Natural or rough-grain wood needs more sanding to avoid bumps under your vinyl. Sand evenly until the wood feels smooth to your hand.
Cleaning the Surface to Remove Contaminants
Once the wood feels smooth, you need to clean off dust and dirt. Use isopropyl alcohol and a clean cloth to wipe the surface. This removes oils, dust, and any leftover particles that can stop vinyl from sticking.
Make sure the surface dries completely before moving on. Avoid using water or soap, as they can leave residue that weakens the vinyl bond. A clean, dry surface helps with better and longer-lasting adhesion.
Choosing Paint or Sealer for Smooth Adhesion
Sealing wood is a key step that prevents vinyl from peeling after application. Apply paint or a clear sealer to fill porous grain and create a smooth base. Signs painted or sealed with Mod Podge or acrylic paints work well with vinyl.
Spray sealers 10 inches from the surface, using short bursts. Let each coat dry for at least 30 minutes. Apply 2 to 3 coats for the best finish.
This blocks moisture and wood oils. These oils can damage the adhesive.
Special Considerations for Stained or Rough Wood
Vinyl can stick to stained wood, but the key is sealing it well first. Stains can sometimes interfere with the adhesive.
So a sealer over the stain helps bond the vinyl firmly. Avoid applying vinyl directly on rough, bumpy wood surfaces.
Rough wood creates poor vinyl adhesion, as the film can’t make full contact. Sanding rough surfaces smooth is essential. When the wood is too coarse, vinyl may wrinkle or peel sooner.
- Sand the wood surface starting with 150 grit for smoothness.
- Wipe down the sanded surface with isopropyl alcohol and a clean cloth.
- Allow the surface to dry completely before applying sealer or paint.
- Apply 2 to 3 light coats of paint or sealer, letting each coat dry 30 minutes.
- Lightly sand between sealer coats if needed for extra smoothness.
- Wait at least 48 hours for paint or sealer to cure fully before vinyl application.
- Clean the sealed surface again with isopropyl alcohol just before applying vinyl.
Never skip sealing after sanding, or your vinyl will peel off quickly. Vinyl loves smooth, sealed wood, not rough or open grain.
Step-by-Step Process to Apply Vinyl on Wood Signs
Applying vinyl on wood signs needs care from cutting to smoothing. Cut your design first. Then weed it carefully.
Use transfer tape right and apply vinyl steadily to avoid bubbles. Pressure and patience help your vinyl stick well and look crisp.
Cutting and Weeding Vinyl Designs
Use a Cricut or Silhouette to cut your vinyl design. Set the machine correctly for your vinyl type.
Smaller details require slower cutting speeds to avoid tearing. After cutting, carefully weed out the excess vinyl you don’t need by peeling away tiny pieces.
Use a sharp weeding tool or tweezers to reach small areas cleanly. This step leaves only your design on the backing.
It makes transfer simple and clear. Clean weeding takes time but makes your sign look professional.
Using Transfer Tape Effectively
Cut transfer tape large enough to cover your whole design. Apply tape slowly, starting at one edge to prevent wrinkles or bubbles. Use a scraper tool to press tape from the center outward.
The transfer tape lifts your design from the vinyl backing and holds pieces together. It helps place your design exactly where you want it on the wood. Poor tape stickiness can cause vinyl to stay on the backing paper instead of the wood.
Applying and Smoothing the Vinyl on Wood
Put the vinyl with transfer tape on your wood. Start placing in the middle using the hinge method. The hinge method uses tape down the design’s center.
Lift and apply one side before the other. This keeps your vinyl lined up straight.
Press firmly with a plastic squeegee or a soft cloth, working from the center toward edges. This pushes out air bubbles and ensures the vinyl sticks tightly to the wood grain.
Apply slight heat with a hair dryer if the vinyl is stiff. But keep temperatures below 140°F to avoid damage.
Removing Transfer Tape Without Lifting Vinyl
Peel the transfer tape back slowly at a 45-degree angle. Keep peeling parallel to the wood surface. Go slow to avoid lifting any vinyl pieces with the tape.
When vinyl lifts, press it down again. Use a squeegee to secure it tightly.
Once the tape is off, check your sign for small air bubbles. Press them out gently with the scraper or a credit card.
These steps keep the vinyl stuck longer. They help your wood sign stay clear and sharp.
- Cut your vinyl design with appropriate machine settings for detail.
- Weed carefully by removing all unwanted vinyl pieces from the design.
- Cut transfer tape slightly larger than your weeded design.
- Apply transfer tape smoothly, pressing from the center out to remove bubbles.
- Position the vinyl on wood using the hinge method to align it precisely.
- Press down firmly with a squeegee or soft cloth, from center to edges.
- Slowly remove transfer tape at a 45-degree angle, ensuring no vinyl lifts.
- Press out any bubbles with a scraper tool after tape removal.
Why Sealing Wood Before and After Vinyl Application Matters
Sealing wood before you apply vinyl improves adhesion and stops issues. A painted wood surface works best because paint seals the wood’s grain. It creates a smooth base for the vinyl.
The base has no gaps or rough spots. This helps the vinyl stick better.
You can seal the wood with water-based polycrylic or spray Mod Podge before applying vinyl. Both dry clear and help keep the paint from bleeding under vinyl letters. Let your seal coat dry for 12 to 24 hours.
This makes sure the surface is fully set. It stops moisture from getting trapped.
Sealing after applying vinyl locks the vinyl in and adds protection. Use a clear acrylic spray like Aleene’s Matte Finish Acrylic Sealer over the vinyl. This step helps if your sign will be outside or get wet.
The sealer protects the vinyl from sun, heat, and moisture. These can cause the vinyl to peel or chip. The sealer helps keep the vinyl intact.
Apply the sealer over vinyl in thin, even layers. Let each layer dry completely before adding more.
One or two coats usually do the job. Avoid brushing sealers onto vinyl because it can lift the edges.
Indoor signs that won’t face moisture might not need top sealing. But outdoor signs or frequently handled wood signs benefit from sealing both before and after. Permanent vinyl sticks better on sealed, painted wood.
It also lasts longer on this type of surface. Bare, unfinished wood does not hold vinyl as well.
Sealing adds a little time and cost but makes your wood sign stronger. A quart of water-based polycrylic runs around $15 to $20 and covers several signs.
Spray sealers come in small cans for roughly $5 to $12 each. This cost pays off by preventing vinyl peeling within 24 hours, a common cause of failure.
How Long to Wait and Cure Wood and Vinyl for Best Results
Wait at least 48 hours after painting before applying vinyl on your wood sign. This lets the paint fully dry and cure, creating a smooth base for the vinyl. Applying vinyl too soon can cause lifting or uneven adhesion because the paint is still soft.
After sealing your wood sign, give the sealer 24 hours to dry completely. The sealer acts as a protective layer and a surface binder for the vinyl. Vinyl sticks better on wood with a fully cured coat.
Avoid using wood that is damp or sticky. A cured coat helps vinyl last longer on wood.
After applying vinyl, let the adhesive cure 48 to 72 hours. Don’t use or expose your sign to outdoor elements during this time. This curing time helps the vinyl stick better.
This curing time helps the vinyl bond deeply to the sealer and wood. Rushing outdoor placement can cause peeling or premature wear from moisture and sun exposure.
Permanent vinyl designed for outdoor use typically lasts about 3 years outside when applied correctly. Adding a clear coat protects your sign’s vinyl edges and colors. It can extend your sign’s life in harsh weather.
A clear coat offers extra protection from the elements. Indoor signs may last 5 years or more without extra sealing.
Temperature affects drying and curing times. Cooler or humid conditions will make the curing time longer. Expect the 24 to 48 hour wait to stretch out.
Plan for extra wait time during such weather. You can speed up drying slightly with fans or a warm room. But avoid direct heat which might damage paint or vinyl.
Plan for waiting times in your project schedule. Paint, sealer, and vinyl all need to fully cure. This ensures your wood sign lasts longer and looks better.
Common Mistakes When Using Vinyl on Wood and How to Fix Them
Vinyl peeling or bubbling on wood signs often happens because the surface isn’t properly prepared. Dust, dirt, or rough patches stop the vinyl from sticking firmly. Using removable vinyl can cause peeling.
It’s not meant for wood surfaces. This type of vinyl doesn’t stick well on wood.
Bubbles often appear when air gets trapped under the vinyl. Wood expanding or contracting from moisture also causes bubbles.
Misalignment arises if you don’t position the vinyl carefully before pressing it down. Once vinyl sets, moving it can weaken the adhesive and ruin the design.
- Applying vinyl on unsealed or rough wood: Sand smooth and clean before applying.
- Using removable vinyl: Always choose permanent vinyl like Cricut Premium Permanent.
- Not sealing vinyl edges on textured wood: Use a clear sealer to lock down edges.
- Air bubbles under vinyl: Use a squeegee or credit card to smooth out during application.
- Misplacement of vinyl: Position vinyl lightly before pressing fully to adjust alignment.
Fixing peeled or bubbled vinyl starts by carefully lifting the affected part. Smooth out air bubbles using firm pressure with a squeegee or flat edge.
When wood moisture or roughness causes problems, sanding helps. Sealing before reapplying vinyl improves the surface a lot.
To prevent these problems, always clean and sand your wood. Pick permanent vinyl designed for outdoor or wood use.
After placing vinyl, seal the edges, especially on slightly textured wood. This keeps moisture from getting under and lifting the vinyl over time.
Differences Between Vinyl Choices for Indoor vs. Outdoor Wood Signs
Vinyl for indoor wood signs lasts longer without harsh weather damage. Outdoor vinyl has stronger adhesives and UV resistance to avoid fading and peeling. Choosing depends on your sign’s location and exposure to sun, rain, or humidity.
Outdoor vinyl usually costs more. But it protects wood signs for years under normal weather.
Indoor vinyl is cheaper and suits spots away from moisture and sunlight. Both types stick well to painted or sealed wood when prepped correctly.
| Feature | Indoor Vinyl | Outdoor Vinyl |
|---|---|---|
| Durability | Lasts several years indoors without cracking or fading | Resists UV rays, rain, and temperature changes for 3-5 years |
| Adhesive Type | Standard adhesive suited for stable, dry surfaces | Stronger adhesive designed for rough or slick outdoor wood |
| Surface Prep | Clean and smooth wood enough; prime with light sanding | Clean, sand, and seal wood with outdoor-grade primer or paint |
| Maintenance | Wipe with a dry or slightly damp cloth as needed | Clean gently, avoid harsh chemicals, and reseal annually |
| Cost | Less expensive, good for budget projects | Higher cost but worth it for weather protection |
Maintaining your vinyl sign outdoors means checking it once a year. Clean with a soft cloth and mild soap. Avoid scrubbing hard or using bleach, which damages vinyl and wood.
Indoor vinyl signs rarely need resealing or intense cleaning. A quick wipe removes dust.
Outdoor signs benefit from a clear topcoat each year. This stops water from seeping under the vinyl, which can lift it.
Always match the vinyl type to the sign’s environment. Using indoor vinyl outside shortens the sign’s life.
Using outdoor vinyl indoors offers extra safety but costs more. Follow simple care tips to keep signs beautiful longer.
Heat Transfer Vinyl Use and Settings for Wood Sign Projects
Heat transfer vinyl (HTV) can be used on wood signs, especially for indoor projects. You’ll get a smooth, painted-on look that stands out. Use proper temperature and pressing times to avoid damaging your wood or vinyl.
When to Choose HTV for Wood Signs
Pick HTV when you want a clean, durable finish on a wood sign. It works best on smooth, sanded wood with little grain for even heat contact. HTV suits indoor signs since it doesn’t need extra sealing outdoors.
HTV gives a painted appearance and feels thin on the wood surface. Your wood is thin or delicate, so use an iron to press vinyl. Thicker wood needs a heat press for uniform heat and pressure.
HTV Temperature and Pressing Guidelines
Set your heat press between 305°F and 320°F. Press the HTV for 10 to 15 seconds for good bonding without burning the wood. Too much heat or time can discolor wood or damage the vinyl.
Use firm, even pressure during pressing. Use a household iron and press each area for about 15 seconds.
Move quickly but steadily across the wood. Avoid sliding the iron to prevent smudging the vinyl.
Post-Press Care and Safety Tips
Let the vinyl and wood cool completely before peeling the carrier sheet. Cooling helps the adhesive stick well and prevents lifting. Gently peel at a 45-degree angle to avoid tearing the vinyl.
Keep a heat-resistant pad under your wood sign when pressing to protect your workspace. Use heat-resistant gloves when handling hot wood or presses. Never leave a heat press or iron unattended to avoid fire risks.
Follow these exact steps to apply HTV to your wood sign:
- Prepare your wood by sanding smooth and cleaning the surface.
- Preheat your heat press or iron to 310°F (approximately 155°C).
- Place the HTV design on the wood, carrier sheet side up.
- Pre-press the wood for 2 to 3 seconds to remove moisture if needed.
- Press the HTV with firm pressure for 10 to 15 seconds.
- Remove the heat source and let the wood and vinyl cool completely.
- Peel the carrier sheet slowly at a 45-degree angle.
- Allow the sign to rest for 24 hours for best adhesion.
Don’t use too much heat on your wood or vinyl. Avoid holding the iron in one spot too long. This stops scorching or damage.
Step-by-Step Action Plan for Your Vinyl Wood Signs
Follow these steps to choose and apply the best vinyl for your wood signs. Each step helps you get professional results.
- Before you start: Clean the wood surface with a damp cloth and sand lightly. Check that the wood is smooth and free from dust.
- Day 1: Apply a clear, matte sealer to the wood. Wait for it to dry completely; the surface should feel dry and smooth.
- Day 2: Pick the right vinyl type for your project. Use permanent adhesive vinyl for outdoor signs. Choose removable vinyl for indoor signs. Verify the vinyl is labeled for wood use.
- Day 3: Cut your vinyl design carefully with the right settings for wood. Test a small piece to ensure clean cutting and easy peeling.
- Day 4: Use transfer tape to place the vinyl on the sealed wood. Press firmly and peel the tape slowly to avoid bubbles or lifting.
- Day 5: Apply a clear sealer over the vinyl for outdoor signs. Make sure to add a second coat for better protection. Check for full coverage without clouds or cracks.
- After 2 weeks: Allow the sign to cure in a dry, shaded area. Test adhesion by gently rubbing the vinyl edges to ensure it won’t peel.
Frequently Asked Questions
Can You Use Vinyl on Raw, Untreated Wood?
Vinyl sticks best to sealed wood because raw wood absorbs moisture. Seal the wood first with paint or a clear coat.
This creates a smooth surface. Vinyl will stick better to a smooth surface.
Is There a Vinyl Type That Works Better on Rough or Textured Wood?
Yes, Oracal 751 has a stronger adhesive and works well on bumpy wood surfaces. It lasts longer outdoors and handles wood texture better than regular vinyl.
Can I Use Removable Vinyl for Gift Wood Signs?
Removable vinyl can work on gift signs if you want to remove the design later. It’s less durable and not great for outdoor or frequently handled signs.
Does the Wood Color Affect Vinyl Adhesion or Appearance?
The wood color doesn’t affect vinyl sticking but can change how colors look on your sign. Dark wood may make vinyl colors pop less than light wood.
How Do Temperature and Humidity Affect Vinyl on Wood?
High humidity and cold slow the drying of paint and sealers, affecting stickiness. Wait longer before applying vinyl in these conditions for better adhesion.
Will Applying Multiple Vinyl Layers Affect Adhesion on Wood Signs?
Applying multiple vinyl layers can reduce stickiness and cause lifting. Press each layer firmly and avoid thick vinyl stacks for best results.
Wrapping Up
Picking the right vinyl and preparing your wood well makes your signs last longer. Try these steps on your next project. Start by sealing a scrap piece today to see how the vinyl sticks best.


