Diy Vintage Sign Ideas and Techniques a Complete Guide for Authentic Results
Creating a diy vintage sign involves choosing the right materials and mastering aging techniques to mimic decades-old wear. Start by selecting quality wood that fits your design and pay attention to paint that naturally cracks over time for authenticity. Planning stencil placement carefully will save you time and keep your sign’s graphics sharp and true to vintage style.
Key Takeaways
- Choose solid wood like 1″ thick plywood or shiplap for a sturdy, authentic vintage look.
- Use paint formulations that dry with natural cracking to mimic authentic aging effects.
- Lay out stencils before cutting wood to ensure perfect spacing and design balance.
- Enlarge your design using a copier service to get accurate stencil sizes for lettering.
- Drill small pilot holes before hanging to avoid splitting the wood and secure your sign properly.
- Cost-effective signs can be made for around $20 when you reuse materials and buy wood locally.
What Makes a Sign Look Vintage and How to Start
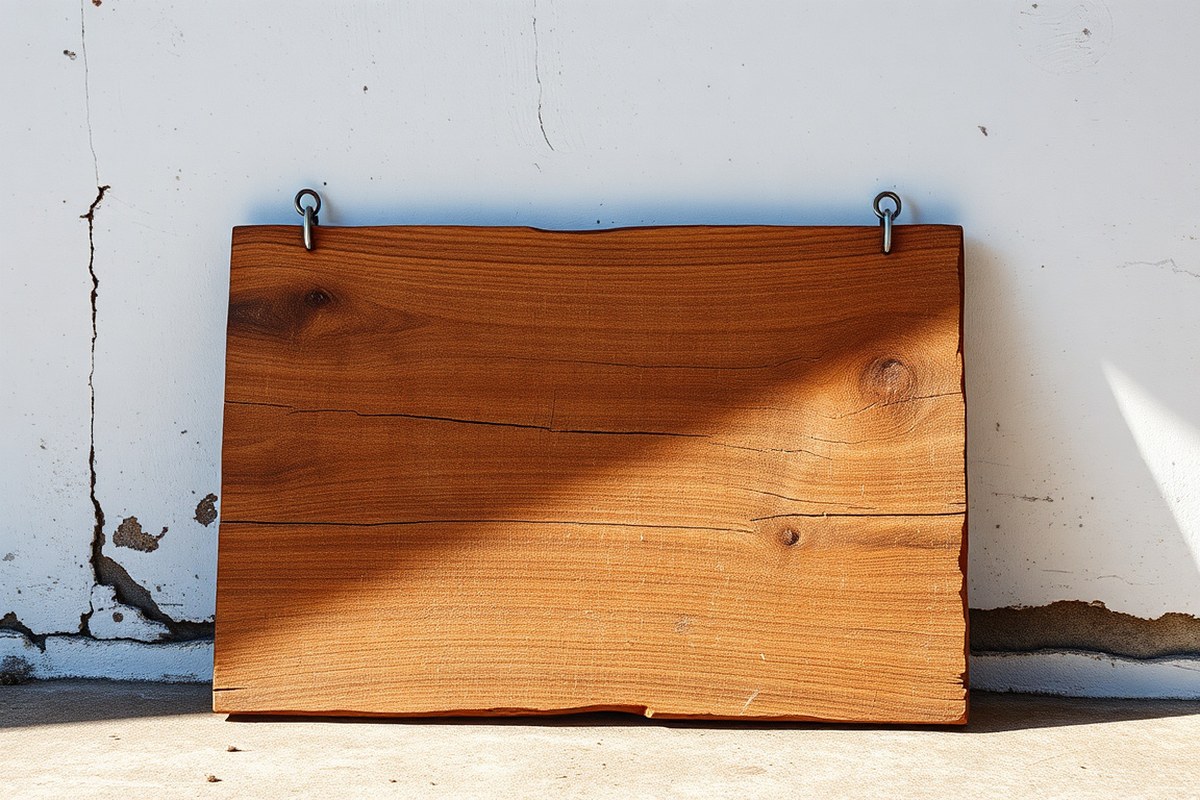
A DIY vintage sign stands out from new signs because it captures the worn charm and character that only years of use can create. Authentic vintage signs often show cracked paint, faded colors, and weathered wood that looks like it has been exposed to the elements for decades. This aged appearance makes the sign feel like a piece of history, inspiring nostalgia. To get this effect yourself, start by choosing a design inspired by genuine roadside or business signs from 40 to 50 years ago. Searching for vintage signs related to your local area or specific themes, like “vintage general store sign” or “roadside lodge sign,” can help you decide on the style and colors that fit the era you want to recreate.
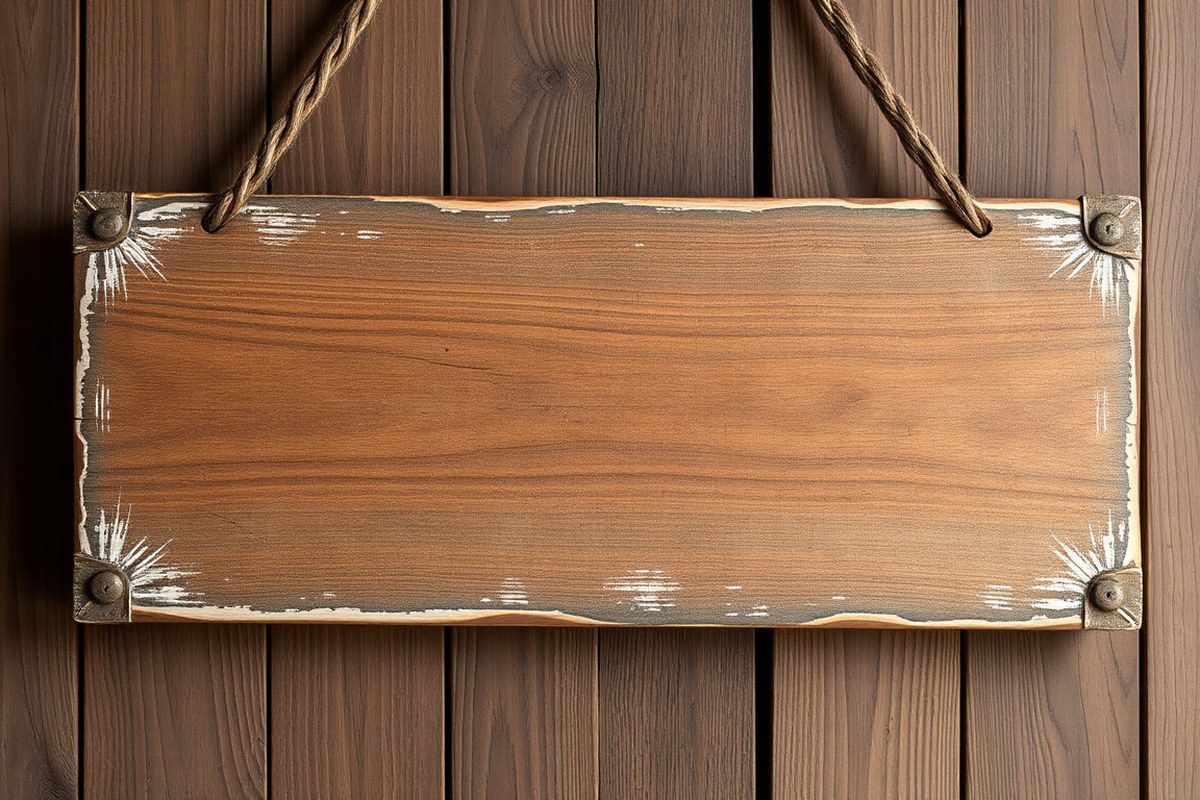
Key vintage elements include simulated wear such as chipped paint, slight warping or dents in the wood, and a crackle effect on the painted surface. The crackle effect mimics natural paint aging by creating tiny fissures that make new paint look old. You can apply this quickly with a product like the Iron Orchid Craquelure Stamp combined with black craft paint, which highlights the cracks and adds depth. Distressing should appear random rather than uniform, with more wear at edges and corners, reflecting natural handling and exposure.
Planning your vintage sign project starts with selecting the right base material, ideally a piece of well-grained wood like pine or cedar that can take distressing well. If you don’t have access to reclaimed wood or old pallets, use new wood but apply weathering techniques to give it age. Measure your desired sign size carefully, common vintage signs vary from 12 inches by 24 inches up to 24 inches by 36 inches depending on where you plan to hang it.
Next, sketch your design on paper. Use simple, bold fonts and minimal colors common to vintage signs to stay authentic. Transferring your design can be done with stencils or hand painting using craft paints. Before painting, lightly sand the wood surface to help paint adhere, and wipe off dust to prevent bumps. After painting, seal the sign with a matte clear coat to protect the paint without giving it a glossy new look.
Good results will feel tactile with visible texture, subtle color fading, and natural-looking imperfections. Avoid overdoing the distressing by testing techniques on scrap wood first, since too much sanding or harsh weathering can damage the sign’s structure. Starting your project with a clear plan of theme, size, and aging methods will save time and help you produce a sign that looks like it stood proudly outdoors half a century ago.
Selecting Wood and Materials for Your Vintage Sign
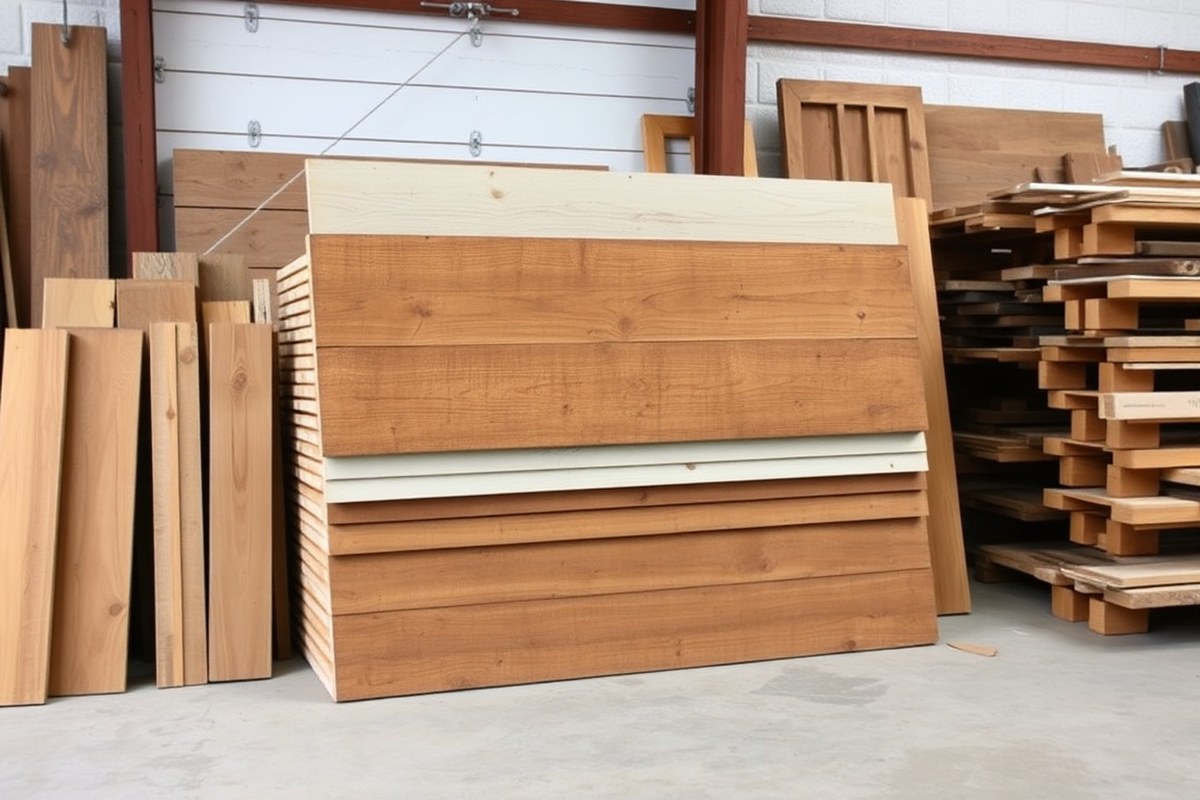
Choosing the right wood or materials for your vintage sign shapes its look, feel, and cost. Softwoods like pine and cedar are popular for their availability and ease of distressing. Recycled pallets and MDF can work, though they affect durability and authenticity differently. Knowing these options helps you balance budget, appearance, and finish quality for your project.
Types of Wood for Vintage Signs
Pine is a top choice for vintage signs because it’s common and affordable, typically costing around $2 to $5 per board foot at home improvement stores. It takes paint well and sands easily, making it perfect for distressing techniques. Cedar is another good option, especially if you want natural resistance to moisture and insects, which extends the sign’s life if used indoors or in covered outdoor areas. The reddish tone of cedar also adds a warm vintage character without heavy staining.
Hardwoods like oak or maple offer durability and a fine grain but are harder to distress and usually more expensive, often upwards of $7 to $15 per board foot. These woods can work if you want a sign that withstands wear or projects a more polished look, but they are heavier and costlier. Shiplap is often used as thin wooden planks nailed side-by-side, providing a classic background texture for vintage signs. It sells for roughly $1 to $3 per linear foot and is suitable for lightweight signs easier to hang.
Using Recycled Materials and Pallets
Recycled pallets and salvaged wood are popular for adding authenticity; their weathered surface and imperfections look natural and vintage. Pallets are mostly made of pine or spruce and can often be sourced for free or under $10 per pallet. They do require cleaning, sanding, and possibly treating to remove dirt and splinters. Expect some boards to be uneven or cracked, which contributes to the rustic charm but can complicate applying stencils.
MDF (medium-density fiberboard) is a budget-friendly alternative costing about $10 to $20 for a 4×8 sheet and is smooth and uniform, making painting and stencilling easy. However, it doesn’t handle moisture well and can swell or warp if exposed to humidity. MDF lacks natural grain or knots, so it’s better for painted signs without textured finishes or distressing effects.
Material Pros and Cons Table
| Material | Cost Approximate | Appearance | Durability | Best Use Cases |
|---|---|---|---|---|
| Pine | $2-$5 per board foot | Light natural grain, easy to age | Moderate; good for indoor signs | Beginner vintage signs, easy distressing |
| Cedar | $4-$7 per board foot | Warm reddish wood, naturally rustic | High; moisture and insect resistant | Indoor/outdoor signs with a natural look |
| Hardwoods (Oak, Maple) | $7-$15+ per board foot | Fine grain, heavier | Very high; long-lasting | High-end vintage signs, durable |
| Recycled Pallets | Often free-$10 per pallet | Weathered, authentic vintage charm | Varies; some boards fragile or uneven | Rustic vintage signs, budget-friendly |
| MDF | $10-$20 per 4×8 sheet | Smooth, uniform surface | Low; sensitive to moisture | Indoor painted signs, smooth stencil base |
| Shiplap | $1-$3 per linear foot | Striped plank texture, classic look | Moderate | Lightweight signs, easy to hang |
Always check recycled wood for nails and clean it thoroughly to prevent injury and ensure a smooth painting surface.
Tools and Paints Needed for Authentic Vintage Effects
To achieve an authentic vintage look on your DIY sign, you’ll want to pick paint types and tools that mimic worn surfaces and faded colors. Using acrylic paints offers flexibility and aging options, while oil-based paints provide durability and deeper tones. Essential tools include various brushes, stencils, and materials for crackle and distress techniques. Choosing colors popular during your sign’s original era improve authenticity.
Best Paint Types for Vintage Signs
Acrylic craft paints are the most recommended for vintage-style signs because they dry quickly and allow for easy layering, glazing, and distressing. For example, Golden Fluid Acrylics thin well for creating translucent glazes that add depth and weathering effects. Acrylic paint costs about $5 to $8 per 2-ounce bottle, affordable for most hobbyists.
Oil-based paints provide richer pigments and longer-lasting finishes but require longer drying times, often 24 hours or more, and need paint thinner for cleanup. Their sheen can look less matte and more glossy, which may not suit all vintage styles. Chalk paints also work well for aged finishes due to their matte texture and ease of distressing, though they dry faster and are less flexible for glazing. They typically cost $6 to $12 per quart.
Essential Tools and Accessories
Using a variety of brushes improve your control over paint application and aging effects. A flat brush about 1 to 2 inches wide is ideal for covering background areas smoothly. Smaller detail brushes help with stenciling letters or fine distressing. Painter’s tape prevents paint from bleeding when masking parts of the sign.
Stencils matched to your desired font style make lettering crisp and uniform. For crackle effects, applying a crackle medium between paint layers creates surface fissures that simulate age. These mediums range from $5 to $15 per small jar. Sandpaper with fine to medium grit (around 150 to 220) lets you gently distress edges and painted areas. Using a damp cloth to rub through top paint layers after sanding can soften harsh marks and improve authenticity.
Recommended Color Palettes and Effects
Choose colors popular during the period your sign aims to represent. Muted colors like faded reds, mustard yellows, olive greens, and soft off-whites evoke vintage charm. Layer darker background shades with lighter top coats or washes to imitate natural fading over time. Adjust paint consistency by thinning with water or glazing medium for worn, translucent effects.
For adding depth, mix a small amount of dark brown paint with water to create a wash or glaze that settles into crevices and brush strokes. Apply it lightly over your dry paint layers, then wipe off excess to simulate dirt and age. Cracking and chipping effects appear more natural when combined with this staining.
Designing and Stenciling Your Vintage Sign Graphics
Creating the graphics for your vintage sign is a key step that shapes its final look. You can design your own, find ready-made vintage designs online, or mix both approaches. Using stencils makes applying lettering easier, and careful positioning ensures your message fits well and looks professional.
Finding and Creating Vintage Designs
Start by choosing the text and images that fit your sign’s intended message and style. You can create your own designs in graphic software like Adobe Illustrator or free tools such as Canva, which allow you to control fonts, spacing, and decorative elements. To save time, search for vintage-style designs or fonts on sites like Creative Market or Etsy, where you can purchase ready-to-use files for around $5 to $20.
Hand-drawing a design works well if you prefer a personal touch. Use tracing paper to sketch your design over printed vintage fonts or patterns, then adjust sizes to match your sign’s surface. When selecting fonts, choose those with weathered or script styles to improve the vintage feel.
Making or Buying Lettering Stencils
Stencils help apply clean, consistent lettering and graphics on your sign. You can buy pre-cut stencils for popular fonts and images, usually costing $10 to $25 depending on size. These are convenient when you want quick, uniform results.
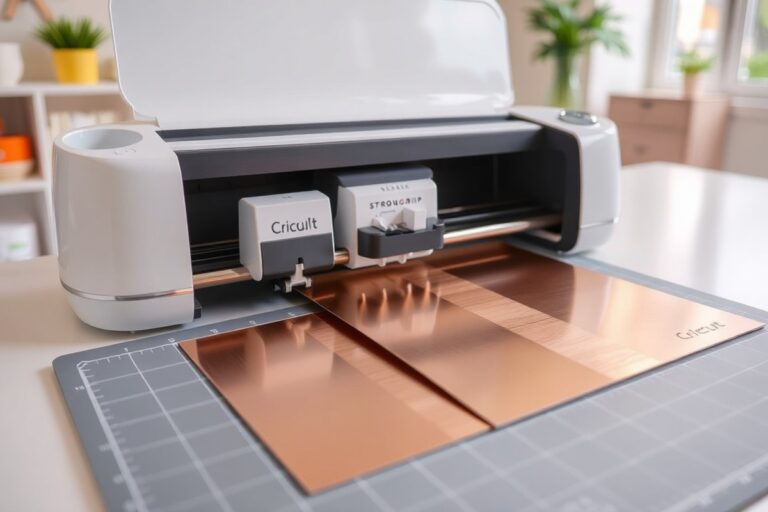
To make your own stencil, print your design on thick cardstock or printable stencil sheets. Use a sharp hobby knife to cut out the letters or shapes carefully on a cutting mat. Alternatively, order custom-cut vinyl stencils from online providers or local print shops; these typically cost $20 to $50 depending on size and complexity.
Reusable plastic stencils last longer and are easier to clean than paper ones but may require a higher initial investment. Paper stencils are good for one-time use or small projects. Test your stencil on scrap wood before applying to your sign to avoid paint bleeding or smudging.
Positioning and Scaling Graphics
Getting your design’s size and placement right makes all the difference in a polished vintage sign. First, measure the sign’s dimensions and decide how much space you want your graphics to fill. Typically, leaving 2 to 4 inches of border around the edges keeps the sign balanced and prevents cramped text.
To scale your design, enlarge or shrink it proportionally using graphic software or by printing parts on multiple sheets of paper. Tape the printed templates together, then position them on your wood surface with painter’s tape. Step back and check alignment visually and with a ruler before moving forward.
You can transfer your design from the template to the wood by tracing outlines with a pencil or using transfer paper underneath the template. For letters, layout them in rows, ensuring consistent spacing by marking guidelines with a ruler and level. Adjust spacing if letters or images look too tight or loose based on your viewing distance.
- Measure your sign surface to determine design size.
- Create or find a vintage design file that fits those dimensions.
- Print the design at full scale on paper or stencil sheets.
- Cut out stencil letters or images using a sharp craft knife.
- Use painter’s tape to position the stencil on the sign, checking alignment.
- Trace the design edges lightly with pencil for painting guidance.
- Remove the stencil and complete any freehand touches as needed.
Step-By-Step Assembly and Painting Process
Creating a vintage sign involves careful steps from assembling the wood base to final painting and distressing. Timing varies depending on drying times and the size of your sign, but each stage plays a critical role in achieving that authentic aged look. Using layered paint techniques and sanding between coats helps the colors blend naturally, and choosing wood with some texture adds depth to the finished piece.
Follow this step-by-step timeline to build and paint your vintage sign effectively. Set aside at least a full day, as drying between layers is essential for good results.
- Prepare the Wood Surface: Start by selecting wood with natural grain or dimension, like pine or reclaimed wood. Sand the surface lightly to remove splinters and dust. This ensures paint adheres well. This step takes about 15, 30 minutes depending on wood size.
- Apply Base Paint Layer: Paint the entire board with your chosen base color using flat or primer paint. This layer will later show through as an accent color during distressing. Let the paint dry completely, which usually takes 1, 2 hours at room temperature.
- Create and Position the Stencil: Design your stencil using software like Silhouette Cameo 3 or print your graphic on paper. Once the base paint dries, wipe the surface clean to remove dust. Secure the stencil on the wood with low-tack adhesive to avoid peeling paint. This setup takes about 20, 30 minutes.
- Paint the Top Layer: Apply your top coat paint over the stencil, typically a contrasting color to the base. Use a dry brush technique or sponge to avoid paint bleeding under the stencil edges. Allow this layer to dry fully, about 1 hour.
- Remove the Stencil and Sand: Carefully peel off the stencil after paint dries. Use a detail sander or fine sandpaper to distress the entire board, focusing on edges and raised areas. Sanding removes some top paint revealing the base color below, creating a worn, vintage effect. Spend 15, 40 minutes here depending on the desired distress level.
- Final Touches and Drying: Wipe off dust from sanding and check for any spots needing minor touch-ups. Let the sign cure undisturbed for at least 24 hours before handling or hanging.
Use flat, matte paints instead of glossy finishes to better mimic natural wear and reduce unwanted shine on your vintage sign.
Distressing and Aging Techniques for Authentic Wear
To achieve authentic wear on your DIY vintage sign, sanding plays a key role. Use fine to medium grit sandpaper to gently rub edges, corners, and surfaces where natural wear would occur. This softens sharp paint lines and exposes some wood, making the sign look naturally aged. Be careful not to overdo it; too much sanding can expose raw wood that will absorb paint or stain unevenly. Focus on spots where hands or weather would naturally cause wear, such as near handles or the bottom edges.
Applying crackle medium creates the classic flaky, cracked paint effect visible on signs over 50 years old. First, paint a base coat in a contrasting color. After it dries completely, brush a layer of crackle medium according to the product instructions (which typically recommend 15, 30 minutes of drying time). Visit a craft store for crackle mediums that cost around $5 to $15 per bottle. Once tacky but not fully dry, apply a top coat of paint gently in one stroke without overbrushing. The paint will crack as it dries over several hours, revealing the base color beneath. This technique works best on flat surfaces and with thinner paint layers to avoid large flakes falling off.
Glazing adds depth by simulating dirt and age within carved letters or edges. Mix a glaze with a dark acrylic paint or glaze medium, then brush it into crevices. Wipe off excess with a clean rag to leave the darker color lingering only in recesses. This mimics how grime settles in real vintage signs. You can vary the glaze thickness depending on how aged you want the effect. Be cautious not to apply glaze over still-wet paint or crackle medium, which can lift paint or ruin the crackle effect.
Weathering techniques such as applying diluted brown or black paint washes or light staining help replicate sun-faded, dirtied surfaces. Use a rag dampened with a water-thinned paint mix to rub over your finished sign, especially in cracks and corners. This subtle layer improve the sign’s vintage feel. Let each layer dry before deciding if you want more to avoid overly muddy or unnatural hues. A natural wood stain applied lightly at edges also simulates decades of exposure and can be done with household products like coffee or vinegar for a cost-effective approach.
To add random imperfections seen in real wood signs, consider adding black craft paint smudges using a large distress stamp, such as the Iron Orchid Distress Stamp. Dab black paint on the stamp and press it lightly in areas where you want subtle distress marks. Let it dry fully before layering glaze or weathering washes. Avoid heavy stamping, which can create artificial or messy patterns instead of a natural worn appearance.
Common mistakes include applying too much crackle medium or paint at once, which produces oversized cracks or paint flakes that chip off. Over-sanding can make the wood too raw and prone to water damage or splintering. Also, applying glaze on wet paint blends colors in unwanted ways, so always ensure thorough drying first. Taking your time and building layers gently allows greater control over the final aged look.
These distressing methods fit different situations depending on your sign design and the effect you want. For example, a decorative sign meant for indoors can handle more delicate crackling and glazing, while an outdoor pool or bar sign benefits from tougher sanding and weathering to resist wear over time. Using a combination of these techniques creates the convincing vintage aesthetic that makes your project feel like a relic from decades ago.
Common Mistakes and How to Fix Them
One common mistake when making vintage signs is applying paint too thickly, which causes drips and uneven surfaces. These drips can ruin the smooth look of your sign and make distressing harder. Fix drips by letting the paint dry completely, then sanding lightly with fine-grit sandpaper (220 grit works well) to smooth the bumps. Light sanding around stenciled edges will also help correct paint bleed or uneven lines.
Peeling paint often happens when the surface isn’t prepped correctly or when layers don’t adhere well. To fix peeling, remove loose paint with a putty knife and sand the area smoothly before repainting. Use a primer suited for your wood type to promote paint adhesion. For MDF signs, a shellac-based primer prevents moisture issues that cause paint failure later.
- Fix drips by drying fully, then sanding with 220-grit paper until smooth
- Remove peeling paint with a putty knife, sand, and prime before repainting
- Correct uneven stencils by retouching edges carefully with a small brush
- Avoid heavy paint layers; thin coats dry faster and distress better
- Use a shellac primer on MDF to improve paint adhesion and durability
- Test distressing techniques on scrap wood first to prevent overdoing it
- Seal signs gently with a water-based polyurethane to avoid peeling or clouding
Distressing your sign can cause damage if you’re too rough or use the wrong tools. Always distress gradually by sanding edges and corners first, using light pressure and fine-grit sandpaper. Avoid steel wool on some surfaces, as it can leave rust-colored stains. Testing on a scrap piece helps you see how much distressing is needed without ruining your main sign. After distressing, seal the wood with a clear water-based polyurethane at room temperature (65°F to 75°F) to protect without yellowing or cracking.
Sealing mistakes often include using oil-based finishes on painted signs, which can cause paint to peel or bubble. Choose a clear, matte water-based finish for the best protective layer that keeps the vintage look intact. Applying two thin coats with a soft brush, allowing 2 to 4 hours of drying time between coats, will protect your work without damage. Avoid sealing in direct sunlight or extreme humidity to minimize drying problems and ensure durability.
Finishing, Sealing, and Hanging Your Vintage DIY Sign
Sealing your vintage DIY sign is essential to protect your work from dust, moisture, and fading, especially if you plan to display it outdoors. A finish that doesn’t add much gloss preserves the aged look while providing a strong protective layer. Matte or satin clear seals work best, keeping the colors true to the vintage style without making the surface shiny. Look for water-based polyurethane or acrylic sealers designed for wood crafts. These typically cost between $10 and $20 for a quart and apply easily with a high-quality synthetic brush.
To apply the sealer, use smooth, even strokes and avoid over-brushing, which can lead to bubbles or streaks. Allow the first coat to dry fully, usually about 2 hours, then lightly sand with fine-grit sandpaper (220 grit) to ensure good adhesion for the second coat. Two to three thin coats will give the best coverage without losing the distressed effect.
For indoor signs, sealing is mostly about dust and minor scuffs. A light spray of clear acrylic sealer is often enough and dries quickly, making touch-ups convenient. Outdoor signs need more durable protection against UV rays and moisture. Look for sealers labeled for exterior use and reapply yearly to maintain protection, as sun and weather will break down the finish over time.
Safe hanging is important to avoid damage or injury. For indoor signs, mounting hardware like D-rings or sawtooth hangers attached to the back with small screws will hold the sign flush against a wall. Make sure to attach these to solid wood areas or brace with a wood crossbar behind the sign to prevent splitting. Avoid driving screws through the front of the sign to keep the vintage face intact.
Outdoor signs might require heavier-duty hardware such as eye hooks and sturdy wire to hang from nails or hooks in your porch or fence. Use rust-resistant metal hardware and secure all attachments tightly. Place the hanging hooks at least 2/3 up from the bottom of the sign to balance weight and prevent sagging. If nailing directly to wood surfaces, use galvanized nails or screws that won’t rust.
Check your sign regularly after hanging, especially outdoors, for any signs of loosening or damage to ensure it stays safe and well-preserved over time. Using the right combination of sealing and hanging methods extends your sign’s life and keeps your vintage look flawless.
Never attach hanging hardware by puncturing the front of your sign; always secure it on the back or edges to maintain the vintage appearance.
Step-by-Step Action Plan
Get started on your vintage sign project with this clear sequence of steps. Follow them to ensure your sign turns out authentically aged and well-crafted.
- Before you start: Gather your wood, paints, brushes, and tools. Confirm all materials are suitable for outdoor or indoor use depending on your sign’s location.
- Day 1: Sand your wood to remove splinters and create a smooth surface. Check the wood feels even and ready for painting.
- Day 2: Apply your base paint coat evenly. Let it dry fully; the color should look solid and consistent before moving on.
- Day 3: Design and stencil your graphics using your chosen fonts and phrases. Ensure the stencils are crisp and correctly positioned.
- Day 4: Paint over the stencil carefully, allowing the paint to dry slightly before removing stencils. You should see clear, defined letters without smudges.
- Day 5: Start distressing the edges and surface with sanding and gentle scraping. The wood and paint should show worn areas naturally, avoiding harsh or uneven spots.
- Day 6: Seal the sign with a matte or satin finish sealant to protect the paint and distressing. The sealant should be dry and not sticky to the touch when finished.
- Day 7: Attach hanging hardware securely. Test the stability by slightly lifting the sign before displaying it.
Frequently Asked Questions
What Are Some Common Themes for DIY Vintage Signs?
Popular themes include roadside inns, general stores, and farm fresh goods. These evoke nostalgia and suit many home decors well.
Can I Use Reclaimed Wood for My Vintage Sign?
Yes, reclaimed wood adds authenticity and a weathered look that improve vintage charm. Clean and prep it well before use.
How Do I Safely Add a Crackle Effect to My Sign?
Use a crackle medium or stamp like the Iron Orchid Craquelure Stamp with black craft paint. Work in a well-ventilated area following product instructions.
What Are Creative Ways to Display Vintage Signs at Home?
Mounting them on kitchen walls or near entryways adds character. Consider grouping multiple signs for a focal point.
How Long Does the Paint Take to Dry on a DIY Vintage Sign?
Fast-drying paints usually dry within an hour, but curing can take longer. Handle with care until fully dry.
Can I Personalize Vintage Signs for Gifts?
Personalizing with names or dates creates meaningful, custom gifts. Use stencils or hand-paint details carefully.
Final Thoughts
Making a vintage sign by hand allows you to tailor every detail for authenticity and charm. Focus on using the right materials and taking your time during distressing to get the natural wear look. Start by selecting your wood and sketching your design, then take it step-by-step through painting and aging. Your first sign can become a lasting piece of personalized decor.