How to Make a 3D Wood Sign: A Complete Guide with Pro Tips
Knowing how to make a 3D wood sign starts with choosing the right tools and carving method. Use CNC routing or laser cutting for precise, repeatable designs, or hand carving for personalized detail. Begin by designing your sign in 3D software to create an accurate template for carving.
Key Takeaways
- Select wood with a tight, uniform grain like maple or cherry for clean 3D carving results.
- Use V-bits at 60° or 90° angles for detailed engraving and sharp lettering edges.
- Design your sign in a 3D CAD program, then export files compatible with your CNC or laser cutter.
- Test carve on scrap wood to adjust depth and detail before cutting your final piece.
- Layer cut pieces when assembling to add depth and dimension to your 3D sign.
- Apply multiple coats of outdoor paint or sealant for durability and weather resistance.
Essential Tools and Materials for 3D Wood Signs
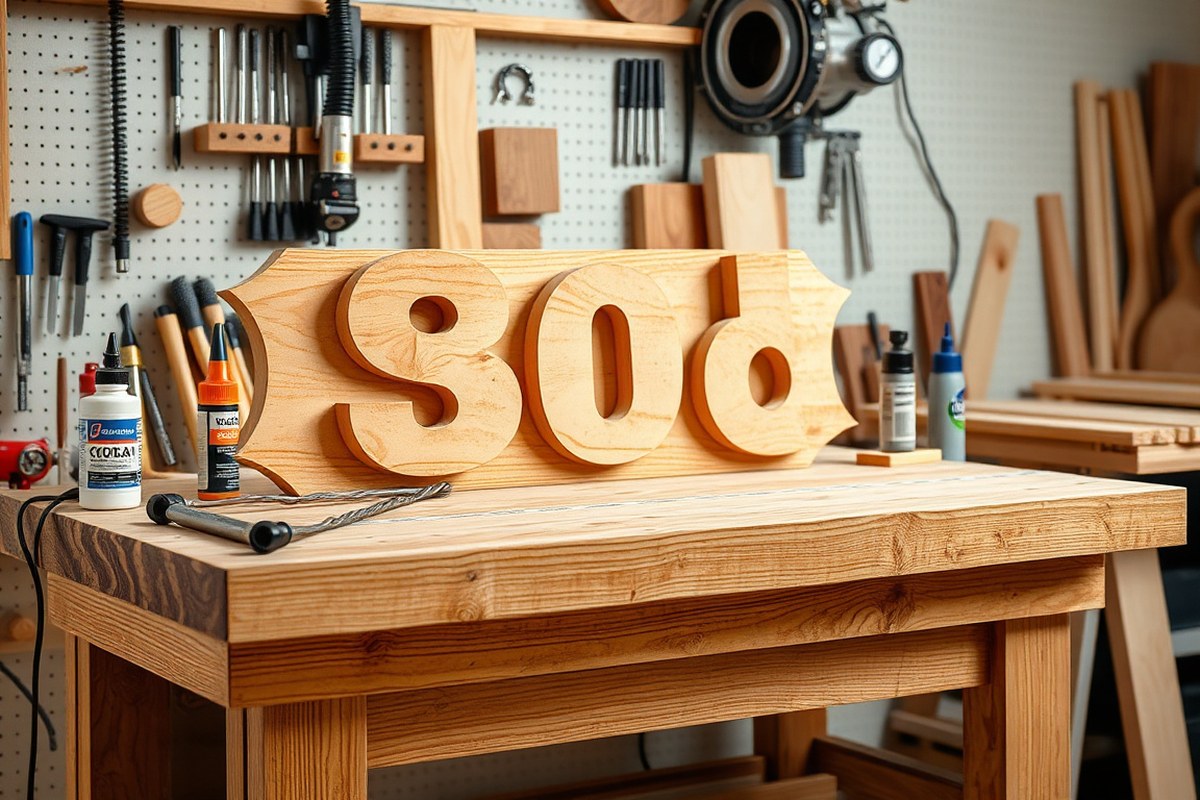
To make a quality 3D wood sign, you need the right combination of tools, materials, and wood types suited for detailed carving and finishing. Essential tools include a CNC router or hand carving tools, router bits or blades, safety gear, and finishing supplies like sandpaper and sealers. Using a CNC router gives precise control to create convex and concave shapes by moving the bit up and down, allowing for intricate 3D details. Router bits like 60° or 90° V-bits, 1/4″ downcut bits, and smaller flat or ball nose bits are important for shaping edges, cutting fine lines, and achieving smooth surfaces. Selecting the correct wood type impacts the carving ease, visual appeal, and durability of your signs.
- CNC router or carving tools: For precise 3D shaping and detail work
- Router bits: 60° or 90° V-bits, 1/4″ downcut, 1/8″ flat, and ball nose bits for different effects
- Safety equipment: Eye protection, dust mask, and hearing protection
- Sandpaper and files: For smoothing carved edges and surfaces
- Sealants and paints: To protect and finish the sign, highlighting natural wood grain or painted areas
- Measuring tools and clamps: To ensure precise alignment and secure workpieces
Wood types for carving vary by hardness, grain, and stability. Pine and softwoods are budget-friendly and good for rustic décor but require sealing before painting due to tear-out risk. Hardwoods like maple, walnut, and cherry hold fine details well and finish beautifully for premium, long-lasting signs. Birch plywood offers stable panel surfaces with minimal movement, ideal for paint-filled signs. MDF is smooth and consistent, suited for painted signs with textured finishes but lacks natural wood grain. Choosing the right wood depends on your sign’s purpose, budget, and desired appearance.
| Material | Use Case | Carving Properties | Typical Router Bits |
|---|---|---|---|
| Pine / Softwoods | Budget décor, rustic signs | Prone to tear-out; seal before paint-fill | Choose a 60° or 90° V-bit, a 1/4″ downcut bit, and a 1/8″ flat bit for carving and cutting in your woodworking projects. |
| Maple / Walnut / Cherry | Premium gifts, business signs | Holds fine detail; finishes beautifully | 60° V-bit, 1/8″ downcut, 1/8″ ball |
| Birch Plywood / Baltic Birch | Stable panels, paint-fill signs | Minimal movement; clean paint edges with mask | 90° V-bit, 1/4″ downcut, 1/8″ flat |
| MDF | Painted signs, textured finishes | Smooth, consistent texture; no natural grain | 90° V-bit, 1/4″ downcut |
Exact router bit choice influences the sharpness and depth of details you carve. V-bits produce clean, angled cuts for lettering and outlines, while downcut bits help reduce tear-out and give smooth bottom edges. Ball nose bits are useful for carving curved surfaces that stand out in 3D. Hand tools can also be used for smaller or custom touches but require skill and time. Costs vary depending on wood quality and tools. For example, hardwoods are more expensive but deliver crisp details and durability, often justifying the higher price for business signs or gifts. Pine and MDF lower upfront costs but need careful handling to avoid rough edges and a less natural appearance.
Designing Your 3D Wood Sign: Software and File Preparation
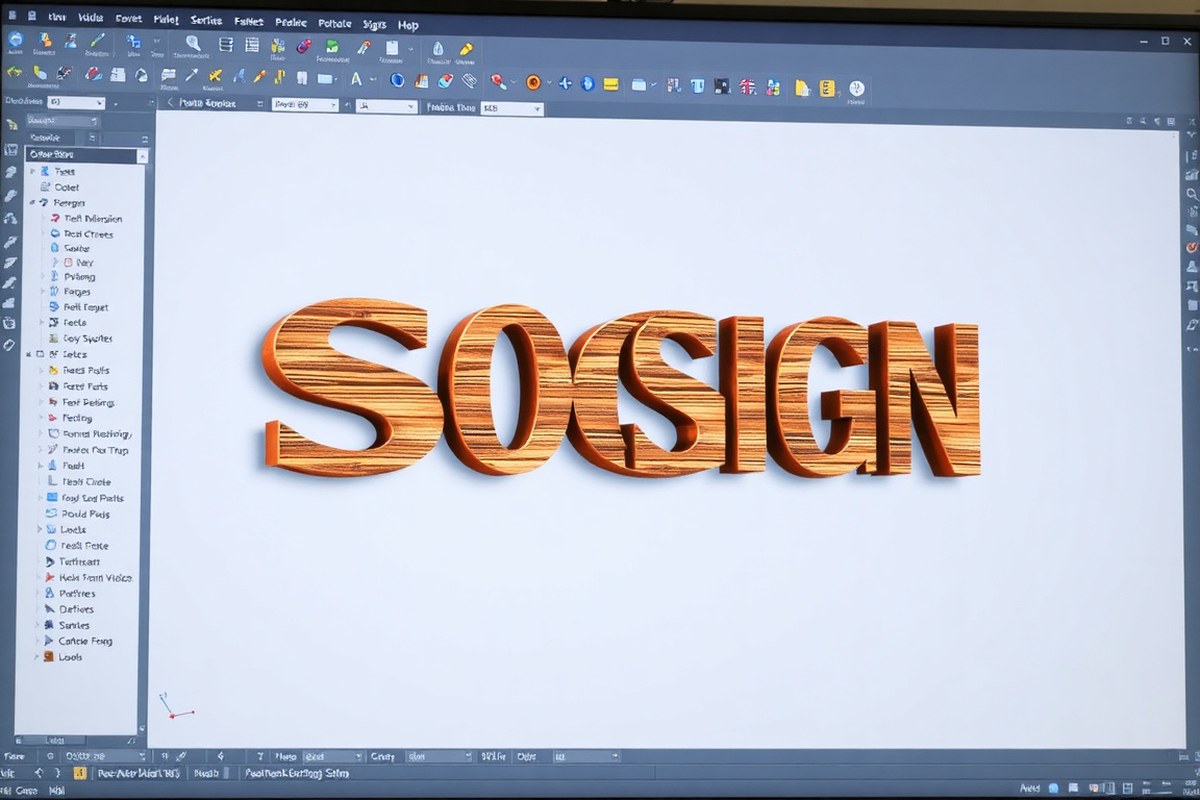
Designing a 3D wood sign starts with creating a detailed digital file that captures the sign’s layers and depth. You’ll use specialized software to draft your design, separate it into layers for different thicknesses or details, and export the file in a format that your CNC router or laser cutter can read, ensuring clean, precise carving or cutting.
Choosing the Right Software
Select software tailored for 3D modeling or vector design based on your sign’s complexity. Popular choices include Adobe Illustrator for vector art or Fusion 360 and VCarve Pro for 3D modeling and CNC toolpath creation. Vector-based programs are ideal for laser cutting, while 3D CAD software is better for layered carving and complex shapes.
Look for software that supports your machine’s file requirements and offers features like layer management and preview capabilities. Some software, like Easel or Carbide Create, are free or low-cost and user-friendly for beginners. Pricing varies widely, from free basic programs to several hundred dollars for more advanced software.
Setting Up Layers and Depth
Layering turns your design into a true 3D sign by assigning different heights or depths to each element. Use the software’s layering tools to stack pieces such as background shapes, raised letters, and decorative cutouts. For example, you might set the background layer at 1/4 inch thick and raised letters at 1/2 inch thick to create noticeable dimension.
Choose fonts and images carefully. Fonts with thicker strokes and minimal fine detail cut cleaner, especially on laser-cut signs where thin lines or tiny inner cutouts can break. Plan registration marks or alignment guides into your layers for consistent placement when assembling. This helps avoid misalignment in larger signs.
Avoid very thin strokes and sharp corners for raised layers; these details often don’t cut well and may break during assembly.
Exporting Files for CNC Routers
After finalizing your design, export it in a CNC-compatible format, typically SVG, DXF, or DXF converted to G-code. Always check your CNC or laser cutter’s software to confirm supported file types. Some machines accept layered vector formats, while others need separate files for each layer or tool path. Use this step-by-step file preparation checklist to ensure smooth carving or cutting:
- Save your working file in the native software format for edits.
- Convert text to paths or outlines to prevent font issues.
- Clean up your design by removing overlapping lines and extra points.
- Assign layers by depth, labeling each clearly (e.g., base layer, raised text).
- Include registration marks for alignment if your design is layered.
- Export each layer separately if required by your CNC or laser software.
- Double-check dimensions to match your intended material size.
- Test-import the file in your CNC software to verify no errors appear.
Carving Methods: CNC Routing, Laser Cutting, and Hand Carving Compared
Three main carving methods used for 3D wood signs include CNC routing, laser cutting, and hand carving. Each method offers distinct benefits and drawbacks based on project size, complexity, and your skill level. Choosing the right approach depends on your budget, design detail, and how much time you want to invest.
CNC Routing Advantages and Limitations
CNC routing uses a computer-controlled spindle with various bits to carve wood in multiple depths and layers. This method excels at producing detailed 3D shapes with clean edges and consistent cuts. You can set the machine to use different bits for fine lines or deeper reliefs, making it ideal for ornate shop logos or personalized signs with multiple layers.
Costs typically range from a few hundred dollars for a hobbyist machine to several thousand for professional-grade routers. CNC routing requires digital design files prepared in compatible software. Setup time can be longer initially but speeds up once you compensate for machine calibration. This method is best for sign makers with some CNC experience or those willing to learn software and machine operation.
Laser Cutting Strengths and Weaknesses
Laser cutting uses a focused beam to burn or vaporize wood along the design outline, delivering sharp, detailed engraving and precise cutouts. It works well for creating signs with clean contrasts or intricate patterns, including printing on layered materials like acrylic or printable MDF.
Laser cutters typically cost between $400 and $5000 depending on power and size. They require vector files and can’t carve deeply or create multiple layers like a CNC router. Laser cutting is faster than hand carving and cleaner than sanding detailed edges, but it often requires adding color by hand or combining with other materials for full-effect 3D signs.
Hand Carving Tips and Safety
Hand carving offers a traditional, tactile approach to 3D wood signs, allowing you to shape wood according to your vision using chisels, gouges, and knives. This method suits beginners wanting to practice craft skills or advanced carvers aiming for unique, organic details.
Hand carving requires patience and can be time-consuming, especially for highly detailed designs. It is best for small to medium projects with relatively simple shapes. Wear cut-resistant gloves and keep tools sharp to avoid accidents. Sand and hand paint carved details carefully to improve visibility and contrast without machine precision. Below is a comparison table illustrating how these methods stack up in terms of cost, skill, detail, and more for 3D wood sign projects:
| Method | Cost Range | Skill Level | Detail & Complexity | Time Requirement | Suitable Project Size | Best For |
|---|---|---|---|---|---|---|
| CNC Routing | $300 – $5000+ | Intermediate to Advanced | High detail with multi-layering | Moderate setup, faster run time | Small to large | Personalized signs, logos, layered 3D effects |
| Laser Cutting | $400 – $5000 | Beginner to Intermediate | Fine detail, shallow engraving | Fast operation | Small to medium | Intricate patterns, detailed engraving, mixed materials |
| Hand Carving | Low to $500 for tools | Beginner to Advanced | Variable detail, less precise | Longer, labor-intensive | Small to medium | Traditional craftsmanship, custom shapes |
For a large, detailed sign featuring a multi-layer shop name, CNC routing provides the precision and speed needed. A laser cutter suits small, finely detailed plaques or signs combining wood and acrylic layers. Hand carving works well for simpler or highly customized wood signs where a handmade look is desired, especially if you prefer painting fine details yourself rather than sanding and assembling tiny pieces.
Preparing and Carving Wood for 3D Signs
Preparing your wood properly helps prevent tear-out and ensures clean details when carving 3D letters and shapes. Start with a smooth, flat surface by sanding the wood between 120 and 220 grit. Removing dirt, oils, or previous finishes improves carving accuracy and clean paint adhesion later. Selecting a stable wood type, such as Baltic birch plywood, maple, or MDF, reduces warping during carving. MDF is especially consistent but requires dust control precautions.
Choose carving bits suited for fine detail with your CNC router or rotary tool. A 1/8-inch or smaller diameter ball nose or V-bit cutter works well for intricate edges. Use slow to moderate feed rates, around 60 to 100 inches per minute with a spindle speed near 18,000 rpm helps avoid burning or splintering, though you may need to adjust these based on your tool and wood species. Always test cuts on scrap wood.
Taking precise, incremental passes minimizes damage and maintains control over your design. Light passes remove material without straining the tool or the wood fibers, producing sharp edges and durable shapes.
- Clean and sand the wood surface using 120 to 220 grit sandpaper to remove roughness and debris. Wipe with a tack cloth to eliminate dust.
- Secure the wood firmly on your workspace or CNC bed to prevent shifting during carving, which can cause inaccuracies or damage.
- Select and install the appropriate carving bit, such as a 1/8-inch ball nose or V-bit, designed for detailed work on your chosen wood.
- Set your tool’s speed and feed rates starting at about 18,000 rpm spindle speed and 60 to 100 inches per minute feed rates. Adjust after trial cuts for clean edges without burn marks.
- Begin carving with shallow passes (0.05 to 0.1 inch depth each) to gradually remove wood and reduce splintering or tear-out, especially near edges of letters or shapes.
- Check the progress frequently to ensure details remain sharp and wood edges intact, tweaking settings if you notice tearing or burning.
- After carving, sand carved areas lightly with 220 grit or finer sandpaper to smooth any rough edges without eliminating sharp detail.
- Clean the carved sign thoroughly to remove dust and prepare for finishing or painting. Use compressed air or a soft brush to clear intricate areas.
Painting and Finishing Techniques for Durability and Style
Start by applying a high-quality primer designed for wood to seal the surface and prepare it for paint. Use a brush with firm bristles to get into carved details, avoiding thicker coats that can bleed or fill fine edges. Acrylic latex primers work well for indoor signs while oil-based primers offer better adhesion and durability on outdoor wood. Let the primer dry for at least 2 to 4 hours at room temperature before moving on.
For painting your 3D wood sign, choose acrylic latex paint for vibrant colors and flexible coverage indoors. Exterior-grade acrylic latex or oil-based enamel paint are best for outdoor signs due to their resistance to weather and fading. Use thinner layers applied with a small, angled brush to avoid smudging carved details. Multiple thin coats dry faster and reduce runs. Expect each coat to dry in 1 to 2 hours, with 2 to 3 coats needed for full coverage.
Clear finishes protect your sign from moisture, UV rays, and wear. Use water-based or oil-based Spar Urethane for outdoor signs, applying four or more thin coats to build a durable, glossy finish. For indoor pieces, a polycrylic or polyurethane sealer offers enough protection without yellowing over time. Sand lightly with 220-grit between coats for smoothness. Wait 4 to 6 hours between layers and 24 hours before handling or displaying the sign to ensure the finish cures properly.
- Use a good wood primer: acrylic latex for indoors, oil-based for outdoors
- Thin coats of acrylic latex paint prevent detail bleeding
- Apply 2 to 3 paint coats, drying 1, 2 hours between
- Seal with at least four coats of Spar Urethane outdoors
- Sand lightly between finishing coats with 220-grit sandpaper
- Allow 24 hours for full finish curing before use
- Use angled brushes for better control around carvings
Avoid applying thick paint layers; they can obscure detailed carvings and cause runs that ruin the sign’s appearance.
For best results, apply your finishes in a clean, dust-free area with temperatures between 65°F and 80°F and humidity under 50%. This helps paints and sealants dry evenly and prevents tackiness or bubbles. Expect total finishing time, including curing, to range from 2 to 3 days. Costs vary by product, with a quart of quality primer or paint around $15 to $30 and sealers $20 to $35 per quart. Spending time on thin layers and thorough sealing extends your sign’s life, maintaining crisp details and bright colors whether inside or exposed to weather outdoors.
Assembling Layered Pieces for a Cohesive 3D Sign
Accurate alignment and secure adhesion of the multiple carved or cut wood layers are key to achieving a striking 3D wood sign. Using a precise assembly template with alignment guides ensures each layer fits perfectly, avoiding gaps or off-center images. Choosing the right adhesive or fastener prevents warping and misalignment during drying, keeping your sign stable and visually cohesive.
Choosing Adhesives and Fasteners
For most 3D wood signs, wood glue provides a strong, clean bond between layers. Choose a PVA-based yellow or white wood glue that sets within 20 to 30 minutes and fully cures in 24 hours. Avoid hot glue, which can shrink and weaken joints over time. For added hold, especially on heavier or thicker materials like 3/4-inch MDF or hardwood, use small brad nails or pins alongside glue. These fasteners add mechanical strength without visible damage when carefully applied.
Epoxy adhesives offer excellent fill for uneven surfaces but cost more ($10 to $20 per tube) and require longer curing (several hours). Use epoxy only when gaps are unavoidable or additional strength is critical. For layering MDF or plywood, wood glue combined with clamps generally suffices. Using both glue and fasteners gives the best results, balancing strength and alignment control.
Aligning and Clamping Layers
Precise alignment avoids a crooked or uneven 3D effect, especially when the top layer includes multiple separate letter pieces or detailed graphics. Create an assembly template on cardboard or thinner wood, marking exact positions for each layer using your design files or masks. Transfer these marks with a pencil or fine-tip marker.
Clamp layers firmly during glue drying to prevent shifting or warping. Use bar clamps or C-clamps spaced every 6 to 8 inches for a typical 12- to 16-inch square sign. When the sign consists of several separate pieces, place them on the template, use glue sparingly, and secure the pieces with clamps or painter’s tape. Check alignment from different angles as you go to ensure all parts stay in their exact spots.
- Prepare a flat, stable workspace free of dust and debris.
- Create or print an assembly template with outlines or tick marks for each layer and piece.
- Lay the bottom layer on the workspace and position the template on top.
- Apply glue evenly on the bottom of the next layer, avoiding excess squeeze-out.
- Place the next layer carefully, matching edges and alignment marks on the template.
- Use clamps equally spaced to apply even pressure across the sign.
- Allow glue to set according to product instructions, typically 20 to 30 minutes to set, 24 hours to cure.
- Remove clamps and inspect for any misalignment or gaps, adjusting if needed before full curing.
Finishing Touches After Assembly
Once fully cured, lightly sand edges and any glue squeeze-out spots with 220-grit sandpaper. This smooths transitions between layers and improves paint adhesion. Avoid aggressive sanding that could blur the crisp edges of carved details. Apply any filler sparingly only if gaps appear, then resand.
Check layer connections for firmness to confirm no movement or warping. Minor warping can be corrected by placing the sign on a flat surface and weighing it down with heavy books overnight for a slow, gentle fix. Finally, proceed with your chosen painting or finishing techniques to highlight the 3D texture and protect the assembled sign.
Safety Precautions When Making 3D Wood Signs
Wearing personal protective equipment (PPE) is necessary when making 3D wood signs to avoid injuries from dust, sharp tools, and chemical fumes. At a minimum, use safety glasses to protect your eyes from wood chips and debris. A dust mask or respirator helps prevent inhaling fine sawdust, which can cause respiratory issues over time. Gloves protect hands when handling rough wood or sharp carving tools, but avoid wearing loose gloves around power tools to prevent accidents.
Handling equipment safely starts with proper tool maintenance and setup. Always check cutting blades and bits for dullness or damage before use, as blunt tools increase the risk of kickback or slipping. Switch off and unplug power tools when changing bits or making adjustments. Use clamps or vises to secure wood firmly to your workspace, keeping your hands away from moving blades. Avoid applying excessive force, which can cause tools to bind or break.
- Wear safety glasses, dust mask, and snug-fitting gloves.
- Inspect and maintain tools regularly to keep blades sharp.
- Secure wood pieces with clamps or vises before carving.
- Unplug tools before changing bits or cleaning.
- Keep fingers clear of cutting paths and use push sticks.
- Work in a well-ventilated area to disperse fumes and dust.
- Clean up dust and scraps promptly to prevent slips and fire hazards.
Good ventilation reduces exposure to wood dust and paint or finish fumes, both of which irritate the lungs and may be toxic over long periods. Open windows, use fans that blow air outside, or employ a dust collection system connected to your tools to minimize airborne particles. Paint and finish in spaces separate from carving areas if possible, or wear an organic vapor respirator when spraying. Allow paints and solvents to dry completely before handling the sign or moving on to baking steps such as heating it in a 250°F oven for a few minutes to cure finishes safely.
Keeping your workspace organized and clean helps prevent accidents and improves workflow. Store tools securely when not in use. Sweep or vacuum dust and wood chips frequently; sawdust accumulation can create slippery surfaces and increase fire risk. Dispose of rags soaked with finishes in metal containers, as they can spontaneously combust. Regularly review your safety checklist before starting each stage, adapting it to the specific carving or painting step ahead, and respect all manufacturer safety instructions on tools and materials for the best results.
Troubleshooting and Common Mistakes with 3D Wood Signs
Uneven or burnt carving edges usually happen because the cutting tool is moving too fast or the blade is dull. To fix this, reduce the speed of your CNC router or laser cutter and make sure your blades or bits are sharp. A slower feed rate allows the tool to cut cleanly without heating the wood excessively. Gently sand burnt edges with fine-grit sandpaper (220 grit or higher) to smooth the surface without removing too much detail.
Paint bleeding and smudging often occur when the paint or primer layer is still wet before applying a second coat or before adding detailed colors. Wait at least 24 hours for your base coat to dry completely, especially if using oil-based paints. Using painter’s tape correctly as a mask can help prevent paint bleed. Apply thin coats with a small brush or fine-tip applicator to control the paint better, and clean any smears immediately with a damp cloth before the paint dries.
Misaligned layers happen when pieces aren’t securely clamped or when the template or jig is off. Always dry-fit your pieces before gluing to check alignment. Use dowel pins or small clamps to hold layers in place while the glue cures, usually for at least an hour. For signs with multiple layers, numbering the pieces or marking alignment points lightly with a pencil helps keep everything straight. When misalignment shows up after glue dries, carefully separate the layers with a thin putty knife and re-glue right away.
- Check tool speed and sharpness before every carving session.
- Allow proper drying time between paint coats, typically 24 hours.
- Use painter’s tape precisely and remove it while paint is still tacky.
- Dry-fit and mark all layers before assembly.
- Clamp pieces securely and use dowel pins for multi-layer signs.
- Sand burnt or rough edges gently with 220+ grit sandpaper.
- Clean brushes regularly to avoid unpredictable paint strokes.
Burnt edges on wood signs waste material and spoil the look, so slow your cutter and check blade sharpness before every project.
Quick fixes for hardware problems, like bent mounting brackets or loose screws, include replacing the hardware with slightly larger or longer screws to ensure a snug fit. For a finish issue such as uneven gloss, lightly sanding the entire surface and applying a thin, even new clear coat can restore uniformity. Using a spray finish often helps avoid brush marks that cause uneven texture.
Applying these troubleshooting steps early in your process can save time and reduce the need for rework. Expect minor touch-ups to add a few hours to your work but avoid major setbacks by allowing proper drying, aligning layers carefully, and maintaining your tools. For hobbyist or small business projects, investing in quality blades and organized assembly methods pays off with cleaner, more professional 3D wood signs.
Step-by-Step Action Plan for Making Your 3D Wood Sign
Follow these steps to create your 3D wood sign from design to finish with confidence.
- Before You Start: Gather all essential tools and materials, including wood blanks, carving tools or CNC machine, paint, and finishing supplies. Check that your tools are in good working order.
- Day 1: Complete your design using suitable software like Adobe Illustrator or free alternatives. Export the file in a compatible format (SVG or DXF) and double-check scale and details.
- Day 2: Prepare your wood by sanding and ensuring it is dry and splinter-free. Confirm the wood surface is ready when no dust floats after sanding.
- Day 3: Carve the wood using your chosen method, CNC routing, laser cutting, or hand carving. Test on a scrap piece first to confirm settings and depth.
- Day 4: Assemble layered pieces carefully using wood glue or screws. Check for alignment; pieces should fit flush without gaps.
- Day 5: Paint or stain the sign, applying multiple coats as needed. Wait between coats until fully dry to avoid tackiness.
- Day 6: Apply a clear protective finish like polyurethane or outdoor spar varnish for durability. Ensure full curing time based on product instructions.
- After 1 Week: Inspect your finished sign for any touch-ups needed and mount it securely in your chosen location. The sign should feel solid and the finish fully cured.
Frequently Asked Questions
What Type of Wood Is Best for Making 3D Wood Signs?
Choose hardwoods like oak or maple for durability and fine detail, especially if your sign will be outdoors or require deep carving. Softwoods like pine work well for simpler designs and indoor signs because they’re easier to carve but less durable.
Can I Use a Photo for Creating a Personalized 3D Wood Sign?
Yes, incorporating photo detail is possible and often best done with laser cutting combined with UV printing to capture color and fine details precisely. This method beats hand-painting for complex images.
How Do I Ensure That All Layers in a 3D Wood Sign Line Up Perfectly?
Use registration marks or rulers on your design file to keep placement consistent during assembly. This is especially critical for larger signs to avoid misalignment.
What’s a Good Way to Add Color to a 3D Wood Sign Without Painting Each Piece?
Direct UV printing onto wood layers offers vibrant, precise color without the time-consuming process of hand-painting multiple colors, making your project faster and more detailed.
Can 3D Wood Signs Be Combined with Other Materials for a Unique Effect?
Yes, mixed-media signs using a wood base with elements like epoxy river accents or engraved metal plates add texture and interest, giving your sign a custom, high-end appearance.
How Do I Protect a Wood Sign That Will Be Displayed Outdoors?
Apply a good quality outdoor clear finish or marine varnish to seal and protect the wood from moisture and UV damage. Reapply every few years to maintain durability and appearance.
The Bottom Line
Making a 3D wood sign on your own becomes manageable when you take practical, clear steps like these. Begin by choosing a simple project that matches your current skills and tools, then move through design, carving, and finishing with care. Taking consistent, focused action will improve your craftsmanship with each sign you create.