How to Make a 3D Letter Sign: Complete DIY Steps and Material Guide
How to make a 3d letter sign starts with choosing the right materials and cutting your letters precisely for a clean, professional look. Use sturdy materials like cardboard, chipboard, or acrylic, and work carefully with templates or software to ensure accurate shapes. Starting with a clear design and scale on paper helps avoid mistakes later in mounting and painting.
Key Takeaways
- Print your letter designs at 100% scale on A4 paper before transferring them to your material for accuracy.
- Use browser-based design tools like Aksorn3D to create and test 3D letters before cutting or printing.
- For 3D paper letters, rely on creases, tabs, and glue to build solid shapes without complex tools.
- Trace letters onto cardboard or chipboard to ensure durable signs that hold their shape well.
- Bend panels up 90 degrees as you assemble cup-like letter shapes to create the 3D effect.
- Paint your letters after assembly and wait 1 to 2 hours under normal conditions for enamel paint to dry.
What Is a 3D Letter Sign and How Is It Made?
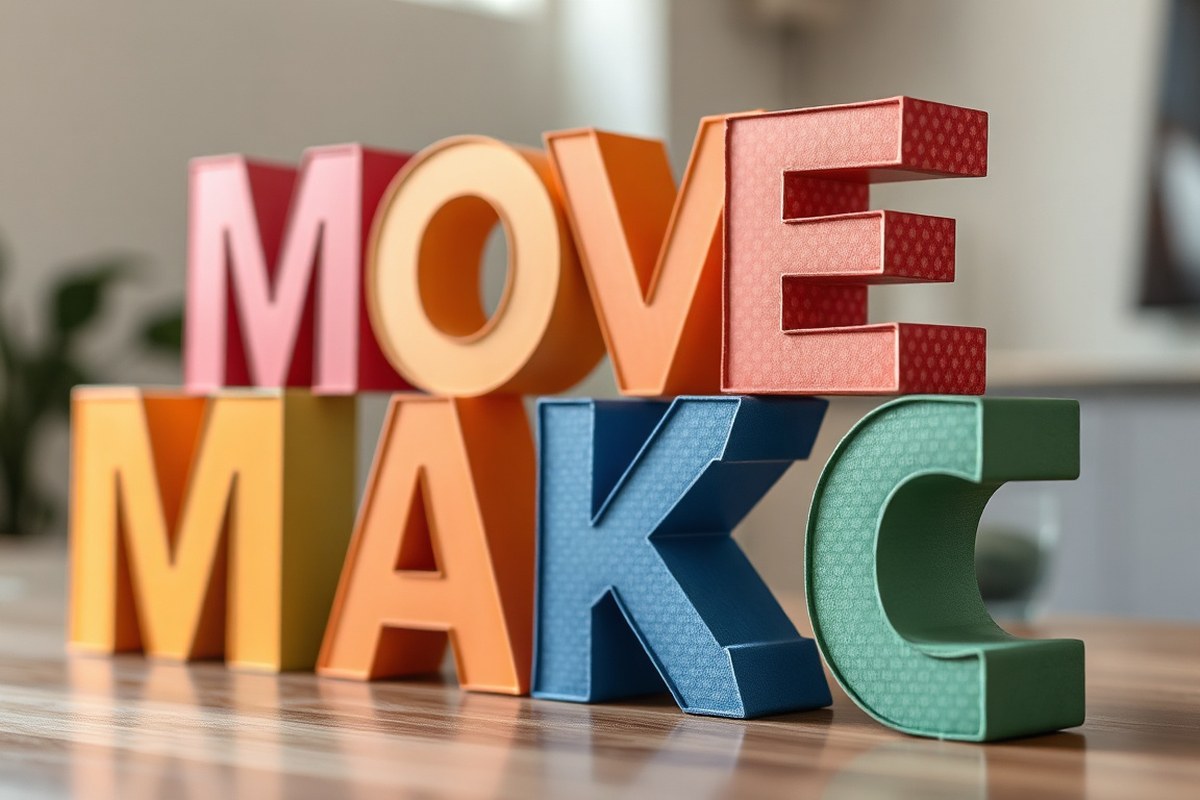
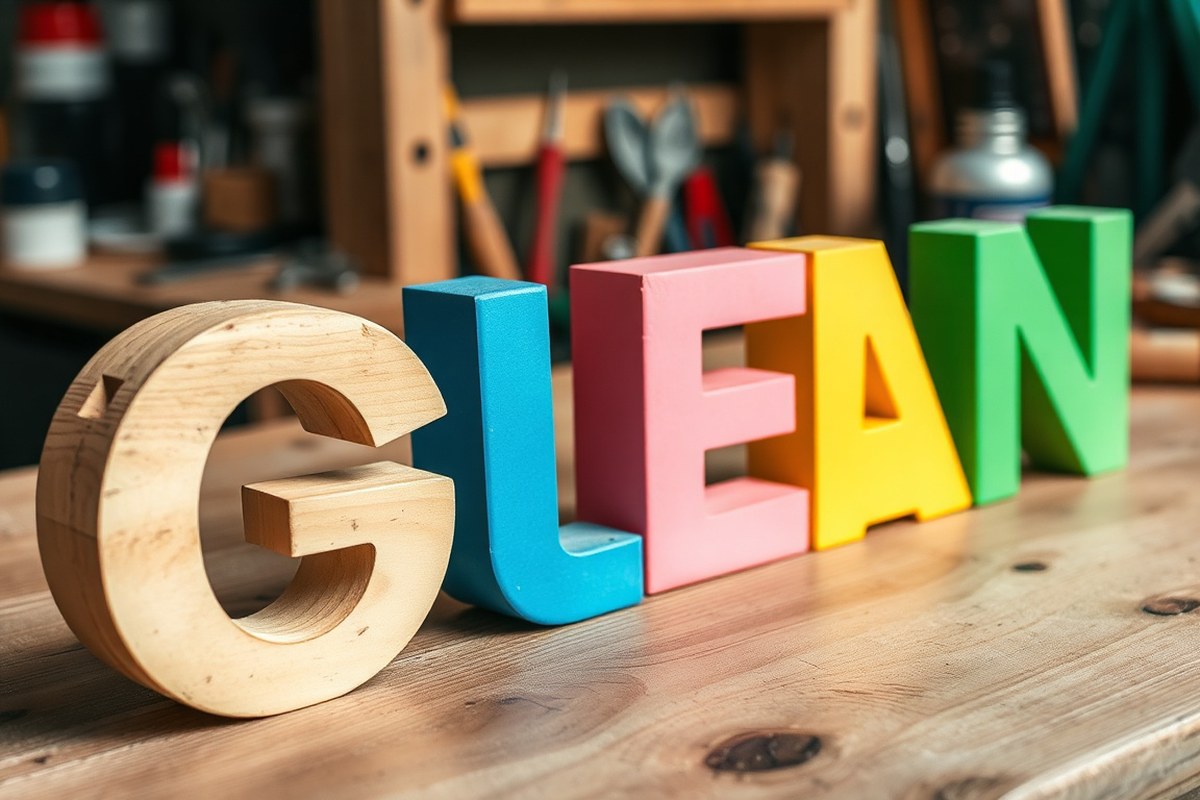
A 3D letter sign is a physical sign composed of letters that have depth and volume, making them stand out from a flat surface. Unlike flat letters printed or painted on a board, 3D letters have thickness, giving them a three-dimensional appearance. This added dimension catches light and shadows, improving visibility and visual interest for indoor or outdoor displays.
The basic components of a 3D letter sign include the letter face, the side strips (called the “returns”), and the backing or mounting surface. The letter face is the front visible part showing the character or symbol. Returns form the edges around the face and create the thickness, typically folded or bent strips of material glued along the edges. Together, the face and returns form the solid letter shape that projects outward from its background. Some designs add internal supports or weights, especially for letters like “F” or “P”, where washers or small weights may be glued at the bottom to help them stand upright securely.
Constructing a 3D letter sign begins with designing the letters, commonly done in specialized software or by printing templates at 100% scale on A4 paper. After cutting out the letter faces, attach side strips along the edges using hot glue to form the returns. This process builds the thickness and solid shape. For paper or cardboard projects, folding along creases and gluing tabs ensures precise edges and allows simple assembly. In some cases, designers use layers of colored sheets to create bevel effects, adding stylish depth to the letters.
The face and returns must align accurately for clean, sharp edges and proper dimensions. Sign painters often use techniques from block lettering to paint 3D letters with straight edges and geometric shapes after assembly, applying shading to simulate natural light effects on the dimensional letter surfaces. This adds realism beyond just the physical depth created by construction.
Materials often vary by budget and purpose, with paper or cardboard suited for lightweight, temporary signs, and acrylic or wood used for signs needing durability and a higher-quality finish. Regardless of materials, building 3D letters requires patience, precise cutting, and secure gluing to maintain shape and stability over time. Minor mistakes like uneven edges or misaligned strips can cause letters to look sloppy or fail to stand properly. Planning for counters, the open areas inside letters like “A” or “O”, is also part of good construction, requiring careful cutting and sometimes separate pieces to complete the letter form.
Choosing Materials and Tools for Different 3D Letter Techniques
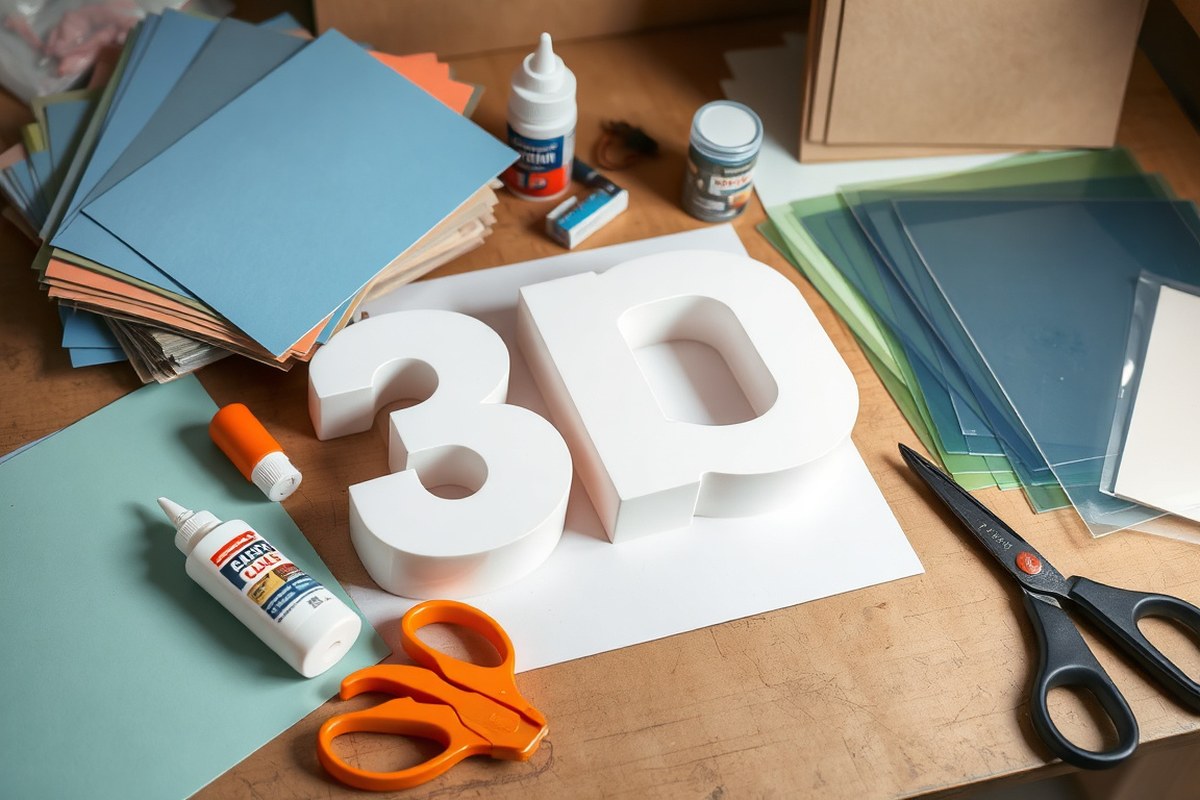
Choosing the right materials and tools depends on your preferred technique for making 3D letter signs. Paper and cardstock work well for lightweight and budget-friendly projects, while acrylic offers durability with a polished finish. For precision and complex designs, 3D printing provides customization but requires specific software and hardware.
Materials for Paper and Cardstock Letters
Paper and cardstock are popular choices for DIY 3D letters because they are affordable and easy to handle. Use 12″ x 12″ 65 lb cardstock sheets for sturdy letters that can hold their shape. Multiple sheets might be needed if your design requires layering or different colors. Cardboard can add strength, especially for larger signs, and works well as a base when combined with paper materials.
The typical structure of a 3D paper letter includes a flat cutout for the front face and strips of paper or cardstock scored and folded to create depth and sides. You can trace your letter template onto the cardstock or cardboard and cut carefully with scissors or a craft knife. Assemble pieces with strong glue or double-sided tape.
- 65 lb cardstock sheets (12″ x 12″)
- Cardboard for base structure
- Scissors or craft knife for cutting
- Strong glue or double-sided tape
- Printable templates for accurate tracing
Paper letters are ideal for indoor use or temporary signage because they’re lightweight but not highly durable. Avoid moisture and excessive handling to prevent warping or tearing. Decorative paint or adhesive paper can improve the finish but may add slight weight.
Tools for Acrylic and Plastic Letter Cutting
Acrylic letters require tools capable of making clean, precise cuts without cracking the material. Laser cutters and CNC routers are typical choices for cutting acrylic sheets, allowing for detailed and smooth edges. You can also find acrylic letters pre-cut if you want to skip cutting equipment.
After cutting, sanding edges to smooth sharpness and applying a protective polish improves appearance. Acrylic resists moisture and holds colors well when painted. Keep in mind, these tools often require access to a workshop or professional service, and acrylic sheets vary in price, typically costing $20 to $50 per 24″ x 24″ sheet depending on thickness and quality.
- Laser cutter or CNC router for cutting
- Acrylic sheets of desired thickness (1/8″ to 1/4″)
- Fine grit sandpaper for smoothing edges
- Protective gloves and eyewear
- Optional spray paint or vinyl for decoration
Be cautious when cutting acrylic: improper cooling or force can cause cracking or warping.
Software and Hardware for 3D Printing Letters
3D printing offers precise shaping and the ability to produce customized letters in various materials like PLA or ABS plastic. Begin by generating 3D letter models using free online 3D letter generators or CAD software. These models can then be exported in formats like .STL compatible with most 3D printers.
Hardware ranges from desktop FDM printers costing between $200 and $500 for beginners to more advanced resin printers for higher detail. Print time varies by letter size and complexity but plan for 1-3 hours per letter for medium sizes (3″-6″ height). Post-processing, such as sanding and painting, improve the final look and adds durability.
- 3D letter generator or CAD software
- Desktop 3D printer (FDM or resin)
- PLA or ABS filament or resin material
- Post-processing tools: sandpaper, paint
- Computer with compatible slicing software
The strength and finish of 3D printed letters depend on layer height, fill density, and material. Prints with thicker layers take less time but have visible lines, while finer layers produce smooth faces. The cost of materials varies but is roughly $20 to $30 per kilogram of filament.
Designing and Drawing 3D Letters Accurately
Choosing the right style, size, and method for drawing your 3D letters sets the foundation for a successful sign. Thick letters work best because they allow a clear three-dimensional effect. You can create your design by hand or digitize it for easier cutting or printing, depending on your tools and preferences.
Hand Drawing 3D Letters Step-by-Step
Drawing 3D letters by hand helps you control the style and thickness visually. Start with a thick font style, either printed out or sketched lightly. Decide the direction of the letter thickness; a common approach is to extend it downwards and right, which matches most lighting assumptions for shadow placement. Use these steps for hand drawing your 3D letters:
- Draw the clean outlines of each letter in your chosen font and size, keeping them bold enough for 3D depth.
- Pick a light source direction, usually at the top left to create consistent shadows on the bottom right sides.
- From every top edge of each letter, draw straight lines upward or in your chosen thickness direction to represent the 3D depth.
- Connect the ends of these lines to create the side surfaces of the 3D letters.
- Erase any overlapping internal lines within the letter shapes to keep the edges sharp and clear.
- Add shading or color to emphasize volume, remembering the top and left-facing sides should appear lighter than the right and bottom.
Doing this carefully ensures your letters look dimensional and professional, which is essential for crafting acrylic or paper signs.
Using Free 3D Letter Generators Online
For faster or more precise work, free online 3D letter generators can create digital files for you. These tools often let you type your word, select fonts, and set letter heights before generating downloadable design files. Some provide SVG, PDF, or DXF formats suited for cutting machines like Cricut.
Use these tools if you prefer clean lines or want to save time on drawing. They also produce reusable templates, which can be critical if you’re making multiple signs.
Look for generators that offer options to set thickness direction to match your lighting plan. This consistency makes coloring and shadowing easier afterward.
Exporting Designs for Printing or Cutting
After creating or selecting your 3D letter design, either hand-drawn and digitized or straight from an online source, you need to export the file properly for printing or cutting. Most cutting machines require vector files like SVG or DXF. If you drew on paper, scan and trace your design in vector software like Inkscape or Adobe Illustrator. Follow these steps to prepare your design files:
- Make sure all lines in your design are closed paths, which cutting machines need for clear cuts.
- Assign different score or cut lines correctly if using a Cricut or similar, to indicate where folds or indents go for paper or cardboard letters.
- Size the design accurately in the software, considering your final desired letter height and material size. Cups or base objects you choose may influence maximum dimensions.
- Export the design in compatible formats (SVG for Cricut, DXF for many laser cutters, or STL if creating 3D printing models).
- Import the file into your cutting software or printer driver and double-check scale and orientation before running the job.
Preparing your files this way reduces mistakes during fabrication and helps produce clean, crisp 3D letters ready for assembly and finishing.
Methods to Build 3D Letter Signs: Paper, Cardboard, and Acrylic
Building 3D letter signs can be done using several methods, each suited to different materials and desired finishes. Folding scored paper creates lightweight, detailed shapes ideal for indoor displays. Layering cardboard delivers a sturdy, textured look with thickness and depth. Crafting acrylic letters results in sleek, polished signs perfect for professional or outdoor use. The choice depends on your tools, budget, and project goals.
3D Letter Construction with Scored and Folded Paper
Using scored paper lets you fold precise edges that form crisp 3D letters without heavy equipment. Choose thick cardstock or craft paper, around 100-130 lb weight, so it holds shape yet folds cleanly. The paper designs come with score lines, which guide the folds to create tabs and panels. Glue these tabs to assemble the letter without gaps or warps. Follow these steps to build 3D letters by folding and gluing scored paper:
- Print or transfer the scored letter template onto thick paper.
- Use a bone folder or blunt knife to crease each scored line sharply.
- Fold tabs at 90-degree angles along score lines.
- Apply a thin layer of white craft glue or double-sided tape to the tabs.
- Press tabs firmly against the corresponding letter edges, holding for 30 seconds.
- Continue attaching all tabs until the letter shape forms completely.
- Wrap the assembled letter in clear adhesive tape for reinforcement, especially on edges.
Paper letters are light and easy to customize with paints or embellishments like washi tape and beads. They cost less than $1 per letter in materials and require just scissors and glue. Avoid using tissue paper as it will tear or fail to hold shape. Expect the finished letter to last weeks indoors but handle gently to prevent bends.
Layering and Gluing Cardboard for Depth
Building depth with cardboard involves cutting multiple layers of the letter shape and stacking them firmly. Choose corrugated cardboard around 1/8 inch thick for strength or thinner craftboard for smoother edges. Outlining your design twice on each piece helps guide clean cuts with a utility knife. Layering at least 3, preferably 5, cutouts produces a solid letter with visible height. Follow these steps to create layered cardboard letters:
- Trace the letter design onto the cardboard several times using pencil.
- Cut each outline carefully using a sharp utility knife and metal ruler for straight edges.
- Sand the edges lightly if needed for smoothness.
- Apply wood glue or tacky glue evenly on each layer’s face.
- Stack layers aligned, pressing firmly together to avoid gaps.
- Clamp or weight down for 20-30 minutes until set.
- Paint or cover the assembled letter once dry.
Layered cardboard provides thickness typically between 3/8 and 5/8 inch, depending on layers used. It’s cost-effective, about $2 to $5 per letter depending on size, and durable for short-term outdoor use. Avoid oily or slick cardboard as glue will not hold well. This method fits larger letters needing physical depth without complex tools.
Cutting and Joining Acrylic Letters Using Precision Tools
Acrylic letters require specialized cutting tools like laser cutters or acrylic scoring knives with a straightedge. The letter pieces include a face and sidewall strips, usually 1/4 inch thick, which combine into a professional, polished sign. Use strong clear adhesive or acrylic solvent cement for bonding. Acrylic signage suits commercial or outdoor displays due to weather resistance and a glossy finish. Steps for assembling acrylic letters:
- Cut the front face of the letter and the sidewall strips precisely from acrylic sheets using a laser cutter or scored and snapped carefully.
- Smooth edges with fine-grit sandpaper to remove sharpness.
- Apply acrylic solvent cement along the sidewalls’ edges.
- Attach the sidewalls vertically around the letter face, aligning edges exactly.
- Hold or clamp parts gently for 5 minutes until initial bond forms.
- Let the letter cure completely for 24 hours before handling.
- Polish surfaces with a plastic polish for shine if desired.
Acrylic letters cost more, from $10 to $50 per letter depending on size and method. They require precise tools and ventilation when using solvent cement. Proper preparation assures a smooth, professional result; uneven cuts or weak bonds cause gaps or cracks. Consider lighting around the installation site to maximize acrylic’s reflective quality.
| Method | Materials | Tools Needed | Time | Durability | Cost (per letter) | Best For |
|---|---|---|---|---|---|---|
| Scored & Folded Paper | Thick cardstock (100-130 lb) | Scoring tool, glue, tape | 30-60 min | Indoor use, light handling | Under $1 | Detailed indoor decorations |
| Layered Cardboard | Corrugated or craft cardboard (1/8 in) | Utility knife, glue, clamps | 1-2 hours (plus drying) | Moderate, outdoor short term | $2-$5 | Thick, sturdy medium-sized signs |
| Assembled Acrylic | Acrylic sheets (1/4 in) | Laser cutter or scoring knife, solvent cement | 2-3 hours (plus curing) | High, outdoor & commercial | $10-$50+ | Professional polished signs |
Transferring and Cutting Your Letter Designs Onto Materials
Transferring your letter designs accurately onto materials like cardstock and cardboard is essential for clean, professional-looking 3D letter signs. Precise transfer helps ensure that your cuts align correctly with the design, saving time and materials. For cardstock, a common approach is to print or draw your design on regular paper and use a light adhesive spray or tape to secure it temporarily onto the cardstock. For cardboard, tracing or tapping your design onto the surface with carbon paper is a reliable method, especially when dealing with thicker materials that resist light tracing.
Cutting techniques differ by material. For cardstock, a hobby or craft knife with a fine-point blade provides clean edges and allows detailed cuts. If you have access to electronic cutters like a Cricut Maker 3, you can use the standard Fine-Point Blade to cut multiple layers of 65 lb to 80 lb cardstock accurately. Cardboard often requires a utility knife or heavier-duty blade because of its thickness. Take multiple passes instead of forcing a single deep cut to avoid ragged edges or blade damage.
Consistency in cutting two identical shapes is important for 3D letters. Cutting two layers and then securing them will give depth and stability. Always cut the entire outline starting from the straight edges and moving around the letter’s sides to maintain control and precision.
Working safely during cutting is critical. Use a cutting mat to protect your work surface and maintain stability. Keep fingers clear of cutting paths and cut away from your body. Change blades regularly to avoid slips caused by dull edges. Wearing safety glasses can help prevent eye injuries from accidental blade slips or material fragments.
- Secure your design paper onto cardstock or cardboard using light adhesive spray or carbon paper for tracing.
- Place the material on a cutting mat to prevent damage and slipping.
- Use a hobby knife with a sharp fine-point blade for cardstock cuts; select a utility knife for thicker cardboard.
- Start cutting along the straight lines of the letter, then carefully follow the curved or angled edges.
- For thicker materials, make several light cuts instead of pressing hard to penetrate; this creates cleaner edges.
- Cut two identical pieces of your letter shape to form the front and back of the 3D letter.
- Trim side strips or tabs as needed, ensuring accurate length and crease lines for assembly.
- Regularly replace blades and keep your fingers and body parts safely away from the cutting direction.
Change your knife blade as soon as it starts to feel dull; sharper blades cut cleaner and reduce the risk of slips and injuries.
Painting, Decorating, and Finishing Your 3D Letters
Choosing the right paint depends on the material your 3D letters are made from. Acrylic paint works well on wood, cardboard, and paper letters because it adheres easily and dries quickly, usually within 20 to 30 minutes. For acrylic or plastic letters, use spray paint designed for plastics or enamel paint for a smooth, durable finish. Apply a primer or acrylic gesso on porous surfaces like wood and paper to seal them and create a white, smooth base, which helps colors stay vibrant and prevents paint from soaking in unevenly.
Applying paint evenly on all surfaces and edges requires patience and the right tools. Use high-quality sign-painting brushes for edges and detailed areas; these brushes might cost more but provide smoother lines and control. For flat surfaces, a small foam roller or spray paint gives a consistent coat without brush marks. Thin your paint slightly with a flow enhancer to prevent thick spots; add a few drops if paint starts to thicken mid-project. Work in thin, multiple layers, letting each dry before adding the next to avoid runs and drips, especially on vertical edges.
Decorative finishing can bring your letters to life. Adding shading or shadows uses darker paint tones on the sides to create dimensionality; learning basic shading techniques common in block lettering improves this effect. You can also apply vinyl decals or double-sided adhesive tape layered under smaller paper details for subtle depth without heavy weight. For a more artistic touch, glue on embellishments like small flowers, beads, or glitter, especially if the sign is for a personal space or event. A clear coat of matte or gloss varnish protects your paint while adjusting the final look’s sheen.
Prepare a simple checklist before painting: first, sand or smooth your letters’ surfaces if wood to remove splinters; second, apply primer or gesso on porous materials; third, select a suitable paint type for your material; fourth, use appropriate brushes or spray; fifth, thin paint if necessary and apply in thin layers; sixth, finish with a protective clear coat. Good results show no brush streaks, crisp edges, and smooth, vibrant color. Problems like paint runs, color flaking, or uneven texture usually stem from thick coats or skipping primer. Following these steps ensures your 3D letters look professional and last longer without damage.
Planning Installation: Mounting, Spacing, and Display Tips
Spacing and alignment are key for a professional-looking 3D letter sign. Start by measuring the total width available for your sign and divide it by the number of letters plus the spaces you want between them. A common spacing rule is to leave at least 0.1 to 0.3 inch between letters for small signs and up to 0.5 inch for larger letters to maintain readability. Use a level or laser guide to keep letters perfectly straight, especially when mounting on walls.
The material of your letters affects your mounting options. Lightweight materials like paper or cardboard can be mounted using double-sided foam tape or adhesive strips suitable for indoor use. Acrylic letters often come with built-in mounting pins or holes for screws, allowing anchor bolts or wall plugs to secure them firmly to surfaces like drywall or wood. For heavier materials, mounting brackets or French cleats provide extra stability. Testing your adhesive or hardware on a scrap piece of your installation surface before committing helps avoid damage or poor adhesion.
Durability depends mostly on proper installation and preparation. Ensure both the back of each letter and the mounting surface are clean and dry. Any dust, oils, or uneven paint could weaken adhesion or cause letters to loosen over time. For outdoor displays or signs in humid areas, waterproof sealants and rust-resistant hardware can extend lifespan while preventing warping or corrosion. Avoid permanent glues if you need to reposition letters later; low-tack options or removable mounting putty can help you dry-fit and adjust spacing until satisfied.
- Measure available width and calculate letter spacing before marking placement.
- Use levels or laser guides for straight alignment across all letters.
- Choose mounting methods matched to letter material and surface type.
- Clean both letter backs and mounting surfaces thoroughly.
- Test adhesives or hardware on small areas to prevent damage.
- Allow paint or sealants to dry completely before mounting.
- Consider weatherproof options for outdoor or humid locations.
Visual balance occurs when letters are evenly spaced and aligned at eye level or the intended viewing height. Start positioning from the center letter, working outward to keep symmetry. Check your work by stepping back to the approximate viewing distance, which varies by letter size but typically ranges from 6 to 12 feet for signs about 6 to 12 inches tall. Proper planning and mounting prevent sagging, shifting, or gaps that will otherwise distract from your sign’s message and craftsmanship.
Common Mistakes and How to Avoid Them When Making 3D Letters
One common mistake is poor alignment during assembly, which can make the letters look uneven and unprofessional. This usually happens when the individual pieces aren’t securely fixed in place before glue or adhesive dries. To avoid this, use clamps or heavy objects to hold parts steady while the adhesive sets. Double-check positioning by laying the components flat on a level surface before assembly. Allow at least 30 minutes for most wood glue types to bond properly before handling.
Cutting errors are common, especially when using manual tools on materials like acrylic or cardboard. Jagged edges or uneven cuts can ruin the clean look of your letters. Use a sharp blade or blade designed for your material, and cut slowly with smooth, steady pressure. If you notice uneven cuts, lightly sand or file the edges with fine-grit sandpaper, start around 220 grit and move finer for a smooth finish. For tougher cuts such as acrylic, consider a plastic-specific saw blade or a laser cutter if available. Plan for 5 to 10 minutes of sanding per letter for best results.
Painting 3D letters improperly is another frequent issue. Applying paint too thickly can cause drips, runs, or uneven coverage, while insufficient drying time between coats may lead to smudging. Use thin, even layers of paint, and wait at least an hour between coats. Depending on the paint type and ambient temperature, drying times vary; acrylic paints typically dry in 20 to 30 minutes but cure fully over a longer period. Spray paints need good ventilation and should be applied outdoors or in a well-ventilated space to avoid inhaling fumes.
Adhesion failures often come from not preparing surfaces adequately. Dust, grease, or smooth surfaces like polished acrylic can prevent glue from sticking well. Wiping surfaces with isopropyl alcohol or light sanding can improve grip. Use glue types suited for your materials: wood glue for wood or cardboard, and solvent-based adhesives or epoxy for acrylic. Glue curing times vary; epoxy might require 24 hours for full strength, so plan accordingly. Temporary gaps in adhesion often mean repositioning is possible, but once cured, strong adhesives are difficult to reverse.
Safety is often overlooked during cutting and painting steps. Always wear protective goggles when cutting materials by hand or with power tools to shield against flying debris. Use a dust mask or respirator when sanding or painting indoors to avoid inhaling particles and fumes. Keep your workspace clean and organized to prevent accidents, especially when handling sharp blades or chemical adhesives. Never leave tools or paints within reach of children or pets.
Secure your letter parts with clamps during glue setting to ensure perfect alignment and avoid shifting before the adhesive cures.
Step-by-Step Action Plan
Follow these steps to create your own standout 3D letter sign using your preferred materials and techniques.
- Before you start: Choose your letter design and materials based on your skill level and the sign’s purpose; this sets a strong foundation for success.
- Day 1: Sketch or print your letters in the desired size and style, making sure all measurements are accurate for a clean final product.
- Day 2: Transfer the letter outline onto your material using carbon paper or a template; check that the outlines are clear and complete before cutting.
- Day 3: Carefully cut out your letters using the recommended tools for your material; smooth edges as needed to avoid rough spots.
- Day 4: Assemble the letter components, attaching borders or sides to create depth; secure parts firmly and verify the 3D effect looks even on all sides.
- Day 5: Paint or decorate the letters with your chosen colors and finishes; apply multiple coats if necessary and allow each layer to dry fully without drips.
- Day 6: Plan your sign’s placement, measure the mounting space, and prepare hardware or adhesive for a secure and level installation.
- Day 7: Mount the letters carefully, spacing them evenly and checking alignment; step back to confirm the sign’s visual appeal and stability.
Frequently Asked Questions
What Software Can Help Design 3D Letter Signs Easily?
Aksorn3D is a browser-based tool made in Thailand that simplifies designing 3D letter signs with 100 free credits to start, making it easier to create designs that you can actually build.
How Do I Make Sure My 3D Letter Cuts Are Accurate?
Use a precise tracing method by drawing your letter on paper first, then tracing it onto cardboard or chipboard with straight lines to maintain accuracy during cutting.
What Are Tabs in 3D Paper Letters, and Why Are They Important?
Tabs are small paper extensions that fold and glue to hold the letter’s depth and shape together, important for creating a sturdy 3D structure.
How Can I Add Depth to a Simple Paper Letter Cutout?
Draw and cut strips of paper with tabs to form the letter’s sides, then glue these strips around the letter’s edges for depth.
What’s the Best Way to Secure Paper Letters Before Decorating?
Wrap the letter with at least two layers of adhesive paper tape to strengthen and stabilize the shape before adding decorations.
Can I Reuse 3D Letter Templates for Different Projects?
Yes, you can trace the same templates onto various materials like cardboard or acrylic, making them versatile for multiple designs.
Key Points to Remember
Creating a 3D letter sign blends creativity and precision, giving you a unique way to showcase your message or brand. Taking one clear step at a time ensures your project comes together well and looks professional. Start by finalizing your design today, then gather the materials you’ll need to bring it to life.