How to Make 3D Wood Signs: A Complete Guide with Proven DIY Steps
Learning how to make 3D wood signs involves creating raised or carved elements that add depth and texture to classic wood signage. This effect works by either carving images directly into the wood or layering wood pieces on top for a raised look. Start by gathering basic materials like plywood and 1×2 boards, then choose a design that suits your space and skill level.
Key Takeaways
- Choose between carving (bas-relief) or layering wood for your 3D effect.
- Use simple materials like plywood, 1×2 boards, wood stain, and Mod Podge for cost-effective projects.
- Design your sign layout carefully to balance visuals and text in three dimensions.
- Carving requires specialized tools, while raised layers can be assembled with basic woodworking tools.
- Allow 3-6 weeks for professional 3D sign production after approving a design proof.
- Protect your finished sign with a wood stain or sealant to increase durability.
What Are 3D Wood Signs and How Do They Work?
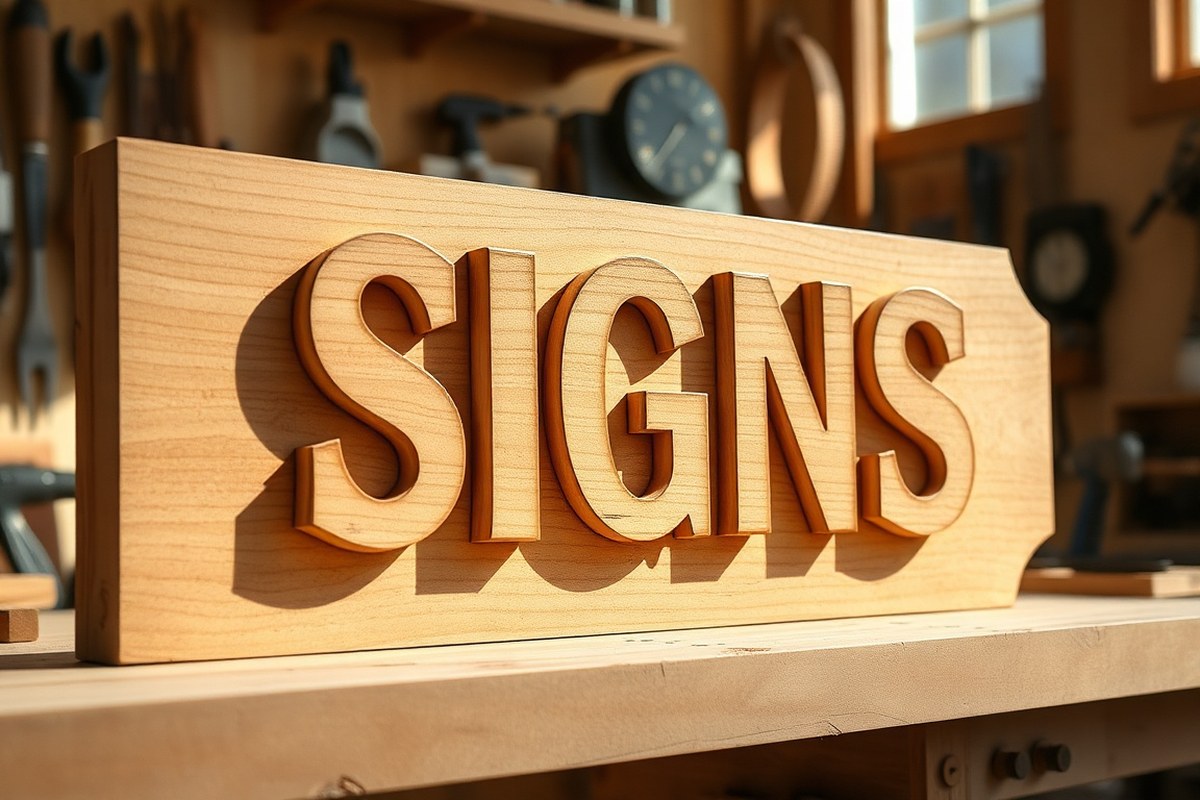
A 3D wood sign features letters or images that are not flat against the wood surface but have actual depth, creating a dimensional effect. This depth can be achieved by carving the design into the wood, also called bas-relief, or by raising the letters or shapes above the wood plank. Unlike flat 2D signs, where the artwork lies flush with the wood, 3D signs provide a tactile quality that draws the eye and adds texture to your project.
Bas-relief involves carving away the background wood, leaving the letters or design slightly improve but still attached to the same wood panel. This method creates a shallow depth, usually up to a quarter inch, providing subtle shadows without dramatically changing the sign’s thickness. In contrast, raised signs are made by attaching separately cut and shaped pieces of wood, such as letters or shapes, on top of the base sign. These raised pieces can be as thick as a half inch or more, providing a noticeable depth and pronounced shadows that a carved sign can’t replicate.
Choosing 3D wood signs over flat signs gives your project an improve visual impact and a more professional look. The dimensional depth allows paint and stain to play with shadows and highlights, making colors pop and details stand out. This can be especially effective for wood signs displaying names, motivational phrases, or farmhouse decor themes where emphasis on texture helps the sign catch attention in any room.
To create these effects, start with a smooth wood surface, such as high-quality plywood or 1×2 boards, that accepts carving or mounting pieces cleanly. For bas-relief, use carving tools or a rotary tool equipped with a fine bit to carefully remove wood around your design. Depth should be consistent, around 1/8 to 1/4 inch, keeping edges clean to emphasize the letters. Raised signs require cutting out individual letters or shapes from a separate wood piece using a jigsaw or scroll saw, sanding edges smooth, and securely gluing or nailing them to the base. Typical materials cost just a few dollars per sign, since scraps of plywood and simple supplies like wood glue and paint are enough for a sturdy result.
Good results come from accurate layout and clean execution, uneven carving can look sloppy, and poorly attached raised pieces might loosen or chip. Raised elements offer more dramatic dimensionality but need careful alignment and additional finishing time. Carving bas-relief is less time-consuming and keeps the sign lightweight but requires steady handwork and good control to avoid gouges that ruin the design. Select the method that fits your skill level, the tools you have, and the style you want.
You might also consider using denser and more strong materials, like HDU foam, for very detailed 3D effects if you want sharp edges and complex designs beyond wood’s natural grain. However, standard wood types remain the go-to for most DIYers because they balance cost, availability, and ease of work. Expect each wood sign project to range around $4 for materials, making it an affordable craft that yields a striking decorative piece for your home.
Essential Tools and Materials for 3D Wood Sign Projects
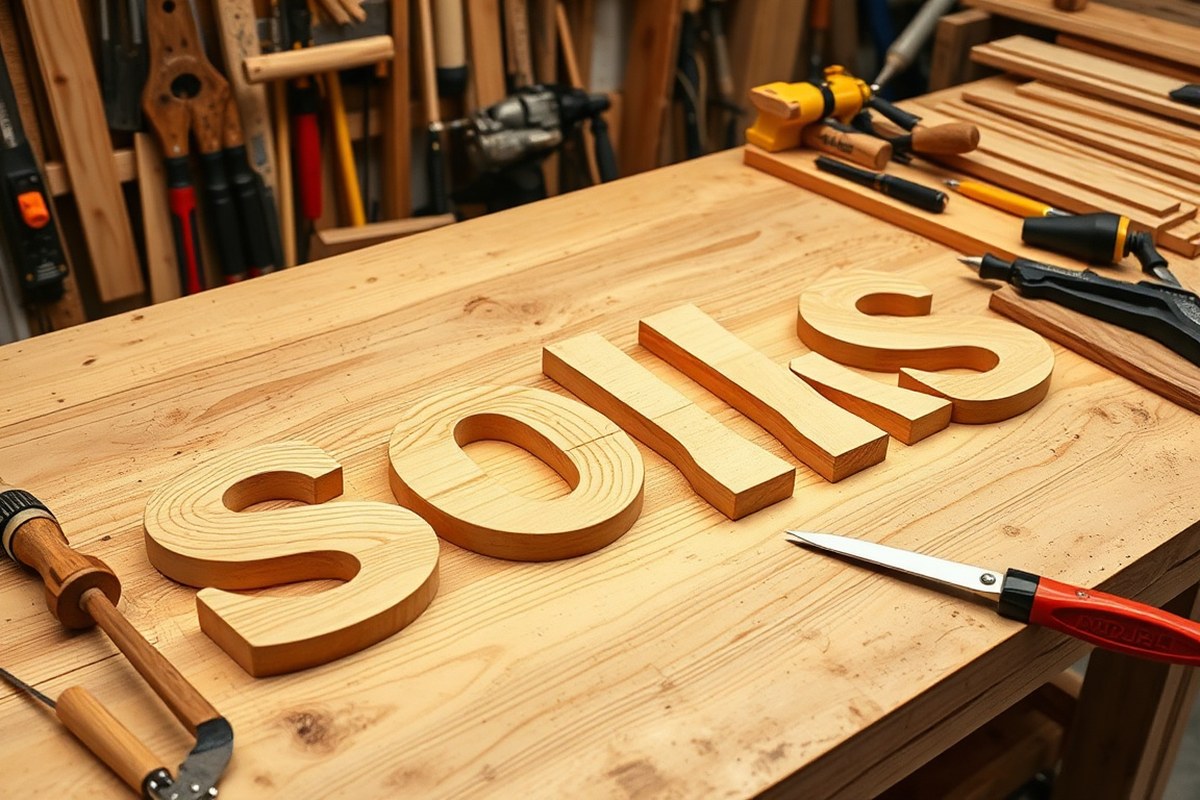
Choosing the right wood, tools, adhesives, paints, and finishes is essential to successfully create a 3D wood sign that looks professional and lasts over time. The wood type affects carving ease and durability, while cutting and carving tools determine how detailed your 3D features can be. Adhesives and finishes protect the sign and improve its appearance.
Best Wood Types for 3D Wood Signs
Softwoods like pine or cedar are popular for beginners because they are easy to carve and affordable. Pine costs roughly $2 to $4 per board foot and has a fine grain that holds details well. Cedar is naturally weather-resistant, making it suitable for outdoor signs but usually costs more, around $3 to $6 per board foot.
Hardwoods such as oak, maple, or birch offer durability and a smooth finish but can be tougher to carve, requiring sharper tools and more time. They typically cost between $5 and $8 per board foot. For raised layering techniques, plywood or MDF (medium-density fiberboard) is another choice; these materials cut cleanly and allow you to stack layers for 3D effects but may not have the same natural wood look.
Essential Cutting and Carving Tools
A good starting toolkit includes a jigsaw or scroll saw for cutting out the sign shape and letters or shapes for raised layers. For carving, rotary tools with carving bits or chisels work well for adding textures or relief designs. You will need sandpaper or a power sander (120 to 220 grit) to smooth edges and surfaces after cutting.
- Jigsaw or scroll saw for precise cuts
- Rotary carving tool with a selection of bits
- Wood carving chisels in various sizes
- Electric sander or sanding block with assorted grit sandpaper
- Clamps to hold pieces while gluing or cutting
- Measuring tape and pencil for layout
Quality tools depend on how often you plan to work on wood projects. Hand tools may cost $20 to $50 for a beginner set, while power tools start around $50 and go up from there. Keeping blades and bits sharp is key to clean carving and preventing splintering.
Choosing the Right Adhesives
For raised layers or assembling the sign base, use wood glue specifically made for woodworking. These adhesives dry clear and bond strongly once clamped for at least 30 minutes, reaching full strength in 24 hours. Popular options include Titebond III for indoor or outdoor use.
If your sign combines different materials, such as wood and metal accents, a strong construction adhesive like Gorilla Glue can be useful but may foam during drying, so apply carefully. Hot glue is fast for temporary holds but not recommended for long-term stability.
Painting and Finishing Materials
Acrylic paints in your choice of colors provide vibrant, lasting coverage. Brands like Americana Acrylics offer 260 colors and dry quickly, making them favorites for craft projects. Use brushes sized to your design details: larger brushes for backgrounds, small detail brushes for lettering or carving highlights.
Protect the finished sign with clear finishes. Polyurethane varnish provides a durable, water-resistant coat suitable for outdoor signs. For a natural look, consider tung oil or Danish oil; these penetrate wood and improve grain without forming a thick film. Apply at least two thin coats, sanding lightly between coats for smoothness.
Clamp glued pieces securely and allow full curing time before painting; rushing this step may cause layers to separate later.
Designing Your 3D Wood Sign: From Concept to Layout
Start by selecting or creating a design that fits your sign’s size and style. Use either manual sketching or digital tools designed for 3D modeling to carefully plan your letters and images. The design should suit your wood type and tools, with clear dimensions to ensure the carving or layering process works smoothly.
Choosing the Right Fonts and Graphics
Pick fonts and graphics with thick strokes and simple shapes for the best results in 3D wood signs. Thin or intricate details often don’t carve cleanly or glue well as raised layers. Look for bold, sans-serif fonts or classic serif styles designed for easy cutting.
Size your letters so they stand out, usually at least 1 to 2 inches tall for readability at typical viewing distances. Graphics like leaves, stars, or basic shapes should have clear edges and limited small details to avoid breaking during carving or assembly.
Using Tinkercad or Other 3D Software
Tinkercad is a free, beginner-friendly program to convert 2D ideas into 3D models suitable for laser cutting or CNC carving. Import a simple black-and-white image or draw your design directly, then extrude the shapes to add height and depth.
Adjust the thickness of each element based on the wood thickness you plan to use, usually between 1/4 inch and 1/2 inch for raised parts. Export files in formats your CNC machine or laser cutter accepts, such as SVG or STL. Other software options include Fusion 360 or Adobe Illustrator combined with a plugin for cutting.
Planning Layer Heights and Depths
Determine how much dimension you want your sign to have before cutting or layering wood pieces. Commonly, raised layers range from 1/8 to 1/2 inch thick. More height adds visual impact but requires careful gluing and spacing to avoid a bulky look.
Allow at least 1/8 inch spacing between layers or elements to prevent overlapping or damage during assembly. Check your tools’ cutting depth limits before finalizing layer thickness, adjusting the design as needed to avoid overmatching capacity. Follow these steps to create your 3D wood sign layout:
- Choose a wood plaque size appropriate for the space you’re decorating or gifting.
- Select bold, simple fonts or graphics compatible with woodworking techniques.
- Sketch your design by hand or digitally, ensuring proper letter sizing and spacing.
- Use 3D software like Tinkercad to convert your 2D design into a 3D model.
- Set layer heights and depths to match your wood thickness and tool capabilities.
- Export or print your design, creating stencils or templates for cutting or carving.
- Test your layout by placing cutouts or printed versions on your wood board.
- Adjust spacing and sizing as needed before cutting or gluing your 3D elements.
Methods to Create 3D Elements: Carving vs. Raised Layers
Carving into wood with a router or CNC machine creates 3D effects by cutting into the surface, while raised layers involve gluing pre-cut wood letters or shapes on top of the base sign. Each method offers distinct advantages and suits different skill levels, tools, and project goals.
Carving requires a router, CNC machine, or carving tools. This method lets you create detailed, custom designs directly on the wood, including logos or intricate lettering. It works well with various woods and allows for a permanent, smooth look. However, carving takes more time and skill, and the initial equipment cost can be high. For small projects, carving can take several hours per sign, depending on complexity. Mistakes during carving are harder to fix and may ruin the wood surface.
Raised layers are made by purchasing or cutting wood letters and shapes, then priming and painting them before gluing onto the sign base. This approach suits beginners and those with limited tools since it only requires glue and paint. Craft stores often sell precut wood letters of various sizes, making it quick and accessible. The cost tends to be lower upfront, and assembling a sign with raised layers typically takes a few hours, including drying time. Raised layers add physical depth, but they may be less durable outdoors since glued pieces can loosen from weather changes. The wood substrate can also expand or contract, potentially affecting adhesion over time.
| Feature | Carving (Routing/CNC) | Raised Letters or Shapes |
|---|---|---|
| Tools Required | Router, CNC machine, carving tools | Glue, primer, paint; optionally precut letters |
| Skill Level | Intermediate to advanced | Beginner to intermediate |
| Time Investment | Several hours; varies by design complexity | Few hours; includes assembly and drying |
| Cost | Higher initial cost due to tools; material cost similar | Lower initial cost; some cost for letters or shapes |
| Durability | Very durable as design is carved in wood | May loosen over time, especially outside |
| Design Flexibility | Highly customizable; intricate details possible | Limited by shape and size of available letters |
| Repairs | Harder to fix mistakes | Easy to replace or adjust layers |
Choosing carving fits projects where you want a custom, integrated look and plan to invest time learning or already have the tools. Raised layers suit quick projects, beginner crafters, or those making signs from craft store supplies.
For raised layers, start by priming the wood letters or shapes thoroughly, then paint and let dry completely before gluing onto your prepared sign base. Use a strong wood glue and clamp or weight the pieces while drying for best adhesion. Carving projects begin with designing patterns compatible with your router or CNC, securing the wood firmly, and following the machine’s safety and operation instructions carefully. Both methods produce beautiful 3D wood signs that last when finished properly and used indoors or in covered outdoor spaces to reduce damage from moisture and temperature changes.
Step-by-Step Process to Make a 3D Wood Sign at Home
Making a 3D wood sign involves preparing your wood base properly, crafting or procuring raised elements, assembling them carefully, and finishing with painting and sealing. Each step affects the durability and appearance of your sign, so following a clear process is key. Below is a sequence to help you achieve clean edges, smooth finishes, and well-secured 3D parts.
Preparing and Cutting the Wood Base
Start by selecting wood that suits your project, pine or cedar work well and cost between $3 and $10 per board foot. Cut your boards to the desired size using a miter saw or circular saw. Sanding the surface with 120-grit sandpaper followed by 220-grit ensures smoothness for painting and gluing.
Remove dust with a tack cloth or damp rag to avoid imperfections. If you plan a weathered or rustic look, lightly distress edges with rough sandpaper or a wire brush at this stage.
- Measure and mark the dimensions of your sign on the wood.
- Cut the wood to size with a miter saw or circular saw, ensuring straight cuts.
- Sand the cut edges and face of the board with 120-grit sandpaper.
- Repeat sanding with 220-grit for a smoother finish.
- Clean the wood surface to remove all dust particles.
Always wear safety glasses and a dust mask when cutting or sanding to protect your eyes and lungs.
Carving or Creating the 3D Letters
For raised elements, you can carve directly into the wood base or create separate 3D letters to layer on top. Carving requires chisels, rotary tools, or CNC routers, offering a permanent and integrated look. Using raised layers, cut from plywood or MDF, is faster and allows painting each piece separately.
Hand-carving works for simple designs but expect uneven edges unless you have experience. Precise cuts from a scroll saw or laser cutter yield cleaner shapes. Plan all parts to be about ½ inch thick for visible depth and easier painting.
- Choose your method: carve directly or prepare raised individual pieces.
- For carving, outline the design using a pencil or stencil on the wood.
- Use chisels and rotary tools carefully to remove background wood or add details.
- For raised layers, cut letters or shapes from a ½-inch plywood or MDF using a scroll saw or jigsaw.
- Sand edges of carved or cut pieces smooth with 220-grit sandpaper.
- Test fit raised parts on the base before final assembly.
Keep your rotary tool or saw blades sharp to avoid chipping and ensure cleaner edges.
Gluing and Securing Raised Elements
Careful gluing prevents shifting and uneven gaps between layers. Use a strong wood glue, like Titebond III, which bonds firmly and dries in about 30 minutes but clamps for an hour for full strength. Position each piece precisely using your stencil or a ruler.
Clamp the pieces evenly if possible or weigh them down with clean weights to avoid movement. Remove any squeeze-out glue immediately with a damp cloth to avoid staining. Allow the assembly to dry fully before painting, typically 4 to 24 hours depending on humidity and glue brand.
- Arrange raised pieces on the base to confirm placement.
- Apply a thin layer of wood glue to the contact surfaces.
- Press the pieces firmly into place.
- Clamp the pieces or place weights to hold them steady.
- Wipe off excess glue with a damp cloth before it dries.
- Let the glue cure for 4 hours or as recommended.
Use blocks of scrap wood with clamps to apply even pressure without damaging your sign surface.
Painting and Clear Coating
Prime your sign with a wood primer if using light paint colors or covering knots. Paint using acrylic or latex paints for durability and ease of cleanup. Multiple thin coats yield smoother coverage than a single thick coat. Allow each coat to dry fully, usually 1 to 2 hours.
For a weathered look, dry brushing or sanding edges after painting can add charm. Finish with a clear polyurethane or spar varnish to protect outdoors. Apply two or three thin coats with light sanding between coats for a smooth, hard finish.
- Apply primer to the entire sign and raised parts; let dry 4 hours.
- Paint base and letters with thin coats of acrylic or latex paint.
- Allow each paint coat to dry 1 to 2 hours before reapplying.
- Add decorative techniques like dry brushing if desired.
- Coat with clear polyurethane or spar varnish for outdoor protection.
- Lightly sand between clear coats for a smooth finish.
- Let the final finish cure 24 hours before handling.
Paint in a dust-free area to avoid particles sticking to wet paint, which ruins the smooth finish.
Finishing and Protecting Your 3D Wood Sign
Selecting the right finish for your 3D wood sign makes a big difference in both how it looks and how long it lasts. Paints and stains add color and character, while clear coats provide important protection against moisture, UV damage, and daily wear. For outdoor signs, durability is key, so choosing finishes designed for exterior use helps maintain your work over time.
Start with staining if you want to improve the natural grain of the wood while adding color. Oil-based stains tend to penetrate deeper and last longer outdoors compared to water-based options. Apply the stain using a clean brush or cloth, working it into the wood along the grain. Let it soak for about 5 to 15 minutes, then wipe off the excess with a cloth to avoid blotchy spots. Typically, one or two coats are enough, with a drying time of 8 to 24 hours between coats, depending on temperature and humidity. Stains that include UV blockers will better resist fading under sunlight.
Painting your 3D elements or background can create sharp contrast and vibrant visuals. Use a primer first to seal the wood and improve paint adhesion, especially if your sign has carved or raised layers. For outdoor use, 100% acrylic latex paints provide good protection and flexibility. Apply two coats with a brush or small roller, allowing about 2 to 4 hours to dry between coats. Choose paints labelled for exterior use to handle temperature changes without cracking.
After color application, protect your sign by sealing it with a clear coat. Polyurethane and spar varnish are common clear finishes that shield against moisture and UV damage. Spar varnish, designed for marine use, bends slightly with wood movement and is a good choice outdoors. Apply the sealant using a fine brush or foam applicator in long, even strokes. Lightly sanding with 220-grit sandpaper between coats helps achieve a smooth finish without lifting paint or stain. For most signs, apply two to three coats of clear finish, allowing 4 to 6 hours drying time between coats.
Sealants labelled for outdoor use improve longevity and durability but always check the product instructions for recommended application conditions, such as temperature above 50°F (10°C) and low humidity to avoid cloudiness or poor curing.
Watch out for common finish problems: uneven staining often occurs if excess stain isn’t wiped off quickly or if the wood surface isn’t prepped well. Paint can peel or crack without proper priming and flexible acrylic paints. Over-brushing clear coats causes bubbles or streaks, so apply gently without overworking the finish. With patience and attention to each step’s drying time, your finished 3D wood sign will showcase both detailed craftsmanship and lasting beauty outdoors or indoors.
Safety Tips and Common Mistakes to Avoid
When working on 3D wood signs, wearing proper safety gear is essential to protect yourself from dust, chemicals, and sharp tools. Use safety glasses to shield your eyes from flying wood chips and dust particles. A dust mask or respirator helps prevent inhaling fine wood dust and fumes from paints or finishes, which can cause respiratory irritation. Hearing protection, like earplugs or earmuffs, reduces risk from loud power tools. Gloves can guard your hands from splinters and cuts but avoid loose-fitting gloves around rotating tools to prevent entanglement.
Common mistakes often result in uneven finishes or damage to the wood. Paint runs commonly happen when applying paint too thickly or with a heavily loaded brush. To avoid this, use thin coats and allow each layer to dry before adding another. Weak adhesion occurs if the wood surface wasn’t properly prepped, make sure to sand your sign smooth and clean off all dust before painting or staining. Skipping a sealer can expose your sign to moisture and sun damage, which shortens its life. Apply a clear sealer designed for outdoor wood to protect your work.
Prevent wood damage by handling your materials with care during cutting and carving. Use sharp blades and tools set to the correct speeds; dull blades cause tear-out and splinters. Avoid cutting too quickly, which stresses both the wood and your tools. For uneven finishes, ensure even application of stain or paint with consistent brush strokes or a lint-free cloth. Let each layer dry fully, typically 2 to 4 hours depending on the product, before touching up or applying another layer.
- Wear safety glasses, dust mask, gloves, and hearing protection
- Sand wood smooth and clean dust before painting or staining
- Use thin paint layers to prevent runs, letting each dry fully
- Apply a sealer to protect against moisture and sun damage
- Keep cutting tools sharp and at moderate speed to avoid tear-out
- Allow proper drying times, usually 2 to 4 hours per coat
- Test finishes on scrap wood before applying to your sign
If your wood surface develops dents or uneven areas, lightly sand the spot and re-stain or paint to blend it in. For lifting paint or blistering, check that the wood was fully dry before finishing or that previous finish layers cured properly. Troubleshoot adhesion issues by sanding glossy surfaces to a matte finish so the new paint or stain can adhere. These steps protect your sign’s look and durability, ensuring your 3D wood sign lasts in both beauty and function over time.
When to Consider Professional Help or Custom 3D Signs
Choosing a professional shop for your 3D wood sign project is often best when your design demands intricate carving, unusually large sizes, or very precise detailing that home tools can’t replicate well. Professional shops use CNC routers or laser cutting machines that deliver clean, consistent depth and sharp detail. Opting for expert help also makes sense if you lack time or want a polished finish without the learning curve.
DIY projects usually take several days to complete, allowing for design, cutting, layering, sanding, and finishing. Professionals, however, may complete a sign in one to two weeks depending on complexity and workload. In exchange for faster turnaround, expect to pay more: basic custom 3D wood signs at a shop often start around $100 to $200 for small sizes (around 12 x 18 inches), with prices increasing based on size, wood type, and detail level. A DIY project’s material cost might be $20 to $50 but factor in your time and need for tools.
Use this simple checklist to decide. Consider professional services if your design involves fine, delicate elements or curves that hand tools won’t handle well. Factor in how much time you can dedicate to the project and whether you have the right tools for a smooth finish. Budget also plays a role: if you don’t want to buy specialized equipment, professionals may be more cost-effective. Lastly, if the sign is for a business or an important gift where quality must be excellent, hiring a pro usually pays off.
Ordering a custom 3D wood sign typically starts by sharing your design concept and dimensions with the shop. Most provide templates or digital proofs to confirm layout and scale. Expect to approve wood type and finish options such as painted, stained, or natural. Confirm pricing based on the complexity, wood choice, and sign size. Payment often requires a deposit, with the balance due on delivery or pickup. Shipping can add a week or more for distance orders, so plan ahead.
A sign made by skilled professionals will have clean edges, uniform depths, and an even finish without tool marks or rough patches. DIY signs might show minor sanding imperfections or less precise layering, which can add rustic charm but may not fit every style. Planning for potential imperfections helps set realistic expectations on time and cost invested versus the final look.
Practical tip: When ordering, request a digital mock-up that shows the 3D layers clearly, this prevents surprises and ensures the finished product meets your vision.
Step-by-Step Action Plan to Make Your First 3D Wood Sign
Follow this plan to create a detailed 3D wood sign and gain confidence with each stage of the process.
- Day 1: Choose your design and gather materials. Confirm you have wood blanks, carving or layering tools, and finishing supplies.
- Day 2: Transfer or draw your design onto the wood pieces. Check that the outlines are clear and accurate for carving or layering.
- Day 3, 4: Carve or assemble raised layers using your chosen method. Ensure the shapes match your design before moving on.
- Day 5: Sand all surfaces smoothly, focusing on both the base and 3D elements. A smooth surface will make painting or staining easier.
- Day 6: Apply paint or stain to your sign. Look for even coverage without runs or blotches.
- Day 7: Seal the sign with a protective finish like polyurethane or varnish. The finish should dry clear and hard to the touch.
- After 1 week: Inspect your sign for any missed spots or rough edges and touch up as needed.
Frequently Asked Questions
What Safety Precautions Should I Take When Using Power Carving Tools for 3D Wood Signs?
Always wear eye protection and a dust mask when using power carving tools. Secure your wood firmly to prevent movement and work in a well-ventilated area to avoid inhaling wood dust. This reduces injury risks and exposure to harmful particles.
How Can I Fix Common Issues Like Chipping or Splintering on 3D Wood Signs?
Lightly sanding rough edges and applying a wood filler can repair chips or splinters. Seal the repaired area with stain or paint for a consistent finish. This maintains the sign’s durability and look.
What Types of Wood Are Best for Beginners Making 3D Wood Signs?
Pine and poplar are good beginner woods because they are soft, affordable, and easy to carve. They also take paint and stain well, making finishing easier for your first projects.
Can I Combine Paint and Stain on a 3D Wood Sign Effectively?
Yes, painting raised elements and staining the background can create contrast and depth. Let the stain dry fully before painting to avoid blending, which helps your 3D details stand out more vividly.
How Do Humidity and Climate Affect 3D Wood Signs and Their Durability?
High humidity can cause wood to warp or crack over time, affecting the sign’s shape. Sealing the sign with a protective finish helps minimize moisture absorption and extends its life, especially for outdoor use.
What Design Software Is Recommended for Creating Layouts for 3D Wood Signs?
Vector graphic software like Adobe Illustrator or free alternatives such as Inkscape work well for precise sign layouts. They allow you to create scalable designs that guide your carving or layering process.
Before You Go
Making a 3D wood sign takes patience, but each step adds to a striking final piece that catches the eye. Starting with a clear plan and quality materials leads to successful results you’ll be proud to show off. Begin your first project with a simple design and build skills from there to create more detailed signs over time.