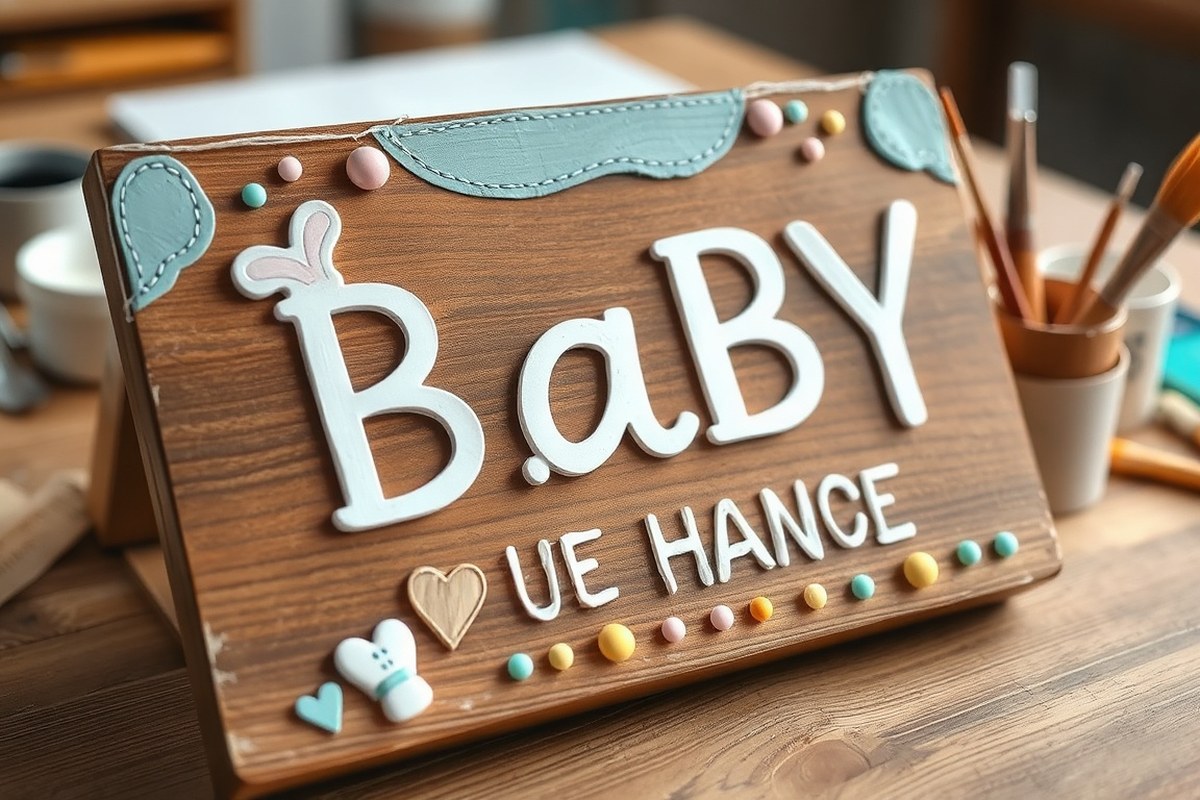
How to Make a Baby Announcement Sign by Hand: A Complete DIY Guide with Tips
How to make a baby announcement sign by hand starts with choosing the right materials and a perfect base. Use a 19×15 inch particle board for manageable size and easy painting. Preparing and priming your base ensures paint goes on smoothly and lasts longer.
Key Takeaways
- Select a 19×15 inch piece of particle or wood board as your announcement sign base.
- Gather paint, brushes, stencils, and sealant ahead of time for a smooth project.
- Prime your sign base to prevent paint from soaking in and to improve color vibrancy.
- Use stencils or transfer paper to keep fonts neat and consistent on your sign.
- Press your baby’s hand firmly for 10 seconds to avoid smearing prints.
- Use the sealant in a space with good airflow, and allow it to dry fully for 24 hours before using.
What Materials You Need to Make a Baby Announcement Sign by Hand
Choosing the right materials sets the foundation for a beautiful handmade baby announcement sign. You’ll need a sturdy base that holds paint or markers well, and supplies for decorating that are safe and easy to handle around babies. Particle board or a sturdy wood panel around 12 by 18 inches is a popular base. It costs roughly $10 to $20 and provides a solid surface for paint. Paint is the main decorative medium, water-based acrylic paints offer vibrant colors, dry fast (about 30 minutes per coat), and are low in toxic fumes compared to oil-based options. For budget-friendly choices, washable craft paints or chalk markers on a chalkboard base work well. These materials reduce mess and dry quickly, though chalk can smudge if not sealed.
Tools like paintbrushes with synthetic bristles in varying sizes help create sharp letters and smooth backgrounds. Foam brushes are inexpensive and provide even coverage for large areas. Permanent markers or paint pens offer detail work without needing multiple coats. Safety scissors, a pencil for sketching your design, and masking tape to create crisp edges round out the essentials. For getting baby’s handprint on the sign, use non-toxic, water-based paint specifically formulated for skin to avoid irritation. Here’s a checklist of materials to prepare before starting your project:
- Base: 12×18 inch particle board or wood panel ($10-$20)
- Paint: Water-based acrylic paints or washable craft paints ($5-$15 per set)
- Painting tools: Variety of synthetic brushes, foam brushes, and paint pens
- Marking tools: Pencil for layout sketching and masking tape
- Baby-safe paint for handprint (water-based, non-toxic)
- Scissors and paper towels for cleanup
- Optional sealing spray to protect the finished sign
Particle board painted with acrylics creates a durable, keepsake-quality sign suitable for hanging and long-term display. You should allow several hours for multiple paint coats to dry fully between layers. Chalkboard bases with chalk markers suit minimalist styles and quicker turnarounds, needing only 2 to 3 hours including handprint stamping.
Areas with lower budgets can substitute store-bought wooden letter boards that cost $20 to $30 and require no painting or crafting, offering instant use but less customization. Avoid oil-based paints indoors, especially around babies, due to harmful fumes. Make sure your work area is well ventilated, and if you’re including baby’s handprint, apply paint lightly and press their hand for about 10 seconds to get a clear imprint without smearing. This careful approach helps your sign look professional and cherishable without extra cost or risk.
Choosing the Right Size and Base for Your Announcement Sign
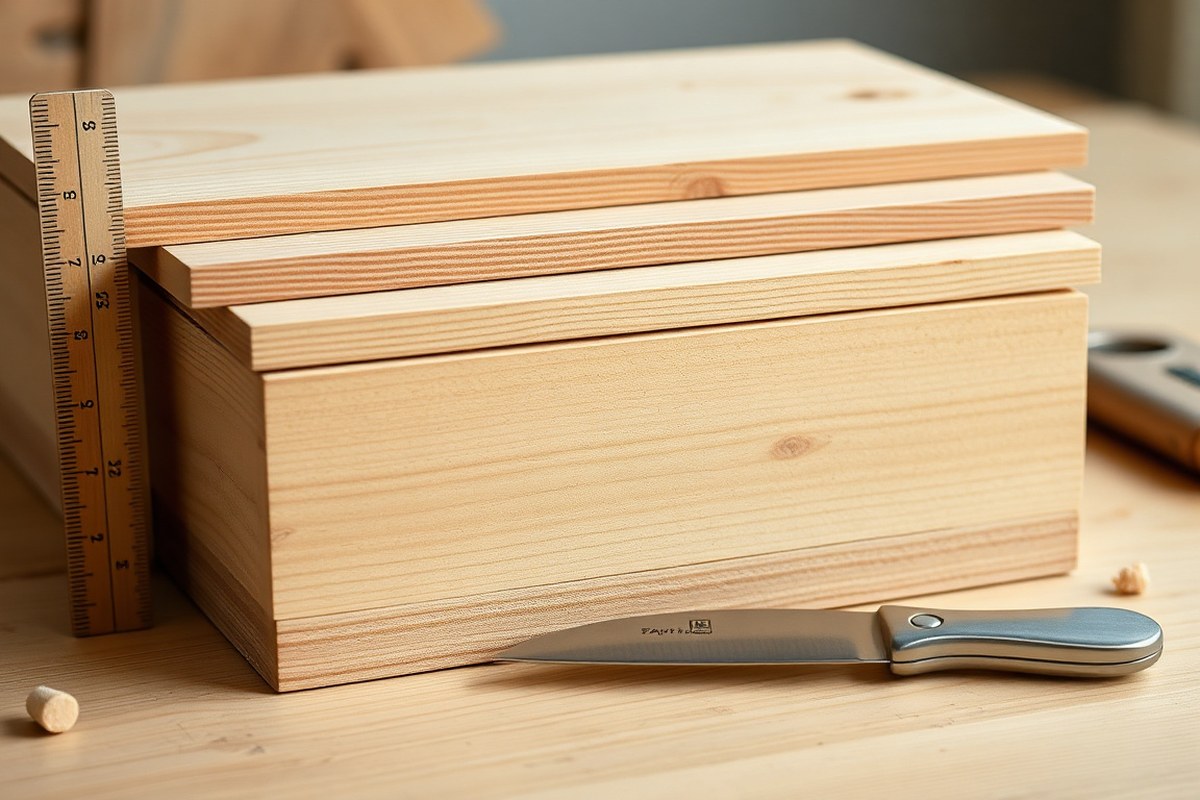
Choosing the right size and base for your baby announcement sign sets the foundation for a durable, visually appealing keepsake. A good starting point is a 19×15 inch board made from a 20×20 inch particle board, offering enough space for clear lettering and any decorative elements without overwhelming the frame or the person holding it. This size is manageable for most DIY projects and creates a balanced visual impact in photos.
Material choice matters because it affects both how easy the sign is to work with and how long it will last. For beginners, particle board or medium-density fiberboard (MDF) is ideal since they are affordable, fairly smooth for painting, and widely available at local hardware stores. These bases provide a stable surface that won’t warp quickly, which is important for signs intended to be photographed and possibly reused later.
The thickness of your board should ideally be around ½ inch (12 mm) to ensure stability. Thinner boards can warp or bend, especially after applying paint or sealant. Thicker bases provide durability but add weight and may be harder to handle during crafting and photo shoots. Choose what fits your preferred balance between sturdiness and ease of use. Here’s a comparison table of common base materials for baby announcement signs, including size options, durability, cost, and suitability for beginners:
| Material | Typical Size (inches) | Thickness | Durability | Cost Range (USD) | Beginner Friendly |
|---|---|---|---|---|---|
| Particle Board | 20×20 (cut to 19×15) | ½ inch | Moderate; can warp if wet | $5, $15 | Yes |
| MDF (Medium-Density Fiberboard) | 24×24 (cut to 19×15) | ½ inch to ¾ inch | High; smooth surface, resists warping | $10, $25 | Yes |
| Foam Board | 20×30 (trim as needed) | ¼ to ½ inch | Low; easily damaged but lightweight | $5, $10 | Yes, for short-term use |
| Plywood | 24×24 (cut down) | ¾ inch or thicker | Very high; durable and weather-resistant | $15, $40 | No, heavier and harder to cut |
Using particle board or MDF lets you easily sand and paint your sign, giving you a smooth finish that holds paint well. Foam board, while light and cheap, may not withstand outdoor shoots or longer photo sessions. Plywood offers weather resistance but requires tools and skills to handle safely, making it better for experienced crafters who want a long-lasting sign.
Properly selecting your board size and base affects the sign’s final look and lifespan. Larger boards can be harder to balance in photos but can add dramatic effect with balloons or props. Smaller signs fit well into intimate shots and can highlight details like baby’s name or birth stats. Always store your sign in a dry place and avoid exposure to moisture, which can cause warping or peeling paint.
Allow your painted base to cure for at least 24 hours in a well-ventilated area before handling or photographing to protect your sign’s surface and paint quality.
Designing Your Baby Announcement: Layout, Fonts, and Personal Message
Planning your baby announcement sign’s layout and message ensures it is both easy to read and deeply personal. Focus on clear fonts and a balanced design, then add meaningful details like your baby’s name and birth information to make the sign special. Follow a step-by-step approach to organize what goes where and choose the right fonts and messages.
Choosing a Clear and Attractive Font Style
Select fonts that are easy to read from a distance and fit the tone you want to set. Script fonts can add elegance and warmth, while simple sans-serif fonts offer a modern, clean look. Use no more than two font styles to avoid clutter. For the baby’s name, a cursive or handwritten-style font can make it stand out, while other details like birth date and weight work well in a simpler font.
Choose a font size that allows for clear visibility. For example, the baby’s name might be 2 to 3 inches tall on the sign, while birth stats should be smaller but still readable at about 1 to 1.5 inches. Use a permanent marker like a Sharpie for fine details to keep the text crisp.
Incorporating Personal Details and Messages
Choose which personal details to share, like the baby’s full name, birth date, weight, and length. Including this information makes your announcement special and detailed. Add a brief, heartfelt phrase like “Our greatest adventure begins” or “Welcome to the world” to give it a personal and warm feel.
Planning your message layout carefully improves readability and style. Start with a rough sketch on paper. Prioritize the baby’s name at the center or top, follow with birth stats below or alongside, and place your personal message last. Keep the text brief, too many words can look crowded and distract from key details.
- Sketch your sign layout on paper, mapping where the name, stats, and message will go.
- Choose font styles and sizes for each section to create a visual hierarchy.
- Write out your baby’s full name clearly, using a decorative font if desired.
- Add birth details like date, weight (in pounds and ounces), and length (in inches) next, using a smaller font.
- Include a short message or quote beneath or beside the stats.
- Review for balance and spacing, leave enough blank space so text doesn’t look cramped.
- Use a pencil to lightly outline the text on your sign base before finalizing with marker or paint.
Adding Decorative Elements Like Symbols or Borders
Simple decorative touches help frame your message and highlight important details. Adding a border or soft lines around the edge focuses attention on your announcement. Consider including small symbols like hearts, stars, or baby items such as pacifiers or booties to reflect your theme.
Choose decorations that complement but don’t overpower your text. Keep them subtle, using light colors if your background and fonts are bold. Position symbols near the message or stats to bring warmth without crowding the space. Remember that less is more for readability and style.
How to Prepare and Prime Your Sign Base for Painting
Preparing and priming your sign base ensures smoother paint application and helps the colors stay vibrant longer. Paint adheres better to a clean, sanded, and primed surface, reducing peeling or cracking over time. A properly primed base also prevents paint from soaking unevenly into porous surfaces like particle board or wood, giving you a cleaner, more professional look.
For wood bases, you’ll want to remove any dirt, dust, or oils first. Sanding creates a slightly rough surface for the primer to grip onto, while making the wood smooth enough to avoid unwanted bumps in your paint layer. When using particle board or MDF, it’s especially important to prime since these materials absorb paint quickly and can swell with moisture.
Choosing the right primer depends on your base material. For wood and particle board, a latex or acrylic primer works well and dries quickly, often within an hour. Spray primers are also effective, especially if you want an even, thin coat and faster application. Avoid oil-based primers unless your surface has knots or is very oily, as they take longer to dry and require stronger ventilation.
White acrylic paint can double as a primer if pressed for supplies, creating a clean background. However, specific primers tend to block stains and uneven textures better. Priming adds only a small amount to your project cost, typically $5 to $10 for a small container sufficient for your sign, and helps avoid paint waste or redo time. Follow these steps carefully to prepare and prime your sign base for the best results:
- Clean the surface. Wipe down your board with a damp cloth to remove dust and dirt. For wood, you might use a mild soap and water solution then let it dry completely, at least 30 minutes.
- Sand the board. Use fine-grit sandpaper (around 120 to 220 grit). Sand evenly in the direction of the wood grain or smooth over the particle board surface. This step removes rough edges and creates texture for primer adhesion.
- Remove sanding dust. Wipe the surface again with a dry cloth or tack cloth to clear away any dust. Tonormal paint adhesion requires a clean surface, so don’t skip this.
- Choose your primer. Pick an acrylic or latex primer for wood or particle board. If using spray primer, shake the can well and practice on scrap material to avoid runs.
- Apply the primer evenly. Brush on a thin coat or spray in light, sweeping motions 8 to 12 inches away. Avoid heavy layers that drip or take extra drying time.
- Let it dry fully. Allow at least 1 hour in a warm, well-ventilated area before doing a light sanding or applying paint. Check the primer can for exact drying times.
- Optionally, sand again. After the primer dries, use fine sandpaper to smooth out any raised grain or brush marks. Wipe dust off carefully before beginning your painting.
Painting Your Baby Announcement Sign: Techniques for a Smooth Finish
To achieve a smooth, professional-looking finish on your baby announcement sign, apply several thin, even coats of paint instead of one heavy coat. Thick layers can create drips or a globby texture that hides your design details and makes drying uneven. Plan for at least 15 to 30 minutes of drying time between layers, although drying times vary with paint type, temperature, and humidity.
Use fine, flat brushes with synthetic bristles for crisp lettering and clean edges. Choose a size slightly wider than your lettering width to maintain control without overloading the brush. Hold the brush steady and apply paint using deliberate, short strokes along the direction of the letter shapes. Avoid over-brushing the same area, which can lift paint and cause streaks.
If you notice smudges or uneven spots after a coat dries, wait until the paint is fully dry, then gently sand the area with ultra-fine sandpaper (around 400 grit). Wipe away dust with a clean cloth before applying another thin coat. For minor smudges, carefully use a small artist brush to touch up with matching paint, avoiding excess paint buildup that can cause texture issues. Here is a step-by-step workflow to paint your baby announcement sign with a smooth finish:
- Shake or stir your paint thoroughly to ensure color consistency and smooth texture before application.
- Load a small amount of paint onto your fine, synthetic flat brush to avoid over-painting and drips.
- Apply the first thin layer in steady, short strokes following the design’s edges precisely.
- Let the paint dry for 15 to 30 minutes in a dust-free, well-ventilated area at room temperature (around 65-75°F).
- Inspect the first coat for uneven spots, then lightly sand rough areas if needed once fully dry.
- Apply a second thin coat with the same technique to build opacity and smoothness.
- Repeat drying and inspection steps as needed until you achieve a smooth, even finish (usually 2-3 coats).
- Fix any small mistakes with a fine detail brush and matching paint after the final coat fully dries.
Using too much paint at once can ruin your work; always start with a small amount and add more only if necessary.
Adding Special Touches: Baby’s Handprint and Other Personalized Details
Applying your baby’s handprint or footprint to the announcement sign adds a heartfelt and personal touch that family and friends will treasure. To do this safely and clearly, you’ll need to prepare your materials and baby carefully, select appropriate paint, and work efficiently to avoid smudging. Additional personalized details like small decorations or plaques also bring uniqueness without overwhelming the sign.
Preparing for the Handprint Without Smudges
Preventing smudging starts with good preparation and timing. The baby’s skin should be clean and dry to ensure the paint adheres well. Choose a moment when your baby is calm or sleepy to reduce sudden movements. Having all materials within reach helps you work quickly and accurately. Follow these essential steps for a crisp handprint or footprint:
- Clean your baby’s hand or foot with warm water and mild soap. Pat dry gently, avoiding irritation.
- Place your sign base on a stable, flat surface for easy access.
- Pour a small amount of safe paint onto a flat palette, spreading it evenly to avoid thick clumps.
- Using a soft paintbrush or sponge, apply a thin, even coat of paint over your baby’s hand or foot, covering all areas but not so thick that it drips.
- Gently press the painted hand or foot onto the sign base, applying even pressure without moving.
- Lift the hand or foot straight up to avoid smearing the print.
- Allow the print to dry completely, usually 15 to 30 minutes, before touching or adding more paint.
- Clean your baby’s skin immediately with a damp cloth to remove leftover paint.
This method produces a sharp print that lasts and stays legible. Smudging often happens when the hand or foot moves or if too much paint is applied.
Choosing Safe Paints for Baby’s Skin
Only use paints specifically marked as non-toxic and safe for direct skin contact to protect your baby from harmful chemicals. Water-based, FDA-approved body paints or tempera paints designed for children are typically best. Avoid acrylics or paints with heavy pigments that could irritate or be difficult to remove.
Test a small amount of paint on your baby’s skin before the full print to check for any allergic reactions or sensitivity. Use paints labeled hypoallergenic if your baby has sensitive skin.
Keep in mind that washable options make cleanup easier but may require sealing to protect the print. Permanent, skin-safe paints can last longer but are less common and sometimes more expensive, usually costing $5 to $15 per small container.
Other Creative Personalization Options
Adding extra accents can improve your announcement sign’s sentimental value. Consider attaching a small wooden name plaque to place on the baby’s chest area, making the name the focal point without clutter. These plaques often cost $10 to $20 and can be personalized with your chosen font and finish.
Additional decorations might include tiny dried flowers, ribbons matching the nursery colors, or decals with birth details like time and weight. Use minimal glue or adhesive designed for wood and paint surfaces to avoid damage or mess. Small hand-painted icons such as stars, hearts, or baby animals can also add a memorable touch aligned with your chosen theme. Combining these personal touches with the handprint creates a well-balanced keepsake that reflects your baby’s unique story and your style.
Sealing and Protecting Your Finished Baby Announcement Sign
Protecting your painted baby announcement sign with a sealant is essential to preserve the colors, prevent wear, and ensure it remains safe for a nursery environment. Look for sealants that are labeled non-toxic, low-VOC, and safe for indoor use, especially around infants. Water-based polyurethane and acrylic sealers work well because they dry clear, do not yellow over time, and have minimal odor. You can find these sealants at craft stores or home improvement centers, typically costing $10 to $20 per small can that covers about 50 to 100 square feet.
Applying the sealer evenly ensures your paint stays bright and smooth while avoiding drips or cloudiness. Use a clean, soft synthetic brush or a foam brush to apply a thin coat. Start with long, gentle strokes following the grain or surface of your sign, keeping the brush loaded with just enough sealer to cover but not saturate the paint. Avoid going back over spots that have started drying, as that can cause streaks. Let the first coat dry completely, usually 1 to 2 hours at room temperature, before deciding whether a second coat is needed for extra durability.
Sealing takes time beyond just the initial drying. Although it feels dry to the touch in a couple of hours, the sealer fully cures within 24 to 72 hours. During this period, keep the sign away from moisture, dust, or heavy handling to prevent damage. Proper curing means the surface feels hard and won’t feel sticky or tacky. If you apply too thick a coat or rush the drying time, you might see bubbling, clouding, or peeling, all of which can ruin the finish and require sanding and reapplication.
For different situations, consider your sign’s expected use. A sign displayed outdoors or in a humid bathroom might need a waterproof varnish rather than a standard indoor acrylic sealer. However, for a nursery environment, avoid anything with strong chemical smells or solvents. There are also spray sealants available for more even coverage in tight spaces or elaborate signs, but spraying should be done in a well-ventilated area and held about 8 to 12 inches from the surface to prevent buildup and runs.
After sealing, your announcement sign will have a soft sheen or a matte finish depending on your chosen product. Matte finishes tend to hide fingerprints and small scratches better, which is ideal when the sign is handled frequently. Gloss finishes make colors pop but may show smudges easier. Testing the sealer on a scrap piece or an inconspicuous spot ensures you like the look before treating the whole sign.
Common Mistakes to Avoid and How to Fix Them Quickly
Common issues when crafting and painting a baby announcement sign often involve uneven lettering, paint smudges, and color bleeding. These mistakes happen because of rushed drying times, overly thick paint layers, or not using the right brushes. Fixing these errors quickly keeps your project on track and avoids starting over completely.
One frequent error is shaky or uneven letters, which can occur if your hand isn’t steady or if you use a brush that’s too large. To correct this, wait for the paint to dry completely, then use a fine-tipped brush or paint pen to carefully reshape the edges of each letter. Lightly dampen a cotton swab with water or paint thinner (for acrylics) to clean minor smudges. Allow each fix to dry thoroughly before moving on. This approach costs little more than your time and a minimal amount of extra paint.
Paint smudges and drips often show up if you paint too fast or handle the sign before the paint sets. When you spot a drip, wait until the paint is dry and gently sand the area with fine-grit sandpaper (around 220 grit). Repaint the smoothed spot carefully, letting each layer dry at least one hour. When using water-based paint, clean your brushes right after use with soap and water to avoid clumping and dragging.
Keep your workspace well ventilated and wear a mask when sanding or using solvents to avoid inhaling harmful dust or fumes.
- Uneven paint thickness: Thin your paint with a little water for a smoother spread and faster drying.
- Letter spacing too close: Use stencils for consistent spacing or lightly pencil guidelines before painting.
- Color bleeding: Let each paint layer dry fully before adding another color beside or on top.
- Paint peeling: Ensure the base is primed and dry to improve adhesion.
- Brush hairs shedding: Use quality brushes and inspect before use; replace if fibers come loose.
- Fingerprints or smears: Store the sign in a dust-free spot and avoid frequent handling until sealed.
Safety mistakes often relate to paint fumes and dust from sanding. Acrylic paint is less toxic than solvent-based paints, but working outdoors or near open windows reduces risks even further. When sanding, wear a dust mask to protect your lungs from fine particles. Also, never eat or drink while painting to avoid accidental ingestion of paint.
Timing matters: allowing paint to dry fully between steps, usually 1-2 hours depending on temperature and humidity, can prevent many headaches. Use a fan or warm room (not hotter than 85 degrees Fahrenheit) to speed drying if needed. Correcting errors mostly requires patience and using the right tools, finer brushes, soft sanding paper, and lighter paint coats make the difference between a quick fix and a ruined sign.
Creative Ideas for Decorating and Personalizing Your Announcement Sign
Adding seasonal or themed decorations to your baby announcement sign helps connect your message to a special time or mood, making it more memorable. Simple touches like a few balloons can brighten the scene without causing clutter, while themed items like tiny pumpkins or spring flowers bring a festive vibe suited to the time of year. These elements also create a ready-made story for your photos and sharing moments.
Start by selecting a few meaningful objects that relate to your season or theme. For example, in fall, place miniature pumpkins or colorful leaves around the sign. In winter, try sprigs of pine or holly berries. Spring can be celebrated with fresh or faux flowers. These small accents can cost anywhere from $5 to $15 depending on if you buy fresh or use craft supplies, and they take just a few minutes to arrange. Aim to keep decorations balanced, too many pieces can overwhelm the sign and distract from your core announcement.
To involve siblings or pets, include their touch through handprints, paw prints, or favorite items near the sign. You can have siblings write a short message or draw something small to attach. For pets, line up their collar or a small toy with baby shoes or a onesie to symbolize their role in the family. These personal touches make the announcement feel warmer and more inclusive.
- Line up a tiny pair of baby shoes next to mom and dad’s shoes and siblings’ if possible.
- Add a soft balloon cluster beside the sign for a festive pop of color without covering your message.
- Spell out “BABY” using cookies or letter-shaped treats on a nearby tray.
- Attach a tag with your due date or baby’s birth date for specific information.
- Place a sweet onesie or baby hat near the sign for added visual interest.
- Use seasonal foliage like pine branches or flowers to frame the announcement subtly.
- Involve siblings by having them place their favorite stuffed animal next to the sign or write a brief note.
Good results happen when the decorations complement the sign without covering important text or making the setup feel crowded. Take photos under natural light to showcase colors and details clearly. Avoid oversized or brightly patterned items so attention stays on your message. If it feels too busy, remove items one at a time until you find the right balance.
How to Display, Photograph, and Share Your Handmade Baby Announcement
Display your handmade baby announcement sign where it can catch the eye and create a warm, memorable moment. Capture photos of your sign with good lighting and thoughtful composition to highlight your message and your family. Use simple props and cozy settings to improve your announcement photos for sharing with loved ones.
Best Display Locations for Maximum Impact
Choose a spot with natural light and minimal clutter to hang your sign, such as a living room wall, near the entryway, or above a mantel. These places ensure your sign is seen easily by guests and looks good in photos. Hang it at eye level using removable hooks or picture hangers to avoid wall damage, making it easy to reposition or take down.
For outdoor displays, select a shaded area to prevent glare and fading from direct sunlight. Secure your sign to a porch railing or garden stake, where it’s visible from the street if you expect visitors. Indoors, avoid spots near strong heat sources or humidity that could warp or damage the sign over time.
Simple Photography Tips for Announcements
Photograph your sign in natural daylight, ideally in the morning or late afternoon when light is softer and warmer. This lighting brings out the colors and details of your hand-painted sign without harsh shadows. Position your baby or family members near the sign to create a connection in the photo, but keep the sign fully visible and in focus.
Use a phone or camera with a steady hand or tripod to prevent blurriness. Take multiple shots from different angles and distances to find the most flattering composition. Capture some close-ups on personal details like handprints or the baby’s name, then wider shots that include family to give context and emotion.
Ideas for Accessories and Photo Styling
Add simple props to improve your announcement photos without overpowering the sign. Soft blankets, knitted hats, or a “big brother” t-shirt worn by older siblings add a cozy, personal touch. Use neutral or pastel backgrounds such as light curtains or wooden floors to keep the focus on your announcement and family.
Consider including baby items like booties, ultrasound pictures, or a tiny onesie as part of the photo scene. These elements tell the story visually and make the announcement feel intimate. For a playful angle, use a photo booth setup with themed hats or signs for family members to hold, creating joyful memories along with your announcement.
Step-by-Step Action Plan
Follow these steps to create your handmade baby announcement sign smoothly and confidently. Each phase includes a clear goal to help you track your progress.
- Before You Start: Gather all your materials and choose the size and base of your sign. Confirm your base is sturdy and fits the space where you plan to display it.
- Day 1: Design your layout and select fonts and your personal message. Sketch it on paper and check that the spacing feels balanced and readable.
- Day 2: Prepare and prime your sign base with a smooth, even coat of primer. Let it dry completely and test for smoothness by running your hand over the surface.
- Day 3: Paint your sign using the techniques for a smooth finish. Apply thin, even layers and wait for each to dry to avoid drips or uneven spots.
- Day 4: Add personalized touches like a baby handprint or decorative details. Use non-toxic paints and confirm the design is clear and dry.
- Day 5: Seal your finished sign with a protective clear coat to guard against damage. Check that the sealant is dry and evenly applied.
- Day 6: Set up your sign for display and take photographs in good lighting. Adjust the background or props until your sign looks its best in pictures.
- After 1 Week: Review your sign placement and photos, then share your announcement with friends and family. Choose your favorite photo to send or post.
Frequently Asked Questions
Can I Use Fabric Instead of Wood for My Baby Announcement Sign?
Yes, fabric can work as a base but needs a sturdy frame and fabric paint for durability. Choose tightly woven material to avoid bleeding and wrinkles during painting.
How Do I Incorporate a Photo into My Handmade Baby Announcement Sign?
Print a small photo on matte photo paper and glue it securely. Use a protective sealant over the photo to prevent moisture damage.
What Type of Paint Is Safest to Use on a Baby Handprint Sign?
Non-toxic acrylic paint is best because it’s safe for skin and dries quickly. Avoid oil-based paints, which can irritate delicate baby skin.
How Long Should I Wait Before Sealing My Painted Baby Announcement Sign?
Wait at least 24 hours to ensure paint is completely dry before applying sealant. This prevents smudging and preserves your design.
Is It Possible to Make a Baby Announcement Sign Without Any Painting Skills?
Yes, using stickers, stencils, or printed designs can create a neat sign without freehand painting. Tools like Canva help you design printable elements.
What Should I Do If My Baby’s Handprint Smears on the Sign?
Press the hand down firmly for at least 10 seconds, then lift it straight up to prevent smudging. Should smudges appear, gently fix them using a fine brush.
Final Thoughts
Your handmade baby announcement sign will be a unique keepsake and a heartfelt way to share your news. Start by sketching your design today to see how your vision takes shape. The effort you put into each step will help create a sign that feels truly personal and memorable.