
How to Make a Lemonade Stand Sign with Easy DIY Tips and Creative Ideas
How to make a lemonade stand sign starts with choosing bright colors and bold letters that catch the eye from a distance. Using durable materials like foam board or weatherproof cardstock ensures your sign stays intact and visible outdoors. Begin by deciding on the key message and price to show customers clearly and quickly.
Key Takeaways
- Price lemonade between $0.25 and $1.00 to attract customers without underselling your product.
- Use chalkboard signs with a Cricut machine for easy customization and a reusable display.
- Incorporate creative slogans like “Squeeze the Day!” or “Life’s a Pitch!” to add fun and personality.
- Combine printable templates with DIY touches to create a unique, eye-catching lemonade stand sign.
- Seal your finished sign with waterproof spray and allow 24 hours to dry for weather protection.
- Attach signs securely using string, clips, or tape to ensure visibility and avoid wind damage.
How to Make a Lemonade Stand Sign That Gets Noticed
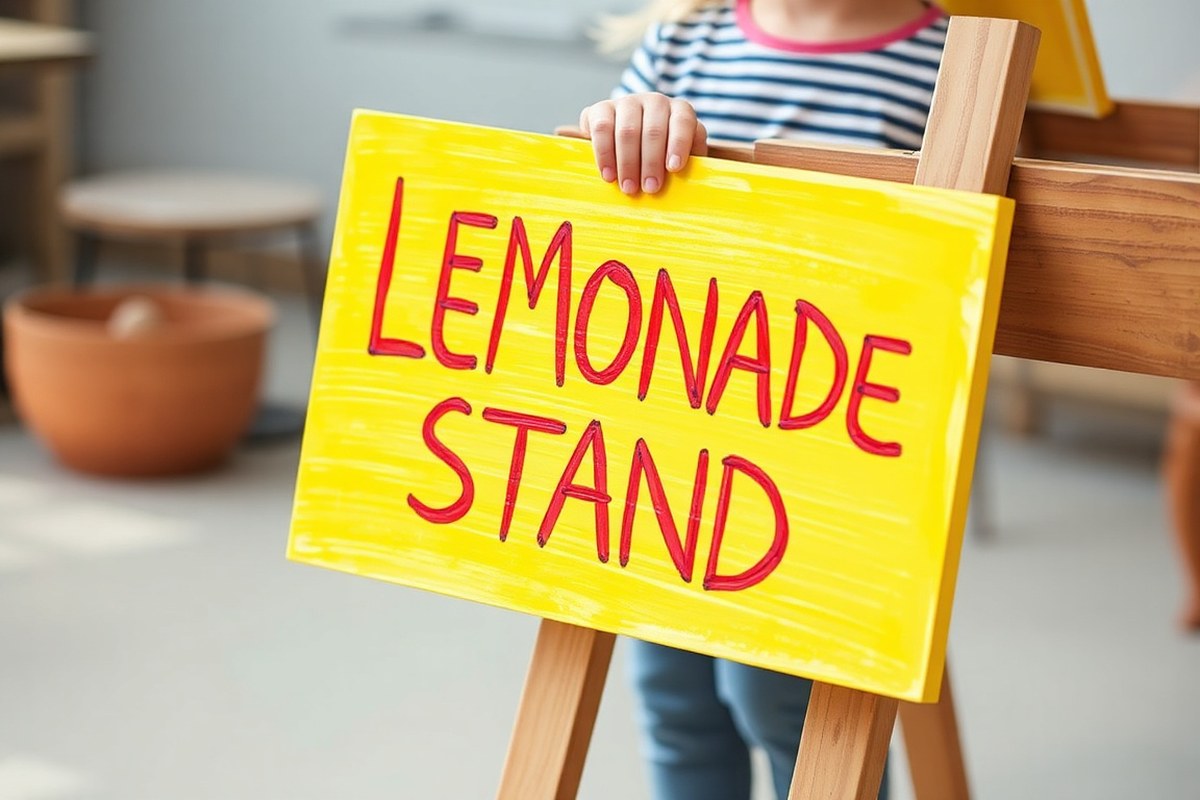
Making a lemonade stand sign is a simple project that can involve kids and make their stand more appealing. A bright, clear sign communicates your price and fun personality to passing customers. You can usually complete a basic sign in about 30 minutes to an hour, depending on the materials and design you choose. Using materials like poster board, markers, or chalkboard paint allows kids to get hands-on in the process and customize their message easily. Here’s a straightforward way to create a lemonade stand sign that draws attention and fits your price point:
- Choose and prepare your base. Start with a sturdy surface such as a poster board or a piece of cardboard about 18 inches wide and 12 inches tall. If you want a reusable sign, painting the surface with chalkboard paint or laminating a printed template helps protect it and allows easy updates to prices or slogans.
- Pick your message and price. Work with the kids to select a catchy phrase like “Squeeze the Day!” or “Life’s a Pitch!” that attracts customers. Decide on your price, typically between $0.25 and $1.00 per cup, so it stays attractive but covers costs. Include the price clearly, make the numbers big and bold.
- Draw or print the design. For hand-drawn signs, use bright markers to create large, easy-to-read letters and colorful lemon illustrations. Alternatively, print a template with a blank price space that kids can fill in with a marker. This method speeds up the process and ensures neatness.
- Add eye-catching colors. Use yellows, greens, and whites to mimic lemons and freshness. Contrasting backgrounds help text stand out. Bright colors encourage people to stop and look.
- Let kids personalize it. Allow them to add their drawings, stickers, or glitter. This makes the sign look inviting and reflects their effort, which increases pride and sales enthusiasm.
- Protect your sign if used outdoors. Spray it with a clear sealant or cover it with clear packing tape. This helps prevent smudging or damage from handling or a light drizzle.
- Set up your sign. Secure it to your stand or in the ground with tape, string, or stakes. Position it at eye level where passersby can see it clearly from a distance to attract more customers.
Keeping steps simple encourages kids to participate fully, and the whole project should take less than an hour. For a quicker option, use printable signs that can be framed or laminated in 15 minutes. Signs that show a fun slogan and clear price within a bright design get noticed and help sell more lemonade.
Choosing Materials for Durable Lemonade Stand Signs
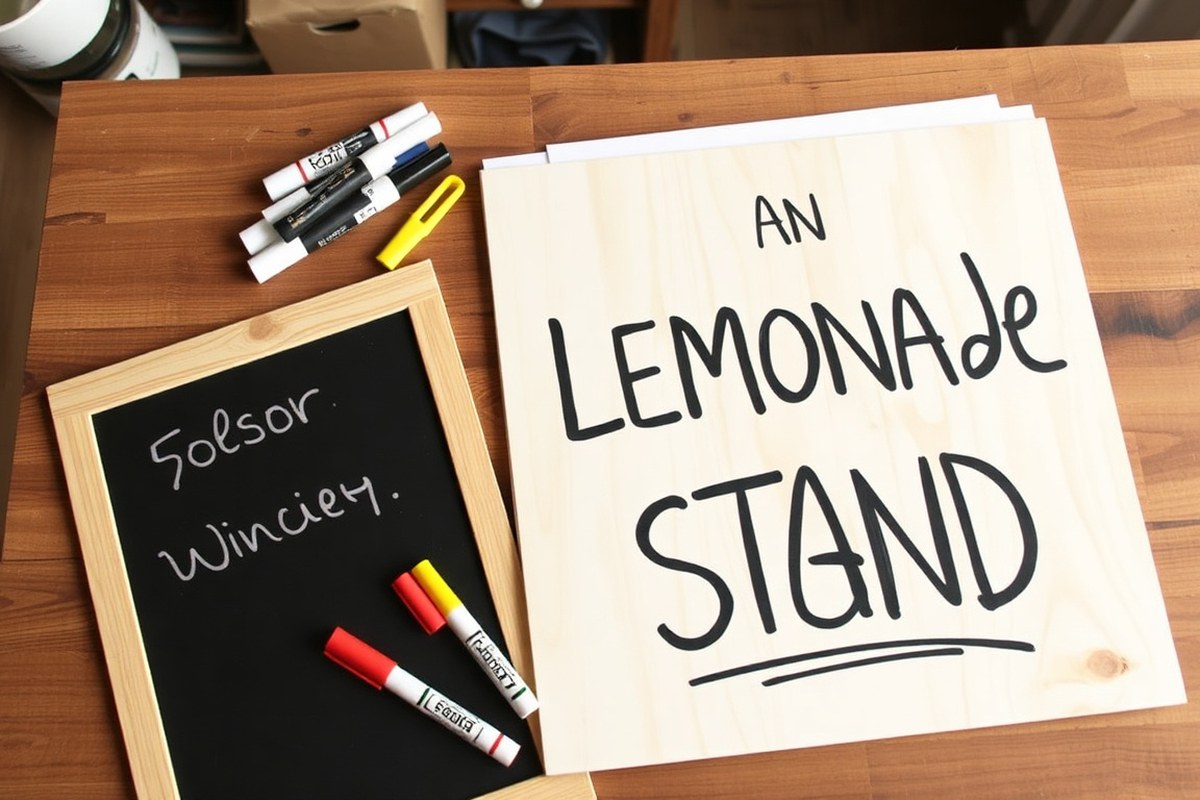
Choosing the right materials for your lemonade stand sign matters because it affects how long the sign lasts outside, how much it costs, and how well it holds up in sun or rain. Durable materials like thick poster board, foam core, or waterproof plywood can handle outdoor use better than plain paper. When your budget is tight, foam core or laminated cardstock costing around $5 to $10 works well and can handle mild weather. For longer-lasting options, lightweight plastic sheets or coroplast cost around $15 to $25 but resist water and wind damage.
Eco-friendly materials are worth considering if you want to reduce waste and keep costs low. Cardboard from recycled boxes or scrap wood pegs can be painted or decorated to make signs that do not need expensive, synthetic materials. These options might not last as long in rain but are great for dry, sunny days and promote sustainability.
Comparing common options helps you decide what fits your needs and budget. For example, regular poster paper costs less than $1 but tears easily if wet. Laminated signs cost a few dollars more but survive brief rain showers. Foam core sheets provide stiffness and look sharper but are heavier to hang. Plastic signs often weigh less and resist moisture but cost more upfront.
| Material | Durability | Cost Range | Outdoor Suitability |
|---|---|---|---|
| Poster Paper | Low (tears easily) | $0.50 – $1 | Poor (needs lamination) |
| Laminated Cardstock | Medium (water-resistant) | $3 – $5 | Good for mild weather |
| Foam Core Board | High (stiff and sturdy) | $5 – $10 | Good but avoid heavy rain |
| Plastic Sheets (Coroplast) | Very High (waterproof, durable) | $15 – $25 | Excellent for all weather |
| Recycled Cardboard | Low to Medium | Free – $2 | Best for dry weather |
| Wood (Plywood) | High (very durable) | $10 – $20 | Excellent with paint/sealer |
For cost-conscious projects, try laminated cardstock or foam core with waterproof markers to write your message. These keep the sign bright and readable but won’t break the bank. Expecting rain calls for a plastic or sealed wooden sign to protect your artwork and keep it lasting through the summer. Avoid using plain paper outdoors unless you cover or laminate it first to prevent damage.
Seal your sign or use waterproof materials to keep colors bright and lettering clear, especially if the stand is outdoors.
Choosing materials suits your location and forecast. Setting up your stand on a dry sidewalk in full sun means cardboard or laminated paper is a good choice. For neighborhood corners or parks with unpredictable weather, durable plastic or sealed wood saves you from having to remake your sign often. Plan for your budget by balancing the cost of materials against how long the sign needs to last and the weather conditions where you sell lemonade.
Design Ideas and Creative Slogans for Your Sign
Choosing the right design and catchy slogans for your lemonade stand sign makes all the difference in attracting customers. Bright colors grab attention and playful fonts add charm, while fun phrases give your sign personality and encourage people to stop by. Customizing colors, drawings, and words based on your theme helps create a memorable and inviting look.
Popular Lemonade Stand Slogans
Short and catchy slogans can quickly communicate what you offer and create a friendly vibe. Using rhymes, puns, or straightforward messages helps customers easily remember your stand.
Some slogans add a fun twist or call to action that invites people to buy. For example, “Squeeze the Day!” or “Fresh and Sweet, Can’t Be Beat!” These kinds of slogans complement bright sign designs and playful fonts nicely. Depending on your style, pick something that feels fun and positive.
- “Fresh Squeezed Happiness”
- “Cool Off with a Cup!”
- “Lemonade Made with Love”
- “Thirsty? Try a Sip!”
- “Sweet, Tart & Totally Yummy”
- “You Squeeze, We Please!”
- “Sip Back and Relax”
Test out a few slogans and ask your kid which sounds most inviting or fits their personality. This makes the stand feel personal and authentic.
Color Schemes That Attract Attention
Bright colors like yellow, orange, and lime green are popular because they remind people of lemons and sunshine. These colors naturally draw the eye and make your sign stand out in busy outdoor settings. Combining them with white or light blue can create a fresh, clean look.
Simple designs with large blocks of color work well to keep text easy to read from a distance. Too many colors or complicated patterns can make your sign look cluttered and hard to understand quickly. For example, using a yellow background with bold navy or black lettering ensures the words pop.
Choose colors that match your theme or emphasize freshness. If you prefer a more rustic or handmade vibe, muted tones like pastel yellows or faded greens work nicely, especially on wooden signs or chalkboards.
Adding Hand-Drawn Art and Decorations
Adding cute hand-drawn lemons, ice cubes, or sun icons makes your sign more inviting and shows extra effort. These small illustrations can be painted or drawn directly on the sign or printed as stickers.
Decorations like colorful borders or banners around the edges also boost visual appeal and create a joyful mood. Stringing small paper garlands or attaching real lemon slices on sticks near the sign keeps customers interested and communicates freshness.
Using simple tools like colored markers, acrylic paints, or chalk markers lets your kid help make decorations easy and fun. Avoid overly detailed designs that take too much time or distract from the main message of the sign.
Using Themes to Highlight Homemade or Freshness
Themes centered on “homemade” or “fresh” help customers value your lemonade stand beyond just price. Ideas like “Grandma’s Recipe” or “Farm Fresh Lemons” suggest quality and care.
You can base your sign on a vintage summer theme, a garden party look with floral accents, or a beach vibe with blues and yellows. Each theme guides your choice of fonts, colors, and decorations to create a consistent and attractive feel.
Signs that emphasize freshness often include keywords such as “just squeezed” or “cold & refreshing,” paired with images of lemons and ice cubes. This tells customers your lemonade is made on-site with care and is the perfect refreshment for a hot day.
Incorporating Kid-Friendly Fonts and Styles
Fun, whimsical fonts invite attention without sacrificing readability. Look for fonts that mimic handwriting or playful print styles to create a cheerful and approachable sign. Avoid fonts that are too fancy or difficult to read quickly.
Use large lettering to ensure messages can be seen from several feet away. Combining a bold headline font with a simpler font for details balances style and clarity. Adding simple effects like shadows or outlines can improve contrast against bright backgrounds.
Make the design interactive by letting kids scribble or paint letters themselves, giving the sign authentic personality. Consider block letters in mixed colors or bubbly fonts to keep the sign lively and appealing to families and neighbors.
Displaying Prices Clearly and Creating a Menu Sign
Displaying prices clearly on your lemonade stand sign helps customers make quick decisions and encourages more purchases. List each item, like “Classic Lemonade” or “Strawberry Lemonade,” followed by the exact price, such as “$1.00” or “$1.50.” Use large, legible numbers in a simple font or clear handwriting. Aim for a price size at least two inches tall so people can read it from several feet away without squinting. Place prices either to the right of the item names or underneath for neat alignment. Avoid clutter by limiting your menu to 3-5 items, which keeps the sign focused and easy to understand.
To create a menu sign, start with a printable template that includes banners, price lists, and item slots. These templates are widely available for free online and can be customized by adding your own items, prices, and even decorations that match your lemonade stand’s theme. Print the menu on sturdy cardstock for weather resistance or laminate it to protect from spills and rain. Hang the menu sign at eye level on the front or side of the stand using string, clips, or tape. Choose a handmade sign by using poster board with permanent markers or paint, and write each item and price carefully. Hand-drawn designs add a personal touch but require neat lettering for readability.
Printable signs often look professional and save time. You can find packs that include banners, price lists, and even open/closed signs, which can be personalized with your child’s name or special offers. These printables typically cost nothing and only require access to a printer and paper. Homemade signs might take more effort and some art supplies like poster board, paint, or thick markers but provide a unique, hands-on project for kids. Both options encourage creativity; printable signs suit quick setup and polished appearance, while hand-made ones add charm and personality that may attract customers who appreciate the homemade feel.
Think about your situation. For quick setup at a neighborhood event, printed menus offer a neat, professional look with minimal effort. For a weekend lemonade stand at home where the sign might get touched or moved frequently, laminated printables hold up better to spills and weather. When aiming for a fun craft project that lets your child design every detail, a hand-made menu sign works well. In all cases, clear display of prices prevents confusion, helps customers decide, and increases sales by making the stand look trustworthy and organized.
A simple script for your menu could be: “Classic Lemonade – $1.00,” “Strawberry Lemonade – $1.50,” “Cup of Ice – $0.25,” placed neatly under a bold “Menu” title. Use bright colors like yellow and green for contrast on white or light-colored backgrounds. Keep the lettering large and spaced out so people can identify their favorite drink at a glance. Avoid cramping text or crowding items without price tags; this can confuse buyers and make your stand seem less professional. By planning your price list thoughtfully, you make your lemonade stand welcoming and clear, which helps boost your sales and your child’s excitement about their small business venture.
Steps to Waterproof and Weatherproof Your Lemonade Sign
Protecting your lemonade stand sign from weather is essential to keep it readable and fresh throughout the selling days. Weather resistance involves using waterproof materials, sealing the artwork, and adding physical protection like covers or frames. Following these steps will help your sign stand up to rain, sun, and wind.
Selecting Waterproof Materials
Start by choosing materials that handle moisture well. Waterproof cardstock, laminated poster board, or weather-resistant foam board work better than regular paper. These materials reduce warping and bleeding of colors during unexpected rain or dew. For written designs, use permanent markers or weatherproof paints that won’t run when wet.
Also, using neon or bright colors on waterproof surfaces improves visibility even if the sign gets slightly dirty or faded from sun exposure. Picking thicker boards, at least 0.5 inches, adds durability against wind damage and bending. These choices ensure your sign can last at least a day or more outdoors without significant deterioration.
Applying Sealants or Laminates
Sealing your sign is important for weatherproofing. Spray sealants or clear acrylic varnishes create a protective, waterproof layer on your artwork. Alternatively, laminating your sign on both sides provides a strong barrier against moisture and smudging. Use this step-by-step checklist to properly seal your lemonade stand sign:
- Place your sign flat on a clean surface in a well-ventilated area.
- Clean the surface gently to remove dust before sealing.
- Spray an even coat of waterproof acrylic sealer or varnish over the entire front surface.
- Allow the first coat to dry for at least 30 minutes.
- Apply a second coat for better coverage and durability.
- Wait at least 24 hours of dry time before exposing the sign to outdoor conditions.
- When laminating, cover both sides of your sign with adhesive laminate or clear packing tape, making sure the edges are sealed.
Allow at least 24 hours of drying time after sealing before placing the sign outside to avoid trapping moisture under the sealant.
Using Protective Coverings or Frames
Adding a protective covering or frame helps shield the sign from direct rain, dirt, and sun damage. You can insert your sign into a plastic display holder, a weatherproof frame, or cover it with a clear plastic sleeve. These options prevent scratches and reduce fading over time.
For homemade frames, use scrap wood treated with an outdoor sealant, or lightweight plastic frames designed for outdoor signs. Make sure the frame design allows for airflow to avoid moisture build-up behind the sign. When tape lamination isn’t an option, wrapping clear packing tape around all edges works well for short-term events.
Tips for Maintaining Signs over Time
Check your sign daily for dirt, smudges, or peeling at the edges if used over multiple days. Gently wipe off dirt with a damp cloth. Avoid harsh cleaners or scrubbing, which can damage the sealant. When some wear appears, quickly reinforce the waterproof layer with another coat of acrylic spray.
Store the sign flat and indoors when not in use to keep it dry and out of direct sunlight. Keeping extra clear tape on hand helps with quick repairs on laminated or taped signs. Swapping out signs every few days during very rainy weather limits exposure and maintains your lemonade stand’s inviting look.
Combining Printable Templates with DIY Elements
Using printable templates combined with your own DIY touches can make your lemonade stand sign look professional while still showing off your child’s creativity. Printable templates are digital files you can download and print at home or a local print shop. They come with ready-made graphics, fonts, and layouts, which saves time if you want a clean, sharp design. Adding handmade elements like hand-drawn illustrations, glitter, or painted accents gives the sign a personal, one-of-a-kind look that stands out.
You can start by choosing a printable template from an online kit or website. These often cost between $5 and $15. After downloading the file, open it on your home computer with programs like Adobe Reader or even a free software like Canva for simple edits. You might want to change the text to add your stand’s name or adjust the colors to match your theme. Use a color printer and print on good-quality cardstock to ensure durability and vibrant colors. Cardstock typically costs about $0.50 per sheet and holds paint or markers better than regular paper.
Once you have the printed base, it’s time to add your handcrafted touches. You can use washable markers to outline or highlight certain letters, paste on stickers, or glue pieces of tissue paper for texture. Another option is to cut out shapes like lemons or cups from colored paper and glue them onto the sign. Layers of handmade decoration make the sign more eye-catching and show effort, which can attract more customers. Let your child’s small painted section dry for at least 30 minutes before handling to prevent smudging.
One helpful approach is to create a simple checklist to balance printables and DIY elements: Start with printing the main sign, check for any editing needed, print, then gather your craft supplies. Next, decide which areas you want to personalize by adding drawings or textures, apply them carefully, and let everything dry fully. This step-by-step method helps make sure you don’t rush and accidentally damage the print or create a cluttered look. Avoid putting too many decorations near key info like prices or slogans to keep your message clear.
Costs vary by materials and printing options. Using your home printer and supplies you already have keeps costs low, under $10. A local print shop might charge $1 to $3 per page but can offer better quality. For kids new to crafting, printable templates reduce frustration by handling the tricky design part, while handmade details build fine motor skills and pride. When time is tight or you want a polished look for an event, use mostly printables and add a pop of handmade colour or glitter.
How to Attach and Display Your Lemonade Stand Sign for Maximum Impact
Attach your lemonade stand sign where customers can see it clearly and secure it well to withstand wind or movement. Use tape, string or frames depending on the stand’s setup and materials. Adding colorful banners or buntings nearby can increase visibility and attract more attention from a distance.
Best Locations to Hang or Mount Signs
Place signs at eye level for passersby on sidewalks or streets near your stand. The front edge of your table or the top bar of your stand frame often works well. When your stand is near a corner, hang a sign on both the front and side to attract customers from different directions.
Keep signs close enough to your lemonade so shoppers connect them easily but not so close that they clutter your workspace. A sign about 10 to 12 inches tall and as wide as your table helps readability without overwhelming your stand.
Using Tape, String, or Frames Securely
For lightweight paper or cardstock signs, masking tape or painter’s tape works to stick them onto wood or plastic surfaces without damage. Use several small strips spaced evenly to hold the sign flat and avoid curling edges. To hang the sign, punch holes in the top corners and thread string or thin rope through to tie it securely to the frame or table legs.
Consider a simple frame or clipboard for a neat, reusable display. A 9-by-12-inch frame is a common size that fits most signs and can be propped up on the table or hung with string. This also protects your sign from moisture or wind.
- Test tape on a small section to avoid damage or residue
- Make knots tight when using string to prevent slipping
- Reinforce holes in paper with tape to prevent tearing
- Use double-sided tape to keep signs flat on smooth surfaces
- Check your sign periodically to adjust or reattach if needed
These steps help keep your sign firmly in place all day, even if it gets breezy or a crowd gathers.
Combining Signs with Banners and Decorations
Hang string banners or buntings above or beside your sign to add visual interest and draw eyes to your stand. Bright colors and patterns that match your lemonade theme make the display friendly and inviting. For example, yellow and white triangular pennants strung across the front can echo the lemon theme.
Complement signage with simple craft decorations like paper fans, garlands of faux lemons, or small wooden crates stacked near your booth. These elements create a vibrant, welcoming space that encourages people to stop and buy. Position banners about 6 to 12 inches above your sign so they don’t block readability but add height to your display.
Safety Tips and Common Mistakes When Making Stand Signs
Making a lemonade stand sign involves more than just creativity; safety and avoiding common mistakes matter. Kids should use child-safe scissors and markers labeled non-toxic to prevent accidents and exposure to harmful substances. Setting up the workspace on a stable surface with plenty of room helps avoid spills and clutter-related mishaps. Fairly priced materials, such as poster boards around $1 to $3 at craft stores, reduce financial waste if the project doesn’t go as planned.
A common error is choosing materials that are too flimsy, causing the sign to collapse or tear easily. Investing in a thicker poster board or foam board ensures the sign stands up to wind or light rain. Avoid dark marker colors on a dark background since this reduces readability, which defeats the sign’s purpose. Use high-contrast colors, bright yellows, whites, or blues on darker backgrounds, to grab attention and make text legible from several feet away.
Signs need to be attached or displayed securely to prevent them falling or blowing away. Using heavy-duty tape or string works, but always check that the tape does not damage surfaces, and string isn’t too tight to avoid snapping. Outdoor setups benefit from weight added at the bottom or clips to fix the sign firmly in place. These tips prevent the stand from appearing careless and keep customers confident in the setup.
- Use child-safe scissors and non-toxic markers only.
- Work on a steady, clean surface to reduce spills and mess.
- Choose sturdy materials like foam board or thick poster board.
- Ensure high contrast between text and background colors.
- Secure signs with tape, string, or weights appropriate for your setup.
- Test readability by standing about 6 feet away before finalizing.
- Double-check spelling and prices before displaying.
Kids sometimes overcrowd the sign with too much information or use very small fonts, which makes it hard for passersby to quickly understand the offer. Keep text brief and use large lettering, at least 1 inch tall, for important details like price and product. Errors in spelling or unclear pricing confuse customers and reduce sales, so it’s wise to proofread with an adult’s help.
Check that all craft tools and materials are safe for children, and always supervise their use to avoid injuries.
Proper planning and supervision lead to a sign that not only looks great but also functions well and stays safe throughout sales. This preparation builds kids’ confidence and teaches responsibility, combining fun with practical skill building while encouraging good money management habits.
Quick-Start Action Plan for Your Lemonade Stand Sign
Follow these steps to create a lemonade stand sign that attracts customers and lasts through your selling days.
- Before You Start: Choose sturdy materials like foam board or laminated poster paper to ensure your sign withstands weather. Test durability by lightly bending or splashing water on a sample piece.
- Day 1: Sketch your design including catchy slogans and clear prices using bright colors. Check if the text is easy to read from 5 feet away.
- Day 2: Add DIY elements such as glitter or stickers for visual appeal but keep it tidy to avoid clutter. Step back to see if the sign looks balanced and inviting.
- Day 3: Waterproof your sign by applying clear tape or spray sealant evenly. Confirm success by sprinkling water, a quick dry without blotches means it’s ready.
- Day 4: Attach hanging elements like string or use stand clips securely. Hang your sign and check for stability in light wind conditions.
- Day 5: Place the sign in a high traffic spot near your lemonade stand, angled for maximum visibility. Watch if people stop or show interest in your stand.
Frequently Asked Questions
What Colors Work Best for Making a Lemonade Stand Sign?
Bright colors like yellow, orange, and green attract attention and match the lemonade theme. Use contrasting colors for text to ensure legibility from a distance.
How Can Kids Safely Write on a Lemonade Stand Sign?
Use washable markers or non-toxic paint to keep things safe and easy to clean. These materials also prevent accidental stains on clothes or surfaces.
Is It Better to Make the Lemonade Stand Sign by Hand or Print It?
Handmade signs add a personal, unique touch, but printed signs offer neatness and uniformity. Combining both can create a charming and clear display.
How Large Should a Lemonade Stand Sign Be?
Signs around 12 by 18 inches are big enough to be noticed without overwhelming the stand. Size depends on available space and viewing distance.
Can You Reuse a Lemonade Stand Sign for Multiple Summer Seasons?
Yes, signs made from durable, weatherproof materials can last for several seasons. Store them flat and in a dry place between uses.
What Are Affordable Materials to Make a Lemonade Stand Sign Durable?
Corrugated plastic and laminated cardboard resist weather without costing much. These materials keep your sign sturdy and reusable.
Before You Go
Your lemonade stand sign can be a simple tool that makes a big difference in drawing customers and communicating your prices clearly. Start by selecting materials that hold up outdoors, then focus on clean, readable designs with an inviting message. Take time to waterproof and display your sign where people will notice it the most. Begin your project today by picking out your sign materials and sketching your first design draft at home.


