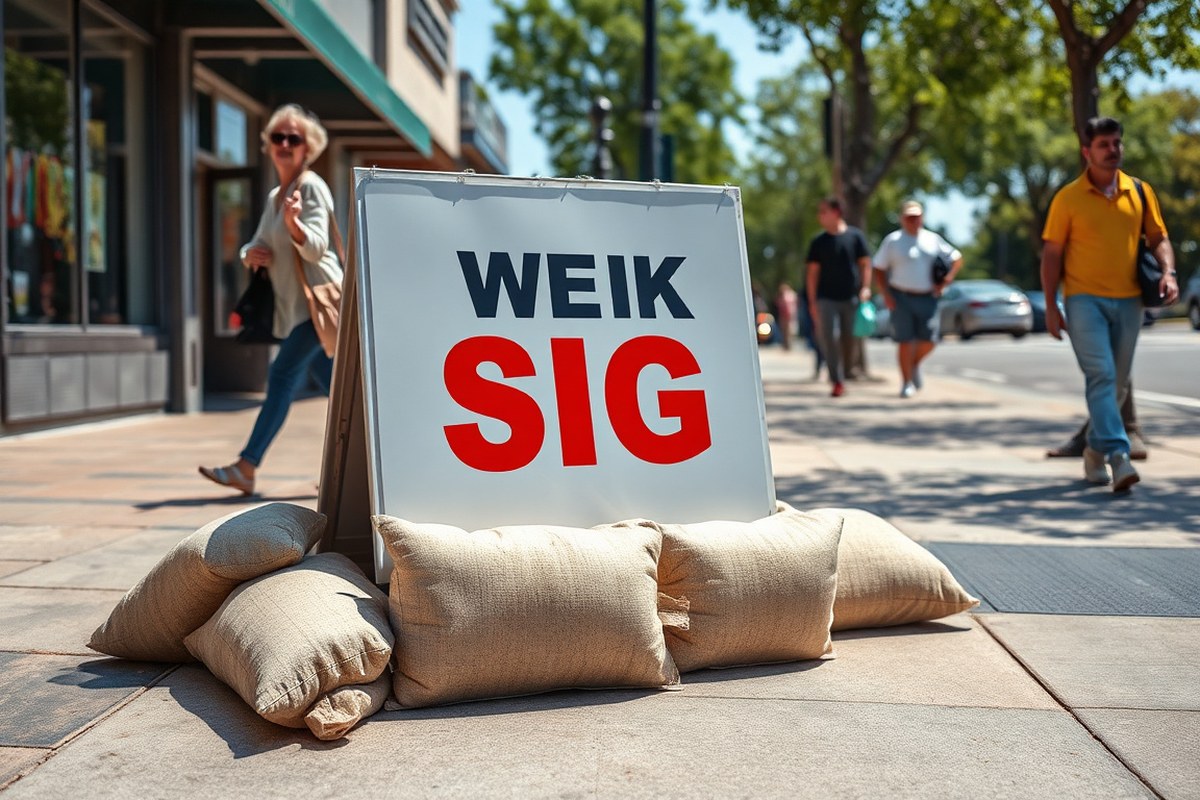
How to Weigh Down a Sign: 8 Effective Methods for Stability and Safety
How to weigh down a sign depends on the sign’s size, location, and expected weather conditions. Using weighted sandbags, steel shot bags, or custom anchor systems often provides reliable stability and safety. Start by assessing the sign’s frame and base to match it with the correct type and amount of weight.
Key Takeaways
- Choose sandbags or steel shot bags based on sign size and pole diameter for secure attachment.
- Place heavier weights, such as 50-pound steel shot bags, on larger signs exposed to strong winds.
- Secure weights using adjustable straps or connectors compatible with your sign’s frame material.
- Match weight attachment methods to surface type: masonry anchors for brick, wood screws for wood, bolts for metal.
- Add waterproofing or protective coatings to weights when signs will face rain or snow to prevent damage.
- Stack multiple smaller bags to reach the desired total weight if single heavy bags aren’t suitable.
1. 8 Practical Methods to Weigh Down a Sign Safely
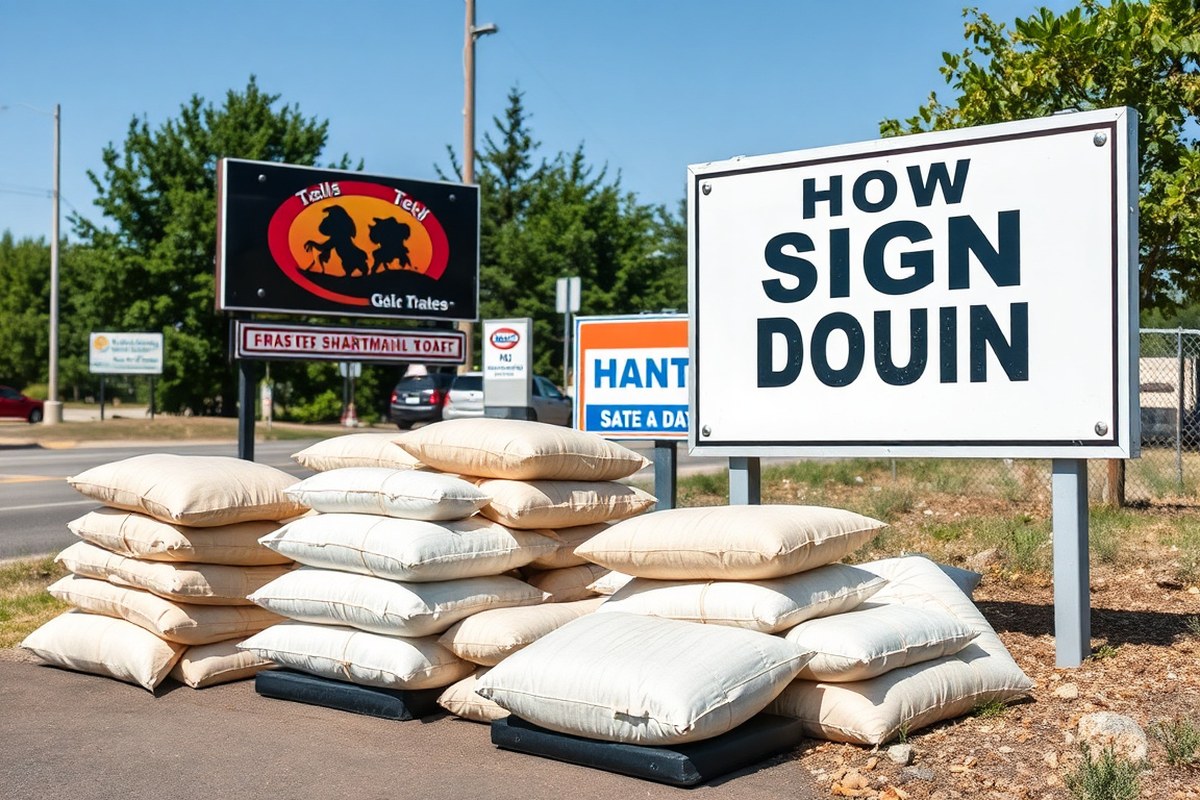
Weighing down an outdoor sign effectively prevents it from tipping over or shifting in wind and traffic. Common methods rely on adding mass close to the sign’s base without blocking the message or creating tripping hazards. The choice depends on the sign type, frame design, and location. Each option balances stability, ease of use, and portability.
Circular sandbags are a popular choice for signs with single posts or narrow poles up to four inches in diameter. They wrap around the base or pole, typically filled with sand or steel shot, offering 25 to 50 pounds of weight. These bags provide flexibility and avoid damage to surfaces or sign materials. Saddle sandbags drape over the lower rails of A-frame signs or open display frames, stabilizing them with two weighted pockets usually ranging from 5 to 50 pounds. This method secures the sign without locking it to the ground, making setup quick and suitable for routine outdoor use.
Ballast bags fit well beneath or behind kiosks and low-profile displays where weight needs to be hidden. Compact rectangular shapes filled with sand or steel shot add stability without cluttering the visible area. For pavement sandwich boards, weighted sign kits often include four adjustable nylon straps and tube connectors that attach firmly to legs or posts up to about 29 millimeters thick. This setup ensures the weight stays centered under the sign, reducing tip risk, especially in windy conditions.
In some cases, ground stakes or anchors provide a more permanent hold. These work well in soil types that allow penetration and are ideal for fixtures staying in place for extended periods. Homemade weights filled with sand, gravel, or water in durable bags or jugs also offer cost-effective, temporary solutions. Using heavier materials such as steel shot increases weight in smaller sizes but adds cost and requires more careful handling.
- Wrap circular sandbags around single-post signs and banner poles for 25-50 lbs of ballast
- Drape saddle sandbags over A-frame lower rails to stabilize frames with 5-50 lbs pockets
- Place compact ballast bags behind kiosks or beneath flat sign bases to hide weight
- Attach weighted sandwich board kits with adjustable straps to pavement signs up to 29 mm thick
- Use ground stakes or anchors in soil for long-term, fixed sign installations
- Create homemade weights with sand or water-filled bags for budget-friendly, temporary use
- Choose steel shot fills when compact, heavy ballast is needed in crowded or trade show settings
The goal in every case is adding weight low and close to the sign’s base, improving stability without obstructing or damaging. Testing setup by lightly pushing on the sign before final placement helps confirm adequate balance. Signs exposed to high winds or placed near busy walkways may require higher weight or supplemental anchoring to maintain safety and professionalism.
2. Choosing the Right Weight Material for Your Sign

Choosing the right weight material is important for stabilizing your outdoor sign effectively. Sand, steel shot, water, and concrete fill options each have pros and cons based on cost, portability, and weather resistance. Sandbags are inexpensive, adjustable by adding or removing sand, and widely accessible. They usually come in vinyl bags weighing around 10 kg when filled, providing enough stability for light to moderate wind conditions. However, sandbags can leak if the bag material fails and may not look neat in public areas.
Steel shot offers a denser alternative that fits the same weight into a smaller bag, making the setup more compact and tidier. Steel shot-filled bags can carry about 50 pounds, improving stability especially in windy or rainy conditions. On the downside, steel shot increases the cost, and the bags are typically heavier and less flexible to move.
Filling containers with water allows you to adjust the weight easily by partially filling or draining. Water is lightweight to carry when empty and can be refilled on-site, ideal for temporary sign installations. However, in freezing temperatures, water-filled weights may rupture or lose effectiveness, so they require draining before cold weather arrives.
Concrete weights deliver the most permanence and strength. Made by pouring concrete into molds or ready-made forms, they provide excellent stability for long-term outdoor signs. These weights are costly, heavy, and hard to move once set. They are best for locations where the sign won’t be frequently relocated.
| Material | Advantages | Disadvantages | Best Outdoor Conditions |
|---|---|---|---|
| Sand | Inexpensive, adjustable weight, widely available | Can leak, not very tidy | Dry and mild weather |
| Steel Shot | High density, compact size, stable in wind and rain | Costlier, heavier bags, less portable | Windy, rainy conditions |
| Water | Light to carry empty, easy to adjust weight | Freezes in cold weather, needs draining | Warm, dry conditions |
| Concrete | Very stable, long-lasting, excellent for permanent setups | Heavy, difficult to relocate | Stable environments without frequent moves |
Select the fill material based on how often you’ll move the sign, expected weather, and budget. For example, steel shot suits windy and rainy environments where compact stability is needed, while sand is best for budget-friendly setups in dry weather. Water is a good choice if you anticipate warm temperatures without freezing, and concrete works well for permanent signs requiring heavy, lasting ballast.
Use vinyl bags prefilled with sand or steel shot to avoid spills and mess during setup, especially in high-traffic or public outdoor spaces.
3. How Much Weight Does Your Sign Need for Stability?
The amount of weight your sign needs for stability depends on its size, type, and the environmental factors around it, especially wind and the installation surface. Larger signs with higher surface areas catch more wind, requiring heavier ballast to prevent tipping or shifting. A smaller sign on a sheltered porch will need less weight than the same sign placed in an open, windy area.
Begin by checking the manufacturer’s instructions for ballast recommendations. These often take into account the sign’s height, base dimensions, frame strength, and rated wind exposure. Use these guidelines as your baseline and then adjust based on how exposed your sign will be. For example, an a-frame sign with 10 square feet of surface area exposed to light wind might need about 15 to 20 pounds of ballast, while the same sign in a windy parking lot could require double that amount.
Signs placed on uneven or soft surfaces like grass or loose soil generally need more weight or additional fastening to maintain stability. Position your weights within the sign’s footprint so they contribute directly to its base stability without blocking any messaging. Modular ballast systems allow you to add or remove weight bags as needed to adapt to different conditions or sign sizes.
| Surface Type | Suggested Fasteners |
|---|---|
| Masonry | Masonry anchors and bolts |
| Wood | Wood screws and brackets |
| Metal | Metal screws and bolts |
Correct weight calculation begins with evaluating the sign’s wind rating and the typical wind speeds in your area. Do not exceed your display’s rated wind limit even if you increase ballast. Use ballast bags designed to fit bases up to about 4 inches in diameter; multiple bags can stack for more weight. Soft ballast suits temporary displays or fits inside approved fixture bases, adding stability without permanent floor fastenings.
Use adjustable straps or connectors matched to your sign’s frame dimensions to securely attach weights without interfering with controls or visibility. A strap length of 130 to 210 millimeters works well for connecting weight bags to a-frame legs. Properly weighted signs avoid tipping, sliding, and weather damage, saving repair costs and keeping your message visible and safe.
4. Attaching Weights Securely to Different Sign Types
Attaching weights securely helps keep your outdoor signs stable and visible, preventing tipping and damage. Each type of sign frame requires a slightly different approach using the right products and fastening methods. Proper tools and accessories, like bungee cords or heavy-duty straps, improve the hold and help you adjust weights quickly.
Attaching Saddle Sandbags to A-Frame Signs
Saddle sandbags are designed with two weighted pockets connected by a flexible section, making them ideal for draping over the horizontal bars of A-frame signs. Using saddle sandbags keeps the weight centered low on the frame, preventing the sign from tipping forward or backward in wind. They typically weigh between 15 and 50 pounds.
To attach saddle sandbags effectively, ensure your A-frame has crossbars or horizontal supports where the sandbags can rest securely without sliding off. Using adjustable straps or bungee cords to fasten the sandbags adds extra stability, especially in windy conditions.
- Lift the sandbag and drape it evenly over the bottom horizontal crossbar of the A-frame.
- Attach adjustable straps or bungee cords around the sandbag and the crossbar to secure the weight in place.
- Tighten the straps or cords to remove any slack, preventing the sandbag from shifting.
- Check the sign for steady balance and adjust the sandbag position if the sign leans.
- Repeat on the opposite side if you use two saddle sandbags for better stability.
Strapping Circular Sandbags Around Poles
Circular sandbags are designed to wrap directly around vertical posts or poles up to about 4 inches in diameter. This design ensures the weight hugs the pole tightly, reducing movement. They work well on post-mounted signs and narrow supports.
To attach a circular sandbag, wrap it so the bag encircles the post fully. Use any integrated clasps or hook-and-loop fasteners to lock it in place. For extra security, add a heavy-duty strap or ratchet strap over the sandbag and tighten it with a buckle or cam lock.
- Position the circular sandbag around the pole near the base where the sign attaches.
- Secure the bag using its built-in fasteners or wrap a strap around it.
- Tighten the strap or buckle so the sandbag is flush against the pole with no gaps.
- Test stability by gently shaking the pole and adjusting the sandbag position if it slips.
- Add a secondary strap if the area experiences strong winds, tightening it below or above the first.
Using Weighted Bases with Banner Stands
Banner stands often come with lightweight, narrow bases that need additional weight to prevent tipping. Heavy bases like ballasted stands or weighted sandbags fit over or clip onto these bases. For retractable banner stands, weighted floor stands provide a low center of gravity.
Weighting a banner stand is about balancing the height and surface area with enough mass at the bottom. Use commercially available ballast bags or pyramid-style weights rated from 15 to 50 pounds. Some ballot bags clip or drape over the base frame, while others sit adjacent and strap tightly.
- Identify the base type of the banner stand and choose compatible ballast bags or weighted stands.
- Place the weighted base or bag on or around the banner stand’s lower frame parts.
- Use straps, bungee cords, or clips to attach the weight directly to the banner base.
- Ensure the weight covers all sides evenly to maintain balance when wind shifts.
- Check the banner’s stability by gently pushing it side to side to confirm no wobbling.
Securing Water Bottles and Homemade Weights
Using water-filled bottles or sandbags you make at home offers a budget-friendly option for weighing down signs. These can be useful for temporary setups where professional gear isn’t necessary. However, homemade weights must attach securely to prevent rolling or sliding.
To secure homemade weights, place them at the sign’s base and tie or strap them tightly to parts of the frame, such as legs or crossbars. Bungee cords or ratchet straps work best to hold the weight firmly. On uneven surfaces, wedge heavier objects to reduce shifting.
- Fill sturdy bottles or bags with water or sand to the desired weight capacity.
- Position the weights at the sign’s base, preferably near contact points with the ground.
- Loop bungee cords or straps around the weights and parts of the sign frame.
- Tighten or secure the cords so the weights cannot slide or roll away.
- Double-check that all knots or buckles are secure before leaving the sign unattended.
Tips for Using Bungee Cords and Straps Effectively
Using bungee cords and straps is often essential for fastening weights to signs and improving stability. Choose cords with hooks or loops strong enough to hold up to the weight, avoid worn or frayed cords that can break. Adjustable ratchet straps provide tighter holds and better control than standard bungees.
When attaching weights, loop cords around both the weight and the sign frame’s structural parts. Avoid tying cords directly to fragile materials such as canvas or thin plastic that might tear. Check cord tension frequently, especially in hot or wet weather, as some materials stretch or slip.
Investing in a few durable straps in various lengths (3 to 6 feet) and strengths (rated up to 200 pounds) is generally inexpensive but greatly improves the security of your weighted signs. Removing slack in cords prevents weight shifting that can cause signs to tip or lean.
5. Making Homemade Weights for Temporary or Budget-Friendly Solutions
You can create effective homemade weights using common household materials like sand, water, or gravel packed into sturdy containers or bags. These solutions allow easy transport and setup, especially for temporary or budget-conscious needs. Preparing and securing these DIY weights properly ensures your sign stays stable without risking damage or safety hazards.
Filling Containers with Sand or Water
Using containers filled with sand or water offers a practical way to add weight to signs. Water-filled containers are lightweight when empty, making positioning easier before filling. Sand adds heavier mass per volume, providing greater stability in smaller containers.
Containers such as sturdy plastic jugs, buckets, or reusable water bottles work well. Sand can be purchased in small amounts from garden centers or hardware stores, while tap water requires no additional cost. Both materials are readily available and adaptable to various weight needs.
Using Bags and Fabric for Weight Containment
Fabric bags, like durable canvas or nylon, can hold loose sand, small gravel, or pellets. Bags designed specifically for adding weight may be found at hardware stores or online, but you can repurpose heavy-duty reusable shopping bags, pillowcases, or old backpacks. Using bags allows flexibility in shaping the weight and helps avoid hard, sharp edges that could damage equipment or create hazards around customers.
Filling bags with dry play sand or small stone pellets provides dense, compact ballast that’s easier to stack or arrange. For temporary setups, lightweight fabric is more economical, while heavier, production-style fabric bags hold up better for repeated use. Marking bags with colors or labels helps track weight classes, which is useful when balancing multiple signs or displays.
Sealing and Securing DIY Weights
Proper sealing and attachment prevent spills and ensure your weights stay where you want them. Loose sand or pellets in unsealed bags can escape, causing messes or tripping hazards. Use strong ties, zip ties, or clamps to close bags securely.
- Choose a sturdy container or bag rated to hold the weight material without tearing.
- Fill the container or bag, leaving space at the top to fold or twist closed.
- Seal bags tightly with zip ties or strong tape to prevent leakage.
- Add a handle or D-ring attachment by sewing, gluing, or tying for easy moving and securing.
- Position weights near the sign base, evenly distributing weight to avoid tipping.
- Attach with straps or carabiners if your sign frame includes tie-down points.
- Check connections regularly during use to ensure everything remains secure.
Ensure all sealing materials are weather-resistant to avoid weakening from rain or sunlight exposure during outdoor use.
Limitations and Safety Considerations
Homemade weights work well for light to moderate wind conditions but may not provide enough stability for heavy gusts or uneven surfaces. Loose sand bags or open containers risk spillage, which can create slipping hazards. Weight distribution should avoid blocking visibility or pedestrian paths, especially at night.
Be mindful of sharp edges on repurposed materials that might cut fabric or injure passersby. Regular inspection is important, adjust or replace weights as needed to maintain safety and effectiveness.
When DIY Weights Are Not Suitable
DIY weights may not be a good choice for permanent installations, large signs, or locations exposed to severe weather. Industrial-grade anchor systems or purpose-built ballast bags with steel-shot fill offer higher durability and stability for such cases. Signs requiring compliance with strict safety codes often demand professional-grade solutions. Consider upgrading if your temporary method shows signs of wear or instability over time.
6. Adapting Weighting Solutions to Weather and Surface Conditions
Weather and surface conditions greatly influence the choice and adjustment of weights for outdoor signs. Rain, snow, and high winds demand durable, corrosion-resistant materials that maintain grip and stability. For example, metal weights need to be coated to prevent rust, especially when exposed to rain or melting snow. In windy conditions, heavier weights or additional anchoring points can prevent tipping or shifting. Snow adds extra challenge by making surfaces slippery or creating uneven footing, so ensure weights are firm enough to hold the sign in place despite these conditions.
Surface type is equally important to consider. Soft surfaces like grass or soil allow the use of ground stakes, augers, or spikes driven directly into the ground for a stable hold. These anchors are effective because they penetrate the surface, reducing movement from wind or accidental contact. In contrast, hard surfaces such as pavement, asphalt, or concrete limit anchoring options. On these, weighted bases or sandbags are preferable since you can’t drive stakes into the surface. Uneven or polished surfaces require slip-resistant padding beneath weights to keep signs from sliding. To help you adapt your sign’s weighting system, here’s a checklist covering key adjustments for weather and surfaces:
- Use corrosion-resistant weights for wet or snowy conditions.
- Install ground stakes or augers in soft surfaces like soil or grass.
- On hard surfaces, rely on weighted bases, sandbags, or water-filled weights.
- Add slip-resistant pads under weights on smooth or uneven ground.
- Increase overall weight or number of anchors in high-wind areas.
- Check and tighten attachments regularly, especially after storms or heavy rain.
- Bring signs indoors when weather exceeds manufacturer guidelines.
The cost for weather-adapted weights varies widely. Simple sandbags or water weights may cost $10 to $30 each, while heavy-duty coated metal or commercial-grade weighted bases range from $40 to over $100. Stakes and augers typically cost $5 to $20 depending on size and quality. Expect to invest more for solutions designed specifically to withstand extreme conditions.
Adjusting your weighting system following these guidelines helps maintain the sign’s stability and appearance. Signs weighted only for calm conditions might shift, lean, or fall during strong winds or heavy rain. On the other hand, over-weighting or using improper anchors can damage surfaces or be unnecessarily costly. Regularly inspect your setup, especially after weather events, and make adjustments to ensure long-lasting sign performance and safety.
7. Avoiding Common Mistakes When Weighing Down Signs
One common mistake when weighing down signs is using the wrong amount of weight. Too little weight can allow the sign to tip or shift in wind, while excessive weight might damage the sign or the surface underneath. The weight should be sized to fit the sign and the weather conditions, based on the manufacturer’s recommendations for attachment points and load capacity.
Poor attachment of weights is another frequent problem. Attaching weight where the sign is not designed to hold it can cause stress on weak points and lead to breakage or unsafe conditions. To prevent this, secure weights at points specifically designed or approved by the sign’s manufacturer. For example, many plastic easels have dedicated holes or brackets meant for holding ballast weights.
Trip hazards arise when weights or their securing elements extend into walkways or high-traffic areas. These hazards can cause injuries or liability issues, especially at events or public locations. To minimize trip risks, position weights close to the sign’s base and use low-profile ballast that does not protrude beyond the sign’s footprint. Brightly coloured covers or cones can increase visibility where weights must be placed near pedestrian paths.
- Distribute weight evenly using large enough plates or bags to prevent point loads.
- Secure weights only at attachment points approved by the sign’s manufacturer.
- Avoid placing weights where they block the sign’s message or visibility.
- Use low-profile or camouflaged weights to reduce trip hazards.
- Check the weight placement daily for movement, especially after strong winds or rain.
- Increase ballast for large or inflatable signs, or in unexpectedly windy locations.
- Keep temporary weights in clearly marked, non-entry zones when possible.
Signs often tip despite weighting when the ballast shifts due to uneven surfaces or wind gusts. Ensuring that the ground is as level as possible and using weight distribution plates that spread the load can reduce this movement. Also, combining multiple smaller weights around a sign’s base often works better than using a single heavy weight. For signs used in crowded venues or campuses, use weights compatible with the existing tether or securing systems employed by facility staff or contractors.
When setting up weights outdoors, think about how weather impacts both the weight material and the surface. Wet or cold conditions can reduce friction and make weights slide, requiring heavier anchoring or rubber-backed plates for grip. In these settings, checking the sign stability at least twice daily is advised. Weights designed for filling with water or sand can be convenient but should be inspected to confirm no leakage or settling occurs, which can reduce their effectiveness and create tripping or slipping hazards.
8. Professional-Grade Anchor Systems and When to Use Them
Professional-grade anchor systems become necessary for securing larger or more valuable outdoor signs, especially in windy or high-traffic areas. These systems provide long-term stability by fixing signs firmly to the ground or combining heavy ballast with anchoring hardware designed to withstand weather and tampering. Knowing which type fits your sign type and location ensures safety and durability.
Types of Ground Anchors and Their Use Cases
Ground anchors include stakes and augers, each suited for different soil conditions and sign sizes. Stakes are practical for firm soil and moderate-sized signs, easily driven into the ground with a mallet or hammer. Augers, which screw into the soil, offer stronger hold in loose or sandy soil and are ideal for larger or taller displays. Both require tools for installation and removal, so plan accordingly. For very large installations or when stakes are not allowed, such as on hard surfaces or asphalt, alternative methods like weighted bases or concrete anchors may be needed.
| Anchor Type | Best Soil Type | Installation | Recommended Use | Cost Approximation* |
|---|---|---|---|---|
| Ground Stakes | Firm soil, grass | Hammer or mallet | Medium-sized signs, soft to moderately firm ground | $5, $15 per stake |
| Augers | Loose or sandy soil | Twisted or screwed in by hand or with tool | Larger or taller signs needing stronger hold | $15, $30 each |
| Concrete Anchors | Hard surfaces, asphalt | Drilled and screwed in | Permanent, high-stability installs | $30, $60 per anchor |
| Weighted Bases | Any surface, ground-level | Placed under or around sign legs | Temporary or mobile signs, areas without staking | $40, $100+ per unit |
*Prices vary by supplier and region; heavier or specialty anchors may cost more.
Integrating Anchors with Weighted Bases
Weighted bases provide heavy, prefabricated support and are especially useful where ground penetration by stakes or augers isn’t possible. These bases often use materials such as concrete or sand-filled components and can be combined with ground anchors for improve stability. For example, a weighted base with integrated slots for stakes lets you secure a sign against tipping and sliding.
Ballast bags, such as Titan® Anchor Sandbags for higher capacity or Apex® Sandbags for canopy legs, offer flexibility and clean appearances suited for professional events. Combining ballast with anchoring hardware maintains aesthetics while providing solid foundation support. Ensure bases or bags fit the sign’s frame securely, and always check the supplier’s ballast recommendations rather than guessing.
Never rely on visual judgment alone; test your setup by gently tilting the sign to confirm solid anchoring before public use.
Maintenance and Inspection Tips for Anchor Systems
Regular maintenance confirms that anchors and weighted bases continue to perform as intended. Inspect stakes and augers for rust, bending, or looseness and tighten or replace as needed. Weighted bases should be checked for cracks, water damage, or shifting, especially after storms or heavy use.
During inspections, test stability by gently pushing or tilting the sign to detect any looseness. Signs installed with concrete anchors should be examined for cracks in the anchors or surrounding surface. Prompt repairs reduce the risk of sign damage or injury and extend the lifespan of your anchoring system.
Quick-Start Action Plan for Weighing Down Your Sign
Follow this simple plan to secure your outdoor sign safely and effectively, ensuring it stays stable in varying conditions.
- Before Installation: Choose the weight material that suits your sign type and local weather. Check it matches the size and wind conditions of your area.
- Day 1: Attach weights to your sign using the recommended secure methods for your sign’s frame or base. Confirm the weights stay firmly in place with a gentle tug.
- Day 1: Position the sign on the intended surface, using additional anchoring if the surface is uneven or slippery. The sign should not wobble when nudged.
- Week 1: Monitor the sign after a windy day to see if additional weight or repositioning is needed. If the sign shifts or leans, add more support.
- Monthly Check: Inspect all attachments and weights for wear or loosening, especially after storms. Tighten or replace parts to maintain stability.
Frequently Asked Questions
What Is the Safest Way to Weigh Down a Sign in Windy Conditions?
Use sandbags or ballast bags placed low and close to the base to prevent tipping without blocking the sign face. Position them within the sign’s footprint to avoid creating hazards or hiding information.
Can I Use Water-Filled Weights for Outdoor Signs?
Water weights can work temporarily but may freeze or leak; sand or steel shot-filled bags are more durable for long-term outdoor use. Proper covers extend lifespan up to three years in normal conditions.
How Do I Prevent Homemade Weights from Damaging My Sign Frame?
Use soft materials like sandbags contained in fabric covers to avoid scratching or bending the frame. Avoid hard or sharp objects and distribute weight evenly across contact points.
What Weight Is Recommended for a Plastic Easel Sign?
Light saddle sandbags or circular sandbags between 5 and 25 pounds help stabilize plastic easels without stressing the frame. Adjust weight based on wind conditions and sign size.
Can I Leave My Weighted Sign Outside Overnight?
Yes, if the weights and sign materials are rated for outdoor use and weather conditions are within limits. Remove or store displays in severe weather to prevent damage.
How Do Ballast Bags Fit Behind Displays Without Obstructing Views?
Ballast bags have a compact rectangular shape designed to fit unobtrusively behind kiosks or beneath platings, maintaining the display’s visibility and footprint.
Wrapping Up
Securing your outdoor sign with the right weight and attachment method makes a big difference in preserving its stability and lifespan. Start with the weights and methods that fit your specific sign and environment, then keep an eye on its performance as conditions change. Taking these steps will save you repair time and protect your investment.


