PVC Sign Ideas: 8 Creative Types and Practical Tips for Durable Signs
PVC sign ideas offer a flexible and affordable way to create eye-catching displays for any purpose. Use 3mm or 5mm thick expanded PVC sheets for durable signs that support vivid printing and easy mounting options. Starting your design with clear colors and fonts ensures your message stands out on this lightweight, weather-resistant material.
Key Takeaways
- Choose 3mm or 5mm thick PVC sheets for balance between durability and lightweight handling.
- Design signs at a minimum of 32 DPI, like 1100 pixels wide for a 3×2 foot sign, for crisp printing.
- Consider layering flat PVC bases with glued-on design and frame pieces for large-format signs.
- Use bold, contrasting colors and simple fonts to maximize readability on PVC surfaces.
- 3D PVC lettering adds depth and makes storefront or event signs more visible.
- Free shipping often applies to orders over $50 within the continental US, reducing costs.
1. 8 Creative PVC Sign Ideas for Every Purpose
PVC signs are a versatile option suitable for a wide range of uses both indoors and outdoors. Their lightweight yet sturdy nature and waterproof plastic construction make them ideal for businesses, event planners, and DIY crafters looking for budget-friendly signage solutions that deliver professional results. Here are eight popular types of PVC signs that you can create, each with unique features and uses:
- Flat Custom Printed PVC Signs: These are typically 3mm thick sheets printed with your design and cut to size. They work well for indoor retail displays, directional signs, or short-term outdoor promos. The smooth surface allows vibrant colors and sharp images.
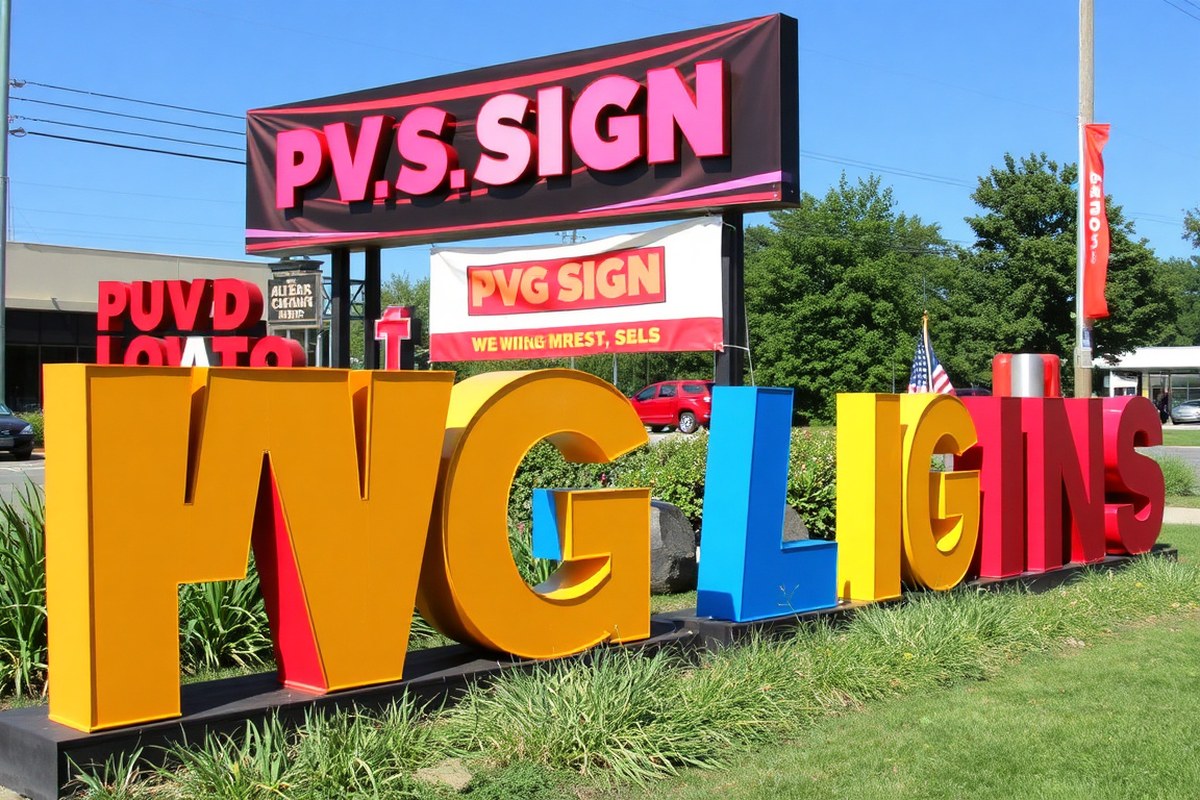
- 3D Layered PVC Signs: By stacking multiple PVC layers, you produce dimensional lettering or shapes that stand out visually. This technique is great for storefront logos or event branding where eye-catching detail matters. It requires careful alignment and some cutting tools.
- LED Backlit PVC Signs: Incorporating LED light panels behind the PVC adds brightness, making your signage visible at night or in low-light areas. Popular in storefront windows or event booths, these signs cost more due to electrical components but offer strong visual impact.
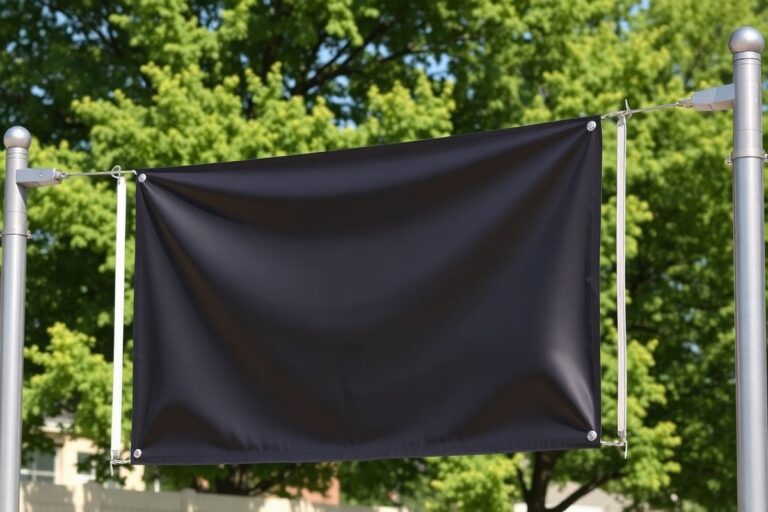
- PVC Hanging Banners and Flags: Lightweight and water-resistant, PVC banners easily hang indoors or outdoors. Their flexibility allows you to create custom shapes or sizes suitable for trade shows or directional guidance during events.
- Vinyl Decal on PVC Backer: Applying vinyl decals onto smooth PVC sheets combines low cost and flexibility with easy surface customization. This option suits temporary promotions or indoor aesthetics where quick updates are necessary.
- Outdoor PVC Yard Signs: Thicker or reinforced PVC panels are ideal for weather-resistant yard or real estate signs. Their rigid structure prevails in wind and rain, lasting through a season or two without fading.
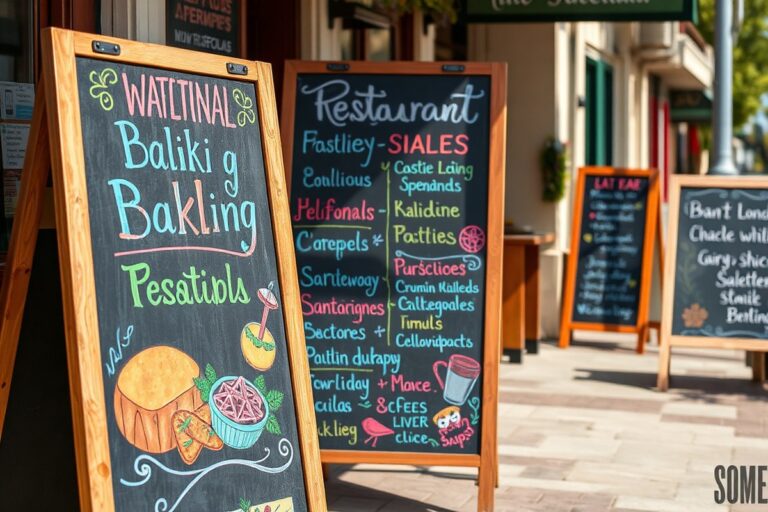
- PVC Chalkboard Signs: A chalkboard finish added to a PVC base allows reusable messaging for cafes, markets, or events. This multi-use solution saves money over printed sign refreshes and supports handwritten promos.
- Custom Shaped PVC Signs: One major benefit of PVC is its ability to be cut into any shape. Whether it’s a logo silhouette or thematic graphic, these signs add uniqueness to your brand presence and can be used indoors or outdoors.
Choosing the right type depends on your display context. Indoor signs prioritize sharp visuals and lightweight structure, while outdoor options need extra thickness or waterproof finishes to endure weather conditions. Custom shapes and 3D effects increase costs but boost visibility and customer engagement. Simple printed panels or vinyl overlays offer affordable solutions with fast turnaround times around 48 hours.
2. Designing Your PVC Sign: Colors, Fonts, and Layout Tips

Choosing the right colors, fonts, and layout for your PVC sign is key for catching attention and making your message clear. Designs that use high contrast colors, readable fonts, and balanced layouts help your sign stand out indoors or outdoors and communicate effectively from a distance.
Choosing Colors for Maximum Visibility
Color selection directly impacts how well your PVC sign is seen. Outdoor signs perform best with strong, contrasting colors like black or dark blue text on a white background because sunlight can wash out colors. For indoor signs, you can use more varied tones, but aim for at least 70% contrast between text and background to keep readability high. Avoid light colors on light backgrounds or dark on dark, as they reduce legibility.
Glossy PVC finishes tend to reflect light, so matte or satin vinyl decals work well to reduce glare in bright conditions. For signs exposed to extreme outdoor temperatures, select UV-resistant inks and vinyls to maintain color vibrancy, considering your sign’s expected lifespan against weather exposure. It’s wise to order a printed proof before finalizing to see how your colors appear on PVC material.
Picking Fonts and Sizes for Clear Reading
Simple, bold fonts improve readability on PVC signs, especially when viewed from a distance. Sans serif fonts like Helvetica, Arial, or Futura work well because they have clean lines. Avoid ornate or script fonts that can be difficult to read quickly.
Font size depends on viewing distance. For example, at 10 feet away, letters should be at least 1 inch tall, but if your sign is meant for roadside visibility up to 100 feet, letters need to be 8 to 10 inches tall. Use larger font sizes for headlines and keep body text simple and concise. Keep the amount of text limited to avoid crowding and ensure fast comprehension.
Balancing Layout for Visual Flow
A clear layout directs the viewer’s eye through your sign, making the message easy to process. Centered or left-aligned text with even margins gives a clean appearance. Space elements like logos, headlines, and contact information evenly, leaving 10 to 15% of your sign area empty to prevent overcrowding.
Use hierarchy in size and color to emphasize key information first, like your business name or event date, then secondary details in smaller or lighter text. Placing logos or images on one side balances text on the other can improve visual harmony. With large PVC signs, breaking design into sections or layering pieces glued separately adds depth without clutter.
Design Variations for Different Situations
For trade shows or events, portability and quick recognition matter. Use bright highlight colors and bold fonts over simple backgrounds. A vertical layout fits better in booth spaces, while horizontal works for outdoor banners. Short, clear messages with large text help visitors snap important info at a glance.
Political or roadside campaign signs require even larger text and high-contrast palettes. White or yellow backgrounds with red or black lettering are common because they remain readable at highway speeds. Incorporate reflective vinyl if your budget allows to boost nighttime visibility. Indoors, softer colors can improve mood while maintaining contrast for visibility under artificial light.
Always check how your chosen colors and fonts look printed on PVC using a sample or proof, as screen colors may not match the final physical sign exactly.
3. How to Make 3D PVC Lettering That Pops
Creating 3D PVC lettering that stands out requires careful layering, precise cutting, and a clean finish. By assembling multiple PVC layers and adding the right paint and sealant, your letters gain depth and visual impact. Follow these steps to build dimensional PVC letters that improve your sign’s appeal.
Gathering Materials and Tools
Start with high-quality 3mm to 5mm thick expanded PVC sheets for durability and ease of cutting. You’ll also need an electric drill, a jigsaw or handsaw designed for plastic, sandpaper for smoothing edges, strong outdoor glue such as PVC cement or epoxy, and spray paints suited for plastic surfaces. Additional supplies like masking tape, gloves, and a clean workspace are essential for neat assembly.
For an effective finish, outdoor-rated spray paint helps protect against weather while adding color vibrancy. Also have brushes or paint pens for detail work. Consider standoff hardware if you want to mount the letters with a gap from the sign surface for extra dimension.
Cutting and Layering PVC Letters
Building up layers of PVC sheets creates the 3D effect. Cut your letters accurately using a printed template fixed to the PVC sheet with masking tape. After cutting the first layer, cut additional layers the same shape or slightly smaller to create depth. Sand the cut edges smooth to avoid rough lines or snags.
Before bonding layers, dry-fit the pieces to ensure alignment. Use strong glue made for PVC to attach each layer evenly and clamp or weight them down while drying. Typical glue curing times range from 30 minutes to several hours depending on product instructions. For letters thicker than one inch, multiple layers of PVC stacked work best.
- Print letter templates and attach them to the PVC sheets with masking tape.
- Cut letters using a jigsaw, following the outlines carefully.
- Sand all edges smooth for a clean finish.
- Dry-fit the layers for proper alignment.
- Apply PVC adhesive to each layer and assemble them, stacking for desired thickness.
- Clamp or weight the letters and let the adhesive cure fully.
Finishing and Painting the Letters
Once dry and fully assembled, prime the PVC letters with a plastic-specific primer to improve paint adhesion. Next, apply several light coats of outdoor spray paint in your chosen color, allowing each coat to dry fully between applications to avoid drips.
Accentuate the 3D effect by painting the sides a slightly darker tone or using a gloss/matte contrast. Adding a clear protective sealant after painting extends the longevity of your letters, especially for outdoor use. Let the finished letters cure at room temperature for at least 24 hours before mounting to ensure the paint and sealant harden completely.
4. Using LED Backlit Signs to improve Your PVC Display
LED backlit PVC signs work by placing LED light panels or strips behind a translucent or semi-translucent PVC surface. The LEDs evenly illuminate the sign’s text or graphics, making them highly visible even at night or in low-light conditions. This method contrasts with standard PVC signs that rely solely on external light sources to be seen clearly. The backlighting improve the sign’s readability, draws attention, and creates a professional, polished look. It suits business storefronts, trade shows, and event signage where visibility can impact customer engagement.
Designing LED backlit signs requires using materials that allow light to pass through, such as thin or frosted PVC sheets. Solid or opaque PVC blocks the light, so the type of PVC you choose must balance durability with translucency. For graphics and lettering, use vinyl decals or paint designed for backlit applications to avoid dulling the light. Keep fonts bold and simple to maximize legibility when illuminated. Contrast is key, so choose colors that stand out under LED light, like white or bright shades for letters against darker backgrounds. Avoid overly detailed images that can blur under backlighting.
Compared to non-illuminated PVC signs, LED backlit signs cost more initially. Expect to pay around $100 to $300 for small to medium custom backlit PVC signs, including LEDs and installation materials. However, their impact and visibility often justify the investment, especially for business signs used after dark. The LEDs themselves are energy efficient and have a long lifespan, typically 25,000 to 50,000 hours, reducing maintenance costs over time.
Installing LED backlit PVC signs involves a few special considerations beyond normal PVC sign mounting. You’ll need a power source close to the installation site to connect the LED lighting. This might mean hiring a licensed electrician if there’s no convenient outlet. LEDs work on low voltage, so they require a driver or transformer included in the setup. The sign housing should have space behind the PVC panel to safely install and conceal wiring and LED strips. Proper weatherproofing ensures the electrical components stay dry, especially for outdoor signs.
An effective installation starts with preparing a sturdy backing or frame that holds both the PVC panel and LED elements securely. Attach the LED strips evenly to avoid uneven lighting or hotspots. Use diffusers if needed to spread the light softly across the sign surface. Connect wiring to the driver, then test the lighting before mounting the sign to avoid difficult adjustments later. Secure the power supply and cover electrical parts with waterproof enclosures. Check local codes for outdoor electrical work to stay compliant.
LED backlit PVC signs are an excellent way to boost your display’s visibility and appeal. Selecting the right translucent PVC, designing with light passage in mind, and carefully handling installation can produce striking, durable signs that stand out day and night. Although costs and setup are higher than standard PVC signs, the benefits for marketing and visibility often outweigh these tradeoffs.
5. DIY PVC Chalkboard and Vinyl Decal Combinations
Using PVC as a base for a chalkboard combined with vinyl decals creates a flexible, reusable sign solution. The chalkboard paint surface lets you update messages easily, while vinyl decals add permanent decorative or branding details. This combination suits retail signs, event signs, and craft projects seeking both durability and adaptability.
Preparing PVC Surface for Chalkboard Paint
Start by cleaning the PVC board to remove dust, dirt, or oils that affect paint adhesion. A smooth, slightly roughened surface helps the chalkboard paint bond well, so light sanding is recommended. Use medium-grit sandpaper (around 120 grit) and sand evenly over the entire side you plan to paint.
After sanding, wipe the board thoroughly with a damp cloth. Allow it to dry completely before moving on. This preparation step ensures the chalkboard paint sticks properly and prevents peeling or bubbling later.
Applying Chalkboard Paint Correctly
Use a high-quality chalkboard paint made for non-porous surfaces, available in craft or hardware stores for about $10 to $20 per 8-ounce can. Stir the paint well before use, then apply it in thin, even coats with a foam roller or high-density shed-free brush. Multiple thin coats work better than one thick coat.
- Place the prepared PVC board on a flat, protected surface in a well-ventilated area.
- Apply the first thin coat of chalkboard paint, rolling or brushing in one direction to spread evenly.
- Let the first coat dry for 1 to 2 hours depending on room temperature (65, 75°F recommended).
- Apply a second coat crosswise to the first coat for better coverage.
- Allow the paint to cure for at least 24 hours before using or adding decals.
Applying too thick a layer of chalkboard paint can cause bubbles or cracking during drying, so keep coats thin and even.
Adding Vinyl Decals for Custom Flair
Vinyl decals offer sharp, colorful graphics or messaging that won’t smudge like chalk. For best results, choose decals with adhesive suited for plastic surfaces. Position decals carefully after chalkboard paint cures because repositioning can reduce stickiness or damage the paint.
Clean the decal placement area with isopropyl alcohol to remove any chalk dust or oils. Peel the vinyl backing and use a firm squeegee or credit card to press the decal evenly onto the surface, working from the center outwards to avoid bubbles. Leave at least 24 hours for the adhesive to set before handling the sign extensively.
- Choose or design vinyl decals sized to fit the chalkboard area without interfering with writing space.
- Clean decal placement spot with alcohol and let dry fully.
- Peel protective backing from decal carefully.
- Position decal on the chalkboard surface and press firmly using a squeegee or flat card.
- Check for air bubbles and smooth out carefully, lifting and reapplying if necessary.
- Allow decal adhesive to cure for 24 hours before frequent use or exposure to moisture.
Avoid placing vinyl decals over fresh chalkboard paint before it fully cures to prevent peeling or uneven surfaces.
6. Essential Tools and Safety Tips for PVC Sign Making
To successfully cut and assemble PVC signs, you need specific tools designed for precision and safety. Essential cutting tools include a miter saw or a jigsaw, which allow clean and accurate cuts on PVC sheet or pipe. Sandpaper is necessary to smooth edges after cutting, preventing sharp fragments that could cause injury or interfere with assembly. For joining parts, use a strong PVC construction adhesive and optionally a PVC primer to improve glue bonding, especially for outdoor signs facing weather exposure. Spray paint formulated for plastic surfaces helps give your sign a professional look while resisting fading.
Protecting yourself during these tasks is critical to avoid injury. Personal protective equipment should include safety goggles to shield your eyes from flying debris when cutting or sanding, and a dust mask to prevent inhaling fine PVC particles. Gloves can protect your skin when applying adhesive or paint but choose disposable ones to avoid chemical absorption. Keep your workspace well-ventilated, especially when using glues and paints, since fumes can irritate your respiratory system. Store all chemicals out of children’s reach and follow all manufacturer instructions exactly.
- Miter saw or jigsaw for cutting PVC sheets and pipes
- Sandpaper (medium grit) for smoothing edges
- PVC construction adhesive and optional primer for strong bonding
- Spray paint suited for plastics, with even coats in dry conditions
- Safety goggles to protect eyes from debris
- Dust mask to avoid inhaling dust
- Gloves to protect hands from glue and paint
Handle glues and cutters with care: always apply adhesive in a well-ventilated area, using only the recommended amount to avoid excess that can weaken your bond. Cut PVC slowly to prevent cracking or uneven edges. Do not use dull blades as they increase the risk of slips and rough cuts; routinely change blades based on project size. When painting, allow each spray coat to dry fully, typically 15 to 30 minutes depending on temperature, before applying another. Avoid working outdoors on windy or damp days to prevent dust or moisture from compromising the finish.
Costs for these tools vary: a basic handsaw or jigsaw starts around $30, while a miter saw is usually $100 or more. Adhesives can cost $5 to $15 per bottle, and a can of spray paint ranges from $6 to $12. Investing in proper equipment and safety gear not only improves your project quality but also reduces accidents and rework. Pay attention to surface preparation and drying times for the best results and a durable PVC sign.
7. Mounting and Installation Options for PVC Signs
Securing your PVC signs properly is key to maintaining their appearance and effectiveness, both indoors and outdoors. You can choose from several mounting methods that balance strength, ease of installation, and damage prevention. The choice depends on the sign size, location, surface type, and exposure to elements like wind.
Grommets are metal rings installed along the edges of PVC signs. They reinforce holes to hang signs without tearing, making them ideal for suspension using ropes, strings, or zip ties. Grommets work best for outdoor signs or temporary displays that need to hang freely or be easily moved. To install, punch holes at the corners about 1 inch from the edges and press the grommet set with a hand tool. Hang the sign by threading rope or zip ties through these grommets and securing the other end to an anchor point. This method keeps the sign firmly held while avoiding direct pressure or damage to the PVC surface.
Besides hanging via grommets, you can mount PVC signs directly onto walls or other flat surfaces. Common options include screws with washers, double-sided mounting tape, and Command strips. Screws provide a strong, permanent hold ideal for outdoor environments or heavier signs, especially when fastened through pre-drilled holes with a washer to distribute weight evenly. Use rust-resistant screws for outdoor mounting to avoid corrosion. Double-sided tape or Command strips are good for indoor use or rental spaces where you want to avoid wall damage; ensure the surface is clean and smooth before applying. Suction cups offer a non-invasive option for glass doors or windows, pressing firmly onto clean surfaces and hooking to sign grommets if present.
| Mounting Method | Best Use | Advantages | Disadvantages |
|---|---|---|---|
| Grommets with Rope/String/Zip-Ties | Outdoor hanging, temporary setups | Strong hold without damaging sign, easy to move | Requires anchor points, not flat against surface |
| Screws with Washers | Permanent outdoor or indoor wall mounting | Very secure, suitable for large/heavy signs | Leaves holes, potential wall damage |
| Double-Sided Mounting Tape | Indoor flat surface mounting | No wall damage, clean look | Less durable outdoors, surface prep needed |
| Command Strips | Indoor temporary mounting | Easy removal, no residue or damage | Limited weight capacity, sensitive to humidity |
| Suction Cups (With Grommets) | Glass doors and windows | Damage-free, reusable, quick installation | Depends on surface cleanliness and smoothness |
Outdoor signs must withstand wind, so secure fasteners like screws or grommets with sturdy anchors prevent damage or loss. For smaller sign sizes, around 12″x12″ to 12″x18″, tape or Command strips can hold well indoors without concern for wind load. Clean all mounting surfaces thoroughly, removing dust or grease, to ensure adhesives or suction cups stick properly. Monitor the sign after installation to catch any loosening fasteners early.
8. Common Mistakes When Making PVC Signs and How to Fix Them
Cutting PVC signs inaccurately can cause jagged edges or uneven shapes that look unprofessional and may weaken the structure. Using a dull blade or the wrong tool often results in splintering or cracking. To avoid this, use a fine-toothed saw or a sharp utility knife specifically designed for PVC. Cut slowly, securing the PVC firmly on a flat surface for clean, precise lines. After cutting, sanding the edges smooth is essential to prevent roughness and improve aesthetics.
Vinyl decals often bubble or peel if the surface isn’t prepared properly or if the adhesive and application process is rushed. Clean your PVC surface with isopropyl alcohol before applying decals to remove dust, dirt, and oils. Make sure the PVC is completely dry and at room temperature, ideally between 65°F and 85°F. Apply decals using a squeegee or credit card to push out air bubbles from the center outward. Avoid touching the adhesive backing and allow the decal to cure for at least 24 hours before handling or mounting to ensure strong adhesion.
The wrong paint or inadequate finishing steps can lead to peeling, fading, or cracking that shortens the lifespan of your PVC sign. Use spray paints formulated for plastic surfaces; these create a flexible bond that moves with the PVC. After painting, seal the surface with a clear acrylic topcoat to protect against UV damage and weather exposure. Let each layer dry fully, which usually takes about 30 minutes for spray paint and up to an hour for the clear coat, repeating as needed for even coverage. Avoid painting in extremely humid or cold conditions, as these slow drying and weaken adhesion.
Always follow the manufacturer’s drying times and avoid applying paint in direct sunlight to prevent bubbling and uneven finishes.
- Use a sharp, fine-toothed blade and secure PVC firmly before cutting
- Clean PVC with isopropyl alcohol and dry completely before applying vinyl
- Apply vinyl decals slowly with a squeegee, removing air bubbles thoroughly
- Choose spray paint designed for plastics and apply in thin, even coats
- Seal painted surfaces with clear acrylic to improve weather resistance
- Allow sufficient drying and curing time between layers and before use
- Work in controlled temperature and low humidity environments for best results
Minor mistakes like rushing paint application or ignoring surface prep can waste materials and cost time replacing damaged signs. Proper cutting, cleaning, and finishing protect your investment and ensure your PVC sign looks sharp and lasts through its intended display period. Your finished product should have smooth edges, durable vinyl graphics without bubbles, and a paint finish that resists fading or cracking under sunlight and moisture exposure.
Step-by-Step Action Plan for Your First PVC Sign
Start creating your PVC sign today by following these focused steps. This plan helps you move from idea to installation efficiently.
- Day 1: Choose your sign’s purpose and size. Confirm the dimensions fit your intended display area.
- Day 2: Select colors and fonts based on visibility and branding. Test readability from at least 10 feet away.
- Day 3: Design your layout using design software or templates. Print a small test version to check alignment and proportions.
- Day 4: Cut or order your PVC base and prepare 3D lettering or decals. Inspect edges for smoothness and accuracy.
- Day 5: Assemble your components and add finishing touches like LED backlighting if desired. Ensure all wiring and attachments are secure.
- Day 6: Mount your sign using your chosen method (wall, frame, stakes). Verify stability and proper visibility at your location.
- After 1 Week: Inspect for wear, fading, or mounting shifts. Make minor adjustments or repairs as needed.
Frequently Asked Questions
What Are Some Unique Ways to Customize PVC Signs Beyond Standard Designs?
You can create custom-shaped PVC signs or layer PVC pieces for a dimensional effect. This adds texture and grabs more attention compared to flat signs.
Can PVC Signs Be Used Outdoors Without Degrading Quickly?
High-quality PVC signs are durable for outdoor use but may need UV-resistant coatings. This protects colors and extends sign life in sun-exposed areas.
How Fast Can I Get a Custom PVC Sign After Ordering?
Most companies print and ship PVC signs within 48 hours after final design submission. This quick turnaround is great for tight event or marketing deadlines.
Are There Eco-Friendly PVC Sign Options Available?
Traditional PVC is not biodegradable, but some manufacturers offer recycled PVC or PVC alternatives. Choosing these can reduce environmental impact in your signage projects.
What Are Common Sizes for PVC Signs in Retail Settings?
Retail PVC signs often range from small 12″x18″ to larger 24″x36″ panels. Size depends on visibility needs and space available for mounting.
Can I Combine PVC Signs with Other Materials for Mixed-Media Displays?
Yes, combining PVC with wood, metal, or acrylic adds visual interest and durability. This technique suits upscale retail or event signage wanting a modern look.
Key Points to Remember
Creating an effective PVC sign is straightforward once you know the key steps. Start by planning your design carefully with clear colors and fonts that stand out. Take action today by choosing a sign project you can complete with the materials and tools you have on hand. A well-made PVC sign can attract customers and communicate your message clearly for months or even years.