How to Program a Scrolling LED Sign: Simple Steps for Fast Setup and Customization
How to program a scrolling LED sign is simple using the manufacturer’s software or mobile app, with setup taking about 10 to 15 minutes. Start by connecting your LED sign to a computer or mobile device via WiFi, then create and upload your text or graphics. The built-in WiFi antenna and included QWERTY remote make real-time updates easy from up to 100 feet away.
Key Takeaways
- Use the manufacturer’s software compatible with Windows XP, 7, 10, or Android for straightforward programming.
- Connect the LED sign to your device’s WiFi network before sending your program via the “WIFI-SEND” button.
- Adjust scrolling speed and message timing through the software to optimize viewer readability.
- Program full-color RGB signs differently from single-color ones, choosing proper color settings in software.
- Keep your sign’s power adaptor plugged in during programming to avoid interruptions.
- Save and back up your projects regularly to prevent data loss during updates or troubleshooting.
What Is a Scrolling LED Sign and How Does It Work?

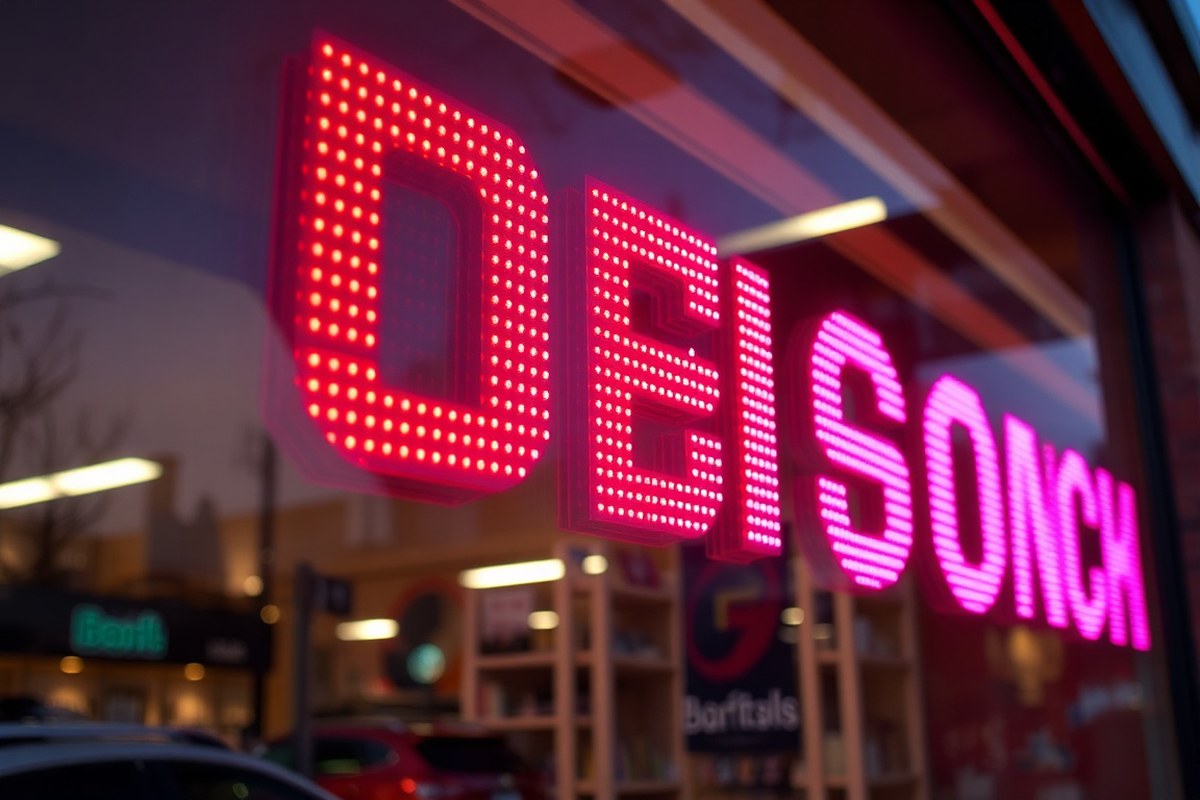
A scrolling LED sign is an electronic display that uses light-emitting diodes (LEDs) to show moving text, images, or animations in a continuous loop. Its design is usually a long and narrow panel, such as a 40″ by 8″ screen, ideal for advertising messages, announcements, or information where visibility from a distance matters. The movement effect is achieved by lighting specific LEDs in sequence, creating the illusion of text or images sliding across the display.
The basic components of a scrolling LED sign include LED modules, a control board, and a power supply. LED modules are the sections containing the individual LEDs, arranged in grids called pixels. Each pixel’s color and brightness can be controlled, particularly in full-color RGB displays, where red, green, and blue LEDs combine to create various hues. Single-color LED signs use just one LED color, such as red, which simplifies programming but limits display options.
The control board acts as the brain of the sign. It reads the programming instructions sent from your computer or mobile device and turns those into signals that tell each LED module how and when to light up. This board receives data either by a wired connection, like USB or Ethernet, or wirelessly through built-in WiFi antennas. For example, many signs include WiFi with password-protected access, allowing you to send new messages remotely after initial setup.
The power supply converts standard voltage (commonly 85-240 volts, depending on your location) to the low voltage needed to run the LEDs and control electronics. Without a stable power supply, the LEDs will flicker or fail to display information properly. Most commercial signs include an internal power adapter designed for reliable operation.
In operation, your program tells the control board what message to show, including text, fonts, colors, scrolling direction, and speed. The control board then lights the LEDs row by row, pixel by pixel, at a speed set by you, commonly with delay times between 2 to 5 seconds for message display. Because the modules update rapidly and sequentially, viewers perceive smooth horizontal scrolling. Settings like speed and timing influence readability; too fast makes it hard to read, while too slow can lose viewers’ attention.
Installation and programming usually take 10 to 15 minutes, thanks to user-friendly software that interacts directly with the control board. Once connected via WiFi or USB, you upload your text and graphics, adjust settings, and start the sign running. Disconnecting from the sign’s WiFi and reconnecting to your home or business network ensures your internet remains available. Common issues include connection status indicated by LED color on the software interface, green means connected, red means no connection.
Scrolling LED signs vary in complexity and cost. Basic single-color models may cost under $100, ideal for simple messages, while full-color RGB signs with WiFi and larger displays often exceed several hundred dollars. Higher-end signs offer better resolution, smoother animations, and multi-line displays that can convey more detailed information for indoor or outdoor use.
Choosing and Installing Software Compatible with Your Sign
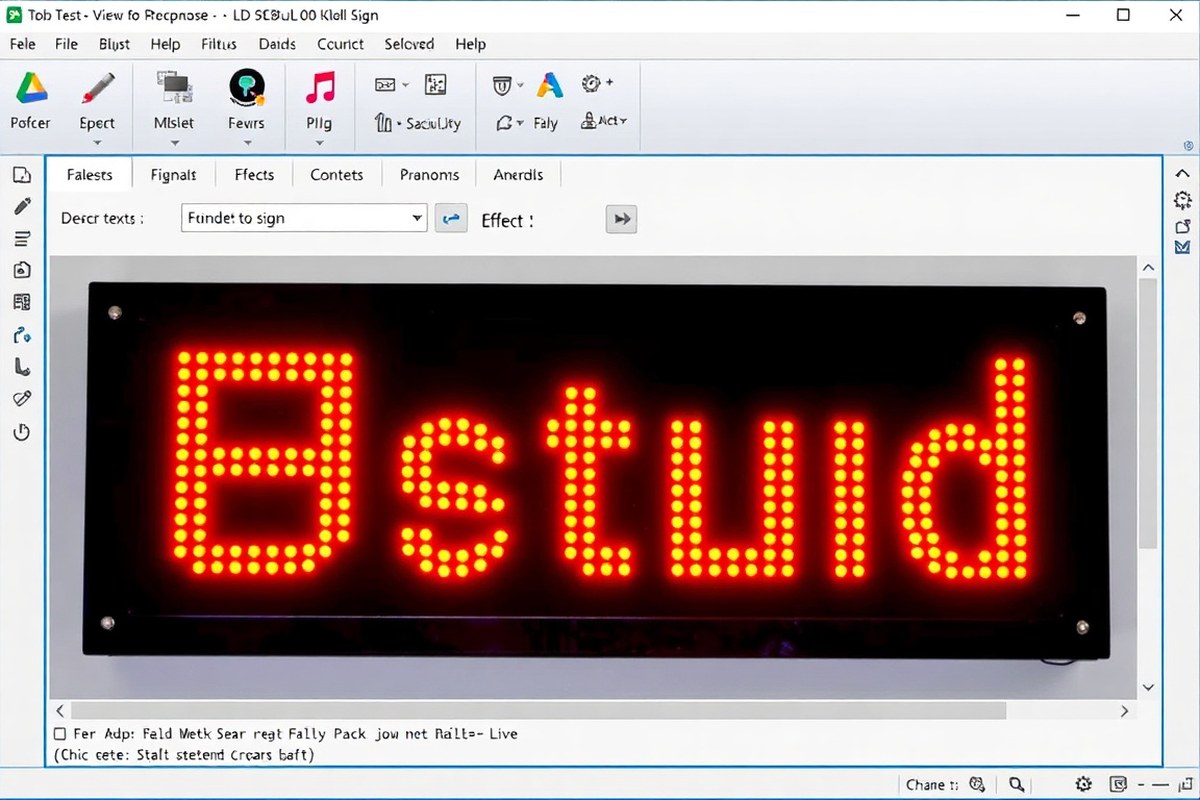
Choosing software that fits your LED sign’s controller is essential for smooth programming and message display. It ensures your messages scroll correctly and that features like brightness and speed adjustments work as expected. Installing compatible software on your computer or mobile device lets you control your sign without hassle.
Popular Software Options for LED Signs
Various software packages cater to different LED sign controllers, making it important to match the software with your hardware. Common programs include HD Player for the HD2018 control cards, LedArt and PowerLed for BX series cards, and specialized apps for Xixun cards like K10, K13, and K20. Some software supports multiple controllers, but checking compatibility ensures you won’t face connection issues or limited features.
For example, the HC-LED app is designed for Android devices and is compatible with some Xixun-controlled signs. It allows you to adjust brightness and scrolling speed and change messages conveniently from your phone. Desktop software generally supports more detailed programming and scheduling options.
| Software | Compatible Control Cards | Platform | Notes |
|---|---|---|---|
| HD Player | HD2018 (Huidu cards) | Windows | Popular for small business signs |
| LedArt | BX series | Windows | Supports rich graphics |
| PowerLed | BX series | Windows | Includes scheduling features |
| HC-LED App | Xixun K10, K13, K20 | Android Mobile | Simple controls, WiFi connection |
| Custom Manufacturer Software | A8, others (check label) | Windows/Android | Vendor provided, tailored features |
System Requirements and Compatibility
Software compatibility depends on your LED sign’s controller card, which you can find on a label behind the sign or in its documentation. The first task is to identify the exact model, such as HD2018 or A8. Each software requires specific operating system versions and communication methods, like USB, WiFi, or Ethernet.
Most desktop LED sign software runs on Windows 7, 8, and 10. Mobile apps like the HC-LED require Android 5.0 or later. Ensuring your computer or device meets these requirements prevents installation errors and connection failures. Also, choosing the right controller type and communication mode inside the software setup screen is essential for proper operation.
Installation and First Launch Steps
Installing your LED sign software is straightforward if you follow each step carefully. Start with the downloadable file from the manufacturer or trusted supplier website. Mobile apps can usually be found on Google Play or similar stores. Always verify the source to avoid malware risks.
After installation, launch the software and select the communication method and controller type. This setup aligns the software with your LED sign hardware, making programming possible.
- Download the software from the official website or app store.
- Run the installer and follow on-screen prompts to complete installation.
- Restart your computer or mobile device if prompted.
- Open the software and locate the settings or configuration menu.
- Select your LED sign model’s controller (e.g., HD2018, Xixun, A8).
- Choose the communication mode (WiFi, USB, Ethernet) matching your connection.
- Test the connection by sending a simple message or command.
- Adjust settings like brightness and scrolling speed as needed.
Keep your device close to the LED sign when connecting via WiFi to avoid connection drops during setup.
How to Connect Your LED Sign to a Computer or Mobile Device
To program your scrolling LED sign, you need to connect it properly to your computer or mobile device using either a USB cable, Wi-Fi, or an SD card. The connection method affects how you transfer your messages and ensure the sign responds correctly. Follow specific steps and check connections carefully to avoid common issues with detection or data transfer.
USB and Wired Connection Methods
Using a USB connection is a direct and reliable way to program your LED sign, typically preferred for indoor signs. It involves physically linking the LED sign to your computer or mobile device and transferring files via a USB flash drive or cable. This method is straightforward and works well when a wireless network is unstable or unavailable.
To connect via USB, prepare a USB flash drive or cable compatible with your sign’s port. Many LED signs feature a “U-disk REC” button, which initiates recording your project from the USB memory to the sign. The sign usually operates on standard US voltage (110 V) and consumes around 60 W, so powering it properly is essential during connection.
- Turn off your LED sign and your computer or mobile device.
- Plug a USB flash drive into your computer and save your scrolling sign program file onto it.
- Safely eject the USB flash drive from your computer.
- Insert the USB flash drive into the LED sign’s USB port.
- Press the “U-disk REC” button on the sign to start transferring and recording the message.
- Wait for the blinking “LOAD” indicator to stop and ensure the sign displays “OK” before removing the USB flash drive.
- Power on the LED sign to see if your program runs as expected.
Wi-Fi Setup and Considerations
Wireless connection via Wi-Fi gives flexibility by allowing programming without physical cables, ideal for signs installed in less accessible areas. To use Wi-Fi, first connect your LED sign’s built-in Wi-Fi to the same network as your computer or mobile phone. This ensures a stable communication channel for sending updates and commands.
Begin by selecting the LED sign’s Wi-Fi network from your computer or phone’s wireless settings menu. The sign typically shows up as a network you can connect to directly or joins an existing local network. Once connected, open the LED sign programming software and locate the “WIFI-SEND” button to transfer your project wirelessly.
- Turn on the LED sign and enable its Wi-Fi mode according to its manual.
- On your computer or mobile device, open Wi-Fi settings and select the LED sign’s Wi-Fi network.
- Wait until the device confirms connection, ensuring signal strength is good.
- Launch your LED sign programming software and open your project file.
- Press the “WIFI-SEND” button to start transferring the project to the sign.
- Confirm the transfer finished successfully by watching for a completion message or indicator on the sign.
Troubleshooting Connection Issues
Common problems include the LED sign not appearing on your device’s network list or the computer failing to detect the sign via USB. Begin troubleshooting by confirming the sign is powered and properly connected. For Wi-Fi issues, toggling your device’s Wi-Fi off and back on can resolve connection glitches.
If the USB connection isn’t recognized, try different USB ports and cables, and verify that your flash drive is formatted correctly and the files are in the right format supported by the LED sign’s software. Check your LED sign’s manual for any factory reset options if it fails to respond.
During Wi-Fi transfers, ensure both devices are on the same network and that there’s minimal distance or physical obstruction between them. Restarting your LED sign, computer, or mobile device can clear temporary software conflicts.
Creating and Uploading Scrolling Text and Graphics
Creating scrolling text and graphics involves entering and formatting your text, choosing fonts, colors, and effects to maximize visibility and style, then uploading your design to the LED sign using a preferred connection method. Each step helps ensure your message catches attention and reads clearly from a distance.
Setting Text Content and Length
Start by typing your message clearly into the programming software. Keep your text concise, as most LED signs display only one row of scrolling text at a time. Lengthy messages can be harder to read and might require faster scrolling speeds, which reduces readability. Your sign can show either the time or the date, but choose just one since this kind of LED sign displays only one line. Use these suggestions to ensure your text displays properly:
- Keep the font size moderate. When some lines skip on the display, lower the font size and switch the font to Arial.
- Avoid very long messages; split complex information into smaller segments.
Customizing Font, Color, and Scrolling Direction
Many LED signs offer a range of fonts and effects, typically around 38 fonts and up to 32 special effects. Arial is a recommended default if you experience display errors or missing text. Font size 12 is a stable choice for most signs. Choose colors carefully; RGB LED modules allow up to four selectable colors per message, letting you highlight your message or brand colors. Adjust these elements thoughtfully:
- Select from preset color tabs to switch between normal single-color mode and multi-color mode.
- Use scrolling effects like left-to-right or right-to-left to create dynamic movement without compromising legibility.
- Avoid overly complex animations or very fast scroll speeds, especially on smaller signs.
For scroll timing, set font delay to control how long each portion of text remains visible before scrolling changes it. This helps maintain reader focus, especially from greater distances.
Uploading the Program to Your LED Sign
Uploading your text and chosen effects to the LED sign can be done by several methods: USB flash drive, Wi-Fi connection, or SD card. The method depends on your sign’s hardware and software support. Follow these steps for a typical upload using USB or Wi-Fi:
- Connect your computer or mobile device to the LED sign using the provided cable, USB port, Wi-Fi network, or SD card slot.
- Complete your message and style design within the sign’s programming software.
- Save your program to a USB flash drive if using USB or SD card upload options.
- Send the program wirelessly if your sign supports Wi-Fi, ensuring you’re within close range to avoid “time-out” or “lime-out” errors.
- Confirm the upload and watch the LED sign display your new message.
- When problems like missing text show up, check the font size and type to make sure you’re using Arial at size 12.
- Repeat the upload if needed until the message displays clearly.
USB or SD card methods often provide faster, more stable transfers than Wi-Fi, especially in signal-challenged areas. Always test your sign after upload to check for formatting or display problems before launching the message publicly.
Adjusting Scrolling Speed, Timing, and Message Scheduling
Controlling the scrolling speed and delay on your LED sign adjusts how long each message stays visible and how fast it moves across the screen. Speed is often measured on a scale from 1 (slowest) to 5 (fastest), with 2 being a typical default speed. Delay determines how many seconds each message remains fully displayed before scrolling to the next. A regular delay setting is 5 seconds, which grants enough time for viewers to read the message comfortably without feeling rushed or bored.
Adjust these settings based on the size of your sign and the expected viewing distance. Larger signs or those viewed from farther away require slower speeds and longer delays to maintain readability. Smaller signs placed close to the viewer can use faster speeds and shorter delays without loss of clarity. Below is a comparison table to help choose the right balance:
| Sign Size (pixels) | Viewing Distance (feet) | Recommended Speed | Recommended Delay (seconds) |
|---|---|---|---|
| 96 x 16 (typical) | 10, 20 | 2 | 5 |
| 48 x 8 (small sign) | 5, 10 | 3 | 3 |
| 128 x 32 (large sign) | 20, 40 | 1 | 7 |
To change these settings, open the software that controls your LED sign and locate the message properties panel, usually at the bottom part of the interface. There you can adjust speed and delay values for each message or even specific items like text lines or animations. Some software allows enabling or disabling individual items by ticking a box named “Enable this Item,” which helps you design complex schedules.
Scheduling messages ahead allows you to automate content display for different times or days. Good LED sign software includes options to set recurring schedules, perfect for businesses that want to show morning greetings, lunch menus, and evening deals automatically. The process includes these steps:
- Open the schedule or calendar tab in your sign software.
- Create a new schedule entry for your message.
- Select the start and end dates plus the daily start and stop times.
- Choose which days of the week the message should appear.
- Link the desired message to this schedule entry.
- Save and upload the new schedule to your sign.
Schedules allow you to juggle hundreds of messages without manually updating the sign every day. The USB flash memory method lets you transfer these setups to the sign by inserting the device and waiting until the blinking “LOAD” indicator stops and the screen shows “OK.”
Setting your message speed too fast or delay too short can make your content hard to read; start with moderate values and adjust after observing viewer reactions.
Programming Full-Color vs. Single-Color LED Signs
Single-color LED signs and full-color RGB signs differ significantly in programming complexity, software requirements, and display capabilities. Single-color signs typically use one LED color, such as red or green, which limits the programming options mainly to text and basic graphics. Full-color RGB signs combine red, green, and blue LEDs to create a wide color range, enabling more sophisticated programming including animations and videos.
Programming single-color signs often involves simpler software that supports text fonts, basic effects like scrolling, flashing, and simple symbols. Because these signs display one color, your design choices focus on message clarity and timing rather than visual complexity. Full-color signs require software compatible with RGB control, supporting a palette of colors, gradients, and multimedia files for animations or video clips. The additional color control demands more processing power and memory within the sign’s controller, which can affect cost and setup time. Here is a detailed comparison of programming options and features for single-color versus full-color LED signs to help you understand what each type offers and requires:
| Feature | Single-Color LED Sign | Full-Color (RGB) LED Sign |
|---|---|---|
| Color Options | One color (e.g., red, green) | Millions of colors via RGB LEDs |
| Software Complexity | Basic text and graphic editing | Advanced software supporting color blending and multimedia |
| Supported Content | Scrolling text, simple graphics, static icons | Scrolling text, detailed graphics, full animations, video clips |
| Hardware Requirements | Lower processing power and memory | Higher processing power, more memory, stronger power supply |
| Cost | Generally lower upfront cost | Higher cost due to RGB modules and controller capabilities |
| Programming Time | Quicker to set up and upload messages | Longer setup time for color calibration and multimedia integration |
| Customization Options | Limited to brightness and speed adjustments | Extensive customization including color gradients, animations, and video playback |
Choosing the right software depends heavily on your sign type. Basic sign programming software works well with single-color LED signs, providing user-friendly interfaces that focus on text entry and simple visual effects. For full-color signs, select software supporting RGB pixel mapping, animations, and video conversion. Such software often includes templates and color management tools that help produce professional-looking displays.
Full-color signs can display smooth animations like moving logos, product images, or even short video clips. To do this, you upload multimedia files in formats supported by your sign’s software, usually requiring some conversion before upload. This process demands more storage space on the sign’s controller and may require faster data transfer methods, such as USB or Wi-Fi connections, to handle large files efficiently. Single-color signs do not support video or complex animations, restricting their use to static or scrolling text and simple shapes.
In summary, single-color signs offer budget-friendly, straightforward programming for basic messages and graphics. Full-color RGB signs provide broader design freedom with advanced programming, enabling colorful multimedia content that can attract more attention but come with increased cost and setup complexity. Balancing your message needs and budget will guide the optimal choice for your scrolling LED sign.
Common Programming Mistakes and How to Troubleshoot Them
Programming a scrolling LED sign often involves common mistakes that can disrupt your message display or prevent the sign from accepting your programs. Typical errors include selecting the wrong controller type in the software, facing unstable Wi-Fi connections, or encountering corrupted file uploads. These issues matter because they delay your project and can cause frustration when your carefully crafted messages fail to appear correctly.
Start troubleshooting by checking if the software matches your LED sign’s controller. Using the incorrect controller setting can stop the board from accepting the program. Verify the controller type in your software settings and ensure it corresponds to your sign’s specific hardware. Most signs come with documentation or labels specifying the controller model you need to choose.
Wi-Fi instability often interrupts communication between your device and the LED sign. To fix this, move your router closer to the sign, reduce interference from other wireless devices, or try using a wired Ethernet connection if supported. A steady connection will prevent partial uploads or failed programming attempts.
- Confirm correct controller type is selected in your software
- Ensure stable Wi-Fi or switch to wired connection if possible
- Check and replace corrupted program files before uploading
- Restart both the LED sign and the programming device to refresh connectivity
- Reset the LED sign to factory settings if persistent errors occur
- Reinstall or update the sign programming software to fix bugs
- Verify power supply stability, as voltage drops can cause erratic display
Corrupted uploads can happen if files get damaged or interrupted during the transfer. Always save a backup of your programming files to reload if needed. Delete any suspicious or partially uploaded files from the sign’s memory before re-uploading a fresh copy.
A factory reset can restore your LED sign to its original state, clearing bugs or unwanted settings. Follow the reset instructions specific to your sign model, usually outlined in the manual or manufacturer website. This step often solves stubborn glitches and is faster than trying multiple fixes. After reset, program the sign again from a clean software install if necessary.
Reinstalling or updating your software is wise when bugs or compatibility issues arise. Software updates sometimes include critical patches that improve connection stability and controller recognition. Check the software provider’s site for the latest version and detailed installation steps. This can take 10 to 30 minutes, depending on your computer and internet speed.
Good results appear as clear, correctly scrolled messages on your LED sign without flickers, delays, or garbled characters. Watching for these signs, you’ll know when troubleshooting worked or if you should try the next step. Keeping multiple backups of working files and a checklist for quick fixes ensures smoother programming and fewer interruptions on your scrolling LED signs.
Saving, Backing Up, and Sharing LED Sign Programs and Templates
Saving your LED sign programs and templates keeps your work secure and ready for quick edits or future reuse. Most software for scrolling LED signs offers an option to save projects as files on your computer. These files typically have extensions like “.led” or “.prj” depending on the software. Creating reusable templates lets you apply the same formatting and effects to different messages without starting from scratch. Sharing templates between multiple signs is possible by exporting them as files and then importing them into the software connected to each sign.
Backing up your content protects your work from accidental loss due to computer crashes or software errors. Use folders with clear names and dates to organize your saved projects. Storing backups on an external drive or cloud storage service adds a layer of protection. When sharing templates, make sure recipients use compatible software versions to avoid import errors. Some signs support sending content via Wi-Fi, USB, or SD cards; choose the delivery method based on convenience and security. Follow these steps to save, export, and share your LED sign templates effectively:
- Complete your project. Finish adding text, graphics, and effects in the software’s editing window and preview the presentation window to see how the message will appear on the LED sign.
- Save your project locally. Use the “Save” or “Save As” option and choose a descriptive file name and a dedicated folder on your computer or external storage.
- Export the template file. Select the “Export” or “Save Template” option to create a reusable template file. This file can often be smaller than the full project.
- Back up your files. Copy saved and exported files to an external hard drive, USB stick, or cloud storage like Google Drive or Dropbox.
- Share with others. Send the template file by email or file-sharing service to colleagues, or transfer it directly to other computers connected to different LED signs.
- Import templates on other devices. Use the “Import” function in the receiving software to load the template file and open it for editing or uploading.
- Upload to your LED sign. Connect via Wi-Fi, USB, or SD card, press the “WIFI-SEND” button or equivalent function to transfer the project to the sign.
- Retrieve settings if needed. When connecting a sign for the first time, press the “Get param” button to import its settings into your software for consistent formatting across signs.
Keep your backup files organized by date and project name to avoid confusion when managing multiple templates for different signs.
Step-by-Step Action Plan to Program Your Scrolling LED Sign
Follow these steps to get your LED sign up and running with clear, effective messages.
- Before you start: Confirm your LED sign model and compatible software. Test the software’s demo mode to familiarize yourself with its features.
- Day 1: Connect your LED sign to your computer or mobile device using the recommended cable or Wi-Fi. Verify the connection by sending a simple test message.
- Day 2: Create your first scrolling text message or graphic using the software’s editor. Preview it on your device before uploading.
- Day 3: Upload the message to your LED sign. Check the display for clarity, color accuracy, and correct scrolling speed.
- Week 1: Experiment with adjusting the scrolling speed and message schedule to match your audience’s best viewing times. Confirm changes apply correctly on the sign.
- Week 2: Explore programming for full-color signs if yours supports it. Start with simple color changes and verify the display consistency.
- After 2 weeks: Back up your programs and templates to your computer or cloud storage. Test restoring one backup to ensure your files are secure.
- Ongoing: Review your sign’s messages daily. Troubleshoot any display issues using common fixes such as checking connections or restarting the software.
Frequently Asked Questions
How to Program a Scrolling LED Sign?
Use the manufacturer’s software or app to create your message, set speed, and upload. Initial setup usually takes 10-15 minutes.
Can I Program a Scrolling LED Sign Without a WiFi Connection?
Yes, you can program it via USB or direct cable connection if WiFi isn’t available.
How Do I Reset a Scrolling LED Sign to Factory Settings?
Check your sign’s manual for a reset button or software option to restore original settings.
What File Formats Can I Use for Graphics on My LED Sign?
Most signs accept BMP or JPG for images; check your software’s supported formats.
Can I Schedule Different Messages for Different Times on My LED Sign?
Yes, scheduling is common and allows automatic message changes based on time and day.
Is It Possible to Control Multiple LED Signs from One Device?
Yes, some software supports managing multiple signs for synchronized or different displays.
Final Thoughts
Programming your scrolling LED sign opens new ways to communicate with customers or showcase messages effectively. Take the time to connect, create, and customize your displays step by step. Start your first message now by opening the software editor and drafting a simple greeting to see your sign come to life.