DIY Layered Wood Sign: A Complete Guide for Step-by-Step Success
Creating a DIY layered wood sign adds texture and depth to your home decor with budget-friendly materials and simple techniques. Layering wood pieces, such as painted plywood and 1×2 boards, builds a striking dimensional look that stands out. Start by choosing the right wood and tools to ensure clean cuts and smooth assembly for a professional finish.
Key Takeaways
- Select plywood or painted wood sheets sized around 12×12 inches for manageable, visually appealing layers.
- Use basic tools like a saw, sandpaper, Mod Podge, and wood stain to keep costs near $4 per sign.
- Transfer your design with stencils, vinyl decals, or laser cutting for precise details on each wood layer.
- Cut wood layers carefully, adding 1.5 inches to height measurements to accommodate layering depth.
- Sand edges and surfaces between each step to ensure smooth layering and strong adhesive bonds.
- Paint or stain each layer separately before assembly to avoid smudging and achieve clean colors.
What Is a DIY Layered Wood Sign and How It Works

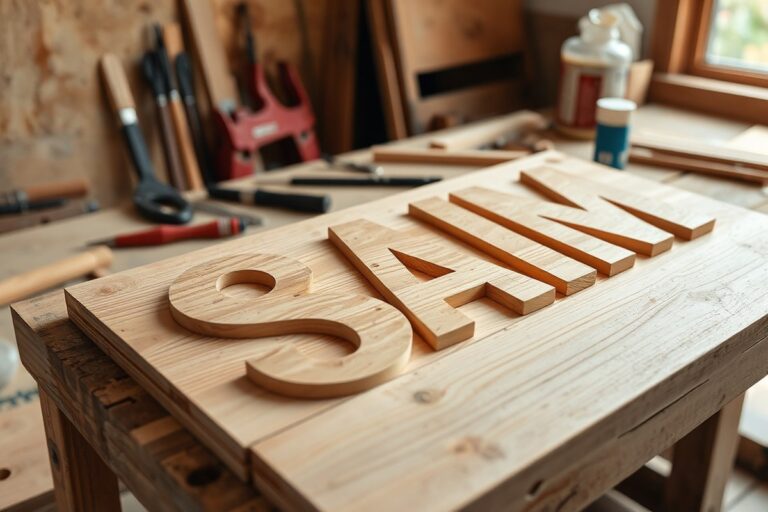
A DIY layered wood sign consists of multiple pieces of wood cut into different shapes, sizes, or design elements that stack and attach together. This layering process creates a three-dimensional effect that adds depth and texture to your sign, making it stand out from traditional flat wood signs. Instead of painting or engraving a single flat surface, layering involves building up several wood pieces to make letters, shapes, or backgrounds pop visually and physically.
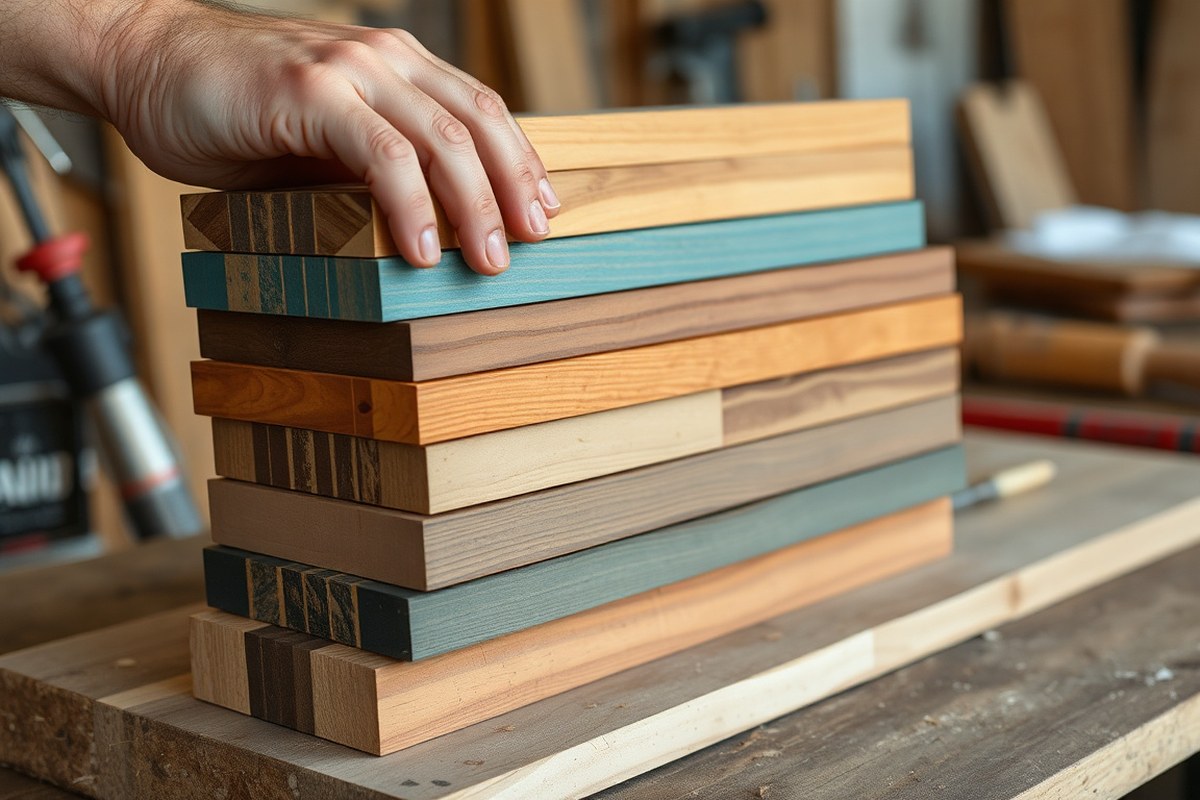
The concept behind layering is simple: you start with a base board, then add cutouts like letters or decorative pieces on top with a small gap between each layer. This gap can be created by using thin wooden spacers, small beads, or foam tape, usually ranging from 1/8 to 1/4 inch in thickness. By controlling these separations, you make shadows and highlights that change with the light and viewer’s angle. The effect adds style and dimension, making the design more dynamic and attractive.
Layered wood signs differ from flat signs mainly because of their depth. Flat signs give a more straightforward, painted or printed look limited to a two-dimensional vibe. In contrast, layered signs offer a tactile feel and cast natural shadows that make your message or design more eye-catching. This makes them ideal for home decor where you want to add interest to plain walls or accent areas. For example, a farmhouse-style layered sign with bold wooden letters on a contrasting stained background can create a charming rustic statement piece.
To make a layered wood sign, you cut each component individually, often from plywood, pine, or other craft woods. You then sand each layer to smooth edges, paint or stain them separately, and assemble by gluing or nailing the pieces at the desired intervals. The process typically takes a few hours to a day depending on complexity and drying times for paint or glue. Materials for a small sign may cost between $10 and $30, which is more affordable than many pre-made decorative signs while allowing full customization.
Good results show clean edges on each layer, consistent spacing, and a balanced design that feels sturdy when handled. Some common problems include layers not aligning correctly, uneven spacing that weakens the 3D effect, and paint running or chipping on layered edges. Careful measuring, using clamps when gluing, and allowing proper drying times reduce these issues.
Variations may include using different thicknesses of wood for stronger relief, or mixing materials like acrylic or metal for some layers to add contrast. You can adjust spacing to make the sign either subtle or bold in dimension. This flexibility lets you tailor your layered wood sign to fit various decor styles, from modern minimalist to rustic farmhouse themes.
Picking Materials and Tools for Layered Wood Signs
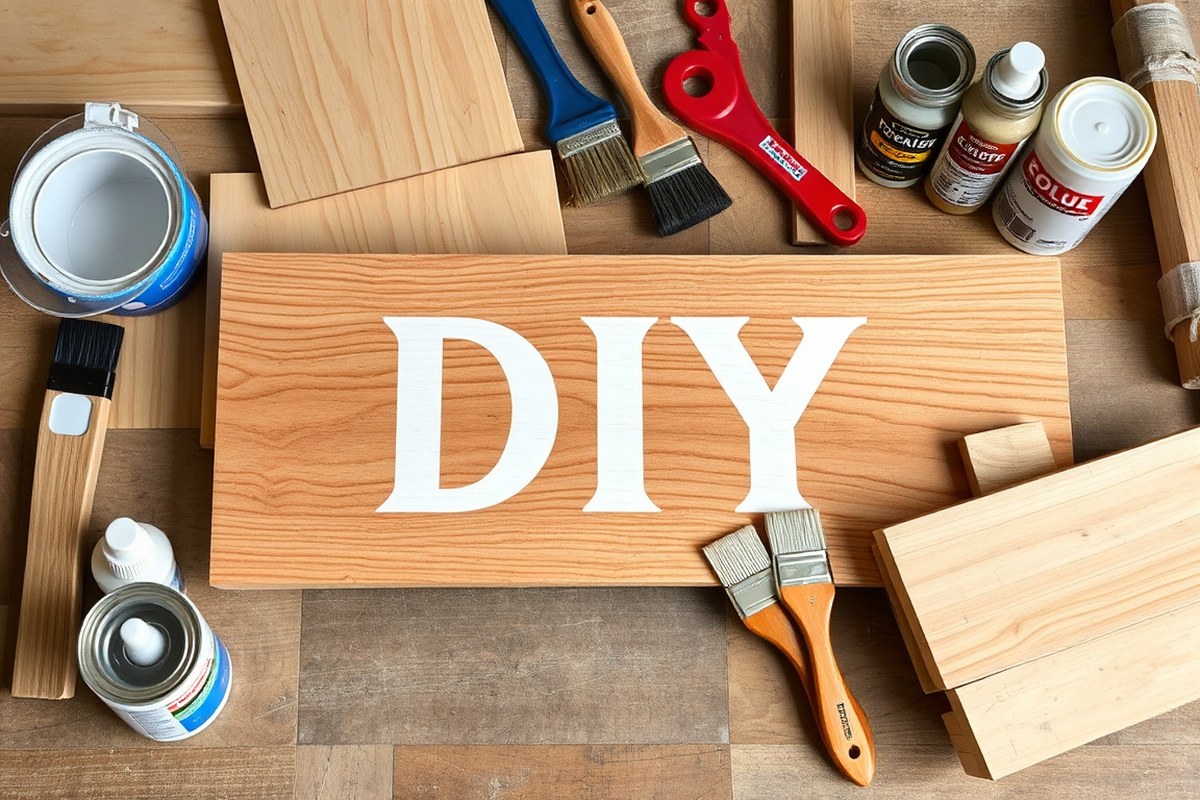
Selecting the right wood, tools, and finishing materials is key to crafting a quality layered wood sign that looks good and lasts. Pine and smooth plywood are the best woods to start with, while essential tools and select paints make the process manageable even for beginners. Cost-effective materials and straightforward supplies keep projects affordable and enjoyable.
Essential Wood Materials
Smooth plywood and solid pine boards stand out as the top wood choices for layered signs. Both are easy to cut, sand, and paint, offering smooth surfaces for sharp lettering and clean layering. Plywood sheets around 1/4 inch thick work well for the layers, while 1×2 pine boards serve as durable bases or frames.
Scrap wood or paint stirrers can be handy for smaller accents or rustic styles, adding character without much cost. For projects aiming to include laser cutting or engraving details, opt for hardwood plywood sheets designed for those techniques to achieve finer cuts and less splintering.
Plan your wood sizes based on the final sign dimensions, common starting sizes range from 12×12 inches to 24×12 inches. Buying wood in these sizes typically costs between $5 and $15 per sheet or board, depending on grade and thickness.
Recommended Tools and Supplies
Certain tools are necessary to cut and assemble layered wood signs accurately, while others improve ease or precision but can be optional. A jigsaw or scroll saw is essential for cutting shapes and letters, especially when no laser cutter is available. A power drill and clamps help securely fasten layers, and sandpaper smooths edges before finishing.
Optional tools include a miter saw for perfect straight cuts, a sanding block for even smoothing, and a craft knife for fine detail trimming. A paintbrush set with varying sizes ensures neat paint application, while a pencil and ruler will aid in measuring and marking your wood precisely.
- Jigsaw or scroll saw for cutting shapes and letters
- Power drill and wood screws or finishing nails
- Sandpaper (120 to 220 grit) or sanding block
- Paintbrushes in small and medium sizes
- Measuring tools: ruler, pencil, square
- Clamps to hold pieces during gluing or painting
- Optional: miter saw, craft knife, sanding sponge
Investing in a basic toolkit of these items usually costs about $30 to $60 if starting from scratch, with major costs for power tools discounted if you already own them.
Paints, Stains, and Adhesives
Acrylic paint is a popular, versatile choice for layered wood signs because it dries quickly, is water-resistant once dry, and comes in numerous colors to suit your design. For a rustic or natural look, water-based wood stains highlight the grain and introduce warm tones without hiding texture.
To bond layers firmly, use wood glue or craft adhesives like Mod Podge that dry clear and offer strong hold. Mod Podge also doubles as a sealer to protect your paint. Avoid cheap glues that don’t bond wood well and may cause layers to separate after time.
Apply thin layers of glue and clamp the pieces until dry to prevent warping or shifting of sign layers.
Finish your project with a clear matte or satin polyurethane spray or brush-on sealer. This protects the wood from moisture and fading while retaining your sign’s aesthetic. A container of acrylic paint costs $5 to $10 per 8-ounce bottle, wood glue averages $5 to $8 per bottle, and sealers range from $8 to $15.
Design Transfer Methods for Layered Wood Signs
Transferring your design onto each layer of wood is essential for a clean, professional look on your layered wood sign. Choosing the right method depends on your skill level, available tools, and desired detail. Popular options include tracing by hand, using vinyl stencils with cutting machines, and laser engraving or direct printing.
Tracing and Hand Drawing
Tracing is the most straightforward and low-cost method to transfer a design onto wood. You start by printing your design on paper, then shade the back with pencil graphite. Place the paper on the wood and trace over the design lines with a firm pen or pencil, pressing hard enough to leave a graphite transfer on the wood surface. This method works well if you want simple outlines or text without elaborate details.
Accuracy depends on steady hands and careful alignment, especially when transferring the same design onto multiple layers. Use a ruler or straightedge to keep layers aligned, or mark registration points along the edges. Expect some slight imperfections, which can add a hand-crafted charm but might require touch-ups during painting or staining.
Tracing costs little besides printer paper and pencils, and it suits beginners well. However, very fine details or multi-layered complex designs may be challenging to replicate perfectly.
Vinyl Stencils and Cricut Cutting
Vinyl stencils made with a cutting machine like Cricut or Silhouette provide crisp, reusable templates. After designing your image digitally, the vinyl cutter precisely cuts out the stencil. You then apply transfer tape to move the stencil onto the wood layer, ensuring accurate placement before painting or staining. This method is excellent for sharp edges and consistent repeatability across layers.
Vinyl stencils reduce guesswork in alignment. Use transfer tape to position each stencil, peel it carefully off the backing, and press it firmly onto the wood surface to avoid bleed. After painting, remove the vinyl to reveal clean lines. Though more setup is required, it suits intermediate crafters wanting repeatable precision. Cricut machines typically cost $200, $400, while vinyl sheets run about $10 for 20 sheets.
- Design your image in Cricut Design Space or Silhouette Studio
- Cut the stencil on adhesive vinyl with your machine
- Use transfer tape to lift and align the stencil on wood
- Press stencil firmly, especially on edges
- Paint or stain over stencil, then remove while wet
- Clean vinyl for reuse if desired
This approach streamlines layering by allowing you to reuse exact stencils for each wood layer with minimal variation.
Laser Engraving and Printing
Laser engraving offers high precision and depth for intricate designs on wood layers. Laser machines burn or cut the design directly into wood, creating a clean, professional look with permanent results. This method works best with plywood, MDF, or other laser-compatible woods and is ideal for detailed text or images requiring exact replication across layers.
Entry-level laser systems like the xTool M1 range from $700 to $1,000 and can also cut thin wood pieces for layered signs. Laser engraving requires a digital file prepared with vector graphics and software control for the machine. It may have higher upfront costs but reduces manual alignment errors.
Direct printing onto wood is a less common DIY method but provides full-color images without painting. Specialized printers can print onto wood surfaces, but these are generally expensive and better suited for small production runs.
Good results from laser engraving look like sharp edges with fine detail and consistent depth. Common issues include burning the wood surface if settings are too strong or uneven engraving if the wood isn’t flat. Careful testing with settings and material is key.
Cutting and Preparing Wood Layers Accurately
Measuring and cutting wood layers precisely is essential to achieve a clean, professional-looking layered wood sign. Accurate sizing ensures each layer fits perfectly on top of the other, avoiding gaps or uneven edges that can distract from the design. The thickness of your wood pieces determines the best cutting tools to use, while sanding edges before assembly helps create smooth joins and crisp paint or stain finishes.
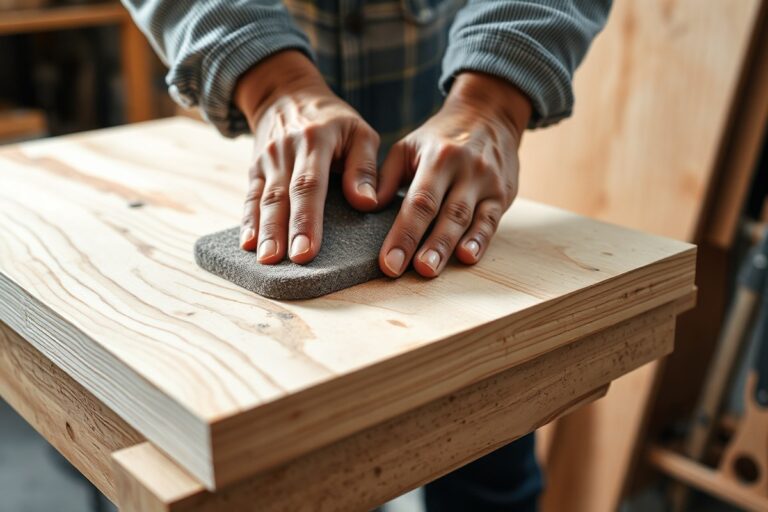
For thinner layers under 1/4 inch, a utility knife or fine-toothed saw can work, but power tools like a jigsaw or laser cutter give cleaner cuts. Thicker wood (from 1/4 inch to 3/4 inch) benefits from a miter saw or circular saw. Each tool offers different control levels: hand tools provide more precision on small cuts, while power tools speed up the process on larger pieces. Preparing the edges by sanding with medium-grit sandpaper (around 120-grit) removes rough spots and splinters, improving adhesion and finish quality.
- Measure all your wood pieces carefully using a tape measure or ruler. Mark your cut lines with a pencil including any extra 1.5 inches in height if your design needs overlapping edges for strong layering.
- Choose your cutting tool based on wood thickness: utility knife or fine saw for thin layers; jigsaw for curves or intricate shapes; miter saw or circular saw for straight cuts on thicker layers.
- Secure the wood firmly on a stable surface before cutting. Use clamps if possible to avoid shifting that can skew measurements.
- Cut along your marked lines slowly and carefully, keeping the saw or knife perpendicular to the surface to ensure straight edges. For laser cutters, follow device instructions to input exact measurements and layer order.
- Sand all cut edges with medium-grit sandpaper (about 120-grit) to smooth rough spots and ensure clean layering. Sand lightly to avoid removing too much material, which would alter your final dimensions.
- Clean the dust off your wood pieces using a dry cloth or tack cloth to prepare for stain or paint.
- Label your wood layers if working with multiple pieces to keep track of assembly order and placement.
Good results look like evenly cut layers with consistent thickness and smooth, sanded edges that allow each layer to nest neatly on the next. Mistakes include uneven cuts that cause gaps, burn marks from a dull blade, or rough edges that interfere with paint absorption or layer adhesion. Take your time during measuring and cutting to avoid costly re-cuts. Sanding before assembly saves time during finishing and improves your sign’s overall appearance and longevity.
Assembling and Layering Techniques for Dimension
Stacking and securing the layers of your wood sign ensures a clean, professional look while keeping the design sturdy over time. Careful gluing, alignment, and clamping help the layers stay flat and prevent gaps or slipping. Nails or screws can be used, but glue alone often provides a smooth finish without visible fasteners.
Choosing the Right Adhesives
Wood glue is the most reliable adhesive for layered wood signs due to its strong bond and ease of use. Choose a quality yellow or white wood glue formulated for interior projects. It penetrates wood fibers, creating a durable connection that holds well as the wood expands and contracts.
For small or detailed embellishments, super glue (cyanoacrylate) works to bond quickly and tightly. Use it sparingly to avoid visible residue. Avoid hot glue as it doesn’t hold well on wood over time and can soften in heat.
Applying a thin, even coat of glue prevents squeeze-out and mess. Press the layers together firmly right after applying glue for best adhesion, then clamp to maintain pressure as it dries. Most wood glues take about 30 minutes to set and fully cure within 24 hours.
Layer Alignment and Securing
Accurate alignment is key to an even, professional appearance, especially if your design includes text or patterns. A flat work surface and guide marks help maintain consistency when stacking layers.
Use painter’s tape or clamps to hold pieces gently in place while checking alignment. For larger signs, try laying pieces side by side before gluing to confirm fit. Here’s a simple checklist to follow for assembling your layered wood sign:
- Prepare a clean, flat workspace protected with scrap wood or cardboard
- Apply wood glue evenly on the back of the piece being attached
- Align the layer carefully, using marks or guides if needed
- Press layers firmly together, ensuring no gaps
- Clamp the layers immediately to maintain pressure and keep alignment
- Remove excess glue with a damp cloth before it dries
- Allow glued layers to dry undisturbed 30 minutes to 1 hour before removing clamps
Depending on the sign size, finishing nails or brad nails add extra strength without interfering visually if used at the edges. Insert nails where the frame or border will cover them to keep a clean front surface.
Always wipe away excess glue before it dries, or sanding later might damage your paint or stain.
Adding Spacers or 3D Embellishments
Adding small wood spacers or foam pads between layers can create depth, turning a flat sign into a dimensional piece. This works well for highlighting letters or shapes.
Use consistent spacer thickness, such as 1/8 or 1/4 inch wide wood strips, glued at corners or edges for stable elevation. Secure them with wood glue and clamp until dry.
For lightweight or intricate embellishments, double-sided adhesive foam tape designed for crafting can hold elements without visible fasteners. This adds a shadow effect and visual interest without complex assembly.
Painting, Staining, and Finishing Each Layer
Painting or staining each wood layer before assembly usually gives you cleaner, crisper lines and fewer drips. Since layers in a DIY layered wood sign stack on top of each other, applying paint or stain first lets you cover edges and surfaces uniformly. Once the paint or stain dries completely, you can assemble the pieces without worrying about smudging or uneven coverage. Acrylic paint is the preferred choice for wood signs, thanks to its fast drying time, vibrant colors, and flexibility, allowing it to resist cracking as the wood expands and contracts. For staining, use a brush or cloth to apply an even coat, wiping off excess to avoid blotches.
Choose a good synthetic bristle brush or a small foam roller to speed up painting, especially for larger layers. For lettering or fine details, oil-based paint pens like Sharpie’s are excellent because they offer control and durable, opaque coverage. If you want to paint after assembling the sign, be prepared to tape off edges carefully to avoid color bleeding onto adjacent layers. This method can be trickier and may require touch-ups.
Prepping wood before painting or staining improves the final look. Lightly sanding each piece with 120 to 150-grit sandpaper removes surface imperfections and opens the grain for better paint or stain absorption. Clean the dust off with a tack cloth or damp rag and let the wood dry fully before continuing.
Sealing your finished sign is essential for durability, especially if it will hang outdoors. Once all paint and stain layers dry, apply a clear sealant to protect against moisture, UV rays, and wear. Polyurethane or spar urethane, available in spray or brush-on forms, work well for this purpose. Pick a water-based formula for indoor signs to avoid yellowing; oil-based sealants add warmth but might alter paint colors slightly. Apply two to three thin coats with a synthetic brush, allowing 2 to 4 hours drying time between coats at room temperature. Avoid heavy coats that can drip or cloud your finish.
Costs vary by product: a 1-quart acrylic paint can run about $5 to $15, while oil-based paint pens cost around $5 to $10 each. Sealants like water-based polyurethane typically cost $10 to $20 per quart. Expect drying and curing times of several hours to a full day, depending on humidity and temperature. Good results show smooth, even color without brush marks or blotches, with clear lines where layers meet. Paint bleed or uneven coverage often happens when working on assembled layers without masking or when paint is applied too thickly or on a dusty surface.
Troubleshooting Common Mistakes and How to Fix Them
Misaligned layers are one of the most common issues when assembling a layered wood sign. This happens when the pieces shift before the glue sets or if the initial layout isn’t precise. To fix misalignment, carefully separate the layers while the glue is still wet. Use clamps or weights to hold the layers properly in place and realign by eye or with a square tool. When the glue has partially dried, lightly dampen the joint with water to soften the adhesive and try realigning it within a few minutes. For dried glue, sanding the edges to even them out and then reglue can help, but this requires patience and accuracy.
Paint bleeding often ruins the clean lines important to the layered effect. This usually occurs when the paint layer underneath isn’t fully dry or if masking isn’t tight enough. To correct paint bleed, wait for the paint to dry completely, then lightly sand the affected edges with fine-grit sandpaper (220 grit works well). Touch up these areas carefully with a small artist brush matching the intended color. To prevent this problem, use high-quality painter’s tape or a vinyl stencil, press it firmly, and allow ample drying time, typically 24 hours for heavier paints like acrylic or latex.
Glue seepage is another common frustration, especially with liquid wood glue or hot glue guns. Excess glue can squish out between layers, creating an uneven surface or sticky spots that collect dust. To clean this up, let the glue dry, then gently scrape or sand it away using a plastic scraper and fine sandpaper. Avoid metal scrapers that can gouge wood. Prevent seepage by applying glue sparingly in thin, even layers and use clamps to evenly distribute pressure without forcing excess glue out.
- Use proper clamps to hold layers steady and aligned during drying.
- Allow 24 hours for paint to cure fully before layering or touching up.
- Apply thin, even glue layers with a small brush or spreader.
- Lightly sand edges after misalignment or bleed corrections for smoothness.
- Remove excess glue after partial drying to minimize damage to wood.
- Always test paint and glue compatibility on scrap pieces first.
To redo or erase a layer without starting completely over, sanding off paint or glue is usually the best choice. Use 120 to 220 grit sandpaper depending on how much material must be removed. For stubborn glue or paint, a solvent safe for wood can help but test on a hidden area first. When repainting, lightly sand the entire surface to give the new paint a key to stick. Complete removal followed by refinishing might take an extra hour or two but saves you from scrapping an entire project.
Consistent patience during each step, from cutting and gluing to painting and drying, cuts down mistakes. Precision tools and taking time to double-check alignment before pressing firmly will reduce the need for corrections. Focus on slow, measured steps rather than rushing to finish the sign ahead of time. This approach leads to crisp, professional-looking layered wood signs that reflect your effort and attention to detail.
Creative Ideas and Variations for Layered Wood Signs
Adding frames or borders to a layered wood sign can give it a polished look and create a clear focal point. You can attach thin strips of wood, such as 1/4-inch thick pine or cedar, around the edges using wood glue and finishing nails. The frame can be stained or painted to contrast or complement the layers beneath. This method costs between $5 and $15 for small signs, depending on wood type and size, and the frame should be flush or slightly recessed to avoid bulk.
Three-dimensional accents bring depth and interest to your sign. Small wooden shapes like stars, hearts, or floral cutouts, cut from plywood or reclaimed wood, can be glued atop the last layer. Layering these elements with 1/8 inch foam mounting tape adds shadow and dimension without heavy tools. Metal embellishments, like rustic hooks or corner brackets, offer a different texture but require pre-drilling holes and screws for secure attachment.
Personalizing your sign with lettering or mixed media sets your project apart. Use vinyl letters or stencil paint for crisp, professional text. For a handmade effect, carve shallow letters with a rotary tool, then fill with paint or wood filler. Mixing materials like adding a burlap backing or burlap-covered letters fixed with spray adhesive creates a rustic farmhouse vibe. You can also apply decals or photographed images printed on wood transfer paper for a modern twist.
- Attach a thin wood frame with glue and small nails, stain or paint to match your design
- Use layered wooden cutouts or foam-backed shapes for simple 3D effects
- Add metal accents like hooks or corner brackets for texture and function
- Apply vinyl or stenciled lettering for clear, crisp messages
- Incorporate mixed materials like burlap, fabric, or printed transfers
- Carve letters into wood layers and fill with paint for a hand-crafted look
Choosing which option depends on the style you want and the sign’s location. Outdoor signs benefit from sealed frames to protect edges from moisture. Using reclaimed wood or textured materials adds warmth but may require additional finishing to smooth rough spots. Balancing size and depth of 3D accents ensures the sign remains stable and easy to hang. Aim for a layered sign around 1 1/2 to 2 inches thick total; thicker pieces can get heavy and awkward.
Test any mixed material adhesion on a scrap piece before applying to your final sign to avoid peeling or staining issues.
Step-by-Step Action Plan for Your DIY Layered Wood Sign
Follow these steps to create your own layered wood sign with confidence. Each phase helps you prepare, assemble, and finish your project successfully.
- Before you start: Choose your design and gather wood, tools, and paint. Your materials list is complete when you have wood sheets, a saw, sandpaper, paint or stain, brushes, and adhesive.
- Day 1: Transfer your design onto the wood layers using tracing paper or carbon paper. Success means clear outlines visible on each wood piece.
- Day 2: Cut each wood layer carefully with a jigsaw or scroll saw, following the outlines exactly. Check that all pieces fit together snugly without gaps.
- Day 3: Sand edges and surfaces smoothly to remove splinters and prep for finishing. A good sanding job feels smooth to the touch and ready for paint.
- Day 4: Paint or stain each layer separately, applying thin, even coats. Layers are ready when paint is dry to the touch, typically after 1-2 hours.
- Day 5: Assemble layers using wood glue and clamps or weights. Let dry fully for 24 hours to ensure firm bonding.
- Day 6: Apply a clear protective finish like polyurethane if desired. The sign should have an even sheen and be fully dry before handling.
- After 1 week: Inspect your sign for any touch-ups or adjustments. Your sign is ready to display when all layers are solidly bonded and finishes are flawless.
Frequently Asked Questions
Can I Use a Cricut Explore Air 2 to Make a Layered Wood Sign?
Yes, the Cricut Explore Air 2 can cut thin wood layers for signs. It handles light basswood and helps with precise shapes in your layered design.
How Do Laser Cutting and Uv Printing Simplify Making Wood Signs?
They allow detailed, full-color designs without hand-painting. Combining laser cutting with uv printing speeds assembly and adds complexity.
What Types of Wood Are Best for Laser Engraving Layered Signs?
Plywood and basswood are top choices since they cut cleanly and engrave well. These woods hold paint and stain for a good finish.
How Cost-Effective Is Making a Layered Wood Sign at Home?
DIY layered wood signs can cost about $4 in materials using plywood, 1×2 boards, and basic supplies. This is a budget-friendly craft with charming results.
Can Wood Sheets Like 12×12 Inches Work for Layered Signs?
Yes, 12×12 painted wood sheets are ideal for small, detailed signs and make layering easier. They fit well with many laser machines and hand tools.
What Benefits Come from Making DIY Layered Wood Signs for Decor?
You personalize your space and develop crafting skills. Personalized wood signs add rustic charm and showcase creativity.
Final Thoughts
Creating a DIY layered wood sign blends precision and creativity, giving you a personalized home decor piece. Taking one step at a time ensures clean cuts, smooth finishes, and strong assembly. Start by selecting a simple design and gathering your materials today to begin your project with confidence.