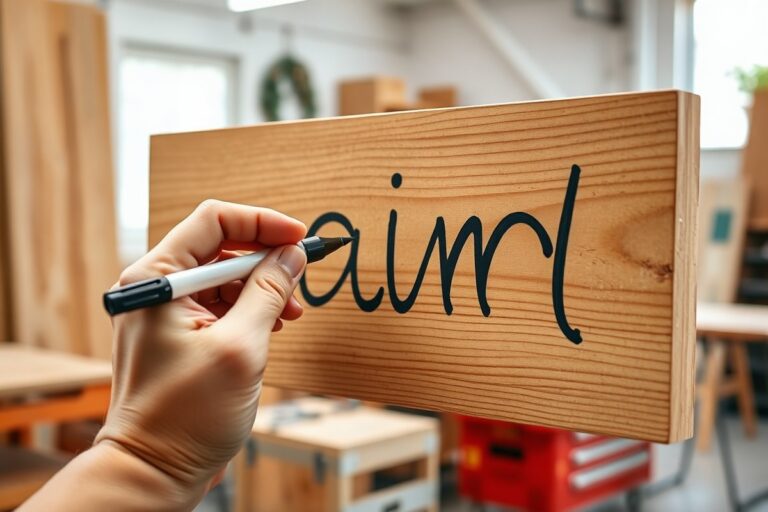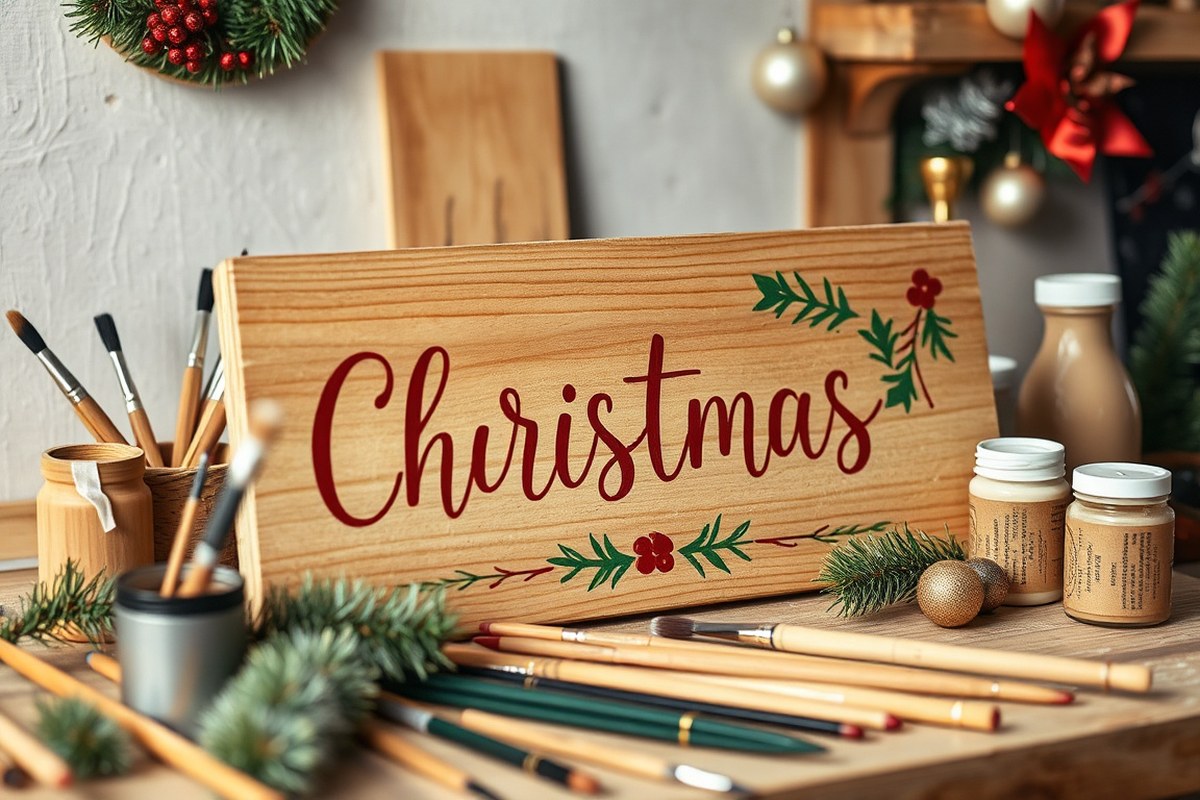
How to Make Christmas Signs: Complete DIY Guide with Materials & Tips
Knowing how to make Christmas signs starts with choosing simple materials like wood plaques and easy-to-use paints. Use stencils for neat, professional-looking lettering and designs without complex drawing skills. Begin with a clean, smooth surface to ensure paint adheres well and your sign lasts through the holiday season.
Key Takeaways
- Use affordable ½” plywood panels or wood plaques around 2ft x 4ft as the base for your signs.
- Select quick-drying paints such as Fusion Mineral Paint to speed up your project while ensuring vibrant colors.
- Apply stencils carefully and let the paint dry for 10 minutes to avoid smudging your design.
- Make the craft area safe and neat by working on a flat, protected surface with appropriate ventilation.
- Keep signs weather-resistant by sealing painted surfaces with a clear coat if displaying outdoors.
- Customize signs with 3D elements like crates, berries, and bows for added dimension and charm.
Essential Materials and Tools for Christmas Signs
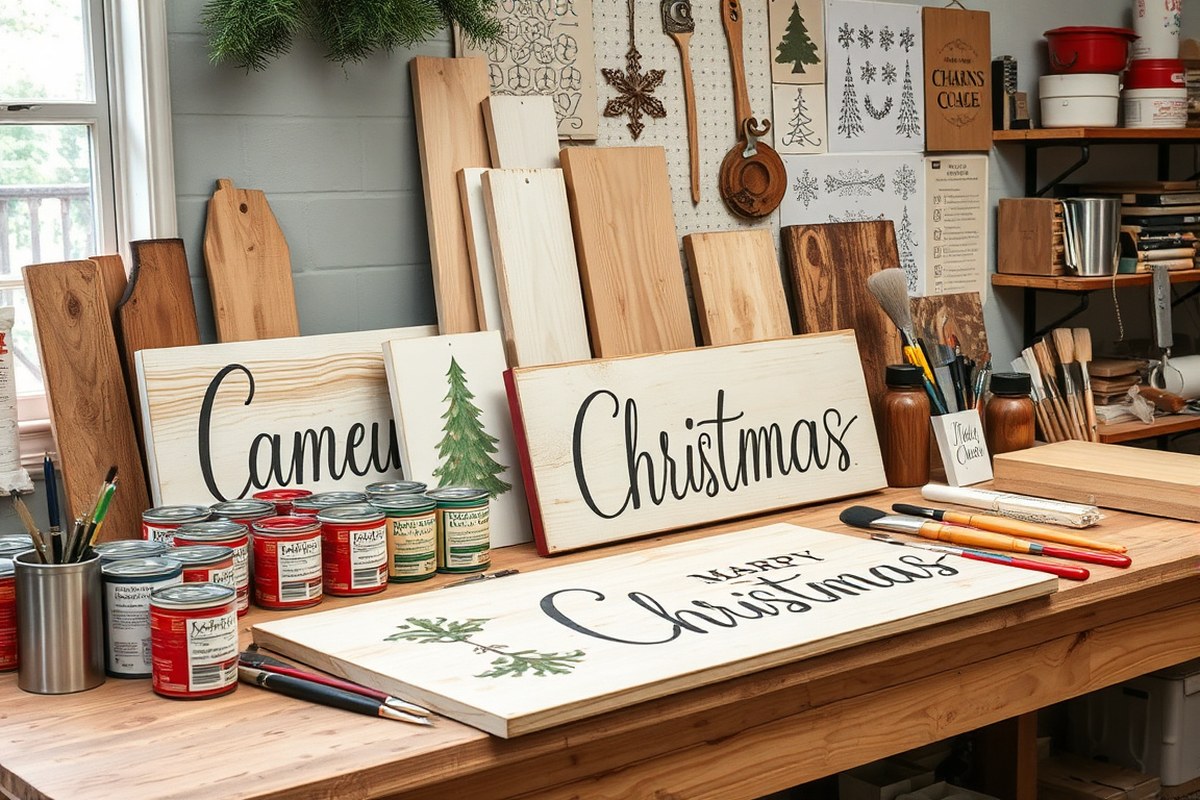
To create your own Christmas signs, having the right materials and tools is essential for good results. The most popular base is wood, especially scrap or reclaimed wood, which is affordable and gives a rustic, festive look. Unfinished pine boards work well for painting and staining, typically costing around $5 to $10 for a 1×6 board about 6 feet long at big-box stores. You can also use canvas panels or even sturdy cardboard if you want a lightweight or indoor-only option. Each material has its pros and cons: wood is durable and great for outdoor use, while canvas is easier to handle but less weather-resistant.
Paint is another key supply. Acrylic craft paints are versatile, dry quickly, and come in many holiday colors, usually $1 to $3 per small bottle. Outdoor signs benefit from weatherproof spray sealers, which cost about $5 to $15. Stencils speed up the lettering process and help achieve crisp text or motifs; you can find Christmas-themed stencils online or in craft stores for roughly $5 to $15. Another alternative is using vinyl cutouts applied with transfer tape, which works well with wood and allows for clean, sharp designs.
Your toolbox should include a few basic items to handle different project steps. Sandpaper (120-220 grit) smooths the wood surface for painting and finishing. Brushes vary in size and shape, a small angled brush for details, a wider flat brush for backgrounds, and foam brushes for smooth coverage. A pencil helps sketch your design before painting. For wood signs, a drill and screws or strong glue may be needed to attach hanging hardware.
- Scrap or reclaimed wood boards (pine, plywood, or pallet wood)
- Acrylic craft paints and paint brushes (angled and flat)
- Holiday stencils or vinyl transfer sheets
- Sandpaper (120-220 grit) for prepping surfaces
- Clear spray sealer for outdoor durability
- Pencil and ruler for layout
- Drill or adhesive for hardware attachment
Affordable supplies can often be found at local hardware stores, thrift shops, or online marketplaces where reclaimed wood is sold at low prices or given away free. Craft stores frequently offer seasonal sales on paint and stencils around the holidays. For beginners or budget-friendly projects, reusing materials you already have, like old wooden crates or leftover canvas pillow covers, can simplify your supply list without sacrificing style. Selecting the right material depends on where you plan to display your sign and how long you want it to last.
Step-by-Step Process to Make Wood Christmas Signs
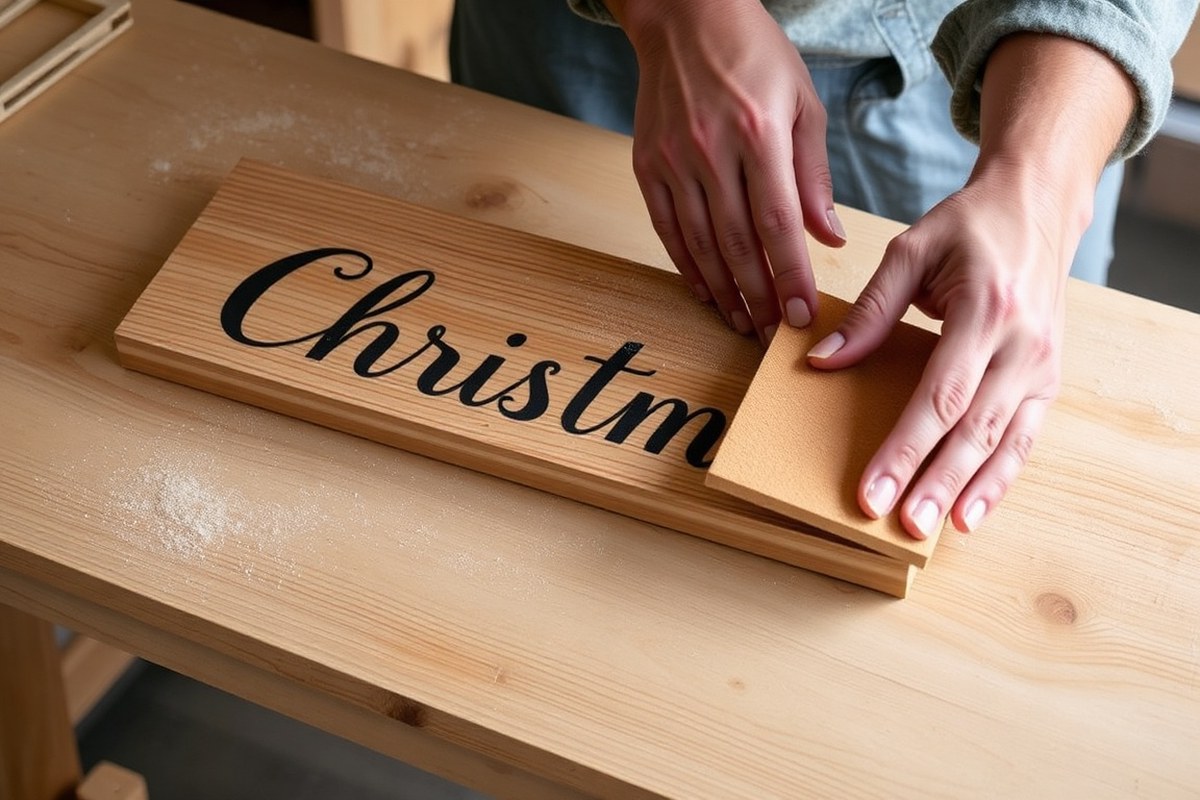
Making a Christmas sign from wood involves a few clear steps: preparing the wood surface, painting and stenciling your design, then sealing to protect your work. Each stage can take from 15 minutes up to a few hours depending on drying times and detail. Prepping the wood well ensures paint adheres smoothly, and layering colors can create a charming vintage or distressed look.
Preparing Wood for Painting
Start with clean, dry wood, preferably smooth or lightly sanded plywood, pallet wood, or a wood plaque around 12 by 18 inches. Sanding is key to remove rough edges and help paint stick better. You’ll want to use a medium grit sandpaper (like 120-150) first, then a finer grit (220) for a smooth finish. After sanding, wipe the wood with a damp cloth to remove dust and let it dry completely. This step usually takes about 15 to 30 minutes.
If your wood has knots, rough patches, or old paint, applying a coat of primer designed for wood keeps your colors brighter and prevents blotchy results. Primer dries in about 30 minutes to an hour depending on temperature and humidity, so allow adequate time before painting.
Applying Paint and Stencils
Good paint choices include acrylic or latex paints, as they dry quickly and offer vibrant colors. Start by painting a base coat using a foam brush or roller for even coverage. Let this base coat dry fully, usually 30 to 45 minutes.
For a vintage or distressed look, paint a base layer in a bright color or white, then add your top paint color once that dries. Sand edges and raised areas lightly to reveal some of the base coat, simulating natural wear. This layering method takes longer due to drying time but creates appealing depth and texture.
Place your stencil on the sign once the base is dry, taping it down securely. Use a stencil brush or sponge to apply paint carefully over the stencil edges to avoid bleeding. Multiple thin coats of paint work better than thick coats for crisp details. Remove the stencil gently while the paint is still slightly tacky. Let the entire sign dry for 1 to 2 hours.
- Sand wood surface smoothly and clean off dust.
- Apply a primer coat if needed and let dry.
- Paint a base coat in your chosen background color and dry.
- Layer additional paint colors if doing a vintage or distressed look, sanding between layers.
- Attach stencil securely to wood.
- Use a stencil brush to apply paint over the stencil edges with thin layers.
- Remove stencil carefully and let paint dry completely.
Using too much paint on your stencil causes bleeding; apply paint lightly with a tapping motion instead of brushing.
Finishing and Sealing the Sign
Protect your Christmas sign with a clear sealant or varnish made for wood surfaces. Polycrylic sprays or brush-on polyurethane work well. A matte finish keeps a rustic look, while gloss adds brightness. Be sure your paint is fully dry, 24 hours is safest, before sealing.
Apply 1 to 2 thin coats of sealer, allowing 30 to 60 minutes drying time between coats. This step prevents paint from chipping and helps the sign withstand humidity and handling. Adding a ribbon or small hooks for hanging finishes your project and makes display easy.
Types of DIY Christmas Signs to Make at Home
DIY Christmas signs come in several popular types including wood, canvas, chalkboard, metal, and lighted designs. Each offers a different look and requires distinct tools and skills. Choosing the right type depends on your craft experience, the tools you have, and the holiday style you want to achieve.
Wooden Holiday Signs
Wooden signs bring rustic warmth that suits farmhouse, traditional, or cozy Christmas decor. They typically require wood planks, paint, brushes, and sometimes stencils or vinyl cutters. Using a Cricut or Silhouette machine can simplify adding precise vinyl lettering or stenciled patterns. To make a vinyl stencil, cut your design from adhesive vinyl, apply it firmly onto sanded wood, paint over it, and peel the vinyl off while paint is still wet to avoid peeling off dried paint.
Adding 3D elements like miniature pinecones, twine, or faux greenery with hot glue improve the natural look. These signs, costing roughly $10 to $30 for supplies, last well and can be sealed with clear varnish to protect the paint. Avoid using thin or warped wood pieces to prevent cracking or warping after painting.
Chalkboard and Canvas Options
Chalkboard signs are great for customizable holiday messages. Painting a wooden board or canvas frame with chalkboard paint creates reusable sections you can update with chalk markers or chalk. Two recessed areas painted with chalkboard paint allow for seasonal greetings, countdowns, or menu specials. This style is simple and affordable, with chalkboard paint cans around $6 to $12 and chalk or markers under $10.
Canvas signs bring a lighter, fabric feel and work well with heat transfer vinyl and ribbon decoration. Use your Cricut machine to cut designs from heat transfer vinyl, then apply them with a household iron or heat press. Adding wired ribbon or fabric bows with a hot glue gun personalizes your decor. Canvas signs are best for indoor use since fabric and vinyl are less weather-resistant.
Metal and Lighted Signs
Metal signs add a sleek or industrial vibe with rustic charm when paired with bright paint. You can find thin metal sheets or repurpose baking sheets for a budget-friendly base. Metal signs need oil-based primer and paint to prevent rust and offer a durable finish. Adding stencils follows the same technique as with wood, but with spray paint or paint pens for clean lines.
Incorporating lights makes your sign stand out. Mini white Christmas lights or LED string lights can be attached using small hooks or hot glue. For example, creating Christmas tree patterns repeated with stencils and then outlining them with mini lights adds festive illumination. Expect to spend $15 to $40 depending on materials, and be sure to use battery-powered or indoor-safe lights to avoid electrical hazards. Below is a comparison table showing types of DIY Christmas signs, their key features, typical materials, and skill levels needed.
| Sign Type | Materials | Tools Needed | Skill Level | Customization Options | Best Use |
|---|---|---|---|---|---|
| Wooden | Wood planks, paint, vinyl or stencils | Brushes, Cricut/Silhouette (optional), hot glue | Beginner to Intermediate | 3D elements, vinyl lettering, stencils | Rustic, farmhouse, traditional |
| Chalkboard | Chalkboard paint, wood or canvas base | Paintbrush, chalk markers | Beginner | Custom messages, countdowns, seasonal themes | Flexible, interactive decor |
| Canvas | Canvas, heat transfer vinyl, ribbon | Cricut, iron or heat press, hot glue gun | Intermediate | Vinyl designs, fabric embellishments | Indoor, soft decor |
| Metal | Metal sheets, oil-based paint, primer | Spray paint, paint pens, stencils | Intermediate | Painted designs, stenciling, lights | Industrial, rustic charm |
| Lighted Signs | Wood or metal base, mini lights, wiring | Drill (optional), hooks, hot glue | Intermediate | Light outlines, illuminated patterns | Eye-catching, focal decor |
For stenciling, firmly secure your stencil to avoid paint bleed. Use a sponge or stencil brush and apply paint in light tapping motions rather than heavy strokes. Remove the stencil carefully when the paint is tacky but not fully dry for crisp edges. Vinyl lettering applied with Cricut machines offers sharp, precise designs that can be layered or mixed with paint and 3D accents.
Common Painting and Stenciling Mistakes to Avoid
Painting and stenciling Christmas signs require care to avoid uneven, messy results that can spoil your project’s charm. One common issue is using thick or incompatible paint that leads to drips or cracking. Opt for acrylic craft or outdoor latex paint, which adhere well to wood and dry smoothly. These paints typically cost about $3 to $7 per 8-ounce bottle and offer vibrant color retention, ideal for holiday designs.
Another frequent mistake is rushing to remove stencils too soon. Peeling off a stencil while paint is still wet often causes smudging or tearing around the edges. Let paint dry at least 20 to 30 minutes before lifting your stencil gently at a 45-degree angle. This prevents paint bleeding, preserving sharp lines for a professional look.
- Using too much paint on the brush or sponge causes bleeding under stencils, dab off excess before applying
- Skipping primer or sealant can cause paint to chip; use a wood primer first and finish with a clear acrylic sealant
- Ignoring proper drying conditions, paint needs 60-70°F and low humidity for best results
- Not cleaning stencils between uses may lead to blurred shapes; wipe stencils with a damp cloth regularly
- Painting intricate designs without a steady hand can blur details, use painter’s tape or stencil spray adhesive for stability
Fixing paint mistakes often involves light sanding after the paint dries to smooth bumps or globs. Then you can apply a thin, even coat over the area. For stencil edges with bleed marks, touch up with a small artist brush and base color before repainting the design. If you spot smudges, a damp cloth on slightly wet paint can sometimes soften the error for easier correction.
Top-quality clear finishes protect your sign from wear and weather, especially if using it outdoors. A satin or matte clear acrylic spray sealant offers durable protection and avoids glare that might hide your stencil details. Expect to pay around $6 to $12 for a can that covers multiple signs, making it a cost-effective final step that extends your sign’s holiday life.
Design Ideas and Customization Tips for Christmas Signs
Creating Christmas signs that catch the eye and express your holiday spirit starts with choosing the right design. Trending ideas include using subway art styles that layer different holiday words and phrases in varied fonts, which add depth and interest without being overwhelming. Another popular option is modern Christmas signs using clean lines and bold, simple graphics like snowflakes or trees instead of traditional script. You can personalize your signs to fit styles from rustic farmhouse charm to bright, contemporary tones by adjusting colors and font choices.
To customize effectively, pair classic Christmas colors like reds, greens, golds, and whites thoughtfully. A good rule is to limit your palette to two or three main colors for balance. Fonts should complement the mood; script fonts work well for a warm, traditional feel, while sans-serif fonts suit a modern look. Try mixing one decorative font for headings with a simple, easy-to-read font for smaller text. For example, a red background with white script for a joyful, cozy vibe or a white background with metallic green block font for sleek modern decor.
Adding 3D elements gives signs a lively, textured presence. One simple way is attaching pompom garlands around the edges, it’s easy and adds dimension while coordinating with holiday lights. Clusters of faux berries, small bows, or mini ornaments glued onto the sign surface create festive, raised decoration that stands out. For more impact, integrate a 3D crate or wooden box frame that holds greenery or ornaments, serving both as decoration and a functional holder. Attaching these elements takes a strong craft glue or small nails and careful positioning to avoid clutter.
Lighting improve your sign’s visibility and charm. Battery-operated LED string lights can be woven around the edges or behind cutouts, glowing softly without worrying about electrical cords. Small, warm white bulbs add a classic holiday feel, while multicolor lights bring playful vibrancy. Make sure lights are securely fastened with clips or thin wire hidden behind the sign. Be mindful of heat and keep batteries accessible for replacement. Using solar-powered lights works well for outdoor signs, though you’ll want to place them where they can catch sunlight during the day.
Templates for Christmas signs are widely available online or through crafting apps, allowing you to customize text and layout before cutting or painting. Start with a phrase like “Merry Christmas” or “Joy to the World” and adapt the size, font, and positioning to your wood or canvas base. Spend time sketching your layout or using a stencil to avoid mistakes. Costs vary depending on materials chosen, but adding 3D elements or lights can increase expenses by $10 to $30, so budget accordingly.
Test your color combinations and 3D attachments on a small piece before applying to the full sign to ensure the finished product looks balanced and secure.
Safety Tips When Making DIY Christmas Signs
Using power tools, paints, solvents, and wood materials safely is key to enjoying your project without injury or damage. Power tools like saws and drills can cause serious cuts or eye injuries if used carelessly. Always wear safety goggles to protect your eyes from flying wood chips or dust. Hearing protection is important if you’ll use loud tools for 15 minutes or more. Gloves can protect your hands from splinters, but avoid loose gloves near rotating blades to prevent accidents.
When working with paints and solvents, proper ventilation matters a lot. Many paints and wood stains release fumes that can cause headaches or dizziness. Work outdoors or in a well-ventilated room, and consider wearing a mask rated for organic vapors if fumes are strong. Keep paint and solvents away from heat or open flames, since many are flammable. Store these materials out of reach of children and pets to prevent accidents.
Wood itself can have hidden hazards. Rough or splintered wood can cause cuts, so sanding the surface before painting or sealing helps. Pressure-treated wood contains chemicals that could irritate skin or lungs, so use gloves and avoid sanding it indoors. Avoid using wood with visible mold or rot, as it can cause allergic reactions or weaken your sign. Testing a small area first is a good practice to check for any adverse reactions when using new paints or stains.
- Wear safety goggles, hearing protection, and gloves when using power tools
- Keep your workspace clean and clutter-free to prevent trips and falls
- Use masks and work in ventilated spaces when painting or using solvents
- Always read and follow manufacturer instructions on tools and products
- Store paints, solvents, and sharp tools out of children’s reach
- Sand wood before painting to avoid splinters and ensure smooth application
- Dispose of paint and solvent waste properly, following local regulations
Some projects call for skills or tools outside typical DIY ranges. Cutting thick hardwood or working with complex electrical components for illuminated signs may require professional help. Professionals have experience to avoid tool-related injuries and ensure finishes that last. If your project involves power tools you aren’t confident using or technical wiring, hiring a licensed professional for those parts reduces risk and improves results.
Small precautions, such as wearing the right protective gear and setting up an organized workspace, keep your crafting safe and enjoyable. Taking the time to learn how to handle materials and tools safely pays off by preventing injuries and costly mistakes. You’ll likely spend less money and time redoing work when you respect the hazards involved with each step of making Christmas signs.
How to Preserve and Display Your Christmas Signs
Protecting your wooden Christmas signs from wear and weather helps them stay beautiful for many seasons. Start by applying a clear sealant after painting and stenciling are completely dry. Use a water-based polyurethane or acrylic sealer designed for outdoor use, which costs around $10 to $20 per quart at craft stores. Brush or spray on two to three thin coats, allowing each coat to dry fully according to the label, usually, two hours per coat is enough. This creates a protective barrier against moisture, sunlight, and dirt. Avoid oil-based sealants indoors because they can yellow over time, but they work well for outdoor signs if you prefer a more durable finish.
For indoor use, a simple clear acrylic spray can protect signs without altering colors or textures. Let the sign sit for 24 hours before handling to ensure the sealer fully cures. Signs stored or displayed in cool, dry areas will last longer, so avoid damp basements or garages where mold and rotting can develop on untreated wood. Light exposure indoors won’t cause as much damage as outdoor elements, but UV-resistant sealers help keep paint from fading if your favorite spot gets direct sun.
Hanging your sign depends on size and location. Small signs can use adhesive strips like Command strips that hold 4 to 16 pounds but won’t damage walls when removed. For heavier or larger signs, install sawtooth hangers or D-rings on the wood’s back and use nails or screws anchored into wall studs for strength. Outdoors, use galvanized or stainless steel hooks and screws to prevent rust. Avoid using cheap plastic hooks outside as they degrade in cold and wet conditions.
The best places to hang Christmas signs inside are above mantels, near entryways, or on stairway walls where they catch the eye without clutter. Outside, place them under covered porches or against a sheltered wall to shield from direct rain and snowfall. Avoid direct exposure to sun and wind, which can speed fading and warping despite sealants. If you want to display signs in open yard spaces, prop them up or mount on stakes with weatherproof hardware and retreat annually with fresh sealant coats to maintain durability.
Keeping signs in mind during the making stage also extends their life. Choose smooth, untreated hardwood like pine or poplar for less splintering and better paint adherence. Sand all surfaces well before painting. Sealing edges twice prevents moisture absorption, which causes wood to swell and paint to crack. Store your signs in a dry, temperature-controlled area off-season. Wrapping them in cloth or paper instead of plastic prevents trapped moisture and mildew buildup.
Durable Christmas signs that survive year after year require a combination of quality materials, proper sealing, and thoughtful placement. Spending time on sealing and selecting hanging hardware suitable for the display location pays off with signs that continue to look professionally done and festive, ready for gift-giving or decorating traditions well into the future.
Quick and Easy Christmas Sign Projects for Beginners
You can create festive Christmas signs quickly using a few minimal materials and simple techniques. These beginner-friendly projects focus on easy-to-find supplies like small wood pieces, paint, vinyl, and chalkboard surfaces, allowing you to enjoy crafting without complex tools or long hours. Whether you want a rustic wooden sign or a reusable chalkboard countdown, there’s a quick project for your holiday décor needs.
Simple Painted Wood Signs
Painted wood signs are a classic and straightforward way to make Christmas décor with a cozy farmhouse feel. Start with small blocks or planks of wood cut from posts, which cost just a few dollars at hardware stores. You only need basic paint, a brush, and a stencil or ruler to create clean lettering. These signs dry fast and come together in under an hour, making them perfect for quick decorating.
For example, a rustic “Noel” or “Merry Christmas” sign uses just wood, acrylic paint, and simple letter stencils. The rustic textures add charm even if your lettering isn’t perfect, offering flexibility for beginners.
- Sand your wood piece lightly to create a smooth surface.
- Apply a base coat of paint and let it dry for 15 minutes.
- Position a stencil or use painter’s tape to mark off lettering or shapes.
- Paint the letters or holiday shapes in a contrasting color.
- Let the paint dry completely, about 30 minutes.
- Apply a clear matte sealant to protect the sign if outdoors.
Tip: Using a foam brush for lettering reduces streaks and keeps paint under control on wood surfaces.
Chalkboard Holiday Messages
A chalkboard sign is versatile and quick to make, especially for countdown signs or rotating holiday messages. All you need is a small wooden board, chalkboard paint, chalk or chalk markers, and modge podge to seal if desired. These signs dry in about 1 hour and let you change messages daily, adding fun interaction throughout the season.
Start with a plain wood piece, apply two coats of chalkboard paint, and write your holiday countdown numbers or phrases with chalk markers. Using modge podge over the design saves it from smudging, but you can skip that step for a reusable look.
- Sand and clean the wood surface.
- Apply one coat of chalkboard paint and dry for 1 hour.
- Apply a second coat of chalkboard paint and dry overnight.
- Write your holiday message or countdown with chalk or chalk markers.
- Optionally, seal with modge podge to protect the design.
- Place your chalkboard sign on a porch or mantle for easy updates.
Warning: Avoid using wet chalk directly on modge podge sealed areas since it can cause smearing or peeling.
Basic Vinyl Lettering Projects
Vinyl lettering is a speedy way to make crisp and professional-looking Christmas signs without painting skills. For this project, grab a small wood base, adhesive vinyl sheets, a cutting file or pre-cut letters, transfer tape, and a scraper tool. This method is well-suited for beginners who want a neat design in under 30 minutes.
Simply cut or buy vinyl with holiday words like “Joy” or “Peace,” apply it to your sanded wood piece, and smooth it down. Vinyl signs are durable and can be personalized easily if you have a vinyl cutter or prefer buying premade letters.
- Sand your wood base to ensure a clean surface.
- Select your vinyl cut file or pre-cut lettering.
- Use transfer tape to lift the vinyl letters from the backing.
- Place the vinyl letters on the wood surface carefully.
- Press down firmly with a scraper tool or credit card to remove bubbles.
- Slowly peel away the transfer tape, leaving vinyl letters in place.
Tip: Ensure the wood surface is dust-free before applying vinyl to improve adhesion and longevity.
Step-by-Step Action Plan for Making Your Christmas Signs
Follow these steps to create your first Christmas sign from start to finish. Each phase focuses on practical tasks you can complete with clear results.
- Day 1: Gather Your Materials and Tools. Collect wood, paints, brushes, and stencils based on your chosen design. Verify you have everything by checking off each item on your list before starting.
- Day 2: Prepare the Wood Surface. Sand the wood smooth and wipe it clean. Confirm smoothness by running your hand over the wood to remove rough patches.
- Day 3: Plan Your Design. Sketch your layout or choose a stencil. Print or draw your design on paper to ensure it fits your board’s size.
- Day 4: Apply Base Coat. Paint the entire wood surface with your base color. Allow it to dry completely; dry time depends on paint type but generally 1-2 hours.
- Day 5: Add Lettering and Details. Use stencils or freehand to paint your message or images. Check your progress in good lighting to catch any mistakes early.
- Day 6: Seal the Sign. Apply a clear protective finish to preserve your work. Let the sealant dry according to label instructions, usually 24 hours.
- Day 7: Display Your Sign Safely. Choose a dry spot away from direct harsh weather if placed outside. Secure it firmly so it won’t fall or get damaged easily.
Frequently Asked Questions
What Types of Wood Work Best for Making Christmas Signs?
Pine, cedar, and plywood are popular choices for Christmas signs because they’re easy to paint and affordable. Pine is light and smooth, while cedar offers natural rustic charm and durability for indoor or covered outdoor use.
Can I Use Something Other Than Paint to Decorate My Christmas Signs?
Yes, you can use vinyl decals, markers, or even fabric appliques to decorate your signs. Vinyl is especially popular for crisp lettering and detailed designs, providing a clean look without the drying time of paint.
How Do I Protect My Christmas Signs for Outdoor Display?
Apply a clear waterproof sealer like polyurethane or outdoor varnish to protect wood signs from moisture and fading. Choose one compatible with your paint type to ensure durability during winter weather.
What’s a Simple Way to Create a Stencil for My Christmas Sign?
Use a mylar sheet or stencil paper to cut out your design with a craft knife. Mylar stencils are reusable and provide clean edges, ideal for lettering or intricate holiday patterns.
Can I Make Christmas Signs Without Specialty Tools?
Yes, many DIY signs can be made using basic tools like sandpaper, paintbrushes, and scissors. Using simple stencils and found materials can keep projects beginner-friendly and budget-conscious.
How Long Does It Typically Take to Make a Wooden Christmas Sign?
Most wooden signs take between 1 to 3 hours depending on design complexity and drying times. Simple projects with stencils or vinyl decals are faster, while hand-painted or layered signs take longer.
Wrapping Up
Making Christmas signs gives you a creative and rewarding way to add holiday cheer to your space. Start with simple designs and build your skills as you go. Pick your favorite design now and prepare your workspace today to get started on your own festive creation.