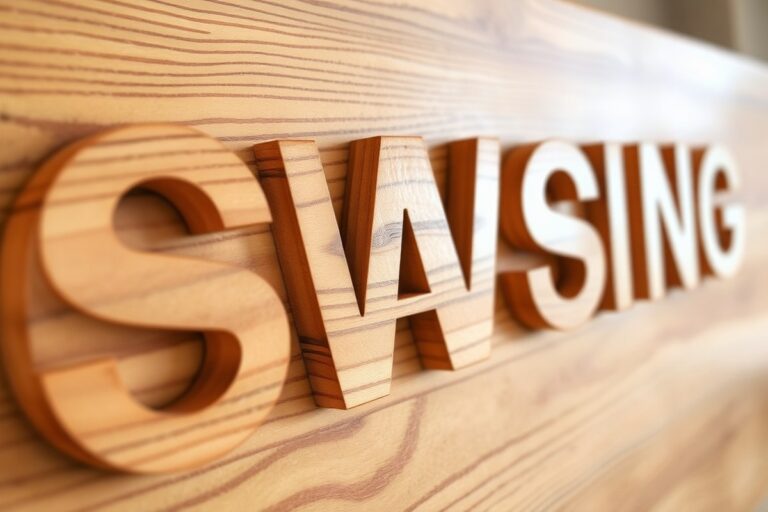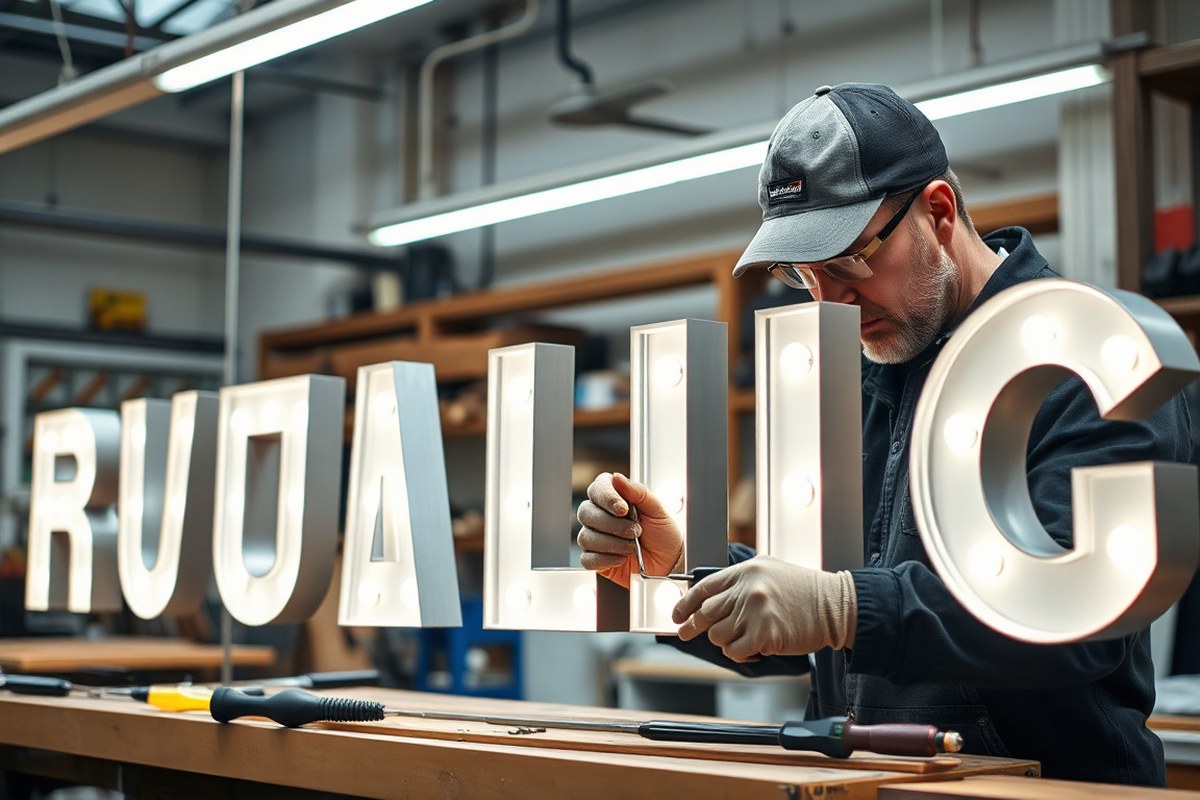
How to Make Channel Letters: A Complete Guide with Steps and Tips
Learning how to make channel letters involves designing, fabricating, and installing illuminated three-dimensional signs typically made from aluminum and acrylic. The process starts by creating detailed design models with CAD software, then selecting the right materials and lighting before assembling the letters using precision tools. Starting with a clear letter depth and profile will help maintain uniformity and durability.
Key Takeaways
- Choose aluminum extrusion profiles in 1.37, 2, 3, or 4 inch depths based on your letter size and desired depth.
- Use CAD software to create accurate 3D models, ensuring precise dimensions and design consistency.
- Select premium materials like aluminum and acrylic for channel letters to achieve a lifespan of 10 to 15 years.
- Incorporate LED lighting for energy-efficient brightness and programmable color effects in your channel letters.
- F-trim machines such as the 5AS are ideal for producing both F-trim and trimless channel letters efficiently.
- Open face channel letters create vintage looks using visible neon tubes behind clear acrylic fronts.
What Are Channel Letters and Their Main Components
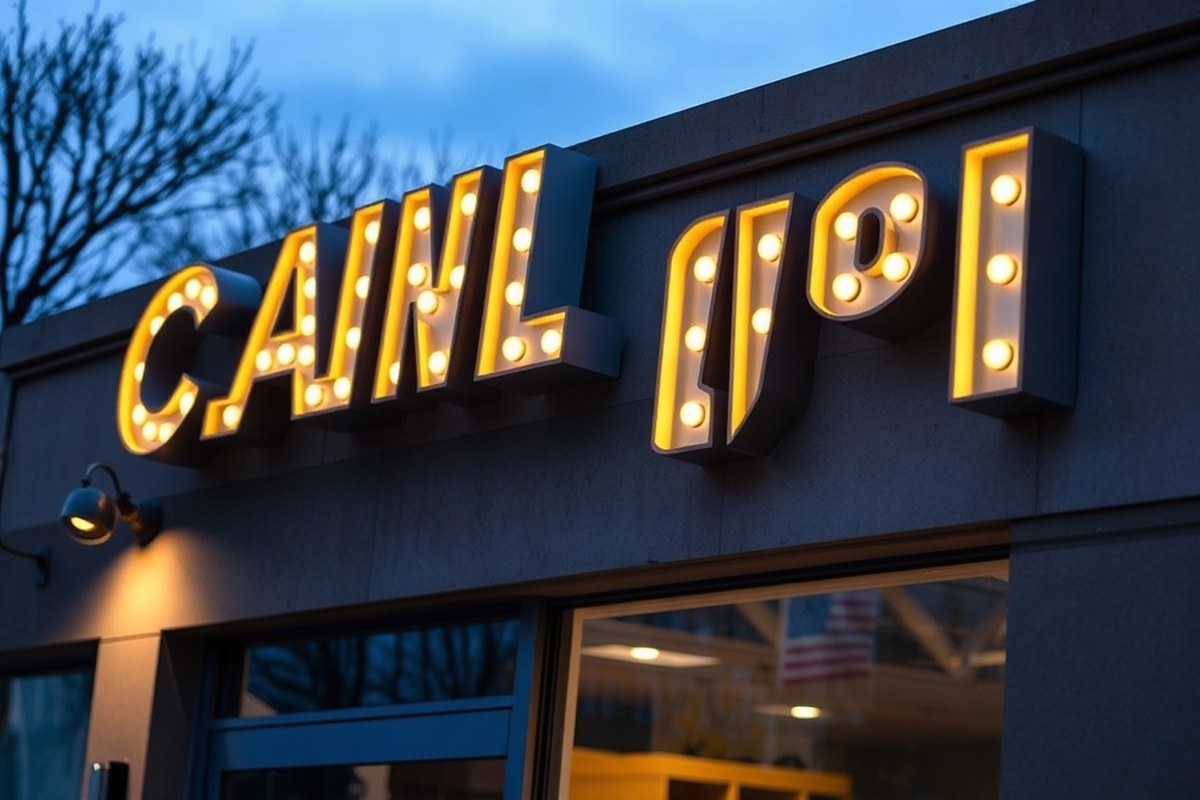
Channel letters are three-dimensional signs shaped like individual letters or logos, typically installed on building exteriors to attract attention and promote brand identity. These letters stand out by volume and lighting compared to flat sign panels, making them highly visible both day and night. Their primary purpose is to provide clear, striking signage that improve a business’s storefront or wayfinding with depth and illumination.
Common materials for channel letters include aluminum for the returns (the sides of the letter), acrylic for the faces, and LED modules for lighting. Aluminum is preferred because it’s lightweight, corrosion-resistant, and strong enough to withstand various weather conditions. The acrylic faces allow light to shine through when illuminated, providing vibrant, crisp colors and preventing damage from UV rays and moisture. LEDs are used inside the letters because they are energy-efficient, long-lasting, and can be programmed for different colors or effects.
The main structural components of channel letters are the face, return, back, and lighting system. The face is usually made from translucent acrylic cut to the exact shape of the letter or logo. Returns are strips of aluminum that bend around the edges of the face, creating the letter’s depth, often ranging from 3 to 6 inches in height, depending on the desired prominence and style. The back is typically formed from aluminum or steel and serves as the mounting surface, also protecting the wiring and housing the LED modules or neon tubing in traditional signs. LED lighting is installed inside the letter and behind the face or back to illuminate the letters effectively.
The construction process starts by cutting the face and returns to precise dimensions. Returns can be manually bent or machine-formed to shape, then joined to the face using rivets, welding, or strong industrial adhesives depending on the thickness and type of metal. Secure bonding or welding ensures structural integrity and weather resistance. Once assembled, the LED modules are installed inside the hollow letter space, wired to a power source, and tested for uniform brightness. Proper sealing of seams and edges helps to prevent water and dust ingress, extending the lifespan of the sign, which often lasts 10 to 15 years with premium materials and accurate fabrication.
By carefully selecting high-quality aluminum and acrylic combined with efficient LED lighting, channel letters maintain durability and aesthetic appeal. The finishes may include paint or vinyl overlays applied to the faces or returns to match brand colors precisely. This layered approach results in a professional, eye-catching sign that draws customers and provides a solid return on investment through lasting performance and visibility.
Designing Channel Letters for Production
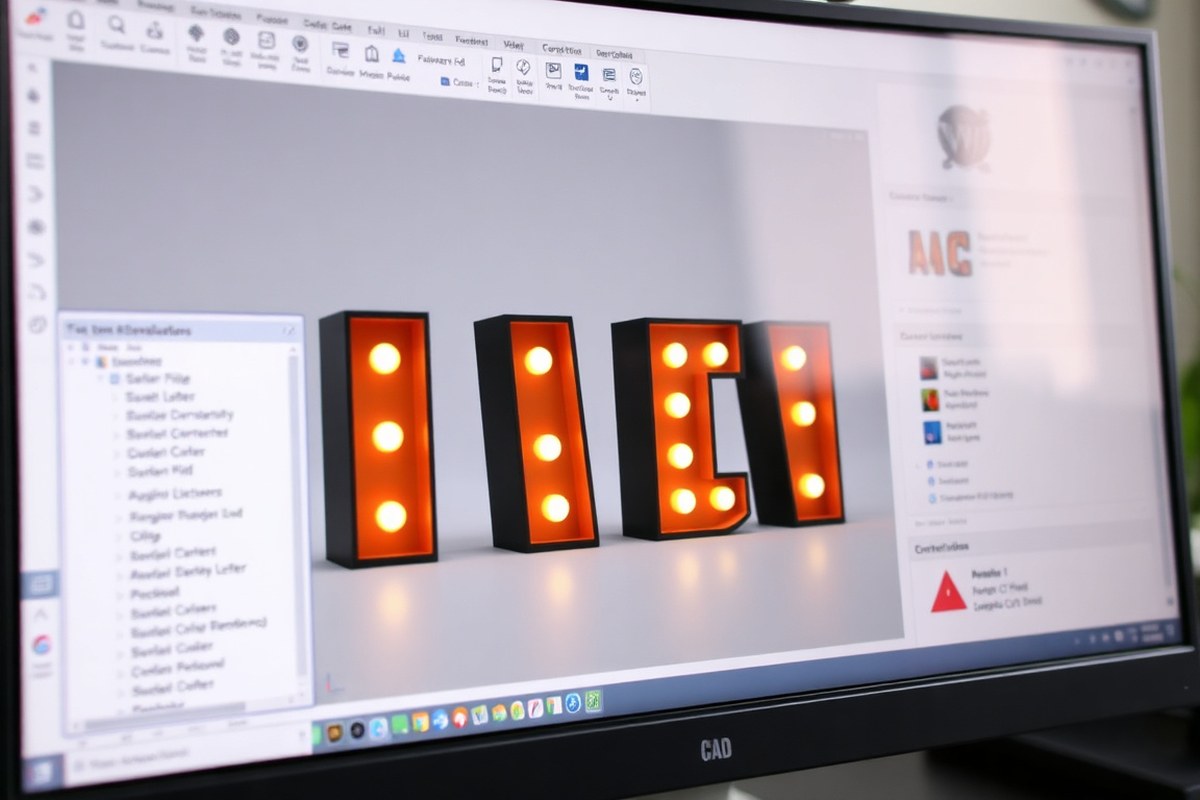
Designing channel letters involves choosing appropriate software, deciding on styles, sizes, and fonts, and planning the lighting and colors to make sure they stand out. These decisions affect the sign’s visual impact, brand recognition, and compliance with local permit requirements.
Choosing the Right CAD Software
Computer-aided design (CAD) software is essential for creating detailed 3D models of channel letters. Popular options include Adobe Illustrator combined with sign-specific programs like FlexiSIGN, CorelDRAW with CAD plugins, or specialized sign software like AutoCAD and SignLab. These allow you to visualize letter dimensions, lighting placements, and mounting details before fabrication.
Choose software capable of handling vector-based designs and 3D rendering. This helps detect design issues early and makes adjustments based on client feedback easy. Cost ranges from free trials to several hundred dollars for professional licenses, so pick one that fits your budget and project scope. Using CAD software also helps you produce accurate technical drawings needed for permits and fabrication, reducing errors during production.
Selecting Letter Styles and Fonts
Letter styles affect the channel letters’ visual effect and how they convey the brand’s identity. Common styles include open-face letters, which expose bulbs or neon tubes for a vintage look; trimless letters, with smooth edges and no flange for a clean appearance; and F-trim or 5AS channel letters that offer a flange for mounting or design contrast.
Font choice impacts legibility and style. Use bold, simple fonts for signs viewed from a distance, generally 12 to 24 inches tall for storefronts, scaling larger for highway signs. San serif fonts are typically easier to read at a glance. Avoid intricate or thin typefaces that lighting may not illuminate evenly.
Letter sizing must comply with local sign codes regarding maximum dimensions and spacing. Plan in advance by consulting local permit guidelines to avoid costly redesigns.
- Review local sign permit regulations for size and style limits.
- Choose a letter style that fits the brand identity and installation surface.
- Select fonts optimized for readability and brand consistency.
- Determine letter height based on viewing distance and sign location.
- Create prototypes or mock-ups in your CAD software.
- Present design options to the client and adjust as needed.
Always verify letter height and style comply with local sign permit restrictions before finalizing designs.
Planning Illumination and Colors
Illumination improve visibility and attraction. You can select from LED lighting, neon tubing, or open-face bulbs depending on style and budget. LEDs are common due to energy efficiency and long life. Choose between front-lit for bright, colorful letters or halo-lit options that produce a glow effect behind letters when mounted on opaque backgrounds.
Color choices must consider brand colors, local codes restricting certain hues, and lighting effects. For example, warm white LEDs mimic neon’s glow, while RGB LEDs allow for color-changing effects but may require more complex wiring and control systems.
Plan colors on both the letter face and the face trim or backer panel to improve contrast and legibility, especially against the installation surface like brick or stucco. Use your CAD software’s rendering features to preview lighting colors in different ambient conditions.
Material Selection and Essential Tools for Fabrication
Fabricating channel letters requires selecting the right aluminum and acrylic materials, along with specialized tools to shape and assemble the letters efficiently and safely. The choice of material thickness and quality affects durability, while proper equipment ensures clean cuts, bends, and smooth finishes. Using the right safety gear protects you during metalworking and electrical installation.
Aluminum and Acrylic Specifications
The primary metal for channel letter returns and backs is aluminum due to its lightweight and corrosion resistance. A thickness between 0.04 and 0.063 inches (approximately 18 to 14 gauge) is standard, balancing ease of bending and structural stability. Thicker aluminum improves durability in harsh weather but requires more force to shape.
Acrylic is standard for letter faces, usually 3mm (about 1/8 inch) thick. This thickness provides a good balance between rigidity and ease of cutting. High-clarity cast acrylic is preferable for better light transmission, especially for LED-illuminated letters. The acrylic must be cut precisely to the letter outline using a computer-controlled router to ensure a smooth fit.
Lighting Components and Electrical Supplies
The most common lighting option within channel letters is LED modules or strips, which offer long life, low heat output, and energy efficiency. These lights mount inside the aluminum channel behind the acrylic face to provide even illumination. Electrical wiring, connectors, and proper power supplies designed for outdoor signage are essential for safe and reliable operation.
Coordination with a certified electrician is recommended when planning the wiring to meet local electrical codes. Using LED driver units rated for your total wattage ensures stable lighting without overload. Sealing around wiring entry points protects the interior from moisture intrusion, preserving both electrical components and the letter’s structure.
Fabrication Tools and Safety Gear
Fabricating channel letters manually requires a combination of metalworking and woodworking tools. A four-foot brake press is essential for bending aluminum returns accurately. Notching tools help shape precise corners, while a jigsaw or shear cuts aluminum sheets to size. Acrylic letter faces need to be cut using a CNC router for clean edges and exact sizing.
Additional finishing tools include sanding pads for smoothing acrylic edges and paint sprayers if painting metal parts. A flange tool helps create the lip on the returns, assisting in securing the acrylic face. Heat bending equipment is necessary to shape acrylic returns when used, although aluminum returns are more common.
- Four-foot brake press for bending metal
- Notching tools for corner shaping
- Jigsaw or shear for cutting aluminum sheets
- Computer-controlled router for acrylic faces
- Sanding equipment for finishing edges
- Paint sprayer for metal components
- Heat bending tools for acrylic returns
Wearing appropriate safety gear is important. Use cut-resistant gloves to protect hands from sharp metal edges. Safety goggles guard eyes against metal shavings and acrylic dust. Respirators or dust masks reduce inhalation of fine particles. Hearing protection should be worn during loud tool operation. Proper ventilation in your workspace keeps fumes from paints or adhesives to a minimum.
Step-by-Step Channel Letter Fabrication Process
Fabricating channel letters involves precise cutting, bending metal returns, securely attaching faces and backs, installing LEDs for illumination, and sealing the assembly to ensure durability. Each step requires careful attention to ensure the letters meet both aesthetic and functional standards while lasting in outdoor conditions.
Cutting and Forming the Letter Returns
The returns are the metal strips bent to form the sides of each letter, creating depth and housing for the lighting components. Accurate cutting and bending determine how well the letter holds its shape and how tight the seams align with the face.
Typically, returns are cut from aluminum or steel strips using a CNC router or shear. The width of the strip depends on the letter’s size, usually between 3 to 6 inches. After cutting, bending the returns involves a brake press or a specialized radius brake designed for channel letter fabrication.
Proper bending ensures the returns match the designed letter contours without kinks or gaps. Small deviations lead to poor face attachment and potential light leaks. The return pieces should overlap slightly at corners and be welded or riveted for strength before proceeding.
Installing the Face and Back Panels
The letter face is typically cut from acrylic sheets and attached to the returns to provide the visible front surface. The back panel, usually made from aluminum, closes the letters and offers a mounting surface for wiring and power supplies.
- Cut faces from translucent acrylic using a router or laser cutter, matching the font and design.
- Trim aluminum sheets for backs to fit tightly against the returns and allow clearance for mounting hardware.
- Attach faces to returns using rivets, screws, or acrylic adhesive. Make sure the face is flush and securely sealed to prevent water intrusion.
- Secure the back panel to the returns with screws or rivets, sealing edges with silicone to protect electronics from moisture.
Proper sealing and tight fitting prevent weather damage and maintain appearance. For raceway mount letters, backs might be omitted if the letter is fully supported by the raceway.
Mounting LEDs and Wiring
LEDs illuminate the channel letters and must be installed before final sealing. LED modules or strips are attached inside the returns and back panel area, positioned to provide even light distribution.
Route wires through pre-cut holes or wiring channels to connect LEDs to the power supply. Secure wiring with clips or tie wraps to prevent movement or damage in transit and installation. Use weatherproof wiring for outdoor durability.
After wiring, test the LEDs for consistent brightness and no flicker before sealing the back. Depending on installation, wiring might be run behind the wall, inside a raceway, or within a backer panel.
Comparison of Channel Letter Types and Their Uses
Channel letters come in several styles, with trimless, F-trim, and open face being the most common types. Trimless channel letters are made without any plastic trim, featuring a clean and uniform look. This style requires specific materials like .063 aluminum flat coil that can be bent to hold the face panel securely without the need for trim. F-trim channel letters use a flange trim around the edges to hold the face and back together, typically made from standard flat coil that cannot support true trimless construction because it lacks the structural ability to grip the face.
Open face channel letters differ by not having a translucent face. Instead, they feature exposed LED modules or neon tubes visible behind a metal or plastic border, giving a distinctive look at night. Each type has its own fabrication steps and fits certain signage needs best.
| Type | Fabrication Features | Best Use Case | Pros | Cons |
|---|---|---|---|---|
| Trimless | Uses flat coil bent to hold face without trim; requires precise bending technique | Clean, modern signs needing uniform edges and smooth appearance | Sharp, smooth look; less material cost on trim; easier cleaning | Requires more skill; limited to aluminum flat coil; harder to repair edges |
| F-trim | Uses flange trim to secure face; standard flat coil material | Most general use; suitable for varied fonts and sizes | Easy to fabricate; forgiving tolerances; easy to repair or replace face | Adds visible trim edges; slightly higher material and labour cost |
| Open Face | No translucent face; LED or neon exposed; precision in LED/neon mounting | Retro or industrial look; maximum brightness and visibility at night | Highly visible lighting; unique style; lower face repair cost | Not suitable for detailed graphics; less protection from weather; harder to clean |
Choosing between these types depends largely on your client’s branding goals and installation environment. Trimless letters perform best where a sleek, polished look improve brand image, such as upscale shops or corporate offices. F-trim letters work well for versatile applications, offering durability and easier maintenance for businesses that need practical, everyday signage. Open face letters suit signage that demands standout night visibility or a vintage aesthetic, offering an eye-catching design when mounted properly.
Tip: When fabricating trimless channel letters, double-check the bending angles on the flat coil before assembly; incorrect bends can cause poor face fit and lead to costly reworks.
All types require careful installation to ensure they remain securely mounted and weather-resistant. Generally, open face channel letters need more protection measures to avoid damage from the elements due to their exposed lighting. Choosing the right letter style for your signage project means balancing fabrication complexity, visual impact, and long-term maintenance needs.
How to Install Channel Letters on Different Surfaces
Mounting channel letters requires choosing the right method based on the surface, brick, stucco, metal, or others, to ensure stability and clean wiring installation. Raceway mounting is a popular option that simplifies electrical connections by housing the transformer, wiring, and disconnect switch in one metal box. This reduces wall penetrations and speeds up installation time, saving labor costs on site.
Brick and stucco surfaces demand careful preparation to avoid damaging the material. For brick, drill pilot holes using a masonry bit sized for sleeve anchors or expansion bolts, which offer secure fastening. Stucco installations require mounting a plywood or metal backer board first; attach this to studs behind the stucco using tapcon screws or appropriate anchors, then mount the channel letters or raceway to that board. This prevents cracking or breaking the stucco surface.
Electrical wiring must meet local electrical codes and typically involves drilling holes for conduit and wiring pathways. Always turn off power before handling wiring. Use weatherproof connectors and conduit fittings to protect wiring from moisture. Also, install a disconnect switch near the sign to allow safe power shutoff for maintenance or emergencies.
Securing permits varies by city but usually requires submitting electrical diagrams, mounting plans, and proof of compliance with local sign ordinances. Contact your local building department early in the planning stage to confirm specific requirements and fees, which can range from $50 to several hundred dollars depending on the sign size and municipality. Follow these steps for installing channel letters, focusing on secure mounting and safe wiring:
- Measure and mark mounting points on the wall, using a level to ensure letters align perfectly.
- Drill holes for mounting hardware and electrical conduit with appropriate bits, masonry for brick, standard for metal or wood.
- Install anchors or backer boards as needed: expansion bolts in brick, backer board in stucco, or direct screw mounting on metal surfaces.
- Mount the raceway or individual letters securely to the anchors or backer; confirm tight fastening to prevent movement or rattling.
- Run electrical conduit and wiring through drilled holes, ensuring weatherproof seals around conduit entries.
- Connect power supply to the raceway transformer and install a disconnect switch close to the sign for safety compliance.
- Test illumination to confirm all LEDs or neon tubing function properly before finalizing mounting covers or trim.
- Submit inspection requests and complete any local permit processes, allowing authorities to verify proper installation and adherence to electrical codes.
Good installation results in a flush, level sign with no visible loose wires and strong electrical performance. Bad mounting risks sign falling or causing wall damage, while improper wiring can create fire hazards or cause sign failure. Investing time in proper mounting on challenging surfaces like brick or stucco and following electrical safety procedures enables a durable, compliant channel letter installation.
Common Fabrication and Installation Mistakes to Avoid
Bending the metal for channel letters requires precise technique to avoid warping or uneven edges. Common mistakes include applying too much pressure too quickly, which can cause cracks or dents, and failing to measure bends accurately before shaping. Use a tubing bender or hand brake designed for the gauge of metal you’re working with, typically 20 to 22 gauge aluminum. Take your time and make incremental bends, checking measurements after each step. This will give you clean, consistent shapes that fit well during assembly.
Assembly mistakes often stem from poorly aligned parts or weak adhesive bonds. Misaligned letter faces or returns will make the sign look unprofessional and reduce durability. Use clamps or jigs to hold pieces firmly in place while gluing or riveting. Applying 3M adhesive primer on clean, debris-free surfaces improves bonding strength. The goal is tight seams and precise joins that create a smooth appearance and last through weather changes.
Wiring faults are a major cause of channel letter failures. Loose connections or exposed wiring can lead to shorts or burnout of LEDs and neon tubes. Solder connections where possible and cover them with heat shrink tubing rated for at least 185°F. Route wiring through protective grommets or channels inside the letter backs to prevent abrasion. Double-check polarity and test the LED circuits before finalizing assembly to catch any issues early.
- Measure and mark bends before shaping metal
- Use proper bending tools and work slowly
- Clamp parts securely before gluing or riveting
- Clean surfaces and apply adhesive primer
- Solder wiring connections, then insulate with heat shrink
- Route wiring to avoid pinching and abrasion
- Align letters evenly using a level and spacing jig
Maintaining uniform letter alignment during installation is essential. An uneven or crooked sign hurts curb appeal and brand reputation. Use a laser level or string line across the mounting surface to position each letter consistently. Check spacing with a tape measure and adjust as needed before securing. Weatherproofing involves sealing all joints, especially at the back and around wiring holes, to prevent water infiltration. Use silicone sealant or butyl tape rated for outdoor use, which can cost around $10 to $20 per tube but protects your investment.
Making sure each step is done carefully will give you professional-looking channel letters that function reliably for years. Mistakes in bending, assembly, wiring, alignment, or sealing can add costly rework or reduce sign lifespan. Patience and the right tools pay off in the quality and impact of your finished product.
When to Hire Professionals and Maintaining Channel Letters
Professional help is important for specific channel letter fabrication and installation tasks that require precision, safety, or specialized equipment. Complex wiring of LED or neon lighting, careful mounting that avoids damaging the building, and creating weatherproof seals usually call for experienced technicians. For example, through-wall penetrations for wiring can lead to costly building damage or code violations if not properly executed, so hiring a licensed installer is recommended. If your project involves neon tubing, a professional with specialized training in bending and repairing neon tubes is necessary due to safety and skill demands.
Maintaining channel letters regularly helps extend their lifespan and ensures consistent performance. Conduct a visual inspection every three months to check for cracked acrylic faces, loose mounting hardware, and signs of water intrusion. Lighting performance should be tested at least twice a year; dim, flickering, or non-illuminated letters often indicate burnt-out LEDs, transformer issues, or wiring faults.
Routine repairs typically involve replacing damaged acrylic faces, resealing edges to prevent moisture, and swapping out failed LEDs or neon tubes. Tighten screws and brackets at each inspection to avoid wind damage, especially in exposed locations. Clean the channel letters gently with mild soap and water to remove dirt and grime, avoiding harsh chemicals that could degrade coatings or plastics.
A simple checklist helps decide when to hire pros: if your sign requires electrical wiring beyond plug-and-play LED modules, if your installation needs drilling through exterior walls or complex bracketing, or when neon lighting is involved, seek professional service. For maintenance beyond basic cleaning and inspection, such as electrical repairs or re-wiring, professional help ensures compliance with safety codes and long-term reliability.
The cost of professional installation and maintenance ranges widely by sign size and complexity. Basic LED modules replacement can be a few hundred dollars, while professional installation of large channel letter signs with through-wall wiring often ranges from $1,000 to $5,000 or more due to the labor and permits involved. Maintenance contracts with sign companies typically cover biannual checks and minor repairs, averaging $300 to $600 annually.
Always switch off power at the main breaker before performing any inspection or minor repairs to avoid electrical hazards.
Your First Week: A Quick-Start Plan for Making Channel Letters
Follow these steps to begin fabricating and installing your channel letters confidently. Each phase focuses on a key task so you can confirm progress as you go.
- Day 1: Finalize your channel letter design using vector software and prepare a cutting file. Confirm the design matches your signage requirements and is ready for production.
- Day 2: Order or gather all required materials and tools including acrylic faces, aluminum returns, LEDs, and mounting hardware. Check you have everything needed before starting fabrication.
- Day 3-4: Fabricate each letter by cutting and assembling components, then wiring LEDs inside. Verify each letter lights uniformly and the structure is sturdy.
- Day 5: Test all letters with power to ensure even illumination and no electrical issues. Fix any wiring or LED problems before installation.
- Day 6: Prepare the installation surface by cleaning and measuring precisely where each letter will go. Confirm measurements match your layout plan.
- Day 7: Mount the channel letters securely on the surface using appropriate fasteners and check for levelness and spacing. Confirm all electrical connections are safe and weatherproofed.
Frequently Asked Questions
What Safety Precautions Should I Take When Fabricating Channel Letters?
Always wear protective gear like gloves and goggles when cutting metal and working with electrical components. This helps prevent injuries and ensures safe handling of sharp materials and wiring during fabrication.
How Do I Choose the Right LED Color Temperature for Channel Letters?
Select LED color temperature based on your brand image and visibility needs, from warm white (2700K) to daylight (5000K). Cooler temperatures offer brighter, crisper lighting suitable for outdoor signage.
Can I Fabricate Channel Letters Using Materials Other Than Aluminum and Acrylic?
Aluminum and acrylic are standard due to durability and weather resistance, but PVC or steel can be used for indoor or special applications. Confirm material compatibility with your installation environment first.
How Long Does It Typically Take to Fabricate One Channel Letter?
Fabricating a single channel letter usually takes a few hours, depending on complexity and tooling access. Rushing can affect quality, so allow ample time for precise cutting, wiring, and assembly.
What Tools Can Replace Expensive CNC Machines in a Small Sign Shop?
Manual nibblers, bending brakes, and hand routers can substitute CNC machines but require more skill and time. These tools work well for simpler channel letter designs in small shops.
Is It Better to Use Neon or LED for Lighting Channel Letters?
LED is more energy-efficient, durable, and easier to maintain than neon, making it the preferred choice for most modern channel letter signs. Neon provides vintage appeal but has higher upkeep and fragility risks.
Key Points to Remember
Making channel letters yourself requires attention to detail from design through installation. Start with careful planning, stay organized during fabrication, and verify each step before moving on. The next time you prepare a sign project, apply this process to build professional-looking letters that last.