How to Make Family Name Signs: A Complete Guide with Tips and Methods
How to make family name signs starts with choosing the right materials and design that suit your home’s style. Creating one yourself lets you pick fonts, colors, and dimensions for a personal touch. Begin by selecting a durable base like Baltic birch wood and decide whether you want to paint, stencil, or cut your letters for the best finish.
Key Takeaways
- Use Baltic birch wood for sturdy, smooth family name signs that hold paint and glue well.
- Fonts like BetterFly provide clear, attractive lettering and are available in downloadable bundles for easy use.
- Keep letter height around 4 inches for balanced visibility on medium-sized signs.
- Wrap text naturally if the family name length exceeds 11 inches to maintain design flow.
- Consider 3D letters by downloading SVG files for cutting with machines like the xTool P2.
- Secure glued letters with waterproof adhesives such as Beacon Adhesives 3-in-1 Glue for long-lasting signs.
What Are Family Name Signs and Why Make One Yourself?
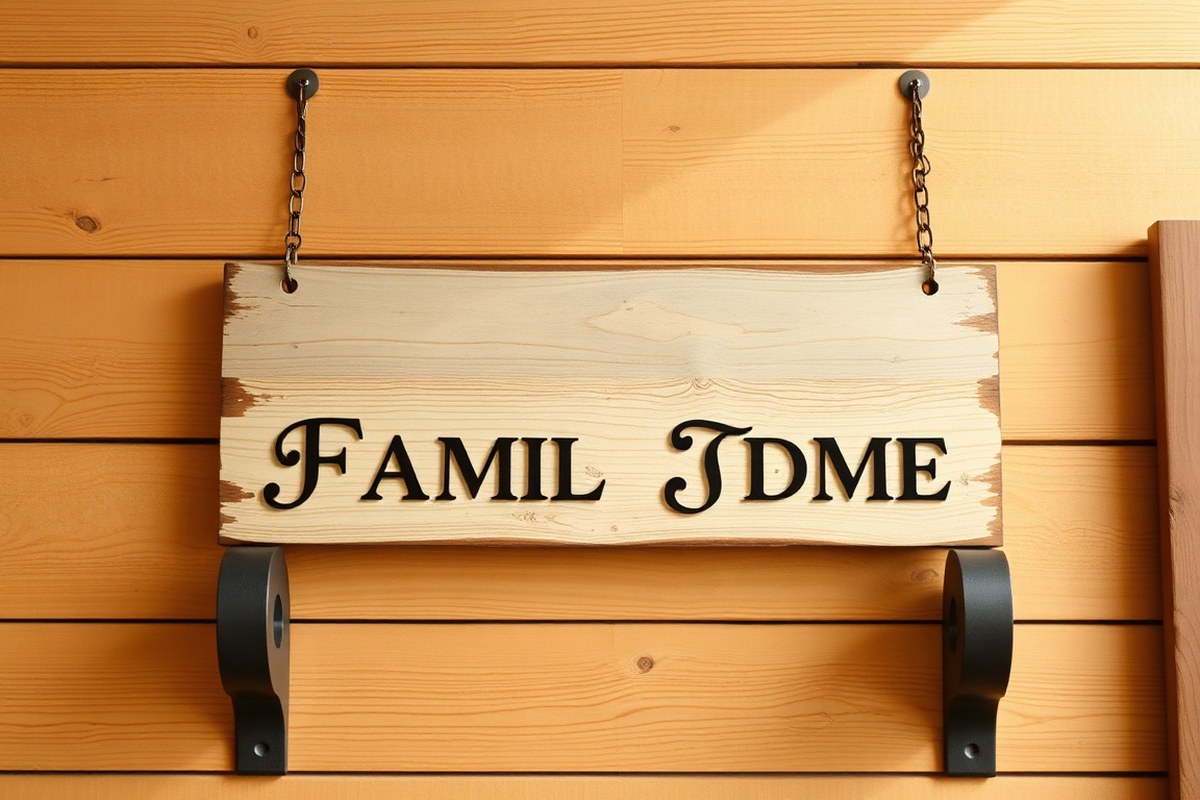
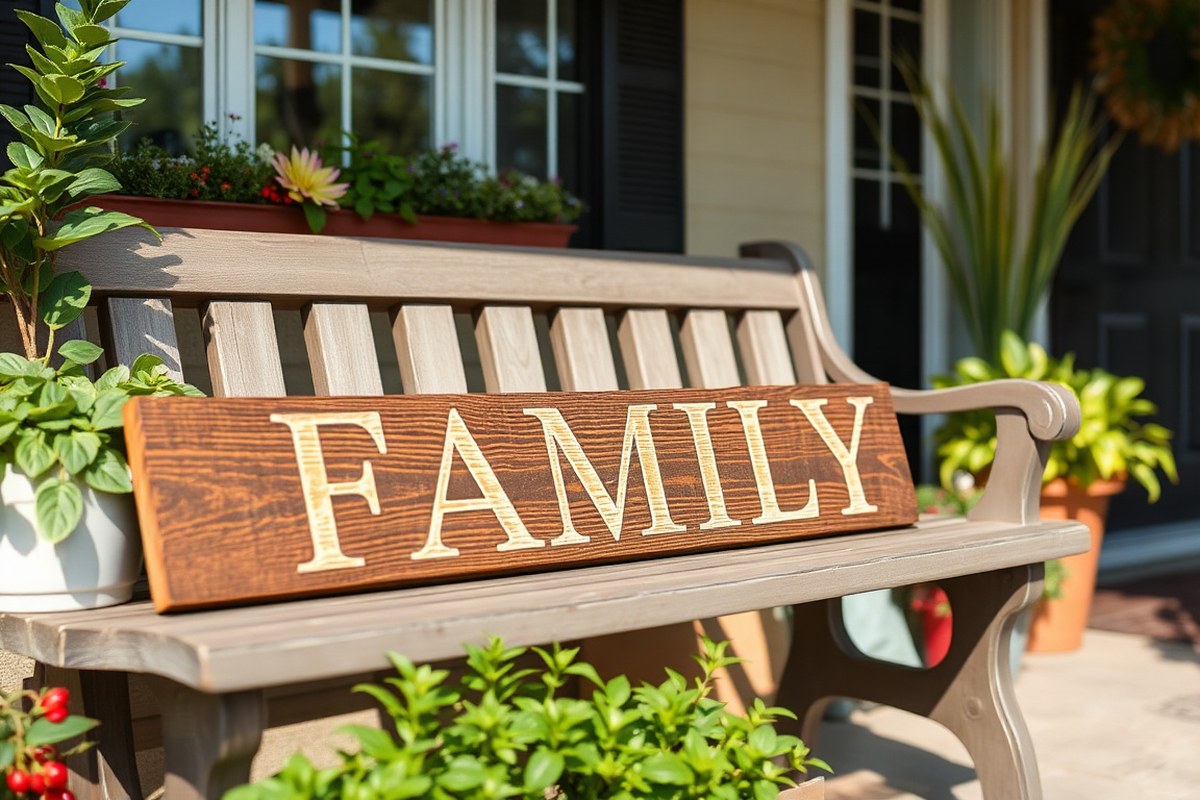
A family name sign is a decorative piece that prominently displays your last name, often combined with a monogram or an established date. These signs are typically made from wood, canvas, or metal and can include personalized fonts, layouts, and embellishments to reflect your family’s style and history. Common forms include rustic laser-cut wooden plaques or modern canvases, which add a welcoming and personalized touch to your home’s entrance, living room, or other favorite spots.
The purpose of a family name sign goes beyond simple decoration. It symbolizes your family’s identity and heritage, making your home feel more personal and inviting. These signs also serve as a warm greeting to guests, signaling pride in your family name and home. The emotional value grows when you create the sign yourself because it becomes a tangible expression of your creativity and family traditions. Crafting your own family name sign connects you with your space meaningfully by turning a simple object into a cherished keepsake.
Choosing to make a family name sign yourself comes with several benefits. First, it allows you to customize every detail, from the material and size to font and color, ensuring the sign matches your home’s decor perfectly. For example, a Round Family Name Sign Kit made of Baltic Birch wood measures 4 inches in height and ¼ inch thick, a manageable size for DIY projects that fits well on doors or walls. Buying a pre-made sign might limit your design options and cost anywhere from $30 to over $100, whereas creating one at home can be more affordable, requiring only basic materials like paint, brushes, glue, ribbon, and seasonal decor for additional flair.
Making your own sign also offers a rewarding hands-on experience. You’ll develop skills such as painting, stenciling, or cutting, which can be a fun project for you and family members. Many downloadable SVG templates and online monogram generators simplify the design process by letting you create digital versions of your sign before starting the physical crafting. This preparation helps reduce mistakes, assists in visualizing the final product, and speeds up the assembly.
Good results look like a neatly painted, well-cut sign with smooth edges and clear text that stands out. You want the font size and style to be readable from a short distance, with balanced spacing. Common pitfalls include poor paint coverage, uneven lettering, or misaligned designs. These can be avoided by gathering all supplies beforehand, practicing brush strokes on scrap wood, and working in a well-lit area. For added durability and polish, using the right adhesive, such as Beacon Adhesives 3-in-1 Glue, binds layers securely and makes attaching ribbons or seasonal decor easier.
Family name signs come in many variations, from flat canvas prints to 3D wooden cutouts. The choice depends on your skill level, time, and décor preferences. A basic cloth sign with a printed name can be a quick craft, while layered 3D wooden signs require more time and tools but offer a more distinctive look. Ultimately, making a family name sign yourself transforms a simple home decoration into a meaningful expression of family pride and creativity.
Materials and Tools Needed for DIY Family Name Signs
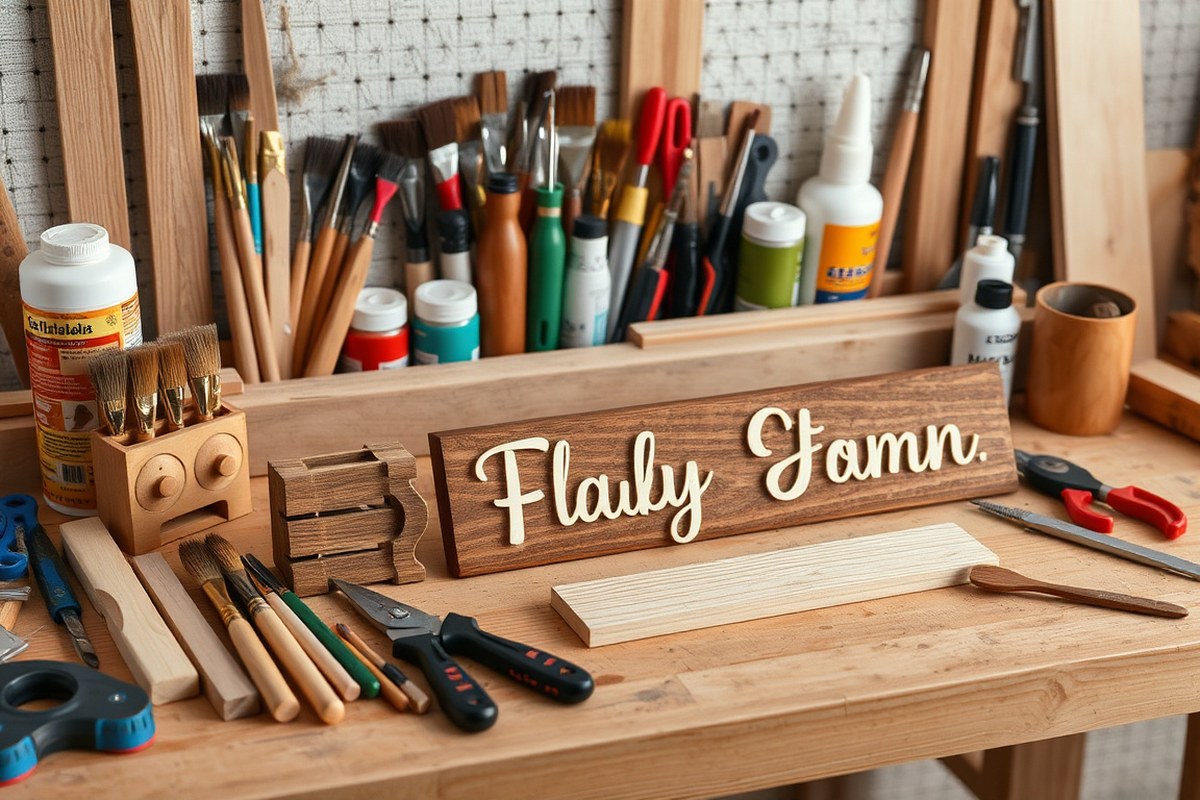
Choosing the right materials shapes the look and durability of your family name sign. Hardwood like pine, cedar, or oak are popular because they’re durable and smooth enough to paint or carve. Pine is usually the most affordable, costing around $10 to $30 for a 1x6x6-foot board, while cedar and oak might cost closer to $20 to $50 for the same size. You can also use reclaimed pallet wood, which adds a rustic touch and cuts costs, often available free or for under $10 per pallet. When prepping wood, sand it smoothly with 120- to 220-grit sandpaper to reduce splinters and create a better surface for paint or stain.
Essential tools vary by method but some basics help most techniques. A jigsaw, coping saw, or laser cutter is best for cutting wood letters or shapes. Cutting machines like Cricut or Silhouette are perfect for detailed stencil or vinyl designs and cost between $150 and $300 if you want to invest. For painting, quality brushes in various sizes plus foam brushes help with precise edges and filling large areas. Acrylic paint is a good choice for vibrant, weather-resistant color, costing about $5 to $10 per bottle. A pencil, ruler, and carbon paper are useful for tracing designs manually if you don’t have a cutting machine. For beginners or those on a budget, here’s a checklist for getting started with DIY family name signs without high upfront costs:
- Wood: Pine board or reclaimed pallet wood, lightly sanded
- Cutting: Basic jigsaw or craft knife for simple shapes
- Design transfer: Pencil and carbon paper or printed stencil
- Painting: Acrylic paints and a set of small to medium brushes
- Sealing: Clear spray sealer or polyurethane to protect finish
- Adhesive: Wood glue for attaching cut letters or embellishments
Good preparation means the paint and cuts will last longer and look crisp. Keep your work area clean and dry. Measure and mark twice before cutting or painting. Expect extra time sanding and sealing to avoid rough edges or paint chips. Using freezer paper for stencils can save time and reduce paint bleeding when doing paint fills. Also, thicker paint layers might need at least 2 hours drying time between coats, depending on temperature and humidity.
Always wear a mask and eye protection when sanding or working with power tools to avoid inhaling dust or debris.
Designing Your Family Name Sign: Fonts, Layouts, and Personalization
Designing a family name sign begins with selecting the right fonts and layout to ensure clear, attractive visibility. Incorporate your family established date or monogram thoughtfully to add a personal touch without crowding the sign’s design. Careful planning of size and spacing guarantees the finished piece feels balanced and easy to read from a distance.
Choosing Fonts for Readability and Style
Pick fonts that match your home’s style while remaining easy to read. Sans-serif fonts work well for a modern look, while script or serif fonts can add a cozy, rustic feel. Avoid overly decorative fonts that reduce legibility, especially if the sign will be viewed from several feet away. Use your computer to test different font options by typing your family name and adjusting the size on screen until it fits your anticipated sign dimensions.
When mixing fonts, limit yourself to two complementary styles, one for the family name and another simpler font for additional details. This keeps the design cohesive without overwhelming the viewer.
Planning Letter Size and Placement Accurately
The size of the letters should be proportional to the overall sign size and the distance from which people will read it. A good rule of thumb is that each inch of letter height provides clear readability up to 10 feet away. For example, a 3-inch letter height is ideal for signs intended to be read from about 30 feet.
Print your family name in various sizes on paper and place it on a similar surface to your final sign to visualize scale and spacing. Adjust the layout to center the text and maintain even spacing between letters. The shape of your sign influences layout options such as horizontal lines, stacked text, or circular arrangements.
- Print a template with your chosen font and sizes for accurate spacing references.
- Use software or graph paper to sketch your layout before cutting or painting.
- Reserve space near the bottom or corners for established dates or monograms.
- Ensure consistent margins around the edges to frame your text.
- Consider the sign’s placement height to optimize readability angle.
Keeping your text well-aligned and evenly spaced avoids a cluttered look and makes the family name stand out clearly.
Adding Personalized Details Like Dates and Initials
Including details such as a wedding year (e.g., “Established 2025”) or family initials creates a meaningful focal point. Position these extras in smaller font sizes than the main name to maintain hierarchy but still ensure they’re visible. Placing the date beneath the family name or inside a decorative emblem, like a circle cutout, keeps the design balanced.
For added texture and dimension, consider cutting monograms or the established year from a different material or font style. Glue these elements on top of your sign using strong adhesives like Beacon Adhesives 3-in-1, allowing the base sign to dry fully first.
Methods to Create Your Family Name Sign: Cutting, Painting, and Stenciling
Creating a family name sign typically involves three main techniques to form the letters: cutting, painting, and stenciling. Each method has distinct benefits and challenges, depending on your tools, skills, and the style you want. Choosing the right technique affects how your sign looks, how long it takes to make, and the cost.
Cutting letters means shaping the letters physically from wood, metal, or another material. This method needs tools like a jigsaw, scroll saw, or a laser cutter if available. It’s great for a clean, durable look, especially if you want raised letters or a 3D effect. However, cutting can be tricky if you’re new to woodworking or don’t have the right tools. It usually costs more in materials and tools but lasts longer outdoors.
Painting letters involves applying paint directly onto the sign surface. You can do this freehand for a personal touch or use stencils to keep letters neat and consistent. This technique is the most affordable and flexible, perfect for beginners. Painting allows for easy colour mixing and artistic styles, but it might not hold up as well over time, especially outside. Proper sealing after painting helps protect your work.
Stenciling uses pre-cut templates to apply paint in the shape of letters. This method bridges cutting and painting by giving you clean edges without the need to cut letters out yourself. You only need basic painting supplies and the stencil, which you can make yourself or buy. Stenciling suits those wanting precision but lacking the cutting tools. It typically takes less time than cutting and less skill than freehand painting. The table below summarizes the key aspects of these three techniques to help you choose the best fit for your family sign project:
| Technique | Main Tools Needed | Cost Estimate | Skill Level | Durability | Best Use Case |
|---|---|---|---|---|---|
| Cutting | Jigsaw, scroll saw, or laser cutter | $20, $150+ (tools and materials) | Intermediate to advanced | High | 3D signs, raised letters, long-lasting outdoor signs |
| Painting | Brushes, acrylic or outdoor paint | $10, $50 | Beginner to intermediate | Medium (requires sealing) | Artistic, colourful signs, budget-friendly |
| Stenciling | Stencil kit or custom template, paint, brush/sponge | $15, $40 | Beginner | Medium | Clean, consistent lettering without cutting |
For a rustic effect, painting your family name sign and letters allows experimentation with brush strokes and layering. Use various paint shades to create depth or distress the paint slightly after drying for a weathered look. This flexibility is harder to achieve with cut-out letters or stenciling.
Consider your equipment and how much time you want to spend. Painting suits you if you don’t have cutting machines or want to keep costs low. Stenciling offers neat results without advanced skills, using simple materials readily available at craft stores. Cutting is ideal if you enjoy working with power tools and want a professional, three-dimensional finished product that stands out on your porch or wall.
How to Transfer and Apply Your Design Onto the Sign Surface
Transferring your design onto the sign surface correctly sets the stage for a clean, professional-looking family name sign. Using stencils, vinyl, or careful hand drawing helps achieve crisp letters and avoids smudging or misalignment. The choice of method depends mostly on your surface type and the tools you have, with some key steps to keep your lettering precise and stable during painting or cutting.
Preparing the Wood Surface Before Transfer
Start with a smooth, clean wood surface to ensure good adhesion and sharp edges on your design. Sand the wood with fine-grit sandpaper (around 220 grit) until it feels smooth to the touch, then remove dust using a tack cloth or damp rag. Avoid rough or uneven surfaces that can cause paint or stencil lines to blur.
Apply a primer or a base coat of paint if your wood is raw. Let this dry completely before transferring your design. A dry, neutral-colored background improves visibility for placement and prevents your design from being absorbed unevenly by the wood grain. For acrylic or finished surfaces, lightly clean with rubbing alcohol to remove oils or residues that might interfere with transfer materials.
Using Vinyl or Paper Stencils for Accurate Placement
Vinyl stencils work best on smooth surfaces like sealed wood or acrylic because they stick firmly and reduce paint bleed. First, cut out a small rectangle just around your family name to minimize excess paper flapping during transfer. For paper stencils, this also makes handling easier.
Use transfer tape to pick up the vinyl stencil and place it carefully on your sign surface. Press down firmly, then slowly remove the tape, leaving the stencil perfectly adhered. If using paper stencils, apply a light spray adhesive on the back of the stencil to increase tackiness, but wait until it becomes slightly tacky before placing it on your wood. To avoid messy edges, place newspaper or cardboard underneath and work on a flat surface.
Align your stencil by measuring equal margins from the edges or using a ruler and pencil marks for reference. Press or smooth the stencil with a plastic scraper or old credit card to ensure full contact. This prevents paint from seeping underneath, which leads to fuzziness in your letters.
- Cut around the name to reduce stencil handling issues
- Use transfer tape for vinyl stencils for precise positioning
- Apply spray adhesive lightly and let it get tacky for paper stencils
- Use a scraper or credit card to smooth stencils and avoid paint bleed
- Mark layout with pencil lightly to check alignment before painting
- Work on a flat, covered surface like cardboard or newspaper
- Choose paint colors contrasting your base color for visibility
Make sure the stencil’s edges are fully sealed to the surface; paint bleeding ruins sharp lines and wastes paint.
Freehand Drawing and Tracing Techniques
For surfaces like raw wood or textured finishes, tracing or freehand can work well, especially if you want a personal touch. Print your design on regular paper, then cut out the rectangle around the text. Flip the paper over and use a pencil to shade the back side thoroughly along the letters. Tape the paper in place on your wood, then trace firmly over the letters with a ballpoint pen to transfer the graphite outline.
This method creates an easy-to-follow guide for painting or carving. Keep a damp rag nearby to clean smudges quickly and avoid smearing your outline. Align your design by measuring equal distances on all sides and use light pencil marks that can be erased or painted over later. Another tip is to draw faint guideline lines parallel to wood edges to help keep lettering level.
Painting, Cutting, and Finishing: Bringing Your Sign to Life
To bring your family name sign to life, focus on clean painting, precise cutting, and thorough sealing. Painting with sharp edges prevents bleed; cutting by hand demands steady hands and sharp tools; sealing blocks moisture and sun damage for outdoor durability. Follow specific steps for each to achieve a professional look and long-lasting sign.
Best Paints and Brushes for Longevity and Precision
Use exterior-grade acrylic paint or latex paint for outdoor signs because they resist fading and weather damage. Choose small, high-quality synthetic brushes with firm bristles to apply paint precisely, especially around letter edges. A fine-tipped brush can help with details and reduce paint bleed under stencils.
Spray paint offers a smooth finish for solid backgrounds or laser-cut letters, but applying multiple light coats is important to avoid drips and uneven coverage. Let each coat dry fully for 15 to 30 minutes before the next layer.
- Use painter’s tape or vinyl stencils to mask edges and prevent paint bleed.
- Apply a thin first coat to seal the surface, then follow with one or two thicker coats.
- Work in a well-ventilated, dust-free area to avoid imperfections.
- Allow 24 hours for full drying before handling or sealing.
- For multi-layer designs, wait until paint cures before adding new colors.
Painting in light, controlled layers results in crisp lines and a durable surface. Avoid overloading the brush or spray can to minimize runs and puddles that ruin sharp edges or cause letters to bleed into the background.
Sealing and Weatherproofing Your Sign
Sealing protects wood from moisture, UV rays, and temperature changes, which cause warping, cracking, and color fading. Applying a clear outdoor sealer is necessary, especially for signs exposed to rain or direct sunlight. Polyurethane or spar varnish with UV blockers are common sealants trusted for outdoor wood signs.
Apply at least two coats using a synthetic brush or foam applicator, letting each coat dry 4 to 6 hours. Sand lightly with 220-grit sandpaper between coats for a smooth finish. Seal the edges of letters and the sign surface fully to prevent water from seeping in.
- Choose sealers labeled for exterior wood use with UV protection.
- Use spray sealers for a quick, even coat but follow with brushed coats for durability.
- Avoid sealing in high humidity or low temperatures below 50°F, as drying slows.
- Re-seal outdoor signs every 1 to 2 years to maintain protection.
Proper sealing extends sign life several years beyond unprotected wood. Skipping this step can lead to peeling paint and damaged wood in as little as one rainy season.
Safe Cutting Practices and Tool Handling
Cutting letters by hand requires sharp blades and steady control to maintain clean edges. Use an X-Acto knife or utility knife for thin plywood or soft woods, swapping blades often to keep cuts sharp. For thicker materials, a coping saw or scroll saw offers precision without splintering.
Always secure your wood on a stable surface with clamps before cutting to avoid slips. Cut slowly along the design lines, using light passes that deepen gradually instead of heavy cuts that risk jagged edges or tool slips.
- Wear safety glasses and a dust mask to protect eyes and lungs.
- Keep your cutting hand steady and use a ruler or straight edge for straight cuts.
- Work in a well-lit area to clearly see fine details.
- Keep tools clean and sharp to reduce effort and mistakes.
- Take breaks during long cuts to avoid fatigue-related slips.
Precise cutting prevents the need for sanding irregular edges and results in a polished final sign. Rushed or heavy-handed cutting risks splintering or injury, which can spoil your project.
Adding Decorative Elements and Seasonal Updates to Your Sign
Adding decorative elements to your family name sign can make it feel more personal and inviting. Ribbons, seasonal touches, and framing help reflect your style and update the sign as the year progresses. These accents also protect your sign’s surface by avoiding direct paint or permanent changes that are hard to reverse.
Ribbons work well to soften the edges or add a pop of color. Choose a wide ribbon, about 2 to 3 inches, that complements your paint palette. Use double-sided tape or small, reusable adhesive hooks to attach it around the sign’s frame or hang it loosely at the top. Avoid nails or staples because they can damage wood or painted finishes. For signs made from metal or plastic, thin magnets behind the ribbon work nicely, especially if you want to change ribbons seasonally without wear.
Seasonal decor gives your sign a fresh look throughout the year while celebrating holidays or changing weather. Use removable decorations like mini wreaths, faux foliage, small pumpkins, or holiday-themed picks. Attach these using clear removable hooks or low-tack tape to keep them secure without harm. For outdoor signs, consider weather-resistant options and fasten elements with floral wire twisted gently around the frame or sign edges.
- Add a burlap or plaid ribbon tied in a bow on a corner for fall
- Attach a cluster of faux holly and pinecones for winter holidays
- Use pastel-colored ribbons and paper flowers in spring
- Twist a string of battery-operated fairy lights around the frame for summer evenings
- Swap out seasonal decals or vinyl stickers placed strategically on the sign surface
Framing your family name sign adds a finished, professional look. Use a simple wooden molding or metal frame if your sign is on a flat board. Cut frame pieces to fit the sign snugly, then use wood glue or corner brackets for stability. Painting or staining the frame a coordinating color ties it all together. For extra protection, a clear acrylic cover fits inside the frame, shielding your sign from dust and moisture, especially important outdoors.
Refreshing your sign over time involves removing seasonal items carefully and wiping down the surface with a dry or slightly damp cloth. Avoid harsh chemicals to preserve paint and finishes. Plan for yearly touch-ups by keeping a small supply of matching paint or stain. Any ribbons or decorations showing wear should be swapped for new ones to maintain a crisp, welcoming appearance.
While adding these elements improve your sign, limiting permanent alterations gives you flexibility. Seasonal updates are a low-cost way to keep your family name sign feeling current and special for every occasion.
Common Mistakes to Avoid and Troubleshooting Your Family Name Sign
Paint bleeding or uneven cutting edges usually result from improper preparation or using the wrong materials. Paint can bleed if you apply it too thickly or don’t secure stencils firmly. Cutting edges get jagged when blades or cutting tools are dull or when you rush through the process. Fix these issues by taping all stencil edges tightly before painting and using a sharp craft knife or fresh blade for cutting. When spraying paint, apply several light coats from about 8 to 12 inches away to avoid drips, letting each coat dry fully before the next.
Misaligned or warped letters often happen during assembly because of inconsistent spacing or warping caused by humidity or uneven surfaces. To fix misaligned letters, use a ruler or straight edge when positioning and temporarily hold letters down with painter’s tape. If letters warp, gently heat them with a hair dryer for about 30 seconds and press flat with a heavy book on a smooth surface until cool. Avoid bending letters too forcefully to prevent breakage.
Safety mistakes during crafting can lead to injuries or damage to your project. Avoid cutting toward yourself with blades, keep your work area well-lit, and wear protective gloves and goggles when handling sharp tools or spray paint. Spray paint should be used outdoors or in a well-ventilated space and at recommended temperatures, typically between 50°F and 85°F, to ensure proper drying and reduce inhalation risks.
- Not securing stencils firmly before painting causes paint bleed.
- Using dull blades results in uneven, jagged cutting edges.
- Rushing through cutting increases mistakes and wastage.
- Poor letter alignment leads to an unprofessional look.
- Humidity can warp wooden letters if not stored properly.
- Painting thick layers causes drips and uneven texture.
- Neglecting safety gear risks cuts or inhaling fumes.
Use a fresh blade for every new sign to keep edges clean and sharp, this small step greatly improves your sign’s final appearance.
Ensuring your work area is clean and stable prevents accidental slips and gives you better control over each step. Testing materials on scrap pieces before the actual sign lets you catch problems early. When assembling your sign, patience pays off; take your time to align letters using guides or tape. This approach avoids costly mistakes and frustration.
Step-by-Step Action Plan for Making Your Family Name Sign
Follow these steps to create a personalized family name sign you’ll enjoy displaying. Each phase builds on the last to make sure your sign looks great and lasts.
- Before you start: Choose your sign material and gather all tools and paints. Make sure everything suits your design and working space.
- Day 1: Sketch your design or use software to arrange fonts and layout. Confirm the text fits well on your chosen material without crowding.
- Day 2: Transfer your design onto the sign surface using your preferred method (stencil, tracing, or printing). Check that the design applies cleanly and clearly.
- Day 3: Cut or paint your design carefully, following the outlines. Pause often to check for sharp edges or smooth brush strokes.
- Day 4: Add extra decorations or seasonal accents if desired. Make sure these additions complement the main design.
- Day 5: Apply a protective finish such as sealant or varnish suited for your sign’s location. Confirm the finish is even and dries fully.
- After 1 week: Inspect your sign for any touch-ups needed and correct them to keep it fresh and polished.
Frequently Asked Questions
Can I Make a 3D Family Name Sign at Home?
Yes, you can create 3D family name signs by downloading SVG files from resource libraries and using materials like Baltic Birch wood. This adds depth and a professional touch to your DIY project.
What Wood Type Works Best for Family Name Signs?
Baltic Birch is a popular choice for its durability and smooth surface, ideal for painting and cutting detailed designs like fonts.
Can I Create a Family Name Sign Using an Online Monogram Generator?
Yes, online tools let you easily design custom last name signs by inputting your details to generate a monogram for use on wooden or canvas signs.
How Do I Avoid Paint Smudges on My Family Name Sign?
Use thin layers of paint and allow each coat to dry fully before applying the next to reduce smudging and achieve clean lettering.
What Seasonal Decor Pairs Well with Farmhouse Style Signs?
Adding natural elements like dried flowers or burlap ribbons complements the rustic style of farmhouse family name signs and makes seasonal updates simple.
Can I Gift a Homemade Family Name Sign?
Handmade name signs are thoughtful gifts for occasions such as weddings, anniversaries, or housewarmings, providing a personal and lasting keepsake.
Wrapping Up
Making a family name sign yourself lets you add a personal touch that fits your home style perfectly. Start by picking materials and a design that inspire you, then take your time transferring and finishing the sign for the best results. Try applying a protective coat soon after painting to help your sign stay vibrant longer. Your next step is to gather materials and draft a layout, then bring your vision to life one step at a time.