How to Make a Halloween Sign with Cricut: Complete Steps for Perfect Festive Decor
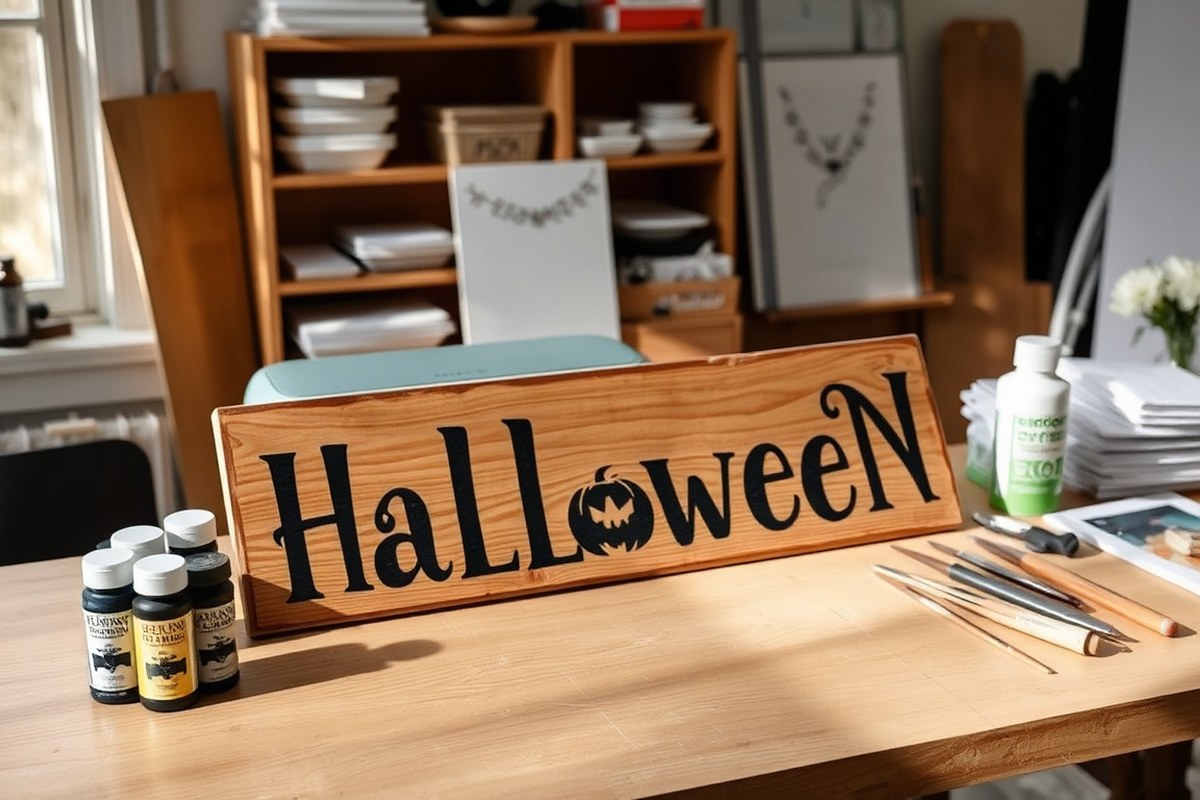
How to make a Halloween sign with Cricut is simple when you use the right materials and design files. Start with a wood base, a Cricut machine like the Maker 3, and permanent vinyl for clean, long-lasting decals. Choosing the exact design size ahead, for example, a 22-inch wide sign, helps your project fit perfectly and look professional.
Key Takeaways
- Use a Cricut Maker 3 or similar for cutting vinyl, cardstock, or fabric to create detailed Halloween signs.
- Prepare your wood base by painting it with craft paint or spray paint and letting it dry 10 to 5 hours.
- Search for specific SVG files like “Halloween Sign SVG” to narrow down your design choices effectively.
- Resize your digital design in Cricut Design Space to match your wood sign dimensions before cutting.
- Use permanent vinyl in colors like black for durable and sharp Halloween decals.
- Transfer vinyl decals carefully using transfer tape to avoid wrinkles or bubbles on your sign surface.
What Materials and Tools Are Needed for a Cricut Halloween Sign
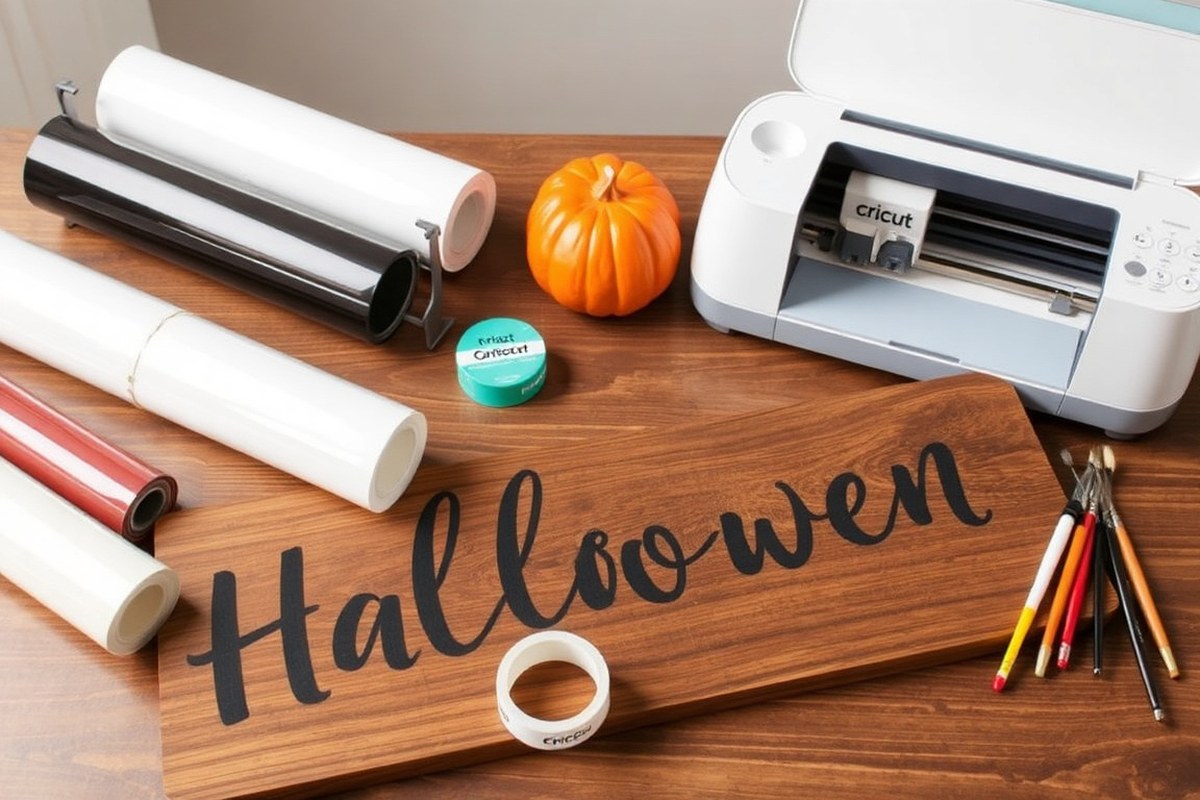
To create a Halloween sign with a Cricut, you’ll need a few essential materials and tools to get started and finish your project with a clean, professional look. The Cricut Maker 3 is highly recommended for Halloween signs because it can cut a wide variety of materials including vinyl, cardstock, and chipboard. This flexibility lets you work on layered designs or simple vinyl decals on wood or other bases. Along with the machine, selecting the right cutting mat for your material is important. For example, use the Strong Grip Mat (purple) for heavier materials like chipboard, and the Standard Grip Mat for vinyl and cardstock to avoid slippage or cutting errors.
Adhesive vinyl is the most common choice for sign decals. Permanent or premium vinyl works best outdoors or on surfaces that may get touched frequently since it holds up better over time. You might also want removable vinyl for reusable designs or temporary Halloween decorations. Cardstock can be used if you want to add additional layers or embellishments like bats or ghosts cutouts. When your design calls for a solid base, wood signs or heavy chipboard pieces (about 2.0 mm thick) provide durability and a rustic look that suits Halloween themes.
Painting your base before applying vinyl decals can improve your sign. Typical paint colors include black and white for contrast or orange and purple to match Halloween colors. Apply paint with a brush or foam applicator, allowing adequate drying time. You’ll also want a few basic tools for application and cleanup, such as transfer tape for moving vinyl designs from backing to the base smoothly, masking tape to hold your materials in place, and weeding tools to remove excess vinyl.
- Cricut Maker 3 machine for versatile cutting
- Strong Grip Mat (purple) for chipboard or heavy materials
- Standard Grip Mat for vinyl and cardstock
- Permanent or removable adhesive vinyl in Halloween colors
- Heavy chipboard or wooden sign base
- Transfer tape for vinyl application
- Paint (black, white, orange, purple) and paint brush
- Masking tape and weeding tools
Choosing the right machine and mats depends on the materials you plan to use. The Cricut Maker 3 handles heavy chipboard and vinyl well, so you can cut out detailed Halloween shapes without damage or fraying edges. The Strong Grip Mat keeps stiff materials in place as the blade moves, preventing miscuts. For vinyl, the Standard Grip Mat is gentle enough to avoid pulling the vinyl backing but sticky enough to hold thin sheets steady. The quality of your vinyl also matters: premium permanent vinyl resists water and UV damage, extending the life of your outdoor signs. Basic hand tools like a weeding pick save time removing tiny pieces from intricate designs, especially small spiders or bats.
Expect to spend around $150 to $400 for a Cricut Maker 3, $10 to $15 per pack of mats, and $5 to $10 on vinyl sheets depending on brand and size. Wood signs and chipboard vary but typically cost $5 to $15 each at craft stores. Preparation and drying times for paint add a few hours to your setup, so plan to work on your project over one or two days for the best results. Clear work space also matters because small embellishments and sticky materials can create a mess and affect your precision. Organizing your tools within reach helps keep the process smooth, so everything from cutting to transferring vinyl runs efficiently.
How to Find or Create Halloween SVG Files for Cricut Design Space
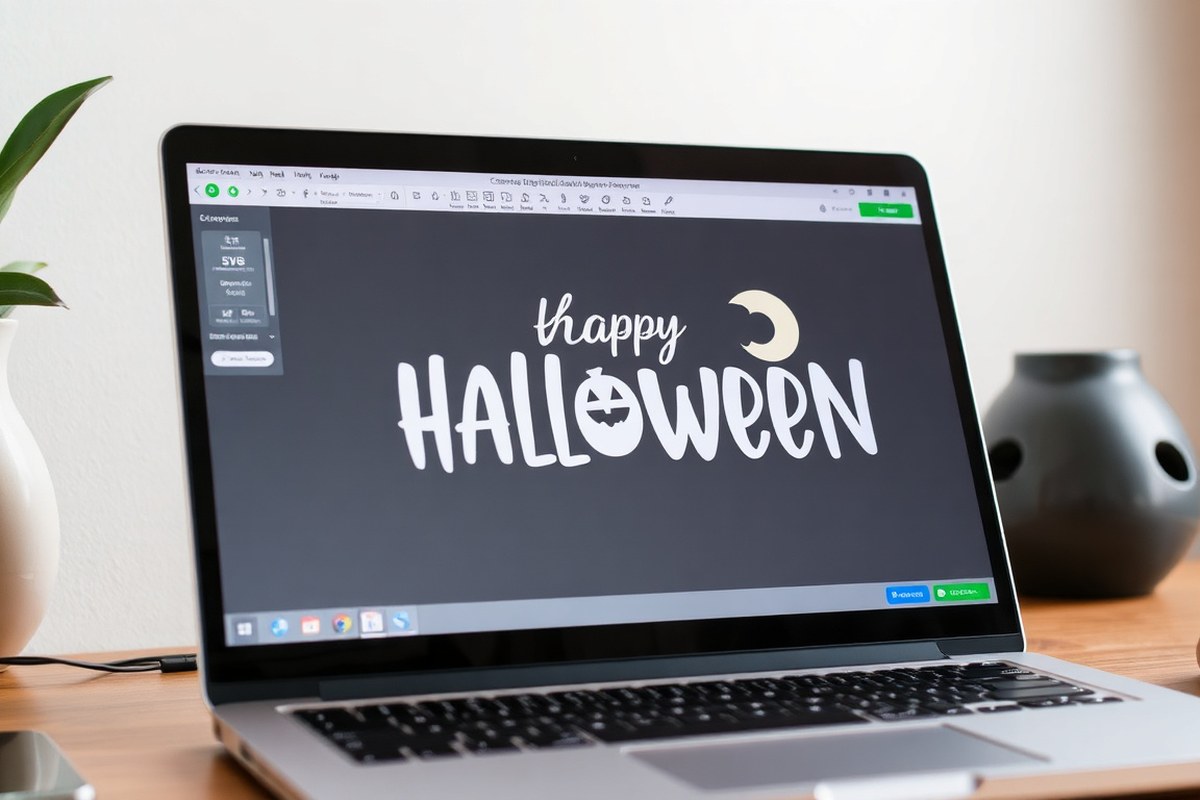
You can find both free and premium Halloween SVG files on popular design platforms and marketplaces, such as Cricut Access and various online stores. Upload these files into Cricut Design Space to customize size and layers, adjusting the design to fit your sign’s dimensions and style. Creating or modifying SVGs within Design Space gives you full control over your Halloween sign’s look.
Top Sources for Free and Paid SVG Files
Free Halloween SVG files are available from multiple trusted sites. Cricut Access offers a wide selection of themed cut files included in its subscription, covering everything from spooky bats to charming pumpkins. Other online libraries and craft blogs regularly share free SVG downloads, like Halloween sign templates that can be personalized.
For more unique or professionally designed files, consider purchasing from marketplaces like Etsy or Design Bundles. Premium SVGs often come with extensive design elements, ensuring your Halloween sign stands out. Some creators offer paid bundles with multiple coordinating designs, ideal for matching porch decor or party supplies. When searching, use specific keywords such as “Halloween sign SVG,” “spooky cut files,” or the exact theme you want, like “ghost” or “witch hat.” This helps filter results and saves you time browsing.
How to Upload and Adjust SVGs in Design Space
Uploading and customizing SVG files in Cricut Design Space is straightforward and essential for a good cut. After downloading your Halloween SVG, open Design Space and follow these steps to prepare your project:
- Open Cricut Design Space and log in to your account.
- Click the “Upload” button located on the left sidebar.
- Select “Upload Image,” then browse to find your saved SVG file and upload it.
- Name your file for easy reference and save it to a category or collection.
- Insert the uploaded SVG onto your canvas by clicking on it in the “Recently Uploaded” section.
- Select the image on the canvas and use the toolbar at the top to resize it by width or height, matching the size of your wood base or sign area.
- Use the “Ungroup” function to separate layers if you want to modify colors or cut settings individually before cutting.
Correct sizing depends on your sign dimensions. Measuring your wood or material before adjusting designs prevents wasting vinyl and material. For typical porch signs, resizing to widths around 20 to 22 inches works well, but smaller or larger signs may need custom sizing.
Always verify your sign measurements before adjusting the SVG size in Design Space to avoid cutting errors or material waste.
Design Tips for Layering and Sizing Halloween Signs
Layering different parts of a design adds depth and visual appeal. After ungrouping your SVG, assign separate colors to each layer to match vinyl or paint colors and plan the order of application. A simple ghost silhouette layered over a background pumpkin creates a clean, striking effect with minimal complexity.
Resizing a design means keeping the right proportions. Use the lock icon in Design Space to maintain aspect ratio unless you want a stretched or compressed look. For complex signs, break large designs into smaller sections to cut on standard mats if your sign exceeds 12 by 24 inches.
Consider spacing between elements, especially in fonts or intricate shapes. Too little space might cause vinyl to tear or weed poorly. Adjust spacing, weld pieces that must cut as one, and preview the layers before sending to the machine.
Preparing Your Wood or Base Material for a Halloween Sign
Choosing the right base and preparing it correctly sets the foundation for a strong, attractive Halloween sign. Start by picking wood or an alternative material that fits your desired size and setting. Then, clean, sand, prime, and paint the base carefully to ensure your Cricut vinyl or paint decal sticks well and lasts outdoors or indoors.
Selecting and Sizing Your Wood or Base
For wood signs, choose lightweight and relatively smooth types like pine, balsa wood, or plywood that Cricut machines can handle. A thickness of about 1/4 inch (6mm) works well, offering durability without too much weight. Wood sizes around 18 to 22 inches wide and 10 to 12 inches high are common for porch or door signs, providing enough space for bold Halloween graphics.
Make sure the wood is flat and free from warping. You can cut larger pieces down to size using a handsaw or have your local hardware store do it. Thinner woods like balsa up to 2.4mm thickness can be cut with a Cricut Maker 3 if you want to skip saws and create custom shapes.
Priming and Painting Techniques for Signs
Start preparation by lightly sanding the wood with 120 to 180-grit sandpaper to smooth rough edges and help paint adhere better. Wipe away dust with a tack cloth or damp rag.
Apply at least two coats of outdoor acrylic paint to protect the wood and provide a solid background color. Let each layer fully dry, usually 3 to 5 hours or per paint label instructions, before adding the next coat. Using spray paint outdoors on a cardboard-covered surface helps achieve even coverage and avoids brush strokes.
Priming with a wood primer before painting is recommended if your wood has knots or is unfinished; it prevents staining and improves paint durability. Allow primer to dry thoroughly, about 1 hour to 90 minutes, before painting. This prep work reduces peeling and extends the life of your Halloween sign.
Once paint dries, avoid handling the surface roughly. Smooth, even coats look best under vinyl decals or stenciled designs. Signs will be more weather-resistant with properly dried paint layers sealing the wood.
Alternative Base Materials and Their Prep Methods
For outdoor use or a different look, consider using materials like foam board, metal sheets, or sealed MDF (medium-density fiberboard). Foam boards are very lightweight, but require careful handling. Seal foam board surfaces beforehand with Mod Podge or acrylic sealer to protect them from moisture.
Metal signs provide durability outdoors and need thorough cleaning with rubbing alcohol to remove oils and residues. Sand lightly with fine grit sandpaper to create a texture that paint can cling to, then use a metal primer before painting.
MDF offers a smooth base but absorbs moisture easily. Seal MDF with a shellac-based primer or water-resistant sealer before painting to avoid swelling or warping in humid conditions. Allow sealing layers to dry fully as instructed on the product label.
- Select your base material matching your desired size, indoor or outdoor use, and weight.
- Cut wood to size using a saw or purchase pre-cut wood pieces; foam or metal boards should be sized accordingly.
- Sand the surface lightly to smooth rough areas and improve paint adhesion; wipe away dust.
- Prime wood or alternative surfaces with appropriate primer for knots, metal, or moisture protection.
- Allow primer to dry completely, usually 1 to 2 hours depending on material and product.
- Apply two coats of outdoor acrylic paint, waiting 3 to 5 hours for drying between coats.
- Let the final painted surface cure fully before applying vinyl decals or additional designs.
Setting Up Your Cricut Machine and Cutting Vinyl for Halloween Signs
Getting your Cricut machine set up right and cutting vinyl accurately sets the stage for flawless Halloween signs. Choosing the correct material setting ensures clean cuts without damaging your vinyl or wasting material. Vinyl designed for outdoor use or permanent adhesion works best for Halloween signs since it holds up well to weather and wear. Loading the mat evenly and securing vinyl tightly prevents shifting during the cut, which causes jagged edges or incomplete cuts. Follow these steps to set up your machine and cut vinyl precisely:
- Turn on your Cricut and connect it to Design Space. Open your Halloween design file and size it to fit your wood sign, making sure it stays within about 11.5 inches wide for a standard Cricut mat.
- Select your material. In Design Space, choose “Vinyl, removable” for temporary decals or “Vinyl, permanent” for signs exposed to the elements. This adjusts blade pressure and cutting depth to match the vinyl thickness.
- Place your vinyl shiny side down on a clean, standard 12×12-inch cutting mat. Align it carefully along the top-left corner of the mat for accurate placement.
- Load the mat into the Cricut machine by placing it under the rollers and pressing lightly against the clips. Press the LOAD button on the machine; this aligns and holds the mat before cutting.
- Start the cutting process by pressing “Make It” in Design Space. The machine will follow the specified settings to cut your design cleanly and precisely.
- After cutting finishes, press the LOAD button again to unload the mat. Carefully peel the vinyl off the mat, leaving the backing paper intact.
- Inspect the cut lines.Rerun the cut with slightly increased pressure or blade depth settings when you notice areas where the cut isn’t through the vinyl. Clean the mat with a lint roller or replace it if it’s old or worn when vinyl sticks to the mat.
Using the right settings for vinyl, loading the mat carefully, and checking cut quality as you go keeps your Halloween signs sharp and professional-looking. These steps help avoid wasting expensive vinyl and reduce the chance of frustrating mistakes that slow your project.
How to Transfer Vinyl Decals Cleanly on Your Halloween Sign
Transferring vinyl decals cleanly onto your Halloween sign starts with using transfer tape correctly. Transfer tape is a clear, sticky sheet that holds your vinyl design together while you move it from the backing paper to the sign surface. Begin by cutting a piece of transfer tape slightly larger than your vinyl design. Peel the backing from the transfer tape and press it firmly onto your vinyl letters or shapes using a scraper tool or the back of a ruler. This pressure helps the vinyl stick to the transfer tape so it will lift evenly.
Positioning your design on the sign requires patience and precision. Before sticking the vinyl, check the placement by temporarily laying the transfer tape with vinyl on the sign to see how it looks. Use a ruler or measuring tape to center it and keep it level. You can mark light pencil lines on your sign to guide alignment if needed. Once happy with the placement, press the transfer tape down onto the sign, starting from the center and moving outward to avoid bubbles.
Use a scraper or spatula to firmly rub the transfer tape onto the sign surface. Apply firm, even pressure to make sure every part of the vinyl sticks. Slowly peel back the transfer tape at a sharp angle and directly backward, not upward. This technique keeps the vinyl attached to the sign and prevents lifting or wrinkles. When some vinyl lifts with the tape, press it back onto the sign and re-rub with the scraper before trying again.
Common issues like wrinkles or air bubbles can often be fixed quickly. For small bubbles, gently lift the nearest edge of the vinyl, press out any air, then smooth it back down with your finger or scraper. Wrinkles usually happen if the vinyl gets folded or stretched during transfer and are harder to fix once in place. Try to avoid wrinkles by applying the transfer tape evenly and peeling slowly. When a wrinkle occurs, you might need to remove the vinyl, cut that section out, and reapply a new piece to keep your sign looking clean.
You don’t need expensive tools to get great results. A flexible plastic scraper usually costs under $5 and works better than fingernails or household items to apply pressure and smooth the vinyl. Transfer tape prices vary but a roll of standard application tape about 12 inches wide can range from $8 to $15 and will cover many projects.
When removing transfer tape, pull it slowly and sharply backwards to prevent vinyl pieces from lifting or wrinkling on your Halloween sign.
Some surfaces, like rough wood or textured paint, may need extra care. You can lightly sand the wood or clean it with rubbing alcohol before applying vinyl for better adhesion. Removable vinyl is best for temporary signs; for signs exposed to weather, permanent vinyl and sealing options might be necessary. Using clear transfer tape on Halloween-themed decals helps preserve crisp lines and makes separating layers easier if your design has multiple colors.
Tips for Layering Designs and Adding Color Effects
Layering multiple vinyl colors or combining vinyl with paint adds depth and visual interest to your Halloween sign. You can achieve neat, precise layers by planning the order of application and using paint strategically for accents or backgrounds. This approach makes your sign pop with rich color effects and texture.
Planning Your Layer Order
Start by deciding which elements of your design will be background, midground, and foreground. The base layer typically involves paint or a large vinyl background in a solid color, followed by successive layers of vinyl decals in contrasting shades. Planning ensures that each layer adheres well and that colors don’t bleed or overlap improperly. For mixed media, apply paint first, allow it to fully dry, then add vinyl on top. Layering choices depend on whether you want vinyl letters to stand out or painted accents to add texture.
Applying a light base coat of paint that matches the sign color under detailed painted layers prevents bleeding. This way, any paint seepage won’t show, preserving crisp edges. When mixing vinyl and paint, vinyl works best as the topmost layer for clean lines and durability.
Layering Vinyl with Different Colors
To layer vinyl neatly, cut each color separately and weed out excess material before transferring. Use transfer tape for precise placement of each vinyl layer. Start with the largest or bottom layer and work upward with smaller, brighter colors. Overlap edges slightly if needed for a cohesive design, but avoid too much layering thickness which can cause lifting. Follow these steps for smooth vinyl layering:
- Cut and weed the bottom color vinyl layer carefully.
- Apply transfer tape over the vinyl and peel backing.
- Position and adhere the vinyl onto the sign, pressing firmly.
- Remove transfer tape gently once vinyl is set.
- Repeat the process for each subsequent color layer.
- Inspect edges and use a weeding tool to tidy overlaps.
- Press all layers firmly to ensure adhesion, especially on wood surfaces.
Using a Cricut Martha Stewart Premium Vinyl helps with durability and color variety. For example, layering black and orange vinyl creates classic Halloween contrast and strong visual appeal.
Adding Painted Highlights and Accents
Paint allows you to add texture and color gradients that vinyl alone cannot provide. Apply paint in thin layers with a small brush, especially over vinyl stencils or around vinyl shapes for highlights and shadows. Using vinyl as a mask lets you paint clean edges or multicolor effects without risking messy lines. Use the following approach to combine paint with vinyl:
- Apply a thin base paint coat matching the sign color over any open stencil areas on the vinyl or the sign.
- Allow it to dry completely to block bleed-through.
- Paint your desired highlights or accents carefully over or near the vinyl.
- Let the paint dry fully, several hours or overnight for best results.
- Optionally, remove vinyl masks after paint dries to reveal crisp shapes.
This method provides visual depth, like painting candy corn colors as a background and layering vinyl silhouettes on top. Be patient with drying times to avoid smudging. Using acrylic paint designed for wood or canvas works well on wooden signs.
Finishing and Sealing Your Halloween Sign for Durability
Sealing your Halloween sign is essential for protecting it from weather and daily wear, especially if you plan to display it outdoors. A clear spray sealant designed for wood offers good protection against moisture, helping to prevent your sign from warping or fading. Acrylic spray sealants are affordable, typically costing around $5 to $10 per can, and are easy to apply. For cardboard signs used outdoors in dry weather, sealing all exposed surfaces with a clear coat prevents water damage and extends the life of your design.
Apply the spray sealant in thin, even coats from about 10 to 12 inches away, allowing each layer to dry before applying the next. Drying times can vary, but letting each coat dry for at least 30 minutes in a well-ventilated area usually works well. Avoid heavy spray applications to prevent drips or uneven finishes. Usually, two to three coats provide adequate coverage for durability without losing the crispness of your vinyl design.
Once sealing is complete, wait at least 24 hours before moving or hanging your sign. Proper drying ensures the sealant fully adheres and cures, giving your sign the best protection. Signs stored indoors or on covered porches last longer, as they avoid constant exposure to rain or direct sunlight, which can degrade materials faster.
For mounting your sign, use weatherproof hanging hardware such as outdoor-rated screws or heavy-duty adhesive hooks rated for exterior use. Lightweight signs can hang from a sturdy ribbon or wire, but make sure it’s secured firmly to avoid falling wind damage. Hanging the sign on a door is popular, but place it where it won’t get knocked around by heavy foot traffic. If you want the option to hang your sign on a wall, consider adding sawtooth hangers or D-rings on the back corners, ensuring they are fitted tightly to prevent wobbling.
Signs displayed outdoors benefit from choosing a sheltered location, such as under an awning or on a porch, to reduce direct rain and sun exposure. Using a UV-resistant sealant adds further protection against fading caused by sunlight, though these sealants may cost a few dollars more. Avoid direct ground contact by mounting your sign at least a foot off the floor, which helps avoid moisture buildup and insect damage.
To finish and seal your Halloween sign properly, start with a clean, dry surface free of dust. Clean your workspace and set the sign on a flat surface for spraying. Apply thin coats of clear acrylic sealant, allowing each coat to dry for 30 minutes before the next. After the final coat, wait 24 hours before handling. Attach sturdy, weatherproof hanging hardware or mounting brackets, and choose a protected outdoor spot for display to maximize durability and appearance. Taking these steps helps keep your sign looking vibrant through the Halloween season and beyond.
Common Mistakes and Troubleshooting with Cricut Halloween Signs
Vinyl tearing or incomplete cuts often result from incorrect blade settings or dull blades. Using a blade not suited for your vinyl type or having the pressure too high can cause small details to tear or not cut fully. Before starting your project, check your Cricut’s cut settings specific to the vinyl you are using, usually found in Cricut Design Space. Adjust the pressure to “default” or slightly lower for thin or delicate vinyl types. Replace your blade after about 200 hours of use or if you notice inconsistent cuts to avoid wasting material.
Air bubbles during transfer usually happen when the transfer tape isn’t applied smoothly or if the vinyl wasn’t firmly pressed onto the base material. To fix this, gently lift the affected area and smooth it down with a scraper tool. Using a credit card or a dedicated scraper, apply even pressure while transferring vinyl, working from the center outward to push out air. For permanent adhesion, wait 24 hours before sealing your sign to allow the vinyl to settle.
Warping of wood or base materials occurs if the sign is exposed to high humidity, temperature changes, or if the surface wasn’t adequately prepared. Sanding the wood smooth and applying a primer or base coat prevents material warping and gives a better surface for vinyl adhesion. Avoid using wet glue or paint close to your vinyl, as moisture can cause peeling or bubbling.
- Always run a test cut on a small vinyl piece to confirm settings
- Use a brayer or scraper to firmly adhere vinyl before transfer
- Peel the backing slowly at a 45-degree angle to avoid tearing
- Keep your workspace clean and free of dust for better adhesion
- Store vinyl flat and avoid heat exposure to prevent warping
Check your blade’s sharpness regularly and replace it if cuts start looking ragged to save materials and improve project quality.
Wasting materials and time mostly happens from rushing the setup and skipping test cuts. Take time to align your design in Cricut Design Space with the material size visible. Secure your vinyl firmly to the cutting mat so it doesn’t shift during cutting. For layered designs, cut and weed carefully to avoid damaging delicate pieces. Use light pressure to weed away excess vinyl around your design, helping maintain clean edges. Planning each step before you start saves money and prevents frustration in the long run.
Step-by-Step Action Plan for Your Cricut Halloween Sign
Follow this plan to create your Halloween sign smoothly, from design to finishing touches.
- Day 1: Choose or create your Halloween SVG file in Cricut Design Space and ensure it is sized correctly. Confirm it fits your wood or base by previewing the layout.
- Day 2: Prepare your wood or sign base by sanding and cleaning the surface. Check that it feels smooth and free of dust before painting or staining.
- Day 3: Cut your base coat or background color on the wood, allowing it to dry fully. It should be even with no sticky spots before applying vinyl.
- Day 4: Set up your Cricut machine and cut your vinyl decals using the chosen SVG file. Verify the cuts peel cleanly without tearing for a perfect transfer.
- Day 5: Transfer the vinyl decals carefully onto your sign base. Press firmly and slowly remove transfer tape to ensure all pieces stick properly.
- Day 6: Add any extra vinyl layers or color effects, letting each layer dry or set before moving to the next. Inspection should show crisp, well-aligned layers.
- Day 7: Seal your completed Halloween sign with a protective clear coat. The finish should feel smooth and dry without cloudiness or streaks.
- After 1 Week: Display your sign in a protected area and periodically check for peeling or damage, addressing any issues with touch-up paint or adhesive.
Frequently Asked Questions
Can I Use Iron-On Vinyl Instead of Adhesive Vinyl for a Halloween Sign?
Iron-on vinyl is not recommended for wood signs as it needs heat to transfer properly. Adhesive vinyl sticks better to painted wood or smooth surfaces, making your Halloween sign last longer outdoors.
What Type of Paint Works Best to Prep a Wood Base for a Halloween Sign?
Acrylic paint is ideal for prepping wood because it dries quickly and adheres well. It provides a smooth surface that helps vinyl stick better and allows the colors of your Cricut design to stand out.
How Can I Make My Halloween Sign Look More Professional with Cricut?
Use weeding tools carefully to remove vinyl excess and apply transfer tape without bubbles. Clean the wood surface before applying vinyl to ensure strong adhesion and crisp design lines.
Is It Possible to Create 3D Effects on a Cricut Halloween Sign?
Yes, layering different vinyl colors or adding foam tape between layers can give a subtle 3D look. Be mindful not to use too many layers, as they could affect vinyl adhesion and durability.
How Do I Safely Seal My Finished Halloween Sign for Outdoor Use?
Apply a water-based clear sealer or acrylic spray designed for outdoor use after the vinyl is fully applied. This helps protect the paint and vinyl from weather but avoid harsh chemicals that might damage the design.
Can I Use My Cricut to Cut Wood for Halloween Signs, or Just Vinyl?
Cricut Maker can cut thin balsa wood sheets, perfect for details but not thick boards. For the base, paint a ready-made sign then use your Cricut to cut vinyl decals to decorate it easily.
Final Thoughts
Creating a Halloween sign with your Cricut machine can transform your seasonal decor quickly and with precision. Start by picking your design and preparing your base carefully; each step builds on the last for a professional-looking finished product. Take your time with vinyl application and sealing to ensure it lasts through the season. Get your materials ready today and start cutting your own festive designs.