How to Engrave Signs with Epoxy Inlay a Complete Guide with Practical Tips and Best Materials
Learning how to engrave signs with epoxy inlay transforms plain wood into vibrant, durable artwork. Use slow-cure epoxy resin combined with quality pigments for clean, deep fills. Begin with a dense, low-porosity wood to prevent epoxy absorption and ensure sharp, lasting edges.
Key Takeaways
- Choose wood with tight pores and low thirst to keep epoxy from soaking unevenly into the surface.
- Use a slow pot-life epoxy like CLR laminating resin with CLS hardener for better clarity and less heat.
- Keep engraving pockets no deeper than 1/4 inch unless using a casting resin designed for thicker fills.
- Mix epoxy and pigments thoroughly but gently to avoid bubbles and manage pigment settling.
- Allow initial epoxy pours to cure for about 90 minutes before layering additional colors or coats.
- Avoid pigment colors known to discolor over time, especially colors 6, 7, 10, and 18 from your resin supplier.
What Is Epoxy Inlay and Why Use It for Engraved Signs?
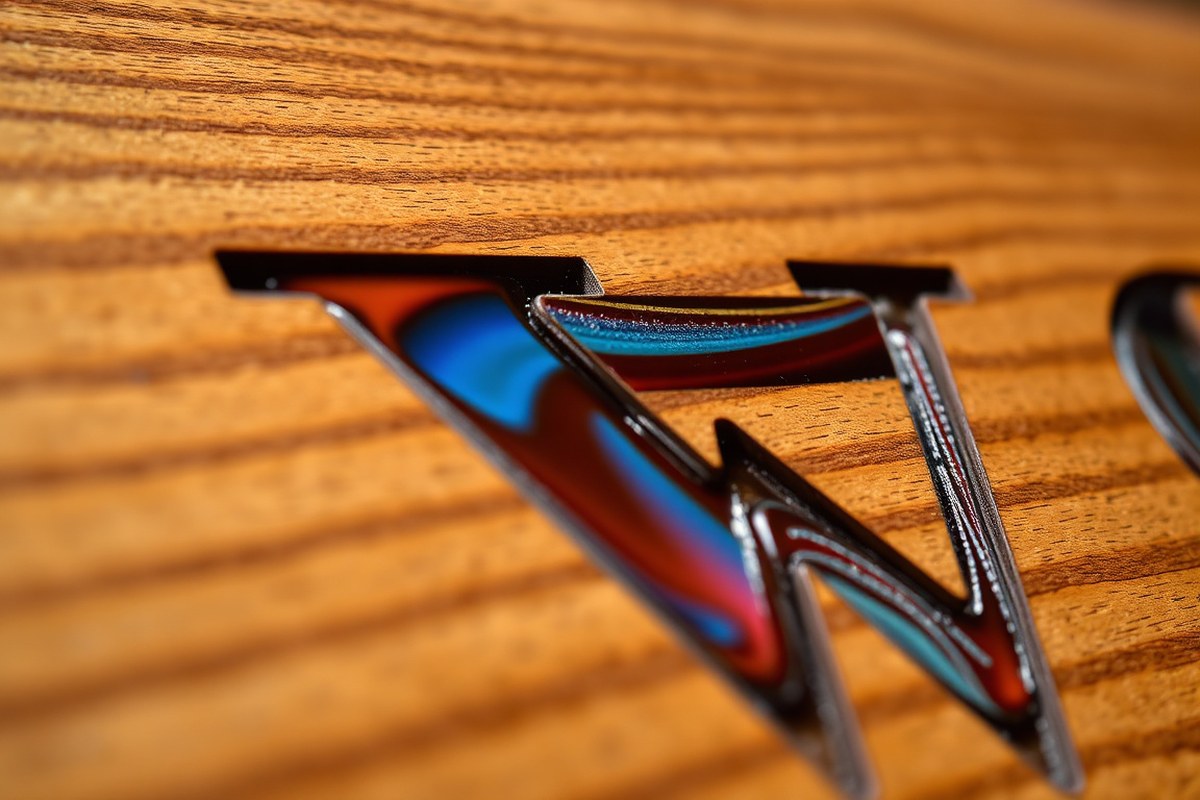
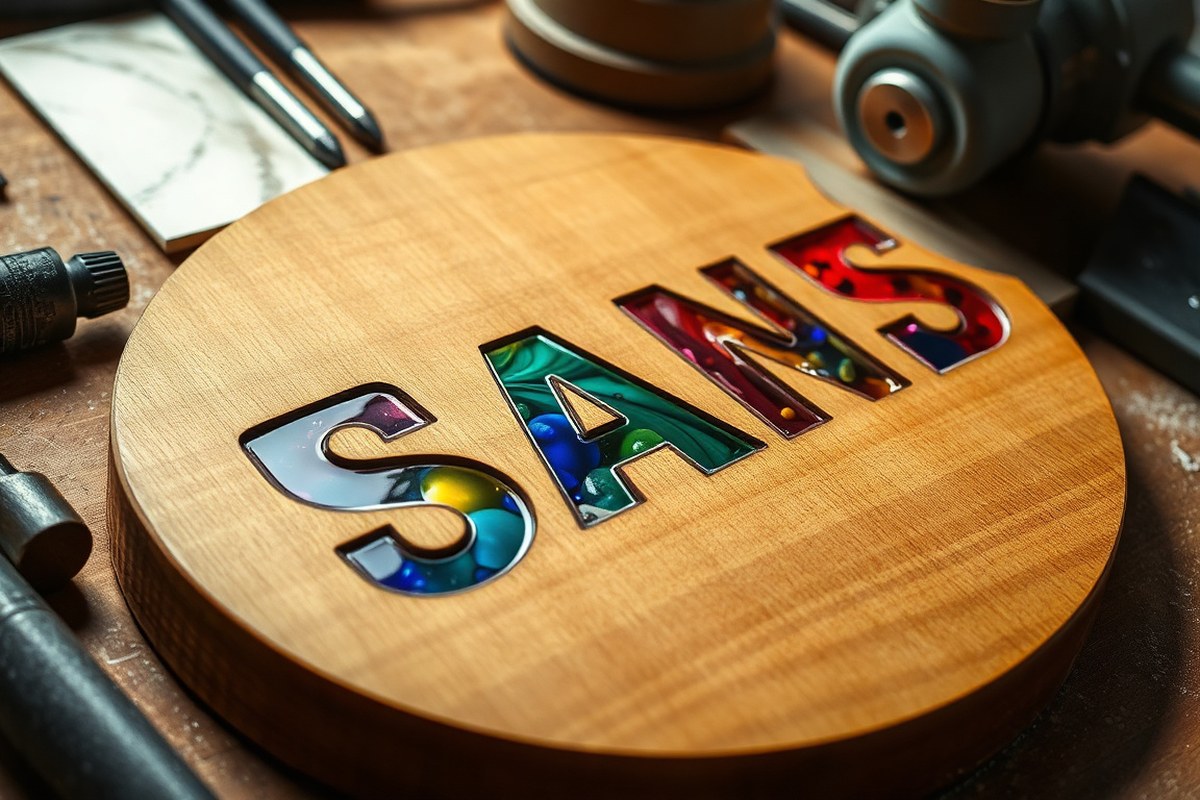
Epoxy inlay for engraved signs involves filling carved or routed pockets in wood with epoxy resin. The epoxy hardens to form a smooth, glass-like surface that contrasts with the wood grain, highlighting the design. Unlike traditional inlay materials such as wood, metal, or shell, epoxy resin is poured as a liquid, making it easier to create complex shapes and fine details without cutting and fitting small pieces.
One key advantage of using epoxy inlay is its durability. Cured epoxy is much harder than most woods commonly used for signs, like cherry, walnut, or maple. This hardness helps the inlay resist wear and impact, keeping the design sharp and intact over time. Epoxy also bonds securely with the wood fibers, especially if you pay attention to the wood’s density and pore size, which affects how the resin seeps in. Woods with tighter, less porous fibers reduce unwanted resin absorption, preventing discoloration and making cleanup simpler.
Epoxy stands out because it can be tinted using liquid pigments that suspend well in the resin. This allows for vibrant, intense colors that remain stable once cured, expanding your design options far beyond natural wood tones or traditional materials. Slow pot-life epoxy with a 20 to 60-minute working time lets you pour and manipulate colors carefully before curing. Avoid fast-cure epoxies for deep inlays or multi-color pours, as they may trap air bubbles or cure unevenly.
Successful epoxy inlay depends on controlled pouring depth. Tabletop epoxy formulas typically cure well up to about 0.25 inches deep per layer. For deeper pockets, pouring in layers and letting each cure before adding more avoids heat buildup that can damage both the epoxy and the wood. This layering technique ensures a clear, glassy finish without cracks or cloudiness.
Using epoxy also eliminates many challenges of traditional inlay, such as cutting tiny, precise veneer or wood pieces and fitting them perfectly. Instead, you carve a pocket of the desired shape and size into the wood, then pour epoxy to fill it. This method cuts down on time, reduces waste, and allows more creative freedom by handling complex or delicate patterns easily. However, because epoxy is harder than wood, when sanding, expect the wood surrounding the inlay to wear faster, often requiring careful attention to get a flush, even surface.
Choosing the Right Wood and Engraving Tools
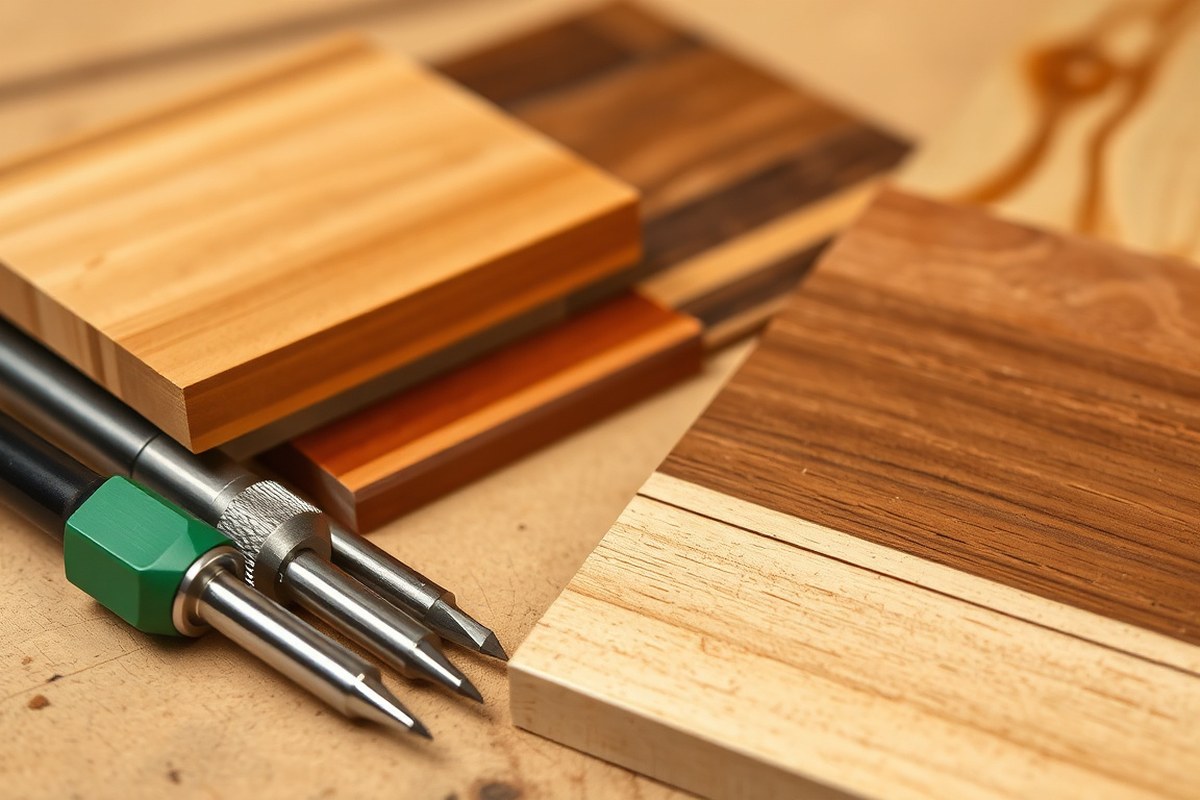
Hardwoods like maple, cherry, and walnut work best for epoxy inlay signs because of their fine pores and dense grain. These woods limit epoxy seepage, which helps maintain sharp, clean edges in your engraving pockets. Avoid very open-grain woods like oak or ash unless you seal the wood first, as their larger pores can cause epoxy to seep unexpectedly, leading to messy edges and difficult cleanups. Sealing involves brushing or spraying thin, clear epoxy around the engraving edges before pouring your colored epoxy inlay.
Engraving tools must match the wood’s hardness and the level of detail you want. A rotary tool with fine carbide or diamond tips is a good choice for hobbyists because it handles a range of depths and can create precise pockets for your epoxy. For deeper or wider engravings, a small CNC router or handheld plunge router equipped with straight or V-shaped bits works well. Expect to spend between $50 to $300 for a rotary tool setup and $300 to $1,000 or more for a CNC if you want automated precision. When using any engraving tool, control the speed and keep the bit sharp to prevent burning or tearing the wood.
- Choose dense hardwoods (maple, cherry, walnut) for fine, clean lines
- Avoid open-grain woods or seal them with clear epoxy to block pores
- Use rotary tools with fine carbide bits for detailed engraving
- Small CNC routers help with deeper or repetitive designs
- Maintain tool speed and sharpness to avoid wood burn
Wood pore size directly impacts how deeply epoxy penetrates. Fine pores keep epoxy where you put it, preserving sharp inlay edges. Larger pores soak epoxy deeper, causing bleeding outside your design and a rough finish. If you must use open-grain wood, apply a thin clear epoxy coat on the engraving first. This coat acts like a barrier, preventing seepage and giving you a neat pocket for your colored epoxy.
Seal edges of open-grain wood with clear epoxy before filling to avoid messy seepage and ensure crisp inlay lines.
Preparing Your Sign Design and Engraving Pockets
To prepare your sign design and engraving pockets for epoxy inlay, start by importing your digital design into VCarve or similar software, then carefully set up your toolpaths to cut pockets and v-carve outlines. Proper pocket shapes and depths help the epoxy fill neatly without overflow or weak edges. Using the right bits and depths ensures clean, precise pockets that match your design and the properties of your epoxy resin.
Using SVG and VCarve Software for Design Import
Begin by importing your design as an SVG file into VCarve software or Designer 4. These programs handle SVG files smoothly, allowing you to convert your vector artwork into editable toolpaths. Make sure your design lines are closed vectors to avoid problematic toolpath generation. Group related elements to create vector groups, which help manage pocketing and v-carve operations separately.
Once imported, use VCarve’s built-in features to define the areas you want to carve. Enable the “pocket tool” option in the VCarve toolpath settings to specify where you want recessed pockets for epoxy. Organizing the vectors in layers or groups lets you assign different toolpaths efficiently, such as cutting pockets before outlining with a vee bit to reduce tool strain and improve precision.
Cutting Pockets vs. V-Carve Outlines
Cutting pockets involves removing a flat-bottomed area for the epoxy to settle, often done with a flat end mill. These pockets have rounded corners where the bit curves, which helps avoid sharp edges that can weaken the epoxy or cause cracking. Most sign makers cut pockets first, so the subsequent v-carve bit has less material to remove around the edges.
The v-carve toolpath uses a vee bit to carve sharp, angled outlines that define letter shapes or design edges. This approach creates clean, crisp lines above the flat pockets. Selecting the advanced v-carve toolpath in VCarve Suite helps combine pockets and outlines smoothly, maintaining vector relationships and ensuring the epoxy fills the recessed areas perfectly.
Recommended Engraving Depths and Bit Types
For epoxy inlay, pocket depths between 1/16 and 1/4 inch work well for most woods. Shallow pockets below 1/16 inch may not hold enough epoxy, while deeper than 1/4 inch requires casting resin with a longer pot life to avoid curing problems. Use a flat end mill bit to cut pockets precisely to your chosen depth; choose a diameter slightly smaller than your design features to reach tight corners effectively.
After pocketing, switch to a vee bit to carve the outline and add detail. Common vee bit angles are 60 or 90 degrees, which create visible engraved lines that contrast with the smooth pocket base. Cut pockets first to reduce load on the vee bit, which extends tool life and prevents burning. Watch for overheating or burning in woods with resin or high density by running your machine at appropriate feed rates.
Adjust pocket width to be slightly larger than your design strokes to allow epoxy to fill fully without air bubbles or gaps. Testing on scrap wood helps dial in depths and widths for your specific resin and wood combination before the final project. Proper pocket preparation leads to sharper, more durable epoxy inlay signs that showcase fine details and consistent resin fill.
Mixing Epoxy Resin with Pigments Without Common Problems
Mixing epoxy resin with pigments requires picking the right colorants, blending them carefully, and controlling the curing environment. Choosing between liquid dyes and mica powders affects opacity and settling. Proper mixing techniques help reduce bubbles, while managing pigment settling is key during slow cures to keep colors even and smooth.
Choosing Between Liquid Dyes and Mica Powders
Liquid dyes work well for transparent colors but need white pigment added if you want an opaque finish. They blend easily with epoxy and usually don’t sink. Mica powders and other powdered pigments offer metallic or pearlescent effects but tend to settle toward the bottom of your pour, especially with slow-setting epoxy. This sinking happens because powders are heavier than the resin and can form uneven color layers if not handled properly.
Liquid dyes typically cost around $10 to $15 for a small bottle and give you precise control over color intensity with a few drops. Mica powders vary in price but expect about $8 to $12 for a small jar. When you want solid, uniform color in an engraved epoxy inlay, liquid dyes with added white pigment are often easier to use, while mica powders suit designs where powdered effects add visual interest and you accept some color layering risk.
Mixing Techniques to Reduce Air Bubbles
Slow and gentle mixing is essential to avoid trapping bubbles, which can mar the clarity and appearance of your inlay. Stir your resin and hardener together for at least two to three minutes using a flat stir stick, scraping the sides and bottom. Avoid whipping the mixture, which introduces air. After adding pigments, mix slowly again until fully consistent without creating froth.
For example, measure 100 grams of resin and 50 grams of hardener into a clean cup, stir for 3 minutes with smooth strokes, then add one teaspoon of liquid dye or 0.5 teaspoons of mica powder. Stir gently for another minute. Allow the mixed epoxy to sit for 5 minutes before pouring. This resting time lets most bubbles rise and pop. Using a heat gun or warm water bath (about 90, 100°F) to warm the mixed epoxy slightly before pouring can further reduce bubbles by lowering resin viscosity.
Managing Pigment Settling During Slow Cure
Slow-setting epoxy can take several days to a week to fully cure, increasing the chance that heavier pigments like mica powders settle or sink. To prevent uneven color layers, pour your epoxy in stages, partially curing between pours. This builds thin layers and keeps powders suspended evenly. Stir the mixture gently but frequently in the pot every 10 to 15 minutes during the initial mixing and pouring phases to keep pigments distributed.
For liquid dyes, settling is less of a concern because they dissolve into the resin. However, if your craft project uses mica powders, keep your workspace at a stable temperature around 70°F. Avoid cold spots that can accelerate settling or cause uneven cure. If bubbles or settling appear despite your precautions, lightly sanding and reapplying clear epoxy after curing can correct small defects before final finishing.
Pouring and Curing Epoxy Inlaid Signs Safely and Cleanly
Pouring epoxy into engraved sign pockets requires steady hands and patience to avoid bubbles and overflow. Choosing the right epoxy type depends on how deep your inlay is and how long you’re willing to wait for curing. Maintaining clean work conditions and protecting your skin and lungs during curing ensures a safe and tidy finished product.
Selecting Tabletop vs Casting vs Slow-Set Epoxy
Different epoxy formulations suit various inlay depths and working times. Tabletop epoxies cure quickly and work well for thin layers up to about 1/8 inch deep, ideal for shallow grooves. Casting epoxies handle deeper pours, up to 1 inch or more, but usually have longer curing times. Slow-set or deep-pour epoxies are designed for thick layers exceeding 1 inch, preventing excessive heat buildup during curing.
Choosing the correct epoxy reduces bubbles, cracks, and uneven curing. For example, a 2:1 mix ratio tabletop epoxy might cure clear in 6 to 8 hours but stays workable for 20 minutes. A slow-set epoxy with a 4:1 ratio can cure overnight but lets you pour multiple layers comfortably without overheating or yellowing.
Pouring in Layers for Deep Pockets
Deep trenches require a layer-by-layer pouring approach to ensure full curing and a bubble-free finish. Pour enough epoxy to fill about 1/8 to 1/4 inch at a time, and allow each layer to cure before adding the next. This prevents the epoxy from overheating and cracking due to resin exotherm reactions. Follow these steps for clean pouring:
- Ensure the engraved pockets are clean and dust-free.
- Mix the epoxy thoroughly according to the manufacturer’s instructions, usually for 2 to 3 minutes to reduce bubbles.
- Pour the first layer slowly into the groove, slightly overfilling to account for shrinkage.
- Use a heat gun or small torch briefly to pop any surface bubbles immediately after pouring.
- Allow this layer to cure fully, this can take 6 to 24 hours depending on the epoxy type.
- Repeat pouring and curing in layers until the pocket is level with the wood surface.
- Sand and finish after all layers have cured thoroughly.
Curing multiple thin layers instead of one thick pour dramatically reduces bubbles and cracking risks.
Basic Epoxy Safety and Ventilation Tips
Epoxy resin contains chemicals that can irritate skin and lungs during mixing and curing. Work in a well-ventilated space, ideally with an exhaust fan or open windows to circulate fresh air. Always wear disposable nitrile gloves to protect your hands from resins and hardeners.
Wear a respirator rated for organic vapors when working with large volumes of epoxy or in small, enclosed areas. Avoid skin contact; even cured epoxy can cause allergic reactions. Clean spills quickly with isopropyl alcohol, and dispose of used mixing containers according to local regulations.
Sanding and Finishing Epoxy to a Flush, Glossy Surface
Sanding epoxy after it cures smooths out any raised spots and blends the resin flush with the wood surface. Doing this carefully prevents sanding through thin veneer, which can easily happen if you aggressively use power tools or coarse grits too soon. The goal is a flat, even surface with no dips or spots where epoxy escapes the level of your wood. Once sanding is done, applying a proper finish improve the epoxy’s natural gloss and strengthens the entire sign from moisture and wear.
You should wait until the epoxy is fully cured before sanding. Typical curing times range from 12 to 24 hours, depending on the brand and temperature.
Use progressive sanding grits starting coarse enough to remove bumps without damaging the veneer, then moving finer to buff out scratches. Generally, begin with 220 grit, then 320, and finish around 600 grit or higher for a smooth surface. The sanding process takes just a few minutes for shallow inlays but always proceed with caution when your veneer is thin.
After sanding, wipe down the surface thoroughly to remove dust. Then apply a clear finish like a wiping varnish or polyurethane to boost the shine and protect the sign. Several thin coats work better than one thick layer. Let each coat dry according to the product instructions (usually 2 to 4 hours) before applying the next.
- Confirm epoxy cure: Ensure your epoxy has fully hardened, usually 12 to 24 hours. Press on the surface with a fingernail; it should feel solid.
- Start sanding gently: Use 220 grit sandpaper and hand-sand or an orbital sander at low speed in small circular motions. Focus on blending the epoxy level with the wood, avoiding heavy pressure on thin veneer areas.
- Check progress frequently: Stop regularly to feel for any thin spots or veneer edges. If the veneer is very thin, finish hand sanding only.
- Refine with finer grits: Move to 320 grit, then 400 or 600 grit sandpaper. This removes scratches and prepares the surface for finishing.
- Clean the surface: Wipe off all dust with a clean, damp cloth or tack cloth. Let it dry completely before finishing.
- Apply clear finish: Brush or wipe on a thin coat of clear polyurethane or varnish. Allow 2 to 4 hours drying time.
- Repeat finishing coats: Apply 2 to 3 more thin coats, sanding lightly between coats with 600+ grit paper if needed to maintain smoothness.
- Let finish cure: Allow final coat to fully dry and harden over 24 hours before handling the sign.
Sanding too aggressively or starting with rough sandpaper can damage or sand through veneer quickly. You want a slow, patient approach especially on delicate thin woods. The best final look is a perfectly flush, glossy surface without visible sanding marks or scratches. Applying a quality clear finish not only improves the gloss but also seals wood pores and epoxy edges, preventing moisture damage and yellowing later on.
Preventing and Fixing Common Epoxy Inlay Mistakes
Epoxy seepage into wood pores is a typical challenge, especially on woods like red oak with large, open pores. The issue shows up as discoloration or raised spots where epoxy migrates beyond the intended inlay area. To prevent this, seal the wood surface before pouring epoxy with a thin coat of clear shellac or sanding sealer. This acts as a barrier to keep the epoxy contained. If seepage occurs, gently sand the excess epoxy once cured, then apply a thin touch-up coat carefully with a small brush.
Small bubbles in the epoxy cause unsightly surface flaws and weaken the finish. They form when mixing too fast or pouring over moist surfaces. To reduce bubbles, stir epoxy slowly for at least two minutes, then pour from a low height. After filling pockets, use a small propane torch or a heat gun held a few inches above the surface to gently pop bubbles within 30 minutes of pouring. Avoid too much heat or you risk curing problems.
Uneven fills happen when epoxy sinks or settles unevenly in deeper pockets or when poured in multiple layers without proper curing time. To fix slight unevenness after curing, sand the area smooth, clean, then add a thin coat of epoxy as a top-up fill. For deeper pockets, pour in layers about 1/4 inch thick, allowing each to cure for 6 to 8 hours before adding the next. This prevents sagging and bubbling. Use the following checklist to avoid and fix common epoxy inlay mistakes:
- Seal wood pores with shellac or sanding sealer before epoxy pour.
- Mix epoxy slowly for at least two minutes to minimize bubbles.
- Pour epoxy from low height to reduce air entrapment.
- Use a propane torch or heat gun shortly after pouring to pop bubbles.
- Pour epoxy in layers not exceeding 1/4 inch thickness.
- Sand out seepage, bubbles, and uneven fills after full cure (about 24 to 48 hours).
- Apply thin touch-up coats of epoxy when needed after sanding.
Fixing surface flaws usually requires patience. Allow your epoxy to fully cure, typically 24 to 48 hours at room temperature around 70°F (21°C), before sanding or adding more coats. Using fine-grit sandpaper (start with 220 grit, then go finer) ensures you don’t damage the wood edges. Proper preventative steps save time but knowing how to carefully sand and top off flawed areas helps recover your work without starting over.
Advanced Tips: Multi-Color Inlays and Using Veneer or CNC Methods
Multi-color epoxy inlays add depth and visual interest to your signs by layering different tinted resin in the engraving pockets. To execute this properly, pour the first color and allow it to gel but not fully cure, usually 30 to 60 minutes at room temperature. Then add the second color carefully on top, using a toothpick or small brush to control the edges and prevent blending unless a marbled effect is desired. This method works best with shallow pockets around 1/8 inch deep to avoid trapping air or causing uneven surfaces. Let the entire inlay cure fully before sanding for a smooth finish.
Epoxy inlays on veneered wood are possible but need more attention to surface preparation because the veneer layer is thin and can chip or separate. Lightly sanding with 220-grit sandpaper creates texture to promote epoxy adhesion without cutting through the veneer. Use painter’s tape to mask off areas around the engraving to protect the delicate veneer edges. When pouring epoxy, apply it in thin layers to reduce stress and avoid bubbles that can lift the veneer. Let each layer cure fully, which typically takes 24 hours, before adding the next.
Using CNC machines like the CarveWright offers precise, consistent engraving depths and smooth pocket edges that improve epoxy inlays. CNC control lets you cut complex multi-layered designs, perfect for advanced multi-color pours. For layered color effects, CNC can carve staggered recesses that separate each color physically, simplifying the pouring process. Also, CNC routing reduces the risk of uneven edges commonly seen with hand cutting, leading to cleaner fills and less sanding. Setting the bit speed and feed rates according to wood type, such as slower speeds for hardwood veneers, helps avoid burning or tear-out. While a CNC setup costs several hundred dollars or more, it saves significant time and effort, especially for repeat or intricate designs.
Always ensure each epoxy layer gels enough before adding the next to prevent colors from blending unintentionally or sinking together.
Step-by-Step Action Plan for Your Epoxy Inlay Sign
Follow these key steps to create a polished epoxy inlay sign that stands out with precision and shine.
- Before you start: Choose a stable hardwood like maple or walnut and prepare your design to fit your engraving tool, ensuring the cavities will hold epoxy without overflow.
- Day 1: Engrave your sign using a precise router or CNC machine; test pocket depth around 1/8 inch for optimal epoxy fill and cure.
- Day 2: Mix epoxy resin with pigments thoroughly in small batches, stirring slowly to minimize bubbles and checking for even color distribution.
- Day 2 continued: Pour epoxy carefully into engraved pockets, filling slightly above the surface; watch for air bubbles and pop them with a toothpick or heat gun.
- After 24 hours: Check curing progress in a dust-free area; a fully cured epoxy should feel hard and non-tacky to touch.
- Day 3: Sand the surface with fine-grit sandpaper (start around 220, finish at 400+) until epoxy is flush with the wood, then polish for a glossy finish.
- After finishing: Apply a compatible topcoat like polyurethane or varnish to protect your sign and improve durability.
Frequently Asked Questions
Can I Use Any Epoxy Resin for Inlay on Signs?
You should choose epoxy resin with a slow pot life and low heat release to avoid bubbles and warping. A slow-setting epoxy gives you better control for intricate inlays and reduces colorant settling.
How Deep Can I Engrave Pockets for Epoxy Inlay?
Engraving pockets should generally be under 1/4 inch deep because most tabletop epoxy cures best at depths of 1/4 inch or less. Deeper pockets may not cure fully or take much longer.
Will Epoxy Stain Wood Around the Inlay?
Epoxy can seep into surrounding wood pores and fibers, causing unwanted staining. Using wood with dense grains or sealing the wood before pouring the epoxy can help prevent staining.
Can I Use Colored Pigments to Make Multi-Color Epoxy Inlays?
Yes, pigments can be mixed with epoxy for multi-color inlays, but heavier pigments tend to settle at the bottom in slow-setting epoxy. Stir well and pour quickly to reduce color separation.
What Kind of Wood Works Best with Epoxy Inlay?
Woods like cherry, walnut, and maple are excellent because they have moderate density and pore size, reducing epoxy absorption. Very porous wood can cause epoxy to sink into fibers and create uneven surfaces.
How Do I Avoid the Epoxy Inlay Sticking Up Higher Than the Wood Surface After Sanding?
Since epoxy is harder than wood, sand lightly and evenly to avoid sanding the wood more, which leaves epoxy proud. Consider using wood with hardness closer to epoxy or finish with a flush filling technique.
Key Points to Remember
Engraving signs with epoxy inlay lets you create sharp, colorful designs that last. Start with a simple project, focus on clean engraving and careful epoxy application, then build your skills from there. Try your first single-color epoxy inlay this weekend to see how smooth and bright your signs can look with just a bit of practice.