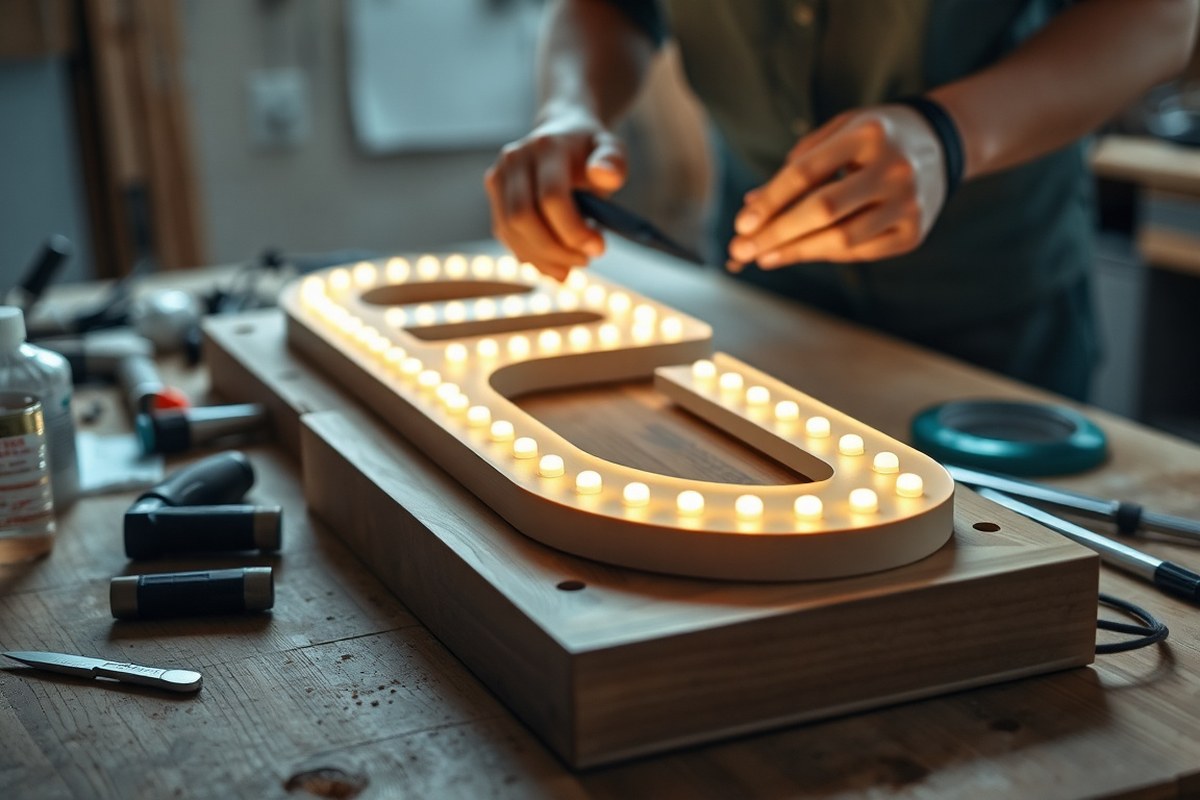
How to Make a LED Sign: A Complete Guide with Power & Material Tips
How to make a LED sign starts by choosing your LED strips and designing a clear, visible layout. Calculate power needs by multiplying the wattage per meter by the strip length, adding 20 percent extra for safety. Begin by selecting quality materials like waterproof LED strips and a sturdy backing to ensure durability and a polished look.
Key Takeaways
- Use waterproof LED strips with an IP65 rating or higher for outdoor or damp environments.
- Plan letter height at least 3-4 inches for simple fonts, and 4-5 inches for cursive for clear visibility.
- Account for LED neon flex bending radius of 2, 3 inches when designing curves or U-bends.
- Calculate power supply size by multiplying LED strip wattage per meter by total length, then add 20% buffer.
- Most LED strips operate at 12V DC; choose 24V strips for longer runs to reduce voltage drop.
- Prepare common tools like wire cutters, soldering iron, and a multimeter before assembly.
What Is a LED Sign and How Does It Work?
An LED sign is a display that uses light-emitting diodes (LEDs) to produce bright, energy-efficient illumination for words, logos, or shapes. Common in both commercial and homemade projects, these signs stand out due to their durability and vivid color options. At its core, an LED sign consists of a lighting source, usually flexible LED strip lights or LED neon flex, mounted on a backing material that can be acrylic, wood, or metal. This setup creates a visible glow that highlights the design you’ve crafted.
LEDs work by passing an electrical current through a semiconductor, which emits light when energized. This process generates little heat compared with traditional neon or incandescent lights, making LEDs safer and more efficient for signs. To make an LED sign visually striking, light must be diffused evenly. For acrylic signs, shallow etching on the surface helps scatter light along grooves, improving visibility and creating a glow that outlines cut letters or shapes. Using LED strip lights along the edges of clear acrylic panels is a common method because the light travels through the material and shines brightly at the engraved areas.
The types of LED lights frequently used in DIY signs fall into a few categories. LED strip lights are the most popular; these are flexible, come in various colors and brightness levels, and have adhesive backing for easy installation. For projects mimicking neon signs, LED neon flex is a flexible plastic tube embedded with LED strips that simulates the look of traditional neon tubing but offers better safety and durability. Outdoor signs require waterproof LED strips that can withstand moisture and temperature changes to maintain performance and longevity.
Good results depend on how evenly the LEDs are spaced and the quality of the installed lighting. Uneven lighting or dim sections often occur when LED strips are too far apart or wiring issues cause voltage drops. Avoid tight bends or crowding LEDs too close to the acrylic surface, which can create hot spots where light appears uneven. A diffuser material can help spread the light more gently across carved or clear areas.
Making your own LED sign typically takes about three to four hours for beginners and often includes cutting shapes on acrylic, adhering LED strips, and wiring the power supply safely. Having backup LED neon flex or extra strip lights is wise, so you can fix mistakes or adjust sections without starting over. Although LEDs are more costly than basic bulbs upfront, their energy efficiency and long lifespan make them economical over time. A durable LED sign combines these components to deliver bright, clear illumination that stands out in any setting.
Essential Materials and Tools for DIY LED Signs
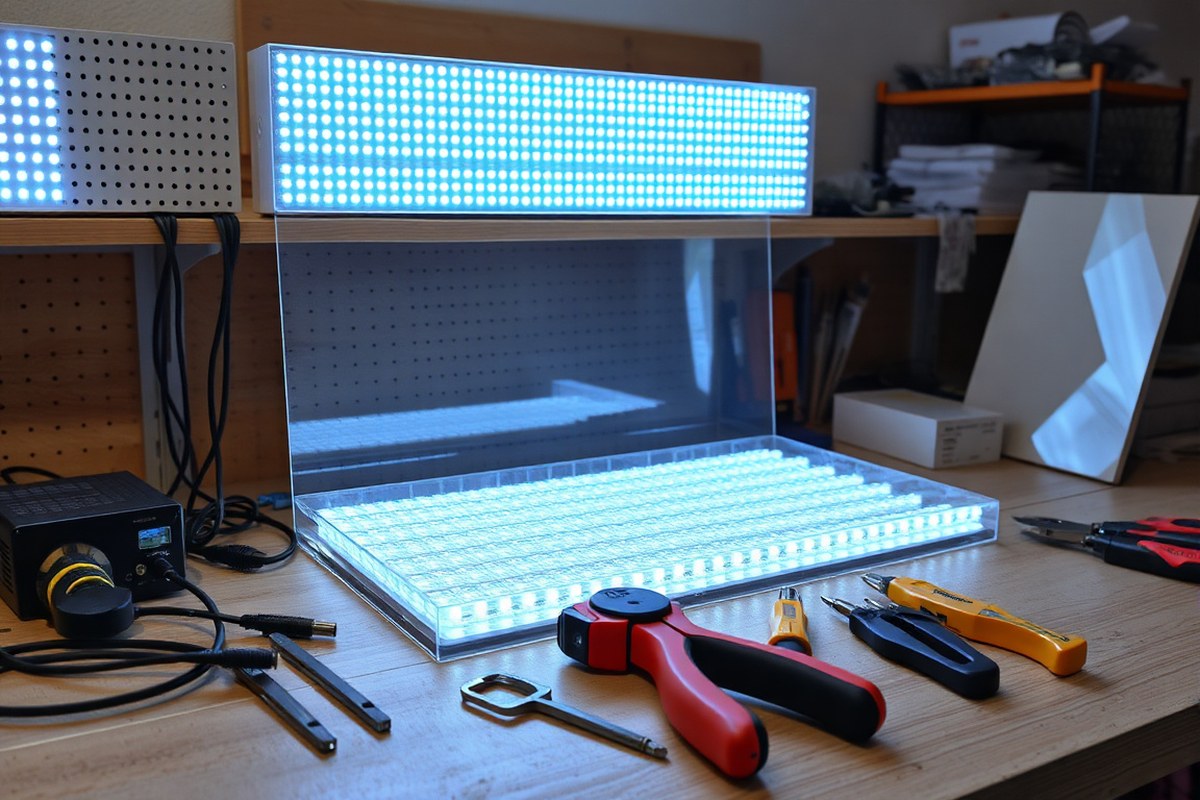
Making a DIY LED sign requires specific materials and tools to ensure the sign works well and looks professional. Start by choosing the right LED type and a base material that suits your project’s size and style. You’ll also need some basic cutting, soldering, and assembly tools to bring everything together and create clean, bright illumination.
Types of LED Lights for Signs
LED strips are the most common choice for DIY signs because they are easy to install and cut to size. Look for strips with a 12V DC rating and a clear adhesive backing, which lets you firmly place the LEDs inside a groove cut into your base. Each segment typically contains three LEDs and measures about 3cm, with soldering pads at segment ends for wiring. For signs requiring color changes or effects, RGB LED strips with remote controls offer customizable lighting but demand careful wiring and a compatible power supply.
LED neon flex tubing is a good option for signs that need flexible shapes or a neon-like glow. It mounts quickly on solid backboards and is weather-resistant, making it suitable for outdoor signs. Keep in mind neon flex uses more power and requires a matching DC power supply with enough capacity to avoid dimming or damage.
Base Materials Compared: Acrylic, Wood, and More
The base material you choose affects your sign’s stability and light diffusion. Acrylic is a top pick for illuminated signage since it looks sleek and can be laser cut to make precise grooves where LED strips fit snugly. Its transparent edges help spread light evenly for a smooth glow.
Wood, such as MDF or plywood, offers a sturdy and affordable backing, especially for painted or matte-finish signs without edge illumination. Foam board is very lightweight and easy to cut but less durable. For an acrylic LED sign, cut grooves matching the acrylic sheet thickness, this ensures a tight, flush fit to keep the LED strip aligned for optimal lighting.
- Acrylic sheets are ideal for clarity, edge lighting, and professional look
- MDF or wood backing is strong and budget-friendly
- Foam board is light but less durable for long-term use
- Laser cutting acrylic yields precise grooves for strip placement
- Cut holes for switches and power supply access before assembly
Positioning the LED strip inside a groove on the base neatly hides wiring and improves a clean glow effect. A well-supported base prevents warping that can misalign LEDs and cause uneven illumination or damage.
Tools for Cutting, Wiring, and Assembly
You’ll need the right tools to cut your base material accurately, prepare LEDs, and assemble your sign. For acrylic, a laser cutter is ideal but a fine-tooth saw and sanding tools work for small-scale projects. A utility knife or craft blade cuts foam board easily. MDF is best cut with a jigsaw or circular saw.
Working with LED strips involves cutting at marked intervals and soldering wires to join segments and connect to the power supply. Basic soldering equipment includes a low-wattage soldering iron, rosin-core solder, and helping hands or clamps. Wire strippers and multimeters help prep and test electrical connections. For assembly, use clear epoxy or plastic adhesive designed for your base materials.
Test the LED operation before final assembly to avoid needing to reopen glued sections.
- Laser cutter or fine saw for precise base cuts
- Soldering iron and rosin-core solder for wiring LEDs
- Wire strippers and multimeter for prepping and testing circuits
- Strong adhesives compatible with acrylic or wood
- Utility knife or craft blade for foam board cuts
- Measuring tools and clamps for alignment during assembly
Having these materials and tools ready before you start saves frustration, ensures crisp edges, and creates a professional finish for your LED sign.
How to Design Your LED Sign for Clear Visibility
Designing your LED sign for clear visibility starts with choosing the right font, letter size, colors, and a precise template. Each decision affects how easily people read your sign and how striking it looks under lighting. A clear design plan saves time and materials during the build.
Choosing Fonts and Letter Heights
Select fonts that are easy to read from a distance, like bold sans-serif styles or block letters. Simple fonts without ornate details work best for LED signs because small LED points fill shapes more evenly. For letter height, 3 to 4 inches minimum suits straightforward fonts, while cursive or script fonts need 4 to 5 inches or taller for clarity.
Avoid very thin or tightly spaced fonts since LEDs emit light in dots and may not fill thin strokes well. Letter size also depends on where the sign will be viewed from, larger letters for outdoor or street-facing signs, smaller for close-up indoor use. Matching letter height to average viewing distance improves legibility.
Selecting LED Colors and Strip Types
Pick LED strip colors based on the message and surroundings of your sign. Single-color LED strips work well for uniform looks like business names or logos. Contrasting colors between letters and backgrounds make signs more eye-catching. For dynamic effects, consider RGB strips controlled by a remote or smartphone app to change colors and modes.
Choose high-quality LED strips from known brands to avoid flickering or early failures. LED strips come in standard 16-foot lengths and can usually be cut every 2 inches, letting you tailor the length precisely to your letters. Use single-color white or warm white strips for channel letters that need consistent fill.
Creating and Printing a 1:1 Template
Making a full-scale (1:1) template helps guide cutting and mounting your LED strips exactly where they belong. This template should show each letter and any connecting pieces in real size. You can design it on a computer using graphics software or draw manually, then print or plot on paper or cardstock to scale.
Scaling the design at 100% size means you avoid guesswork when placing LEDs and cutting materials. You may cut the template into segments if your printer or paper is smaller than the full size of the sign. Attach the printed template to your work surface using tape or spray adhesive for stability during assembly.
Use the template to mark where each LED strip starts and stops, where to place wires, and any spacing or gaps. This approach reduces errors and ensures uniform lighting across letters.
- Measure the space where your sign will be displayed to determine maximum size.
- Choose a readable font style, favoring bold, simple, and non-script options.
- Set letter heights at least 3, 4 inches for block fonts, or 4, 5 inches for cursive fonts.
- Select LED strip colors based on visibility needs: single-color for clarity, RGB for effects.
- Design your sign layout on software or paper, matching the final intended size.
- Print or draw a 1:1 scale template to use as a cutting and assembly guide.
- Mark LED strip lengths and positions on the template to prepare for installation.
- Secure the template to your work surface before starting cutting and wiring to maintain accuracy.
Calculating and Selecting the Right Power Supply
Start by identifying the voltage rating of your LED strips, which is usually 12 volts or 24 volts. Most consumer LED strips run on 12 volts, but 24 volts is becoming more common and helps reduce voltage drop over longer runs. It’s important to use a power supply that matches this voltage exactly; a 24-volt supply will damage 12-volt strips immediately, while a 12-volt supply on 24-volt strips results in dim and flickering light.
To calculate the total wattage, first find the wattage per foot or meter from the LED strip specifications. For example, if your 12V strip uses 4.8 watts per foot and you plan to use 10 feet, multiply 4.8 by 10. This gives 48 watts total for your strip length. If you have multiple strips or different lengths, calculate each separately and add them together to get a total wattage.
Next, add a 20 percent safety buffer to this total wattage. This buffer accounts for power fluctuations, aging of components, and any additional minor loads. So for the 48-watt example, multiply by 1.2, resulting in 57.6 watts. Choosing a power supply rated at least 58 watts ensures consistent brightness and helps prevent flickering or premature failure.
Look for power supplies that provide a bit more than this buffered wattage to allow for further expansion or dimmer modules. A power supply rated between 60 and 75 watts would work well here without overspending. Power supplies for 12 or 24 volts typically cost around $15 to $30, depending on quality and features like dimming compatibility.
When selecting between 12V and 24V power supplies, remember that 24V systems can run longer LED strips with less voltage drop, improving even brightness across wider or more complex signs. However, 24V LED strips and their supplies often cost more and may require slightly different wiring or connectors. For shorter, simpler signs, 12V supplies remain standard and budget-friendly.
After confirming all connections are secure and the power supply output matches or exceeds the buffered wattage, plug the supply into the wall outlet and power on your sign. Uneven brightness or flickering typically indicates an underrated power supply or wiring issues. Adding an inline PWM dimmer between supply and strip allows brightness control without changing the hardware.
Step-by-Step Assembly and Wiring of Your LED Sign
Successfully assembling your LED sign involves preparing the base, attaching the LED strips carefully, and wiring everything to a power source safely. Each step requires attention to detail to ensure the sign operates well and lasts long. Following a clear process helps avoid common issues like loose connections or uneven lighting.
Preparing and Cutting Base Material
The base, or backing board, supports the entire LED sign, including letters, wiring, and the power supply. Acrylic or wood are common choices. Acrylic offers a clean look and is easy to cut, while wood provides strength and a traditional feel. Cutting the base to match your design’s shape creates a solid foundation to work on.
Use a saw suitable for your material, jigsaw for wood, laser cutter or scoring knife for acrylic. Cut holes or slots needed for wiring or mounting electronics before attaching anything. Sand edges smooth to avoid damage to wires or strips.
Cut your base slightly larger than the design to allow room for mounting hardware without crowding the LED strips.
Installing and Positioning LED Strips
Proper LED strip placement ensures uniform lighting and durability. Most kits use LED neon flex or bead strips attached to the base. The recommended method is to first place and solder individual LED beads into the design, test them, and then mount the LED strips on top for better stability and illumination control.
Arrange strips evenly along the base to avoid dark spots or uneven areas. Use adhesive backing or glue designed for LEDs. Let glue dry thoroughly before wiring. Cut LED strips only at marked points to maintain electrical integrity.
- Clean the base surface with rubbing alcohol to remove dust or oils.
- Lay out LED beads or strips following your design, checking spacing for even light distribution.
- Solder LED beads individually, then test each with a multimeter or by briefly connecting power.
- Secure LED strips over the soldered beads with appropriate adhesive, pressing firmly.
- Allow adhesive to cure fully, typically 12 to 24 hours, as recommended by the glue manufacturer.
Test all LEDs after soldering but before final mounting to catch faulty connections early.
Wiring and Connecting Power Safely
Correct wiring is essential to ensure your sign functions safely and reliably. Use a soldering iron to attach wires between LED sections, keeping connections as short as possible to reduce voltage drop. If your sign uses RGB LEDs, install the remote receiver between the power adapter and LED strip per instructions.
Run a main power wire from the completed LED circuit to the power supply. Make sure your power supply matches voltage and current requirements of your LED setup. Check local electrical codes and label all wires where possible to prevent confusion later.
- Solder individual connections between LED strips or beads at the shortest points.
- Connect wiring for any controllers or receivers required, such as for RGB LED remote control.
- Attach a main power wire from the LED circuit to the power supply, including any necessary connectors.
- Double-check all solder joints for secure mechanical and electrical contact.
- Test the entire sign by powering it up before final assembly to troubleshoot any wiring issues.
- Mount wiring and power supply securely on the base to prevent strain or accidental disconnection.
Avoid loose or exposed wires to prevent short circuits and potential fire hazards; use heat shrink tubing or electrical tape as needed.
Troubleshooting Common DIY LED Sign Issues
Flickering or dim LEDs often signal power supply or wiring issues. Flickering happens when voltage fluctuates, so check for loose connections or undersized power supplies. Using a power supply rated for slightly more than your total LED wattage provides stable current. For example, if your LED strips draw 12 watts, choose a 15-watt supply. Dim lighting may result from long wire runs causing voltage drop; use thicker gauge wires or shorten distances. Also verify that LED strip brightness matches your design needs, as strips with higher LEDs per meter offer smoother and brighter light coverage.
Uneven lighting usually comes from gaps between LEDs, inconsistent LED density, or poor diffusing materials. Using LED strips with more LEDs per meter improves light uniformity. For a smooth neon-like glow, DIY neon LED sign kits with continuous light tubes work well. To fix hot spots or dark patches, rearrange strips closer together, or add a frosted diffuser panel, such as frosted acrylic, in front of the LEDs to blend light evenly. This method keeps the sign bright without visible dots of light.
Overheating and LED failure can stem from inadequate heat dissipation and overdriving the LEDs. Ensure you mount LED strips on aluminum channels or heat sinks to carry away heat. Avoid pushing current beyond the strip’s rated amperage, check manufacturer data for maximum current per meter. For instance, many strips recommend no more than 2 amps per meter. Use a multimeter to check power levels if LEDs flicker or dim under load. LEDs typically last 25,000 to 50,000 hours when properly cooled and powered.
Here’s a problem-cause-solution example: flickering LEDs may result from a power supply rated too low or loose wiring. Tighten all connections and switch to a power supply with 20-30% higher wattage than your LEDs require. Uneven lighting occurs when LED spacing is too wide or no diffuser is used. Select strips with higher LED density or add a frosted panel. Dim LEDs often mean voltage drop over long cables; shorten the wire length or use 18 or 16-gauge wires instead of thinner ones. For overheating, check that LED strips rest on metal channels and never cover them completely.
Taking these steps may raise material costs slightly, such as paying $10 to $20 more for a higher capacity power supply or aluminum mounting channels. However, these investments improve sign performance and lifespan substantially. Signs powered and cooled correctly will shine evenly without flicker or dimming for years, avoiding frustration and the need for early replacement or repairs.
Making Waterproof and Outdoor-Ready LED Signs
Choosing materials and LEDs designed for outdoor use is key to building a waterproof and weather-resistant LED sign. Look for LED strips with an IP65 rating or higher; these strips have a protective silicone or epoxy coating that repels water and dust. Opt for 24V LED strips to reduce voltage drop on longer runs, which helps maintain consistent brightness in large signs exposed to varying temperatures. Use weatherproof bases made of treated wood, powder-coated aluminum, or thick acrylic to prevent warping and corrosion.
Waterproofing electrical connections requires sealing every joint properly. Start by soldering wire connections firmly for best electrical contact, then cover them with heat-shrink tubing rated for outdoor use. After that, apply a generous layer of silicone sealant, choose one labeled for electronics or outdoor repairs, to all exposed wiring and joints. Allow the sealant to cure for at least 24 hours in a dry environment for a durable seal. Avoid using cheap or household caulk as these often crack or peel when exposed to moisture and temperature changes.
- Use LED strips with at least IP65 waterproof rating
- Select durable, weather-resistant backing materials like powder-coated aluminum or acrylic
- Solder all electrical connections before sealing
- Apply heat-shrink tubing over soldered joints for mechanical protection
- Seal all exposed wiring with outdoor-rated silicone sealant and let cure fully
- Consider enclosures with sealed edges and rubber gaskets to keep out moisture
- Test your sign by spraying water lightly before final mounting to find any leaks
Enclosures add another layer of protection. Clear acrylic or polycarbonate covers work well because they’re sturdy and allow full LED visibility. Make sure the enclosure has rubber gaskets on joints to prevent moisture seepage, and seal all screw holes with silicone to avoid leaks. In colder climates, choose enclosures designed to withstand freezing conditions, as temperature cycling can cause cracking. For signs mounted in direct sunlight, select UV-resistant materials to prevent fading and brittleness.
When to Hire a Professional for Your LED Sign Project
Choosing whether to hire a professional for your LED sign project depends largely on design complexity, safety concerns, time constraints, and the quality you want to achieve. Beginners often find tasks such as precise engraving on acrylic, soldering multiple LED strips with clean wiring, and ensuring waterproof connections challenging. For example, cutting and gluing acrylic backing boards to exact dimensions, like a 30-inch sign length, requires accuracy that impacts the final look and durability. When making your first sign or working with simple, basic designs, you can handle these steps yourself with patience and careful attention.
Professional sign makers bring refined skills to the project that can significantly improve finish quality. They use vector design files (CDR or similar) to create precise and scalable designs, ensuring line thickness and engraving grooves perfectly suit your LEDs. This level of detail minimizes errors and improve visibility. Professionals also have specialized tools and experience for clean soldering and efficient wiring layout, reducing signal interference or power drops that can cause uneven lighting. A high-quality appearance and durability, such as what storefront signs need, often justify hiring an expert despite the added cost.
Safety plays an essential role in deciding who should handle the electrical wiring and assembly. LED sign projects involve working with power supplies and low voltage wiring, but mistakes can lead to shorts or damage to components. Professionals understand electrical standards and can ensure your sign meets them, especially when intended for public or outdoor use. Projects involving waterproofing to guard against weather benefit from an expert who can apply proper seals and test for leaks to avoid future problems.
Time is another factor. While DIY may seem cheaper, unfamiliar steps like design adjustments, trial-and-error soldering, and waterproofing can extend your project by days or weeks. Hiring a professional usually speeds up delivery, completing a polished sign in a fraction of the time it might take you. For instance, a professional team might finish a complex 30-inch custom sign within a few days compared to several weekends for a beginner.
Don’t start soldering or gluing before finalizing your design file, as changes later can waste materials and add hours to your project.
Using this decision rule helps: choose DIY for simple, small signs with straightforward designs and limited time or budget constraints. Opt for professional help if your design is large, complex, requires an exact finish, or must meet safety requirements for business use. Professionals’ pricing varies but expect to pay several hundred dollars for a custom acrylic LED sign, which reflects the quality and reliability you get in return.
Step-by-Step Action Plan for Your DIY LED Sign
Follow these steps to get your custom LED sign up and running with confidence. Each phase includes a clear goal to track your progress.
- Before You Begin: Gather all essential materials and tools, such as LEDs, power supply, wiring, and mounting board. Verify you have the correct components by checking each item against your design list.
- Day 1: Complete your sign design, focusing on clear lettering and suitable LED spacing for visibility. Confirm the layout by printing or sketching it to scale.
- Day 2: Calculate and select a power supply matching the total voltage and current needed. Test the power source with a multimeter to ensure output matches your calculations.
- Day 3-4: Assemble and wire your LEDs following your design. Confirm connections by conducting a continuity test and lighting up small sections as you go.
- Day 5: Waterproof your sign using appropriate sealants and enclosures if it’s for outdoor use. Check for gaps or exposed wiring after sealing.
- Day 6: Perform a full system test by powering the sign and inspecting for consistent LED illumination and any flickering or shorts.
- After 1 Week: Monitor your sign during operation to catch any intermittent issues. Adjust wiring or sealing based on observed performance.
- After 2 Weeks: Review your sign’s durability and visibility under different lighting conditions. Make any needed improvements to extend its lifespan.
Frequently Asked Questions
How Long Does It Typically Take to Make a Custom LED Sign at Home?
The time required for acrylic LED sign projects usually ranges from two to six hours, with simpler designs on the shorter end and intricate ones involving detailed engravings or several colors needing more time.
Can I Use Any Type of Wood for the Frame of My LED Sign?
Yes, you can use any wood you have on hand for the LED sign frame. Some builders prefer hardwood like walnut for durability, but softer woods work fine if handled carefully.
Are DIY Neon LED Sign Kits a Good Alternative for a Glowing Tube Effect?
DIY neon LED sign kits provide a smooth, continuous shine mimicking neon tubes. They make a good option if you want a clean, glowing tube look without extensive wiring.
What’s the Most Common Electrical Issue in DIY LED Sign Builds?
The most common issue is using an undersized or incorrectly matched power supply. This leads to dim lights and can cause LED failure, so match the power supply specs carefully to your LEDs.
How Do I Ensure My LED Sign Design Has Clear Visibility?
Effective design focuses on line thickness, proper spacing, and contrast for clear visibility. Engraving lines must be suitable thickness to create a clean glow when lit.
Is It Possible to Make a Durable Outdoor LED Sign at Home?
Yes, you can waterproof your LED sign and build it for outdoor use by sealing connections and using weather-resistant materials. Proper sealing prevents damage from moisture and extends longevity.
Final Thoughts
Building a custom LED sign can be rewarding and practical when done with care and planning. Start with your concrete materials and design, then assemble and test systematically to avoid common pitfalls. Take the next step by preparing your workspace and collecting the necessary components so you can begin your LED sign project today.