How to Make a Light Up Sign: A Complete DIY Guide with Tips and Tools
Knowing how to make a light up sign starts with picking the right LED lights and base materials that fit your space and design. Using LED strips or neon rope lights lets you create vivid, energy-efficient signs. Begin by choosing a sturdy base like acrylic or wood, then plan your wiring carefully for safe, long-lasting illumination.
Key Takeaways
- Use LED strips with 30,000 to 50,000 hours lifespan for durable, bright lighting in your sign.
- Cut your sign base slightly larger than your design to allow for mounting and wiring space underneath.
- Route a groove in the base material about half an inch narrower than the sign width to recess LED lights securely.
- Always include a power switch and dimmer for easy control of your sign’s brightness and energy use.
- Choose between a CR2032 coin battery or external power sources depending on your sign’s size and usage time.
- Install the LED lights under the sign base to avoid direct glare and create a polished look.
What Is a Light Up Sign and How Does It Work?
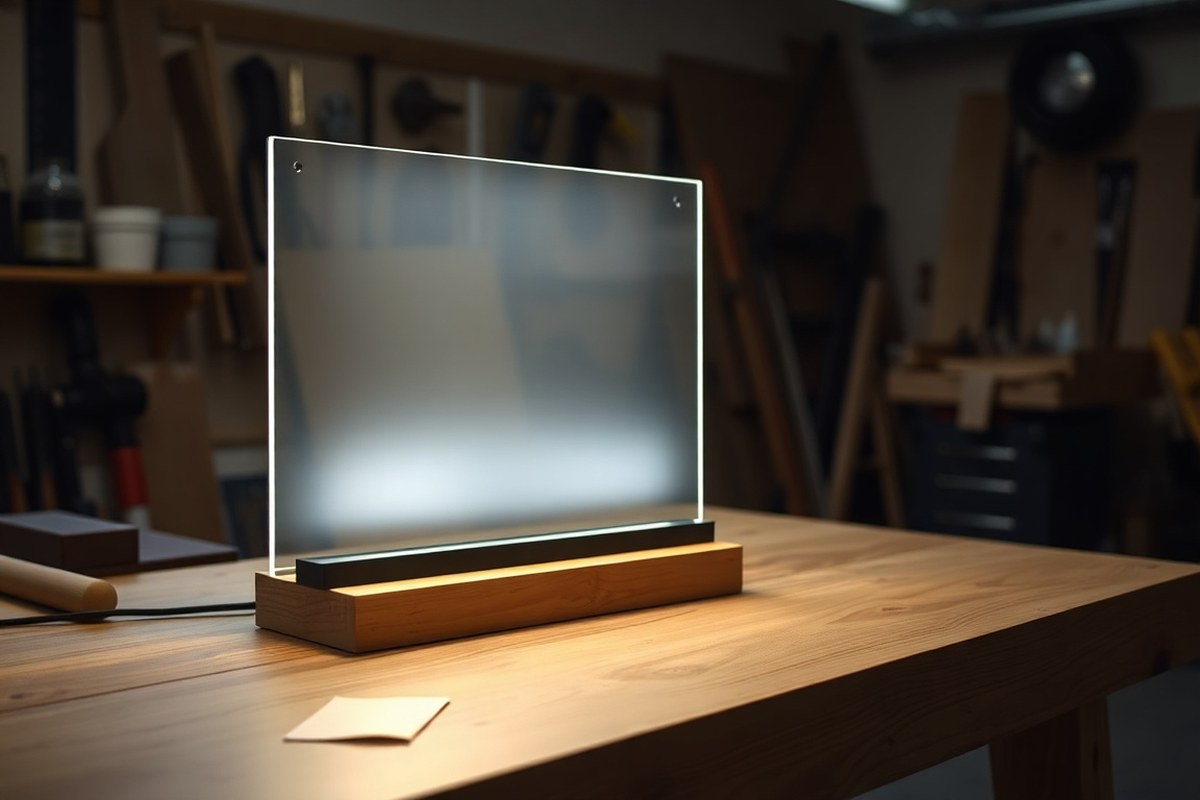
A light up sign is a display that glows by using built-in lighting elements, usually LEDs, to illuminate text, shapes, or designs. This glow makes the sign stand out both during the day and at night, catching the eye more effectively than unlit signs. The key to making a sign “light up” lies in embedding or attaching light sources behind or within the sign materials to create a bright, evenly lit effect.
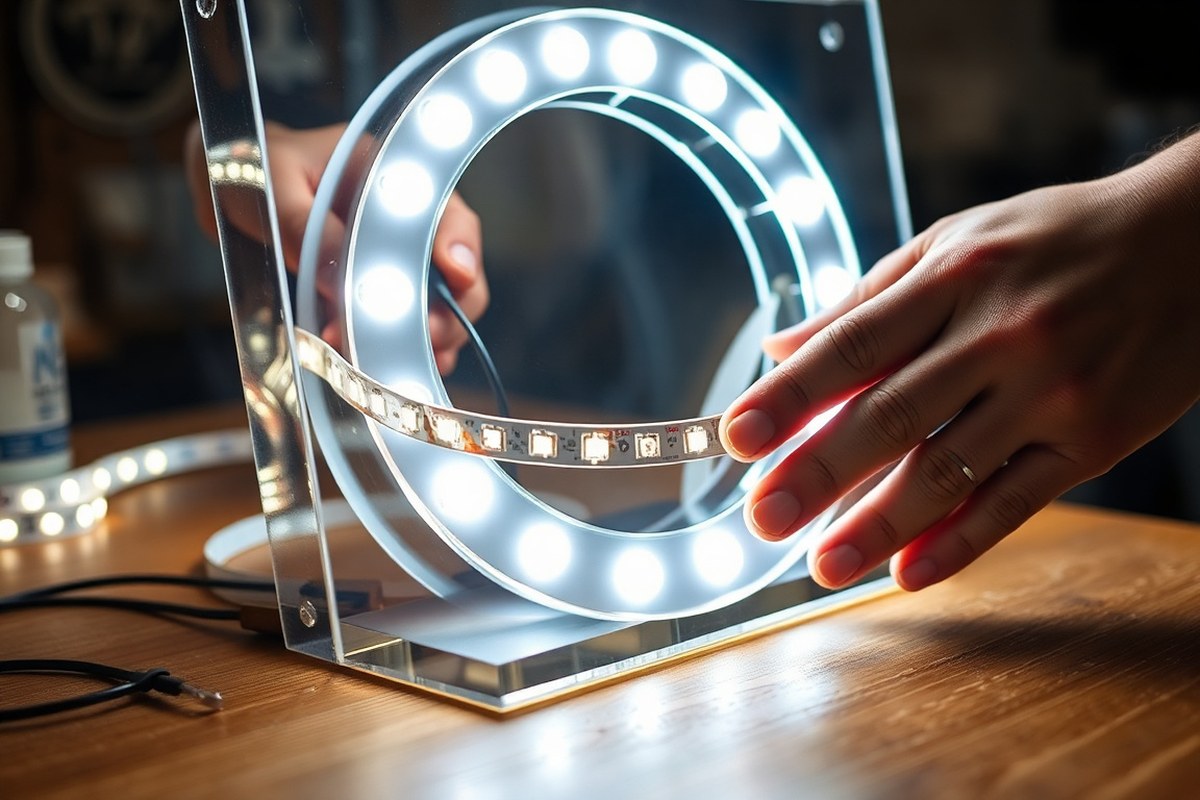
LED (light-emitting diode) lights are popular for DIY light up signs because they’re small, energy-efficient, and easy to work with. LED strip lights come with adhesive backing, so you simply peel and stick them to the inside of your sign frame. These strips usually mark every three LEDs as cutting points, allowing you to customize the length precisely without damaging the rest of the lights. They run cool, which prevents heat damage to your materials and means you can use them in close contact with most plastics and wood safely.
The glowing effect depends on how these LEDs interact with the materials chosen for the sign. Acrylic sheets are a common choice for the sign face because they spread light evenly and look bright and smooth. Using frosted or translucent acrylic diffuses the LED light, reducing hotspots and giving a consistent glow across the entire sign surface. Wood framing or other base materials support the acrylic and hide the LED wiring, shaping the sign while keeping lighting components concealed. This setup helps the light bounce and refract through the acrylic, making letters or images pop out clearly.
There are different types of light up signs to choose from, depending on the style and effect you want. A simple light box sign uses a flat face with LEDs behind it, shining through cut-out letters or translucent panels. For something more sculptural, you might create raised letters or shapes with LEDs inside, achieving a dimensional look. Another option is a DIY neon LED sign kit, which uses flexible rope lights to imitate neon tubes with a smooth, continuous glow. This type of sign bends easily and is bright but usually costs more and requires careful wiring.
Creating a light up sign typically means combining a power source, LED strips, and a suitable base material like acrylic or wood. The LEDs need a power supply, often a small plug-in transformer designed for LED strips. Planning wire lengths with some extra slack (about 5 to 10 centimeters) allows for neat routing and secure connections. Costs for building such a sign vary, but doing it yourself can be quite affordable. For example, an acrylic sign with LED strips, a dimmer, and a power switch can be made for under $5 in materials, though more elaborate or larger signs might cost between $50 and $200, depending on size and features.
Choosing the Right Materials for Your Sign
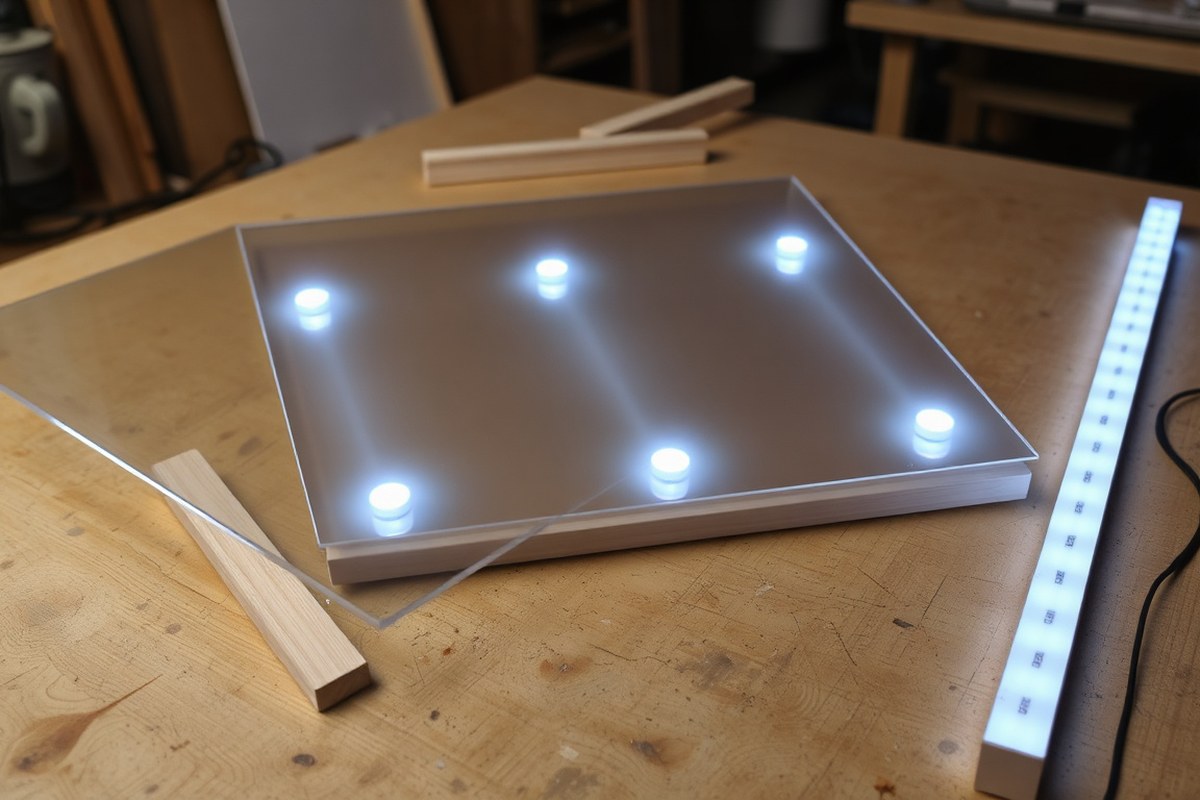
Choosing the right materials ensures your light up sign looks sharp and shines evenly. Good diffusion comes from the base material, while picking the right LED type and accessories helps achieve the brightness and effects you want. Having the proper adhesives and wiring tools on hand will make building easier and safer.
Base Material Options and Light Diffusion
Opal white acrylic sheets around 4mm thick work best for smooth, even light diffusion. They soften the glow, preventing hot spots where the LED shines directly. Clear acrylic can be used but will not diffuse light as well, creating uneven brightness in your sign.
Wood is a popular base for signs where you want more texture or a natural look. However, wood doesn’t diffuse light on its own, so you’ll need to keep your LEDs recessed and hidden behind diffusing materials like acrylic strips or frosted films.
| Material | Thickness | Light Diffusion Quality | Typical Cost | Comments |
|---|---|---|---|---|
| Opal White Acrylic Sheet | 4mm+ | Soft, even diffusion | $20-$40 per 12″x12″ sheet | Prevents LED hotspots, smooth glow |
| Clear Acrylic Sheet | 3-5mm | Low diffusion, bright spots visible | $15-$30 per 12″x12″ sheet | Good for sharp, direct light effects |
| Wood (Maple, Walnut) | 0.75″-3″ | No diffusion | $10-$50, varies by wood type | Use with diffusers or recess LEDs |
For a light up sign that glows evenly and looks professional, acrylic sheets of 4mm or thicker in opal white give the best results. Wood adds style but needs extra planning for the lights to shine properly.
Selecting LED Lights and Accessories
LED strip lights of the 5050 variety offer high brightness and come in many colors, including color-changing options. Using color-changing LEDs adds visual interest but means planning for wiring and control carefully.
When building letters or shapes, measure your space with the LED strips in hand so you can cut precisely. LED rope lights must stay connected in a circuit without breaks, except at the very end. Your first letter or section needs wiring only on one side to avoid wiring issues.
Choose LED strips with the positive at the flat base and negative on the colored light side for consistent wiring. Soldering resistors directly on LED legs keeps wiring neat and reliable.
Essential Supplies and Alternatives
Your toolkit should include strong adhesives suited for your materials. Double-sided tape works well for attaching LED strips to acrylic or wood, providing a clean finish without extra bulk. For extra hold, use clear epoxy or specialized acrylic adhesives.
Wiring requires insulated wire of 18, 22 gauge, depending on your LED power needs, along with a soldering kit to attach resistors and connectors. If you want a battery-powered sign, coin batteries like CR2032 fit common LED setups and allow easy replacement through a simple cover.
Tip: Smooth and clear edges on your acrylic base help the LED light shine through sharply, check edges after cutting for best brightness.
- Adhesives: double-sided tape (medium to strong), clear epoxy, acrylic glue
- Wiring: insulated 18, 22 gauge wire, soldering iron, solder, resistors
- Power: 12V LED power supply or replaceable CR2032 coin batteries
- Tools: wire strippers, heat shrink tubing, measuring tape, cutting tools
Designing Your Light Up Sign for Best Results
Designing your light up sign starts with creating or selecting a clear, simple design and saving it in the right format for cutting. Planning LED placement with proper spacing ensures even brightness and visibility. Setting the correct dimensions, including the depth of your sign, helps the light spread evenly without sagging or dark spots.
Creating or Choosing Your Sign Design
Begin by picking a design that fits your message and space. Keep details bold and avoid overly thin lines since the light needs room to shine through. Use design software or find a ready-made sign template, like the “sign_template” available in the Maker-E Google Drive download. Save your design as an SVG file since this vector format is widely accepted for laser or CNC cutting.
You can also create a custom design by sketching ideas and then digitizing them in a program like Inkscape or Adobe Illustrator. Ensure your design’s outlines are clean and suitable for cutting paths. The final SVG file should be tested in your cutting machine’s software before starting.
Planning LED Placement and Spacing
Even lighting comes from careful LED placement and spacing. Use LED strips with a self-adhesive backing for easy installation. Follow the manufacturer’s instructions to cut the strips only at marked spots. Arrange the strips or individual LEDs so light covers the entire sign area evenly, avoiding dark gaps.
A general rule is to space LEDs between 1 to 2 inches apart for most signs. Closer spacing works better for smaller or detailed signs, while larger signs can have wider spaces. Use spacers to prevent sagging if your sign is made of metal or heavy material.
- Measure the length and width of your sign’s base and note LED strip length
- Plan LED layout in straight lines or outlines inside your design
- Cut strips only where indicated by the manufacturer, usually at copper pads
- Stick LEDs evenly with 1, 2 inch spacing for consistent light
- Use a shadow box frame or groove slightly wider than the LED strip for embedding
- Include spacers under heavy or large signs to prevent sagging over time
- Test brightness with a 22K resistor and a 10K potentiometer dimmer circuit for control
This approach balances brightness and efficiency, minimizing power use while keeping the sign visible from a distance.
Setting Dimensions and Depth for LEDs
The size and depth of your sign affect light dispersion and overall look. Make your sign base large enough to house the LED strip plus some margin, add at least ¼ inch extra width to fit the strip comfortably. The groove or channel where you place the LED should be just a bit wider than the strip to avoid crimping and allow easy installation.
Depth matters when using a shadow box style sign to allow LEDs to shine without harsh shadows or overly bright spots. About 1 to 2 inches of depth behind the surface is common. Use spacers or support bars inside this space to prevent sagging if your sign is heavy or wide. Deeper boxes help diffuse light better but may add bulk.
Preparing and Cutting the Base Material
Cutting and preparing the base material is a key step in making a light up sign. The base, often acrylic or metal, needs clean edges and precise cuts for both aesthetics and function. Smooth, frosted edges help diffuse the LED lights inside, improving the glow around the sign. You can use a laser cutter for detailed shapes and engraving or hand tools if you prefer DIY without machines. Safety and proper finishing prevent cracks, sharp edges, and light bleed issues.
Laser cutting settings vary by material. For acrylic signs, adjust the laser to engrave your design while cutting the outer shape in one pass. This precision prevents damage and gives a neat finish. If you choose hand tools, a fine-toothed saw or utility knife can score and snap thinner acrylic sheets up to about 1/4 inch. Metal bases generally require metal shears or a jigsaw with a metal-cutting blade.
After cutting, sanding the edges makes a big difference. Using 80-grit sandpaper to roughen all edges except the front gives them a frosted effect. This frosting lets the side edges catch and scatter light from inside, adding a subtle glowing outline to your sign. You can sand by hand or use a rotary tool for faster, more uniform results.
Safety is essential when cutting or sanding. Always wear eye protection to guard against flying particles, use a dust mask when sanding acrylic to avoid inhaling plastic dust, and work in a well-ventilated space or outdoors. Clamp your material securely to avoid slips, and keep fingers clear of blades or rotating tools.
- Choose your base material, such as 1/4 inch acrylic or metal, based on your sign design.
- Set up your laser cutter or prepare your hand tools; adjust laser settings to engrave and cut if using the machine.
- Cut out the overall shape of your sign with the selected tool, checking edges for smoothness.
- Engrave your design into the acrylic if using a laser, or leave blank if the design will be applied later.
- Sand the three side edges gently with 80-grit sandpaper to frost them for better light diffusion.
- Clean off dust and debris from sanding before proceeding to wiring and assembly.
Installing and Wiring LED Lights Safely
Installing and wiring LED strips for your light up sign requires secure attachment, proper wiring connections, and adding controls like dimmers or remotes. Follow steps to attach the strips, connect wires with correct polarity, match the power supply to your setup, and incorporate control units safely.
Attaching LED Strips and Managing Wires
Start by choosing quality LED strips that match your sign’s size and design. Clean the surface well to ensure strong adhesion. Peel the backing from the LED strips and press them firmly onto the sign’s base, avoiding touching the LED diodes directly to prevent damage. For longer strips, cut only at marked points to preserve circuit integrity.
Attach wires to both positive (+) and negative (-) terminals on the strip. Before soldering, slip on an end cap to secure the connection later. Heat your soldering iron and apply solder at the joint, then quickly connect the wire, melting the solder again if needed for a solid link. Use heat-shrink tubing to cover exposed wires for safety and neatness.
- Clean surface with alcohol for better LED adhesion
- Cut LED strips only at marked lines
- Solder wires to both positive and negative terminals
- Use heat-shrink tubing on all wiring joints
- Secure wires so they don’t pull on the LEDs
Double-check polarity before soldering wires; reversing positive and negative can damage LEDs permanently.
Wiring Power Supply and Controllers
Select a power adapter that matches your LED strip length and type. The adapter voltage must align with the LED strip specifications, usually 12V or 24V DC. Connect the LED strip’s positive wire to the adapter’s positive output, and the negative wire to the negative output. Make sure all connections are tight and insulated to prevent shorts.
For adding controls like dimmers or remote units, plug the control receiver box between the power supply and the LED strip. Most remote kits come with an IR sensor connected to the power supply. This setup lets you turn the lights on and off or dim them remotely. When using a dimmer, make sure it matches your LED strip’s voltage and power rating to prevent flickering or damage.
Testing and Troubleshooting Your LEDs
After wiring, connect the power supply to an outlet but don’t mount the sign yet. Use the remote or dimmer to turn the lights on. Watch for any sections that flicker, don’t light, or are dimmer than others; these often indicate loose connections or reversed polarity.
Common fixes include re-soldering loose wires, confirming all connections are tight, and ensuring the power supply provides enough current for your LED strip length. Overloading a power supply can shorten LED lifespan, which typically lasts 30,000 to 50,000 hours with proper setup. Lights not responding to the remote could mean the IR sensor is misplaced or the remote’s battery needs replacement.
Finishing Touches: Frames, Mounting, and Custom Effects
Choosing the right frame material depends on the style and durability you want for your light up sign. Wood frames work well for a warm, classic look and are easy to cut and finish. Metal frames offer a sleek, modern finish and provide strong support, especially for heavier signs. Acrylic or plastic frames are lightweight and can include frosted edges to diffuse light softly, adding a subtle glow effect. Frames usually add $20 to $50 to your project cost, depending on size and materials.
When building the frame, start by measuring the exact dimensions of your sign. Cut the frame pieces to size, ensuring tight joints. Sand the edges using a sander or sanding block to smooth corners and remove rough spots. When your sign has a raised or thick face, include spacers inside the frame to keep it flush or slightly improve; check the fit by setting the sign on top of the frame before finishing assembly. For added backing support, use thin plywood or sturdy foam board cut to the sign size and attach it with strong adhesive or small screws.
Proper mounting keeps the sign secure and prevents damage. Begin by choosing a wall spot close enough to an electrical outlet to avoid using long extension cords. Mark your mounting points on the wall according to the sign’s weight and frame construction. Use wall anchors for drywall or toggle bolts for heavier pieces. Secure the frame with screws that go through the frame into anchors, ensuring it holds firmly. When your sign is metal and framed with a shadow box, the molding’s “lip” can secure the sign safely inside.
Adding custom lighting effects increases the sign’s appeal and lets you adjust mood and style. RGB LED strips with remote controls or smartphone apps allow you to change colors, brightness, and flashing patterns. Installing a dimmer switch or color controller takes only a few extra minutes after wiring your basic LED setup. Choose diffuser materials such as frosted acrylic for soft edges that prevent harsh glare and create a gentle gradient of light. For frosted effects, sand acrylic edges lightly with fine-grit sandpaper or use a frosted spray designed for plastic surfaces.
Double-check alignment and wiring before fully closing the frame, and test your lighting controls to ensure they work as planned. Keep the power switch or remote easily accessible. Signs mounted properly with secure frames and custom effects not only look professional but also last longer with less risk of damage or electrical issues. Avoid placing signs near heat sources or areas with high moisture, which can affect both frame materials and light components over time.
Common Mistakes and How to Fix Them
Common errors when making a light up sign often involve choosing unsuitable materials, incorrect wiring, and assembly mistakes. Using materials that cannot handle heat from LEDs or fail to insulate wiring properly can cause damage or safety issues. Wiring errors like loose connections or mixing up polarity can prevent the sign from powering on or cause flickering lights. Assembly issues such as poor alignment or insufficient securing of components can result in an unstable sign or uneven lighting.
Fixing LED flickering or dimness usually requires checking your power supply and wiring first. LED flickering often happens because of a loose connection or an incompatible power source that doesn’t provide consistent voltage. To fix this, ensure all wire connectors are tight and secure. Using a multimeter helps you measure voltage stability. Swap out the power supply for one that matches the LED specifications exactly, often 12V DC for strip lights. Dimming can occur if your wires are too thin or too long, causing voltage drop, so use thicker gauge wire (like 18 or 16 gauge) for longer runs.
If the sign does not power on, start by confirming your power source is functioning. Use a test light or multimeter to check output at each connection point. Trace wiring paths to find any breaks or disconnected wires. Reverse polarity connections on LEDs will usually prevent lighting, so check that the positive and negative lines match the LED markings. Also, verify your switch or controller is working correctly.
- Using non-heat-resistant base materials: Replace with acrylic or plywood suitable for LED heat levels.
- Loose or incorrect wiring connections: Strip wires properly and use solder or secure wire nuts for stable connections.
- Power supply mismatch: Select a power adapter that matches LED voltage and current ratings exactly.
- Thin wires causing voltage drop: Upgrade to 16 or 18 gauge wire for runs longer than 6 feet.
- Polarity mistakes on LED wiring: Double-check LED polarity marked on the strip or bulb; reverse if needed.
- Improper securing of LED strips leading to poor contact: Use strong adhesive backed strips or mounting clips.
- Overcrowding wires or poor insulation risking short circuits: Keep wires organized with cable ties and use electrical tape or shrink tubing on exposed ends.
Taking the time to double-check connections before final assembly prevents redoing the entire project, saving both time and materials. A well-assembled sign should power on immediately with consistent and bright lighting. Expect power supplies to cost between $10 and $25 depending on output, while wiring supplies generally run under $15. Spending a little extra on supplies designed for LED projects ensures a safer, longer-lasting result.
When to Call a Professional for Your Light Up Sign
Some steps in making a light up sign call for professional expertise because of safety risks, technical skills, or local building codes. Working with electrical wiring beyond simple LED strips is one clear example. A licensed electrician can ensure the wiring is correct, properly grounded, and up to code. This reduces the risk of fire or electrical shock. Costs for hiring an electrician vary, but expect roughly $50 to $100 per hour. For complex signs or permanent wall-mounted installations, professional help can save money in the long run by avoiding code violations or accidents.
Another task that might require expert help is cutting or fabricating materials, especially when you use power tools like routers, saws, or lasers. Without safe workspace or training, hiring a professional sign maker or fabricator is the safer choice. This also applies to neon or custom glass tubing, which need specialized equipment and experience. Hiring a pro ensures clean cuts and precise assembly, with prices depending on the size and detail but starting around $100 for small custom jobs.
Deciding between DIY and hiring out depends on your skills, tools, and the sign’s complexity. Use this checklist: Are you comfortable with electrical wiring beyond plugging in LED strips? Do you own and know how to use the tools for cutting and mounting your materials safely? Is your sign large, complex, or permanent? Should you answer no to any question, a professional could be the right option. Also check local codes, some areas require permits or inspections for electrical installations. Ignoring these rules can lead to fines or forced removal.
Safety matters most. When your sign ties into household wiring or exposes conductors, an electrician must be involved. For low-voltage signs with battery-powered LEDs, you can usually DIY safely. Professionals can also help if you want a neon effect since creating neon tubes involves working with high voltage gas tubes that are fragile and dangerous without the right training. Spares and replacements also cost more if the DIY method goes wrong.
Avoid electrical wiring work unless you have current knowledge of electrical safety standards and local building codes.
Good results mean your sign lights up evenly without flicker, fits well in its space, and meets safety rules. Know that poor wiring can cause shorts, and poorly cut materials lead to uneven light distribution or a shaky frame. Using a professional for these steps often leads to smoother installation and longer-lasting signs. You can save money and gain confidence by tackling only the simpler parts yourself while leaving the complex, risky, or code-bound work to experts.
Step-by-Step Action Plan to Build Your Light Up Sign
Follow these steps to create your own light up sign safely and effectively, even if you’re new to DIY projects.
- Before you start: Choose your base material and LED type. Check for compatibility and availability of supplies to avoid delays.
- Day 1: Sketch your design on paper or use design software. Confirm measurements and layout for proper light placement.
- Day 2: Cut your base material carefully using appropriate tools. Test fit all components to ensure clean edges and correct sizing.
- Day 3: Drill holes or channels for LED wiring, making sure to space lights evenly. Double-check spacing consistency with a ruler or template.
- Day 4: Install LED lights and connect wiring following safety guidelines. Use a multimeter to confirm proper electrical connections.
- Day 5: Attach frames or mounts to secure your sign. Verify stability by gently shaking the sign to confirm it holds firmly.
- Day 6: Test your sign under normal operating conditions. Ensure all lights work and there are no flickers or loose wires.
- After 1 week: Make any necessary repairs or adjustments. Your sign should function reliably and look polished at this point.
Frequently Asked Questions
What Tools Do I Need to Make a Light Up Sign?
You need a saw for cutting, a drill for wiring holes, a hot glue gun, and a screwdriver. Having measuring tools and a wire stripper helps ensure precise cuts and safe electrical connections.
Can I Use Other Light Sources Besides LED for My Sign?
Yes, neon rope lights or incandescent bulbs can work, but LEDs are safer and more energy-efficient. LEDs also provide better control with dimmers and last longer.
How Much Time Does It Take to Build a Light Up Sign?
Building a basic sign usually takes a few hours, depending on your experience and design complexity. Preparing materials and wiring safely are the most time-consuming steps.
Is It Possible to Make a Waterproof Light Up Sign?
Waterproofing is possible but requires sealing all edges and using water-resistant lights and wiring. This is recommended only if the sign will be outdoors or exposed to moisture.
Can I Recycle Materials to Make a Light Up Sign?
You can reuse scrap wood, old acrylic sheets, or leftover LED strips to cut down costs. Just check the condition and safety of electrical parts before using them.
How Do I Maintain and Clean My Light Up Sign?
Dust the sign regularly and clean acrylic or glass fronts with a soft, damp cloth. Avoid harsh chemicals on electrical parts to prevent damage.
Final Thoughts
Creating a light up sign at home gives you control over design and function while delivering a unique decoration. Start by assembling your chosen materials and tools today, then follow the step-by-step plan to build your sign safely. Paying attention to electrical safety and precise measurements ensures a satisfying final product you’ll enjoy showing off.