How to Make a Magnetic Sign: Simple Steps for Durable DIY Results
Learning how to make a magnetic sign starts with choosing quality magnetic sheeting and matching that with clear, bold graphics. Use 30 mil magnetic sheeting for strong adhesion and highway safety. Start your project by cleaning the vehicle surface well to ensure the magnet sticks firmly without damage.
Key Takeaways
- Select 30 mil magnetic sheeting for the best pull force on vehicle doors at highway speeds.
- Clean and dry vehicle surfaces before applying magnetic signs to prevent scratches and ensure adhesion.
- Use a heavy-duty utility knife and safety ruler to cut magnetic sheeting accurately and safely.
- Wait at least 90 days after painting before applying magnetic signs to avoid paint damage.
- Apply vinyl lettering or digitally printed graphics on magnetic sheets for durable and visible signage.
- Remove and reposition magnetic signs every 2 to 3 days to prevent vehicle paint damage.
What Materials and Tools Are Needed for Magnetic Signs
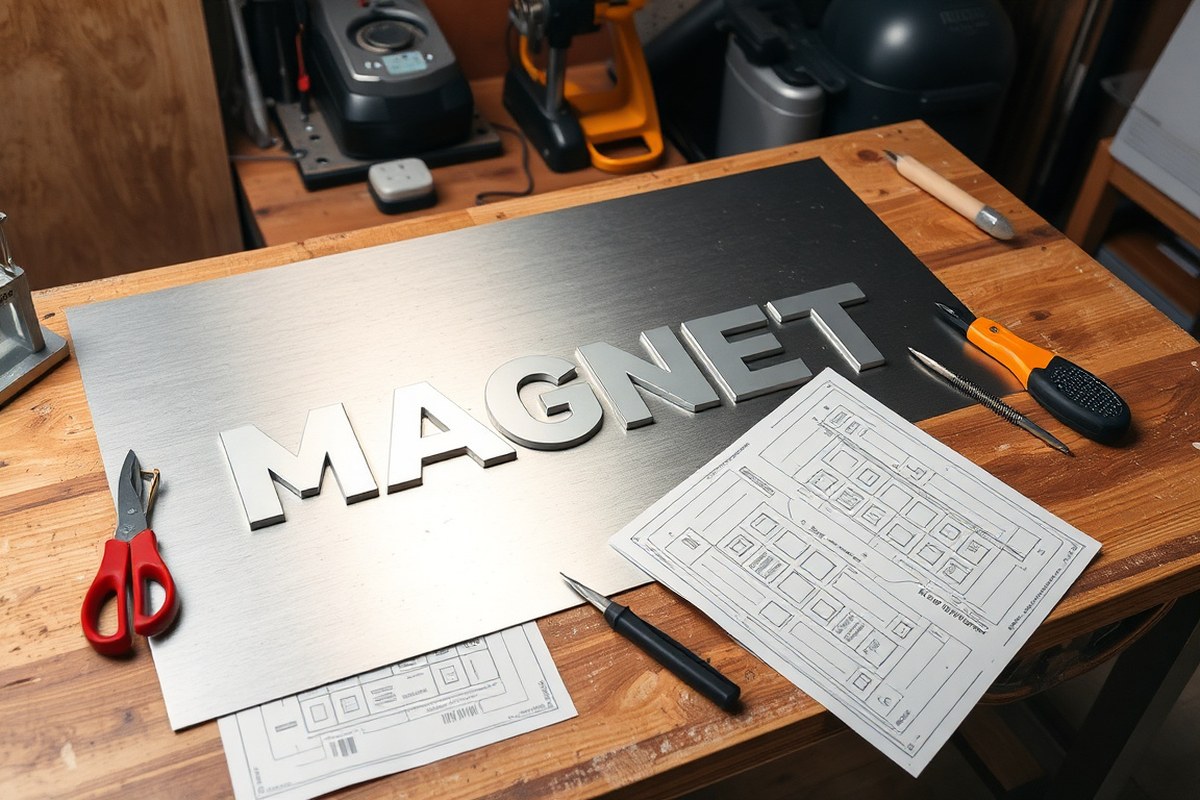
Magnetic signs work best when made from flexible magnetic sheeting about 30 mil (0.85 mm) thick. This thickness offers a strong pull strength around 90 pounds per square foot, enough to hold firmly on vehicle steel surfaces at highway speeds up to 80 mph. Thinner magnetic sheets, usually under 20 mil, may cut more easily but lack the strength for reliable outdoor use on vehicles.
Pre-cut magnetic sign blanks with rounded corners are a handy choice. These typically come in standard sizes like 12″ x 24″ and cost about $10 each. They save time and effort compared to cutting from rolls yourself and reduce risks of uneven edges or damaged corners. However, buying rolls of magnetic sheeting lets you customize sign size and shape but requires more tools and skill.
Cutting tools should be sharp and sturdy for clean edges. A heavy-duty utility knife paired with a metal safety ruler provides control and precision. A corner rounder tool helps smooth edges, preventing peeling or accidents from sharp corners. Vinyl cutters compatible with magnetic sheeting can be used if you want detailed shapes or lettering, but only on thinner magnetic material that these machines can handle without jamming.
- Flexible magnetic sheeting, 30 mil thickness, approx. 0.85 mm
- Pre-cut magnetic sign blanks with rounded corners
- Heavy-duty utility knife with replaceable blades
- Metal safety ruler for straight cuts
- Corner rounder tool for finishing edges
- Vinyl cutter (optional, for thinner sheets and precise designs)
- Adhesive vinyl lettering or spray paint for graphics
For graphics, many magnetic signs simply use vinyl letters applied directly to the magnetic surface. This method avoids digital printing equipment and keeps costs low. Adhesive vinyl lasts well outdoors but make sure the magnetic surface is clean before applying to ensure good adhesion. Painting is possible with spray paints, but expect a wait time of 90 days before adding clear coats or wax to protect the paint and avoid peeling.
Before making your sign, test the intended application spot with a common refrigerator magnet. If a fridge magnet sticks well, your vehicle’s surface will hold the magnetic sign securely. Signs placed over textured or non-metallic surfaces may not stay attached, so magnetic signs suit steel or ferromagnetic panels best.
How to Design Your Magnetic Sign for Best Visibility
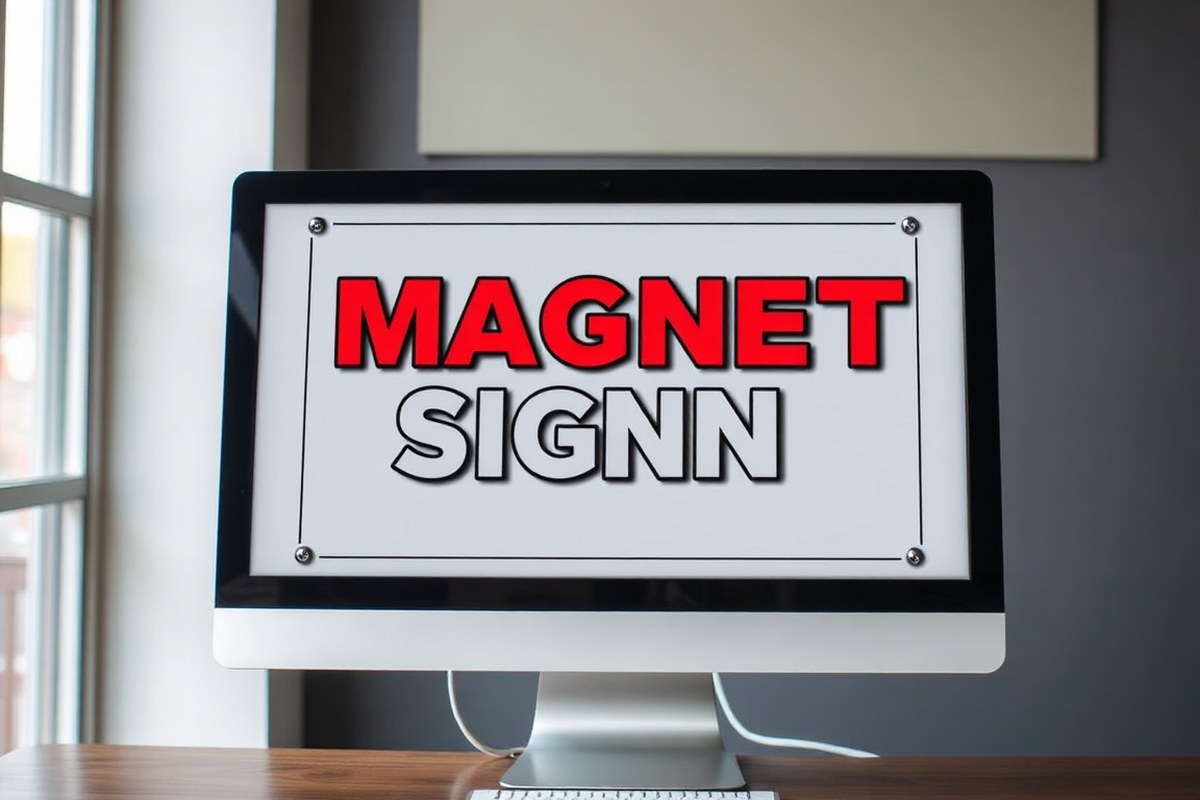
Choose clean, simple fonts like sans-serif styles for your magnetic sign to ensure readability from a distance. Fonts such as Arial, Helvetica, or Futura work well because they avoid decorative elements that can blur when viewed quickly. Lettering size should start at a minimum of 3 inches tall for the shortest viewing distances, like sidewalk traffic, and increase to 6 or more inches for vehicle signs seen from 20 feet or more. The goal is clear recognition without forcing viewers to squint or get close.
Color contrast strongly affects sign visibility. Use light-colored text on dark backgrounds or vice versa. Classic combinations like white on black, yellow on navy, or black on yellow provide the sharpest contrast that catches the eye. Avoid colors with low contrast, such as green on blue or red on orange, because they blend together, making the words hard to distinguish at a glance. For magnetic signs on vehicles, consider the car’s color to avoid camouflage; for example, white lettering on a red magnetic background stands out against most paint colors.
Layout should prioritize simplicity and balance. Place your business name or key message centrally and use strong, bold fonts. Supplement text with minimal graphics only if they support brand recognition, complex images can clutter and confuse. For example, a simple logo on one side paired with bold text on the other can create a professional look without sacrificing legibility. Align your text and graphics in a way that leaves some blank space for eye rest, avoiding cramped designs that reduce impact.
Prepare your design files in vector formats like AI, EPS, or PDF for the best printing quality, as these scale cleanly without pixelation. If using raster images, ensure a resolution of at least 300 dpi at final print size. Include clear bleed zones (typically 0.125 to 0.25 inches) to avoid unprinted edges. Simplify layers and embed fonts or convert text to outlines to prevent printing errors. Most magnetic sign printing services require print-ready files to deliver sharp, vibrant results with fade-resistant UV inks.
Images can improve magnetic signs, especially for identifying services (like landscaping or pet grooming). However, stick to simple, high-contrast graphics. Photographic elements add value but might require digital printing instead of vinyl lettering, which can increase costs slightly. Text-only signs cost less and work effectively if designed well with appropriate fonts and color contrasts. Consider your budget and visibility needs before deciding.
Keep letter height proportional to your viewing distance: allow 1 inch of letter height for every 10 feet of expected viewing range to ensure clear readability.
Cutting and Shaping Magnetic Sheeting Safely and Accurately
Cutting magnetic sheeting to size requires using sharp, appropriate tools and precise measurements to ensure smooth edges and a professional look. Rounding the corners improves the longevity of the magnetic sign by preventing peeling and damage. Proper safety gear reduces the risk of injury during cutting.
Choosing the Right Knife and Ruler
Use a heavy-duty utility knife with a sharp blade to cut through 30 mil magnetic sheeting cleanly. Dull blades cause fraying or uneven edges. Pair the knife with a safety ruler designed with a finger guard and non-slip backing. This ruler keeps your hand safe and helps maintain a straight cut line.
For smaller or thinner magnetic sheeting, like 8 mil, a trimmer or shear cutter works well. These tools provide precision but may not handle thicker sheets reliably. Avoid scissors unless specified for magnetic materials, as they can create jagged edges.
Step-By-Step Cutting Process
Follow these steps to cut magnetic sheeting precisely and prepare it for use on vehicles, totes, or other surfaces:
- Measure and mark the desired size on the magnetic sheet using a pencil or a non-permanent marker. Use a straightedge to connect marks for cutting lines.
- Secure the sheet on a flat, stable surface to prevent slipping during cutting.
- Align the safety ruler along the cutting line, ensuring it is flush and steady.
- Score the magnetic sheet by running the utility knife firmly along the ruler line. Use multiple passes rather than forcing a single deep cut to avoid jagged edges.
- Bend the magnetic sheet gently along the scored line to snap it cleanly if the sheet is rigid enough; otherwise, continue scoring until cut-through.
- Inspect and trim any uneven spots with light, precise cuts.
- Clean the edges with a soft cloth to remove loose particles.
Irregular shapes can be cut by following a drawn template, but take extra care to score slowly and steadily. Avoid attempting overly complex curves without practice, as magnet sheeting can tear.
How and Why to Round Corners
Rounding corners prevents them from catching and lifting when the magnetic sign is applied to a vehicle or other curved surfaces. Sharp corners are prone to damage and can cause the magnet to peel off at highway speeds. Rounded edges also improve safety by reducing sharp points.
Use a corner rounder tool designed for 1/4-inch radii, or create a template from cardboard with a consistent curve around 1/4 inch radius. Place the template over each corner and trace it with a pencil. Carefully cut along this line with your utility knife or scissors made for thicker materials. Repeating the rounding process on each corner helps ensure a uniform, professional finish that contributes to the magnet’s durability during wind exposure and car washes.
Safety Precautions During Cutting
Wear cut-resistant gloves to protect your hands from slips while handling the utility knife. Always cut away from your body and fingers. Working on a stable surface reduces the chance of accidental slips.
Use eye protection if you expect fragments or particles from the magnetic sheet. Keep blades sharp to minimize the force needed for cutting; dull blades increase the risk of accidents. Dispose of used blades promptly in a covered sharps container. Work in a well-lit area to see cutting lines clearly, and keep pets and children away from your workspace to avoid distractions and injuries.
Methods to Apply Graphics: Printing vs Vinyl Lettering
Magnetic signs can be created either by digitally printing graphics onto vinyl that is then applied to magnetic sheeting or by cutting vinyl lettering directly and applying it to the magnetic base. Each method has distinct advantages and challenges in terms of cost, durability, equipment, and appearance.
Digital Printing Overview
Digital printing involves using inkjet or solvent printers to produce full-color images and graphics on vinyl sheets. After printing, the vinyl is mounted onto flexible magnetic sheeting to create a magnetic sign. This method allows for detailed, multi-color designs, photos, and logos to be captured with accuracy and vibrant color.
To do digital printing at home, you need access to a digital printer capable of printing on vinyl media, such as a PrismJET or Mutoh ValueJet printer. This equipment tends to be costly and is more common in professional or serious hobbyist settings. Once printed, you cut the vinyl to size, apply it to magnetic sheeting, and typically round the corners to reduce peeling.
Vinyl Lettering Overview
Vinyl lettering requires a vinyl cutter to cut shapes or letters out of solid-colored vinyl sheets. The cut vinyl is weeded (unwanted parts removed) and then applied to magnetic sheeting. This method produces simpler, more graphic-focused signage using crisp single-color or layered vinyl cut-outs.
Many crafters and small business owners can use a Pro Series vinyl cutter at home or in small workshops. This approach suits designs with fewer colors and less complex images. The process is straightforward: cut vinyl, weed, and apply to magnetic sheeting, finishing with rounded corners to prevent damage.
Cost and Durability Comparison
The following table compares the two methods based on equipment investment, material costs, durability, and appearance:
| Aspect | Digital Printing | Vinyl Lettering |
|---|---|---|
| Equipment Needed | Digital printer (e.g., PrismJET, Mutoh ValueJet), laminator | Vinyl cutter (e.g., Pro Series), application tools |
| Material Cost | Printing vinyl + magnetic sheeting, approx. $10 per pair of door signs | Vinyl sheets + magnetic sheeting, similar minimal cost per sign |
| Durability | Good for full-color images; sensitive to scratching and weather but protected by laminates | Highly durable for simple graphics; weather-resistant and less prone to fading |
| Appearance | Vibrant, photo-quality, full-color images | Sharp, clean lines with solid colors; no photographic detail |
| Ease of DIY | Challenging due to printer cost and skill needed | More accessible with moderate skill and cutter ownership |
Vinyl lettering signs typically outlast printed vinyl signs when exposed to harsh outdoor conditions. Laminates can protect printed signs but add cost and complexity. The cost for both methods can start under $10 per pair of door signs but investing in digital printing equipment is significantly more than a vinyl cutter.
For small runs or simple branding, vinyl lettering offers durability and ease. Digital printing works best if you want complex, colorful designs and have access to specialized printers. Both methods ultimately involve applying vinyl graphics to magnetic sheeting and rounding corners to increase longevity on vehicles and metal surfaces.
How to Safely Apply and Remove Magnetic Signs on Vehicles
To apply magnetic signs safely on your vehicle, start by thoroughly cleaning both the vehicle surface and the magnet’s back. Use a mild detergent mixed with water and a clean, soft cloth to remove all dust, dirt, and grease. Rinse the area with water, then dry it completely with a lint-free cloth before applying the magnet. This ensures strong adhesion and reduces the chance of damage to your vehicle’s paint.
Choose mild weather conditions with temperatures between 50°F and 80°F for application. Excessive heat can cause the magnet to stick too firmly, increasing the risk of pulling off paint when removed. Cold temperatures may weaken magnetic grip. A flat, smooth surface without dents or textures provides the best contact and reduces the possibility of movement or scratching.
Never place magnetic signs on newly painted or freshly repaired vehicle surfaces. Paint typically needs at least 30 days to fully cure. Applying a magnet too soon can cause the paint to lift or bubble. For older finishes, check that the paint surface is intact and not flaking or peeling before application.
Remove your magnets every 2 to 3 days. Leaving them on for longer periods can trap moisture or debris, leading to fading, staining, or damage to the paint beneath. Gently peel off the magnet by lifting one corner and pulling slowly away from the vehicle. Avoid sliding the magnet across the paint, as this can cause scratches.
After removal, wipe both the magnet and the vehicle surface clean to prevent dirt buildup, which can scratch paint during reapplication. Store the magnet flat on a metal surface or clean cloth to maintain its shape and magnetic properties. Regular cleaning with a damp cloth and mild detergent helps prolong both the life of the magnet and the vehicle’s finish.
Using magnetic signs protects your paint better than tapes or adhesives that often leave residue or cause permanent damage. However, improper use such as leaving magnets on too long, applying on uncured paint, or neglecting surface cleaning can result in paint migration or damage. Following this routine maintenance and application method helps you keep both your signage effective and your vehicle looking good.
Remove magnetic signs every 2 to 3 days to prevent paint damage and always clean the surface before reapplying the magnet.
Common Problems and How to Fix Magnetic Sign Issues
Peeling of magnetic signs at high speeds often happens because the magnet’s grip isn’t strong enough or the surface is dirty. The rough airflow can lift edges if the sign isn’t pressed firmly against a clean, dry vehicle surface. To fix this, clean the metal area thoroughly with isopropyl alcohol before applying the sign. Press firmly along all edges and the center to remove air bubbles and ensure full contact.
Fading or damaged vinyl letters usually result from prolonged sun exposure or abrasive cleaning methods. Repair involves replacing the vinyl decal or touching up small spots with vinyl paint or markers designed for outdoor use. To prevent damage, avoid power washing the sign directly and park the vehicle in shaded areas when possible.
Uneven sticking of the magnet often means the surface underneath has dents, dirt, or paint flaws that stop full contact. Check for bumps or rust spots and smooth the area if needed. Clean off dirt and wax to restore adhesion. A curved vehicle surface calls for thinner, more flexible magnetic sheeting made for contours to get better grip.
To stop paint discoloration, especially on older or uncured paint, apply a thin layer of clear protective coating designed for automotive use before placing the magnet. This barrier helps block moisture buildup and prevents the magnetic material from reacting with the paint. Removing magnetic signs regularly and cleaning both the sign and the vehicle surface also reduces discoloration risks.
- Clean the vehicle surface with alcohol before applying signs
- Press magnet firmly and evenly to avoid peeling
- Use flexible magnetic sheeting on curved surfaces
- Avoid direct high-pressure washing on magnetic signs
- Apply a clear protective coating under magnets to protect paint
- Remove and reposition magnets regularly to prevent sticking issues
- Replace damaged vinyl decals promptly for best visibility
Common problems with magnetic signs often trace back to poor surface prep and maintenance. Regular cleaning removes dirt and moisture that weaken the magnetic grip. Applying the sign on dry, smooth metal gives the best adhesion. The cost of protective coatings or replacement vinyl decals can range from $10 to $50 depending on size and quality. Proper care should prevent most peeling or damage, ensuring your magnetic sign stays visible and intact even during long drives or hot weather.
How Long Does Making a Magnetic Sign Take and What Affects Timing
Making a magnetic sign typically takes between a few hours to several days, depending on the materials used and the methods chosen for design and application. Designing your sign can take from 30 minutes to a few hours, especially if you are creating custom graphics or adjusting layouts for visibility. Preparing the magnetic sheeting involves cutting and shaping, which usually takes 30 minutes to an hour. After that, either painting or printing your design adds more time.
Painting a magnetic sign requires drying and curing to ensure durability. Paint drying times vary by type, but most outdoor-grade paints need at least 24 hours to dry completely at room temperature. Curing can take up to 7 days for full hardness, although the sign will be ready to handle gently after 24 to 48 hours. Using quick-dry paints or applying thin coats can reduce wait times without compromising quality. Temperature and humidity affect drying times; higher temperatures and lower humidity speed up drying, while cooler or damp conditions extend it.
Choosing printing or vinyl lettering can cause delays during the printing process or when applying the graphics. Printing professionally or at home usually takes 1 to 3 hours depending on resolution and size. Vinyl lettering requires careful trimming and transfer, often taking 30 minutes to an hour. Uneven surfaces, dust, or incorrect temperature and humidity slow adhesion and may cause bubbles or peeling later. Proper surface cleaning and working in a controlled environment speeds up the application and helps avoid redoing the work.
Preparation and drying steps can be sped up safely by using fans or heaters to increase airflow and temperature but keep conditions moderate to avoid warping or damaging the magnetic material or paint. A well-ventilated workspace with temperatures around 70 to 80°F (21 to 27°C) and low humidity shortens curing and drying times effectively. Avoid direct sunlight on the sign during drying to prevent uneven curing or fading.
The total time before a magnetic sign is ready for use depends on your chosen process. For a simple printed or vinyl design, expect 4 to 6 hours from start to finish, provided you have fast-drying materials and controlled conditions. Painted signs require longer, up to 2 to 3 days to allow adequate drying plus curing time before handling. Planning your workflow by overlapping tasks, for example, designing while waiting for paint to dry, can reduce overall production time. Factors like complex designs, outdoor use preparation, and high-quality finish add time but improve the sign’s appearance and durability.
Checking environmental factors and having all materials ready before starting will help maintain a smooth process. Quick turnaround calls for vinyl lettering and printed graphics because they produce faster results than painting. Remember that skipping adequate drying or curing increases risk of damage and shortens sign lifespan, so balance speed with proper timing for the best results.
Options for Reusable and Changeable Magnetic Signs
Creating magnetic signs that allow you to change messages or designs can save time and money, especially for seasonal promotions or events. Using modular layouts, removable vinyl, or layered components helps you switch out content quickly without making a new sign each time. This flexibility is useful for small businesses or vehicle owners wanting to update messages based on sales, seasons, or locations.
Planning for Modular Design
Modular design means dividing your magnetic sign into segments or layers that can be swapped independently. For example, you can have a base magnetic sheet with basic branding and interchangeable panels or strips for the message area. This makes it easy to update parts of the sign without replacing the whole thing.
Start by sketching a design that separates elements by function: a stable background, repeated logos, and a changeable text area. Use consistent dimensions for the interchangeable parts, such as 12 by 6 inches or 18 by 9 inches, depending on vehicle size. Align these modular areas carefully to ensure each changeable panel fits precisely and maintains a professional look.
Magnetic tapes or strips can help attach parts that need frequent removal. Strong rare-earth magnets can secure heavier or thicker layers, holding them firmly during travel or wind exposure.
Materials for Interchangeable Signs
Choose materials that are durable yet allow for easy updating. Thin magnetic sheets, about 30 to 40 mils thick, work well as your base, providing flexibility for vehicle surfaces. For changeable elements, use removable or repositionable vinyl, which can peel off without leaving residue and withstand outdoor conditions. UV-resistant inks and laminated coatings extend durability and color retention.
Other materials include magnetic vinyl sheets printed with your message, which can be layered over a base magnetic sign. Magnetic tape strips allow attaching smaller elements, such as pricing numbers or seasonal messages, that you can swap individually.
Costs vary by size and material quality. Expect base magnetic sheets to run around $0.50 to $3.00 per square foot, while printable vinyl costs vary from $1 to $5 per square foot depending on finish and weather resistance.
Applying and Securing Changeable Vinyl
Proper application and securing of changeable elements are critical to avoid loss or damage during use. Clean both the magnetic base and the vinyl sections with isopropyl alcohol to remove dirt and oils before applying vinyl. Smooth out bubbles with a plastic squeegee.
To secure removable vinyl on magnetic signs, use magnets beneath or industry-grade repositionable adhesive vinyl designed for outdoor use. Applying thin magnetic sheets onto vinyl pieces also helps them snap onto the base magnet cleanly. Steps to apply modular vinyl panels with magnetic backing:
- Clean the magnetic base surface thoroughly.
- Cut vinyl panels to uniform size matching modular areas.
- Attach thin magnetic sheet to vinyl panel’s back side.
- Align panel carefully over the base area.
- Press firmly to ensure good magnetic contact.
- Check edges for proper adhesion and smoothness.
Keep vinyl panels dry and handle edges gently to prevent curling or lifting in windy or rainy conditions.
Maintaining Flexible Magnetic Signs
Reusable magnetic signs require regular maintenance to keep the magnetic surface clean and sharply displaying graphics. Dirt or metal filings reduce magnetism and cause uneven holding power over time.
Store parts flat, in a dry environment away from direct sunlight to slow fading. Use mild soap and water to clean magnetic sheets; avoid harsh chemicals that can damage vinyl or weaken magnetic strength. Inspect changeable components monthly to check for wear, especially corners where peeling starts. Replacing worn magnetic strips or reapplying fresh layers of removable vinyl every six to twelve months helps maintain a professional appearance and functional modular system.
Step-by-Step Action Plan for Making Your Magnetic Sign
Follow these steps to create a magnetic sign that looks professional and sticks safely to your vehicle. Each phase builds on the last to ensure success.
- Before you start: Gather magnetic sheeting, your design tools, cutting instruments, and printing or vinyl materials. Check that your workspace is clean and well-lit to avoid mistakes.
- Day 1: Finalize your design focusing on high contrast and clear fonts. Preview it on your computer in the actual sign size to confirm visibility.
- Day 2: Print your graphics or cut your vinyl lettering carefully. Inspect the output for color accuracy and edges that are smooth and clean.
- Day 3: Cut and shape your magnetic sheeting safely with a straight edge and sharp blade. Measure twice before cutting to prevent errors.
- Day 4: Apply the printed or vinyl graphics to the magnetic sheet, smoothing out any bubbles to ensure full contact. Check that the graphic adheres evenly and securely.
- Day 5: Test your magnetic sign on your vehicle. Make sure the surface is clean and dry, and confirm the magnet sticks firmly without sliding.
- After 2 weeks: Monitor the sign’s adhesion and appearance. Clean as needed and look for any signs of fading or lifting, which indicate when to fix or replace the sign.
Frequently Asked Questions
Can I Make a Magnetic Sign Without Digital Printing?
Yes, many magnetic signs use flexible magnetic sheeting with vinyl letters instead of digital printing, which can be equally effective and often simpler to produce.
How Do I Check If My Vehicle Is Magnetic-Sign Friendly?
Press a refrigerator magnet on the vehicle surface; if it sticks firmly, your magnetic sign will hold well.
What’s the Easiest Way to Get Perfect Rounded Corners on Magnetic Signs?
Use pre-cut magnetic sign blanks with rounded corners or trim and shape your own using a corner rounder tool.
Can Magnetic Signs Damage My Vehicle’s Paint?
Magnetic signs typically won’t damage paint if surfaces are clean and free of dirt or grit, which can cause scratches.
How Can I Make My Magnetic Sign More Visible on Different Vehicle Colors?
Add contrasting vinyl lettering or graphics that stand out well against the vehicle’s paint for better visibility.
Are Magnetic Signs Effective on Aluminum Vehicles?
Magnetic signs won’t stick to aluminum panels, so they are not effective on vehicles with aluminum bodies.
Before You Go
Making your own magnetic sign can save money and give your business a flexible advertising tool. Prepare your materials carefully and follow each step to create a durable, clear sign that sticks well and looks professional. Start by designing your sign clearly with visibility in mind, then test its fit on your vehicle today to ensure it meets your needs before final use.