How to Make a Mailbox Sign with DIY Steps, Materials & Pro Tips
Making a mailbox sign begins with picking sturdy materials and taking exact measurements to ensure it fits well. Choose weatherproof wood such as cedar, cut each part at a sharp 45-degree angle for neat corners, and protect every surface with a sealant. Place the sign between 41 and 45 inches high off the ground and keep it 6 to 8 inches away from the curb so the mail carrier can reach it easily.
Key Takeaways
- Choose cedar wood for a durable, weather-resistant mailbox sign that lasts for years without heavy maintenance.
- Cut the base boards to 24 inches long and side pieces to 15 inches, mitering ends at 45 degrees for neat assembly.
- Assemble the mailbox post using included drill bits and high-quality screws for quick, secure installation.
- Position your mailbox sign 6 to 8 inches from the curb and the sign panel between 41 and 45 inches from the ground.
- Use subtle background colors on the sign to keep the house number clearly visible from the street.
- Seal all wood surfaces with outdoor-grade glue and weatherproof finish to prevent moisture damage and fading.
How to Make a Mailbox Sign Step by Step
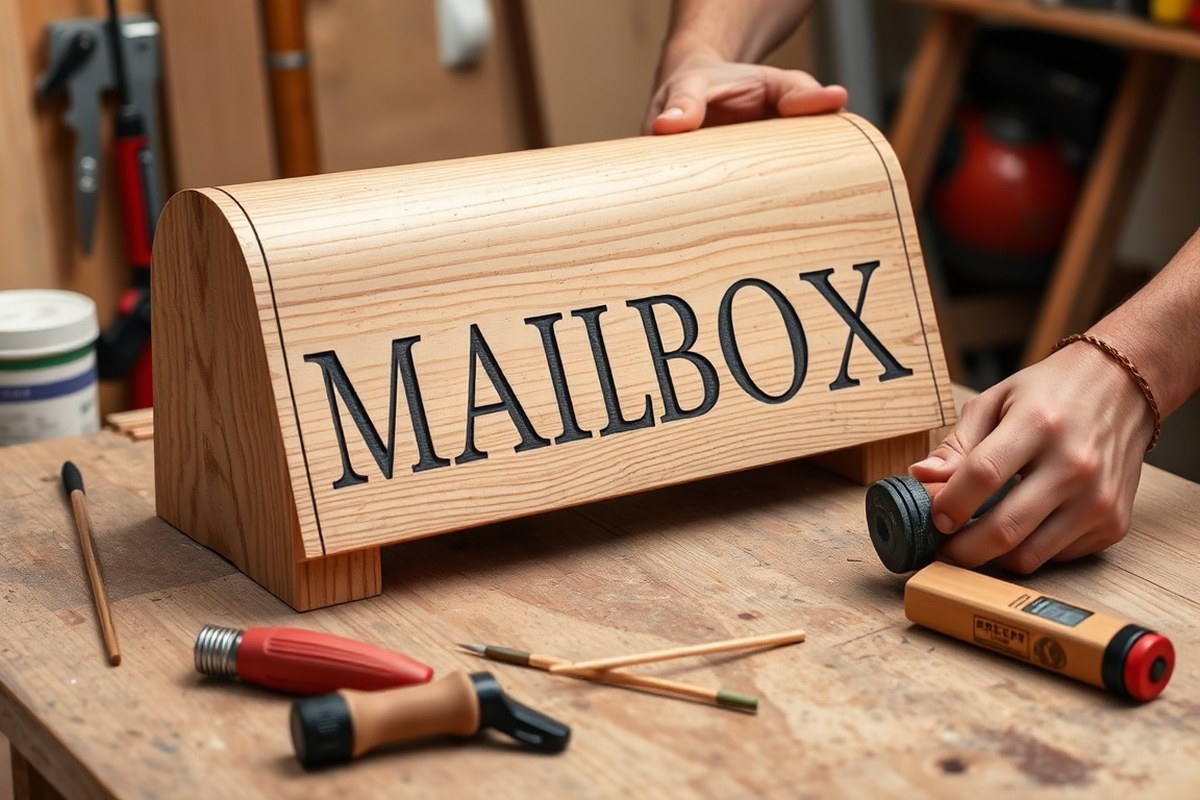
Creating a mailbox sign involves selecting your materials, measuring and cutting precisely, assembling the components, and applying the finishing touches to make it durable and attractive. Preparing your materials carefully ensures the sign fits your mailbox perfectly and withstands outdoor conditions. Precise cuts and secure assembly are key to a professional-looking result. Here are the steps to make your mailbox sign:
- Measure and plan your design. Determine the size of your mailbox sign, typically matching the width and height of your mailbox or slightly larger for visibility. Mark your design layout on paper or directly on the wood or other material to guide your cuts.
- Cut and sand your material. Use cedar, pallet wood, or bamboo boards as your sign base for durability and eco-friendliness. Measure and cut the pieces to your planned size using a miter saw or a miter box for accuracy. Sand the edges smooth to avoid splinters and improve paint adhesion.
- Prepare any decorative elements. Cut smaller pieces for frames or numbers if included. Use a miter box to create clean 45-degree angles for frames. You can also prepare metal numbers or tin letters at this stage, ensuring they fit your sign dimensions.
- Assemble the sign components. Align your pieces on a flat surface, then apply outdoor-grade wood glue to the edges before firmly pressing them together. Use clamps or heavy objects to hold parts in place while the glue dries for at least 30 minutes. Reinforce with rust-resistant screws if needed, especially on larger signs.
- Add numbers or lettering. Attach wooden or metal numbers with outdoor adhesive or small screws. To place numbers straight, use a 12- to 15-inch strip of painter’s tape as a guide and align the numbers evenly.
- Apply a finish. Protect the sign with at least two coats of outdoor-rated polyurethane or a weatherproof sealant. Allow each coat to dry fully (usually 4-6 hours) before applying the next. This step extends the life of your sign and keeps colors vibrant in harsh weather.
- Attach the sign to your mailbox or post. Use screws or brackets designed for outdoor use. Position the sign securely so it won’t shift or fall off during storms or strong winds. Double-check that the sign is level and visible from the street.
Following these detailed instructions will help you create a custom mailbox sign that is sturdy and visually appealing. Taking extra care with cutting and assembly ensures clean lines and a snug fit, while finishing steps provide long-term protection. Using clamps and outdoor-rated materials reduces issues like warping or fading over time.
Best Materials and Tools for Durable Mailbox Signs
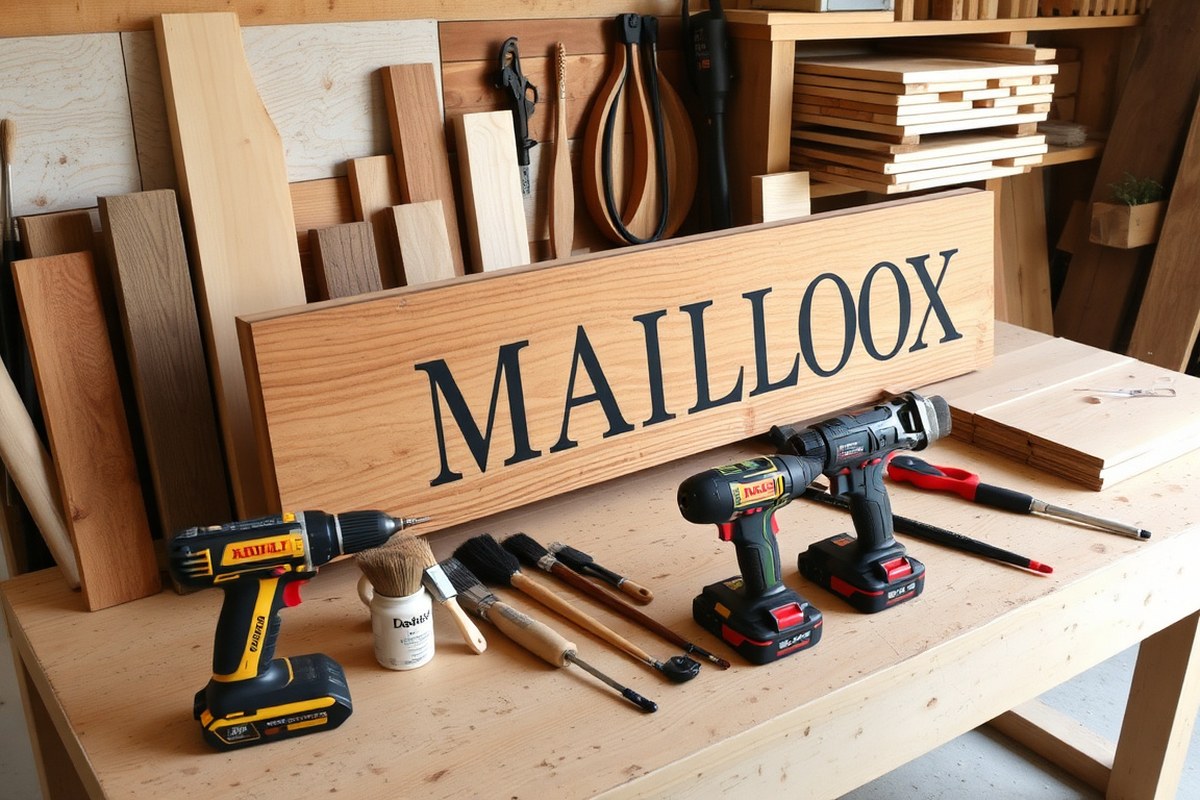
Choosing the right materials for a mailbox sign is essential for durability and ease of work. Cedar wood stands out as a top choice because it is naturally resistant to weather and insect damage, making it strong enough to endure harsh outdoor conditions. For the sign surface, weathered wood blanks or reclaimed wood provide a rustic look while maintaining longevity. When durability is the priority, galvanized metal mailboxes or metal signs offer toughness and modern style with the benefit of rust resistance.
Using high-quality exterior paints and sealants extends the lifespan of your mailbox sign. Acrylic latex paint designed for outdoor use offers vibrant color retention and flexibility during temperature changes. Follow this with a clear, weatherproof sealant that blocks moisture but remains breathable, helping prevent warping and cracking. Choose low-VOC or water-based sealants for environmentally friendly finishes. These products usually cost between $15 and $30 per quart, enough for several signs.
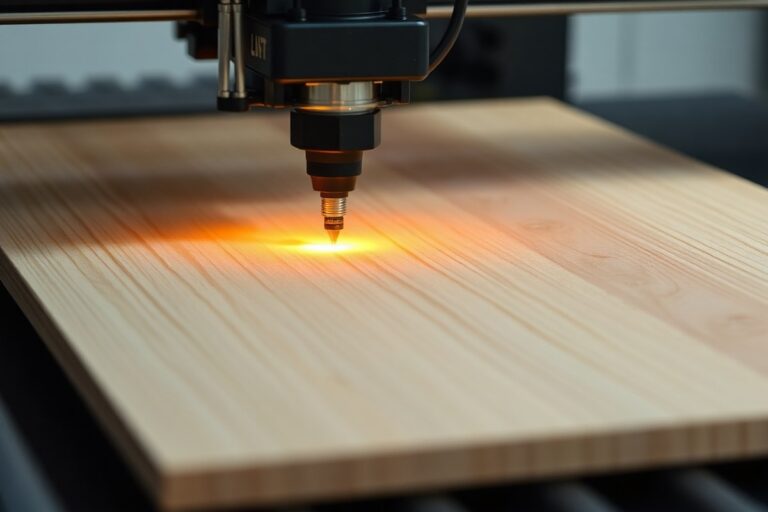
Essential tools to prepare include a saw for cutting wood or metal, a drill for mounting, sandpaper or a power sander for smoothing surfaces, and good-quality brushes or a paint sprayer for even application. A tape measure ensures your sign fits your mailbox post properly. For metalwork, a small metal bending brake can help shape your sign or numbers, while a 3D printer allows creative personalization like custom monogram designs. Investing in these tools might cost from $50 to $200 depending on your current collection, but they open many design possibilities. Here is a comparison of common materials and finishes for mailbox signs:
| Material | Durability | Appearance | Typical Cost | Maintenance |
|---|---|---|---|---|
| Cedar Wood | High (weather and insect resistant) | Natural, warm, rustic | $15-$25 per 8 ft board | Needs annual sealant application |
| Weathered Wood Blanks | Moderate (depends on source) | Vintage, rustic | $10-$20 per blank | Apply outdoor paint and sealant |
| Galvanized Metal | Very High (rust resistant) | Modern, sleek | $20-$40 per sign | Minimal, occasional cleaning |
| Acrylic Latex Paint | High (resists fading) | Bright, versatile colors | $20-$30 per quart | Reapply every 3-5 years |
| Weatherproof Sealant | High (blocks moisture) | Clear, matte or glossy finish | $15-$25 per quart | Reapply annually |
To keep your project eco-friendly, look for reclaimed wood instead of new lumber and choose water-based paints and low-VOC sealants. Recycled metal numbers add a sustainable touch and last longer than plastic or vinyl stickers. Using reflective number stickers improves visibility at night but requires checking annually for wear.
Always sand and clean your mailbox sign surface thoroughly before painting or sealing to ensure proper adhesion and longer-lasting results.
Make sure your workspace is clean and well-ventilated for painting and sealing. Follow manufacturer instructions on drying times and recoating intervals, usually 24 hours between coats. With the right materials and tools, your mailbox sign can stay attractive and functional for years with minimal upkeep.
How to Position and Install Your Mailbox Sign Correctly
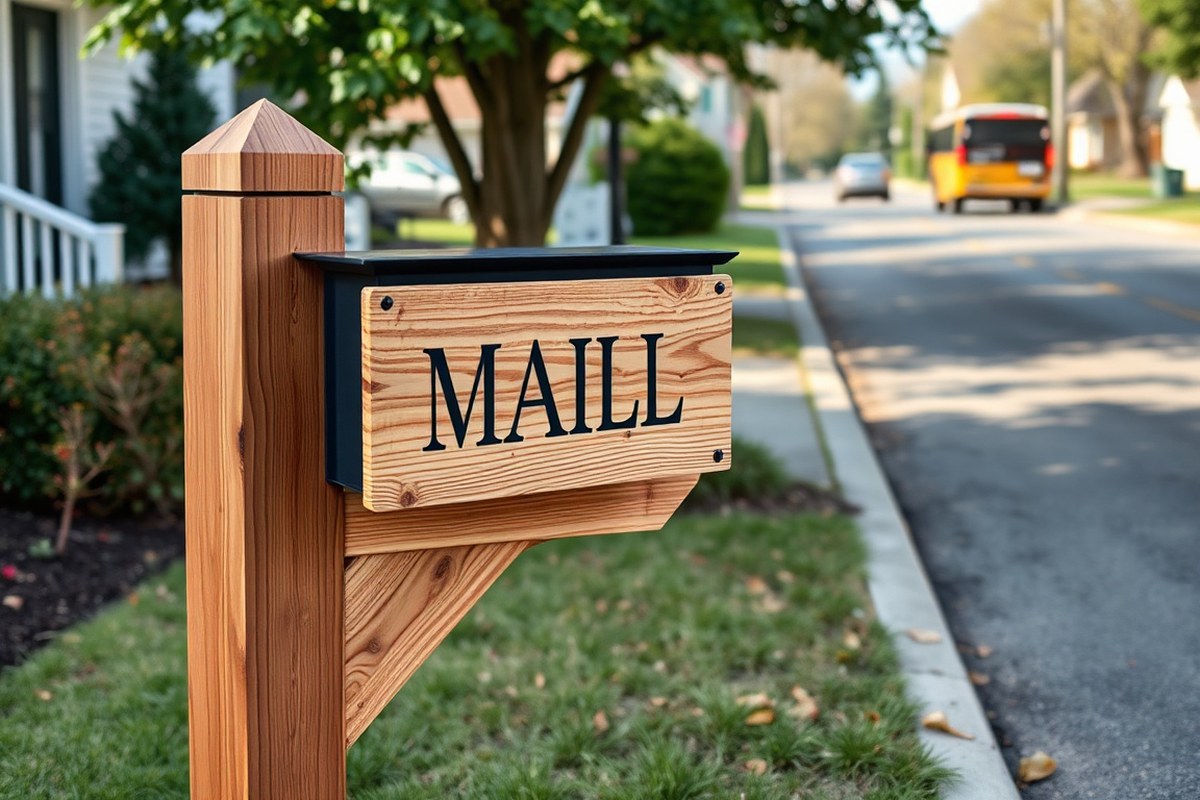
Mount your mailbox sign so its bottom edge measures between 41 and 45 inches from the ground. Set it 6 to 8 inches away from the curb to make mail delivery straightforward and safe. Make sure the post is well-anchored using concrete or a post anchor to resist weather and regular use. Tailor how you install it based on the soil type for the best stability and long-lasting support.
Measuring and Marking Placement
Start by measuring the height from the ground to the bottom of your mailbox sign, aiming for 41 to 45 inches according to postal recommendations. Next, measure 6 to 8 inches back from the curb or edge of the road to mark the horizontal position. Mark both points clearly with a stake or spray paint for easy digging and installation.
Ensuring the correct height and setback not only complies with delivery guidelines but also protects your mailbox from vehicles or lawn equipment. Confirm local regulations as some municipalities might have slightly different requirements.
Digging and Setting the Post
Before digging, check the soil type. Sandy or loose soil requires a deeper hole and more concrete for added support, while clay or compact soil may need less depth but careful leveling. The hole should be about 10 to 12 inches wide and 24 inches deep for a typical 4×4 wooden post.
To install the post, dig the hole at the marked spot. For wet concrete installation, mix according to package directions and pour into the hole around the post. Avoid using concrete by opting for a metal post anchor that you drive into the soil. This method holds the post firmly while making it possible to remove later if needed.
- Mark the mailbox location using height and setback guidelines.
- Dig a hole 24 inches deep and 10 to 12 inches wide.
- Place the post in the hole, ensuring it is level and oriented correctly.
- Pour mixed concrete around the post or drive a post anchor into the ground for support.
- Allow concrete to cure for at least 24 to 48 hours before attaching the mailbox.
Securing the Mailbox and Final Checks
After the concrete has set or post anchor is secured, mount your mailbox sign using long screws for stability. Check that the mailbox faces the street and stands straight without wobbling. Tighten all hardware and consider weatherproofing with a sealant if your sign includes wood.
Double-check your installation against local requirements and test the mailbox’s accessibility from the mail carrier’s perspective. A stable, well-positioned mailbox makes mail delivery smooth and keeps your sign looking great for years.
How to Personalize Your Mailbox Sign for Unique Curb Appeal
Customizing your mailbox sign gives your home a distinctive curb appeal and reflects your personal style. Popular ways to personalize include painting, adding decals, carving, or attaching decorative elements. These methods can create a visually appealing mailbox while ensuring durability against outdoor conditions.
Painting and Stenciling Techniques
Using vibrant outdoor paint is a popular option for personalizing mailbox signs. Choose paint designed for exterior use to ensure it withstands sun, rain, and temperature changes. For the best coverage, apply a primer first, then two to three coats of paint, allowing 2 to 4 hours drying time between layers. This process helps the color remain vivid and chip-resistant.
Stencil kits let you add intricate designs or house numbers with professional-looking results. Secure the stencil firmly before painting to prevent bleeding edges. Use a foam brush or stencil roller with minimal paint for clean lines. Remove the stencil carefully once the paint is tacky but not fully dry to avoid peeling.
Applying Numbers and Lettering
House numbers and family names can be displayed attractively using durable materials like stainless steel or weather-proof vinyl decals. Stainless steel numbers add elegance and resist rust, costing around $10 to $20 per number, depending on the style and finish. Attach these with screws or strong outdoor adhesive for longevity.
Decals are an affordable alternative, usually under $10 for a set of numbers or letters. Ordering two sets of decals is recommended, just in case you need a redo. Clean the mailbox surface thoroughly before applying decals and smooth out air bubbles using a plastic card. Place decals in the same spot during installation for neatness and to prevent peeling from uneven adhesion.
Adding Decorative Accents
Decorative accents allow for creative expression and can range from carvings and trim to attached planters. For wooden mailboxes, carve simple patterns or initials using a rotary tool or chisel before painting. This adds a subtle texture that stands out after finishing.
Adding attached decor like a floral planter or whimsical metal shapes can improve the mailbox’s look and complement your home’s style. Choose materials resistant to weather, such as treated wood, metal, or plastic. Secure decorations firmly to prevent damage from wind or water.
- Use waterproof outdoor decals with UV protection
- Choose paints rated for exterior surfaces, like acrylic latex
- Sand smooth before painting to ensure paint adhesion
- Add weatherproof clear sealer over painted surfaces for extended life
- Position numbers for easy visibility from the street
- Consider theme-based decor like nautical or rustic accents
- Check local postal rules to avoid oversized decorations
These personalized additions not only improve curb appeal but also make your mailbox a clear and durable marker for visitors and delivery personnel alike. Each technique offers flexibility, allowing you to combine styles for a unique mailbox that suits your taste and neighborhood.
Postal Regulations and Safety for Mailbox Signs
To comply with USPS regulations, your mailbox sign must meet specific size and height requirements. The USPS requires that the bottom of the mailbox or mailbox sign be positioned between 41 and 45 inches above the road surface. This range ensures mail carriers can easily reach the mailbox from their vehicles without stepping into the street. The mailbox should also be placed 6 to 8 inches back from the curb or road edge to avoid interfering with traffic and to keep mail safe during delivery.
Designing your mailbox sign within these limits matters for smooth mail delivery and avoiding fines or service refusal. You should measure carefully before installation by using a tape measure and leveling tools to achieve the proper height and setback. If your mailbox post or sign extends beyond the allowed dimensions or placement, adjust the height by raising or lowering it on the post or relocate the entire assembly. Doing this may require drilling new holes, adding or trimming wood, or changing mounting brackets, which might cost between $10 and $30 in materials depending on the adjustments made.
Ensuring accessibility and safety means making your mailbox visible and free from obstructions. Avoid placing plants, rocks, or decorations that block the carrier’s access or reduce visibility from the road. The sign should have clear, contrastive numbers so postal workers can read them quickly, avoiding mail delivery delays. When planning placement, check that the mailbox sign does not encroach on sidewalks or create trip hazards for pedestrians or neighbors.
Installation rules also require secure attachment of the mailbox sign to prevent damage or injury. Mailboxes mounted on posts must use sturdy, weather-resistant materials like treated wood or metal brackets to hold up against wind and rain. Loose or wobbly signs can cause accidents or disrupt mail delivery schedules. You should confirm that screws and bolts are tight and that the sign does not protrude into the street beyond the mailbox itself.
In some rural or unique situations, variations might apply. For example, cluster mailboxes or curbside mail receptacles may have different height or clearance guidelines issued by local postal offices. Always check with your local USPS office or their official website to verify any local rules before finalizing your mailbox sign installation. When uncertainty arises, err on the side of the standard 41-to-45-inch height and 6-to-8-inch setback to maintain good standing with mail carriers.
Check the height and setback of your mailbox sign from the road with a level and tape measure before fixing it permanently; small missteps can cause delivery issues or require costly adjustments later.
Weatherproofing and Maintaining Your Mailbox Sign
Protecting your mailbox sign from rain, sun, and freezing temperatures starts with choosing the right sealant. A clear spar urethane finish is an excellent option because it shields wood or painted surfaces from moisture and sun damage while allowing the material to breathe. Apply two or three thin coats outdoors on a dry day, waiting at least four hours between each coat. This process usually takes about an hour per coat and protects your sign for up to two years, depending on exposure.
Routine maintenance keeps your mailbox sign looking fresh and prevents costly repairs. Inspect your sign annually, ideally every spring after winter weather has passed. Look for peeling paint, cracks, or fading caused by UV rays. Repainting your mailbox sign every 2 to 3 years maintains its appearance and weather resistance. Use an exterior-grade acrylic latex paint for best durability; it costs roughly $20 to $40 per quart and usually lasts several years outdoors. Here is a simple checklist to protect and maintain your mailbox sign:
- Clean the sign with mild soap and water each spring to remove dirt and debris
- Inspect for any damage like cracks or chipped paint and sand rough spots smooth
- Apply a fresh coat of spar urethane or exterior paint as needed to seal and protect
- Check mounting hardware and tighten or replace loose parts to keep the sign secure
- Trim nearby plants or tree branches to reduce moisture buildup and avoid scratches
- Consider adding a small roof or cover if your mailbox is in an exposed spot to limit weather impact
Failing to maintain your sign regularly causes wood or paint to deteriorate faster, leading to warping, mold, or peeling. Weatherproofing products like spar urethane cost between $10 and $25 per can and usually cover 100 to 200 square feet, making them a cost-effective solution. For repainting, use rust-resistant screws or anchors to secure the sign firmly, preventing damage during storms. By following this maintenance schedule, your mailbox sign will stay visible and attractive through harsh seasons, saving you time and money on repairs over the years.
Common Mistakes and How to Fix Them
Instability or crooked mailbox posts usually come from uneven ground, loose soil, or insufficient anchoring. To fix a leaning post, first dig around the base, reset the post level using a carpenter’s level, then fill the hole with concrete or packed gravel. Concrete takes about 24 to 48 hours to set fully, giving the post a sturdy foundation. Prevent future wobbling by making sure the hole is at least 2 feet deep and the soil is compacted well.
Weather damage and peeling paint are common issues, especially if the mailbox sign faces constant sun, rain, or snow. To repair peeling, scrape off loose paint with a putty knife or wire brush, then sand the area smooth. Clean the surface thoroughly, apply an exterior primer, and repaint using weather-resistant paint designed for outdoor use. This process can cost around $10 to $30 in materials for a simple touch-up. Protect your sign by sealing edges with clear waterproof sealant to avoid moisture getting underneath the paint.
Illegible house numbers defeat the purpose of a mailbox sign. Numbers less than 1 inch tall or lacking contrast against the background can easily go unnoticed by delivery drivers or emergency responders. Improving visibility requires repainting numbers in a bold, contrasting color, ideally at least 2 inches tall for better distance readability. Use a ruler or level to mark a straight baseline before applying the paint or stick-on numbers. Address numbers should be at the front, center, and well lit if possible.
- Uneven post installation: reset and use concrete footing
- Loose soil: compact ground before reinstalling post
- Peeling paint: scrape, sand, prime, repaint with exterior paint
- Faded numbers: repaint with high-contrast, 2-inch tall numbers
- Crooked numbers: use a level to align before painting or affixing
- Moisture damage: seal edges with waterproof sealant
- Poor nighttime visibility: add a solar light or reflective paint
Checking your mailbox sign yearly helps catch problems early, saving money and effort later. Cleanup and repainting every 2 to 3 years can maintain sharp looks and prevent costly repairs. When selecting paint or sealant, always read labels to match your local temperature ranges and weather conditions, ensuring your mailbox sign stays stable, clear, and attractive through all seasons.
Creative Mailbox Sign Ideas Beyond Wood
You can create unique mailbox signs using materials beyond traditional wood, such as metal, stone, and recycled items. These alternatives offer both style and durability, while adding a distinctive character to your mailbox. Integrating lighting or planters improve functionality and curb appeal, making your mailbox both useful and eye-catching.
Metal and Stone Signs
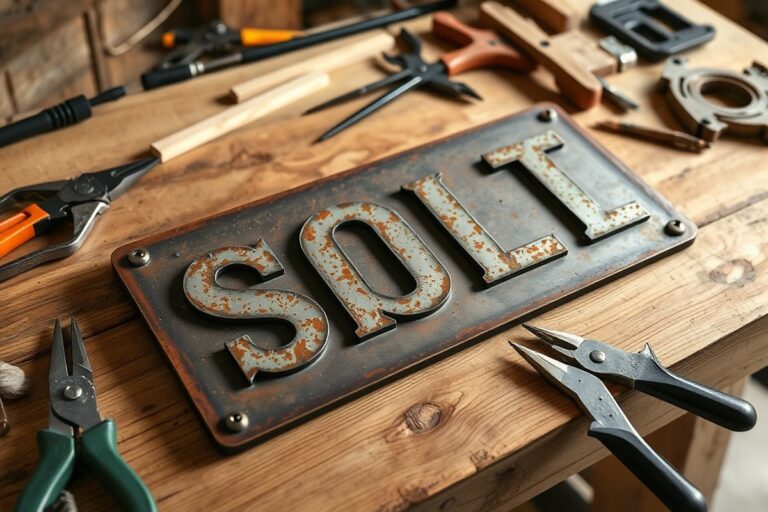
Metal signs offer modern style and exceptional durability. Steel or aluminum panels resist weather and require minimal maintenance. A combo of wood and steel creates a rustic yet contemporary look that fits many home exteriors. Stone signs, such as etched granite or slate plaques, bring a classy, natural feel but usually cost more and require professional shaping and engraving.
For a metal sign, use powder-coated steel to prevent rust and extend lifespan. Measure and cut metal sheets to 12, 18 inches wide, typical for mailbox signs. Attach letters by welding, using adhesive, or with raised metal numbers. Stone options work well as plaques mounted on wooden or metal posts, adding weight and stability.
Using Recycled and Upcycled Materials
Recycled materials like old pallets, scrap wood, and metal pieces make creative, budget-friendly mailbox signs. Reclaimed wood panels add rustic charm and eco-friendliness, with unique grains and weathered textures. Recycled metal can be cut from scrap sheets or parts, shaped into letters or shapes to affix on the mailbox or post.
These materials are often durable if properly prepped, wood should be sanded and sealed, metal cleaned and coated against corrosion. Using recycled materials suits eco-conscious homeowners and provides a custom look that can’t be bought in stores.
| Material | Style | Durability | Cost Estimate | Maintenance |
|---|---|---|---|---|
| Powder-coated Steel | Modern, sleek | High, weather-resistant | $30, $80 for sheet | Low, occasional cleaning |
| Stone (Granite/Slate) | Natural, elegant | Very high, weatherproof | $80, $200+ for plaque | None to low |
| Reclaimed Wood Panels | Rustic, warm | Medium, needs sealing | Often free to $50 | Annual sealing or staining |
| Recycled Metal Scrap | Industrial, unique | High if coated | Free to $40 | Occasional rust prevention |
Deciding among these depends on your home’s style and budget. Powder-coated steel works well if you prefer low upkeep, while stone suits a timeless, upscale look. Reclaimed wood fits rustic themes and sustainability priorities, and recycled metal brings industrial flair at a low cost.
Adding Functional Decor: Lights and Planters
Including lighting around your mailbox sign improves visibility and adds charm. Solar-powered LED lights are practical, requiring no wiring and charging during the day. Fix small solar stakes next to the mailbox post or mount LED strips behind a sign panel for subtle illumination.
Planters attached below or around the sign allow seasonal flowers or greenery to complement the mailbox. Use metal or wooden boxes securely fastened to posts, ensuring drainage holes prevent water buildup. Choose hardy plants like succulents or annuals that tolerate your climate and mailbox location.
Tip: Make sure any added lighting or planters don’t obstruct mail delivery or violate local postal guidelines.
Functional decor combines aesthetics with purpose: lights improve mailbox safety at night, and planters bring natural beauty without bulky additions. Vertical planter pockets or small troughs beneath the mailbox keep the footprint small and tidy.
Step-by-Step Action Plan for Your Mailbox Sign
Follow these steps to create, install, and maintain a custom mailbox sign that looks great and lasts. Each step includes a check so you know you’ve done it right.
- Before You Begin: Choose your sign material and design based on durability and style preferences. Confirm your choice by checking if it meets local postal regulations for size and placement.
- Day 1: Cut and prepare the sign using appropriate tools, such as a saw for wood or a laser cutter for metal. Ensure edges are smooth and measurements match your design.
- Day 2: Personalize your sign with paint, vinyl letters, or engraving. You’ll know it worked if the lettering is clear, even, and sealed well against weather.
- Day 3: Apply a weatherproof coating like UV-resistant sealant or waterproof paint. The finish should feel smooth and dry with no sticky spots.
- Day 4: Position the sign on your mailbox or post following postal guidelines for height and visibility. Check that it’s secure and easy to read from the street.
- After 1 Week: Inspect the sign for any fading, peeling, or looseness. Fix minor issues by touching up paint or tightening fasteners.
- Monthly Maintenance: Clean the sign with mild soap and water, and reapply sealant as needed to maintain weather resistance.
Frequently Asked Questions
What Is the Easiest Way to Add Numbers to a Mailbox Sign?
The easiest way is to buy adhesive or stenciled numbers designed for outdoor use. Applying these directly onto your sign ensures clear visibility and durability against weather.
Can I Use Recycled Materials for My Mailbox Sign?
Yes, recycled wood or metal can make unique, eco-friendly signs. Make sure to treat materials for outdoor use to prolong lifespan.
What Type of Paint Lasts Longest on a Mailbox Sign?
Acrylic latex paint holds up well outdoors because it resists cracking and fading. Use a primer first for better adhesion and protection.
How Do I Make Sure My Mailbox Sign Is Visible at Night?
Adding solar-powered LED lights near the sign improves visibility without wiring. Choose lighting that won’t attract unwanted attention but provides enough brightness.
Can I Personalize My Mailbox Sign with My Family Name?
Yes, adding your family name gives a personal touch and makes your mailbox stand out. Use weatherproof lettering or custom metal monograms for durability.
Is There a Height Requirement for Mounting My Mailbox Sign?
Position the mailbox door panel 41 to 45 inches above the ground for easy access and compliance with postal guidelines.
The Bottom Line
A custom mailbox sign makes your home stand out and stays functional over time with the right steps. Begin by selecting your materials carefully, ensuring your design both fits your curb appeal and postal rules. Now, gather your tools and start crafting a sign that adds personality and practicality to your mailbox.