How to Make a Name Plate: Complete Guide with 9 Popular Methods Compared
How to make a name plate often starts with choosing the right material and technique for your purpose. The simplest way involves designing your text and cutting or engraving it into wood, metal, or acrylic. Starting with a clear design plan speeds up the process and ensures the name plate looks professional and lasts long.
Key Takeaways
- Desk name plates typically measure around 2 × 8 inches to balance readability and size.
- Laser-cut wood or acrylic name plates require precise designs and access to a laser cutter.
- Engraving metal name plates works best with affordable desktop engravers like the xTool D1 Pro.
- Vinyl name plates can be made at home without special tools using adhesive vinyl sheets.
- Hand-painting name plates offers a personal touch but requires patience for paint curing and drying.
- Wiping wooden surfaces with rubbing alcohol before applying vinyl improves adhesion.
1. What Is a Name Plate and Which Types Are Common?
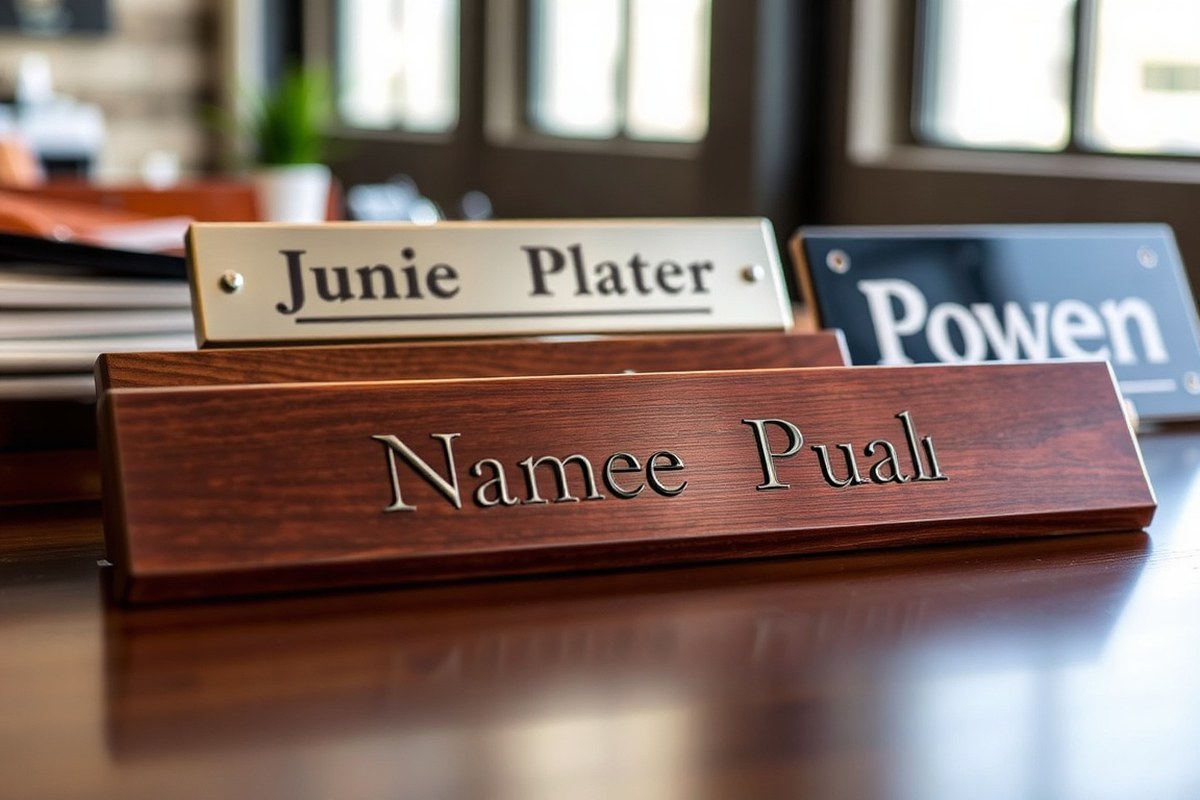
A name plate is a small sign that displays a person’s name, title, or other identifying information. It is commonly used for desks, doors, or nurseries to clearly mark ownership, role, or room purpose. Name plates help create professional impressions, identify personal space, and add a decorative element to a setting.
Typical desk name plates are about 2 inches tall and 8 inches wide. They often have a wedge shape, allowing them to stand upright on a flat surface. Door name plates tend to be flatter and rectangular, usually around 3 by 10 inches, designed to be mounted on a door or wall. Name plates for nurseries or children’s rooms are usually smaller, more colorful, and can be cut into playful shapes, often sized between 4 and 8 inches wide and 2 to 5 inches tall.
Common materials for name plates include wood, acrylic, metal, and vinyl. Wood is popular for its warm look and can be carved, painted, or layered with 3D letters glued on. Acrylic offers clean, polished edges and can be laser cut into custom shapes. Metal name plates, such as brass or aluminum, provide a professional, durable finish that works well in offices. Vinyl name plates are usually applied to a blank surface and are quick and easy to make with clean graphic results.
Wooden name plates typically use MDF or natural wood boards cut to size before decoration. You can carve the name directly or add letters cut separately for a three-dimensional effect. Using fonts with connected letters or backing supports helps maintain the design integrity during cutting. Adding color to wood name plates can highlight names or match décor, making the plate stand out. Logos or badges can be included for company or organizational name plates to add professionalism and customization.
Plastic or acrylic name plates are favored for modern office doors or desks. They are laser-cut for precision with smooth edges and can be engraved or printed. Popular sizes vary but often match typical door sign dimensions. Metal name plates are durable and typically engraved, lasting many years without fading. For a simple, fast solution, vinyl lettering applied to a smooth surface allows easy updates and changes. The choice depends on usage, budget, and preferred style.
For home or nursery use, name plates can be hand-painted on wood or cardboard for a warm, unique touch. Sizes and shapes vary more widely here, as playful designs or custom shapes often fit the space and personality. Simple hanging options include punching holes near the top and adding string or ribbon for doors or walls.
2. How to Make a Laser-Cut Wood or Acrylic Name Plate
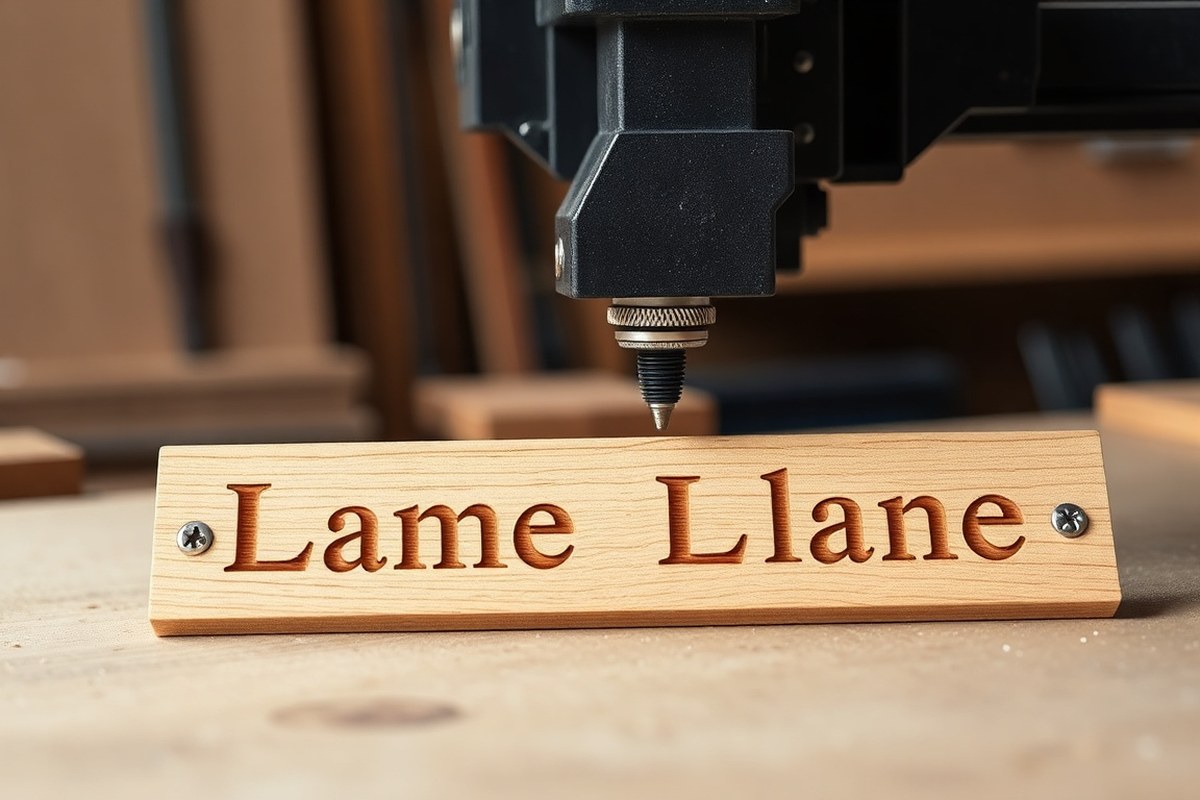
Laser-cut name plates made from wood or acrylic offer a sleek, professional look with a personal touch. Using a laser cutter allows precise cuts and engraving, creating sharp lettering and custom shapes. The process includes selecting materials, designing a cut-ready file, using the laser cutter properly, and finishing the plate for durability.
Choosing the Right Wood or Acrylic Material
For laser-cut name plates, select thin wood or acrylic sheets between ¼-inch and ½-inch thick. Thinner stock cuts cleanly and looks elegant without bulk. Popular wood options include birch or maple plywood, available at home improvement stores. Acrylic sheets come in various colors and finishes, adding vibrant or translucent effects.
Wood offers warmth and a timeless style, perfect for desks or doors. Acrylic suits modern or brightly colored designs and resists moisture better. For beginners, pre-cut stock sized about 2 × 8 inches (5 × 20 cm) works well, it’s large enough to read but fits typical desk or door space.
Creating and Preparing Your Design File
Start by typing the name or text you need using simple fonts like Arial or Helvetica for readability. Use vector graphic software such as Adobe Illustrator, Inkscape, or free online tools to create your design. Ensure all shapes and letters are converted to vector paths and scaled to your plate size, usually around 2 × 8 inches.
Use contrasting stroke colors to differentiate cutting from engraving in your file. For repeatable accuracy, add registration marks or alignment guides. Avoid overly intricate details smaller than 1/16 inch, which may not cut cleanly or could burn on wood.
Before finalizing, export your design as a vector file format compatible with your laser cutter, commonly SVG, DXF, or PDF formats. Double-check dimensions and line thickness.
Operating the Laser Cutter Safely and Effectively
Operating a laser cutter requires attention to safety, settings, and machine-specific instructions. Use a CO2 or diode laser cutter compatible with wood and acrylic. Make sure the workspace is ventilated to clear smoke and fumes. Wear safety glasses if recommended and keep the machine’s cover closed during cutting.
Adjust the laser power and speed settings based on material thickness: for ¼-inch wood, try around 20% power and 15 mm/s speed; acrylic may need slightly lower speed and higher power. Run a test cut on scrap material to refine these settings. Use the laser cutter software to position your design precisely on the cutting bed.
- Load your wood or acrylic sheet securely on the laser cutter bed.
- Upload your design file to the laser cutter’s software.
- Set laser parameters for the chosen material and thickness.
- Focus the laser correctly on the material surface.
- Start the cutting and engraving process, monitoring the machine.
- Remove the finished name plate carefully after cutting.
- Clean off any residue with a soft cloth and light sanding if needed.
Test settings on scrap material before cutting your name plate to prevent burns or incomplete cuts.
Finishing and Sealing Your Name Plate
After cutting, lightly sand edges with fine-grit sandpaper (220 grit) to smooth any charred or rough spots. For wood, apply a clear sealant like polyurethane or food-safe mineral oil to protect against moisture and wear. Acrylic typically only needs a wipe down with a soft cloth; avoid solvents that can cloud its finish.
A simple stand can turn your plate into a desk piece. You can laser-cut a slot-together wedge from the same material or attach a small triangular wooden block on the back with strong wood glue. Alternatively, slip the plate into a metal wedge stand bought separately. Proper finishing keeps your name plate looking polished through daily handling and gives it a professional edge for office or home display.
3. Step-By-Step Guide to Engraving Metal Name Plates
Engraving metal name plates involves choosing the right metal, designing your text and layout carefully, preparing the surface and equipment, and then performing the engraving with precision. This process produces durable, professional-looking name plates ideal for desks, doors, or awards.
Selecting Metal Type and Thickness
Common metals suitable for engraving include aluminum, brass, stainless steel, and anodized metals. Aluminum is lightweight and cost-effective, while brass offers a rich gold tone. Stainless steel provides durability and a modern look. Thickness typically ranges from 1/16 inch to 1/8 inch (1.5 to 3 mm), balancing sturdiness with ease of engraving.
Choose the metal based on where the name plate will be used. For desks, thinner aluminum or brass gives a professional style without excess weight. For door signs or outdoor use, stainless steel resists weathering better. Consider cost too: aluminum plates usually start around $10 for a 3×7 inch size, but prices vary by thickness and finish.
Designing Layout and Text for Engraving
Clear, simple designs work best for engraving. Use a bold font for the name and a smaller, clean font for titles or greetings. Keep your text centered and allow margin space around edges, usually about 1/4 inch. Avoid intricate patterns that can become illegible once engraved.
Design your layout using vector graphic software like Adobe Illustrator or free options such as Inkscape. These support precise scaling and can export files compatible with engraving machines. Save your design in formats like SVG or DXF based on your equipment’s requirements.
Preparing the Metal Surface and Machine Setup
Before engraving, clean the metal plate thoroughly with isopropyl alcohol to remove oils and dust. This helps prevent engraving inconsistencies. Secure the plate firmly on the engraving machine’s work surface to avoid shifting during the process.
Most engraving uses laser engravers or rotary tools. Laser engraving works well on anodized aluminum and stainless steel, creating crisp, permanent marks. Rotary engraving suits softer metals like brass. Set your machine’s power, speed, and frequency according to the metal type; for instance, a typical laser engraving on aluminum might use 20-30 watts at 500 mm/s speed. Consult your machine’s manual to find recommended settings.
Performing Engraving and Cleaning
Run a test engraving on a scrap piece of the same metal type to check your design, machine settings, and overall appearance. Adjust the layout or power settings if the engraving is too shallow or burns the surface. Follow these steps for successful engraving:
- Load your design file into the engraving software and preview the placement.
- Place the cleaned metal plate on the machine bed, ensuring it is flat and secure.
- Set the engraving parameters based on metal type and thickness.
- Start the engraving process, monitoring it closely for issues.
- Remove the plate after the machine finishes and let it cool if necessary.
- Clean the engraved plate using a soft cloth; mild soap and water can remove residue.
- Optionally, apply enamel paint or stain in the engraving grooves for higher contrast and legibility.
Good results show clear, sharply defined letters with a consistent depth and no discoloration. Avoid moving the plate during engraving to prevent blurred text. If mistakes occur, some metal types allow polishing out the engraving and starting over, but this depends on plate thickness.
4. How to Create Vinyl Name Plates Without Special Tools
Making vinyl name plates without special tools can be straightforward and cost-effective. Using basic supplies like vinyl sheets, a blank base, and household items, you can create clear, attractive name plates for desks or doors. The key steps include gathering materials, prepping the surface, carefully applying the vinyl, and sealing it for durability.
Gathering Vinyl Sheets and Blank Base Materials
Start by selecting the right vinyl and a smooth base for your name plate. Adhesive vinyl sheets designed for crafts are widely available at craft stores or online and cost about $1 to $3 per sheet. Clear acrylic sheets make a sleek, modern base, but wood or chalkboard-painted surfaces work well too. Plain pre-cut blanks or cut your own shape from thin wood, plastic, or acrylic.
Choose vinyl colors and fonts that suit the name plate’s style. You’ll also need transfer tape to move the vinyl letters cleanly. When you don’t have transfer tape, clear contact paper can serve as a good alternative.
Prepping the Name Plate Surface for Adhesion
Proper surface preparation is important for long-lasting vinyl adhesion. Smooth, clean, and dry surfaces help vinyl stick better and prevent peeling. For wood bases, wipe the surface with rubbing alcohol, then let it dry for about 2 minutes to remove oils and dust. On chalkboard paint, wait 24 to 48 hours after painting for it to fully cure.
For acrylic or plastic, clean the surface with mild soap and water, then dry thoroughly. Avoid greasy or dusty surfaces. Mark the center point of your base by measuring the width and height, dividing by two, and making a light pencil mark. This helps position your vinyl evenly.
Applying Vinyl and Smoothing Out Air Bubbles
Applying vinyl letters requires patience and precision to ensure a polished look. Apply the vinyl to the back side of clear acrylic plates when possible, so the letters appear smooth and professional from the front. Follow these steps for application:
- Peel the vinyl letters from the backing carefully without stretching or tearing.
- Position the vinyl over your center mark on the base.
- Lay down one edge first, then slowly lower the vinyl onto the surface.
- Use a credit card or flat-edged tool to smooth the vinyl from the middle outwards, removing air bubbles.
- When bubbles persist, carefully lift the vinyl and apply it again, smoothing the surface one more time.
- Apply transfer tape on top of the vinyl, then slowly peel it away at a sharp angle to leave the vinyl in place.
Working slowly and methodically reduces wrinkles or air pockets. For textured or uneven surfaces, pressing firmly and using heat from a hair dryer (on low) can improve adhesion, but test a small area first.
Sealing and Maintaining the Vinyl Name Plate
To protect the vinyl and extend your name plate’s life, apply a clear acrylic sealant spray for plastic or a water-based polyurethane for wood bases. This step is optional but recommended if the plate will be touched frequently or exposed to moisture.
Allow the sealant to dry according to the label instructions, usually 24 hours. Avoid harsh cleaners and abrasive scrubbing to keep the vinyl intact. Clean gently with a soft cloth dampened with water.
5. Tips for Hand-Painting Personalized Name Plates
Hand-painting a personalized name plate lets you express your style through color, font, and design. Choosing the right supplies and planning your work carefully can make the process smoother and the final result more professional. Acrylic paints are ideal because they dry quickly, stick well to wood or plastic, and offer a wide range of colors. Use fine-tipped brushes for lettering and larger brushes for backgrounds. A pencil and eraser help you sketch your design lightly before painting, reducing mistakes.
Planning your design involves deciding on the font style, size, and decoration. Start by measuring the name plate surface to know how much space you have. Sketch several layout options on paper first, then select the one that balances the text and any decorative elements. Transfer the final design onto the name plate by drawing it lightly with pencil or tracing a printed template underneath if your material is thin enough.
- Prepare the surface: Clean your name plate thoroughly to remove dust and oils. Sand it lightly with fine-grit sandpaper if it’s wood to help the paint adhere better.
- Sketch your design: Use a pencil to draw the name and any decorations directly on the plate. If desired, print the name in your chosen font at the correct size and place it under a thin name plate to trace.
- Select your colors: Choose acrylic paints in the shades that fit your style. Test the colors on a scrap piece to see how they look once dry.
- Paint the background: Apply a base coat over the entire name plate if you want a solid background color. Let it dry completely, which takes about 20 to 30 minutes at room temperature.
- Paint the lettering: Use a fine brush to carefully fill in the letters and details. Thin layers work best to avoid drips; let each layer dry before applying the next. Depending on complexity, this can take 30 minutes to an hour.
- Allow to dry and seal: Let the paint dry fully for at least 24 hours. Apply a clear acrylic sealer to protect your work, especially if the name plate will see heavy use or outdoor exposure, adding durability and a smooth finish.
Use light pencil strokes to avoid deep grooves that paint can fill in unevenly, and avoid rushing the drying time to prevent smudges and color blending.
6. Comparing Name Plate Methods by Cost, Style, and Durability
Choosing how to make a name plate depends on what matters most to you: cost, style, durability, or ease of making. Custom-engraved brass plates glued onto wood offer a professional, classic look but typically take longer and cost more. Laser-cut wood or acrylic panels can be affordable, especially if you already have access to a saw or cutter, and they allow for creative, layered designs that work well for nursery signs or decorative door plates. Vinyl name plates require no special tools and are quick to make, ideal if you want something inexpensive and easy to update. Hand-painting gives a personalized feel but needs more time to get the style right and isn’t as durable outdoors.
| Method | Approximate Cost | Style & Appearance | Durability | Time to Complete | Easiest to Update | Ideal Use |
|---|---|---|---|---|---|---|
| Custom Engraved Brass Plate | $15-$40 (online order) | Professional, traditional, metallic shine | Very durable, lasts years indoors/outdoors | Several days (shipping + glue time) | No, permanent engraving | Office desks, formal doors |
| Laser-Cut Wood or Acrylic | $5-$20 (materials + equipment use) | Creative, layered, customized shapes | Moderate, wood may weather; acrylic resists moisture | 1-3 hours (cutting, assembly, finishing) | Medium, can repaint or change layers | Nursery signs, decorative door plates |
| Vinyl Name Plates | Under $5 (vinyl sheets + basics) | Simple, clean, flexible design | Moderate, peel or fade over time, indoor use best | 30 minutes to 1 hour | Very easy; peel and replace | Temporary labels, quick office use |
| Hand-Painted Name Plates | $5-$15 (paint + wood or acrylic base) | Unique, personal, artistic | Lower, paint can chip or fade with moisture | 1-2 hours plus drying time | Medium; repainting needed to update | Personal gifts, craft fairs, kids’ room decor |
These methods show clear tradeoffs between cost, style, and durability. For example, spending more on a brass plate will ensure professional style and long life but won’t let you easily update the name. In contrast, vinyl and hand-painted plates let you change the wording or colors but won’t last as long outdoors or in high-use areas.
Time requirements also differ greatly. Expect a couple of hours for laser cutting or painting, and less than an hour for vinyl. Ordering engraved plates takes days but removes the need for special tools or crafting skills.
Planning your project size might affect material choice. Nursery signs, often 30-40 cm wide, benefit from layered, decorative wood or acrylic showing shapes like moons or crowns. Door signs tend to be larger and may call for sturdier options. Adjusting your design and technique to your available tools and desired look will help you create a name plate that fits the space and purpose perfectly.
7. How to Personalize Your Name Plate with Logos and Color Accents
Adding logos or emblems to a name plate improve its identity and makes it stand out. Choose a logo size that complements rather than overshadows the name, typically no more than 25% of the name plate’s width. Subtle, proportional placement keeps the look professional. You can print logos directly onto acrylic or wood plates using full-color printing if you have access to those tools. Otherwise, vinyl stickers with printed logos offer a low-cost option that is easy to apply. Make sure the surface is clean and dry before adhering stickers, and press firmly to avoid air bubbles. A clear protective coat over the logo preserves the color and prevents peeling, especially on outdoor or high-touch name plates.
Color accents can dramatically change the appeal of your name plate. Paint is a popular choice for wood and some metals, allowing you to pick specific shades that match branding or personal taste. Use acrylic paint with a fine brush for detail, or paint markers for clean lines. For acrylic name plates, consider colored vinyl letters or backgrounds to add contrast. Layering colors can create a 3D effect, paint the base color then add raised vinyl or engraved letters in a contrasting hue. Avoid using too many colors to keep the design sharp and avoid a cluttered look; two to three colors usually work best.
Hardware for displaying or mounting name plates contributes both to durability and style. For desk name plates, attach a wooden or acrylic stand using strong adhesive or small brackets, ensuring the name plate tilts slightly toward the viewer for best visibility. When mounting on a door or wall, use double-sided industrial tape or screws through pre-drilled holes for secure attachment. If portability is a priority, affixing a keychain loop or magnet on the back provides easy moving and repositioning options. Keep in mind that hardware material should blend with or complement the name plate to maintain a cohesive appearance.
Adding three-dimensional letters is another effective way to personalize. Raised letters can be achieved by gluing thick vinyl cutouts or laser-cut wood shapes onto the base plate. Align carefully and measure spacing beforehand to maintain neatness. 3D letters add tactile interest and cast subtle shadows, increasing visibility in different lighting. This method takes additional time and materials, but the result often justifies the effort, especially for desk or door name plates used daily.
Tailor your approach depending on where the name plate will be used. For office desks, lighter hardware and simpler color schemes fit well without overwhelming the workspace. Outdoor or high-traffic areas benefit from weather-resistant paints, waterproof seals, and sturdy mounting options to extend lifespan. Cost varies: vinyl stickers and paint cost under $10 in materials, whereas full-color printing or laser-cut raised logos can reach $30 or more, depending on size and complexity. Good results feel balanced and intentional; avoid oversized logos, clashing colors, and flimsy attachments that harm professionalism and durability.
8. Common Mistakes and How to Fix Them When Making Name Plates
Vinyl bubbling or peeling happens mainly because the surface wasn’t clean or dry before application. Dust, oil, or moisture make the adhesive fail. To fix bubbling, gently lift the affected vinyl edge using a sharp craft knife then slowly smooth it back down with a plastic scraper or credit card, pushing out any trapped air. You may need to remove the vinyl and clean the surface with rubbing alcohol when the peeling is extensive, then let it dry completely before reapplying. Avoid touching the adhesive side to keep oils off it. Applying heat with a hairdryer (on low for about 20 seconds) can soften the vinyl and help it stick better after smoothing out bubbles.
Uneven engraving and laser cutting mistakes often result from incorrect settings or improper material placement. Shallow or inconsistent engraving might mean you need to increase the laser power slightly or slow the engraving speed. Cutting too deeply or off the mark can’t be undone, but you can hide it by lightly sanding with fine-grit sandpaper on wood or filling small scratches with paint or a marker that matches the color. For acrylic, smooth rough edges with a plastic flame polish tool or very fine sandpaper. When engraving a metal nameplate, clean off residue with a soft brush or cloth and use a metal polish to restore a professional look. Keeping the material flat and steady during engraving also prevents mistakes.
Paint smudges or runs on hand-painted name plates usually occur when the paint layer is too thick or wet when you touch it. To fix a run, wait until the paint is partially dry but still tacky, then carefully lift the excess paint with a clean, damp cloth or a toothpick. Light sanding with very fine sandpaper once fully dry evens out imperfections. Smudges during application require you to clean the brush and reload it with less paint to improve control next time. Using quick-dry paints can reduce smudging but require faster, more confident strokes. For acrylic surfaces, thin brush coats and letting each layer dry for 15 to 30 minutes helps avoid runs.
Clean your surface thoroughly and let it dry before applying vinyl to prevent bubbles, and use a plastic card to smooth the material after laying it down.
9. Safety Precautions and When to Get Professional Help
Wear safety goggles and cut-resistant gloves when cutting or engraving name plates to protect your eyes and hands from sharp fragments and debris. Use a dust mask or respirator, especially with wood, acrylic, or metal dust, to avoid inhaling particles. Always work in a well-ventilated area; engraving and painting can produce harmful fumes and fine dust that may cause respiratory irritation. When using paints or solvents, open windows or run a fan to prevent buildup of toxic vapors. Keep a fire extinguisher nearby if using equipment that heats materials to 600°F or higher, such as laser cutters or engravers, since acrylic and paint fumes can be flammable.
Start with a safety checklist before each project: wear protective gear suited to your tools, ensure ventilation, clear your workspace of flammable materials, and test equipment on scrap pieces to understand its operation and hazards. For hand cutting, use sharp, well-maintained blades to prevent slipping and accidents. When engraving metal, avoid contact with electrical components, check that your engraver is compatible with the material, and secure the name plate firmly to prevent movement. Paint only in well-lit areas to control brush strokes and reduce error, and clean brushes and containers per product instructions to avoid chemical exposure.
Choosing between DIY and professional services depends on your tools, skills, and time. Complex designs, delicate materials like thin metal, or high quantities are safer and often more cost-effective when done by a professional. Hiring a local engraving service or print shop usually costs between $20 and $60 per name plate, which can save you from purchasing expensive equipment costing hundreds of dollars. Professionals also handle fire and ventilation risks with specialized extraction systems and meet quality standards that may be hard to achieve at home. If you feel unsure about handling power tools or chemicals, or if the project requires precision beyond your current ability, seek professional help.
A simple decision rule: if the project needs laser cutting, involves hazardous fumes, or requires exact engraving on metal, hire a pro. For water-based paints, vinyl name plates, or simple wood cutting using hand tools, you can safely do it yourself with proper precautions. Avoid rushing and follow manufacturer guidelines on your tools and materials for the safest results. Investing in a few shifts at a professional shop might be better for your safety and the quality of your finished name plate than risking injury or costly mistakes trying an advanced method alone.
Step-by-Step Action Plan for Making Your Name Plate
Follow these steps to create a personalized name plate that fits your style and budget. Each phase guides you toward a finished product ready for use or gifting.
- Before you start: Choose your material, wood, acrylic, metal, or vinyl, based on where the name plate will be displayed and how durable it needs to be. You’ll know it worked if you have your material ready and a clear design in mind.
- Day 1: Prepare your design, including any logos or color accents, using free or paid software. Confirm the size and layout by printing on paper first to check fit and style.
- Day 2: For laser-cut or engraved plates, set up your machine or find a local service. For hand-paint or vinyl, gather your tools and materials. Success means you have all equipment ready and workspace organized.
- Day 3: Begin cutting, engraving, applying vinyl, or painting. Work in a well-lit, ventilated area and follow safety steps. Progress should show clear outlines and no smudges or mistakes.
- Day 4: Inspect your name plate for flaws or errors. Fix any imperfections like paint smudges or uneven engraving with appropriate tools or touch-ups. The plate should look clean and professional.
- Day 5: Seal or finish your name plate with a protective coating if needed to improve durability, especially for wooden or hand-painted ones. You’ll know this worked when the surface feels smooth and the colors are preserved.
- Day 6: Mount or attach the name plate to its final location using the appropriate hardware or adhesive. It’s successful when the plate is secure and visible without wobbling or peeling.
Frequently Asked Questions
What Size Should a Typical Desk Name Plate Be?
A desk name plate is usually around 2×8 inches, allowing space for your name and title with clear readability. This size fits well on most office desks without taking up too much room.
Can I Use Affordable Desktop Engravers to Make Name Plates at Home?
Yes, affordable engravers like the xTool D1 Pro let you easily personalize name plates including names, logos, and monograms right at home. They save time and offer professional results without needing a workshop.
How Can I Create a 3D Effect on a Wooden Name Plate?
You can scroll-saw individual letters from thin wood and glue them onto the base plate for a bold 3D look. This adds depth and makes your name plate stand out compared to flat surfaces.
What Font Styles Work Best for Laser-Cut or Engraved Name Plates?
Fonts with connected letters or a backing plate work best to survive cutting, such as block or stencil fonts. Script fonts need these supports, or they risk breaking apart during cutting.
What Materials Make a Name Plate More Durable and Resistant to Scratches?
Adding a protective clear coating or finish over wood or acrylic plates protects them from scuffing and wear over time, keeping your craftsmanship looking fresh.
Are There Creative Ways to Personalize a Wooden Name Plate Beyond Just Text?
Yes, adding color accents, logos, or decorative carvings makes a wooden name plate truly unique and artistic, improving its visual appeal and representing your style.
Key Points to Remember
Making your own name plate can be rewarding and practical by choosing the right method for your needs. Start with a clear design and material in mind, then take care through each step to avoid common problems. Begin today by sketching your ideal layout and gathering your supplies, setting you up for success in creating a unique and durable name plate.