How to Make a Pallet Sign: Simple Steps for Custom Rustic Decor
How to make a pallet sign starts with selecting and preparing pallet wood, then cutting and assembling the boards into your desired size. Use wood glue and nails for a sturdy frame that holds the boards together. Starting with properly measured and trimmed boards ensures your sign has a clean, balanced look.
Key Takeaways
- Choose pallets with 6-8 boards approximately 3 1/2 inches wide for a solid sign base.
- Trim pallet boards to around 20 inches for manageable sizes and neat edges.
- Cut two brace boards slightly shorter than the sign’s width, about 2 inches less, for stability.
- Apply wood glue to the brace boards before nailing them across the pallet slats for extra strength.
- Use about 2 nails per pallet board to secure brace boards without splitting the wood.
- Mark the center points at the ends of boards to align braces exactly and maintain straightness.
What Is a Pallet Sign and How Is It Made?
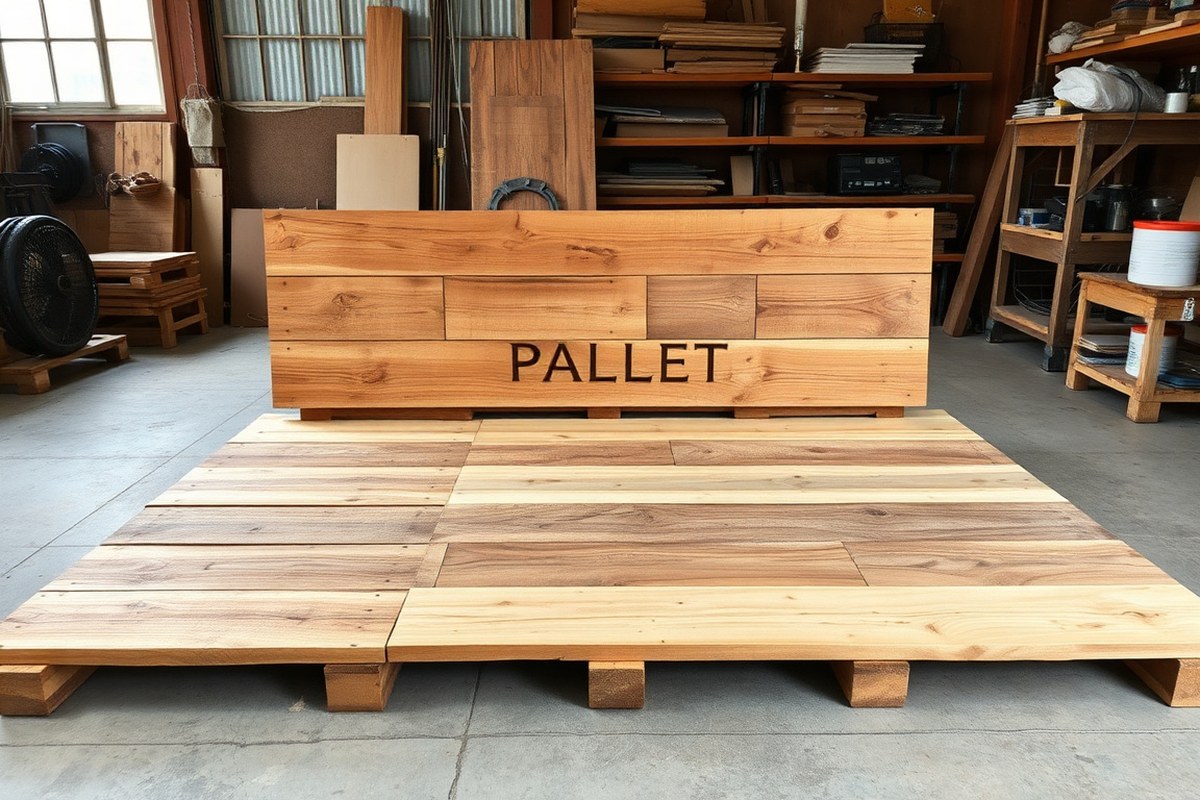
A pallet sign is a type of decorative sign made from repurposed wooden pallet boards. It typically features a rustic, weathered look because the wood comes from pallets that were originally used for shipping and storage. This gives pallet signs their unique charm, setting them apart from traditional wooden signs made from freshly milled lumber. Pallet signs are popular for home decor, weddings, and events, where their casual, vintage style fits well.
Creating a pallet sign begins by selecting several wooden slats from a pallet, typically 3 to 5 inches wide. A typical sign might measure roughly 24 inches in height and 37 inches across, using around 7 boards. These boards often have a rough texture that benefits from sanding to smooth out the surface and edges before assembly. Lay the boards side by side, then attach smaller brace boards on the back to keep them joined. The braces should be about 2 inches shorter than the full height of the sign. Wood glue is applied to these braces, which are then placed across the back of the joined pallet boards and fastened with nails, usually 2 nails per board, to ensure a secure hold.
The rustic appearance comes from using old pallet wood that may have slight imperfections, stains, or faded paint marks, which add character to the sign. This contrasts with other wooden signs made from new, uniform lumber that look cleaner and more polished. Pallet signs often showcase hand-painted letters, stencils, or vinyl graphics applied after assembly. Because the wood is reclaimed, these signs tend to be very affordable and environmentally friendly, costing much less than buying new wood, depending on whether you source the pallets for free or buy them.
Building a pallet sign involves skills like carefully dismantling pallets without breaking the wood, sanding the boards well, and assembling the boards straight and tight. The brace boards on the back prevent warping and help the sign stay square. Once the main assembly is complete, you can add your lettering or designs. Variations in the wood size and condition mean each pallet sign is different, so flexibility during assembly matters. A good pallet sign looks sturdy yet maintains its weathered charm without feeling rough or splintery to the touch. Avoid signs that use damaged or rotting wood, which affects durability and the look. Taking time to sand and smooth the planks before assembling usually results in the best outcome.
Tools and Materials Needed for Making a Pallet Sign
Start with pallet wood in good condition, free of chemical treatments and heavy stains. Look for pallets stamped with the IPPC logo, indicating safe heat treatment. Avoid pallets marked “MB,” which means methyl bromide fumigation and can be harmful. For the sign itself, pallet boards around 1/2 inch thick, 3 1/2 inches wide, and about 20 to 26 inches long work well. You’ll want at least 6 to 8 boards to create the sign face, trimmed evenly to the desired length.
For fastening, use 1 3/4 inch wood screws to attach support boards behind the pallet boards. These screws should be long enough to go through the brace and into the pallet wood without poking out. Wood glue can help fill gaps between the boards for a tighter fit and added durability, especially since pallet wood often has natural warping and gaps.
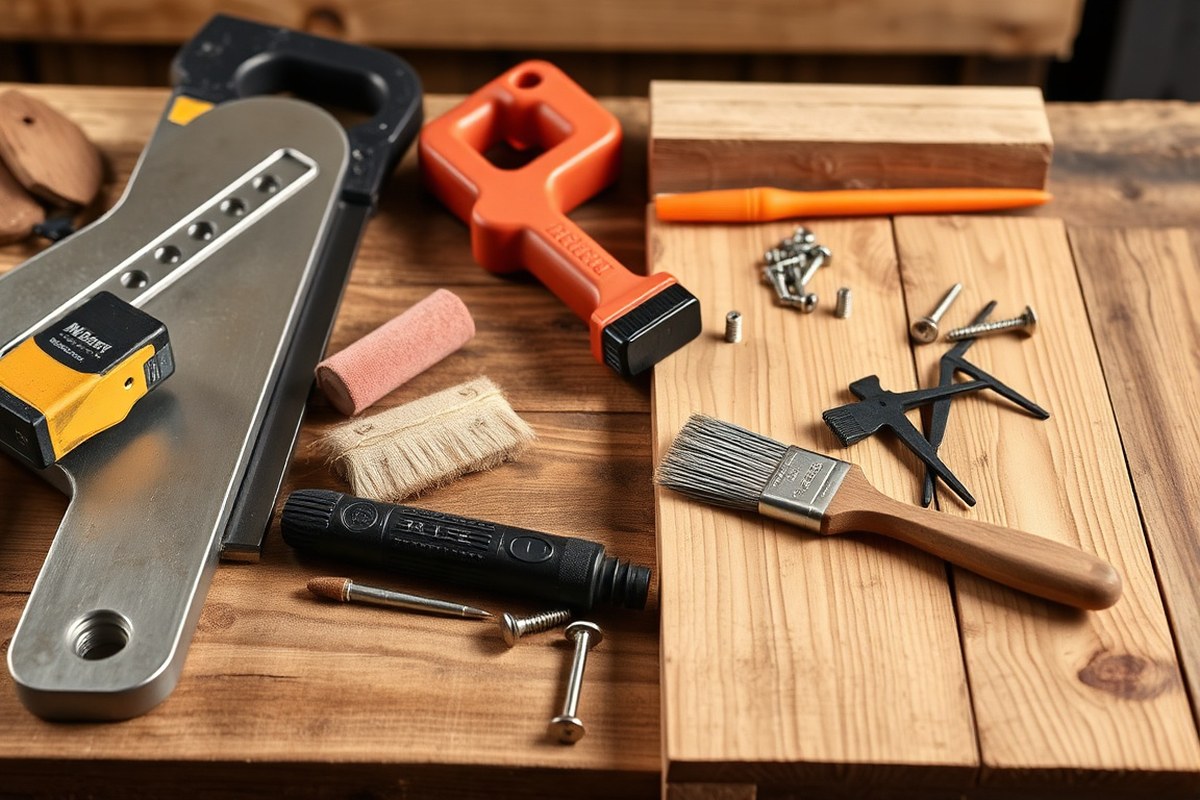
Essential tools for beginners include a miter saw or handsaw for cutting boards to size, a drill or screwdriver for fastening, and clamps to hold pieces steady while assembling. Sanding tools such as a belt or circular sander smooth the rough edges and prepare the surface for lettering and finishing.
- Pallet wood boards (1/2″ thick, ~3 1/2″ wide, cut to 20-26″ long)
- Brace boards for backing (1″ wide strips)
- 1 3/4″ wood screws (around 20 pieces)
- Wood glue
- Miter saw or handsaw
- Drill or screwdriver
- Belt or circular sander
Lettering and graphics often require stencil templates, paint, and brushes or paint markers. You may also want staining supplies such as a staining brush and can of wood stain to protect and deepen the wood’s color. Staining is optional if you like the aged look of the pallet wood. For a protective top coat, use a clear polyurethane or outdoor varnish, which usually comes in spray or brush-on forms.
Always check pallet wood carefully for signs of chemical contamination and structural soundness before using it in woodworking projects.
How to Safely Dismantle and Prepare Pallet Wood
Choosing the right pallet wood and handling it properly is essential for making a durable, attractive sign. Safety matters because some pallets are treated with chemicals or have structural damage. Using specific dismantling techniques helps keep the boards intact, reducing waste and effort. Preparing the wood with proper sanding ensures a smooth surface ideal for painting or staining.
Recognizing Safe and Unsafe Pallets
Not all pallets are safe for DIY projects. Avoid pallets stamped with “MB,” which means they were treated with methyl bromide, a toxic pesticide. Look for pallets marked “HT,” indicating they were heat treated and safer to use. Pallets should also be free from excessive cracks, mold, or visible chemical spills. Score several pallets to find enough usable boards for your sign, as it often takes two or three pallets to get good wood.
Check the pallet’s origin stamp, usually on the side or blocks. Avoid pallets without any markings or those with unknown symbols. Treated or painted pallets might contain harmful substances not suited for indoor projects. Prioritize pallets with light color wood that feels solid rather than soft or crumbling.
Removing Boards with Minimal Damage
Removing the boards carefully extends their life and saves time. Using the right tools and method prevents splitting the wood and makes your boards look better. Before pulling out nails, use a flat pry bar or crowbar, working evenly along the board. Nail pullers with a claw end are helpful for finishing the job. Follow these steps to dismantle pallet boards without damage:
- Place the pallet on a stable surface with boards facing up.
- Insert a pry bar gently between the board and the pallet frame near one end.
- Apply slow, steady pressure to lift the board away from the frame.
- Slide the pry bar a few inches along the next nail and repeat the use process.
- Once the board loosens, remove any remaining nails with a claw hammer or nail puller.
- Set the boards aside in a dry area to prevent warping.
- Repeat the process for all needed boards, selecting those without large cracks or splits.
Proper removal keeps boards usable for signs, especially since pallets may have different nails or fasteners. You might need to cut some boards to length, typically 20 to 26 inches, for uniform sign sizes.
Sanding and Smoothing Pallet Wood
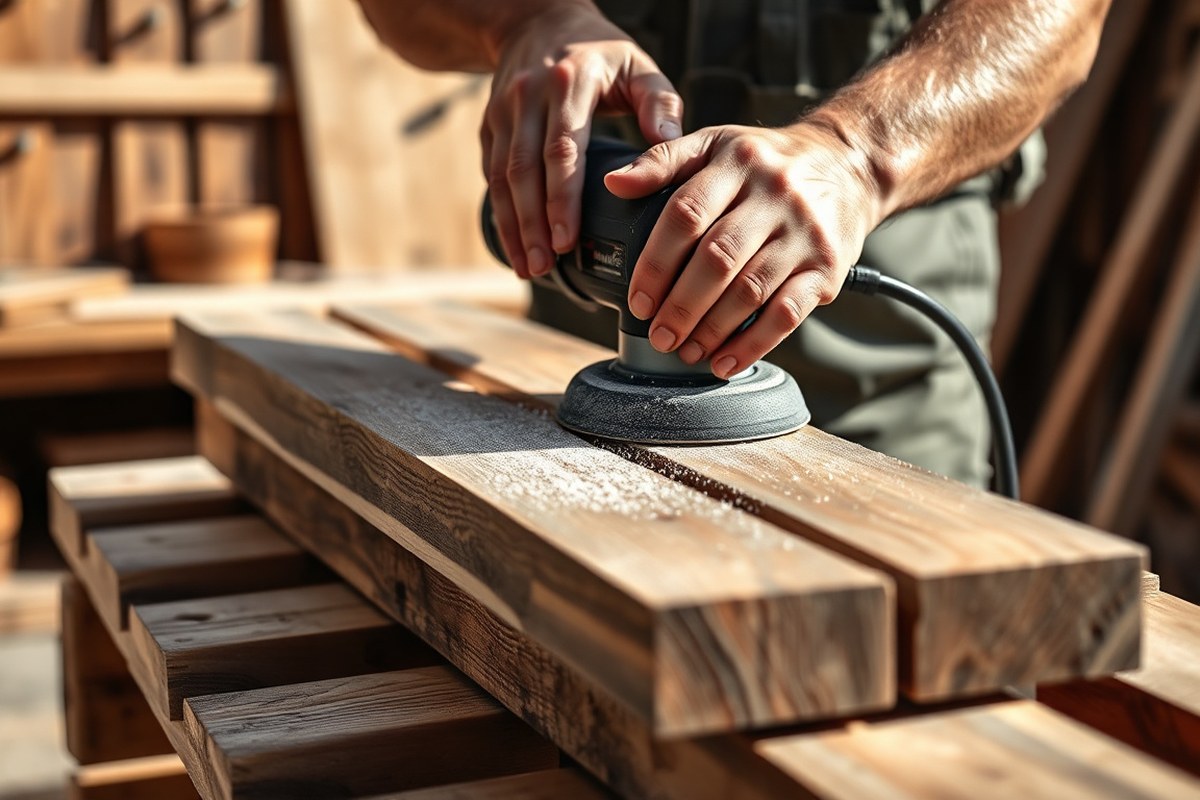
After dismantling, the wood should be sanded to remove rough edges, splinters, and old finishes. Sanding also opens the wood pores, improving stain or paint absorption. Start with coarse-grit sandpaper like 80-grit to smooth rough surfaces, then progress to 120- or 150-grit for a finer finish.
Sand both sides of each board and all edges evenly. Using a handheld orbital sander saves time for larger projects, but sanding blocks are fine for smaller or detailed work. Wipe the boards with a dry cloth to remove sanding dust before assembling or finishing.
Boards that aren’t sanded well may cause splinters and have uneven paint or stain coverage. Taking the time to prepare the wood results in a professional-looking sign and better durability once it’s finished.
Cutting and Assembling the Pallet Boards into a Sign
Cutting and assembling pallet boards into a sign requires careful measuring, precise cutting, and solid joining. Accurate measurements ensure the boards fit together cleanly, while using screws or nails secures the boards effectively. Reinforcing the sign with support braces adds durability and keeps it stable over time.
Measuring and Cutting Boards Precisely
Start by determining the desired width of your sign. Subtract about 2 inches from this length to allow space for the vertical braces that will hold the boards together. Using one board as a guide for your cuts helps maintain consistent lengths. Pallet boards can be irregular, so marking each board based on your template avoids measurement errors.
Remove the boards carefully from the pallet, cutting as close to the ribs where the wood is nailed to prevent damaging the boards. A sharp blade on a circular saw or a reciprocating saw makes cutting easier. For boards attached with old nails, use the reciprocating saw to cut through the nails without damaging the blades. Expect to spend about 10 to 20 minutes cutting and preparing 4 to 6 boards depending on their condition.
Joining Boards Using Screws or Nails
Once the boards are cut to size, lay them side-by-side on a flat surface. The most reliable way to join them is by fastening vertical support boards on the back with 3/4″ flat head screws. Nails can work but screws provide stronger holding power and reduce splitting.
Use two vertical braces, one on each end of the sign. Drive screws every 6 to 8 inches along the braces to attach the pallet boards securely. Pre-drilling screw holes prevents the wood from splitting, especially with older, thinner boards. Expect about 12 to 16 screws total for a small sign around 24 inches wide.
Adding Support Braces for Stability
Reinforcing your pallet sign with support braces is key for long-lasting durability. Cut two vertical braces slightly shorter than the width of your assembled boards, subtract about 2 inches to fit underneath. Align them evenly behind the sign’s width and secure using screws at regular intervals.
If the sign will hang outdoors or be handled frequently, consider adding a third horizontal brace across the back for extra stability. This distributes stress more evenly and minimizes warping over time. Check that all screws are tight and boards are flush to avoid gaps or loose panels before moving on to decorating the sign.
- Measure the total width needed for your pallet sign, then subtract 2 inches for vertical braces.
- Cut two vertical braces to this adjusted length using a circular saw with a sharp blade.
- Remove pallet boards carefully, cutting close to the ribs with a reciprocating saw if nails are present.
- Use one cut board as a guide to mark and cut remaining boards to the same length.
- Lay boards side-by-side on a flat surface in the desired order.
- Place vertical braces on the back edges of the boards and pre-drill screw holes every 6 to 8 inches.
- Attach boards to braces using 3/4″ flat head screws, tightening securely.
- Optionally, add a third horizontal brace for extra support if the sign will face heavy use or outdoor exposure.
Methods for Adding Lettering and Graphics to Pallet Signs
Several effective ways exist to add lettering and graphics to pallet signs, including painting, vinyl lettering, stencils, and graphic transfers. Each method varies in cost, skill level, and the tools required, so choosing the right one depends on your budget, experience, and desired look. Below is a comparison followed by step-by-step guidance on how to apply each technique.
Painting Letters Freehand or with Stencils
Painting offers a classic and customizable approach to lettering on pallet wood. Freehand painting works well for simple designs or if you have steady brush control, but it requires some practice to avoid uneven lines. Using stencils provides cleaner edges and consistent fonts, making it a beginner-friendly option.
To paint freehand, start by sketching your design lightly with a pencil. Use paint brushes sized appropriately for the letter thickness, typically a 1/2-inch flat brush works for medium-sized letters. Apply acrylic or outdoor paint, making two thin coats for durability. Let each coat dry for about 30 minutes before the next. If you prefer stencils, secure the stencil with painter’s tape against the wood, then dab paint with a stencil brush or sponge. Remove the stencil carefully before the paint dries for sharp edges.
This method costs around $5 to $15 for paint and brushes, with stencils ranging from homemade cutouts to $10-$20 commercially available sets. Painting allows creativity but may show brush strokes or minor imperfections depending on wood texture and technique.
Applying Vinyl Lettering and Transfer Paper
Vinyl lettering provides a smooth, professional look and is popular for creating crisp text or detailed graphics. Making vinyl signs requires either purchasing pre-cut vinyl decals or using a cutting machine like a Silhouette or Cricut. Transfer paper helps transfer the letters or designs from the vinyl backing to the pallet sign correctly.
To apply, first plan your layout and direction carefully to ensure the sign faces the right way. Place a strip of masking tape along the top edge of the vinyl design to create a hinge. Align the design on your pallet surface, then fold it back and peel off the vinyl backing. Using the transfer paper, press the vinyl down firmly with a scraper tool or credit card to avoid bubbles. Slowly peel the transfer paper at a 90-degree angle, pressing down any areas that lift before continuing.
Copper vinyl material sets typically cost $10 to $30 depending on size, plus the initial investment of $200 to $300 if buying a cutting machine. Contact paper or shelf liner can be used as a low-cost substitute for adhesive stencils; they create a semi-permanent stencil when cut carefully.
Test your transfer paper on scrap wood first to ensure the lines and adhesive meet your expectations before applying to your pallet sign.
Using Graphic Transfer Techniques
Graphic transfer methods let you imprint detailed images or lettering onto pallet wood without specialized machines. One common technique uses graphite transfer paper placed between a printed design and the pallet surface. Tracing over the design transfers a graphite outline onto the wood, which you then paint or fill in.
Set your printed graphic face up and slide graphite paper underneath. Tape the pallet piece securely. Use a pencil or stylus to trace all the letters or graphics thoroughly. Remove the papers to reveal the outline. Carefully paint inside these lines with your chosen color, letting it dry completely.
This method is inexpensive (graphite transfer paper costs about $5) and great for detailed or custom designs, but results can vary depending on how smooth and light the wood surface is. Rough or uneven pallet wood may cause breaks in the lines, requiring touch-ups.
Finishing, Staining, and Protecting Your Pallet Sign
Finishing your pallet sign properly protects the wood, improve its appearance, and extends its life. Choosing between paint, stain, or sealant depends on the look you want and whether the sign will be used indoors or outdoors.
Stain is a popular choice because it soaks into the wood, highlighting the grain while adding color. For a natural, rustic look, use a semi-transparent wood stain. Apply it with a brush or rag, working along the wood grain. Let the stain penetrate for about 5 to 15 minutes, then wipe off excess with a clean cloth. This prevents blotching, giving an even finish. One coat usually costs $10 to $20 for enough product to stain a small sign. Allow at least 24 hours for drying before adding a protective topcoat.
Paint covers the wood surface fully, allowing for vibrant colours or a solid, opaque background. Use latex or acrylic paint for easier cleanup and lower toxicity, especially indoors. Applying a primer before paint improves adhesion and durability. Paint generally requires 1 to 2 coats, applied with a brush or foam roller. It can cost $15 to $25 per quart and dries in 1 to 2 hours. Be sure to let it cure for several days for best adherence, especially before sealing.
Sealants are essential to protect the wood, especially if the pallet sign will be outdoors and exposed to weather. Polyurethane or spar urethane provide durable clear coats that resist water, UV rays, and wear. Spar urethane is designed for outdoor use and remains flexible to prevent cracking. Apply thin coats with a synthetic brush, allowing 4 to 6 hours drying time between coats, and apply at least two coats. Expect to pay about $15 to $30 per quart depending on brand and quality. For lasting outdoor use, keep the following tips in mind:
- Start with clean, dry pallet wood to avoid trapping moisture or dirt under finishes.
- Lightly sand the wood before applying any stain or paint for better adhesion.
- Use exterior-grade stains and sealants resistant to fading and mildew.
- Apply multiple thin coats rather than a single thick coat to prevent peeling and running.
- Seal edges and the back of the sign as well to prevent warping and water damage.
- Place the sign in a spot with some shelter if possible to reduce direct exposure to rain and sun.
- Reapply protective finish every 1 to 2 years to maintain durability.
Proper finishing balances aesthetics with protection. Staining shows the wood’s natural character, painting allows for bold designs, and sealants guard against the elements. Taking time to prepare and apply finishes carefully results in a beautiful sign that lasts years without cracking, fading, or rotting.
Estimating Time, Cost, and Effort for Pallet Sign Projects
Making a pallet sign usually takes under an hour from start to finish for a straightforward design. Dismantling the pallet often takes the longest, about 15 to 20 minutes, especially if you remove nails carefully to avoid splitting the wood. Cutting, assembling, and adding lettering or graphics can take another 15 to 25 minutes depending on your method and skill level. More complex designs or larger signs naturally extend the timeline.
Costs vary mainly based on whether you use reclaimed pallet wood or buy new boards. Tools you likely need, such as a hammer, saw, and paintbrushes, might already be in your workshop, which helps keep expenses down. Pallets can often be found for free through local recycling groups or online Freecycle communities, significantly lowering costs. However, purchasing new wood costs about $2.50 per board measuring 1.5″ by 10′ by 1.5″, so factoring in more boards or stain could raise your budget.
| Task | Typical Time | Cost Factors |
|---|---|---|
| Dismantle pallet | 15-20 minutes | Free pallet or low cost |
| Cut and assemble | 10-15 minutes | Existing tools or buy basic saw ($20+) |
| Add lettering/graphics | 10-15 minutes | Paint, stencils, or markers ($5-$20) |
| Finishing (optional) | 5-10 minutes (plus drying time) | Stain or sealant ($5-$15) |
To save time, consider buying pre-cut boards or limiting decoration complexity. Using supplies you already have, like leftover paint or scrap wood, reduces cost and speeds up the process. Also, opt for simple lettering methods such as stencils or paint markers rather than hand-painting designs.
Planning your project timeline by allotting 30 to 60 minutes ensures you won’t rush and can troubleshoot issues like uneven boards or nail removal. Budgeting about $15 to $40 covers most basic materials and finishing supplies unless you decide to buy specialty paints or wood types. Look for free pallets and reuse scraps to stretch your dollar further.
Common Mistakes with Pallet Signs and How to Fix Them
Common pitfalls during the making of pallet signs often come from improper wood preparation, mistakes in lettering, and finishing errors. One frequent issue is splintering when cutting or assembling boards. This usually happens without drilling pilot holes first. To prevent this, drilling small pilot holes before screwing boards together reduces wood stress and keeps the pallet boards intact. Skipping this step risks splits that weaken your sign and show on the finished piece.
Lettering mistakes are another challenge, especially for beginners. Uneven or shaky letters result from rushing or using inadequate stencils. Take time to secure your stencil flat on the wood and use a steady hand with paint or marker tools. If you see paint bleeding outside the edges, try applying thinner layers of paint, allowing each to dry before layering again. Correcting uneven letters often involves sanding the paint off gently and repainting only the areas needed.
Finishing problems such as blotchy staining or poor sealer adhesion often come from not fully cleaning or sanding the pallet wood beforehand. Always sand the surface smooth and clean it from dust and debris. Use a tack cloth or vacuum to remove fine particles to ensure stain or sealer spreads evenly. Choosing a sealer compatible with your stain type also matters; oil-based stains need oil-based sealers, for example.
- Drill pilot holes before screwing boards to prevent splitting
- Secure your stencil tightly to avoid uneven lettering
- Apply paint in thin layers to prevent bleeding
- Sand and clean wood thoroughly before staining or sealing
- Use sealers that match your stain’s base (oil or water-based)
- Fix lettering errors by sanding and repainting gently
- Test finishes on a scrap piece before applying to your sign
Some mistakes might not be easy to fix. For example, deep splits in the wood can compromise the entire structure. In these cases, replacing the damaged board is often better than trying to patch it. Similarly, if your lettering efforts leave the design too uneven or smudged after multiple corrections, you might consider starting over with a fresh pallet surface to avoid a sloppy look. When in doubt about structural damage or complex designs, consulting a professional woodworker ensures safety and quality, especially for signs expected to last outdoors or hold weight.
Always test paint and finish on a scrap piece first to avoid costly mistakes on your main pallet sign.
Step-by-Step Action Plan
Follow these clear steps to create your pallet sign from start to finish. Each step helps you stay on track and check your progress.
- Before you start: Gather all tools and materials listed for pallet signs, checking for safety gear like gloves and eye protection so you’re ready to begin safely.
- Day 1: Carefully dismantle pallet wood, removing nails and cleaning the boards; you’ll know this worked if the boards are smooth and free of debris.
- Day 2: Cut and arrange the pallet boards to your desired size and shape, confirming fit by dry assembling them before gluing or screwing.
- Day 3: Attach boards securely using wood glue and screws or nails; the sign should feel sturdy and hold together without gaps.
- Day 4: Apply your chosen lettering or graphics using paint or vinyl, checking for neat lines and clarity after drying.
- Day 5: Finish with a protective stain or sealant to guard against weather and wear; the finish should look even and dry fully.
- After 1 week: Inspect your sign for any rough spots or gaps, sanding or touching up paint as needed for a polished look.
Frequently Asked Questions
How to Make a Pallet Sign?
Start by cutting pallet boards to your desired size, then assemble them using wood glue and nails. Sand the boards smooth before adding your chosen lettering or graphics.
What Type of Wood Glue Works Best for Pallet Signs?
Use a strong, exterior-grade wood glue for durability, especially if your sign will be outdoors. This helps the boards stay together securely over time.
Can I Use a Stencil for Painting on a Pallet Sign?
Yes, stencils help create clean, consistent letters or shapes and are perfect for beginners wanting precise designs.
Do I Need to Seal or Finish My Pallet Sign?
Sealing with a weather-resistant finish protects the sign from moisture and fading, especially outdoors. Use a clear exterior polyurethane or wood sealer.
How Do I Safely Dismantle a Pallet for Sign Making?
Use a pry bar and hammer carefully to avoid splitting the wood, then sand off nails or debris. Work slowly to keep the boards intact.
What Is a Simple Way to Attach Backing Boards to My Pallet Sign?
Cut smaller planks slightly shorter than the sign height, glue and nail them across the back to stabilize the assembled boards effectively.
Before You Go
Making a pallet sign from scratch lets you create a personalized home or garden display with your own hands. Start gathering your pallet wood and tools today, and focus on one step at a time. That first sign will build your confidence for even more creative projects ahead.