How to Make a Neon Sign: A Complete Guide with DIY Steps and Tips
How to make a neon sign starts with choosing LED flex strips for a safer and more affordable option than traditional glass neon. With LED strips, you can bend and cut easily to form your custom design, saving time and money. Begin by preparing a clear design to guide your bending and wiring steps efficiently.
Key Takeaways
- Use flexible LED neon strips to simplify bending and shaping your custom sign compared to fragile glass tubes.
- Start by creating a vector design file to ensure accurate cutting and proper letter sizing in your neon sign.
- Choose letter heights of at least 3-4 inches for simple fonts, or 4-5 inches for cursive to maximize readability.
- Plan for a total project time of 3-6 hours for a simple word or phrase if it’s your first neon sign build.
- Purchase quality LED neon flex that lasts 30,000 to 50,000 hours for long-term use exceeding 10 years.
- Connect your LED strip ends to a 12V transformer-LED adapter to safely power the sign at home.
How to Create a DIY Neon Sign Using LED Flex Strips
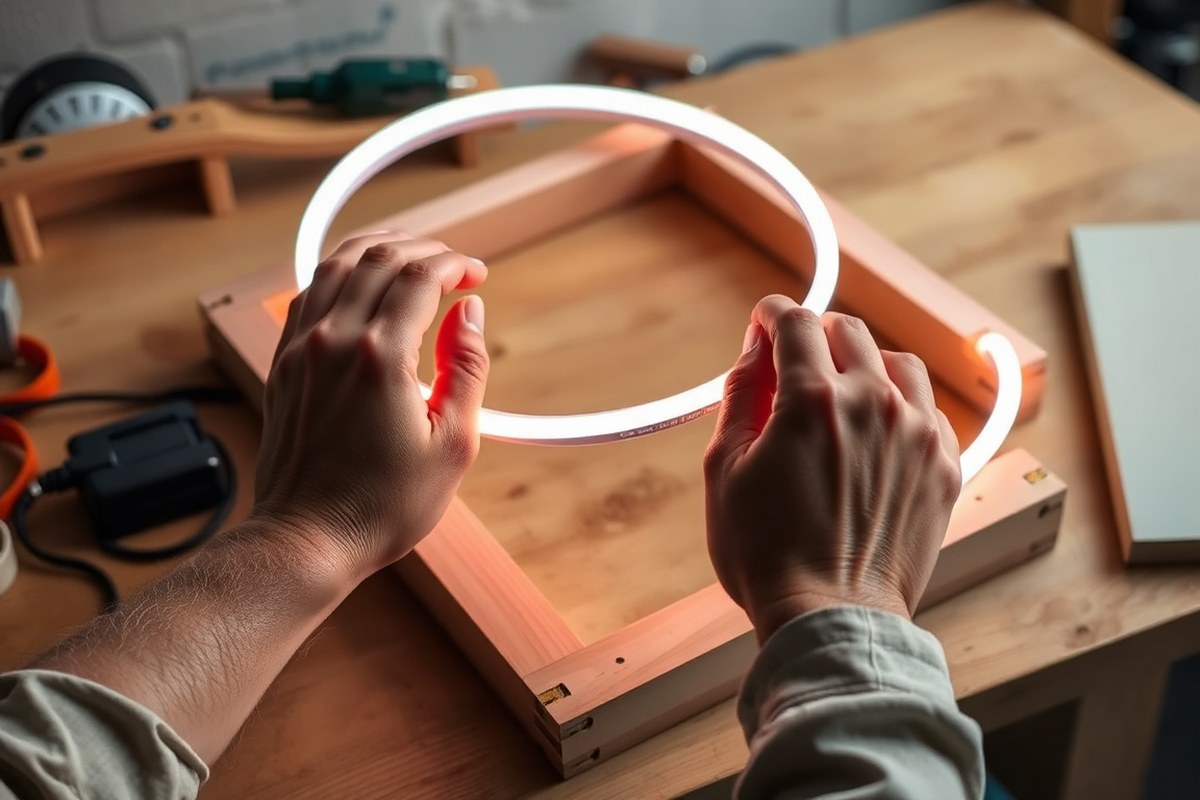
Creating your own neon sign with LED flex strips is straightforward and affordable. The main steps involve transferring your design to a backing board, cutting and shaping the LED strips to match it, mounting the strips securely, and connecting them to a proper 12V power supply. Each phase requires specific tools like scissors or a utility knife, wire strippers, mounting clips or glue, and connectors for wiring. Good preparation and careful handling during cutting and bending prevent damage to the strips and ensure your sign lights up evenly.
- Transfer your design onto the backing board. Use your printed or drawn design as a template by laying it on the board and tracing it with a pencil or marker. This outline guides where to place and bend the LED neon flex strips. Accurate tracing helps maintain your design’s shape and size.
- Cut the LED neon flex at marked cut points. Locate the designated cut marks on your LED strip, cut only at these points using sharp scissors or a craft knife. Cutting anywhere else can damage the circuitry. Measure each segment carefully to fit the curves and angles of your design while minimizing waste.
- Bend and shape the LED strips along your outline. Gently flex the strips by hand to follow your traced design on the backing board. Avoid sharp bends to prevent damaging the internal LEDs. If needed, secure curves with mounting clips or clear adhesive designed for electronics, keeping the strip flat against the board.
- Attach the LED strips to the backing using mounting clips or glue. Space the clips every few inches for a stable hold, or apply small dots of clear glue at intervals. Avoid excessive glue that might damage the strip or board. Test that the strip sits flush without gaps or lifting, which helps create a clean, professional look.
- Connect the LED strip to the power supply. Using wire strippers, expose the ends of your LED strip wires and connect them with wire connectors or by soldering to extension wires if needed. Verify your LED strip is 12V and use a compatible 12V DC transformer. Attach positive and negative wires properly, following polarity to avoid lighting issues.
- Test your neon sign before final assembly. Plug in the power adapter to light the strips and check for even illumination and any flickering. Fix loose connections or reposition strips as needed. This step ensures your sign works reliably once fully mounted on the wall or display.
Tools required across these steps include scissors or a craft knife, wire strippers, mounting clips or clear adhesive, wire connectors or a soldering kit, and a 12V power adapter. LED neon flex strips generally cost between £10 and £30 for 2 to 5 meters, while backing boards and power adapters add about £5 to £15 each. Following these steps closely helps you avoid common issues like broken strips or poor wiring and produces a vibrant, professional-quality DIY neon sign.
Materials and Tools Needed for a Neon Sign Project
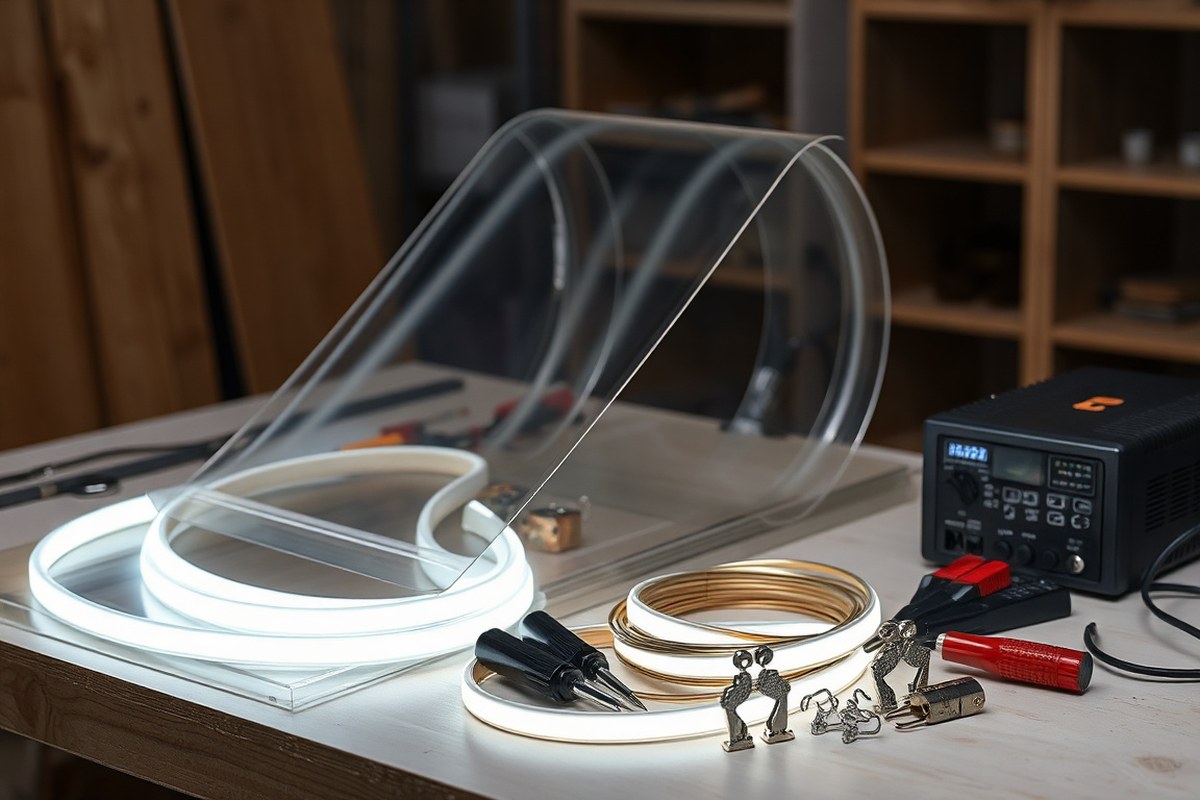
Creating a custom neon sign requires gathering the right materials and tools to suit the type of neon you want: LED neon flex or traditional glass neon. For LED neon, commonly used flex strips measure about 6x12mm, balancing flexibility and brightness. The standard operating voltage is typically 12 to 24 volts, which suits most DIY power adapters and ensures safe, low-voltage operation. This size and voltage range allow you to bend the strips into shapes without damaging the lights while delivering strong illumination on common backing materials.
Backing choice affects both aesthetics and durability. Acrylic sheets and wood panels are popular options. Acrylic provides a smooth, glossy finish that improve the glow and is easy to clean. Wood adds warmth and texture but might absorb light more, softening the neon effect. Ensure your backing is sturdy enough to hold the sign and drill small holes to route the wiring discreetly behind it.
Traditional glass neon signs demand specialized materials, including neon tubing, gas fills, electrodes, and transformers rated for high voltages (often 3,000 volts or more). These are less beginner-friendly and typically require professional tools such as glass benders and gas pumps, making the upfront investment significantly higher both in cost (hundreds of dollars) and skill level.
- LED neon flex strips (6x12mm, 12-24V)
- Acrylic or wood panel for backing
- Low-voltage LED power adapter matching strip voltage
- Thin gauge electrical wire and wire connectors
- Template or stencil for sign design
- Drill with small bits for wiring holes
- Wire cutters, strippers, and scissors
For cutting and wiring LED neon strips, basic hand tools suffice. Wire cutters and strippers pitch in for clean electrical connections, while scissors trim the LED strips at designated marks. Drills with small bits allow precise holes for routing wires through the backing, keeping the front surface clean. Advanced crafters may add heat guns for shaping flexible tubing covers or soldering irons for stronger wire connections.
| Power Supply Type | Voltage | Application | Notes |
|---|---|---|---|
| Standard LED Adapter | 12V or 24V DC | Indoor LED flex signs | Common, affordable, safe for beginners |
| Waterproof LED Driver | 12V or 24V DC | Outdoor LED flex signs | Weather-resistant, required for exterior use |
| Neon Transformer | 3,000+ V AC | Traditional glass neon | Professional handling required, high voltage risks |
Always match your power supply voltage and current rating exactly to the LED strips or neon tubing to avoid damage or safety hazards.
Collecting all materials and tools before starting helps prevent interruptions and mistakes during assembly. Choosing components suited to your sign’s environment, size, and desired brightness ensures a smooth building process and a durable final product. Using easier-to-handle LED neon flex lets you safely experiment and create complex shapes without specialized glassworking skills or high-voltage risks.
Differences Between LED Neon and Traditional Glass Neon Signs
LED neon signs and traditional glass neon signs differ significantly in cost, safety, lifespan, and ease of making. LED signs are more affordable, safer for beginners, and easier to create at home, whereas glass neon requires specialised skills and breaks more easily. Both have their distinct uses depending on your project’s needs.
Cost Differences and Lifespan
The cost gap between LED neon and glass neon signs is quite large. LED neon tubes and power supplies cost much less than glass tubes and transformers. Labor also takes considerably less time with LED, thanks to its simpler installation process. In terms of lifespan, LED neon lasts about 30,000 or more hours, which often translates to many years with regular use. Glass neon signs can last 8 to 15 years if properly cared for but require more maintenance.
| Material | Glass Neon Cost | LED Neon Cost |
|---|---|---|
| Tubes | $50, $200 | $20, $80 |
| Transformer or Power Supply | $60+ | $15, $30 |
| Labor Time | 8, 12 hours | 2, 4 hours |
Choosing LED neon saves you roughly 70% on costs and reduces the time spent making the sign by more than half. For budget-friendly projects or shorter-term use, LED is a smart choice. Glass neon may appeal if you want authentic vintage style with long-term durability but requires more investment.
Safety and Complexity
LED neon signs are safer and easier for beginners to work with. They use low-voltage LEDs inside flexible plastic tubing, which won’t shatter or require bending hot glass. Glass neon tubing involves working with fragile tubes filled with gases under high voltage and often needs expert bending and sealing skills. These factors increase risks and complexity.
The weight difference also matters. LED signs use lightweight materials that are simple to hang or move around. Traditional neon glass signs can be heavy and fragile, making installation tricky without professional help. If you’re starting your first neon sign project, LED neon reduces risks substantially while still offering great visual appeal.
Visual and Functional Comparisons
Both neon types produce vibrant color, but LED neon offers more flexibility in shaping and cutting. LED flex strips bend smoothly to create custom curves and designs without breaking or needing reheating. This flexibility is beneficial for detailed or intricate signs and home décor projects. Proper cutting and handling of LED strips are essential to avoid mistakes that could shorten their lifespan.
Glass neon provides a distinctive glow that some consider more authentic and deeper in color due to the gas discharge inside the tubes. However, it consumes more power and requires a transformer. LED neon uses less energy and runs cooler, making it more energy-efficient and safer for indoor use. LED neon is great for creative personal projects, small business signs, or gifting, while glass neon often serves in commercial or classic vintage applications where durability and style are key.
Designing Your Neon Sign for Best Results
Creating a neon sign design that fits your space and looks great requires careful attention to size, font choice, and design accuracy. Planning your layout using the right software makes it easier to visualize your sign at its actual size and avoid costly errors during production. Selecting suitable fonts and the correct thickness for the LED tubing ensures smooth bends and clear readability.
Recommended Design Software
Using design software for neon signs helps you draw accurate shapes and scale your design precisely to your desired dimensions. Beginners should start with simple, user-friendly programs that support vector graphics, which LED neon tubing follows well. Popular options include Canva for basic sign layouts, Inkscape for free vector design, and Adobe Illustrator for more advanced features.
These tools let you create or import a vector file (often in CDR, SVG, or AI format) that your LED tubing can replicate exactly. Vector files keep lines smooth and clean when resized, so you can design your sign at actual dimensions without losing quality or precision.
Most of these programs have features such as grid snapping, guides, and measurement tools to help you keep your design proportional and aligned. Before finalizing your design, export a full-scale printout or use on-screen rulers to check that elements and text fit the intended installation space.
Font and Size Guidelines
Choosing the right font affects how the LED tubing bends and how readable your sign will be. Script fonts with smooth, flowing curves work best for continuous tubing, avoiding sharp angles that can be hard to replicate. Simple sans-serif or rounded fonts also perform well if you prefer a cleaner look.
The thickness of LED neon tubing typically ranges from 8mm to 10mm. You should select fonts and letter thicknesses that match or slightly exceed this tubing diameter to prevent weak-looking or fragile bends. For example, aim for letter strokes at least 10mm wide to accommodate the tubing comfortably.
Sign size depends on the display area and intended viewing distance. For indoor home décor, signs usually range from 12 to 24 inches wide, with letter heights between 4 and 8 inches. Larger signs up to several feet wide work better for events or parties. Consider if the sign will be wall-mounted or freestanding, and measure your space carefully before designing.
Pre-Production Planning Tips
Careful planning before building your sign prevents costly mistakes and ensures the finished piece meets your expectations. Start by sketching your design on paper or digitally to work out layout and spacing. Double-check measurements against your wall or display area. Before cutting or assembling expensive LED tubing, create a clear checklist to finalize your design:
- Verify all font and size choices with a printed mockup or template
- Confirm sign dimensions match your available space exactly
- Ensure color choices align with your décor or theme
- Check that continuous curves are free of sharp, difficult bends
- Review electrical component placements for neat wiring and power supply access
- Plan mounting points and hardware based on sign weight and surface
- Save your design file in compatible vector formats for future edits or professional help
Following this checklist ensures your design is accurate and practical, minimizing adjustments during assembly and creating a smooth DIY experience.
Wiring, Power Supply, and Electrical Safety Tips
Choosing the right power supply and wiring your LED neon flex correctly ensures your custom sign works safely and lasts as long as possible. LED neon flex typically requires a 12V or 24V transformer, depending on the strip’s specifications. Using a power supply with insufficient current capacity can cause dimming or flickering, while excessive voltage risks damaging the LEDs. Always verify your neon flex’s voltage rating before buying a power adapter.
Wiring is straightforward but must be done with care. Beginners should use low-voltage wiring methods with insulated connectors or solder joints covered by heat shrink tubing for safety. Avoid twisting wires without securing them, as loose connections often cause flickering or partial lighting. Test all connections on a temporary setup before permanently mounting the sign. This step saves time and frustration by revealing issues like wrong polarity or poor contacts early. Here’s a step-by-step wiring and power supply connection guide for your LED neon sign:
- Cut a length of wire suitable to reach your power source, allowing extra length for flexibility during installation.
- Strip about 1/4 inch of insulation from each wire end and twist the strands tightly.
- Attach wires to the LED neon flex terminals or connectors, ensuring correct polarity (positive to positive, negative to negative).
- Solder the wire connections if possible for a strong electrical bond, then cover with heat shrink tubing to insulate.
- Connect the other end of the wires to the corresponding terminals on the low-voltage power supply.
- Secure all wiring with mounting clips to prevent movement or pinching of wires that can cause shorts or damage.
- Plug in the power supply, switch it on, and check that the sign lights evenly without flickering or dim spots.
- If everything works, mount your neon flex sign permanently, confirming no wires are strained or exposed.
| Problem | Likely Cause | Solution |
|---|---|---|
| Sign doesn’t light | Wrong polarity | Swap + and, connections |
| Partial lighting | Cut between marks or damaged segment | Replace the affected section |
| Dim section | Poor connection | Re-solder or reconnect wires |
| Flickering | Loose wire | Secure wire and connections |
| Hot spots | Pinched neon flex | Relax bends and check for damage |
Always use a power supply with the correct voltage rating and capacity for your LED neon flex, and double-check polarity before powering the sign to avoid damage and safety hazards.
Common Mistakes and How to Fix Them When Making Neon Signs
Flickering or uneven brightness in your neon sign often comes from poor wiring connections or faulty power supplies. To fix this, recheck all wire joints and ensure connectors are fully seated. Using a multimeter can help identify weak connections. Replacing cheap or incompatible power adapters with a regulated 12V or 24V power supply suited for your LED flex length usually solves brightness issues.
Damaging the LED flex while bending typically happens when you bend the strip too sharply or twist it. LED flex strips have a minimum bend radius, usually about 1 inch (25 mm). Avoid pinching or folding the strip. When shaping letters or curves, use gentle curves rather than sharp angles. To prevent damage, always bend along the strip’s length and keep it flat on the surface you’re working on.
Poor wire connections often result from stripped insulation, loose terminals, or using the wrong wire gauge. Carefully remove just enough insulation to reveal the conductor, avoiding damage, then twist wire strands before inserting into connectors or soldering. Wire gauges from 18 to 22 AWG are ideal for LED neon projects. Secure connections with heat shrink tubing or electrical tape to keep them tight.
- Cutting the strip too short or unevenly, measure twice, cut once using the marks on the LED flex strip
- Not using the right power supply, match voltage and current needs based on strip length
- Skipping waterproofing on outdoor signs, seal connections with silicone or waterproof heat shrink
- Mounting on uneven or dirty surfaces, clean and level mounting area for smooth adhesion
- Ignoring manufacturer instructions on bend radius and cut points, refer to the product’s datasheet
- Using excessive glue or tape, use only recommended adhesives to avoid residue or damage
- Failing to test wiring before final mounting, always verify electrical connections with a test run
Measuring accurately before cutting reduces waste and prevents mismatched parts. Use a ruler or tape measure aligned with the printed cut lines on your LED strips, marking clearly with a fine-tip permanent marker. When mounting, clean the surface thoroughly using alcohol wipes and let it dry to ensure the adhesive sticks well. For uneven walls, consider using mounting clips spaced every 4 to 6 inches (10 to 15 cm) for extra support.
Quick fixes for electrical or mounting problems include replacing connectors with soldered joints for a stronger connection and adding zip ties or cable clips to keep wires neatly arranged. A section of the strip that fails to light calls for checking for damage, so replace only the broken segment rather than the whole strip. These practical steps cut down on troubleshooting time and improve the durability of your sign.
Advanced Techniques to Customize Your Neon Sign
Customizing your neon sign with multiple colors, dimmer controls, and 3D effects improve its visual appeal and functionality. You can achieve professional-looking results at home with the right materials and techniques. Using multi-channel LED controllers, dimmer switches, and layered acrylic mounts will give your sign a unique and polished look.
Multi-Color and Animated Sign Options
Multi-color neon signs use LED flex strips or tubes that allow color changes through a wiring system connected to a controller. RGB LED strips are common for this purpose, enabling you to switch between colors or create smooth color transitions. To wire these, you’ll need an RGB controller connected to a compatible power supply, with separate leads for red, green, and blue channels.
Animated signs require a programmable controller that cycles through colors or effects like flashing and fading. These controllers often come with a remote or app for easy customization. Wiring involves connecting the LED strips in parallel to the controller, ensuring each section corresponds to its color channel. Using addressable LED strips lets you control segments individually but requires more advanced programming skills.
Typical costs for RGB LED kits and controllers range from $30 to $80 depending on quality and feature set. Look for models with clear wiring diagrams and support materials, especially those designed for neon-style strips. Avoid overloading the power supply by calculating the total wattage (typically about 4-7 watts per foot of LED strip) and choosing a supply with 20% more capacity.
Installing Dimmers and Switches
Adding a dimmer or remote switch is an effective way to control your sign’s brightness and power without rewiring or unplugging. Simple inline dimmer switches compatible with LED strips cost between $10 and $25. These dimmers connect between the power supply and LED strip, using either rotary knobs or buttons for adjustment.
For more convenience, wireless remote controls or smartphone apps paired with smart LED drivers offer programmable brightness levels and on/off scheduling. Installation requires matching the dimmer or smart driver voltage to your LED system (usually 12V or 24V DC) and ensuring the dimmer supports LED loads.
To add a switch manually, cut the positive lead from the power supply to the LED strip and connect both ends to a switch rated for your current (often 2-5A). Testing before securing connections helps avoid short circuits. Using no-solder connectors designed for LED strips simplifies this by snapping onto the cut ends without damaging the LEDs.
Creating 3D Layered Effects
Layering clear acrylic sheets behind your LED neon tubes creates depth and a 3D effect that makes the sign stand out. Cut acrylic in your sign’s shape or characters using a laser cutter or scoring tool. Use standoff screws or spacers to separate layers by about ½ inch to 1 inch, adding shadow and dimension.
Stacking multiple acrylic layers painted or frosted on the back can simulate neon glow shadows and reflections. Mounting the LED strips on the front layer, with the illuminated shapes on the top acrylic, maximizes light diffusion. Ensure proper alignment by marking exact screw hole positions before assembly.
Using no-solder connectors on LED strips allows sorting different sections on separate acrylic panels, which you can then attach together with clear adhesive or brackets. Common acrylic thicknesses for neon signs range from ⅛ inch to ¼ inch, balancing durability and light transmission.
- Use RGB LED strips with a programmable controller for easy multicolor effects
- Choose dimmers compatible with your LED power requirements to avoid flicker
- Install inline or wireless dimmers to adjust brightness remotely
- Cut positive leads and insert inline switches to turn signs on/off simply
- Layer acrylic sheets spaced ½, 1 inch apart with standoffs for 3D depth
- Use no-solder snap connectors to simplify wiring and edits
- Test connections before final assembly to avoid wiring mistakes
Adding these advanced features takes your neon sign beyond basic lighting. This customization fits well with home bar signs, decorative accents, or personal gifts, offering flexibility without professional tools or excessive cost.
When to Hire a Professional Instead of DIY
Projects involving traditional glass neon signs are often too complex and risky for most DIY enthusiasts. These signs use glass tubes filled with electrified noble gases and require precise bending, handling of delicate materials, and high-voltage electrical work. Without proper training in glasswork and electrical safety, attempting to create or install these signs can lead to shattered glass, electrical shocks, or faulty wiring. High-voltage systems require specialized knowledge to ensure they function safely and reliably. Because of these factors, hiring a professional neon sign maker is strongly recommended for any glass neon project, especially those with complex or custom designs.
When evaluating whether to hire a pro, consider the tradeoffs between cost, time, and the final quality. DIY LED neon signs generally cost between $35 and $95 in materials, take 3 to 6 hours to complete, and offer full control over simple designs. The results can be satisfying but may vary depending on your skill level. Professional custom glass neon signs typically start around $130 and can go upward of $400 or more, with turnaround times from one to two weeks. Pros deliver consistent factory-quality finishes, and their work usually comes with a warranty of one to two years. This can justify the higher upfront cost if you want a reliable, polished sign without the risk of mistakes that may require costly rework.
Complex designs, those requiring precise glass bending, or large installations are clear candidates for professional services. Even if your budget is tight, the risk of damage to materials or dangerous electrical issues often outweighs the cost savings of going solo. For LED neon signs or basic no-soldering projects using flexible LED strips, you can safely enjoy a DIY approach at a fraction of the cost and time.
To decide, evaluate your project’s complexity. If your design involves intricate shapes, glass tubes, or high voltages, call a licensed neon sign maker. When contacting a professional, ask about their previous work, request references, and confirm they provide a warranty. Reliable neon sign makers will explain the entire process, including delivery times and maintenance recommendations. Price estimates should include design, materials, and installation. Avoid professionals who can’t offer clear details or who refuse to show examples of their past projects.
Never attempt to bend or fill glass neon tubes without proper training; glass tubing can reach temperatures of over 1,400°F when heated, posing severe burn and inhalation hazards.
Step-by-Step Action Plan for Your DIY Neon Sign
Follow this plan to create your custom neon sign with LED flex strips safely and effectively.
- Before you start: Gather all necessary materials and tools outlined in your design plan, including LED flex strips, backing board, power supply, and mounting hardware. Confirm you have the right tools to work precisely.
- Day 1: Finalize your neon sign design on paper or a design app, ensuring sizing fits your intended display area. This step is done when your design matches your vision and measurements.
- Day 2: Cut and shape your LED flex strips according to the design while carefully testing each strip with the power supply for consistent lighting. Successful testing means all LEDs light evenly with no flicker.
- Day 3: Secure the LED strips to your backing using clips or clear adhesive, following your planned layout. Check each section stays firmly attached without damaging the strips.
- Day 4: Wire the LED strips to the power supply, double-checking connections and polarity. Use a multimeter to confirm proper voltage and current before plugging in.
- Day 5: Mount your finished neon sign on the wall or stand, using anchors appropriate for the surface. Your sign should stay stable and display as designed.
- After installation: Watch for any flickering, dim areas, or overheating. If problems appear, revisit wiring and connections or consult an electrician.
Frequently Asked Questions
How Long Does It Usually Take to Make a Neon Sign by Hand?
Handmade neon signs generally take 1 to 3 days to produce, depending on the design’s complexity, plus 2 to 3 weeks for delivery. Planning your design carefully helps avoid delays in production.
Can I Create a Neon Sign Without Any Prior Crafting Experience?
Yes, beginners can make neon signs at home with proper planning and simple designs. Starting with a basic design improves your chances of success and learning.
What Should I Do If Parts of My Neon Sign Don’t Light Up?
Check for wiring issues like wrong polarity or loose connections. Testing every connection before final mounting helps prevent lighting problems like flickering or dim sections.
Are There Cost Benefits to Making My Own Neon Sign Compared to Buying One?
DIY neon signs save money and allow personal customization, while professional signs typically cost £100 to £300. Making your own also adds a unique touch to your decor.
How Do I Power a DIY LED Neon Sign Properly?
Connect the end of your LED strip to a 12V transformer-LED adapter to power the sign. Ensuring secure connections prevents flickering and other electrical issues.
What Should I Do If My Neon Sign Flickers Frequently?
Flickering usually indicates a loose wire or poor connection. Securing all wires and re-soldering weak joints can fix this issue effectively.
Final Thoughts
Making a neon sign yourself can add a unique touch to your space without the cost of traditional glass neon. Starting with a clear design and using LED flex strips allows you to create a bright, safe sign you customize fully. Begin assembling your sign carefully, and test as you go to avoid common issues. Your next step is to review your design once more and make a materials checklist to ensure you’re ready to start building confidently.