Do I Need Air Assist for Laser? A Complete Guide to Better Cuts and Engraving
Do I need air assist for laser cutting and engraving? Yes, air assist improves cut quality significantly by reducing char up to 80% and speeding up cutting by 3 to 6 times. Starting with an affordable air assist setup, like a $40 aquarium pump, quickly shows the benefits for cleaner and faster results.
Air assist blows away smoke and debris, keeping the laser path clean and helping your cuts stay sharp. It works best when combined with correct power settings, since high power alone without air assist can still cause poor cuts.
Key Takeaways
- Use air assist to reduce charring and scorching on wood and other materials by up to 80% for cleaner edges.
- Start with a low-cost air pump setup to experience the benefits before investing in professional gear.
- Combine air assist with optimized laser power, as high power without air assist often produces worse cuts than lower power with it.
- CO2 lasers greatly benefit from air assist to improve cut speed and edge quality, especially for frequent cutting work.
- Choose air assist systems that match your laser type and business needs; small hobby setups differ from strong commercial pumps.
- Focus air assist airflow directly on the cutting area to remove smoke efficiently and maintain a clear laser path.
Do You Really Need Air Assist for Laser Cutting and Engraving?
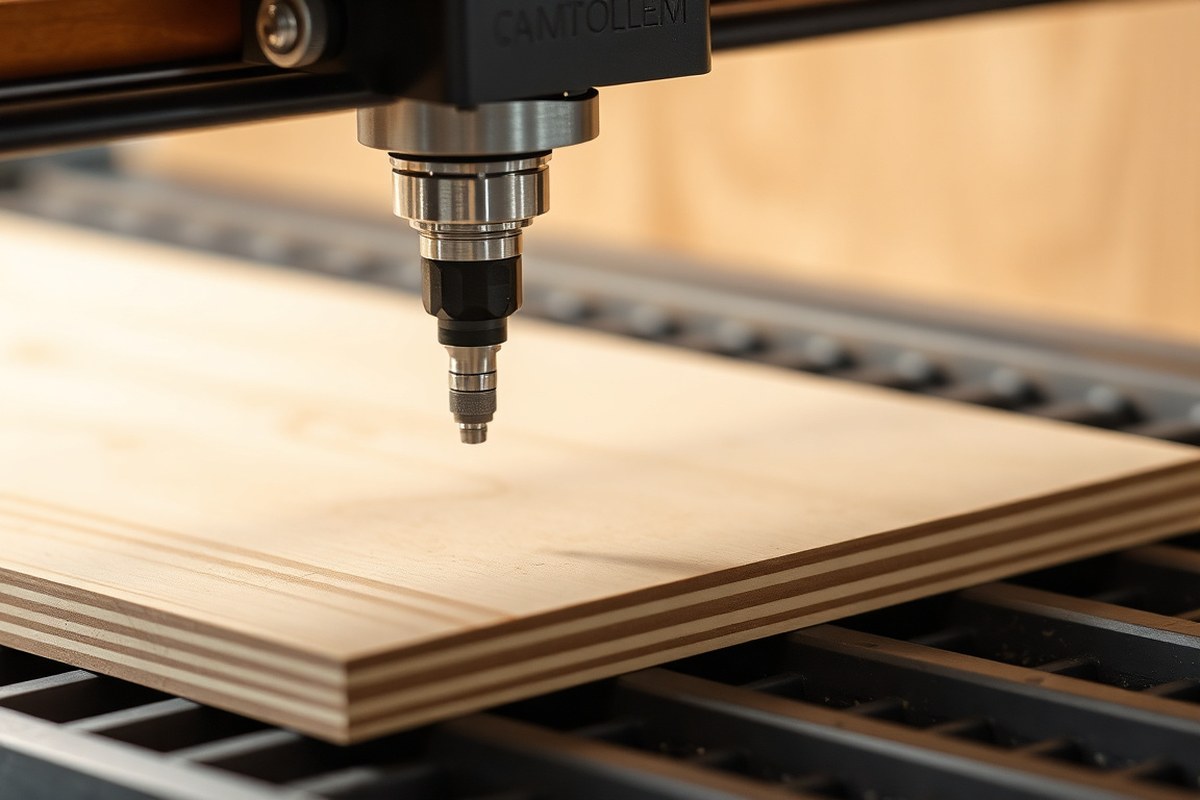
Air assist is highly recommended for laser cutting and engraving, but whether you really need it depends on what you aim to achieve, the materials you work with, and your laser type. For cutting wood and plywood, air assist reduces charring by about 60-80% and can speed up the process by three to six times. This airflow blows smoke and debris away, allowing the laser to cut more cleanly and quickly. It also helps prevent smoke from depositing on your lens, which protects your equipment and reduces maintenance needs. Even a basic air assist setup can cost between $30 and $80, making it a relatively affordable upgrade for hobbyists.
Projects focused on laser engraving rather than full cuts might allow you to skip air assist or run it at a very low setting. For light engraving on wood, acrylic, or similar materials, using little to no air assist can avoid unnecessary markings or blurry results caused by excessive airflow. On anodized or coated metals, it’s often best to turn air assist off entirely during engraving for cleaner results. However, any cutting process typically benefits from air assist due to the smoke and debris it clears away.
Choosing the right air assist setup varies with your user type and workload. Hobbyists usually find a single air assist nozzle sufficient, balancing cost and performance. Small businesses processing multiple materials often benefit from dual air assist systems, which offer more consistent results across different jobs. High-demand industrial users need dual air assist for long work cycles and maximum efficiency. Before adjusting or turning off air assist, it’s useful to experiment with the pressure and nozzle direction to see how your specific laser and materials respond.
Keeping your laser lens clean is important for maintaining beam quality and avoiding downtime. Air assist helps extend lens life by minimizing smoke and residue buildup during operation. Without air assist, smoke can settle on the lens, causing overheating or requiring more frequent cleaning. Skipping air assist usually means you’ll need more frequent lens cleaning and might notice lower cut quality. To decide when to use air assist, consider your material thickness and project goals. For thick wood cuts or thicker acrylic, always use air assist at medium to high pressure. For shallow engravings, try a low setting or none, and observe the engraving clarity and cleanup.
Air assist greatly improves cutting speed, quality, and the lifespan of your machine, especially when cutting wood and other materials that produce a lot of smoke. You can safely skip or reduce it only during light engraving on select materials, weighing the tradeoff between clean marks and lens wear. The choice should always be guided by your particular laser model, material type, and cut complexity to get optimal results.
How Air Assist Works to Improve Cut Quality and Safety
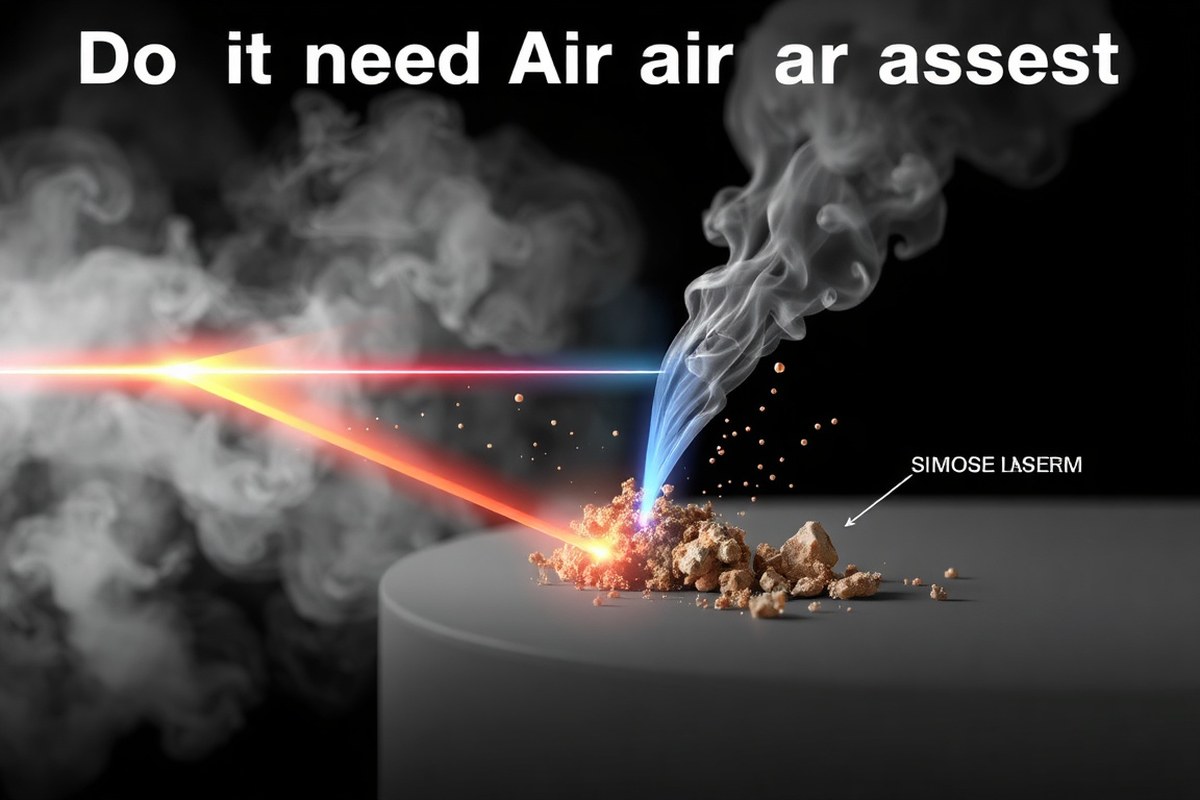
Air assist works by blowing compressed air directly at the laser beam’s focus point on the material. This airflow clears away smoke, dust, and debris right where the laser cuts or engraves, which helps the beam reach fresh material consistently. Removing this smoke allows the laser to perform more efficient and cleaner cuts, reducing scorching or charring on the edges. For example, when cutting 3mm basswood, the right air assist flow can nearly double cutting speed by keeping the cut path clear of obstructive particles.
Keeping the cut area cool is another key function of air assist. The continuous airflow lowers the surface temperature around the laser’s impact zone, which helps prevent overheating and material burning. This cooling effect also reduces the risk of flare-ups or fires by blowing away flammable wood dust and molten debris that can ignite under laser heat. Without air assist, these particles accumulate and create a small but significant fire hazard inside your laser cutter’s bed.
Air assist also plays an essential role in protecting the laser’s optical components. Smoke and carbonized particles tend to deposit on the lens or laser nozzle, which can degrade beam quality and cause damage over time. The compressed air sprays those particles away, keeping the lens cleaner and preserving the laser’s cutting precision and lifespan. For fine engraving, maintaining this lens cleanliness is important to ensure sharp details without blurring caused by soot buildup.
Practically, set your air assist airflow based on your project’s needs. Use lower airflow (5 to 15 liters per minute) for fine engraving to protect the lens and maintain detail clarity. For cutting thin materials under 3mm, increase the airflow to 15 to 30 L/min to effectively clear smoke and reduce charring. Thick materials over 5mm require stronger airflow from 30 up to 60 L/min to push molten debris out of the cut and allow deeper laser penetration. High-power industrial lasers might need 60 L/min or more for continuous cooling and maximum cutting speed.
This system requires a decent-quality air compressor or pump with controllable settings. The cost can range from about $100 for basic air assist pumps to several hundred dollars for more powerful or quieter models. Proper installation involves positioning the air nozzle as close as possible to the laser head’s focus point without disrupting the beam path. Regular maintenance includes cleaning or replacing filters and checking hoses for leaks to preserve consistent airflow.
Always balance your air assist pressure; too low can cause flare-ups, while too high airflow during engraving can blow away fine details and reduce quality.
Types of Air Assist Systems and Which Suits Your Laser
There are several types of air assist systems you can use with your laser cutter or engraver, each with different costs, setups, and benefits. Aquarium pumps offer a low-cost entry point, dedicated compressors provide power and reliability, and built-in systems come integrated with some machines for easy use. Knowing the pros and cons helps you decide which suits your needs and budget.
Aquarium Pumps: Budget and Limitations
Aquarium pumps are the most budget-friendly option to try air assist on your laser if your machine didn’t come with one. They usually cost around $20 to $40 and can be purchased from pet stores or online. These pumps provide gentle airflow and are simple to set up by connecting a hose to the laser’s air nozzle.
While aquarium pumps introduce air assist benefits and help clear smoke, their pressure and airflow are relatively low and not adjustable. This means they may not perform well for thicker materials or more aggressive cutting. They’re also typically louder and less durable than systems made for continuous laser use. Still, they’re a good starting point if you want to experiment without a big investment.
Dedicated Compressors: Reliability and Power
Dedicated air assist compressors are designed specifically for laser cutting and engraving tasks. They are more powerful, quieter, and able to provide adjustable airflow pressure, often between 15 and 30 PSI, which suits most materials including wood, acrylic, and leather. Prices usually range from $80 to $200 depending on features and noise levels.
Setting up a dedicated compressor requires some assembly: mounting it near your laser, connecting air hoses, and adjusting pressure settings to match your material and laser power. The advantage is you get consistent, tailored airflow that improves cut quality and reduces flare-ups. These units tend to be reliable for long-term use and can handle higher-volume projects.
Built-In Air Assist Systems: Convenience and Integration
Many newer or higher-end laser machines come with built-in air assist systems that are integrated into the design. These systems typically include a compact air pump inside the machine or a dedicated air assist box provided by the manufacturer. Setup is usually minimal because the system is pre-installed or designed to fit perfectly, requiring little to no additional assembly.
Built-in systems are matched to the laser’s power and nozzle, offering optimized airflow without extra adjustments. They add convenience and reduce clutter from external components. On the downside, built-in air assist limits customization and if the pump fails, repairing or replacing it can be more complicated than swapping out an external unit. These systems come included in the price of the machine, so there’s no separate cost.
| Feature | Built-in Air Assist | External Air Assist |
|---|---|---|
| Setup | Minimal, often pre-installed | Requires assembly and attachment |
| Integration | Smooth with machine design | Add-on component |
| Cost (Initial) | Included in machine price | Separate purchase |
| Power | Often matched to machine | Customizable based on pump choice |
| Flexibility | Less | More for customization |
Add-on or external air assist systems give you more flexibility to choose the pump size, airflow, and noise level that fits your setup and materials. You can upgrade later if your needs change. Many machines, including popular entry-level options, allow you to add air assist even if it was not included when you bought them. This lets you start simple and add power to your cuts as you learn more.
Choosing Air Assist Pressure and Settings for Different Materials
Most materials benefit from air assist pressure around 10 to 20 PSI, which helps reduce charring, improve cut quality, and clear debris from the laser path. Adjust airflow based on the material thickness and type, lighter airflow suits engraving delicate items like leather, while higher pressure works better for cutting thick acrylic or MDF. Using the right air assist setting reduces wasted materials, protects your optics, and delivers cleaner cuts.
Wood and Plywood Settings
Wood materials like basswood, plywood, and birch respond well to moderate air assist pressure, usually between 10 and 20 PSI. This pressure keeps edges clean by blowing away smoke and chips, which prevents charring and burning. For engraving delicate wood items, a gentler airflow helps avoid disturbing fine details or blowing away lightweight wood particles.
Thicker wood cuts may require higher airflow near 20 PSI to clear out more debris as the laser penetrates, especially on dense plywood. Consistent maintenance of your air assist system ensures stable pressure and airflow, which is important for repeatable high-quality results.
Acrylic and Plastics Settings
Cutting acrylic or plastics usually demands stronger airflow than wood because of material melting and smoke production. A pressure range from 15 to 25 PSI works well to minimize melting along the cut edge and to prevent flames. Make sure airflow is focused directly at the cutting point to sweep away the melted material quickly.
For engraving acrylic, lower airflow around 10 to 15 PSI is enough to keep the material clean and avoid blowing dust onto the surface. Be cautious with thin or lightweight acrylic sheets since excessive pressure can shift the material and cause misalignment during the laser process.
Special Materials and Coatings
Materials like MDF, leather, and coated metals need tailored airflow settings because of their unique properties. MDF benefits from stronger, focused airflow (20 to 25 PSI) to reduce heavy smoke and resin buildup that can quickly damage lenses and mirrors. Leather, being sensitive and prone to charring, requires gentle airflow typically around 10 to 15 PSI to avoid scorching while keeping the edges crisp.
Metal coatings or thin painted layers should have minimal air assist to avoid blowing away protective coatings before the laser completes the cut or engraving. In such cases, pressure around 10 PSI is usually sufficient to clear fumes without damaging the surface finish. Use the table below as a quick reference for recommended air assist pressures and tips on common materials in laser cutting and engraving.
| Material | Typical Air Assist Pressure (PSI) | Recommended Airflow Notes |
|---|---|---|
| Basswood (thin wood) | 10, 15 | Gentle airflow for engraving; moderate for cutting |
| Plywood (3mm thickness) | 15, 20 | Moderate airflow to prevent charring and clear debris |
| Acrylic (3mm thickness) | 15, 25 | Strong, focused air to prevent melting and flames |
| MDF | 20, 25 | High pressure to manage heavy smoke and resin |
| Leather | 10, 15 | Gentle airflow to reduce scorching |
| Metal coatings (thin layers) | ≈10 | Minimal airflow to protect surface finish |
Adjust your pressure settings gradually, starting at the lower end of these ranges to find the best balance for your machine and material. Make sure your air pump or compressor can maintain consistent airflow without excessive noise or vibration. Choosing the right air assist pressure improves cutting accuracy, reduces maintenance costs, and delivers professional-quality laser work every time.
Nozzle Types and Airflow Directions to Optimize Cutting and Engraving
Choosing the right nozzle size, shape, and airflow direction affects how well your laser cutter or engraver clears debris, removes smoke, and produces clean edges. Nozzle design directly impacts cut edge quality and engraving details by controlling airflow force and coverage.
Smaller, narrow nozzles, typically around 2.0 mm in diameter, deliver a focused, forceful air stream. This helps quickly clear debris and smoke right where the laser hits, resulting in cleaner cut edges. However, these nozzles may reduce fine engraving detail because the strong airflow can disturb delicate material changes. They are also more prone to clogging from soot or sap and need frequent cleaning to maintain performance.
Wider nozzles, around 5.0 to 6.0 mm diameter, produce softer, more diffused airflow across a larger area. This gentle air movement preserves detailed engraving work, aiding in consistent, darker engravings without disturbing fine texture. The tradeoff is that wider nozzles may leave more residue around cut edges and are less forceful at removing heavier debris.
Airflow direction also influences performance. Nozzles that blow air straight down along the laser head’s axis offer strong, targeted clearing of surface debris and smoke. This direct airflow removes smoke efficiently but risks pushing smoke and particles back toward the lens, requiring more frequent lens cleaning.
Angled or side-directed airflow, usually tilted around 30 to 45 degrees, pushes debris and smoke away sideways. This reduces smoke buildup near the lens and helps protect it from contamination. It is often less aggressive than direct airflow but can be better for protecting fine engraving details and preventing lens damage over time.
| Nozzle Type | Diameter (mm) | Airflow | Effect on Cutting | Effect on Engraving | Maintenance |
|---|---|---|---|---|---|
| Narrow Nozzle | ~2.0 | Focused, forceful | Cleaner edges with efficient debris removal | May reduce fine details | Prone to clogging, frequent cleaning needed |
| Wide Nozzle | 5.0, 6.0 | Diffused, softer | Less residue, softer cuts | Better for fine detail, cleaner engraving | Less clogging, easier maintenance |
| Direct Airflow | N/A | Blows air straight down | Strong debris and smoke removal | May disturb some smoke near lens | Lens needs more frequent cleaning |
| Angled Airflow | N/A | Blows air sideways at an angle | Effective debris clearing, less aggressive | Protects delicate details better | Less lens contamination risk |
For projects that combine cutting and engraving, a dual air assist system lets you switch between gentle airflow for preserving fine engraving details and stronger flow for cutting tasks. Start with a narrow nozzle and direct airflow for cutting materials 3 mm to 10 mm thick, prioritizing clean, precise cuts. Switch to a wider nozzle with angled airflow or reduce pressure when engraving to protect detail and maintain consistent results.
Practical Tip: Clean the nozzle regularly to avoid clogs, since even the best air assist system fails if the nozzle is blocked by soot or sap.
Setting Up and Maintaining Air Assist for Best Performance
Setting up and maintaining your air assist system properly ensures you get clean cuts, good engraving quality, and fewer fires or smoke. The process involves attaching the pump, tubing, and nozzle, adjusting airflow to your material and laser model, and regularly checking for blockages or leaks. Troubleshooting common issues like weak airflow or incorrect pressure can keep your machine running smoothly.
Installing Air Assist on Popular Laser Models
Most basic laser cutters come with a single air assist system consisting of an air pump, hose, and nozzle. For machines like Thunder Laser models, the system can be plug-and-play, with some offering smart dual air assist control to automate pressure adjustments. On budget or DIY machines, you connect the air pump to the laser head via tubing and secure the nozzle at the cutting or engraving point.
Start by selecting an air pump sized for your laser, it should fit the exhaust port and supply consistent airflow. Connect the tubing to the pump outlet, run it neatly to avoid kinks, and attach the other end firmly to the laser head’s air assist inlet. Position the nozzle so it directs air exactly where the laser beam hits the material. Some users use adjustable nozzles to fine-tune this focus.
Most installations include a pressure regulator on the tubing, allowing manual adjustment of airflow pressure, usually between 15 and 30 psi for typical engraving and cutting tasks. Setting this depends on the material: thinner materials require lower pressure to avoid blowing parts away, while thicker materials may benefit from stronger airflow to clear smoke and debris efficiently.
Routine Cleaning and Hose Management
Regular maintenance keeps air assist systems performing at their best. Dust, smoke residue, or debris can clog the nozzle and tubing, reducing airflow and causing poor cut quality or fire hazards. Clean your nozzle and tubing every 10 to 20 hours of laser operation for consistent results.
- Disconnect the air pump and remove the nozzle from the laser head.
- Clean nozzles with a small brush or compressed air to remove residue.
- Inspect tubing for cracks, bends, or blockages and replace if damaged.
- Check the pressure regulator for smooth operation and recalibrate if needed.
- Wipe down the pump exterior and keep it dust-free.
- Secure tubing to prevent kinks and ensure a steady airflow path.
- Test airflow regularly to catch drops in pressure early.
Proper hose routing avoids unnecessary bends that can reduce air pressure. Avoid sharp turns and keep tubing as short as possible between pump and nozzle to maintain steady airflow.
Troubleshooting Pressure and Nozzle Issues
Low or inconsistent air pressure often causes poor engraving quality or can increase fire risk. To troubleshoot, first check the pressure gauge or regulator setting to confirm it is within the recommended range for your material. Re-tighten any loose hose connections and inspect for leaks by listening for hissing sounds or using soapy water to spot bubbles.
Nozzle clogs are common if you don’t clean regularly. If airflow feels weak, remove the nozzle and clean it with a needle or compressed air. You may need to replace nozzles showing wear or damage, which degrade the air pattern and pressure. Dual air assist systems add complexity by requiring balanced pressure control; confirm both pumps are working and that control settings align with your machine’s configuration, especially on models with smart control features.
Cost, Noise, and Practical Drawbacks of Using Air Assist
Air assist setups typically cost between $30 and $150 for quality single-channel systems, with dual air assist systems ranging from $150 up to $350 or more depending on features and brand. The price difference reflects the added components like multiple air lines, pressure regulators, and sometimes integrated compressors. Maintenance costs are generally low but include occasional filter replacements, checking hoses for leaks, and cleaning the air nozzles to prevent blockages that reduce airflow quality. This maintenance might add 10 to 15 minutes of work time per month for hobbyist users but can increase with heavier use.
Noise from air assist depends largely on the air source. Small compressors or dedicated air pumps emit between 50 and 70 decibels, roughly the range of a normal conversation or background music. This means the sound is noticeable but usually not disruptive in a home workshop or small business setting. Some quieter models are available but come at a higher price point. Using inline mufflers or placing the compressor in a sound-dampening enclosure can reduce noise without affecting performance.
A dual air assist system can be worth it depending on your workflow and production needs. For hobbyists mainly engaged in straightforward cutting or engraving, a single air assist system offers a good balance of price, simplicity, and performance. Dual air assist systems provide two separately controlled airflow channels, typically with higher pressure for cutting and lower pressure for engraving. This setup improves cut quality by managing thermal damage and smoke removal more effectively, especially for complex jobs combining multiple processes in one run.
Investing in dual air assist makes sense if you regularly handle mixed engraving and cutting workflows or need consistent professional-quality edges and details. It also helps reduce downtime by minimizing lens contamination and the need for cleaning, which can save several minutes per job. For those with simpler needs or smaller volumes, the added cost and configuration complexity may not deliver enough benefits to justify the investment.
Here’s a quick tip based on your situation: if you mostly cut thicker materials, prioritize a single high-pressure air assist system to maintain clean edges. Frequent switching between detailed engraving and cutting layers in the same project calls for a dual air assist setup to manage airflow settings separately. For occasional hobby use or tight budgets, standard single-channel air assist systems offer significant quality improvements with minimal noise and upkeep.
Safety Benefits and Precautions When Using Air Assist
Air assist provides several safety benefits when laser cutting and engraving, primarily by reducing fire risks, controlling smoke, and protecting the laser lens. It blows a continuous stream of air over the cutting area, which helps prevent material flare-ups and flames that can start fires. This air flow also pushes smoke and debris away from the laser beam path, resulting in cleaner cuts and less lens contamination, which otherwise occurs rapidly, sometimes by the third job without air assist.
The constant airflow decreases the chance that hot particles or combustible gases will ignite. It also cools the cutting surface, reducing thermal damage and flare-ups on plastics, wood, and other flammable materials. Dual air assist systems increase these benefits by directing airflow from multiple points, offering better control to minimize blowback onto the lens and optimize material protection. However, dual systems require more routing and controls, adding complexity and cost. To use air assist safely and effectively, check these key points:
- Confirm your air assist nozzle is correctly aligned with the laser beam for maximum coverage.
- Use an air compressor or air pump rated for steady airflow of about 15 to 30 psi, depending on material.
- Keep filters and air lines clean and free of blockages to maintain consistent airflow.
- Regularly inspect the laser lens for signs of smoke residue or damage and clean as instructed by your manufacturer.
- Monitor the workspace for any sparks or smoke accumulation; never leave the laser running unattended when air assist is active.
- Use proper ventilation to supplement air assist smoke control and reduce harmful fumes.
- Integrate your air assist controls with your laser software if possible, for precise airflow adjustments based on job needs.
Maintain your air assist system regularly, dirty or blocked nozzles can reduce airflow and increase fire hazards.Proper maintenance is critical to keep the air assist system working as a safety tool. This includes cleaning or replacing air filters, ensuring tubing is not kinked or cracked, and checking your compressor’s air quality to avoid moisture and oil entering the airflow. Inadequate maintenance can lead to inconsistent airflow, which raises fire risks and lens fouling. The upfront cost for a basic air assist setup usually starts around $50 to $150, plus ongoing maintenance, but investing in these precautions prevents costly damage and safety incidents.
Your First Steps: Setting Up and Using Air Assist
Follow this action plan to start using air assist effectively and see noticeable improvements in your laser cutting and engraving projects.
- Before you begin: Choose the right air assist system for your laser cutter size and power. Confirm compatibility by checking your cutter’s specifications and user reviews.
- Day 1: Install the air assist nozzle securely on the laser head, aligning airflow toward the cutting area. Test airflow by running the laser with air assist on; you should see reduced smoke and debris near the cut.
- Day 2: Adjust air pressure settings by material type, starting low (around 20 PSI) and increasing as needed. Evaluate cut edge quality and adjust pressure if there is excessive burning or incomplete cuts.
- Week 1: Experiment with different nozzle types and airflow directions based on your projects. Note which setup gives the cleanest cut or engraving on each material.
- Week 2: Perform routine maintenance by cleaning the nozzle and air lines to prevent clogging. Confirm steady airflow during use for consistent results.
- After 1 month: Evaluate cost and noise impact; if needed, consider adding noise insulation or a more efficient air pump for quieter operation.
- Ongoing: Always follow safety precautions by wearing eye protection and ensuring good ventilation when using air assist. Monitor for any unusual laser performance or safety issues.
Frequently Asked Questions
Can Using Air Assist Reduce Maintenance Costs for My Laser?
Yes, air assist helps keep the laser lens cleaner by blowing away smoke and debris, which reduces cleaning frequency and extends lens life, ultimately cutting down maintenance costs over time.
Does Air Assist Affect the Precision of Laser Engraving?
Air assist improves precision by preventing smoke and particles from obscuring the laser path, allowing the beam to hit fresh material consistently, which leads to cleaner and more accurate engravings.
Is Air Assist Necessary for All Laser Power Levels?
Not always, but a lower-power laser with good air assist often cuts better than a high-power laser without, making air assist especially useful for improving results on mid to high-power systems.
Can I Build a DIY Air Assist System for My Laser Cutter?
Yes, DIY air assist systems are common and affordable, but they require proper setup and nozzle design to avoid clogging and ensure effective airflow for good cutting results.
Does Air Assist Increase Energy Consumption During Laser Cutting?
Air assist uses a small electric pump or compressor which slightly increases power use, but the improved cutting speed and quality usually make this increase negligible.
Will Air Assist Help with Cutting Materials Other Than Wood?
Air assist benefits cutting many materials like acrylic and leather by reducing flames and smoke, though optimal settings vary by material to avoid damage or poor cuts.
Final Thoughts
Using air assist can significantly improve your laser cutting and engraving by improving cut quality and reducing fire risks. Start with proper installation and careful pressure adjustment for your materials. Next, test your setup on scrap pieces to dial in the best airflow and nozzle type for your projects.