Chalkboard Sign Ideas: Creative, Practical, and Easy DIY Projects
Chalkboard sign ideas offer a simple and affordable way to personalize any space with creative messages or art. Making your own chalkboard sign can cost under $10 while adding charm and functionality. Start with a manageable size like 15″x12″ to balance space for creativity and ease of use.
Key Takeaways
- Choose chalkboard sizes around 15″x12″ for optimal writing space without overwhelming your décor.
- Use liquid chalk markers for cleaner, vibrant lines that last longer than traditional chalk.
- Incorporate 3D elements such as faux wood accents to improve the visual appeal of your signs.
- Build interactive spinner chalkboard signs for under $10 to engage viewers uniquely.
- Prepare your chalkboard base by cutting it into manageable sections like 8″x10″ for easier handling.
- Line up miter saw blades carefully at zero degrees before adjusting angles to ensure precise cuts.
Creative Chalkboard Sign Ideas for Every Setting
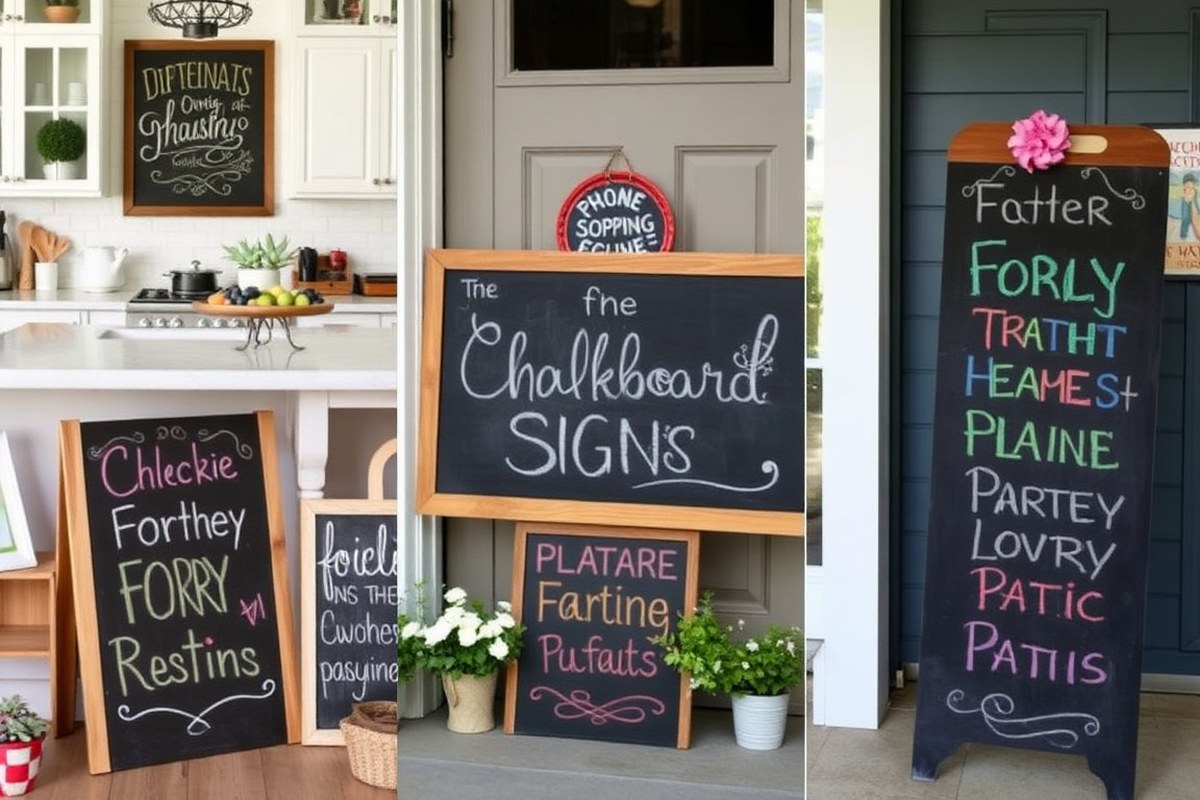
Chalkboard signs work well in almost any setting because they’re easy to customize and update. At home, you can use them to add a personal touch, such as a daily inspirational quote, a family schedule, or a fun welcome message. Laundry rooms are especially good places for chalkboards with positive or humorous notes, which make ordinary chores feel a little lighter. Farmhouse-style chalkboards with rustic lettering fit nicely in kitchens or entryways, providing simple greetings like “Home Sweet Home” or seasonal phrases like “Hello, Fall.”
For events and parties, chalkboards can highlight menus, direct guests, or display fun facts. You can create signs for birthdays, weddings, or baby showers by writing scripts or poems that celebrate the occasion. Use different coloured chalk or chalk markers for emphasis and to make the signs vibrant and eye-catching. A small sign with the event hashtag or a reminder to tag photos adds a modern, interactive element.
Businesses benefit from chalkboards by promoting sales, specials, or upcoming events clearly and affordably. Retail shops often use signs to announce limited-time offers such as “20% off today only” or “Buy one, get one free.” These signs should be placed near entrances or checkout areas where customers notice them quickly. Eye-catching fonts, simple icons, and neat writing keep messages readable and professional.
Seasonal and holiday chalkboards help keep your décor fresh. Write phrases like “Give Thanks” for Thanksgiving or “Merry and Bright” during the winter holidays. Draw simple seasonal illustrations like pumpkins, snowflakes, or flowers to complement the text. Changing these signs every few weeks keeps your home or business looking lively and timely.
- Write a cheerful welcome message with the day or weather at your front door.
- Create a menu board for parties listing food and drink options in fun fonts.
- Post business hours or special deals near the entrance.
- Use a small chalkboard in your kitchen for a rotating grocery list.
- Decorate a laundry room chalkboard with motivational quotes or reminders.
- Design a seasonal countdown such as “Days until Christmas.”
- Make chalkboard signs for each table at events with guest names or table numbers.
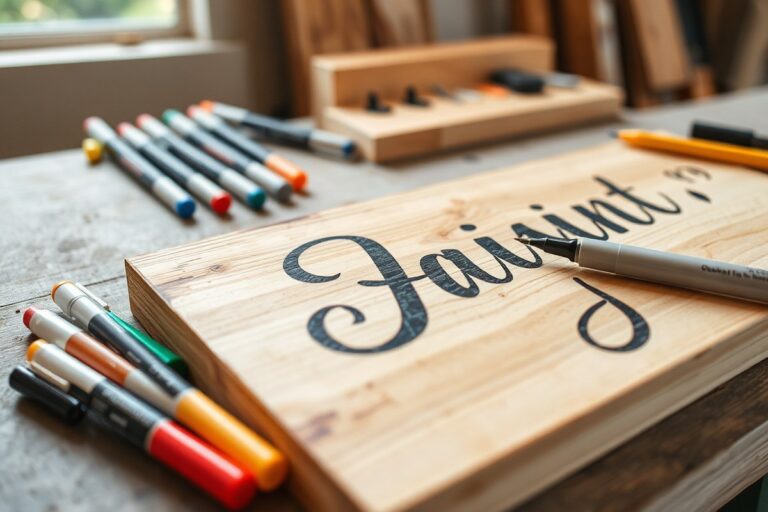
To create effective signs, write clear, concise messages between 5 and 10 words for quick reading. Use stencil templates or print letters to trace if freehand writing feels challenging. Chalk markers costing about $5 to $10 per pack offer bright colours that last longer than traditional chalk dust. Spend 10 to 20 minutes designing each sign to get neat lines and balanced spacing. Keep a damp cloth handy to quickly erase any mistakes.
Step-by-Step Guide to Making Your Own Chalkboard Signs
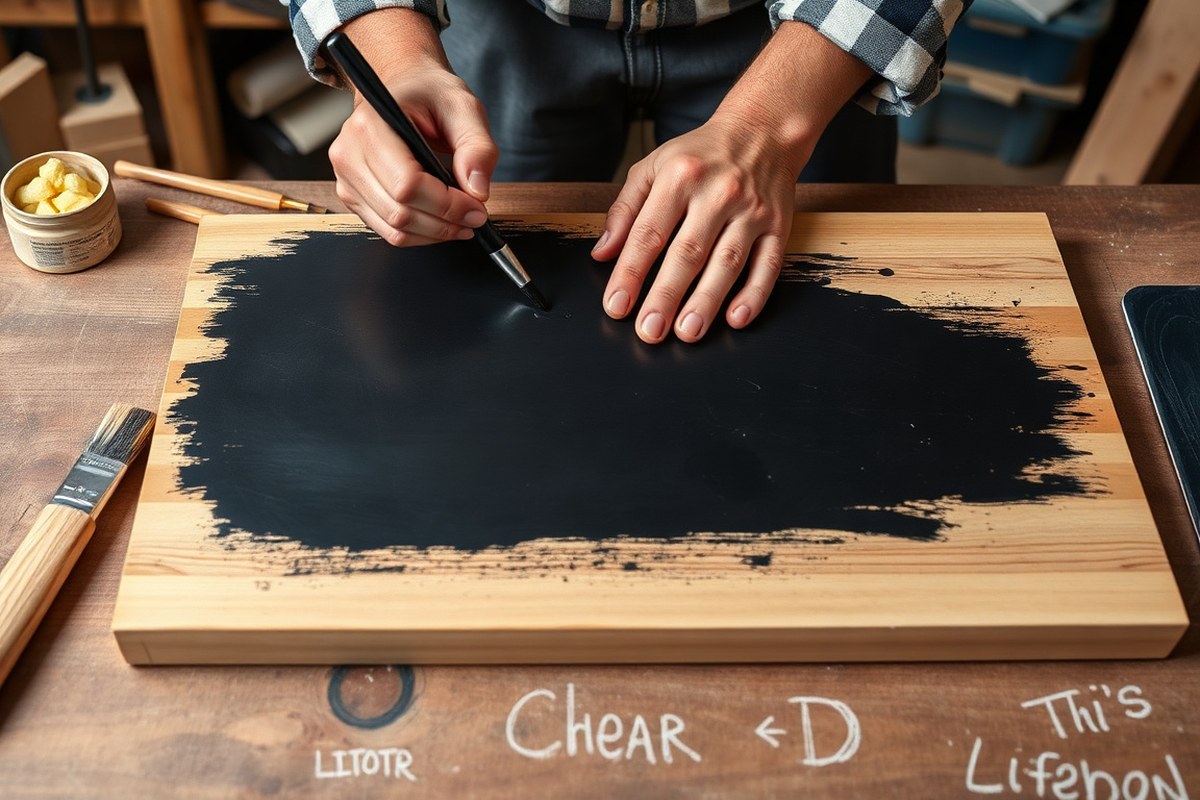
Creating a DIY chalkboard sign involves selecting the right materials, properly preparing your surface, applying chalkboard paint smoothly, and finishing it for durability. The whole process can take a few hours, depending on drying times and the size of your project. Following clear, step-by-step instructions helps ensure your sign is both functional and attractive.
Tools and Materials Needed
Gather materials that suit the size and style of your chalkboard sign. Essential items include a smooth wooden board or an upcycled picture frame, chalkboard paint, painter’s tape, sandpaper, and brushes or foam rollers. You may also want a frame if your surface doesn’t already have one, along with chalk or chalk markers for writing on your finished sign.
For a small chalkboard sign around 12″ by 15″, expect to spend under $10 if you use recycled materials or inexpensive wooden plaques. Commercial chalkboard paint typically costs between $5 and $10 for a small can, which covers multiple signs of this size.
Preparing and Painting the Surface
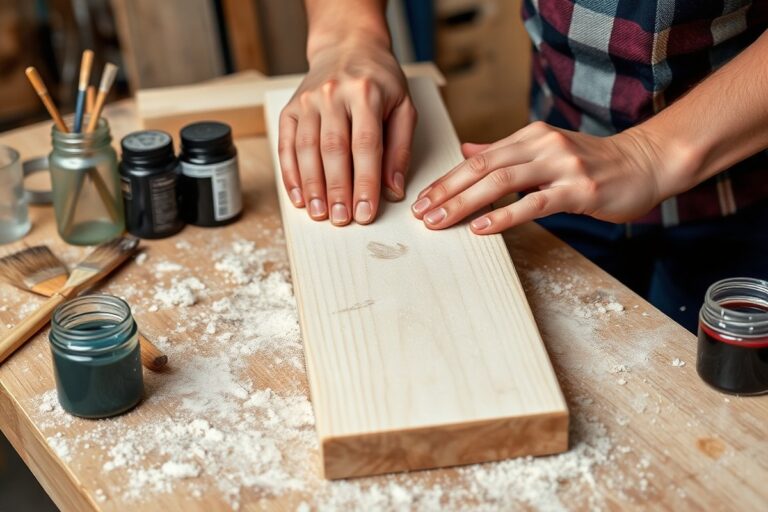
Preparation ensures the paint adheres well and your chalkboard surface is smooth enough for writing. Start by cleaning your board; remove dust, dirt, or grease. Lightly sand the surface with fine-grit sandpaper to create a texture that paint can grip. Use painter’s tape to protect edges or create neat borders if desired.
Use a foam roller or high-quality brush to apply at least two coats of chalkboard paint. Allow each coat to dry for about 1 to 2 hours, depending on temperature and humidity, ideal painting conditions are between 60°F and 75°F. Applying multiple thin coats avoids drips and gives a smooth finish.
- Clean and sand your surface lightly for better paint adhesion.
- Apply painter’s tape around edges if you want defined borders.
- Paint the first thin coat of chalkboard paint with a foam roller or brush.
- Let it dry for 1 to 2 hours in a well-ventilated space.
- Apply a second or third coat as needed for full coverage.
- Remove painter’s tape carefully after the final coat is dry.
- Let the chalkboard cure for 24 hours before initial use.
Make sure each coat is completely dry before applying the next to prevent peeling or uneven texture.
Finishing and Sealing Your Chalkboard
After the paint cures, “season” the chalkboard to prevent permanent marks. Rub the entire surface with the side of a chalk stick, then wipe off with a dry cloth. This step creates a chalky base that makes erasing smoother.
If your sign will be outdoors or exposed to frequent handling, sealing it with a clear, matte polyurethane spray designed for chalkboards protects the surface. Avoid glossy finishes that may cause glare or affect chalk adherence. Let the sealer dry according to the manufacturer’s instructions, usually 24 hours.
Choosing the Best Chalk and Markers for Your Signs
Choosing the best chalk or markers affects how your chalkboard signs look and how easy they are to update. Traditional chalk offers a classic feel but tends to create dust and can smudge easily, requiring frequent cleaning. Chalk markers provide bright, vivid colors, work on various surfaces like glass and ceramics, and reduce mess. However, some chalk markers can leave faint stains on your board over time.
Using chalk markers can save time, especially if you want your signs to “pop.” They dry quickly, making them less likely to smudge while you work, and their bright hues are ideal for eye-catching seasonal signs or event displays. To keep your signs reusable and mess-free, wipe them clean with a damp cloth after letting the marker dry fully, usually within a few minutes. Wiping too soon can cause smearing and dull colors.
| Type | Ease of Use | Longevity | Cleanability | Best For |
|---|---|---|---|---|
| Traditional Chalk | Easy, but dusty | Short (smudges easily) | Clean with a damp cloth, can leave residue | Casual, rustic signs; kids’ artwork |
| Chalk Markers (Water-Based) | Smooth writing, vibrant colors | Medium (may ghost after repeated use) | Wipe with damp cloth after drying; some require special cleaner | Bright, professional-looking signs; seasonal updates |
| Chalk Markers (Oil-Based) | Smooth, bold lines | Long (more permanent) | Harder to remove; may need solvents | Permanent designs; signs on varied surfaces like glass |
To avoid chalk dust and smudging, work on a clean, dry chalkboard. Apply chalk markers evenly and let the ink dry completely before handling. For traditional chalk, use a chalk holder to minimize dust on your hands. For reusable signs, avoid oil-based markers because they can be hard to remove. Instead, opt for water-based chalk markers that wipe away cleanly. Special chalkboard paint refreshes faded surfaces, allowing your colors to stand out better. Store markers capped tightly to prevent drying, and clean your board regularly to remove buildup that can dull your designs.
Decorating and Styling Chalkboard Signs for Impact
Decorating a chalkboard sign to make it visually striking starts with choosing appropriate lettering styles, fonts, and borders that match your setting. Adding frames and three-dimensional accents improve the overall look and draws more attention. With simple materials and a few creative steps, you can transform any basic chalkboard into a unique piece that fits your decor or event theme.
Choosing Lettering Styles and Fonts for Impact
Using varied lettering styles can significantly affect how your message catches the eye. Modern calligraphy or hand lettering works well for elegant or farmhouse chalkboard styles. Use a combination of script fonts for headings and simple block lettering for details to create contrast. For example, big cursive letters for a title with smaller sans-serif fonts beneath can help organize information clearly.
When starting, sketch your lettering lightly with chalk before filling in to avoid mistakes. Fonts that have thick downstrokes and thin upstrokes give a professional look; practice these strokes using a chalk marker with a brush tip. For casual or kids’ chalkboards, playful fonts or even all caps can work well and keep things readable from a distance. Avoid overly complicated fonts that reduce clarity on small signs.
Adding Borders and Frames for Definition
Borders frame your message, making it stand out from the background. Simple lines or geometric shapes like scalloped or zigzag patterns can add charm with limited effort. Measure ½ inch from the edge of the chalkboard and draw a clean border around the entire surface. Use masking tape to ensure straight lines if desired. For a farmhouse look, rustic wood frames can be attached around chalkboards using small nails or strong adhesive, costing about $10 to $20 depending on size and material.
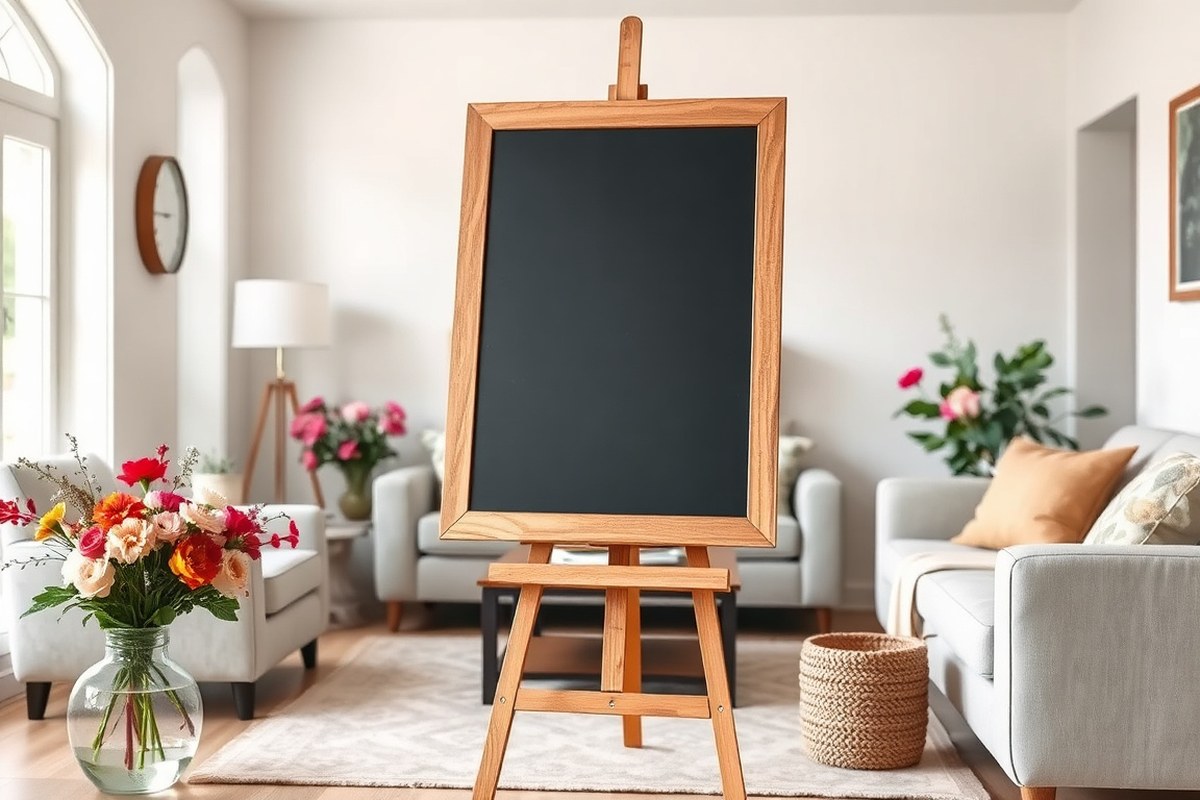
Standing chalkboards often benefit from a sturdy frame that also provides a three-dimensional effect and protects edges. Frames can be painted or decorated with washi tape, twine, or even small artificial floral accents for seasonal appeal. Combining a painted white border with a stained wood frame creates classic contrast suitable for kitchens or entryways.
Incorporating 3D Accents and Embellishments
Three-dimensional accents boost engagement by adding texture and interest. Attach small items like wooden letters, miniature chalk holders, or clip-on decorations directly on or around the chalkboard. For holidays, consider glued pinecones, felt flowers, or seasonal ornaments. These elements can cost $5 to $15 depending on the detail but improve a simple sign to a memorable display.
Another method is pocket frames or shelves fixed beneath the chalkboard to hold chalk or decorative objects. This makes the sign functional and attractive, especially in kids’ learning areas or craft corners. Ensure any glued or nailed additions are weather-resistant if you plan to use the chalkboard outdoors. Avoid overly heavy accents that might cause the board to tip or damage its surface.
Templates and Layout Tips for Smooth Styling
Using a template helps maintain neatness and balance. Draw light grid lines or guidelines on the chalkboard before adding your text or designs. For example, divide the board into thirds and assign one for the header, one for the main message, and one for decoration or details. This structure prevents clutter and guides the eye naturally.
Try chalkboard lettering templates available online for practice. Trace letters to develop consistency and reduce errors. Allow each layer of chalk or marker to dry for a few minutes before adding highlights or shadows to prevent smudging. Successfully layering colors adds a three-dimensional look without physical additions, ideal for quick updates or changing messages.
Styling Tips for Different Situations
Home decor signs thrive on warm fonts and simple motifs. Soft curves and floral borders suit cozy spaces like kitchens or reading nooks. For event signs like weddings or parties, bold headings in calligraphy with metallic chalk markers add sophistication. Keep wording concise and use symbols or small illustrations like arrows or hearts for quick reading outdoors.
Kid-friendly chalkboards favor bright colors and fun fonts with chalk stickers or magnetic accents for interactive play. Keep styles lighthearted and avoid dense text. In commercial settings or lemonade stands, clear font choices and branded frames create professionalism while inviting customers’ attention. Adjust the complexity of your design based on how long the sign will be displayed and viewed from what distance.
Popular Chalkboard Sign Ideas for Home Use
Chalkboard signs can be a practical and fun addition to your home, especially in the kitchen and kids’ rooms. Using these signs for meal planning, chore charts, and creative learning helps keep everyone organized while adding a personal touch. Kids can enjoy being part of the project, making it both educational and hands-on.
Kitchen and Meal Planning Chalkboard Ideas
The kitchen is a prime spot for chalkboard signs, helping you stay organized daily. Use a chalkboard sign as a meal planner by dividing it into sections for each day of the week, listing breakfast, lunch, and dinner. This keeps the whole family aware of meal plans and reduces last-minute decisions about what to cook.
Another helpful idea is a grocery list chalkboard. Hang a small board near the fridge or pantry and jot down items as they run low. Everyone in the household can add to it, saving time and preventing duplicate purchases during shopping trips. A fun variation is using a chalkboard for inspirational food quotes or kitchen reminders like “Don’t forget to defrost the chicken.” These add personality and function at once.
Chalkboard Signs for Kids’ Rooms and Play Areas
Chalkboard signs make kids’ spaces both creative and educational. A common use is for spelling or vocabulary words. Write new words on the board and encourage your child to practice writing and saying them, turning learning into a game. You can also draw shapes, numbers, or letters for toddlers to trace.
Another engaging idea is creating an interactive clock on a chalkboard sign to teach your child how to tell time. Mark the hours and draw movable clock hands using string or a small wooden circle you attach with a brad fastener. This visual tool helps children grasp time concepts better than a static clock.
For older kids, customize the chalkboard with a weekly chore chart listing daily or weekly responsibilities. Use checkboxes or slots to mark tasks done, offering a rewarding system when chores are completed.
Kid Involvement in Chalkboard Projects
Getting children involved in making and using chalkboard signs boosts their creativity and sense of responsibility. Start by letting them help design the layout using colorful chalks or markers. They can choose shapes, borders, or even themes to personalize their sign.
Another option is to let them be responsible for updating the board daily. For example, kids can write down what’s on the meal plan, the chores they’ve completed, or new vocabulary words. This active participation makes the chalkboard a fun, interactive part of their daily routine.
Depending on your child’s age, provide clear instructions and supervision when crafting the signs, especially with cutting or hanging tools. Use simple materials like framed chalkboard panels or pre-made chalkboard stickers to keep the process safe and straightforward.
Easy-Chalkboard Sign Ideas at Home
Here are some practical home chalkboard sign ideas you can start with:
- Weekly meal planner divided into days and meals
- Grocery list board near the kitchen pantry
- Welcome sign with your family name or message at the entrance
- Spelling practice or new vocabulary word board in kids’ rooms
- Interactive learning boards like clocks or math problems
- Chore chart with checkboxes for kids
- Seasonal or holiday greeting signs updated monthly
These ideas are affordable, often costing under $20 for materials like chalkboard paint, chalk, or markers. Reusing old picture frames with chalkboard inserts can reduce costs even further.
To avoid chalk dust build-up, wipe your chalkboard sign regularly with a damp cloth and allow it to dry before rewriting.
Outdoor and Event Chalkboard Sign Ideas and Tips
Chalkboard signs can be effective outdoors, but weather conditions play a big role. To protect your sign from rain, wind, and sun, place it under cover or use a waterproof sealant designed for chalkboards. Chalk markings may wash away easily when wet, so consider using chalk markers made for outdoor use. When setting up an outdoor event, a chalkboard easel sign is practical because it stays upright without extra support, making it visible to passersby or guests. For long events or those exposed to the elements, a frame with a clear acrylic cover shields the writing while maintaining the chalkboard look.
Interactive chalkboard signs add a fun, multi-functional touch at parties or business events. Spinner signs with a built-in 360-degree plastic spinner let guests engage by spinning to reveal various messages or options. You can design a guest question or a trivia game right on the chalkboard, encouraging participation. Another approach is a chalkboard wall used as an interactive family hub or event information center, inviting attendees to write messages or add reminders. This increases engagement and personalizes the experience.
Compared to other signage, chalkboard signs bring warmth and a handcrafted feel that digital or printed signs may lack. They are generally cheaper and more customizable. Typical costs for materials to make a simple chalkboard easel sign range from $15 to $40, depending on size and frame quality. However, chalkboard signs require more upkeep; they need frequent refreshing to maintain clarity, especially outdoors where weather can fade or smudge the artwork. Also, chalk dust can create messes that permanent signs do not.
Choose chalkboard signage for events when you want to create a casual, approachable atmosphere or need to change messages frequently without reprinting. For temporary directions, menus, or announcements, chalkboards work well. In contrast, for long-term or harsh outdoor use without shelter, consider weather-resistant printed signs as they require less maintenance and last longer.
To get the best results with outdoor and event chalkboard signs, use chalk markers sealed with a waterproof spray and position signs where they’re protected from direct rain and strong winds. Incorporate interactive elements like spinners or write-on sections to encourage guest participation. These strategies make your chalkboard signs both practical and engaging for your audience.
Maintaining and Cleaning Your Chalkboard Signs Properly
Properly maintaining and cleaning your chalkboard signs ensures they stay clear and visually appealing, allowing you to reuse them multiple times without ghosting or smudging. Start by using a soft, dry microfiber cloth to erase chalk dust after each use. Avoid rough fabrics or abrasive materials, which can scratch the surface. For a deeper clean, dampen a cloth with water or a mixture of 4 parts water to 1 part vinegar. Wipe the board gently, then dry it immediately with a dry cloth to prevent moisture damage. This method helps remove stubborn chalk residue without harming the chalkboard surface.
Use a chalkboard conditioner occasionally to maintain the surface’s quality. This usually involves rubbing the entire board with the side of a white chalk stick and then erasing it. Conditioning fills in small pores and scratches, creating a smoother surface that reduces chalk buildup. Doing this once a month, or every few weeks if you use the board daily, can prolong its life. Avoid using harsh chemical cleaners, which can degrade the board’s surface over time.
Common mistakes include pressing too hard with chalk or markers, which can leave indentations or permanent marks. Avoid using permanent markers or pens not designed for chalkboards, as they can stain the surface permanently. Let chalk or liquid chalk markers dry fully before stacking or handling the signs to prevent smudging. Also, don’t clean chalkboards under direct sunlight or high heat, as this can cause warping or fading.
For outdoor chalkboard signs, protect them from weather by using a waterproof sealant designed for chalkboard surfaces. This adds a layer of protection against rain and humidity, but it requires proper reapplication based on the product’s instructions, usually every 6 to 12 months. Storing outdoor signs indoors during severe weather extends their lifespan dramatically. Keep signs in a dry place when not in use to avoid mold or warping.
Proper cleaning and maintenance take only a few minutes each time but greatly improve your chalkboard sign’s longevity. A well-maintained sign shows crisp, readable lettering without ghosting, a faint residue of previous writing, and maintains its smooth, matte finish. Neglect or improper cleaning often results in dull surfaces, chalk buildup, and difficulty writing clearly, which can detract from your message’s impact and force you to replace the sign sooner.
Avoiding Common Chalkboard Sign Mistakes and Fixes
One common mistake with chalkboard signs is skipping proper surface preparation. A dull or uneven surface makes writing uneven and harder to read. Sanding the chalkboard lightly with fine-grit sandpaper removes rough patches and old chalk residue, creating a smooth, dark area for clear lettering. This step takes around 10, 15 minutes and costs little if you already have sandpaper on hand. Taking this time upfront prevents smudging and uneven chalk application later.
Smudging often happens when chalkboard signs are handled too soon after writing or if the chalk is too soft. To avoid this, use high-quality chalk or chalk markers designed for chalkboards. After writing, wait a few minutes before touching the sign. For outdoor or high-traffic use, spray a fixative designed for chalk art; it usually costs about $7, 15 and adds protection without damaging the surface.
Bad lettering can damage the impact of your sign. Planning a layout before writing lets you avoid clutter and awkward spacing. Sketch designs on paper or use a chalkboard template grid to practice spacing and style. Budget-friendly options for layout planning include printables that help align text and images or drawing light guidelines on the chalkboard with a pencil or chalk. Erasing these guidelines afterward leaves a neat finish without extra cost.
- Sand the board surface until smooth for even chalk application
- Test your chalk or markers on a scrap area before writing
- Sketch your design on paper or use grid templates to plan spacing
- Use fixative spray to reduce smudging on outdoor signs
- Write slowly and carefully to maintain clean lines and consistent letter size
- Allow chalk to dry before wiping to prevent smearing
- Keep a clean cloth or eraser handy to quickly fix mistakes
Using these tips saves frustration and wasted materials, especially if you’re making multiple signs or working on a tight budget. Planning layouts helps you avoid costly errors like rewriting entire sections. Chalk and markers can be purchased in multipacks for $5 to $15, which keeps your cost per sign low. Good results show clear, readable lettering that stands out against a smooth dark background, with no smudges or shadowing.
Test your chalk or marker on a small corner of the board before starting to write the full design to prevent surprises.
Step-by-Step Action Plan to Make Your Chalkboard Signs Stand Out
Follow these clear steps to create chalkboard signs that fit your style and setting, whether at home, an event, or your business.
- Before you start: Choose the right chalkboard surface and gather your chalk or markers. Test your writing tools on a scrap to ensure good contrast and smooth application.
- Day 1: Plan your message and design. Sketch ideas on paper, focusing on clear, simple text and any decorative elements. You’ll know it’s ready when the layout looks balanced and readable.
- Day 2: Prepare the surface by cleaning it thoroughly and seasoning your chalkboard with a full coat of chalk rubbed in then erased. This avoids ghosting and helps your design last.
- Day 3: Lightly sketch your design in pencil or with chalk before filling in with markers. This lets you adjust spacing and correct mistakes.
- Day 4: Fill in your design carefully, allowing marker ink or chalk to dry completely. Test visibility from the intended viewing distance to ensure impact.
- Week 1: Add final touches like simple borders or small doodles to improve appeal without cluttering the message.
- Ongoing: Maintain your sign by cleaning gently with a wet cloth and reseasoning every few weeks or before major updates. Check for fading or smudging regularly to refresh as needed.
Frequently Asked Questions
What Are Some Unique Chalkboard Sign Ideas for Beginners?
Try simple shapes like hearts or stars with basic phrases to start. Using stencils can improve your design if your handwriting isn’t perfect.
How Can I Make a Farmhouse-Style Chalkboard Sign?
Use rustic frames and white or cream chalk markers with cursive or block letters. This style always fits well with casual home decor.
What Kind of Messages Do Chalkboard Signs Work Best For?
Short, clear messages like sale announcements or welcome greetings work best. They grab attention quickly and are easy to read.
Can Chalkboard Signs Be Used for Holiday Decorations?
Yes, you can draw themed images and greetings for holidays. Seasonal chalkboard art makes your decor more festive and personalized.
How Much Does It Typically Cost to Make a DIY Chalkboard Sign?
Many chalkboard signs cost less than $10 to make with basic materials. Buying chalkboard paint and a frame helps keep costs low.
What Size Is Ideal for a Chalkboard Sign Used at Events?
A 15″ x 12″ size is popular since it’s large enough to read but still portable. It fits well on tables or easels for events.
The Bottom Line
Chalkboard signs offer a flexible and creative way to communicate, decorate, and promote in almost any space. Starting with a clear design and using the right materials sets you up for success. Try creating a small sign for your next gathering or business promotion and see how it adds charm and clarity instantly.