What Is a Blade Sign? A Complete Guide for Better Business Visibility
What is a blade sign? It’s a type of projecting sign that extends perpendicularly from a building’s facade, visible to passersby from both directions. Blade signs act as constant, 24/7 advertisements for your business, grabbing attention without ongoing costs. Starting with bold, simple lettering helps make your blade sign effective from typical sidewalk distances.
Key Takeaways
- Blade signs project out from a building, making them highly visible to foot and vehicle traffic.
- Illuminated blade signs keep your business noticeable during day and night, extending advertising hours.
- Clearance from the sidewalk bottom to the sign’s base typically needs to be at least 8 feet for safety.
- Letter height should match viewing distance, aiming for about 1 inch per 20, 25 feet to maintain readability.
- Municipal codes often limit blade sign projection to 24 to 48 inches, affecting size and design options.
- Simple, bold designs improve sign visibility; avoid cluttering faces with extra taglines or contact info.
What Is a Blade Sign and How Does It Work?

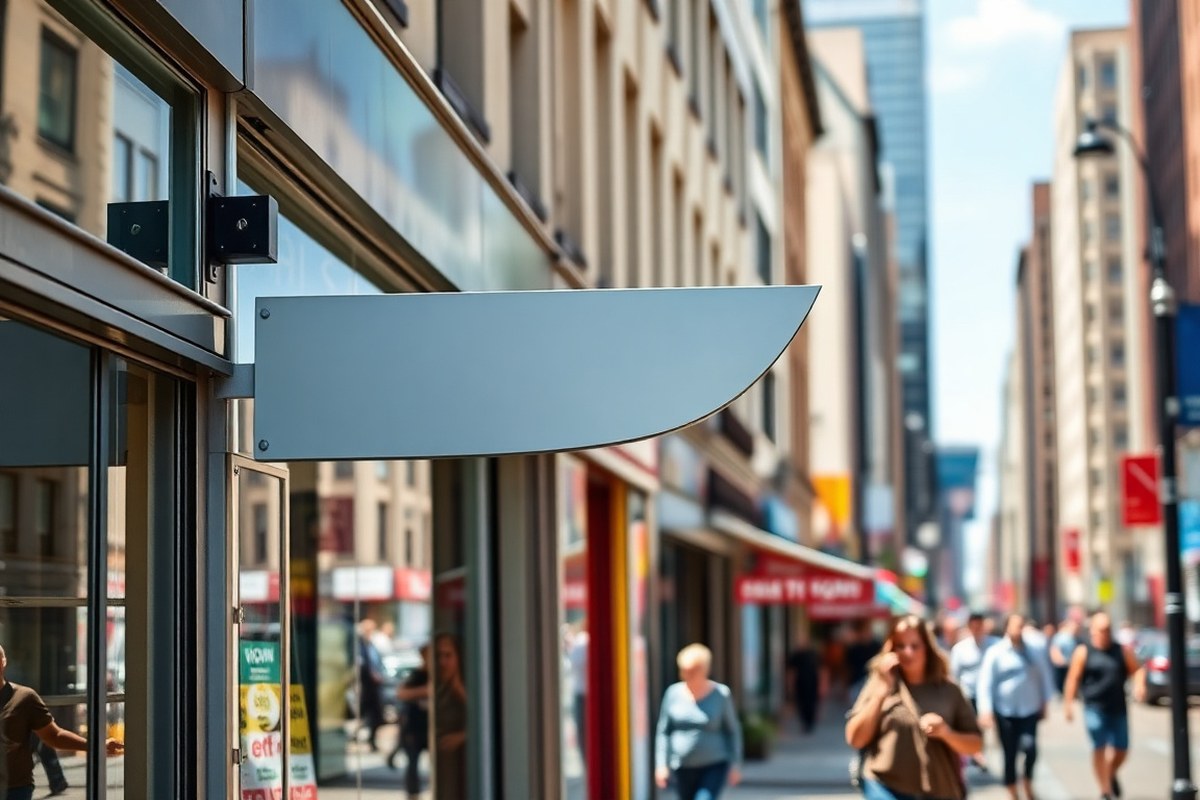
A blade sign is a type of commercial signage that mounts perpendicular to the building facade, projecting outward at a 90-degree angle. Unlike traditional wall signs that lay flat against the building’s surface, a blade sign extends into the pedestrian or street view, making it easier for people passing by, on foot or in vehicles, to spot your business from multiple directions. Its defining feature is that it is double-sided, meaning it displays your business name or logo on both faces, allowing viewers to read the message from either direction along the sidewalk or street.
The perpendicular mounting of blade signs sets them apart from other sign types. A wall sign mostly attracts attention from people facing the storefront, which may miss side-angle traffic. Projecting signs like blade signs stick out from the building, capturing the attention of pedestrians and drivers approaching from both sides. This design is especially useful on busy retail streets or downtown corridors where foot traffic flows in various directions. The sign acts as a beacon along the path, not just a marker directly in front of the store.
This double-sided approach maximizes visibility by offering more surface area exposed to potential customers. For example, a 3-foot by 4-foot blade sign provides 12 square feet of total message area, 6 square feet per side, for conveying your business identity. This layout is particularly effective in urban settings with narrow sidewalks and heavy foot traffic, where split-second readability matters. Keeping your design simple and clear on both sides helps avoid clutter that can reduce legibility, especially as local regulations often limit how far a sign can project from the building, typically between 24 and 48 inches.
Blade signs work best when mounted rigidly to withstand wind and street environment stresses. Loose, swinging hanging signs are prone to damage and require more maintenance. Instead, a blade sign should use a steel or aluminum armature bolted firmly to the wall, sometimes with multi-point brackets to resist hardware fatigue in windy conditions. This solid mounting keeps your signage visible and intact for longer, ensuring your investment pays off over time.
Because blade signs stick out from the storefront, they can help customers quickly confirm they have found the right entrance, reducing confusion in retail districts where businesses are densely packed. Their placement allows your brand to stand out from a distance or while walking directly past your storefront. These benefits make blade signs a valuable tool for improving pedestrian engagement and driving foot traffic to your retail location in a way that traditional flat wall signs cannot match.
Materials Used for Blade Signs: Durability and Appearance
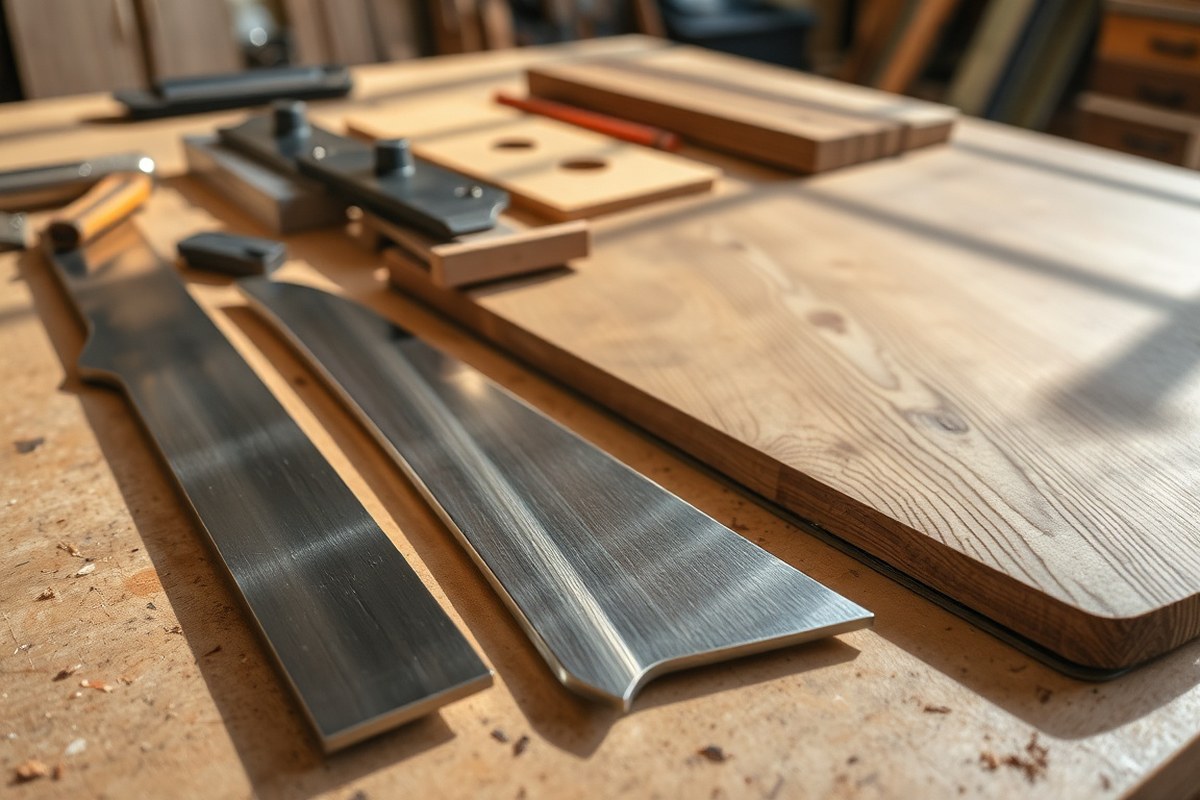
Blade signs commonly use materials like metal, acrylic, and wood, each offering varied durability, appearance, cost, and weight. Choosing the right material matters because your sign must endure weather without frequent repairs and fit the structural support available at your location. High-quality materials resist rain, sun, and wind damage, keeping your sign vibrant and functional for years. The weight of the material directly affects installation: heavier signs need stronger brackets and more strong wall anchors.
Metal blade signs, often aluminum or steel, are durable and withstand harsh weather well. Aluminum resists rust and costs about $100 to $300 for a standard-sized sign, making it a popular choice for lasting outdoor use. Steel is heavier and stronger but requires rust protection. Acrylic offers a glossy look favored for illuminated signs, with optical-grade acrylic delivering clear, bright displays ideal for night visibility. Acrylic is lighter than metal but less impact resistant than polycarbonate, which is used where durability against impacts is a concern. Wood signs convey a classic or artisanal style but need regular sealing and treatments to prevent water damage and fading, increasing maintenance efforts. The table below compares these common materials regarding durability, cost, weather resistance, and maintenance needs for blade signs typically used by retail or small business storefronts.
| Material | Durability | Weather Resistance | Typical Cost | Weight Impact | Maintenance |
|---|---|---|---|---|---|
| Aluminum | High | Excellent (rust-resistant) | $100 – $300 | Moderate (needs sturdy mount) | Low (occasional cleaning) |
| Steel | Very High | Good (requires rust treatment) | $150 – $350 | High (strong mounts needed) | Medium (rust prevention needed) |
| Optical Acrylic | Medium | Good (UV resistant) | $80 – $250 | Low (easier installation) | Low (cleaning, avoid impact) |
| Polycarbonate | High (impact resistant) | Very Good | $100 – $275 | Low (lightweight) | Low (cleaning) |
| Wood | Medium | Poor to Medium (requires treatment) | $90 – $200 | Moderate (depends on thickness) | High (regular sealing) |
Matching your blade sign’s face material with the operating environment improves performance. For example, choose polycarbonate if your sign faces frequent impacts or strong winds. Acrylic suits illuminated signs for clear visibility, while metal will last longest without much upkeep. Weight considerations affect the support structure: a large aluminum or steel sign demands strong bracket mounting anchored securely into the building. For lightweight materials like acrylic, chain mounts may suffice but check load ratings for safety.
Choose sign materials based on your store’s location and weather: heavier metals need reinforced brackets, while lighter acrylic or polycarbonate can reduce installation complexity and cost.
Types and Styles of Blade Signs with Illumination Options
Blade signs come in several main styles, ranging from simple non-illuminated metal panels to advanced LED-lit cabinets and fully custom shaped designs. Illumination options vary widely and affect visibility, cost, and installation complexity. Most blade signs can be tailored in size and shape to reflect your brand identity while fitting the building and local regulations.
Non-Illuminated Traditional Signs
Non-illuminated blade signs typically use metal or composite panels mounted perpendicular to the building facade. They rely on external light sources, like spotlights or ambient daylight, for visibility. These signs suit businesses operating mostly during daytime hours or those in areas where electrical wiring runs or lighting are restricted, such as historic districts or covered arcades.
Fabrication is straightforward, involving cutting, painting or vinyl application, and mounting. These signs tend to have lower initial costs and faster turnaround times. Most classic blade signs use rectangular or square shapes, but even non-illuminated versions can be cut into simple custom shapes if desired.
LED-lit and Cabinet Style Signs
Illuminated blade signs include double-sided LED cabinets with internal lighting that glows through acrylic faces. These signs maintain high visibility in nighttime or low-light conditions, making them ideal for restaurants, clinics, and retail shops open during evening hours. Illumination requires electrical connection for LED drivers and modestly increases fabrication complexity and costs compared to non-illuminated options.
Proper LED module spacing inside the cabinet prevents issues like dark bands or “hot spotting.” Many designs feature sealed, weather-resistant enclosures to protect electronics. LED-lit blade signs can be standard geometric shapes or customized with push-through acrylic letters or logos.
Custom 3D and Laser-Cut Designs
Advanced fabrication techniques allow blade signs to be fully customized in shape and design to reflect your unique brand identity. Welding and laser cutting produce intricate 3D forms or precise contour cuts, including logos or shaped outlines. CNC routing can create push-through acrylic faces, improving dimensional depth and impact.
Custom designs typically require more lead time and higher budgets due to detailed fabrication and assembly. Still, these signs can be the most effective at drawing customer attention and making a distinctive impression when crafted with care. Choosing the right size, shape, and materials ensures the sign stands out while fitting harmoniously with its building and surroundings.
- Non-illuminated metal blade signs for daytime visibility
- Double-sided LED illumination for 24/7 visibility and glow
- Push-through acrylic faces for depth and brightness
- Laser cut custom shapes, including logos and unique outlines
- Welded 3D elements for texture and dimension
- Sealed LED cabinets to protect electronics and extend lifespan
- Simple rectangular or round shapes for timeless appeal
Choosing Illumination Type
Deciding whether to illuminate your blade sign depends on your business hours, building layout, and local rules. If your store is only open during daylight or your facade cannot accommodate wiring, a non-illuminated sign works best and costs less. You can still add external lighting for some after-dark visibility.
For businesses active into the evening or requiring high visibility on busy streets, internal LED illumination maximizes impact. Select LED cabinets with properly spaced lighting modules and quality drivers to avoid uneven lighting or early failure, especially in sunny, hot environments. Custom illuminated elements add cost and complexity but also increase brand presence significantly.
Best Design Practices for Effective Blade Signage
Designing an effective blade sign requires carefully balancing size, color, clarity, and brand consistency to ensure visibility and easy reading from a distance. Focusing on the right letter height, high color contrast, concise messaging, and brand elements will help your sign stand out to pedestrians and vehicle passengers alike.
Letter Height and Viewing Distance Rules
Choose letter sizes on blade signs by how far away customers will see them. A useful guideline is 1 inch of letter height per 20 to 25 feet of distance. For example, letters should be 2 to 2.5 inches tall if the sign is 50 feet away. This size helps people read your business name or message easily without effort.
Choosing clean, simple letterforms improves legibility, especially in busy commercial districts. Avoid overly decorative fonts that can blur from a distance. Proper bracket engineering and wall mounting ensure your blade sign sits at the right height above sidewalks, typically 7 to 8 feet clearance, so letters are easily within the natural line of sight of passersby.
Color Contrast and Readability Tips
High contrast between text and background colors greatly improves readability. Black or dark letters on a white or brightly colored background work well. White or light-colored letters on a solid dark background are equally effective. Avoid color combinations that blend or cause glare, such as red text on orange. Matte or satin finishes reduce reflections that hurt visibility during the day.
Lighting choices, such as LED or backlit illumination, should complement your colors. White light often improve contrast for nighttime visibility without distorting brand colors. Ensuring your sign is clearly visible during dawn, dusk, and night extends your business’s exposure hours.
Balancing Information and Simplicity
A blade sign’s strength lies in concise messaging. Limit text to your business name or a very short phrase to maintain clarity. Using too many words or detailed information makes the sign cluttered and harder to read. Simple messages attract attention quicker to busy street audiences.
For example, instead of “Linda’s Home Café and Bakery, Fresh Breads and Organic Coffee Daily,” use “Linda’s Café.” You can convey more details inside your store or through other marketing materials. Keeping blade signage messaging direct reduces the time needed for comprehension while improving brand recall.
Incorporating Logos and 3D Elements
Integrating your logo into blade signage strengthens brand recognition and makes your sign unique. Choose shapes like squares, rectangles, or circles as clean canvases for logos and simple graphics, ensuring they don’t crowd the layout. Vinyl graphics can be added for customization with minimal lead times.
Three-dimensional elements, such as raised lettering or sculpted logos, add depth and visual interest that catch the eye, especially in active shopping areas. These features should complement your color scheme and lighting without overpowering the sign’s primary message. Be mindful that 3D parts increase fabrication costs, typically adding a few hundred dollars depending on complexity, but often improve long-term impact.
Installation Requirements and Regulations for Blade Signs
Blade signs must be securely attached with proper mounting hardware, follow local clearance rules to ensure pedestrian safety, and comply with city and landlord regulations. Permits usually are required and vary by location, especially for illuminated signs. Early coordination with landlords and municipal authorities can prevent costly delays or redesigns.
Mounting Bracket Types and Engineering
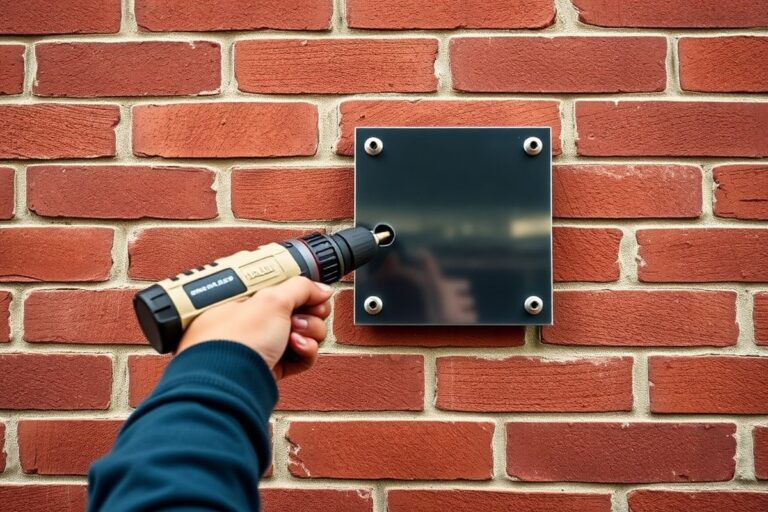
Blade signs are typically mounted using brackets or arms anchored directly into the building façade. The choice of mounting hardware depends on the wall material, brick, concrete, metal, or wood, and must support the sign’s weight and wind load. Engineering may be needed, especially in cities with stringent structural safety codes or where wind speeds are a factor.
Common brackets include fixed arm brackets, articulated arms, and custom-fabricated steel frames. Anchors should be stainless steel or coated to resist corrosion. For older brick or stone facades, use sleeve anchors or expansion bolts that avoid damaging decorative surfaces. A licensed structural engineer might need to verify the mounting system to meet municipal codes.
Minimum Height and Projection Limits
Blade signs typically need a minimum of 8 feet of vertical space between the sidewalk and the sign’s bottom to meet clearance rules. This height helps keep pedestrians safe and aligns with ADA requirements or rules for objects sticking out. The distance a sign can stick out from a building is often capped at 36 inches, though local laws can change that limit.
Each city or town sets its own rules on sign size and projection, often treating blade signs as projecting signs. For example, a municipality might allow only a 24-inch projection in a historic district but 36 inches in commercial zones. Check these rules before finalizing sign dimensions to avoid costly remakes or permit denials.
- Minimum vertical clearance: typically 8 feet above sidewalk
- Maximum sign projection: often capped between 24 and 36 inches
- Sign size limitations based on zoning or historic district status
- Additional clearance may be required over bike lanes or public walkways
- Height and projection rules can vary block-by-block in some cities
Failure to meet clearance or projection requirements risks fines and mandatory removal or adjustment of the sign.
Navigating Permit and Landlord Criteria
Obtaining a sign permit typically involves submitting detailed plans to the local zoning or building department, including measurements, materials, and mounting methods. Some municipalities require structural engineering stamps and proof of landlord approval. Start this process early to avoid timeline setbacks.
Landlords often have specific sign criteria, including restrictions on wall penetrations, bracket styles, and sign sizes. For example, landlords of retail malls may prohibit drilling into decorative stonework or may require specific bracket types to avoid damage to the façade. Always get written permission and review lease agreements before installation.
Common installation challenges arise from conflicting rules: a city might limit projection to 36 inches, but the landlord allows only 24 inches. A pre-fabricated sign that is too large or mounts incorrectly could require costly modification or replacement.
Always obtain written landlord approval and a municipal permit before ordering or installing a blade sign to avoid costly redesigns or removal.
Electrical Permits for Illuminated Signs
Illuminated blade signs require a safe electrical connection installed by a licensed electrician. This includes providing a primary power feed and routing conduit through or alongside the wall in a concealed manner compliant with local electrical codes. Most cities require an electrical permit that is separate from the sign permit.
Planning the access point and conduit path before ordering the sign is important. Discuss with your electrician whether power can be routed inside the wall or must be surface-mounted. Power availability, voltage requirements, and type of illumination (LED, neon) affect the overall installation plan and cost.
Concealed conduit entry points reduce vandalism and maintain aesthetic appeal but may require more extensive wall or façade work. Electrical permits typically take 1 to 3 weeks to secure, depending on the city, so factor this into your project timeline.
Maintenance and Durability Considerations for Blade Signs
Blade signs should be inspected and maintained at least twice a year to keep them in good condition. Checking the sign in early spring and late fall helps catch issues before harsh summer or winter weather hits. Regular cleaning removes dirt, debris, and pollutants that can degrade both the materials and the finish. Use a mild detergent and soft cloth to clean the surface, avoiding abrasive tools that might scratch paint or protective coatings.
Weather conditions like heavy rain, strong winds, snow, and intense sunlight affect blade signs the most. Wind can loosen mounting brackets or cause structural damage, and water can lead to rust on metal parts or rot on wooden sections, especially if not properly sealed. UV rays fade colors and weaken plastics or paints. In areas with freeze-thaw cycles, moisture that seeps into cracks can expand and cause splits or warping.
Spotting early issues involves looking for loose bolts, cracks, peeling paint, faded graphics, or water stains. Signs that wobble or make noise in the wind need immediate attention on their mounting hardware. To fix common problems, tighten brackets and clean surfaces, then apply weather-resistant paint or sealant to exposed wood or metal parts. For illuminated blade signs, check wiring and bulbs yearly to prevent electrical failures.
- Remove dirt and grime using mild soap and water biannually
- Seal wooden signs with waterproof varnish every 1 to 2 years
- Inspect mounting brackets and fasteners for corrosion or looseness twice a year
- Touch up faded or chipped paint as soon as noticed to prevent material decay
- Test illumination components annually to ensure visibility during night and bad weather
- Trim nearby trees or shrubbery to prevent scratching or blocking the sign
- Contact a licensed professional for electrical repairs or major structural issues
Extending the lifespan of a blade sign involves using preventative care along with occasional professional servicing. Applying a UV-protective layer helps reduce sun damage, while proper sealing stops moisture from penetrating wooden or metal areas. Signs made of durable woods like cedar or treated pine generally last longer outdoors but still benefit from regular upkeep. Budgeting around $150 to $300 every few years for professional inspection and minor repairs can save more costly replacements. Avoid delaying maintenance since small issues can quickly worsen due to weather exposure. Consistent care ensures your blade sign remains a trustworthy advertisement that attracts customers year-round.
Costs, Timelines, and Factors Affecting Blade Sign Projects
The cost of a blade sign varies widely based on size, material choice, design complexity, and installation requirements. These factors influence not only the fabrication price but also expenses related to permits, mounting hardware, and labor for installation. Smaller, simpler blade signs can cost a few hundred dollars, while larger, illuminated, and highly detailed signs run into thousands.
Design and fabrication typically begin after you provide a complete project brief. A professional sign company usually offers a free 3D mockup within two business days, allowing you to see the sign superimposed on your building before production starts. Once you approve the design, fabrication starts, backed by a 2-year manufacturing warranty, with timelines generally ranging from two to six weeks depending on complexity and material availability.
Installation timing varies according to the scope of work. More complex installations, such as those requiring structural reinforcements or permits from local authorities, extend project completion times and costs. For example, mounting a blade sign on a multi-story building often costs more and takes longer than installing a single-storefront sign.
| Factor | Typical Range | Impact on Cost/Timeline |
|---|---|---|
| Sign Size | 2 to 6 feet wide | Larger signs cost more material and labor, increase fabrication and installation time |
| Design Complexity | Simple logos to detailed, illuminated graphics | Complex designs require longer design and fabrication, raising costs |
| Materials | Aluminum, acrylic, LED illumination | Premium materials increase price but improve durability and appearance |
| Installation | Simple wall mount to engineered structural support | Complex mounting and permitting add both time and cost |
| Permits and Regulations | Varies by city and state | Permitting delays can add weeks and permit fees add to the budget |
Several cost drivers come under your control when planning a blade sign. Keeping the sign size moderate and choosing simpler materials and designs reduce upfront and ongoing costs. Confirming local permitting requirements early can prevent unexpected delays and fees. Relying on professional sign makers with experience in the local market ensures the sign meets code and pays off in durability and visual impact.
Choosing the Right Blade Sign for Your Business Needs
Blade signs work best for businesses that need to attract attention in crowded or narrow streets where storefront visibility is limited. Retail stores, cafés, bars, boutiques, and service providers in urban or high-foot-traffic areas benefit most because the sign projects perpendicular to the building, catching the eyes of pedestrians and drivers from multiple directions. Businesses inside malls or arcades also find blade signs useful for guiding shoppers, especially when mounted at eye level indoors.
They may not be the best choice if your business has a large facade facing a wide street where a flat wall sign would be more readable from afar. Also, avoid blade signs in locations with strict city ordinances that limit signs projecting into the sidewalk or public right-of-way, or where mounting options are structurally limited. Cost can be a concern since blade signs often need stronger installation and sometimes professional electrical work for illumination, which might increase the budget beyond simple banners or window signs.
Matching the style of the sign to your brand is key for maximizing its impact. Choose materials and design elements that reflect your business identity, for example, a modern tech store might opt for sleek metal or acrylic with LED lighting, while a coffee shop or bookstore might select a wooden or vintage metal blade sign with hand-painted lettering. Consider the surrounding environment and architecture too. A handcrafted sign can complement historic districts, while illuminated acrylic suits contemporary shopping centers.
To evaluate effectiveness after installation, observe if the sign increases foot traffic and inquiries within a few weeks. Check visibility at different times of day and from various approaches by pedestrians and motorists. Assess whether the sign maintains brand consistency and legibility at night if illuminated. Getting simple customer feedback on whether the sign helped them locate your business can provide direct insight. When results don’t meet expectations, try adjusting lighting, repositioning, or redesigning elements such as size and font clarity.
Decide based on your location, the typical customer path, and your marketing goals. Use blade signs to create two-way advertising that captures attention regardless of direction. Invest first in a clear, brand-aligned design that fits your storefront scale and surroundings. Confirm local regulations before ordering, and plan for professional installation to ensure durability and compliance. Expect average costs around $1,000 to $3,000 or more depending on size, material, and illumination, with installation adding to that range.
Check local zoning rules before installing a blade sign to avoid costly fines or removal; some cities have strict limits on projection distance and sign size.
Your First Steps: Launching Your Blade Sign Project
Start your blade sign journey with a clear plan to avoid costly delays and ensure your new sign attracts customers effectively.
- Before you start: Check local sign regulations and obtain necessary permits to prevent fines and installation delays.
- Week 1: Choose your sign type and materials based on your business location and brand image, confirming durability and style fit.
- Week 2: Work with a sign designer or manufacturer to create a proof or mock-up that meets size, visibility, and illumination needs.
- Week 3: Schedule installation with a licensed professional who can ensure your sign is securely mounted and properly wired if illuminated.
- After installation: Inspect your sign’s visibility from key pedestrian and vehicle vantage points to make sure it stands out.
- Month 1: Set up a regular cleaning and maintenance routine based on materials used to keep your sign looking sharp and functional.
- Month 3: Evaluate customer response and sign condition; adjust lighting or design on your next project if needed.
Frequently Asked Questions
How Does a Blade Sign Boost Foot Traffic to a Retail Store?
A bold blade sign can increase walk-in customers by up to 37% in the first month, acting as a constant street-level advertisement that grabs attention day and night. It draws pedestrians from both directions, making your storefront more visible in busy shopping areas.
Can You Combine Blade Signs with Other Types of Commercial Signage?
Yes, pairing blade signs with 3D logo wall signs or metal 3D logo signs can improve brand presence and create a cohesive storefront look. This combination reinforces your message and increases overall curb appeal.
Do Blade Signs Require Permits or Special Approvals?
Permits are often required, depending on your city’s sign code, to ensure the blade sign meets size, placement, and illumination rules. Checking local regulations early saves time and prevents costly delays.
What Makes Blade Signs Effective in Urban Versus Suburban Locations?
Blade signs perform well in urban corridors where pedestrian traffic is high and visibility from two directions maximizes exposure. In suburban settings, they work best near walkways or plazas to capture customer attention effectively.
How Heavy Are Typical Blade Signs and Why Does Weight Matter?
A 3-foot by 4-foot double-sided blade sign can catch up to 12 square feet of wind force, so weight and material choice affect mounting and durability. Lightweight materials reduce strain on building façades and installation hardware.
Can Blade Signs Be Used as Wayfinding Tools Inside Shopping Centers?
Yes, blade signs can direct shoppers by being mounted along interior corridors, helping customers easily locate stores. Their visibility from multiple angles makes navigation more intuitive in busy retail environments.
Before You Go
Blade signs deliver visible, engaging branding when designed and installed thoughtfully. Focus on your specific business context and follow local rules to maximize the impact of your blade sign. To move forward, contact a trusted sign professional to discuss your design ideas and get a precise quote.