How to Make a Mirror Sign by Hand Step-by-Step Guide with Pro Tips
How to make a mirror sign by hand starts with picking the right mirror and tools, then layering your design carefully. Using a high-quality mirror lets your lettering and decorations stand out clearly. Begin by selecting a piece sized for your message, about 16×48 inches is a common affordable option that fits well for many signs.
Key Takeaways
- Use a mirror with smooth edges and minimal distortion to ensure easy lettering and clear visibility.
- Choose serif fonts for your lettering, with letters at least 1.5 inches tall and 120% line spacing for best photo impact.
- Apply lettering with non-permanent Bistro markers if you want to reuse the mirror or adjust your layout before finalizing.
- Drill holes 0.5 to 1.5 inches from the mirror’s top corners if you plan to hang the sign securely.
- Super glue like E6000 bonds well to both glass and wood dowels for mounting or framing accents.
- Complete your sign within 30 to 45 minutes to maintain clean lines and sharp details before paint or marker dries.
Essential Tools and Materials for Hand-Making Mirror Signs
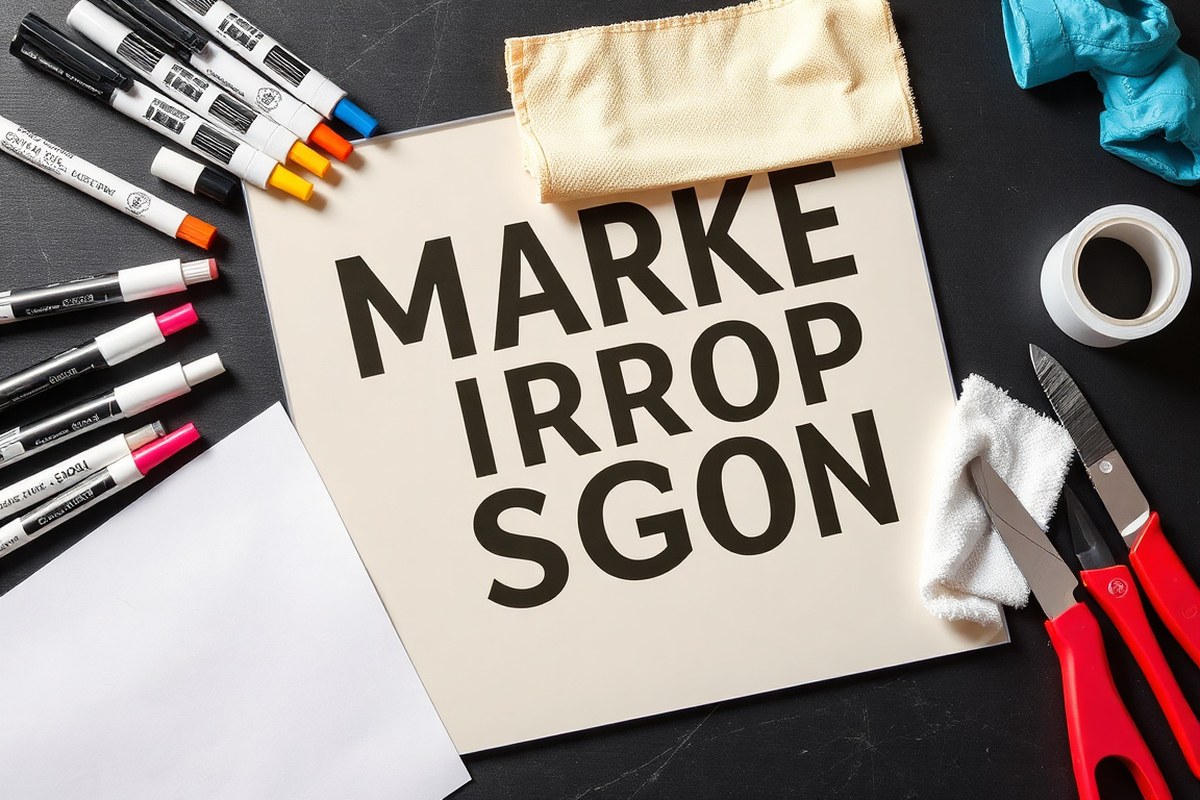
To hand-make a mirror sign, gather a few basic tools and materials that will help you achieve a clean, polished result. You’ll need a mirror of your choice (glass or acrylic), a fine-tipped paint marker or glass paint pens, rubbing alcohol, lint-free cloths, painter’s tape or masking tape, and gloves to prevent smudging. A soft brush or microfiber cloth is useful for dust removal, and if you plan to add decorative elements, you might want stencils or vinyl decals. These items generally cost between $5 to $20 each, depending on quality and brand, and you can find them at craft stores or online.
Before starting any lettering, cleaning the mirror surface thoroughly is essential. Any dirt, oils, or fingerprints can prevent paint or ink from adhering properly, causing smudges and uneven lines. Use rubbing alcohol on a lint-free cloth to wipe down the entire surface gently but thoroughly. This removes grease and dust without leaving streaks, which soap and water often do. Let the mirror air dry or wipe again with a dry cloth to avoid streaks or moisture under your paint.
Setting up your work area matters as well. Choose a flat, stable surface with good lighting, ideally near a window or a lamp that mimics daylight. Lay out all your tools within easy reach to avoid interruptions once you start. Protect your work surface with newspaper or a drop cloth to catch any accidental drips or scratches.
- High-quality mirror with a smooth surface, free of scratches
- Fine-tipped paint markers or glass-specific paint pens
- Rubbing alcohol and lint-free cloths for cleaning
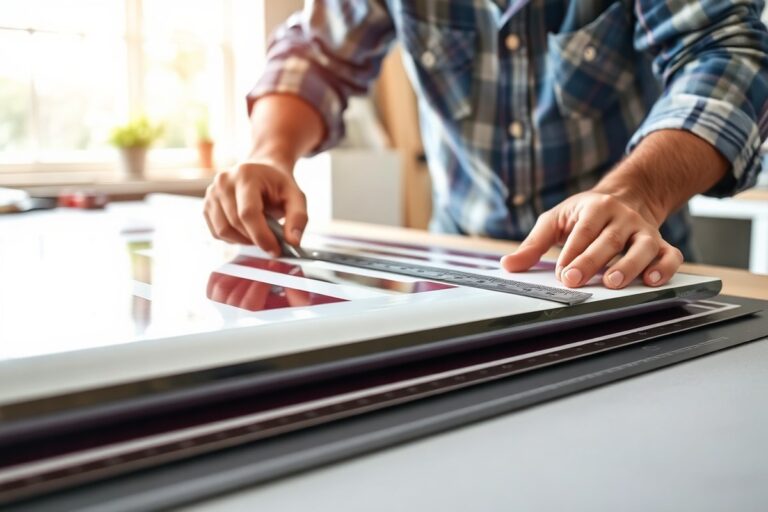
- Painter’s tape to mark edges or create straight guidelines
- Gloves to avoid fingerprints during the process
- Stencil or vinyl decals if you prefer precise shapes or letters
- Soft brush or microfiber cloth for dust removal before and during work
Keep in mind that glass mirrors require extra care because they can break if handled roughly, so always handle with clean hands and steady movements. Acrylic mirrors are more forgiving but may scratch easily, so avoid abrasive cloths or harsh cleaners. Proper cleaning and preparation impact how well your hand lettering will stick, look crisp, and last through your event. If the surface still feels oily or shows streaks after cleaning, repeat the rubbing alcohol wipe to guarantee the best adhesion and clarity.
Choosing the Perfect Mirror and Layout for Your Sign

Selecting the right mirror involves balancing size, style, and backing to suit your event space and the text you want to display. Planning your layout helps to achieve good readability and avoid glare, especially when guests will view the sign from a distance and in varying light conditions.
Choosing Mirror Size and Style
Start with the space where your mirror sign will go. A large mirror between 20 by 30 inches and 24 by 36 inches works well for welcome signs or menus that guests need to read from several feet away. For tabletop signs, mirrors 12 by 18 inches or smaller offer an intimate size that is easy to place on dessert tables or bars. Decide if you want a freestanding mirror with a sturdy backing or a frameless, lightweight piece that can hang on a wall or be attached to a sign holder.
The style of the mirror affects how it complements your wedding theme. A beveled edge or ornate frame adds elegance but can cost $60 to $150 or more, whereas simple, flat-edge mirrors often run $15 to $40 at craft stores. Choose clear glass mirrors for the best text contrast and sharp reflection, acrylic mirrors may scratch easily and cloud your lettering.
Backing and Mounting Options
A solid backing provides stability and protects your sign surface. Foam board or lightweight plywood backing works well for freestanding signs and costs between $10 and $20. Attach the mirror securely with strong double-sided tape or mirror-safe adhesive. If you plan to hang the mirror, consider drilling small holes in the glass (using a professional service) to thread wire or hook hardware; otherwise, use heavy-duty picture hanging strips compatible with glass.
Backing color influences how your text stands out. A matte white or black backing creates a strong contrast, especially with white or gold lettering. Clear backing may reflect surfaces behind the mirror, causing distraction and glare.
Designing and Positioning Text
Divide your mirror surface into clear sections to organize the information. For a welcome sign, split the mirror into roughly five horizontal areas: top illustration, welcoming phrase, wedding date, lower illustration, and names or sentiments at the bottom. This structure guides guests’ eyes smoothly from top to bottom. Use a medium-to-large font size with at least 0.18-inch stroke width for excellent readability from about 10 feet away.
Center your text horizontally but leave breathing space around the edges, at least 1.5 to 2 inches, to prevent crowding. For longer texts such as menus or quotes, use line breaks to separate items or ideas. Hand-letter with script fonts like Great Vibes Bold for elegance, but choose styles with clear letterforms that avoid overly thin strokes or tight spacing.
Minimizing Glare and Reflection Challenges
Glare is a common problem when photographing mirror signs under bright or direct light. Position your sign away from harsh sunlight or overhead spotlights. Tilting the mirror slightly can help reflect the ceiling or sky rather than lights and people. Avoid placing signs directly opposite windows.
Choose a matte or etched finish if available, which diffuses reflections better than a high-gloss mirror. You can also apply anti-reflective spray designed for glass surfaces, but test it on a small corner to ensure it doesn’t damage the reflective coating. Setting up your mirror sign with a backlight or soft ambient lighting reduces glare and improves readability in photos.
Test your mirror sign on location with your lighting setup before the event to check for glare and adjust its angle or position if necessary.
Best Lettering Techniques for Clear Mirror Signs
For clear mirror signs, lettering needs to be bold enough to stand out against reflections and easy to read at a glance. Use paint pens or vinyl decals tailored specifically for glass to ensure strong adhesion and crisp lines. Choosing the right fonts and transfer methods helps keep your message sharp and elegant throughout your event or display.
Using Paint Pens for Hand Lettering
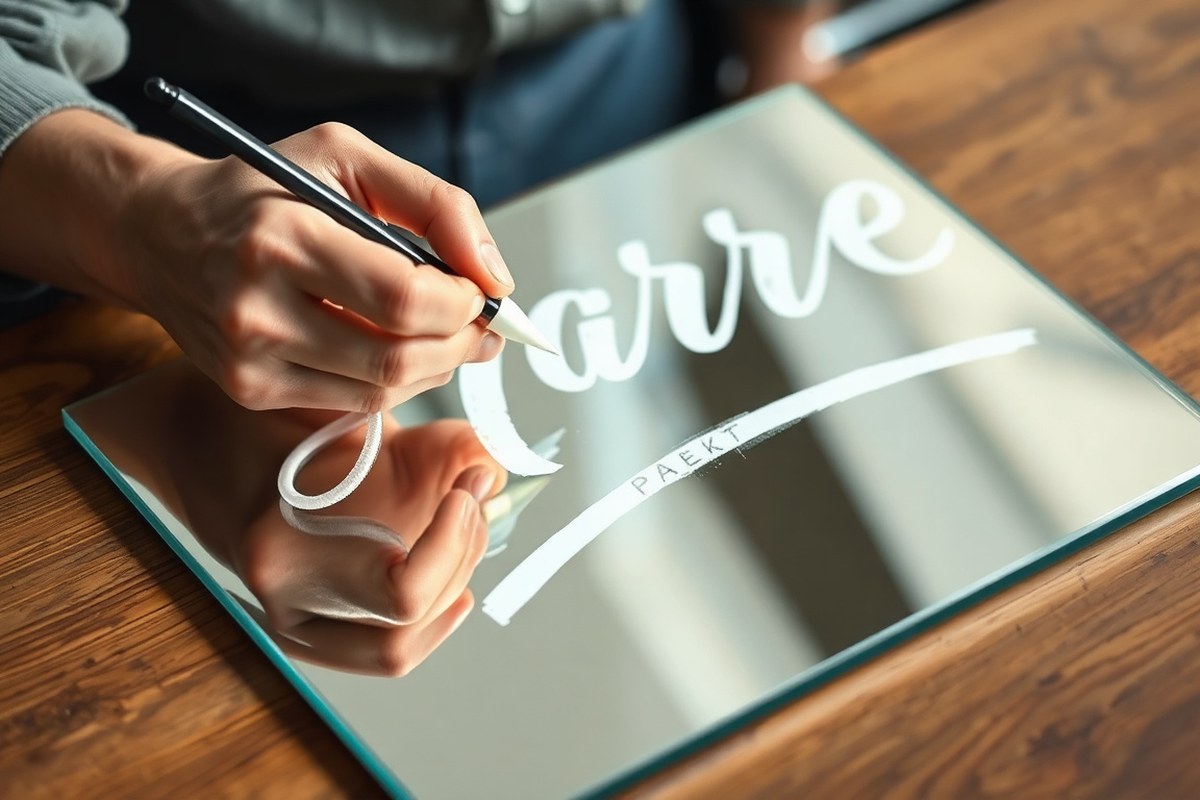
Paint pens are ideal for adding personalized, fluid script or block letters directly on the mirror. To begin, clean the mirror surface thoroughly with glass cleaner and a lint-free cloth. Lightly sketch your message with a dry erase marker or a pencil on masking tape temporarily placed on the mirror to guide your lettering.
Select a white paint pen with a fine tip for better control and visibility. Apply steady pressure, and write slowly to avoid smudges or uneven strokes. Allow the paint to dry for 15 to 30 minutes before adding a second coat if needed. Avoid touching the wet paint to prevent fingermarks, and cure the finished sign in a dust-free area for at least 24 hours.
Applying Vinyl or Decal Letters
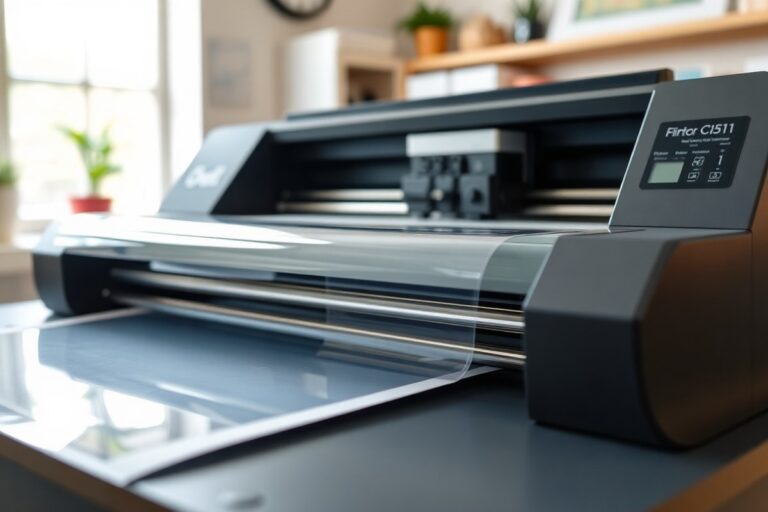
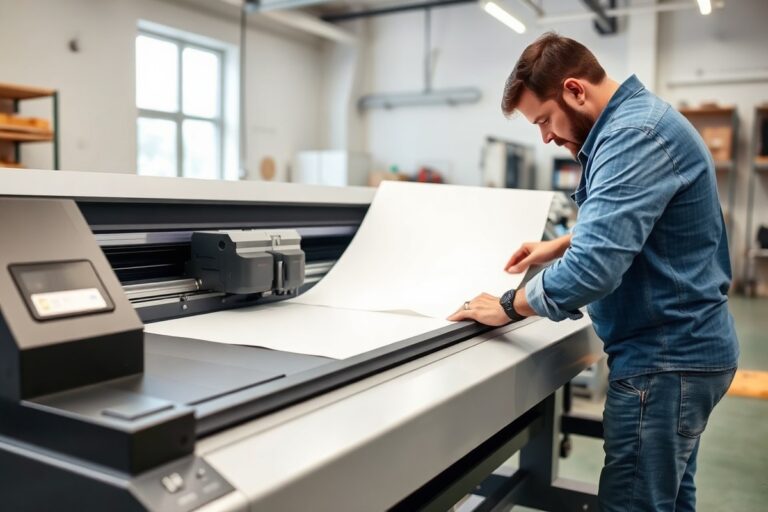
Vinyl decals provide a neat, professional look and are great for repeated use or larger-scale signs. Start with custom or pre-cut vinyl letters made from brands designed for mirrors, such as Cricut Premium Vinyl or Oracal 651. Avoid using standard vinyl that is not mirror-compatible, as it may peel or bubble due to the mirror’s silver backing.
- Clean the mirror thoroughly to remove grease and dust.
- Place the decal face down on transfer tape, then peel off the backing slowly.
- Align and press the decal onto the mirror, smoothing out air bubbles with a squeegee or credit card, working from the center outward.
- Carefully remove the transfer tape at a sharp angle once the decal adheres.
- Let the vinyl cure for 48 hours indoors before applying a matte clear acrylic sealer for added durability and anti-glare effect.
The process can cost from $10 to $25 depending on whether you buy pre-made letters or make your own with a vinyl cutter. Vinyl lettering works best on indoor mirrors since heat or humidity may reduce adhesion outdoors.
| Lettering Method | Pros | Cons | Best Uses |
|---|---|---|---|
| Paint Pen | Customizable, affordable ($5-$15 per pen), ideal for cursive | Requires steady hand, needs drying time, less durable outdoors | Small to medium mirrors, wedding ceremony signs |
| Vinyl Decals | Clean edges, consistent look, durable indoors, reusable | Requires cutting tools, may peel outside, costs $10-$25 | Large signs, repeat usage, professional events |
| Stick-on/Glue-on Letters | Easy to apply, no skill needed | Expensive, less elegant, may appear ordinary | Quick temporary signs |
Choosing paint pens suits detailed or scripted messages that add a personal touch. Vinyl lettering offers durability and sharp, uniform lines for larger or higher-visibility signs.
Choosing Fonts and Size for Readability
Simple block fonts with thick strokes work best on mirrors. Avoid thin script fonts thinner than 0.125 inches in stroke width because they can blur under flashes or strong light reflections. For a touch of elegance, use larger cursive fonts but keep stroke widths bold enough for visibility.
Match letter size to the mirror’s scale, letters between 3 to 6 inches tall usually balance readability without crowding the mirror surface. For wedding signs, a single meaningful word (“Forever,” “Joy”) in a bold script can add charm but requires careful stroke sizing.
Serif fonts provide a classic appeal, while sans-serif fonts offer modern clarity. Consider the event lighting and how reflections will affect legibility. Testing a sample font on paper or a small mirror section can prevent costly mistakes.
Step-By-Step Process to Create Your Mirror Sign
Creating a mirror sign by hand involves careful planning, precise tracing, steady painting, and thoughtful finishing touches. Each step requires patience and attention to detail to avoid smudges and errors. The process typically takes several hours spread over a couple of days to allow for drying and corrections.
Planning Your Design and Workspace
Start by selecting your mirror and decide on the design layout. Sketch your lettering or graphics on paper to scale, considering the mirror’s shape and size. A clean workspace with good lighting helps you see details clearly and avoid mistakes. Cover the mirror edges with painter’s tape to protect against spills and mark guidelines using removable stickers or a light pencil. Planning reduces tracing errors and ensures the finished sign looks balanced.
Preparing the Mirror Surface
Clean the mirror thoroughly using glass cleaner and a lint-free cloth to remove dust, fingerprints, and oils. Any residue can interfere with paint adhesion and cause smudges. Wait until the mirror is completely dry before proceeding. When tracing a design, place your paper template under the mirror and tape it firmly to keep it from moving while you trace.
Tracing the Design on the Mirror
Use a fine-tip, erasable marker or a glass-safe pencil to trace your design onto the mirror surface. Take your time and keep your hand steady to avoid uneven lines. To reduce smudging, let small sections dry briefly if your marker is wet and avoid touching traced lines directly. In case of mistakes, wipe with a cotton swab dipped in glass cleaner and start that section over. This step takes about 20 to 30 minutes, depending on the complexity of your design.
Painting Your Lettering or Graphics
Choose paint specifically made for glass, such as enamel or acrylic enamel paints. Apply paint with a fine brush or a paint pen for better control. Work slowly and in thin layers, allowing each coat to dry 15 to 20 minutes before applying the next. This prevents paint from running or smudging. Keep a clean cloth nearby to wipe any drips immediately. Painting usually requires 1 to 2 hours, including drying time between coats.
Applying Finishing Touches and Curing
Once the paint is fully dry, inspect your mirror for any touch-ups. Use a small brush for corrections or adding decorative details. Before hanging your sign, gently peel off any protective film on the mirror to prevent scratches or damage. Allow the painted sign to cure for at least 24 hours before handling extensively or mounting. Curing ensures the paint bonds well and prevents smudging later on, especially if the mirror will be used outdoors or in humid environments.
- Plan your design and workspace, sketching your layout to match the mirror size.
- Clean the mirror thoroughly and ensure it’s dry before starting.
- Trace your design carefully using an erasable glass-safe marker or pencil.
- Paint your design slowly with glass-specific paint, allowing drying time between coats.
- Make final touch-ups once dry, remove protective films, and let the paint cure fully before use.
Tips for Finishing Touches and Mounting Your Mirror Sign
Sealing your mirror sign protects the glass surface and your lettering from damage and wear. Use a clear acrylic spray sealant designed for glass to avoid smudging your artwork. Apply the sealant outdoors or in a well-ventilated area, spraying thin, even coats from 8 to 12 inches away. Let each coat dry for about 15 minutes before reapplying. Two to three coats are usually enough to create a durable, glossy finish that looks polished and professional.
Protecting the edges of the mirror is just as important. Mirror edges are fragile and prone to chipping. Consider framing your mirror sign in a wooden or metal frame that fits snugly to prevent bumps. A frame also helps keep dust and moisture away from exposed edges, which can degrade the reflective backing over time. Frames can be found starting around $20 at craft stores or online, or you can build a custom one with basic woodworking tools.
Handling the mirror safely starts with using gloves and setting the mirror on a soft, flat surface during decoration and sealing. The glass can easily crack or chip if dropped or set on uneven surfaces. When it’s time to mount, use wall anchors or screws suitable for the wall material, ensuring the mount can bear the mirror’s weight. Mirrors especially need a sturdy backing; avoid directly screwing into the glass or using weak adhesive strips that can fail.
Mounting with standoff screws offers a modern look and keeps the mirror about 1/2 inch away from the wall or any lit board behind it. This gap visually highlights the sign and protects the mirror surface from direct contact and scratches. Standoff screws can cost between $10 and $25 for a set and come with instructions. Drill holes carefully on the wall and mirror backing using a glass drill bit if attaching directly through the mirror.
For displaying your mirror sign, choose a location free from direct sunlight or moisture, since UV rays and humidity can dull the reflective backing or cause your lettering to fade. Indoors near ambient light works best for readability and longevity. Using non-permanent, mirror-safe adhesive pads or hooks can let you relocate the sign without risking damage, but more permanent options include drilled mounting or heavy-duty picture hanging hardware.
Always support the mirror’s weight from the frame or backing, never from the glass itself, to avoid cracks during mounting or display.
Common Mistakes in DIY Mirror Signs and How to Fix Them
Common mistakes in DIY mirror signs often involve lettering errors, smudges, and uneven paint application. These can disrupt the clean and elegant look you’re aiming for, but many issues are fixable without starting over. Correcting mistakes early saves time and material, so it’s useful to know how to handle them effectively.
Lettering errors are the most frequent problem. For paint, if you notice a misplaced stroke or smudge, wait for the paint to dry fully before attempting a fix. Use a small, sharp utility knife or a razor blade to gently scrape off the unwanted paint without scratching the mirror surface beneath. This repair usually takes about 5 to 10 minutes and costs only the price of a blade, roughly $1 to $3 each. After scraping, clean the area with rubbing alcohol on a soft cloth to remove residue. Lightly sand the spot with very fine (1200 grit) sandpaper before repainting if the whole letter needs redoing, then clean the area thoroughly.
With vinyl lettering, fixing errors depends on the stage of application. Carefully peel off and reposition the vinyl without stretching or tearing when it is just placed and not pressed down. Gently heat the vinyl with a hairdryer on low (around 120°F) to soften the adhesive if the vinyl is stuck but misaligned. Then, with a plastic scraper or your fingernail, lift one edge slowly and reposition. For damaged vinyl, replace the faulty letter by cutting a new piece from extra vinyl sheets, which cost about $10 to $20 for a small roll, and apply following the original procedure.
- Uneven paint thickness: apply thin layers using a fine brush or paint marker, allowing 10-15 minutes drying between coats.
- Paint bleeding under stencil edges: use painter’s tape to secure stencils and press edges firmly before painting.
- Smudged lettering on paint: scrape carefully after drying; avoid wiping wet paint to prevent spreading.
- Vinyl letters curling or peeling: re-heat gently with a hairdryer and press down with a plastic scraper.
- Trapped dust or fingerprints: clean the mirror surface with glass cleaner and a lint-free cloth before starting.
Improving your sign after fixing errors involves careful cleaning and evaluating the appearance. Avoid harsh scrubbing, which can create scratches or dull spots. A light polishing with a glass polish compound can help restore shine when the repaired area still looks different. For all fixes, working in a dust-free environment and steady hands will reduce the chance of new mistakes. Each modification should be done patiently, as rushing increases risk of further damage.
How Lighting and Environment Affect Your Mirror Sign’s Look
Light and environment play a key role in how your mirror sign looks and how easy it is to read. Since mirrors reflect light, direct sunlight or strong artificial lighting can cause glare, making your lettering hard to see. Position your mirror sign so that it doesn’t face the sun or bright light at peak hours, usually mid-morning to late afternoon, to reduce glare. Angling the mirror slightly downward or away from windows and light bulbs helps diffuse reflections instead of creating sharp glare spots.
The type of lighting affects visibility, too. Soft, indirect lighting lets your sign’s lettering stand out more clearly against the mirrored surface. Daylight offers the best visibility for outdoor events, but cloudy or shaded areas can reduce harsh reflections and improve photo appeal. In indoor settings, warm LED or incandescent bulbs placed to the sides instead of directly above or behind the viewer can prevent distracting reflections and keep the focus on your text.
Surface finish also influences glare. Some mirror surfaces reflect light too sharply, increasing glare in bright environments. To soften reflections, lightly mist the mirror with a fine spray of matte glass cleaner or apply a temporary anti-glare film, both available for less than $10 at most craft or hardware stores. Test small areas first to ensure the lettering remains clear.
Positioning the sign near neutral-colored or matte background surfaces reduces reflection clutter that competes with your lettering. Avoid placing it near shiny metals, bright colors, or busy patterns that reflect onto the mirror’s surface. Good results show your lettering clearly with balanced light and minimal distracting reflections, improving legibility and photo quality.
Glare can ruin the look of your mirror sign and make photographs disappointing. To manage glare, place your sign out of direct sunlight and avoid strong overhead lighting. Use soft side lighting and consider a slight tilt to the mirror’s angle. Experiment with your location and lighting before the event. If you notice glare, shift the sign a few inches or adjust the angle until reflections soften.
For outdoor settings, avoid placing your mirror sign directly facing the east or west, where low-angle morning or evening sun creates intense glare. In shaded spots, glare is easier to control, and your lettering will remain visible longer. In dim indoor settings, adding a small, diffused light source aimed at the lettering can boost visibility and photo appeal without creating hotspots.
Understanding how your mirror sign interacts with its environment takes some trial and error. You can use two Bistro markers, a fat tip for bold text and a thin tip for detail, to test visibility in different lighting before finalizing your design. Moving your mirror sign to various spots and testing different angles will help you find the sweet spot where glare is minimized and the lettering shines in photos, making your handcrafted creation stand out beautifully.
Safety and Durability Considerations for Mirror Signs
Working with glass mirrors presents risks like sharp edges and breakage, so handling them with care is essential. Alternatives such as acrylic or polycarbonate mirrors offer safer options because they are lighter and shatter-resistant. These materials reduce injury risk during cutting, painting, and mounting, making them suitable for DIY projects, especially if children or pets are around.
To maintain the durability of hand-painted mirror signs, start by thoroughly cleaning the mirror surface with a non-abrasive glass cleaner before applying paint. Use paint designed for glass or mirrors, such as enamel or acrylic paint, which resists peeling and fading. After painting, wait at least 24 to 48 hours for the paint to dry fully, then apply a clear sealer or protective spray specifically made for glass surfaces. This layer protects your design from scratches and moisture, extending the sign’s lifespan. Keep your mirror sign away from direct sunlight and extreme humidity to prevent paint discoloration and mirror delamination.
When choosing between a glass or plastic mirror backing, weigh your project’s location and intended use. For outdoor signs or places prone to impact, acrylic mirrors provide better resistance and safety but may scratch easier than glass. If you prefer genuine glass, securing the sign with rubber grommets or padding in the frame reduces accidental damage during handling or hanging.
You should consider professional help if the project involves custom cutting of thick glass mirrors, complex lettering techniques requiring precision, or electrical elements like backlighting. Professionals have tools like diamond-tipped glass cutters and spray booths to finish evenly without dust or bubbles. Their experience minimizes the risk of costly mistakes and injuries from shattered glass. Expect professional cutting to cost roughly $20 to $50 depending on size and complexity and custom painting services at $100 or more, factoring in design intricacy.
Basic safety measures include wearing gloves rated for glass handling and eye protection when cutting or drilling. Work on a stable, padded surface to avoid slipping and accidental impacts. Keep your workspace clean and well-lit to spot chips or cracks early. Avoid sharp tools without proper guards, and never rush the drying and sealing steps, as rushing compromises durability.
Always wear cut-resistant gloves when handling glass mirrors to prevent injuries, and opt for acrylic mirrors if safety is a priority in your project.
Step-by-Step Action Plan
Follow these clear steps to create your own personalized mirror sign, ensuring each stage is done right before moving on.
- Before you start: Gather all essential tools and materials, including a suitable mirror, permanent markers or paint pens, stencils if needed, masking tape, and cleaning supplies. Confirm your mirror’s surface is clean and free of dust.
- Day 1: Select your mirror and plan your layout by sketching your design on paper. This helps visualize placement and sizing for your lettering.
- Day 2: Apply your lettering technique, whether freehand with a paint pen or using stencils and masking tape. Check for clean, sharp lines before moving forward.
- Day 3: Let the design dry fully. Inspect for any smudges or uneven paint spots and carefully correct mistakes with a cotton swab and glass cleaner.
- Day 4: Add finishing touches, such as sealing with a clear spray sealer for durability. Test the seal in a small corner to ensure it doesn’t cause cloudiness.
- Day 5: Mount your mirror sign using appropriate hardware for your wall type. Confirm it is level and secure to prevent damage or injury.
- After mounting: Adjust your room lighting to minimize glare and maximize the readability of your sign. Make notes on which light sources work best for future projects.
Frequently Asked Questions
Can I Use Acrylic Instead of Glass for a Mirror Sign?
Acrylic mirrors weigh less and break less easily than glass, so they work well for DIY signs. You can drill holes in them without trouble, typically about 0.5 to 1.5 inches from the top corners to hang your creation.
What’s a Creative Way to Decorate the Edges of a Mirror Sign?
Adding flowers or small props around the edges gives a textured, personalized look. This complements the mirror’s reflectiveness and improve the overall wedding decor.
How Can I Make My Mirror Sign Stand Out at a Wedding Reception?
Use a deep, textured effect by layering paint or engraving, which looks stunning against the reflective surface. Pair it with themed props for added impact.
Is It Better to Display the Mirror Sign on an Easel or Hang It?
Both work well, but hanging lets you show the sign at eye level while an easel is portable and versatile for different venues. Consider your space and preference.
What Type of Message Suits a Wedding Mirror Sign?
Choose messages like welcome notes, event schedules, menus, or drink lists. Tailor your wording to the sign’s placement for guest clarity.
How Can I Avoid Smudges on My Finished Mirror Sign?
Use a lint-free cloth with glass cleaner before and after lettering to keep it spotless. Handle it with clean hands or gloves during creation.
The Bottom Line
Creating a mirror sign by hand lets you add a stylish, personal touch to your wedding decor or home. Taking careful steps and choosing the right materials will help your sign look clear and last longer. The next move is to pick your mirror and start sketching your design today, you’re one step closer to a unique mirror masterpiece.