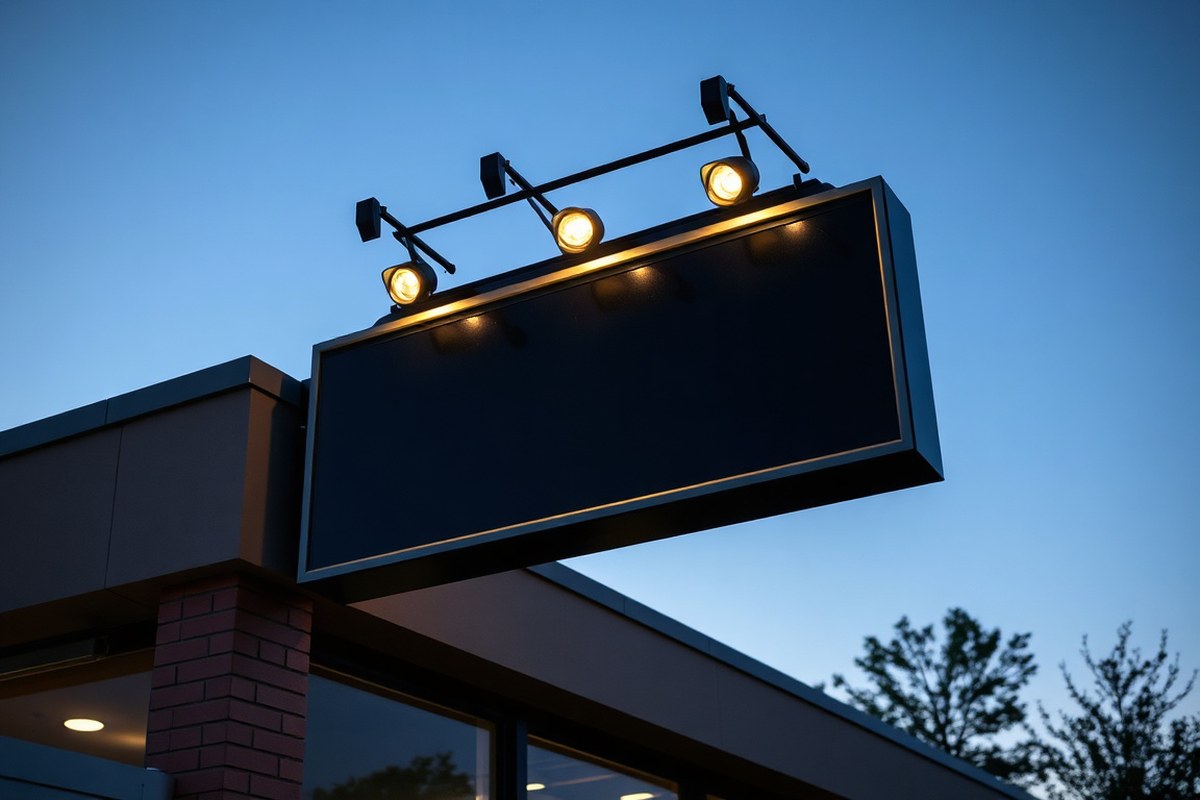
How to Light an Outdoor Sign: A Complete Guide with Proven Strategies
How to light an outdoor sign depends mainly on choosing the right lighting method, proper mounting positions, and appropriate light intensity. The best results come from selecting fixtures that match the sign size and location, then positioning them to evenly illuminate the sign face. Starting with measuring your sign and the surrounding space ensures you pick effective lights and placement for clear visibility.
Key Takeaways
- Pick one of three basic lighting methods: front lighting, backlighting, or internal illumination.
- Mount lights at a distance twice the setback from the sign to avoid glare; for a 6-foot setback, space lights 12 feet apart.
- Use IP67 or higher-rated fixtures for reliable protection against dust and water outdoors.
- Choose adjustable beam angles (like 35° × 60° or 60° × 90°) to control light distribution on the sign.
- Consider 120V wall wash fixtures for strong, even coverage of larger outdoor signs.
- Use color temperatures that improve the sign’s colors without causing eye strain, typically in the 3000K to 4000K range.
How to Choose the Best Lighting Method for Your Outdoor Sign
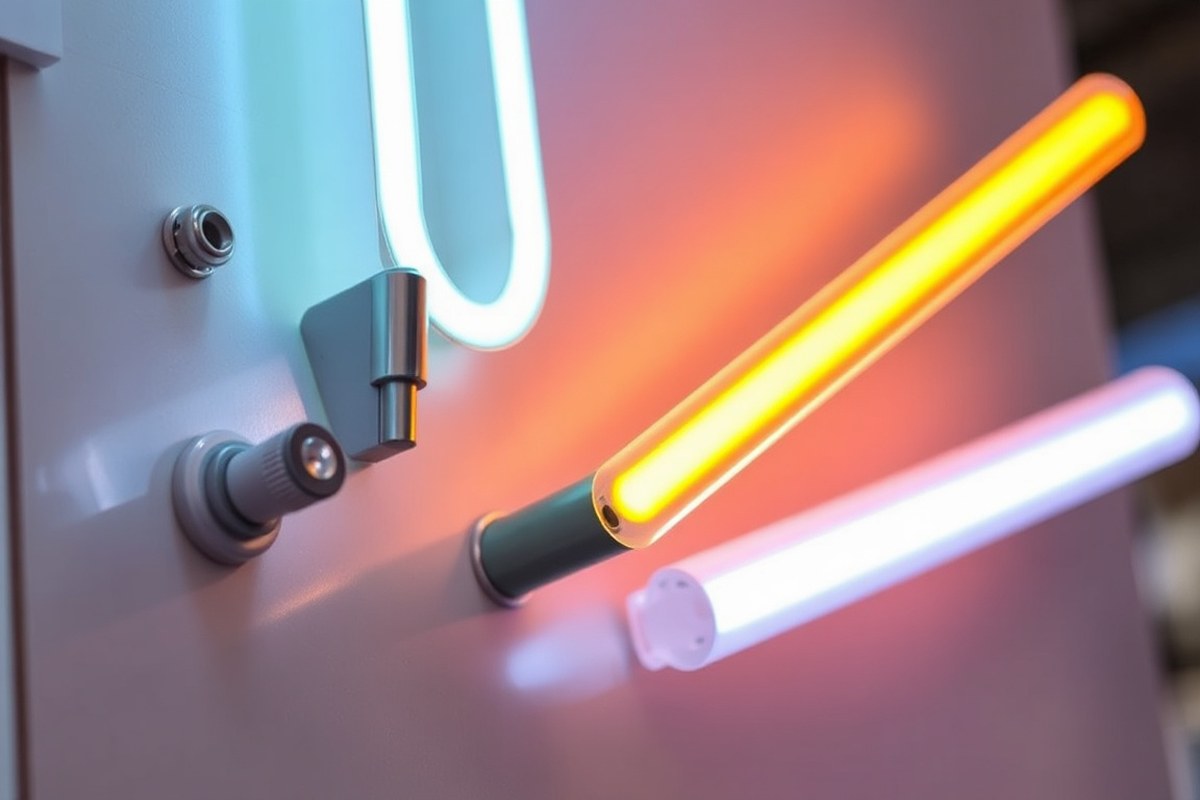
Choosing the right lighting method for your outdoor sign depends on your sign type, location, and budget. LED lights are widely preferred today for their energy efficiency and long lifespan, making them ideal for signs exposed to harsh weather or extended nightly use. Neon lighting, both traditional glass neon and modern acrylic neon, is excellent for creating a vibrant, vintage look, especially for translucent or artistic signs. Fluorescent lighting tends to be less common now but can suit certain large, flat signs needing broad, even illumination.
Solar-powered lights offer an eco-friendly choice but work best in sunny locations with minimal shading. These are practical for signs that don’t require intense brightness and benefit from off-grid operation. In contrast, wired LED or neon systems provide steady, bright illumination suitable for business signs needing high visibility and brand impact.
| Lighting Type | IP Rating | Lifespan | Brightness | Cost (Per Fixture) |
|---|---|---|---|---|
| LED | IP65 to IP67 (suitable for wet environments) | 25,000 to 50,000 hours | High (adjustable) | $30 to $150 |
| Glass Neon | IP54 (water-resistant but fragile) | 15,000 to 30,000 hours | Medium to High (glowing tubes) | $100 to $300+ |
| Acrylic Neon (LED-based) | IP65 (weatherproof) | 30,000 to 50,000 hours | Medium to High | $70 to $200 |
| Fluorescent | IP44 (less weather-resistant) | 8,000 to 20,000 hours | Medium | $40 to $120 |
| Solar-Powered LED | IP65 (weatherproof) | 15,000 to 30,000 hours (LED bulb life) | Low to Medium | $50 to $130 |
Use this checklist to pick the right lighting method based on your sign’s material and location:
- Sign Material: Translucent signs perform best with backlighting from LEDs or acrylic neon for even, eye-catching light. Opaque signs suit front-mounted LED flood or spotlight fixtures.
- Sign Location: High-traffic or urban areas benefit from bright, long-lasting LEDs or neon for visibility. Remote or sunny spots can use solar-powered LEDs if wiring is impractical.
- Lighting Effect Desired: Choose neon for classic glow and color richness. LED options offer color versatility and dimming controls. Fluorescent is less flexible but can be adequate for broad, flat signs.
- Budget: LEDs offer lower operating costs despite higher upfront prices. Traditional neon has higher maintenance and fragility costs. Solar LEDs have moderate upfront costs with savings on wiring.
Matching your sign’s specific needs to the right lighting keeps your message clear and attractive. Poor choices can lead to glare, uneven brightness, or rapid bulb failure. Opting for weatherproof fixtures rated for your environment protects investment and ensures consistently good illumination that supports your brand image.
Where and How to Mount Outdoor Sign Lights for Optimal Coverage
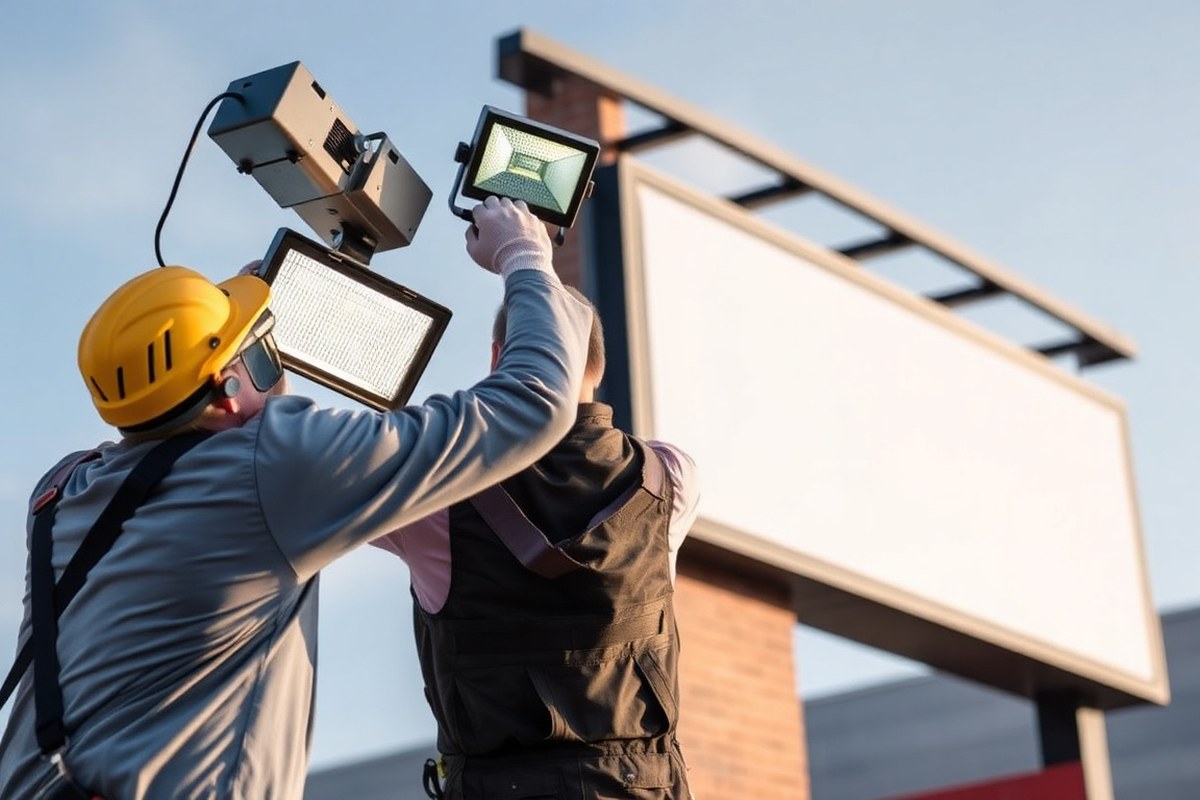
Mount your outdoor sign lights above the sign for the most consistent coverage and brightness. Positioning lights below or behind is less common and can cause unwanted shadows or glare. Proper beam angle and spacing, along with choosing the right fixtures and mounts, ensure your sign is visible and attractive day and night.
Mounting Above vs Ground Mounting Pros and Cons
Mounting lights above the sign is the standard approach because it provides direct illumination without shadows from pedestrians or landscaping. This location allows for adjustable arms and fixtures that can be securely attached to walls or poles.
Ground-mounted lights can highlight signs with dramatic uplighting but risk creating glare for drivers or passing pedestrians. They also require careful placement to avoid being blocked by plants or snow accumulation in colder climates. Behind-the-sign mounting works well for backlit or translucent signs but needs specialized fixtures and precise alignment.
Choosing between these depends on your sign’s size, location, and local conditions. For example, a pole sign in a landscaped area might benefit from ground lights, while a storefront wall sign is best lit by overhead fixtures.
Adjusting Beam Angles for Uniform Illumination
Adjusting the beam angle is important for uniform lighting across the sign surface. Using fixtures with adjustable rectangular or spot-to-flood beam options allows you to tailor where the light hits. Narrow, focused beams minimize light spillage and improve brightness on the sign.
Position light heads to evenly distribute light from top to bottom without creating hot spots or shadows. Typical beam angles range from 30 to 60 degrees, which you can tweak to match your sign’s shape and size. For signs wider than 6 feet, use multiple fixtures spaced to overlap and avoid dark patches.
Measure the distance from mounting point to sign face to calculate the beam spread. The closer the fixture, the narrower the beam angle you should choose, and vice versa. This prevents overlighting or wasted energy.
Compatible Mounts and Weatherproof Fixtures
Select mounting hardware compatible with your fixture and installation surface. Wall mounts with adjustable arms are common for signs attached to buildings, allowing you to extend the light fixture several inches forward for better coverage.
For larger or double-sided signs, consider dual-head lights to cover both faces evenly. Make sure mounts are sturdy and weatherproof, made from rust-resistant materials like powder-coated aluminum or stainless steel. Fixtures rated IP65 or higher are designed to withstand rain, snow, and dust. Engage a licensed electrician or sign lighting specialist to confirm your mounting options, especially if electrical code compliance and safety requirements vary at your site. Follow these steps to mount your outdoor sign lights correctly:
- Assess the sign’s location, size, and material to determine the best mounting position.
- Choose fixtures with adjustable beams and verify their compatible mounts and arm reach.
- Calculate the distance from mounting point to sign face to select appropriate beam angles (typically 30, 60 degrees).
- Install mounts securely on stable surfaces like walls or poles using rust-resistant hardware.
- Attach light fixtures to mounts and adjust heads to evenly illuminate the entire sign surface.
- Wire lights according to local electrical codes with the help of a licensed electrician.
- Test the lighting at night to check for uniformity and adjust angles as needed.
- Perform seasonal inspections to clear debris and ensure no obstructions affect light coverage.
Align lights to minimize glare for passersby and avoid shining beams directly into traffic or windows.
How to Determine the Number and Spacing of Sign Lights
To determine how many lights you need and how far apart to space them, start by measuring your sign’s width and height. Then set a fixed distance for the lights from the sign’s surface, based on the mounting position and light beam spread. Proper spacing ensures even illumination, avoids dark spots, and maximizes visibility without wasting power or causing glare.
Calculating Light Quantity by Sign Dimensions
Lighting a large sign evenly requires more fixtures spaced across its width and height. Use the sign’s width to estimate how many lights fit side to side, especially if you mount lights above or below. For wider or taller signs, add additional rows to maintain brightness across the entire surface. Signs with textured or non-reflective finishes may need more lights to compensate for light absorption.
For rectangular signs, spacing lights evenly along the length helps create a consistent wash of illumination. Typical spacing ranges between 8 and 12 feet apart. A good rule of thumb is 1 light for every 6 to 8 feet of sign width to start. For example, a 24-foot-wide sign might require three to four lights evenly spaced.
Determining Proper Setback Distance
Setback is the distance from the light fixture to the sign surface. This distance affects the light’s beam spread and intensity on the sign. A longer setback creates a wider, softer light pattern but reduces brightness. A shorter setback gives stronger light but can create hot spots and uneven lighting.
Start by choosing a setback equal to about half the distance between your fixtures. For example, if you plan 12 feet between lights, placing each fixture 6 feet from the sign works well. If mounting space is limited or fixtures are very bright, reduce the setback accordingly. You may need to test the setup for shadows or glare.
Adjusting for Beam Angle and Brightness Needs
Beam angle describes how wide the light spreads from each fixture. Narrow beams concentrate light in a small area, while wide beams cover more surface but spread light thinner. Choose a beam angle that matches the sign size and setback. Use wider beams if your lights are farther from the sign or spaced wider apart. Narrow beams work better for closer and denser spacing.
Brightness also matters. More powerful LEDs can be spaced farther apart or set with longer setbacks while still delivering adequate illumination. Lower wattage lights require closer spacing or shorter setbacks. Check the lumen output on the fixtures to see if they meet your needs. Protect against overlighting that wastes energy and causes distractions. Use this checklist to adjust spacing for your setup:
- Measure your sign’s width and height.
- Choose the desired setback distance, ideally half the planned light spacing.
- Select fixture beam angle: wider for longer setbacks, narrower for closer spacing.
- Calculate initial fixture count by dividing sign width by spacing distance.
- Adjust the number of lights depending on brightness (lumens) and beam angle.
- Factor in sign surface finish: increase fixture count for matte or textured surfaces.
- Check mounting options to ensure proper fixture placement and setback.
Choosing the Ideal Color Temperature and Light Controls
Choosing the right color temperature for your outdoor sign lighting plays a significant role in how easily people read your sign and how they feel about your brand. Color temperature is measured in kelvins (K), and for outdoor signs, a range between 3000K and 5000K is typically effective. Lights around 3000K emit a warm, yellowish tone that creates a welcoming and relaxed atmosphere, making them ideal for businesses in hospitality, food, or crafts. On the other hand, cooler lights closer to 5000K produce a bright, crisp white that improves clarity and draws attention, which works well for retail stores or tech brands looking to project modernity and precision.
Matching your brand identity to the lighting color temperature is important. Warm lighting connects to comfort and tradition, so use it if your brand message revolves around friendliness or heritage. Cool lighting sends signals of innovation and professionalism, better suited for brands focused on technology or efficiency. Test your sign under different lighting conditions by installing temporary LED bulbs with adjustable color temperatures. This lets you see how your customers might perceive your sign at night before committing to a permanent setup.
Integrating light controls like dimmers, timers, and motion sensors can improve your sign’s effectiveness and save energy. Dimming controls allow you to adjust brightness levels, avoiding glare that washes out the sign’s message or annoys neighbors. Timers enable your sign to turn on and off automatically at set hours, aligning with your business hours without wasting electricity. Motion sensors activate the lights only when someone is nearby, which can increase visibility while conserving energy during low-traffic hours.
Installing these controls usually requires compatible LED fixtures and a smart lighting controller or simple programmable timer. The upfront cost varies; basic timers start around $20, while advanced smart lighting systems with dimmers and sensors can cost a few hundred dollars but pay off in energy savings and convenience. For example, setting your sign light to lower to 50% brightness during late-night hours can reduce electricity use while keeping your business visible. Expect to invest some time or hire an electrician for proper wiring and configuration, ensuring controls work reliably and comply with local codes.
Pay attention to how your lighting setup affects readability. Lights that are too warm or dim might reduce contrast and make your sign hard to read, especially from a distance. Conversely, overly bright, cool lights can create harsh glare and make your sign look sterile. Aim for balanced lighting where the colors of your sign stay true and letters are clear. Testing at different times and from various viewing angles helps optimize the effect.
How to Backlight Outdoor Signs Effectively and Safely
Backlighting a sign involves placing light sources behind or within the sign to create an illuminated halo or glow effect. This requires careful choice of diffuser materials and LED placement to achieve even, vibrant lighting without hotspots. Using frosteds, opal polycarbonate, or films as diffusers helps spread the light uniformly while LED modules generate the desired brightness and color.
Selecting Suitable Diffuser Materials
Diffuser materials soften the LED light to prevent glare and hotspots on the sign surface. Frosted acrylic is common for durability and even light scatter, but it can cost more and may yellow over time outdoors. Opal polycarbonate offers excellent impact resistance and UV stability, making it ideal for areas with harsh weather.
Diffuser films applied directly to sign faces or acrylic panels provide lightweight, customizable diffusion options. They vary in thickness and pattern, so test samples to ensure visual consistency. Choosing the right diffuser depends on your sign’s design, size, and placement.
- Frosted acrylic: good diffusion, durable, slight color shift possible over years
- Opal polycarbonate: impact-resistant, UV stable, pricier than acrylic
- Specialized diffuser films: lightweight, customizable, may need replacement sooner
Install your selected diffuser between the LEDs and sign face, ensuring full coverage with no gaps. Failures to fully cover dual light sources cause uneven backlighting and visible light spots.
Choosing LED Modules and Flexible Strips
Most effective backlit signs use LED modules or flexible LED strips designed for outdoor use. Modules go inside channel letters and project light backward onto the mounting surface, creating that halo glow. Flexible LED strips suit flat panel backlighting with diffusers, where consistent linear lighting is needed.
Choose LEDs with a color temperature between 3000K to 4000K for bright, natural light without harsh blue tones. Confirm products are rated for wet or damp locations and have adequate lumen output for your sign size, generally about 50 lumens per square foot of sign face. Programmable LED systems allow color and pattern changes but require compatible controllers and power supplies designed for outdoor conditions.
Backlighting Installation Safety Tips
Always use a licensed electrician for hardwired 120V LED installations and verify local codes regarding signage lighting. Ensure all wiring is weatherproofed and protected with appropriate conduit or enclosure.
Mount LED modules securely inside letters or behind sign faces with non-conductive fasteners to prevent shorts. Leave space for heat dissipation as overheating shortens LED life and causes flickering.
- Confirm sign dimensions and layout before ordering LED kit
- Check LEDs and diffusers for manufacturer outdoor ratings
- Use weatherproof connectors and sealed enclosures
- Test lighting before final sign installation to adjust spacing or diffuser placement
- Consult local electrical and signage regulations
Never skip verifying the power source and wiring voltage; improper electrical work risks serious hazards and may void warranties.
Installing backlighting successfully combines the right materials and LED placement for a clean, eye-catching effect that lasts. Avoid shortcuts on diffusion or electrical integrity to ensure your sign shines effectively well into the future.
Local Codes, Energy Rules, and Dark Sky Compliance Explained
Before installing outdoor sign lighting, you need to verify compliance with local codes, energy regulations, and dark-sky lighting restrictions. Many cities and counties have ordinances that dictate allowable light colors, fixture sizes, brightness levels, and hours of operation to minimize neighborhood disruptions and light pollution. Compliance avoids fines and potential removal orders, while also ensuring your sign remains visible yet respectful of your surroundings.
Start by checking with your local building or planning department for specific regulations affecting outdoor signage. You’ll want to confirm requirements like maximum lumen output, permitted color temperatures (often favoring whites in the 3000K to 4000K range to reduce glare), and restrictions on flashing or animated lights. Some jurisdictions restrict illumination to certain hours, such as only after dusk until 11 p.m.
Energy codes apply to commercial outdoor lighting, including signs. The International Energy Conservation Code (IECC), adopted partially or fully by many states, requires that outdoor lighting use energy-efficient technology and controls to reduce power consumption. LEDs are the preferred lighting choice because they provide high efficiency, long life, and a variety of color options. For example, switching from older metal halide fixtures to LED can reduce energy use by up to 50% or more.
To ensure compliance, use a checklist starting with: obtaining the zoning and building codes from your local authority; reviewing permitted fixture types and wattage limits; confirming allowable mounting heights and beam angles; verifying dark-sky rules that limit upward or off-site light spill; and checking for required timers or dimmers. Some areas require lighting to be turned off or dimmed after business hours to reduce light trespass and save energy.
When evaluating existing signs, consider an LED retrofit. This can be your quickest and most cost-effective way to meet newer energy and dark-sky standards. Installation costs vary, but LED upgrades often pay for themselves in 2 to 5 years through lower energy bills and reduced maintenance. Planning for automated controls, such as photo sensors or timers, helps ensure ongoing compliance.
The decision process includes confirming your local rules, selecting compliant LED fixtures with appropriate lumen output and color temperature, and planning control strategies that meet curfew or dimming requirements. Good results include clear, visible signage without wasted light spillage, lower operating costs, and avoidance of penalties.
Noncompliance risks include receiving citations, having to retrofit or remove your lighting system, and damage to your business reputation if neighbors complain. Working with a licensed installer familiar with local regulations can streamline approval and help you avoid costly errors. Obtaining any required permits before installation is essential to ensure all lighting meets city standards and local dark-sky initiatives.
Maintaining Outdoor Sign Lights for Longevity and Performance
Maintaining outdoor sign lights ensures your investment lasts longer and keeps your sign easily visible. Dirt, debris, and weather exposure can reduce light output and damage fixtures over time. Regular checkups can spot issues early, preventing costly repairs or replacement. Ideally, inspect your lights every three to six months, especially after harsh weather events.
Start by cleaning lenses and fixtures with a soft cloth and mild soap solution. Avoid abrasive materials that may scratch protective coatings or reduce light transmission. Check seals and gaskets on fixtures to ensure they maintain their IP67 or IP68 moisture and dust resistance rating. Replace any worn or cracked parts promptly. Also, clear away any foliage or debris that might block light or trap moisture near the fixture.
- Clean fixtures and lenses with mild soap and water regularly.
- Inspect sealing and weatherproof ratings every 6 months.
- Trim back vegetation that shadows or traps moisture.
- Check wiring and connections for damage or corrosion.
- Replace bulbs or LEDs at first sign of dimming or flickering.
- Verify fixture mounting remains secure, especially after storms.
Common problems include uneven illumination and dim lights. Uneven lighting often results from misaligned fixtures or shifted mounting positions over time. Fix this by adjusting mounts to ensure light fully covers the sign face. Dim or flickering lights usually mean failing bulbs, loose wiring, or water intrusion. Test fixtures by swapping in new bulbs or checking electrical continuity with a voltage meter. Moisture inside can cause shorts, so reseal or replace affected parts immediately.
Harsh environments accelerate wear. UV rays can degrade plastic and rubber components, while fluctuating temperatures stress wiring and connectors. Coastal salt air adds corrosion risk. Using fixtures rated IP67 or higher helps, but you should still plan more frequent inspections in these conditions. Replace any parts showing rust or brittle insulation. Winter freeze-thaw cycles may crack housings or lenses, so look for cracks each season.
Good maintenance saves money by extending fixture life and preventing outages. A well-lit sign stays visible and professional, drawing customers day and night. Neglected lights become dim, patchy, or fail completely, undermining your business presence.
When to Hire a Professional for Outdoor Sign Lighting Installation
Installing outdoor sign lighting involves handling electrical components in an environment exposed to weather and fluctuating temperatures. This combination raises several safety concerns like electrical shock risks, fire hazards, and code violations if not done correctly. Using a licensed electrician ensures the wiring meets local electrical codes and safety standards, protecting you from costly fines and potential liabilities.
A professional can also address complex wiring challenges, such as integrating the sign lights with existing circuits, choosing the right power supply, or installing timers and dimmers. Mistakes like improper grounding, overloading circuits, or using unsuitable fixtures can cause short circuits or damage the sign and property. Professional installation typically costs between $150 to $500 depending on job complexity and location but may save money in the long run by avoiding repairs or code infractions.
Look for electricians who specialize in outdoor or commercial lighting installations. Confirm their license and insurance are current, and ask for references or examples of sign lighting work they’ve completed. Some electricians offer maintenance contracts, which can help ensure your outdoor sign lighting remains safe and functional over time.
- Licensed electricians understand local and state codes for outdoor electrical installations.
- Insurance coverage protects against accidents during installation.
- Professionals can securely mount and weatherproof wiring and fixtures.
- Proper grounding and circuit protection prevent electrical hazards.
- They can recommend energy-efficient lighting controls to reduce costs.
- Experienced installers avoid common faults like underrated wiring and inadequate enclosure sealing.
Improper wiring and lack of weatherproofing are leading causes of outdoor sign lighting failure and safety issues, never overlook these during installation.You should hire a professional when your outdoor sign lighting requires hardwired electrical connections, especially if it involves new circuits, breaker panel work, or electrical permits. Simple plug-in or low-voltage LED kits are less risky but still benefit from professional advice if you’re unsure about power sources or installation methods. Always follow local electrical codes and safety recommendations to safeguard your investment and the safety of anyone near your property.
Step-by-Step Action Plan for Lighting Your Outdoor Sign
Use this plan to set up your outdoor sign lighting correctly from the start, ensuring visibility and compliance with local rules.
- Before You Start: Check local lighting codes and energy rules for your area to confirm permitted fixture types and placement. Knowing this upfront prevents costly adjustments later.
- Day 1: Choose your lighting method based on your sign’s size and mounting options (e.g., LED floodlights, backlighting). Confirm the light source provides even coverage by measuring brightness across the sign surface.
- Day 2: Plan the number and spacing of lights, aim for consistent illumination without hot spots or dark areas. Test with a temporary setup or light meter to adjust your layout.
- Day 3: Select color temperature and controls that fit your brand and operational hours. Pick a neutral or cool white (3500K to 5000K) and install dimmers or timers to save energy and comply with dark sky guidelines.
- Day 4: Mount lights securely using recommended brackets or fixtures, positioning them for maximum coverage and avoiding glare on adjacent properties or roads. Confirm placement by viewing the sign from multiple angles after sunset.
- Day 7: Perform a full operating test at night to check uniform lighting and adjust as needed. Verify energy consumption matches estimates and controls function properly.
- Monthly: Inspect and clean fixtures to maintain brightness and extend bulb life. Replace any damaged parts immediately to avoid uneven lighting.
Frequently Asked Questions
What Are Common Mistakes to Avoid When Lighting an Outdoor Sign?
Avoid uneven lighting that causes glare or dark spots by carefully spacing lights and choosing the right fixtures to ensure uniform brightness across the sign face.
How Does Weather Impact Outdoor Sign Lighting Durability?
Exposure to rain, snow, and temperature changes can degrade lighting fixtures, so opt for weatherproof, rated units to prolong lifespan.
Can Solar-Powered Lights Effectively Illuminate Outdoor Signs?
Solar-powered lights can work but may offer less brightness and require direct sunlight for charging, limiting effectiveness in shaded or cloudy areas.
What Maintenance Is Needed for LED Outdoor Sign Lights?
Regular cleaning and inspections for damage keep LED lights bright and functional, and replacing drivers or bulbs extends the system’s overall life.
Is It Better to Light a Sign from Above or Below?
Both work, but mounting lights above often reduces glare for drivers and pedestrians, improving readability at various angles.
How Do Different Mounting Surfaces Affect Outdoor Sign Lighting?
Uneven or porous surfaces may need additional mounting hardware to secure lights properly and avoid alignment issues for consistent illumination.
Before You Go
Proper outdoor sign lighting boosts your business’s visibility while meeting legal standards and minimizing energy use. Start by verifying your local regulations before purchasing equipment to avoid setbacks. Focus on achieving even illumination and maintain your lights regularly to keep your sign bright and professional looking for years to come.