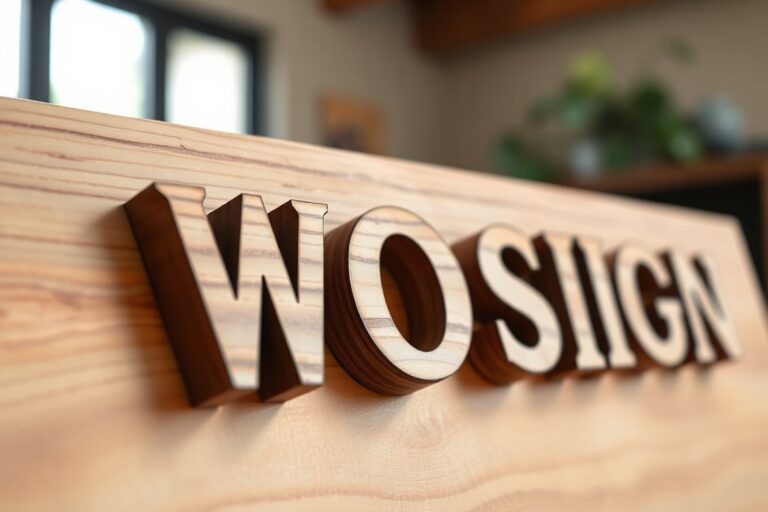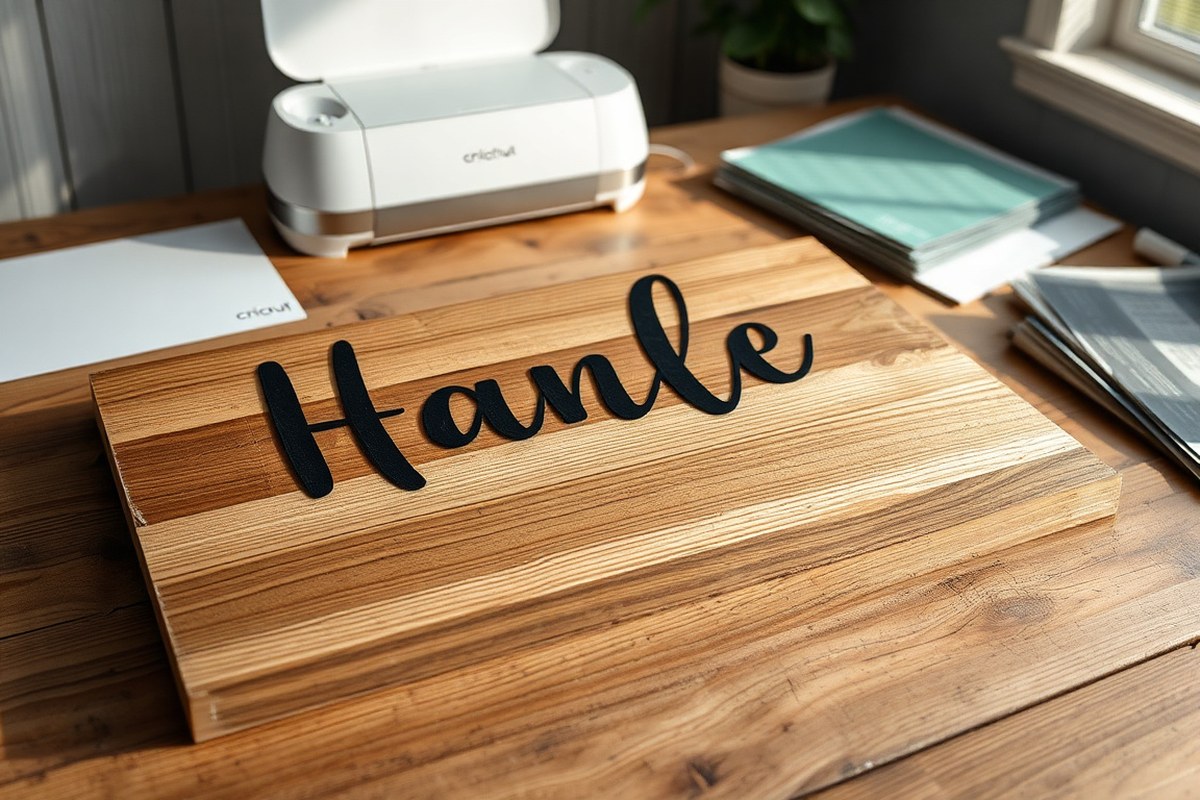
How to Make a Layered Wood Sign with Cricut: Simple Steps for Perfect Results
Learning how to make a layered wood sign with Cricut means creating clean, precise layers that fit perfectly together. Using Cricut Design Space to size and cut your wood pieces ensures smooth assembly and a professional look. Start by choosing wood that complements your design size, avoid matching your board size exactly.
Key Takeaways
- Use Cricut Design Space to scale your design slightly smaller than your wood board for best fit and style.
- Select ½” thick pre-sanded plywood for a sturdy, stable sign base with a smooth finish.
- Cut wood layers on a Cricut Explore Air 2 or Explore 3 for precise edges and detail.
- Choose permanent vinyl rated for exterior durability to add lettering or accents on your wood sign.
- Allow at least 12 hours for paint or stain to dry completely before layering or sealing.
- Use painter’s tape or temporary adhesive to hold layers in place during assembly for perfect alignment.
How to Make a Layered Wood Sign with Cricut Step-by-Step
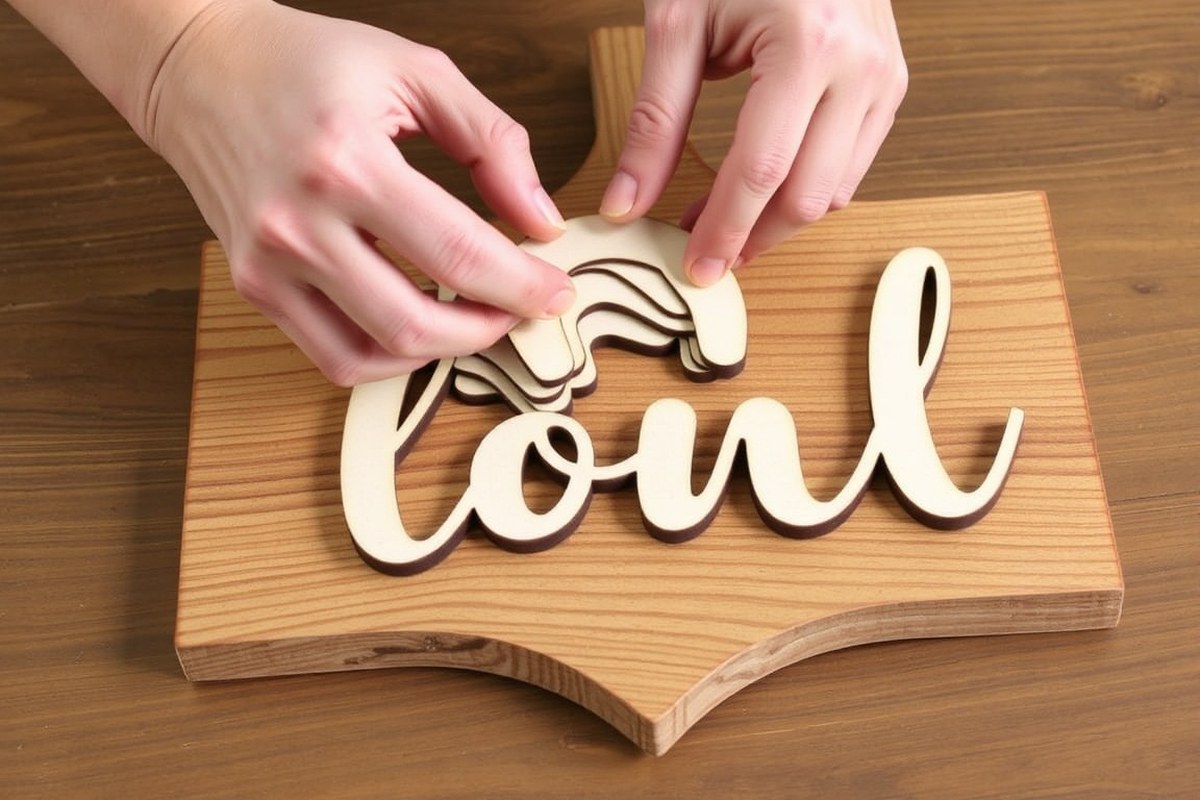
Making a layered wood sign with your Cricut involves designing each layer, cutting wood or vinyl precisely, then carefully assembling them in order. Starting with clean, prepped wood ensures smooth cuts and strong adhesion. Following a clear sequence for cutting and layering prevents mistakes and gives the sign a polished look.
Preparing Your Wood Pieces
Begin by selecting wood that is smooth and flat, ideally around 1/8-inch thick for easy cutting with your Cricut. Light sanding removes rough spots or splinters and helps paint or vinyl stick better. Wipe the wood clean afterward to remove dust.
Measure and cut your wood blanks to the size of your sign, such as the common 5×11 inch dimension for layered farm signs. Using a wood sealer or primer on each piece before assembly protects the layers and keeps colors vibrant over time. Let the sealer dry completely, which usually takes 1 to 2 hours depending on the product.
Cutting Each Layer with the Cricut
Set up your Cricut Explore Air 2 or Maker with the fine-point blade and appropriate cutting mat. In Cricut Design Space, upload or create your layered design grouped by each wood piece. Here are the steps to cut each layer:
- Load the first design layer on the mat aligned to the 5×11 inch wood blank or vinyl sheet.
- Select the correct material setting, such as “Basswood 1/16” for thin wood, or “Permanent Vinyl” if using vinyl layers.
- Start the cut, then unload the mat once done and carefully peel off the wood or vinyl pieces.
- Repeat for each subsequent layer, working from the base layer to the top detail layers to maintain order.
Cricut vinyl layers can be transferred using transfer tape to keep designs aligned perfectly. For wood layers, gently sanding edges after cutting can tidy up any roughness.
Assembling and Finishing the Sign
Lay out all cut layers in order before gluing to ensure the design matches your vision. Starting with the largest base layer, apply a strong wood glue evenly on the surface, then firmly press the next layer on top. Use painter’s tape or clamps to hold the layers together while drying, which usually takes about 30 minutes to 1 hour for initial tack and up to 24 hours for full curing.
After the glue has dried, inspect the edges and clean any excess glue with a damp cloth. Seal the whole sign with a clear coat like polyurethane or outdoor varnish to protect it from moisture and wear. Let the finish dry fully, often 2 to 4 hours, before handling or hanging your sign.
For signs that use vinyl layers on wood, peel the transfer tape carefully once the vinyl is set to avoid lifting edges. Allow paint or finishes to cure in a dust-free area for best results.
Choosing the Best Materials and Tools for Layered Signs
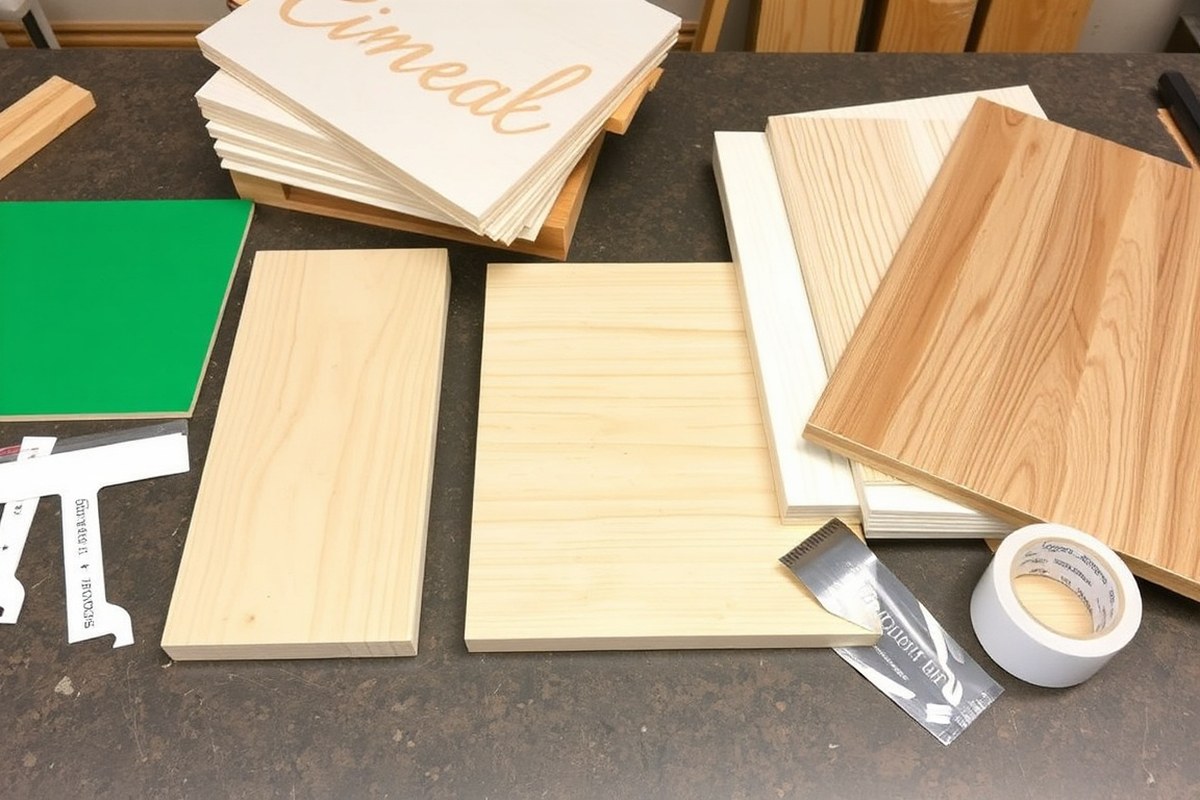
Choosing the right materials and tools affects how your layered wood sign turns out and how easily you can work with your Cricut machine. For layered wood signs, thin, soft woods are easier to cut and layer while providing a clean finish. Adhesive quality matters too because it keeps your layers bonded without showing through or warping the wood. Cricut machines need specific blades and mats to handle wood accurately, so picking the right combination keeps cuts smooth and precise. Here’s a comparison of popular wood types and thicknesses for Cricut layering:
| Wood Type | Common Thickness | Cutting Ease | Finish | Price Range (per board) |
|---|---|---|---|---|
| Basswood | 1/16″ to 1/8″ | Very easy | Smooth, light | $5 – $15 |
| Balsa | 1/16″ to 1/4″ | Easy | Soft, porous | $3 – $10 |
| Birch Plywood (thin veneer) | 1/16″ to 1/8″ | Moderate | Clean grain, durable | $10 – $20 |
| Cedar | 1/8″ | Moderate | Distinct grain, aromatic | $10 – $25 |
| Poplar | 1/8″ to 1/4″ | Moderate | Light, smooth | $8 – $20 |
Woods thinner than 1/8 inch tend to cut better on Cricut machines without causing blade strain or splintering. Basswood and balsa are especially popular for their softness and affordability. Birch plywood offers a sturdier option if you want a durable, clean look. Cedar adds a fragrant aroma and rustic appearance but may need sanding to smooth rough edges. Choosing the right adhesive is just as important. Here’s a quick pros and cons comparison of common adhesives for wood layers:
| Adhesive | Strength | Drying Time | Visibility on Wood | Tip |
|---|---|---|---|---|
| Wood glue (PVA) | High | 15-30 minutes | Low if clamped | Use clamps or weights for best hold |
| Hot glue | Medium | Seconds | Medium, may show | Good for quick projects, less permanent |
| Spray adhesive | Low to medium | 1-5 minutes | Low if applied evenly | Best for lightweight or temporary bonds |
| Epoxy resin | Very high | 5-10 minutes | Low if applied carefully | Great for exterior signs, stronger hold |
Wood glue generally provides the strongest, cleanest bond for layered wooden signs when combined with clamping. Hot glue is faster but can create lumps and visible spots, making it less suitable if your layers will be seen closely. Spray adhesives work well for very thin layers or vinyl overlays but might not hold heavy wood pieces securely long term.
Your best Cricut machine choice depends on your project scope and budget. The Cricut Maker is ideal because it can cut wood materials with its Knife Blade, handling up to 2.4 mm (approximately 3/32 inch) wood thickness. The Cricut Explore Air 2 can also cut thin wood like basswood or balsa but requires slower speeds and multiple passes. Using a strong grip 12×24 inch cutting mat ensures the wood stays in place during cutting. Always use the deep-point or knife blade designed for wood cutting and replace blades regularly to maintain clean edges. Tool checklist:
- Cricut Maker with Knife Blade (preferred) or Explore Air 2 with Deep-Point blade
- Strong Grip 12×24 inch cutting mat
- Clamps or heavy weights for bonding layers
- Fine-grit sandpaper (220 grit) for smoothing edges
- Wood glue, epoxy, or hot glue based on your layer thickness and usage
- Tweezers or scrapers to remove wood pieces carefully
Tip: Test cut a scrap piece of your chosen wood first to adjust blade depth and pressure, preventing damage or tear-out on your final layers.
Designing Layered Wood Sign Graphics in Cricut Design Space
Creating and organizing layered designs in Cricut Design Space ensures that each wood piece fits perfectly and assembles smoothly. You size each layer to match your wood boards, use tools like Attach and Offset to handle layering precision, and save your project to keep everything organized. Registration marks guide your alignment during assembly.
Uploading and Organizing SVG Files
Start by uploading your SVG files to Cricut Design Space. The software reads these vector images as distinct layers, which correspond to different wood pieces in your sign project. Keeping your layers separated and clearly named helps prevent confusion during cutting and assembling.
Once uploaded, group related layers by using the “Layers” panel. Rename each layer according to the wood piece it represents, such as “Background Board” or “Top Lettering.” This keeps your design file organized and speeds up your workflow.
You can combine multiple SVGs into one project by uploading them individually and then arranging them inside the canvas. Keep themed elements together if you plan to cut them from the same material or layer type.
Sizing and Adding Registration Marks
Correct sizing ensures each layer fits your wood pieces exactly. Measure each board’s width and height, then match those dimensions in Design Space. Use the “Size” fields at the top of the design panel to enter exact measurements.
Registration marks or offsets help you align each layer accurately. You create small shapes or use the Offset tool to add a thin border around each layer. These marks serve as guides when assembling the physical wood layers to avoid misalignment.
If your sign’s final size is larger than your mat, split your design into manageable sections sized to your mat dimensions (for example, a 12×24 mat). This way, each piece corresponds to a wood board’s specific size.
- Click on “Upload” and select your SVG files.
- Open each file on the canvas and arrange the layers.
- Rename each layer reflecting the wood piece it matches.
- Measure your wood piece, then enter the exact width and height for each layer.
- Create small shapes or use the Offset tool to add registration marks.
- Position registration marks in the same spot on each layer for alignment.
- For large signs, break your design into sections sized for your cutting mat.
Using Attach and Offset for Layering
The Attach tool lets you link cuts and drawing lines so that layers stay together as designed when sent to cut. Select the pieces of a single layer and use Attach to hold their position relative to each other and the mat.
The Offset tool adds a border or shadow around your design elements, which is ideal for creating registration marks or emphasizing edges in layered wood signs. Use a small Offset, around 0.05” to 0.1”, to create precise fits that help with layering alignment.
Organize your workflow by grouping layers you want to cut or work on together. Always check for overlapping layers and use Weld sparingly to combine shapes that won’t be separated. Save your entire multi-layer project regularly in Design Space to avoid losing your setup.
Cutting Settings and Techniques for Layered Wood Pieces
To cut thin wood layers cleanly with your Cricut, use the Cricut Maker or Maker 3 paired with the Knife Blade. The Knife Blade is designed for wood and thicker materials, allowing you to achieve detailed cuts up to 2.4 mm thick. Cricut Explore Air and Explore Air 2 machines do not support the Knife Blade or wood cutting, so using those models for layered wood signs is not recommended.
Cricut suggests always cutting wood with a StrongGrip mat (purple) to keep the wood stable. Secure the wood firmly but avoid pressing it down too aggressively, which can cause splintering. Preparing your mat by cleaning off dust or debris ensures better adhesion and prevents the wood from lifting during cutting.
Cut settings depend on the wood thickness and type. A common starting point is using the Knife Blade with multiple passes, typically about 3 to 6, depending on thickness. The machine will slow the cutting speed and increase pressure automatically with the Knife Blade selection in the software. Avoid increasing pressure manually, as this can lead to poor cuts or damage.
Cutting wood without a mat is only possible on the Maker 3 and Explore 3 models with compatible materials like vinyl or paper. However, for wood cutting, using a mat is necessary to hold the material steady and protect the machine. Attempting to cut wood without a mat risks movement, uneven cuts, and potential damage to your Cricut.
To prevent splintering or tear-out, flip the wood and score the back using a scoring stylus or light cut setting before cutting the top layer. Use a fresh blade for precise results. Also, cutting slower and using the Knife Blade’s multiple pass feature gives cleaner edges.
- Use Cricut Maker or Maker 3 with Knife Blade for wood up to 2.4 mm thick
- Always use a StrongGrip mat to secure wood during cutting
- Clean mats before cutting to improve wood adhesion
- Set Knife Blade cut to multiple passes (3-6) and allow automatic speed adjustments
- Do not cut wood without a mat; it risks poor cuts and machine damage
- Score the back of wood layers lightly to reduce splintering
- Replace blades when cuts begin to dull for best results
Wood grain and thickness affect cut quality, so test small scrap pieces before final cutting. Good cuts separate cleanly without rough edges or deep splinters. Watch for signs like burning or chipping on the wood edges, which indicate the blade is dull or settings need adjustment. Always handle raw wood pieces with care to avoid splinters, and keep your workspace well ventilated when cutting wood to minimize dust inhalation.
Achieving Perfect Layer Alignment and Assembly
Flawless alignment and strong bonding are key to a professional-looking layered wood sign. Using registration marks guides perfect layer positioning, while the right adhesives and clamping prevent shifting and ensure durability.
Using Registration Marks for Alignment
Registration marks are small reference points cut or drawn on each wood layer that help you line up the pieces correctly. These marks allow you to position layers exactly the same way every time, preventing gaps or misaligned edges that can spoil the design.
To use registration marks effectively, trim your stencil or layer pieces to include matching marks on each layer. When assembling, align these marks before pressing layers together. This alignment method is especially important with complex shapes or multiple layers that need precision.
- Cut or score small registration marks at consistent spots on all wood layers using your Cricut or a craft knife.
- Arrange the bottom layer on your workspace or frame securely.
- Hold the next layer above the bottom one and align the registration marks visually.
- Gently bring the top layer down, maintaining mark alignment.
- Repeat for additional layers, always matching the registration marks.
- Press the layers lightly before applying adhesive for a dry fit check.
Always make registration marks subtle but visible enough, they should not interfere with the design but must be easy to spot for alignment.
Choosing and Applying Adhesives
Strong bonding depends on using the right adhesive. Wood glue is the most common choice for layered signs because it penetrates wood fibers and dries hard. For thinner wood or intricate parts, a fast-drying cyanoacrylate glue (super glue) offers a quick bond but with less flexibility.
Hot glue guns can hold layers temporarily but are less durable over time and may soften with heat. Double-sided tape is best avoided on wood because it can peel and doesn’t create a solid bond.
Before gluing, lightly sand contact surfaces for better adhesion. Apply glue evenly but avoid excess to prevent squeeze-out, which can stain or distort your finish.
- Select wood glue (PVA) for most projects; use super glue for small embellishments.
- Sand down areas where layers meet with fine grit sandpaper (220 grit).
- Apply a thin layer of glue to one of the surfaces.
- Carefully bring the layers together, aligning registration marks.
- Press layers firmly to spread the glue evenly.
Use a small brush or spreader to apply glue evenly and avoid over-application that can lead to messy drying.
Clamping and Securing Layers During Drying
Keeping layers perfectly still while glue cures helps prevent shifting and ensures a strong bond. Clamps or weighted objects can hold wood layers in place through the drying process, which takes about 30 minutes for wood glue to set, and full strength may require 24 hours.
Packing foam, rubber bands, or painter’s tape can help stabilize the stack without marking the wood surface. Applying clamps on opposite edges helps distribute pressure evenly, avoiding bending or warping.
- After gluing and aligning layers, place a protective sheet (like wax paper) between clamps and wood.
- Clamp two or more sides of the layered sign firmly but not too tight to avoid crushing thin wood.
- Add gentle pressure with weights on top if clamps are unavailable.
- Leave the setup undisturbed in a dry, ventilated place for at least 30 minutes.
- Remove clamps carefully after the initial set, leaving the sign to fully cure for 24 hours before finishing or hanging.
Do not skip the clamping step; even if the bond seems strong initially, movement during curing can weaken adhesion and cause gaps.
Preparing and Sealing Wood for Longevity and Finish
Preparing your wood surface properly is key to getting a clean finish and ensuring your layered wood sign lasts. Start by sanding the wood with fine-grit sandpaper, around 220 grit, to smooth out rough spots and open the grain for better stain or paint absorption. Wipe off all dust with a tack cloth or damp rag and let it dry completely before staining or painting. Avoid skipping this step because untreated raw wood can cause uneven color and make paint bleed under your vinyl or stencils.
Staining usually comes before painting. Apply wood stain with a clean cloth, brushing in the direction of the grain. Let the stain soak in for about 5 to 15 minutes depending on the desired darkness, then wipe off the excess. Allow the stain to dry at least 12 hours before moving on. If you plan to paint over the stain, use a light or semi-transparent coat for best results. Painting on top of uncured stain can cause adhesion problems and bleeding under vinyl stencils.
- Sand the wood with 220-grit paper and clean surface dust thoroughly
- Apply stain with a cloth and wipe off excess within 15 minutes
- Wait 12-24 hours for stain or paint layers to cure fully
- Use adhesive vinyl or stencil vinyl to prevent paint bleed
- Seal edges of vinyl stencils with a clear coat like Mod Podge before painting
- Apply 2-3 thin coats of acrylic paint for even color and drying
- Finish with a clear acrylic sealer designed for the sign’s intended environment
Sealing your finished sign protects it from wear and weather. For indoor uses, water-based acrylic sealers with a gloss or matte finish work well and cost around $10-$15 for a small spray can or bottle. Outdoor signs benefit from a marine-grade polyurethane or exterior acrylic sealer marked as UV-resistant to withstand sunlight and moisture. Expect to pay about $20-$30 per quart for a high-quality outdoor sealer. Apply two light coats with a brush or spray can, spacing 2 to 4 hours apart. Drying times can vary with temperature and humidity but allow at least 24 hours before handling your sign.
To avoid paint bleeding under vinyl or stencils, press the vinyl firmly onto the wood and seal the edges with a thin layer of Mod Podge or the first coat of clear acrylic sealer before applying paint. This creates a barrier that keeps paint from seeping underneath. Let this seal layer dry completely, around 30 to 60 minutes, before painting your design. Patience in the drying and curing phases helps maintain crisp edges and vibrant colors, making your layered wood sign look professional and last longer.
Troubleshooting Common Issues in Layered Wood Sign Making
Paint seepage under the stencil usually happens when the paint layer is too thick or the stencil isn’t firmly pressed onto the wood. To fix this, gently wipe away the excess paint with a damp cloth as soon as you notice it, before it dries. For prevention, use painter’s tape to secure all stencil edges and apply paint in thin coats with a stencil brush or sponge, dabbing rather than brushing. Allow paint to dry completely before removing the stencil to avoid smearing.
Warping or uneven layers of wood often occur if the wood isn’t properly dried or sealed beforehand. When a layer warps, try clamping it flat between two heavy boards for several hours or overnight. For more persistent warping, lightly sanding the warped side can help level it, but avoid over-sanding which can change the layer’s thickness and affect alignment. Using moisture-resistant wood and applying a clear sealant before assembly reduces the risk of future warping and keeps layers flat.
Mistakes in cutting or material waste can be frustrating but manageable with a few strategies. Minor miscuts can sometimes be sanded or trimmed neatly with a craft knife. When pieces are unusable, saving offcuts for smaller decorative elements or practice cuts can reduce waste. A significant error may require you to recreate the layer. Always cut a test piece first and keep extra material on hand. Consider adjusting Cricut cut settings like blade depth and pressure if miscuts become frequent.
- Use painter’s tape to seal stencil edges
- Apply paint in thin, dabbing layers
- Clamp warped wood flat for several hours
- Sand warped areas lightly to even layers
- Trim minor miscuts with a sharp craft knife
- Save scraps for small detail pieces
- Test cut on scrap to adjust Cricut settings
Alignment errors can disrupt the clean look of a layered wood sign. Fix minor shifts by carefully lifting and repositioning layers while adhesive is still tacky, or gently sanding edges to improve fit. Prevent alignment problems by using registration marks in your Cricut design and confirming precise placement during assembly. Dry-fitting pieces before gluing helps spot issues early. When significant misalignment occurs after glue dries, carefully sanding edges or adding filler can conceal gaps, but sometimes redoing one layer is best for a clean finish.
Tips to Customize and Display Your Finished Layered Wood Sign
Adding extra layers of color or texture gives your wood sign a unique look that stands out. You can use acrylic paint with a sponge or stencil brush to create a distressed or ombré effect over your Cricut-cut layers. Texture paste applied with a palette knife on top of painted wood pieces adds dimension, especially when dry brushed with contrasting tones. For a multi-color approach, paint each layer separately before assembling and sealing. This method prevents colors from mixing and keeps edges sharp. Using metallic or chalk paints also adds visual interest without much extra cost; a 2-ounce jar typically runs $3 to $5 at craft stores.
The right mounting hardware depends on your wall type and sign weight. Lightweight layered signs under 3 pounds can hang on adhesive strips rated for that load; these cost around $5 for a pack and avoid wall damage. For heavier signs over 5 pounds, use sawtooth hangers nailed into the back of the wood layers, combined with nails or screws appropriate to your wall material. Drywall needs anchors, while studs allow screws directly. A French cleat system offers strong support and keeps the sign flush against the wall, perfect for signs 10 pounds or heavier. Measure your sign’s thickness to match hardware size, usually 1/8 to 1/4 inch thick stuff fits well. Always check mounting hardware weight limits listed on packaging to avoid falls.
Proper storage and transport protect your effort and investment. Place the sign flat in a sturdy box with at least 1 inch of foam padding or bubble wrap on all sides to prevent scratching or breaking layers. Avoid stacking heavy items on top. For transport, secure the padded box upright if possible and avoid places where temperature spikes over 100°F might warp the wood or damage paint. Keep signs away from direct sunlight and high humidity in storage to prevent discoloration and warping. For short-term storage or while waiting to mount, cover the sign loosely with a clean cotton cloth to block dust without trapping moisture.
Test mounting the hardware before final attachment by holding the sign in place to confirm it stays level and secure without shifting.
Step-by-Step Action Plan
Follow these steps to create a layered wood sign with your Cricut, making sure each phase is complete before moving on.
- Before You Start: Gather all materials including wood sheets, paints, brushes, transfer tape, and your Cricut machine. Confirm your design is ready in Cricut Design Space and properly sized.
- Day 1: Cut the wood layers using the recommended Cricut settings. Check each piece for clean cuts and remove any leftover debris.
- Day 2: Lightly sand each wood piece to smooth edges and surfaces. Test that the layers fit together accurately without gaps.
- Day 3: Paint or stain the wood layers as planned. Allow each layer to dry fully, at least 4 hours or follow paint instructions.
- Day 4: Use transfer tape to align and assemble the layers. Press firmly and check for any misalignment before glue or nails set.
- Day 5: Apply a clear sealer or varnish to protect your sign. Let it dry completely, ideally overnight.
- Day 6: Attach hanging hardware or display supports. Ensure your sign hangs level and securely.
Frequently Asked Questions
How to Make a Layered Wood Sign with Cricut?
Start by designing your layers in Cricut Design Space, then cut each wood layer with the right settings before assembling and sealing the sign for durability. Precision in layer alignment ensures a clean, professional look.
What Type of Wood Is Best for Cricut Layered Wood Signs?
Basswood and birch plywood work well because they cut cleanly and have a smooth surface for painting or staining. These woods are thin enough for Cricut cutting but still sturdy.
How Do I Prevent Wood from Burning When Cutting with Cricut?
Use a lower blade pressure and slower speed setting on your Cricut to reduce burning and charring edges. Testing on scrap wood helps determine the best settings.
Can I Use Vinyl on My Layered Wood Sign?
Yes, applying permanent vinyl adds detail and contrast. Use transfer tape carefully to layer the vinyl smoothly without bubbles.
How Do I Attach the Wood Layers Securely Without Visible Glue Marks?
Use a strong, clear-drying wood glue sparingly and clamp layers if possible to avoid seepage and ensure a tight bond. Clean any excess glue quickly with a damp cloth.
What Finish Should I Use on My Layered Wood Sign for Outdoor Display?
Use an outdoor polyurethane or spar urethane to protect against weather and UV damage. Apply several thin coats and allow drying time between each.
Key Points to Remember
Your layered wood sign will look professional if you take the time to prepare, cut, paint, and assemble carefully. Try completing your first project following these steps one stage at a time. Once you have your sign ready, consider creating a custom design that matches your style or home décor to personalize your craft further.