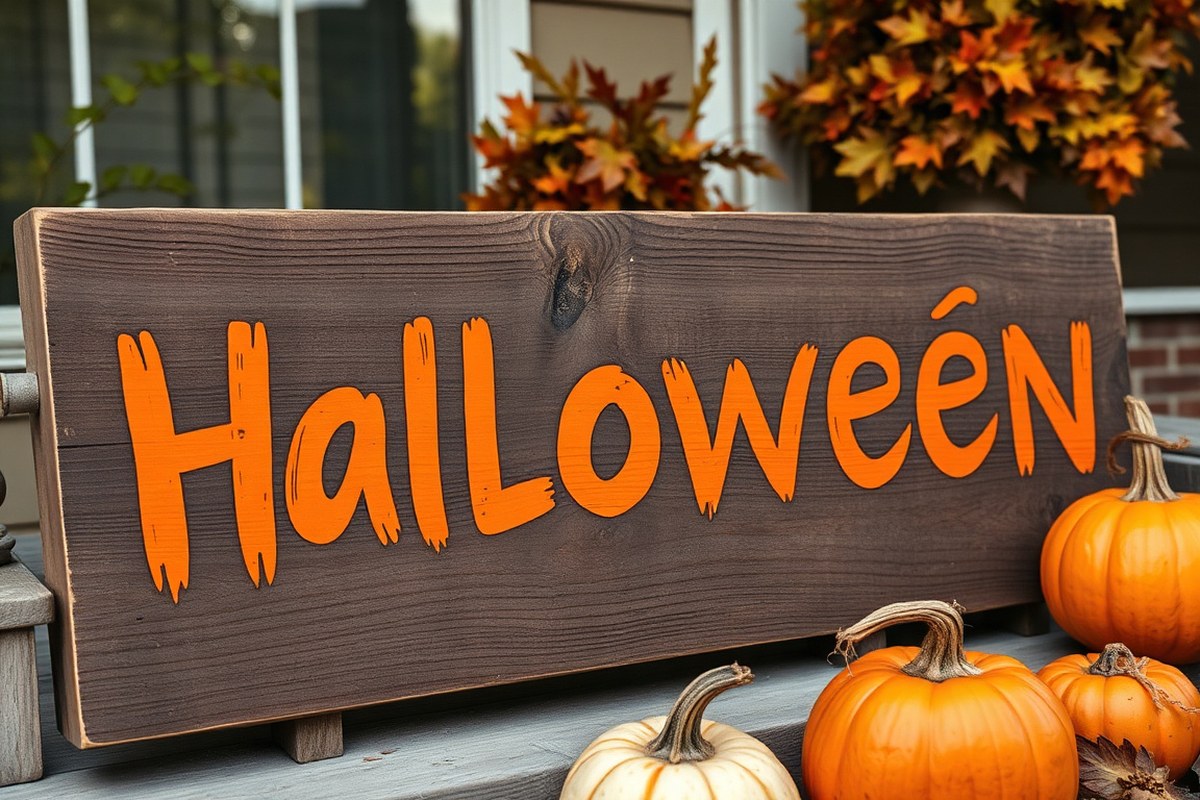
DIY Halloween Sign Ideas: Easy Steps and Tips for Stunning Decorations
A DIY Halloween sign offers a budget-friendly way to create personalized holiday decor without compromising style. You can use materials like wood pallets or craft paint to customize your sign easily at home. Start with choosing the right wood base because it sets the foundation for a durable and visually appealing decoration.
Key Takeaways
- Use beat-up pallets from local suppliers as an affordable and rustic base for your Halloween sign.
- Paint wood planks with craft paint and allow 10 to 20 minutes drying time for a smooth finish.
- Search for specific design files such as “Halloween Sign SVG” to find unique patterns and ideas efficiently.
- Create 3D accents on your sign with raised lettering or attached decorative elements for depth and interest.
- Apply a protective sealant to outdoor signs to safeguard against weather damage and extend their lifespan.
- Experiment with vinyl decals for clean, detailed graphics that are easy to apply and customize.
What Is a DIY Halloween Sign and How to Get Started
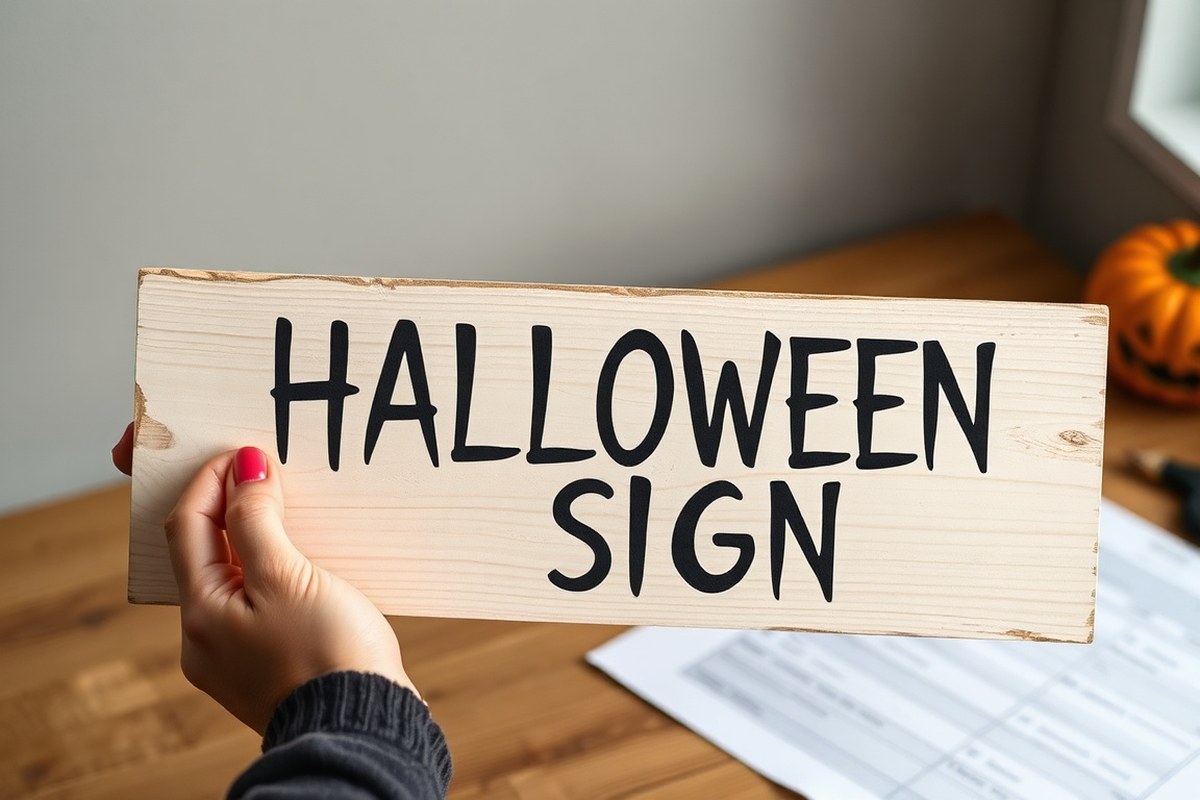
A DIY Halloween sign is a handmade decoration that you create yourself to celebrate the spooky season. It usually features Halloween-themed words, images, or phrases painted, stenciled, or applied onto wood, metal, or other surfaces. Examples include signs saying “Trick or Treat,” “Boo,” or referencing popular themes like witches or pumpkins. The main idea is a personalized piece that adds charm to your porch, entryway, or indoor space.
Making your own Halloween sign saves money and lets you express your personal style. Buying a ready-made sign can cost anywhere from $20 to $170 or more, especially if you want something unique or large. When you DIY, you control the design, colors, size, and message, tailoring it exactly to your taste and home decor. It also adds a crafting experience that can be fun and satisfying, perfect for families or individuals who enjoy creative projects.
Start by deciding the message or theme that fits your Halloween vibe. Think about your audience, kids, guests, or neighborhood trick-or-treaters, and the mood you want to set. Brainstorm phrases like “Trick or Treat Yourself,” “Welcome Little Ghouls,” or holiday pop culture references such as “Hocus Pocus.” Consider if you want the sign to be spooky, cute, modern, or rustic. Sketch simple outlines or write out potential words to see how they look visually.
Choosing your sign’s size depends on where you plan to display it and how much space you have. Small signs around 12 by 6 inches work well for tabletops, while porch or door signs might be 18 by 24 inches or larger for visibility. Budget around $10 to $30 for basic supplies like wood boards and paint if you shop at craft stores. For larger projects or premium materials, costs will increase. Planning ahead helps you gather materials once and avoid repeated trips.
Mapping out your design includes selecting fonts or styles. You can sketch freehand, use stencils, or digital cut files that you print or use with vinyl cutters. Many free SVG files are available online, perfect for beginners or advanced crafters who want crisp lettering or themed images like bats, spiders, or skeleton hands. Work out colors and spacing on paper before touching paint or glue, to limit mistakes.
Keep in mind that some designs take more time or skill, especially if intricate painting or layering vinyl is involved. Simpler signs with bold letters and basic shapes still look great and require less time. Prioritize ease or detail depending on your available time and crafting confidence. A rough but colorful sign might feel more inviting than a perfect but bland one.
Essential Materials and Tools for DIY Halloween Signs
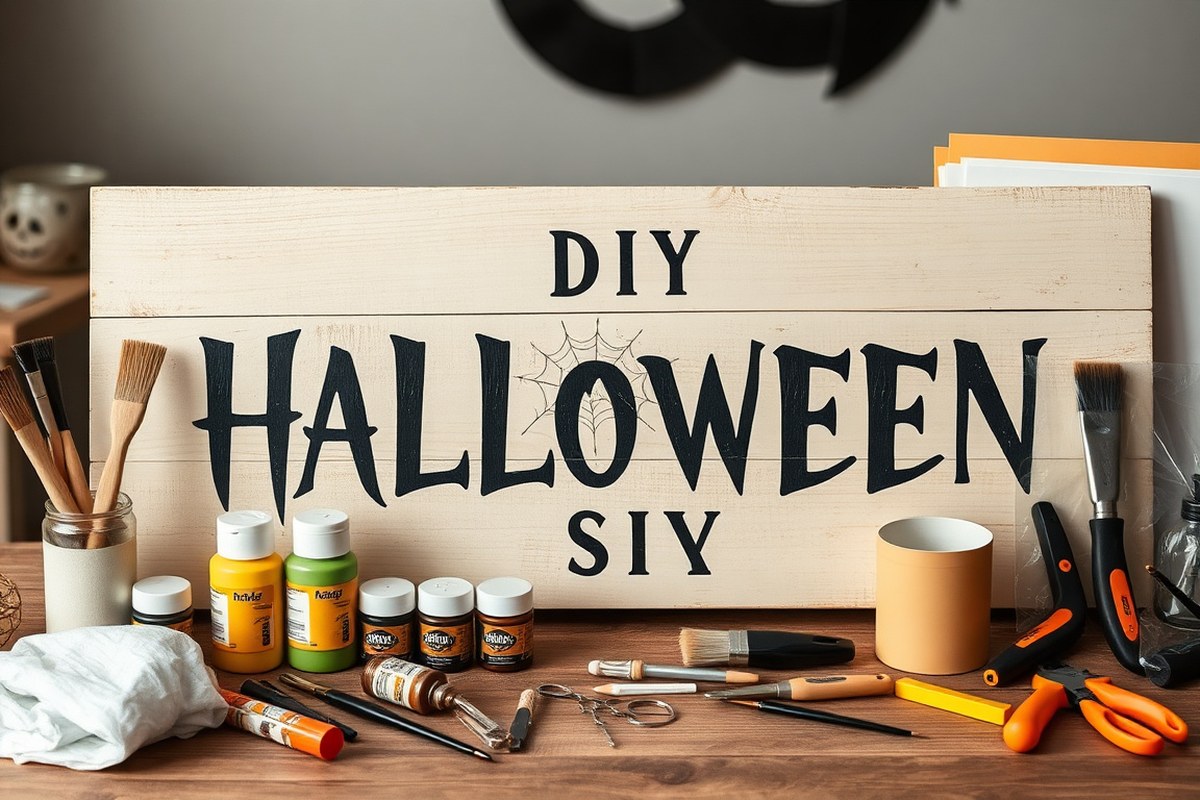
Wood and base materials for your DIY Halloween sign affect durability, appearance, and cost. Scrap wood such as pallet wood, plywood, or old fence boards offers an affordable, sturdy option. Pallet wood adds rustic charm but may require cleaning and sanding. Plywood is smooth and easy to paint, about $10 to $20 per 4×8 sheet at home improvement stores. For lightweight indoor signs, consider medium-density fiberboard (MDF), usually $15 to $25 per 2×2 foot panel, though it is less weather-resistant outdoors.
Paint choice makes a big difference. Acrylic craft paint is preferred for vivid colors and quick drying, costing roughly $0.50 to $2 per ounce. For larger outdoor signs, exterior latex paint adds weather resistance. Use foam brushes for smooth paint application on wood, ranging from $1 to $3 each, or angled synthetic brushes for vinyl stenciling precision. Vinyl supplies include adhesive vinyl sheets or rolls in various colors and patterns. A popular tool to cut vinyl precisely is a Cricut machine, priced from about $200 new, but you can find used machines or alternatives for less.
Finding affordable or upcycled materials can lower costs and add character. Check local Facebook Marketplace listings or thrift stores for old wood pieces, often less than $5 each. Hardware stores sometimes offer scrap sections free or discounted. Leftover paint from prior projects also works well. Seasonal craft stores and online retailers supply vinyl and tools, but for tight budgets, reusable stencils or printable transfer paper are good vinyl alternatives.
- Scrap pallet wood or plywood sheets for affordable bases
- Acrylic craft paint for vibrant colors; exterior latex for outdoor use
- Foam and synthetic brushes sized 1 to 3 inches wide
- Adhesive vinyl sheets and a Cricut cutting machine or similar tool
- Sandpaper (120-220 grit) to smooth wood surfaces
- Clear outdoor sealant spray to protect finished signs
- Reusable stencils and transfer paper as budget-friendly decor options
Clean and sand scrap wood thoroughly before painting to prevent peeling and improve paint adhesion.
Purchasing materials in small quantities controls spending while ensuring you have enough to complete your Halloween sign. One 4×8-foot plywood sheet can make several signs, keeping material costs near $10 per sign if cut efficiently. A 12-pack of small acrylic paints costs around $15, usable across many projects. Vinyl usually charges by the roll, expect $10 to $30 depending on size and brand. Use leftover paint and scrap wood from other projects for maximum savings and sustainability. Clear sealants, costing about $8 to $12 per spray can, help your signs survive outdoor elements through the season and beyond.
Choosing the Right Wood and Base for Your Halloween Sign
Choosing the right wood or base for your DIY Halloween sign depends on how you plan to use it, your budget, and how much weather exposure it will face. For outdoor signs, durability and resistance to weather are key. Wood types like cedar, redwood, and treated pine offer good protection against moisture and insect damage. These woods can last several seasons outside without warping or rotting, making them ideal for yard decorations.
Weathering affects each wood differently. Untreated softwoods like pine may absorb moisture quickly and swell, causing paint or vinyl to peel over time. Hardwoods like cedar release natural oils that repel water, slowing decay and preserving your painted designs. Treated pine is a budget-friendly option that lasts longer if sealed with outdoor-grade polyurethane or paint. Wood signs can be made from scrap wood too, but plan on refreshing the finish yearly to maintain quality.
Beyond wood, chalkboards and metal can also serve as bases for Halloween signs. Chalkboards let you change messages easily, perfect for customizable décor. However, chalkboard paint or surfaces need protection against rain, or the chalk and surface will wash away. Metal signs, such as thin aluminum sheets, withstand weather well and offer a smooth finish for vinyl lettering or paint, but they may dent or rust if not sealed properly. Metal signs generally cost more than wood and require specific tools to cut or drill. Here’s a comparison of popular base types to help you decide:
| Material | Durability Outdoors | Cost Estimate | Finish Options | Pros | Cons |
|---|---|---|---|---|---|
| Cedar | High, naturally weather-resistant | $15, 30 per board foot | Paint, vinyl, stain, sealant | Long lasting, minimal warping, good for rustic style | More expensive than pine, soft surface can dent |
| Redwood | High, resists moisture and insects | $20, 40 per board foot | Paint, stain, vinyl | Beautiful grain, durable | Higher cost, may be hard to find locally |
| Treated Pine | Medium, improved wet resistance | $8, 15 per board foot | Paint, sealant | Affordable, widely available | Needs sealing, less natural look |
| Scrap Wood | Low to Medium, varies greatly | Free or low cost | Paint, glue, nails | Cheap, rustic appearance | Inconsistent quality, may warp quickly |
| Chalkboard Surface | Low, requires shelter | $10, 25 per panel | Chalk, chalk markers | Customizable messages, reusable | Must avoid rain, less durable outside |
| Metal (Aluminum) | High, rust-resistant if sealed | $20, 50 per sheet | Vinyl, paint | Weatherproof, sleek surface | Higher cost, harder to cut and drill |
For your DIY Halloween sign, start by choosing the wood or base material that fits your display location and style. Cedar or redwood work well if your sign will face rain and cold. Treated pine saves money but needs a good finish, especially on edges. Scrap wood can produce charming rustic signs if you refresh the surface annually. Chalkboards and metal bases suit specific needs, chalkboards for temporary messages and metal for a modern, durable sign. Make sure to seal any material properly and test paints or vinyl on a small piece to check adhesion and appearance before creating the full sign.
How to Decorate Your Halloween Sign with Paint and Vinyl
Painting and vinyl application let you create clear, sharp Halloween sign designs that last through seasons. Using stencils or vinyl cutouts can make your lettering and graphics crisp and professional-looking. Layering paint colors carefully and transferring vinyl decals correctly ensures your sign stands out with minimal mess and maximum durability.
Prepping the Wood Surface
Start with a clean, smooth wood surface to get the best results for your paint or vinyl. Sand the wood lightly with fine-grit sandpaper (around 220 grit) to remove any rough spots or splinters. Wipe away dust with a damp cloth and let the wood dry completely before painting or applying vinyl.
To make your colors really stand out, apply a base coat of paint before adding your designs. For Halloween signs, dark colors like black or deep purple often work well. Use exterior-grade paint if your sign will go outside to prevent peeling and chipping.
Painting Techniques for Beginners
Clear letters and designs come from careful painting and using stencils properly. First, tape your stencil securely to the wood so it doesn’t shift. Use a small, stiff-bristle brush or a sponge to dab paint gently within the stencil, which helps avoid bleeding under the edges.
Let the first coat dry fully, about 30 to 60 minutes depending on the paint type. Apply a second thin coat if needed to get bright, clean coverage without blotches. After the paint dries, remove the stencil slowly to prevent smudging any edges.
Freehand painting can work for larger or simpler shapes. Use a pencil to sketch your design lightly first, then fill in with a small brush for control. Thin your paint with a little water for smoother strokes and fewer brush marks.
Applying Vinyl Lettering and Decals
Vinyl lettering requires precision for neat transfer. After cutting your design with a machine like a Cricut, carefully weed out the excess vinyl, leaving only your letters or image. Use transfer tape to pick up the vinyl completely, pressing with a scraper tool to avoid air bubbles.
Before placing the vinyl on wood, ensure the painted surface is dry and dust-free. Position the vinyl carefully and press it down firmly. Use the scraper again to smooth out any bubbles or wrinkles.
Slowly peel the transfer tape at a sharp angle, leaving the vinyl stuck to the wood. Notice any parts lifting? Press them back down right away and smooth them out. For outdoor use, choose vinyl rated for exterior durability and seal the whole sign with a clear sealer spray for longer wear.
- Sand the wood surface lightly and clean off dust.
- Apply a base coat of paint and let dry completely.
- Secure stencils onto the painted wood with painter’s tape.
- Use a stiff brush or small sponge to dab paint within stencil areas.
- Let the paint dry and apply a second coat if needed.
- Remove stencils carefully after the paint is fully dry.
- Weed your vinyl stencil design, removing all unwanted vinyl.
- Use transfer tape to apply vinyl to the dry painted wood, smoothing with a scraper and peeling transfer tape slowly.
Protecting and Finishing Your Halloween Sign for Outdoor Use
To protect your DIY Halloween sign from rain, sun, and general wear, sealing it with a weatherproof finish is essential. Using a clear outdoor sealant on wooden signs blocks moisture and UV rays that cause paint and vinyl to fade or peel. Products like spar urethane, outdoor polyurethane, or marine varnish work well because they remain flexible and durable through temperature changes. These sealants usually cost around $10 to $25 per quart and cover approximately 100 to 150 square feet, enough for several signs.
Choose a sealant labeled for exterior use and compatible with the type of paint or vinyl on your sign. Water-based sealants dry faster and have less odor, making them easier and safer to apply indoors or on a covered porch. Oil-based products often provide a thicker, more durable coat but take longer to cure and require better ventilation.
Start by ensuring the paint or vinyl is fully dry, at least 24 hours after decorating. Lightly sand the sign’s surface with fine-grit sandpaper to help the sealant adhere. Apply the first coat of sealant with a synthetic brush or foam applicator in long, even strokes. Follow the grain of the wood and avoid thick puddles or drips. Let this coat dry completely, which can take 2 to 4 hours depending on the product and weather. Lightly sand again to smooth out any raised grain or bubbles, then apply a second coat in the same way. Two or three coats often provide the best protection, with each layer increasing the sign’s resistance to moisture and fading.
Besides sealants, you can protect your sign by placing it in a spot shielded from extreme weather, like under a porch overhang. Signs exposed to constant direct sunlight may still fade over multiple seasons, so consider rotating or touching up paint annually to keep the colors vibrant. When storing your sign after Halloween, keep it in a dry, cool place to prevent warping and peeling. Proper sealing and care can extend your sign’s outdoor life by 3 to 5 years or more.
Vinyl decorations benefit from a gentle sealant designed for flexibility so they don’t crack or lift. Avoid harsh solvents or thick rubber coatings that can cause vinyl edges to curl. Outdoor decoupage methods, which involve layering waterproof glue and sealant over paper or vinyl, also protect detailed decorations from moisture. Using these finishes creates a rustic yet sturdy sign that withstands changing weather but remains easy to clean with a damp cloth.
Apply sealants in a well-ventilated area and follow all safety guidelines on the label to avoid inhaling fumes or causing fires.
Creative DIY Halloween Sign Design Ideas for Every Skill Level
Creative DIY Halloween signs range from quick painted designs to elaborate pieces with lighting and texture. Beginners can try straightforward painted phrases, while advanced crafters add three-dimensional and light-up elements. Popular themes fit farmhouse or spooky styles, with phrases that capture the holiday spirit.
Simple Painted Signs for Beginners
A painted wooden sign is the easiest way to start your DIY Halloween project. Use a pre-cut wood board around 12 by 18 inches from a craft store, usually costing $5 to $10. Sand the surface smooth, then paint a base coat with outdoor acrylic paint in black, orange, or white. After it dries, use stencils or freehand a Halloween phrase like “Boo!” or “Trick or Treat” with contrasting paint colors. Acrylic dries in 20 to 30 minutes, so you can add simple details like pumpkin shapes or bats quickly.
For an economical option, recycle an old wood plank or shutter and apply chalk paint for a matte, farmhouse look. Seal with a clear spray to protect from rain if placed outdoors. Display it on your porch or hang it on your front door with weather-resistant twine.
3D and Marquee Lighting Effects
To boost your sign’s visual impact, add 3D elements or lighting. Start by cutting shapes like spiders, ghosts, or pumpkins from craft foam or thin plywood. Attach these with a strong wood glue or small finishing nails. Paint the shapes in bold colors or metallic shades. For example, black foam spiders on an orange background create a striking effect.
Integrate marquee or fairy lights by drilling small holes along sign edges or within letters. Thread battery-operated LED light strands through these holes, securing wires at the back with glue or tape. These lights cost about $10 to $20 and add an eye-catching glow perfect for dark evenings. Make sure to choose outdoor-rated LED lights if your sign will face rain or moisture.
Spooky Sayings and Farmhouse Themes
Halloween signs often show playful or eerie phrases to set the mood. Popular sayings include “Welcome to our Haunted House,” “Happy Halloween,” or “Enter if You Dare.” Keep fonts readable by choosing stencils or transferring printed templates with graphite paper. For a farmhouse vibe, combine white or cream backgrounds with black lettering and natural wood edges left unpainted. Adding twine bows, miniature pumpkins, or cotton spider webs personalizes the look.
- Use script fonts for a whimsical farmhouse feel
- Try block letters in orange or black for classic spooky style
- Include small painted icons like black cats, witches hats, or candy corn
- Flip the sign with reversible designs for Halloween and Thanksgiving
- Weatherproof farmhouse signs with outdoor varnish
- Attach burlap or mesh ribbons to edges for added texture
- Combine layered paint colors for depth and interest
Farmhouse-themed signs blend rustic charm with seasonal fun, fitting well on porches or mantels. Signs with foldable stands or wall hooks adapt easily to your space. Creating your own phrases or customizing stencils lets you reflect your home’s personality while entertaining guests.
Avoiding Common Mistakes and Safety Tips for Halloween Signs
Common errors like paint peeling or vinyl lifting mainly happen when the surface isn’t clean or smooth. Dust, dirt, or warping wood can stop paint and adhesive from sticking properly. Sanding the wood with fine-grit sandpaper and wiping down the surface with a damp cloth before applying paint or vinyl helps everything bond. Also, applying paint in thick layers or in humid conditions can cause bubbling or slow drying. Aim for thin, even coats and paint at temperatures between 50°F and 85°F for best results.
Splinters and tool injuries are frequent when working with rough wood or sharp cutting tools. To avoid splinters, carefully sand all edges and surfaces until smooth. Always use clamps to hold your project instead of your hands while cutting or drilling. Cutting against your body increases injury risk, so position materials on a stable surface. Keep tools sharp, dull blades require more force, which can lead to slips and accidents.
- Clean and sand the wood thoroughly before painting or applying vinyl
- Apply paint in thin, even coats at ideal temperatures (50°F, 85°F)
- Wear safety glasses and gloves to prevent splinters and protect eyes
- Use clamps and hold materials securely away from your body when cutting
- Keep tools sharp and in good condition to avoid slips
- Work in a well-ventilated area to avoid inhaling paint fumes
- Follow manufacturer instructions on all materials and tools carefully
Safety gear is essential for every Halloween sign project. Safety glasses shield your eyes from flying wood shards and paint splashes. Gloves protect your hands from splinters, cuts, and chemical exposure. Choose gloves made of nitrile or leather depending on the task. Adequate ventilation prevents buildup of harmful paint fumes; a fan or open windows help maintain airflow. Taking these precautions costs little, basic safety glasses and gloves are usually under $15 each, and significantly reduces injury risks, allowing you to create your Halloween decor confidently and safely.
Transforming and Displaying Your Halloween Sign Year After Year
Creating Halloween signs that you can use year after year adds value to your crafting efforts and saves money. Making signs reversible or adaptable lets you switch messages and designs for different holidays. Knowing how to mount your signs securely and store them properly protects your work and ensures it looks great each season.
Designing Dual-Purpose Signs
Dual-purpose or reversible signs let you flip between Halloween and other seasonal decor with ease. Choose designs that can be painted or attached on both sides. For example, one side might say “Happy Halloween” while the other reads “Welcome Fall” or “Thankful.”
Use lightweight but sturdy wood boards, such as pine or plywood around 3/4 inch thick, which handle handling well without warping. Plan artwork for each side to avoid bleed-through by sanding and priming the surfaces separately before painting.
- Cut a wooden board to your desired size, typically around 12″x18″.
- Sand both sides smooth and wipe clean.
- Apply a primer suitable for wood and let dry completely.
- Paint or apply your first design on one side using acrylic or chalk paint, then allow it to dry overnight.
- Seal with a clear outdoor polyurethane finish if the sign will be outside.
- Turn the board over and repeat the painting and sealing for the second design on the other side.
- Attach sturdy hangers or place the sign in a stand that works with a reversible display.
Make sure each side is fully dry before flipping to prevent smudges and sticking.
Indoor and Outdoor Hanging Methods
Mounting your Halloween sign properly keeps it secure and visible, whether indoors or outdoors. For outdoor use, rust-resistant hardware like stainless steel hooks, chains, or wire works best. Indoor signs may be lighter and easier to hang with removable adhesive hooks or decorative brackets.
Secure mounting reduces the risk of weather damage or signs falling. For porch or entryway signs, use wall anchors or screw directly into wooden surfaces where allowed. Freestanding signs can sit on an easel or metal stake driven into the ground. Adding a coating of weatherproof sealant protects paint and materials for outdoor displays, especially in damp or windy areas.
Seasonal Storage Solutions
Proper off-season storage prevents damage like warping, fading, or cracking. Store wooden signs flat in a cool, dry place indoors. Avoid direct sunlight and basements with high humidity. Wrap signs in breathable fabric or bubble wrap to protect surfaces and edges without trapping moisture.
Label storage containers to identify each sign and keep hardware sets together. Consider hanging signs on hooks indoors to avoid stacking pressure that could warp thin boards.
- Clean your sign thoroughly to remove dirt and debris.
- Allow your sign to dry completely, especially if used outdoors.
- Wrap the sign in a soft cloth or bubble wrap to prevent scratches.
- Store it flat on a shelf or hang it on a wall hook in a temperature-controlled room.
- Keep hardware components in a labeled small bag attached to the sign.
- Check stored signs periodically to catch any early signs of damage.
Never store wooden signs directly on cold concrete floors, as this can cause moisture absorption and warping.
Step-by-Step Action Plan for Your DIY Halloween Sign
Follow these simple steps to get your DIY Halloween sign ready and looking great. Each step helps you move closer to a festive home decoration you can be proud of.
- Before you start: Gather your essential materials and tools, including wood, paint, brushes, vinyl, and protective finish. Make sure you have everything ready to avoid interruptions.
- Day 1: Choose and prepare your wood base by sanding and cleaning it. You’ll know it’s ready when the surface feels smooth and free of dust.
- Day 2: Sketch your design on paper or directly on the wood with a pencil. Your design should clearly match your Halloween theme before moving on.
- Day 3: Apply paint or vinyl decorations to your sign. Check that the colors and shapes match your planned design.
- Day 4: Let the paint or adhesive dry completely; this can take several hours or overnight. The sign should feel dry and stable to the touch.
- Day 5: Add a protective sealant to the entire sign. After it dries, your sign should have a subtle sheen and feel slightly resistant to moisture.
- Day 6: Find the perfect spot to display your sign outdoors or indoors. It’s effective if the sign improve your Halloween décor and stays in good condition after exposure.
- After the season: Store your sign in a dry, cool place to keep it ready for next year’s Halloween display.
Frequently Asked Questions
Can I Use Recycled Wood for My DIY Halloween Sign?
Yes, recycled wood works well and adds a rustic look. Just clean and sand it properly before use to ensure paint and decorations stick.
What Is the Best Type of Paint for Outdoor Halloween Signs?
Acrylic paint is best for outdoor signs because it resists weather. Applying a clear sealant afterward adds extra protection against rain and fading.
How Can I Make a DIY Halloween Sign Safe for Kids?
Use non-toxic, water-based paints and avoid sharp tools. Opt for larger, easy-to-handle materials to keep it fun and safe for little hands.
What Is a Quick Way to Add Texture to a Halloween Sign?
Use chalk paste with a stencil or transfer for instant textured designs. This method is fast and creates a professional look without complex tools.
Can I Create a Halloween Sign Without Using Paint?
Yes, vinyl decals are an effective alternative to paint. They offer clean edges and easy application, especially for detailed or layered designs.
How Do I Store My DIY Halloween Sign for Reuse Next Year?
Keep signs indoors in a dry place and wrap them in bubble wrap or cloth. Storing flat prevents warping and preserves paint and finishes.
The Bottom Line
Your creativity combined with the right materials and steps will yield a Halloween sign that stands out without breaking the bank. Start by selecting a wood base that fits your style, then bring your design to life with paint or vinyl. Take your time on each phase to ensure the sign lasts and looks sharp year after year. Grab your supplies today and turn your entryway or porch into a festive Halloween highlight.

