Diy Glass Sign Ideas and Methods: Complete Guide with Costs and Safety
A diy glass sign lets you create a unique, personalized decoration using glass, paint, or lighting for homes or events. You can choose from stained glass, painted glass, or LED-illuminated designs depending on your skill and style. Starting with a simple design and the right materials ensures success and safety as you cut and decorate the glass.
Key Takeaways
- Use tempered or laminated glass for durable and safer DIY glass signs in your home.
- Essential tools include glass cutters, safety gloves, a ruler, and paint pens for precision and protection.
- Design your artwork on paper first, then transfer it to glass using stencils or printable guides at a 100% scale.
- Cut glass sheets using a straightedge and score carefully, snapping them along the score line for accurate shapes.
- Apply lettering with paint pens instead of brushes for cleaner, easier text on glass signs.
- Frame glass signs with wooden stock cut slightly larger than the glass to protect edges and provide stability.
What Exactly Is a DIY Glass Sign and Types Available
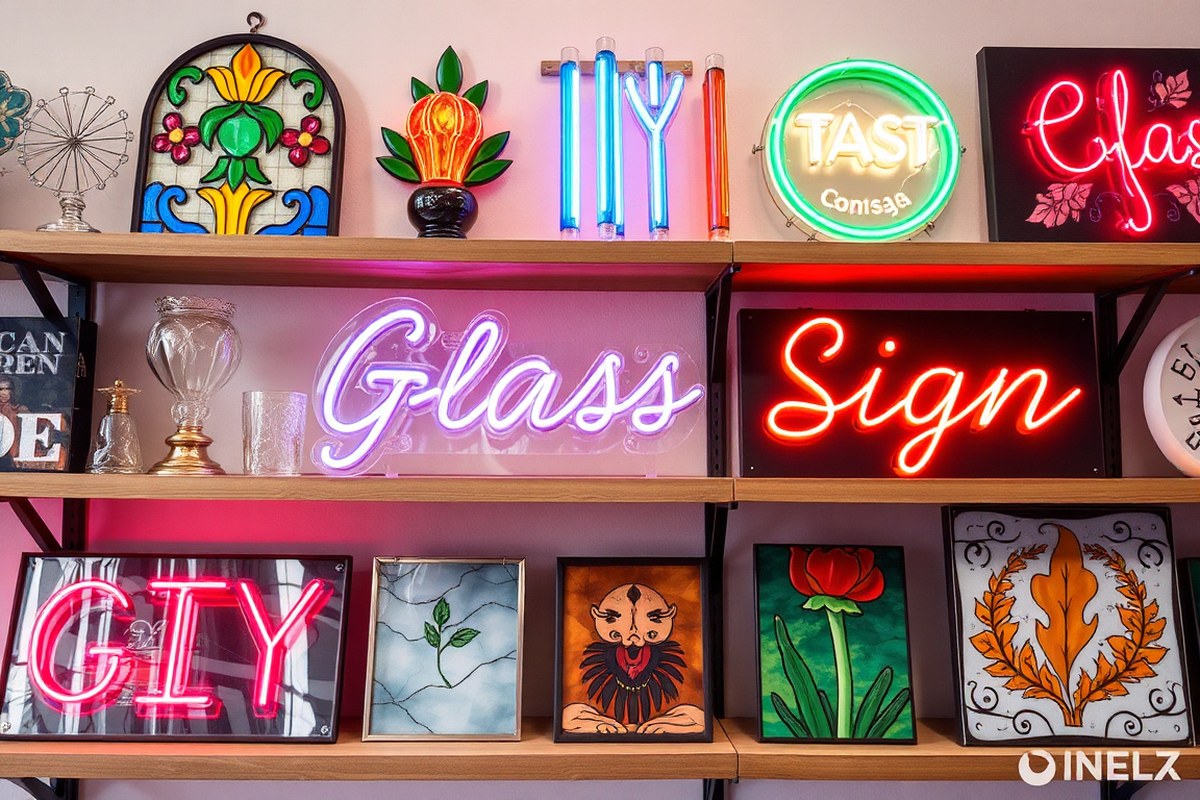
A DIY glass sign is a handcrafted decorative or functional piece made primarily from clear or colored glass. You personalize it by applying lettering, graphics, or artistic effects. These signs serve many purposes, such as welcoming guests, labeling spaces, or adding artistic flair to your home or special events like weddings.
One popular type is the stained glass sign, which uses colored glass pieces joined together or painted to create vibrant images or text. This method is traditional but requires more skill and tools like glass cutters and soldering equipment. Stained glass signs work well for windows or hanging decor where light can shine through.
Glass subway tile signs have grown trendy for home décor projects. These usually measure around 4 inches by 12 inches. You start by cleaning the tile thoroughly, then apply vinyl lettering or designs using a knockout technique, where you remove portions of the vinyl to reveal the glass beneath. The design is often made in a program like Cricut Design Space, making it beginner-friendly. This approach offers a modern, minimalist appearance perfect for kitchens or living spaces. A project like this can take an afternoon and costs under $15 for materials if you have adhesives and design tools.
Neon signs can be both traditional glass tube neon or newer LED neon options. Traditional neon requires bending glass tubes and filling them with gases, which is complex and best left to professionals or advanced hobbyists. LED neon signs use flexible LED strips encased in tubing, making them safer and easier to handle. These last over 30,000 hours and cost about half as much as store-bought neon signs. You can create custom neon signs for parties or rooms to brighten spaces with vibrant light.
Acrylic glass signs are another option. These use clear or frosted acrylic sheets, which are lighter and less fragile than regular glass. You commonly use paint pens or vinyl decals to add your design. Acrylic signs are excellent for wedding bar menus or directional signs because you can easily write on or stick designs to them. These projects generally cost $10 to $40, depending on sheet size and materials used.
Each type varies in complexity and appearance. Stained glass requires more time and tools but produces colorful, classic results. Glass subway tile signs take less time and create modern, sleek designs. Neon signs add light effects at higher cost and complexity, especially traditional neon. Acrylic offers a lighter, affordable, and versatile option for clear or frosted looks. Choosing the right type depends on your skill level, budget, and the style you want for your space or event.
Essential Materials and Tools for Making Glass Signs
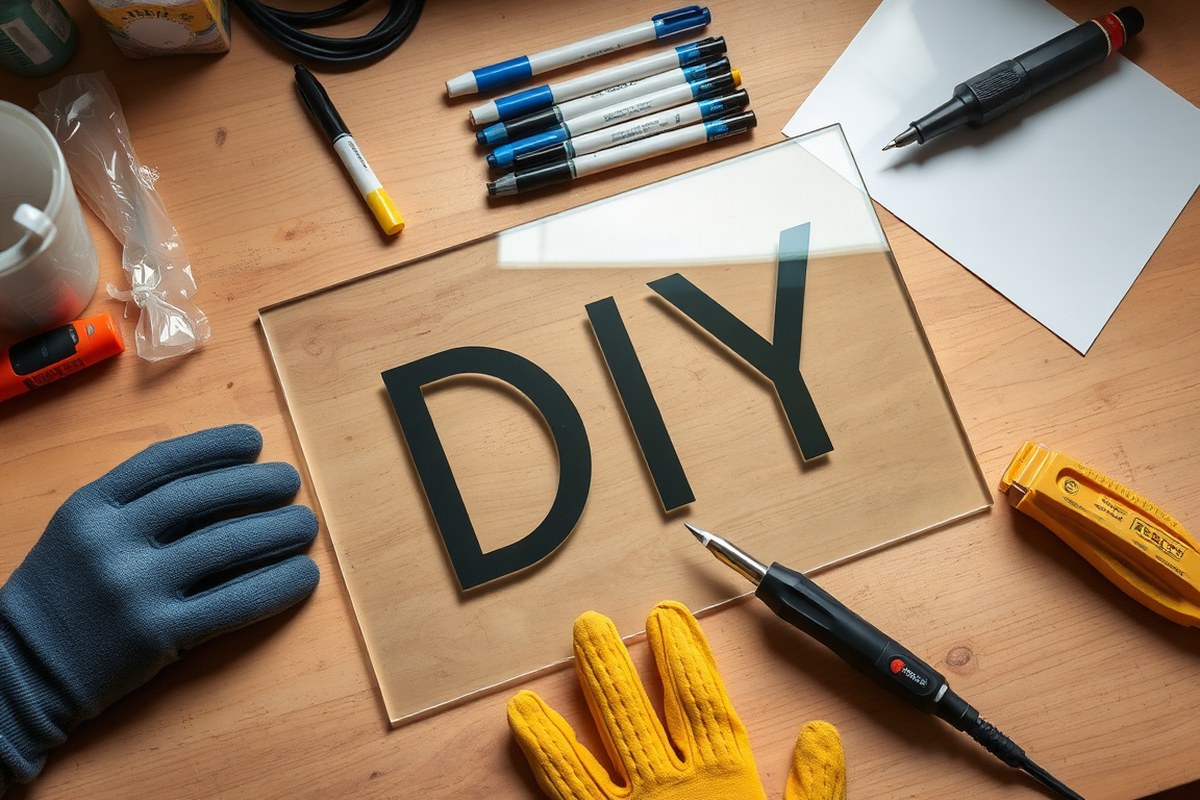
Making a glass sign requires materials and tools that depend on the style and technique you choose, such as stained glass, painted glass, acrylic signs, or even neon elements. For glass or stained glass signs, you need quality glass sheets in sizes that fit your project, like larger panels for welcome signs or smaller pieces for table markers. Acrylic signs often use clear acrylic sheets, which are lighter and easier to cut than glass. Paints vary too: glass paints or glue-thinned acrylics achieve a stained glass effect with transparency, while oil-based paint pens, especially Sharpie brands, work best for detailed lettering because they dry fast and show well on glass or acrylic.
Cutting glass safely demands tools like a glass cutter, safety gloves, and eye protection. Acrylic sheets can be cut with scoring tools or craft knives, which are beginner-friendly. For painted or stenciled signs, quality paintbrushes or small foam rollers speed up covering larger areas. If you want to add vinyl lettering to acrylic, you will need transfer tape and a cutting machine or pre-cut vinyl letters from a supplier. For DIY neon-style signs, components like glass tubing require special bending equipment and a neon transformer or power supply providing 15kV, while LED neon alternatives use 12V power supplies and are simpler for beginners to install.
- Glass sheets or clear acrylic panels sized for your project
- Glass cutter with carbide wheel (for glass) or scoring knife (for acrylic)
- Oil-based paint pens and glass paints or craft paints for backgrounds
- Small foam rollers or quality paintbrushes for large painted areas
- Vinyl lettering tools: transfer tape, cutting machine, or pre-cut vinyl
- Neon power supply (12V LED or 15kV traditional glass tube transformer)
- Safety gear: gloves, goggles, and a dust mask when sanding or cutting
Sourcing affordable supplies is easier through online retailers like Etsy or Amazon for glass and acrylic sheets or pre-cut vinyl. Craft stores often carry suitable paints and brushes at moderate prices. Glass cutters start around $10, and acrylic sheets cost roughly $15 to $50 depending on size and thickness. Investing in beginner-friendly tools like scoring knives instead of glass cutters reduces risk and learning curve for acrylic signs. Painting on the back of glass or acrylic is a key step to achieve a smooth, professional finish and protect your design from scratching, so prepare to reserve enough time for drying, acrylic paints may take several hours to cure fully.
Glass cutting requires steady hands and safety gear; incorrect cuts can shatter your panel, so take your time and wear gloves and goggles.
How to Design and Prepare Your Glass Sign Artwork
To design and prepare your glass sign artwork, start by selecting or creating a clear, scalable design. Then print the design at the exact size of your glass piece to ensure an accurate fit. Finally, prepare the printed pattern for easy transfer onto the glass surface, using a tracing or stencil method.
Choosing or Creating Your Design
Begin by deciding if you want to create your own unique design or find patterns online. Free patterns inspired by nature or stained glass windows are great starting points for beginners. You can also draw inspiration from books or your surroundings and sketch a simple design that suits your glass sign’s purpose.
Vector images and high-resolution files work best for printing, as they can be resized without losing clarity. Designing your artwork on a computer is easiest with programs like Adobe Illustrator or free options like Inkscape, which let you create or edit images in PNG, SVG, or PDF formats. These formats hold detail well, making your final glass sign look sharp and professional.
Scaling and Printing Your Pattern
Proper scaling is key to ensure your design fits the glass perfectly. Measure your glass surface precisely and resize your artwork to match those dimensions at 100% scale in your design software. Avoid automatic resizing by your printer or software, which can distort proportions.
Break your design into smaller sections if it’s larger than your printer’s paper size. Print each section at full scale, then align and tape the pages together to recreate the complete design. Use standard printer paper for most transfer methods, or thicker paper for stencils that need to be durable.
Preparing Design for Glass Transfer
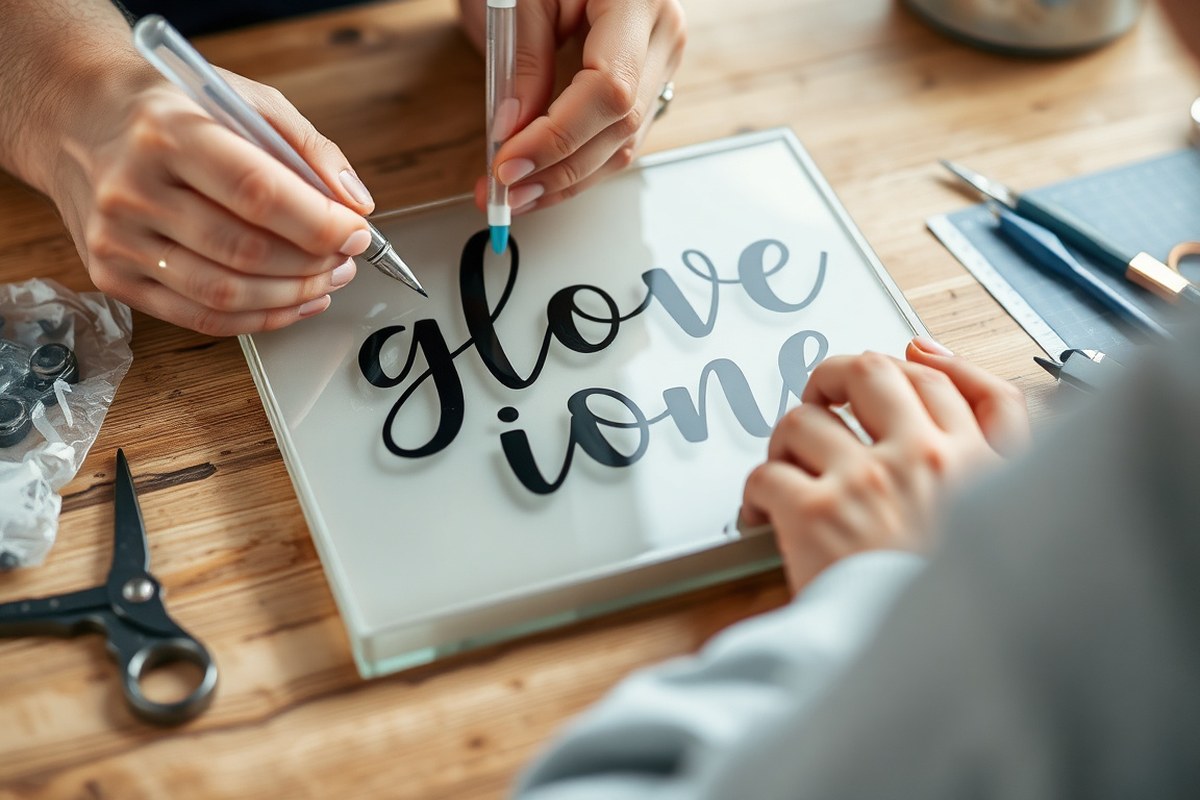
Once printed, your design needs prepping for application. For tracing, tape the printout onto a flat surface, place your glass or acrylic on top, and secure with painter’s tape to prevent shifting. Trace the design with a fine-point black marker or paint mixed with glue for a no-run outline.
Use stencil methods by cutting out the design carefully with a craft knife or a cutting machine such as a Silhouette or Cricut. This will create a template you can apply directly to the glass. Use transfer tape to place vinyl stencils precisely, avoiding bubbles and misalignment.
Making sure your design stays in place during application is critical. Using light adhesive sprays or low-tack tape helps keep printed patterns and stencils stable without damaging the glass or the artwork.
- Measure your glass sign dimensions accurately to determine the required design size.
- Select or create a clear, high-resolution design in suitable file formats (PNG, SVG, PDF).
- Open your image in design software and resize it to match your glass size at 100% scale.
- When the design exceeds your printer paper size, split it into sections and print each on its own sheet.
- Align and tape printed sections together to form the complete pattern.
- Attach the printed design securely under or on the glass surface using painter’s tape.
- Trace the design directly onto glass with a fine-tip marker or prepare a vinyl stencil for application.
- Use the appropriate transfer method to ensure precise placement and clear outlines on your glass.
Cutting and Preparing Glass Safely and Accurately
Cutting and preparing glass for your DIY glass sign is a careful process that requires attention to detail and safety. You need the right safety gear, precise measurements, correct scoring and cutting methods, and smooth edges ready for design application. Taking these steps helps prevent injury and ensures a clean, professional look.
Safety Gear and Work Setup
Always wear protective goggles and a grinding or dust mask when handling or cutting glass to protect your eyes and lungs from shards and dust. Use heavy-duty gloves to safeguard your hands from cuts. Work on a flat, stable surface covered with a thick towel or rubber mat to prevent the glass from slipping or breaking prematurely. Clear your workspace of clutter and ensure good lighting.
Keep a small brush or compressed air nearby to remove glass dust and shards without direct hand contact. Having a container to safely dispose of glass scraps is essential.
Measuring and Scoring Glass
Accurate measurement is key for your glass piece to fit your sign frame and design. Use a metal ruler or measuring tape to mark your glass precisely. Mark your cut line lightly with a grease pencil or a washable marker. Cathedral glass usually measures no more than 5mm thick, making it easier to score and cut.
Use a glass cutter with a small wheel and apply a light coating of oil on the cutting wheel to help score the glass cleanly. Position the glass cutter so the wheel lines up exactly with your marked line. Score the glass once with steady pressure, you want a continuous scratch, not a deep gouge or multiple passes.
Cutting and Edge Finishing
After scoring, gently snap the glass along the score line by holding it firmly and applying downward pressure or using running pliers designed for glass cutting. The edges will initially be jagged and potentially sharp.
Use an electric glass grinder to smooth the edges carefully. Move the glass slowly against the grinder wheel while wearing your protective mask and goggles. If you don’t have a grinder, a carborundum stone provides a manual alternative for smoothing edges. Follow up by sanding rough spots with 220 grit sandpaper, which refines edges further.
Once smooth, clean the glass thoroughly with glass cleaner and a lint-free cloth to remove dust and oils before applying any paint or adhesive designs. This preparation helps your artwork adhere well and look clean.
- Put on goggles, gloves, and a dust mask, then secure your work surface.
- Measure and mark your glass using a ruler and marker, adding any extra margin needed (like 1.5 inches for framing overlap).
- Apply oil to your glass cutter wheel and score the glass along the marked line in one continuous motion.
- Snap the glass gently along the score by hand or with running pliers.
- Use an electric grinder or carborundum stone to smooth the jagged edges while wearing your mask and goggles.
- Sand edges lightly with 220 grit sandpaper for final smoothing.
- Clean the glass thoroughly with a glass cleaner and a lint-free cloth to remove dust and oils.
Techniques to Apply Lettering and Designs on Glass
Applying lettering and designs on glass offers various options depending on your tools, skills, and the desired final look. Vinyl transfer is a popular choice for sharp, precise lettering. You start by cutting your design in vinyl, then use transfer tape to lift the vinyl off its backing and place it firmly on the clean glass surface. Applying pressure with a squeegee tool helps avoid bubbles or wrinkles. A glass pen marker can mark the center or guide points before placing the vinyl, which can be wiped off later. Vinyl works well as a stencil too; sealing the edges with Mod Podge prevents paint from bleeding through if you plan to paint over it. Vinyl’s ease of use and clean removal make it suitable for temporary or changing signs, costing roughly $10 to $30 for basic supplies.
Painting directly on glass with glass-specific paints or paint pens is another effective method. Use thick layers of paint to ensure vibrant and durable coverage, especially going right up to any stencil lines. Glass paintbrushes designed for this purpose help maintain smooth application without streaks. Paint pens designed for glass allow more control for freehand lettering or detailed designs. They are particularly recommended when you want a handwritten effect or white lettering, which tends to stand out well on transparent or dark glass. After painting, let your project dry fully, often several hours until dry to the touch, and cure times may be longer depending on the paint brand. Painted glass signs can last for years indoors but may wear outdoors without sealing.
Glass etching uses a slightly different approach and delivers a frosted, permanent look. Using vinyl decals as masks, you apply an etching cream or acid-resistant medium to expose selected glass areas. The cream eats away the unprotected glass surface, creating a textured design that won’t fade or chip easily. Etching takes about 15 to 30 minutes of application time, plus thorough cleaning afterward. It’s best for simple, bold designs and more permanent installations since reversing etching is impossible. Etching kits cost around $10 to $20, not including vinyl stencil materials.
Decals are pre-printed designs transferred onto glass with adhesive backing. They’re straightforward to apply by wetting the glass and using a squeegee to position the decal. Decals work well for event signs or short-term decorations but can peel or fade with time, especially outdoors. Costs vary widely based on size and complexity but expect around $5 to $20 for standard decals.
| Method | Ease of Use | Durability | Cost Range (Materials) | Best For |
|---|---|---|---|---|
| Vinyl Transfer | Easy | Moderate (removable) | $10, $30 | Crisp, changeable lettering; stencil-based painting |
| Glass Paint/Paint Pens | Moderate | Good (indoors; needs sealing outdoors) | $10, $40 | Detailed or freehand designs; color variety |
| Glass Etching | Moderate | High (permanent) | $10, $20 | Permanent frosted design; simple shapes or lettering |
| Decals | Easy | Low to Moderate | $5, $20 | Temporary or event signs |
For neat applications, always clean the glass thoroughly with rubbing alcohol to remove fingerprints and dust before starting. When using vinyl, carefully weed out the unwanted parts of the design to avoid gaps. Applying transfer tape evenly and pressing firmly helps the vinyl stick without wrinkles or bubbles. When painting, use several thin coats rather than one thick layer to prevent drips. Let paint dry fully between coats for the best finish. To maintain your glass sign, keep it away from abrasive cleaners and harsh chemicals. Wiping gently with a damp microfiber cloth preserves paint and vinyl longevity. Etched glass requires no special care beyond regular cleaning.
Test your paint or vinyl on a scrap glass piece before working on your final sign to ensure compatibility and adhesion.
Finishing Your Glass Sign and How to Frame or Mount It
Framing, sealing, and mounting your DIY glass sign makes a big difference in its durability and presentation. A wood frame adds a finished look and protects edges, while sealing preserves your design against dust and moisture. Choosing the right backing and mounting hardware depends on where and how you plan to display the sign.
Building a Wood Frame
A simple wooden frame improve the appearance of your glass sign and secures it safely. Pine boards measuring 1 inch by 2 inches work well because they are easy to cut and affordable. Make sure to allow a slight gap of about 1/8 inch (3.2 mm) around the glass so it fits comfortably without forcing pressure on the edges. Follow these steps to build a wooden frame:
- Measure the glass sign’s height and width, then add 1/4 inch (6.4 mm) to each dimension for clearance.
- Cut four pieces of 1″x2″ pine board to these adjusted dimensions, two pieces matching the height and two pieces matching the width.
- Sand the cut edges to smooth out any roughness or splinters.
- Assemble the frame by joining the boards at the corners with wood glue followed by small finishing nails or screws for extra strength.
- Check the frame’s inner dimensions with the glass to ensure a snug but not tight fit.
- Optionally, paint or stain the frame before inserting the glass for a polished finish.
- Place the glass panel inside the frame and secure it using glazier points or soft foam tape along the edges to prevent movement.
This method keeps the glass secure without putting pressure on it, which can cause cracking over time.
Sealing and Protecting the Glass
Protecting your design on glass usually involves applying a clear sealant to shield against scratches, fading, and moisture. A polyurethane spray designed for glass or a clear acrylic sealer works well. Choose a product labeled for glass surfaces and UV resistance if your sign will hang in sunlight.
Apply one or two light coats from about 6 to 8 inches away, allowing 30 minutes to 1 hour drying time between coats. Avoid heavy layers that can drip or cloud the glass. Besides a top sealant, backing the glass with materials like foam board or thin plywood adds stiffness and prevents breakage.
Mounting and Display Options
The mounting method you choose depends on the size and weight of your glass sign and where you want to display it. For smaller signs under 10 pounds, picture-hanging wire attached to the wooden frame works well and is easy to install on walls. Use D-ring hangers screwed into the frame’s back rather than the glass itself.
Larger signs benefit from using metal brackets or cleats screwed into a wall, providing more support. Adhesive mounting strips rated for outdoor use offer a no-tool option but should only be used for lightweight pieces and smooth walls. When mounting glass directly without a frame, use suction cup hooks designed for glass surfaces, but test their weight capacity carefully. Backing the sign with a firm, lightweight board creates a flush surface for attaching mounting hardware and prevents the glass from flexing or bending under its own weight.
Estimated Time, Cost, and Difficulty for Popular Projects
Choosing the right method for your glass sign project depends on how much time, money, and skill you’re ready to invest. Some techniques require specialized tools and experience, while others fit beginner DIYers better. Planning by comparing cost, time, and difficulty ahead keeps your project on track and avoids surprises with materials or labor.
| Method | Estimated Time | Material Cost | Tools Needed | Skill Level |
|---|---|---|---|---|
| Glass Neon (Tubing) | 8, 12 hours | $110, $260 (tubes + transformer) | Glass tubing, glass bending tools, transformer | Advanced |
| LED Neon Sign | 2, 4 hours | $35, $110 (tubes + transformer) | LED tubes, basic wiring tools | Beginner to Intermediate |
| Stained Glass | Several days (depends on design) | $50+ for materials | Soldering iron (75W min), glass cutter, safety gear | Advanced |
| Vinyl Lettering | 1, 3 hours | Under $20 (vinyl and transfer tape) | Cutting machine (optional), transfer tape, scraper | Beginner |
| Stencil Method | 2, 5 hours | $10, $30 for stencil and paint | Stencil, paint, brushes or spray, painter’s tape | Beginner to Intermediate |
For glass neon signs made with tubes, expect a higher cost due to specialized materials and a longer assembly time. Glass bending takes practice and can be risky without experience, so this approach suits those comfortable with detailed handwork. LED neon alternatives come with less setup time and lower costs, making them a popular choice for wedding signs or home décor with easier installation and no heat risk.
Stained glass designs require precision tools like a 75-watt soldering iron and skill to cut and join pieces. These projects take longer but offer distinctive results. Beginners may prefer vinyl lettering or stencil methods that need fewer tools and less time. Vinyl signs cost less to materialize and give you clean results with a cutting machine or by hand. Stenciling demands patience but lets you customize paint colors easily. Aim to gather all supplies before starting to avoid delays. Budget around 10, 15% extra in time and money for unexpected challenges like tool adjustments or cleaning.
Common Mistakes and Safety Tips for Glass Sign Making
One of the most common mistakes in making a DIY glass sign is incorrect sizing of your design. Not resizing your artwork to exactly match your glass dimensions leads to distorted or uneven application. Always open your design file in a program that allows precise resizing, matching your glass or acrylic measurements before proceeding. Working too fast or without proper tools often causes glass to chip or crack, which usually happens during cutting or handling. Make sure to score the glass with a proper glass cutter and apply steady, even pressure to avoid fractures.
Applying lettering or decals too soon, before the glass is clean and dry, creates bubbles or peeling edges. Clean your glass thoroughly with rubbing alcohol, then allow it to dry completely before applying any design elements.
Handling glass and neon tubing without proper protective gear increases the risk of injury significantly. You need to wear cut-resistant gloves, safety glasses, and work in a well-ventilated space if heating neon tubes. Neon glass is fragile and requires specific bending skills and equipment; attempting to create neon signs without experience often ruins the tubes and can cause burns or cuts. Stop and seek professional help if glass cutting is beyond your comfort level or if neon tube bending is involved.
- Check design size against glass dimensions before starting
- Score glass gently and evenly to prevent cracks
- Always clean and dry glass before applying decals or paint
- Wear cut-resistant gloves and eye protection whenever handling glass
- Use a mask and ensure ventilation when working with paints or adhesives
- Don’t attempt neon tube bending unless properly trained
- Keep your workspace clear and well-lit to avoid accidents
Always handle glass on a flat, stable surface and never rush glass cutting or painting steps to avoid accidental damage or injury.
Safety matters from start to finish. Before cutting glass, verify your tools are sharp and in good condition to ensure clean cuts. After cutting, smooth edges with appropriate sanding tools to prevent cuts during handling or installation. Avoid forcing neon tubes into shapes or bends without the right equipment and training; this process uses heat above 1,000°F and can release harmful gases if done improperly. Follow all product instructions and don’t hesitate to hire a professional if the work feels risky or beyond your skill level. Expect to spend a bit more when involving a pro, but it can prevent costly breakage or injury.
Step-by-Step Action Plan for Your First DIY Glass Sign
Follow these clear steps to create a glass sign that reflects your personal style and skill level.
- Before you start: Gather all your materials and tools, including glass, vinyl lettering or paint, brushes, etching cream if used, and safety gear. Check that everything is compatible and in good condition to ensure a smooth process.
- Day 1: Design your artwork on paper or digitally, focusing on size and readability. Confirm the design fits your glass piece by measuring and ensuring proper scale.
- Day 2: Prepare your glass by cleaning it thoroughly with a glass cleaner and wearing safety gloves. Inspect for chips or cracks to avoid accidents or poor results.
- Day 3: Apply your design using vinyl stencils or hand-painted lettering. Test on scrap glass or practice sheet to confirm adhesion or paint flow before working on the main piece.
- Day 4: Let the design dry or cure fully according to your materials’ instructions, usually 24 hours. Check if the surface is fully dry and stable to avoid smudging.
- Day 5: Add finishing touches like sealing with a clear coat or adding mounting hardware. Verify attachments are secure and the sign can stand or hang safely.
- After 1 week: Display your sign in the intended location and observe its durability. Make adjustments to placement or protection if exposure causes damage.
Frequently Asked Questions
What Type of Paint Works Best for Detailed DIY Glass Signs?
Oil-based paint pens are best for detailed DIY glass signs because they adhere well and resist smudging. Use fine-tip pens for intricate designs and let the paint cure fully before handling to avoid scratches.
Can I Use Acrylic Instead of Glass for My Sign?
Acrylic is a good alternative to glass for DIY signs as it is lighter and less fragile. Acrylic allows easier cutting and safer handling, making it ideal for beginners or for signs that need to be portable.
How Do I Prevent Bubbles When Applying Vinyl to a Glass Sign?
To prevent bubbles, clean the glass thoroughly and apply vinyl slowly using a squeegee to smooth out air pockets. Working from the center outward helps push bubbles out to the edges for a smooth finish.
What Is the Best Way to Clean My Finished Glass Sign Without Damaging It?
Use a soft microfiber cloth and a gentle glass cleaner to clean your finished sign. Avoid abrasive pads or harsh chemicals, as they can scratch the glass or damage paint and decals.
Can I Reuse Glass Pieces from Old Décor for New Signs?
Yes, reusing glass from old décor is possible if the pieces are intact and clean. Inspect for cracks and thoroughly clean before repurposing to ensure safety and a polished look.
How Do I Protect My DIY Glass Sign from Outdoor Weather?
Seal your DIY glass sign with a clear, weatherproof sealant suitable for glass and paint. This protects against moisture and UV damage, extending the life of your outdoor décor.
Before You Go
Making your own glass sign combines creativity with practical skills, giving you a personalized décor piece or gift. Tackling each step carefully lets you avoid common errors and ensures your design lasts. Gather your materials today and start with a simple stencil project to build confidence. Your unique glass sign will brighten your space and showcase your DIY abilities.