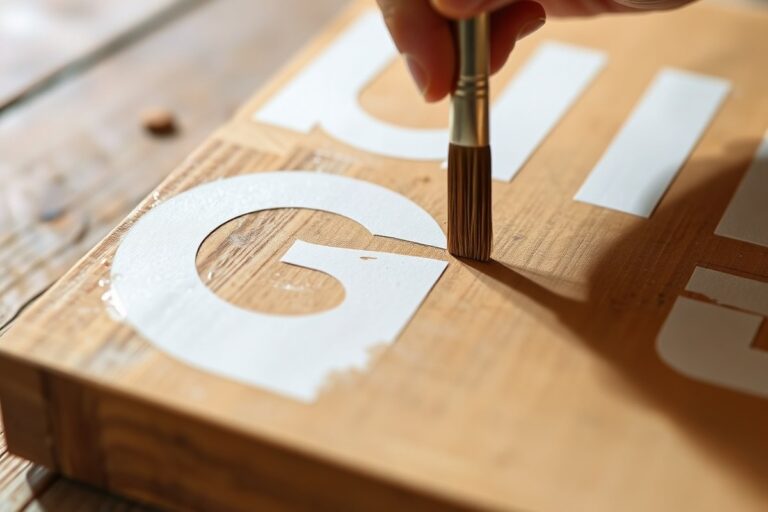
Pallet Sign Ideas: 12 Creative Projects and Expert Tips for Perfect Signs
Pallet sign ideas can help you create unique, affordable decor with a rustic charm that fits any style. Using reclaimed pallet wood cuts costs and adds character, making every sign one of a kind. Start by choosing good-quality wood to ensure your sign lasts and looks great.
Key Takeaways
- Select pallets free of nails, stains, or pests to ensure safe and clean wood for your sign.
- Use a pry bar and hammer carefully to disassemble pallet wood without damaging the boards.
- Sand pallet boards thoroughly to create a smooth surface ready for paint or stain.
- Plan your sign’s message and layout clearly before painting or attaching elements.
- Mix paint or stain with wood conditioner to achieve even finishes that penetrate deeply.
- Add 3D elements like carved letters or small objects to make your sign stand out visually.
What Is a Pallet Sign and Why Use It?
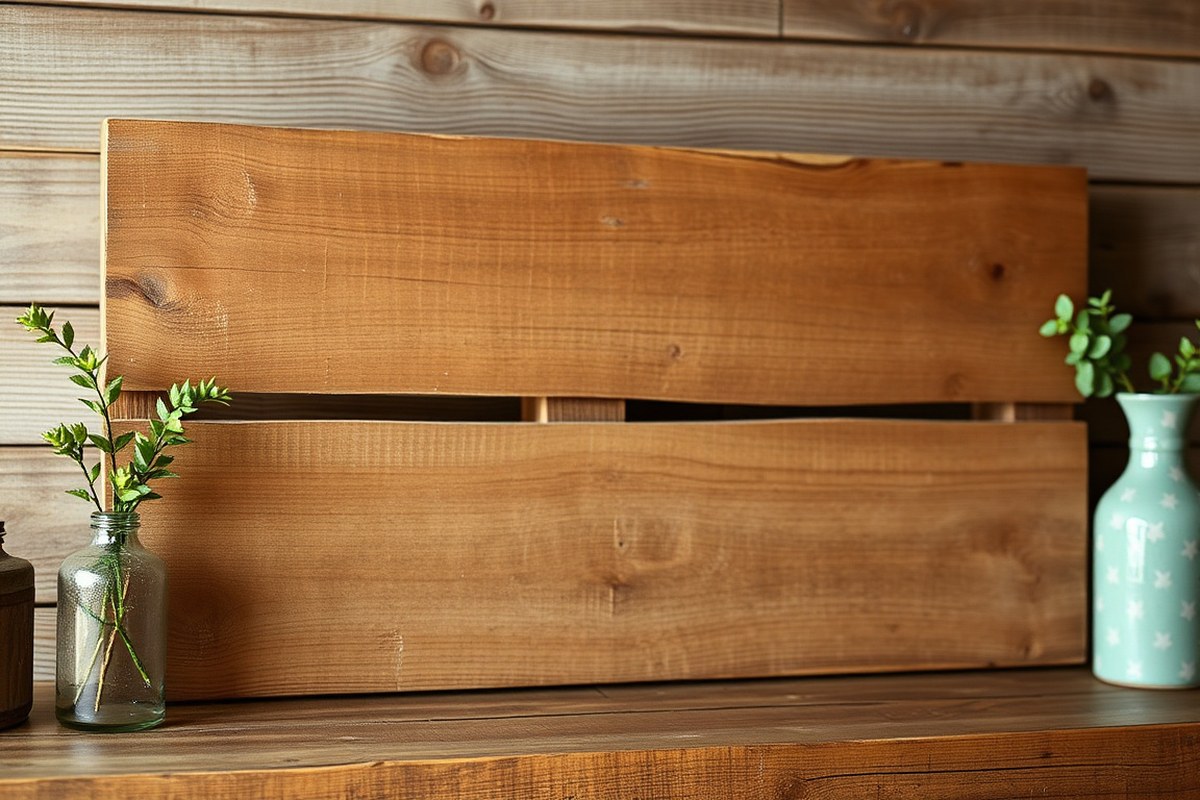
Pallet signs are decorative pieces made by repurposing wooden pallets into personalized wall or porch art. These signs typically showcase words, phrases, or images painted or stenciled onto wood panels assembled from pallet slats. Many DIY crafters appreciate pallet signs for their rustic charm that blends well with farmhouse, vintage, and shabby chic home decor styles.
One major reason to use pallet signs is their affordability. Pallets are often free or low-cost materials, making them a budget-friendly option for personalized home accents. The basic supplies to create a pallet sign include sandpaper, paint or stain, brushes, and wood sealant. Because pallet wood is already cut into manageable slats, you mostly need to clean and smooth the wood before adding your design. This simplicity makes pallet signs approachable projects for beginners or weekend crafters without specialized woodworking skills.
Creating a pallet sign lets you tailor the size, message, and finish to your space and taste. For example, smaller signs around 12 by 24 inches fit well on bookshelves or mantels, while larger ones up to 24 by 48 inches serve as focal points in entryways or living rooms. You can select paint colors to match your existing color palette or stain the wood for a natural look. Typical costs include $0 to $10 for pallet wood if you source used pallets, $5 to $15 on paint supplies, and under $10 for finishing sealers. Total costs generally fall below $30, which is much cheaper than most store-bought signs.
Good results come from properly prepping the wood by cleaning off dirt and splinters and sanding surfaces smoothly. Using stencils or vinyl decals helps achieve neat, consistent lettering and graphics. Applying two coats of paint or stain with adequate drying time between layers ensures vibrant, long-lasting color. Finishing with a clear outdoor sealant protects the sign from moisture and sun damage, especially if you plan to hang it outdoors.
Some challenges arise from using pallet wood. Wood pieces can vary in thickness, which requires careful alignment when assembling the sign boards flat. Old pallets might contain nails or staples that need to be removed or hammered down fully to avoid injury or interfering with paints. Uneven wood grain or rough spots can affect how smoothly paint applies. You might need extra sanding for a polished look.
Because of their versatility, pallet signs fit a wide range of themes and occasions. You can make a warm “Welcome” sign for your front porch, a seasonal piece like a snowman for winter holidays, or a personalized quote for a living area. The rustic aesthetic complements many home styles, yet you can modernize it by painting the wood white or gray. Pallet signs add personality and charm without the expense or permanence of professional art.
How to Select the Best Pallet Wood for Your Sign
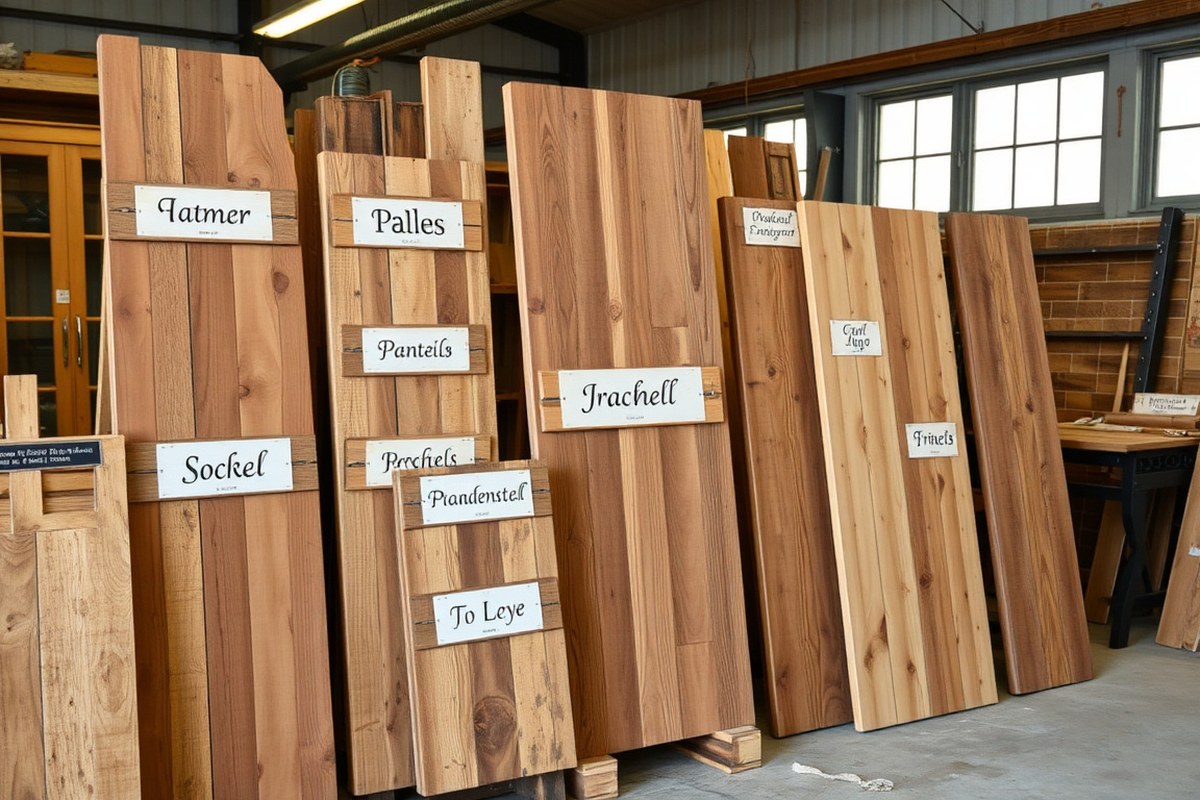
Choosing the right pallet wood directly affects the look and durability of your DIY pallet sign. Not all pallets are safe or suitable for crafting. Begin by identifying the wood type, treatment method, and overall condition.
Look for pallets made from softwood like pine, which is common and easy to work with because it’s lightweight and accepts paint or stain well. Avoid hardwood pallets, which can be harder to cut and finish. Pallets treated with heat (marked with “HT”) are safer and less toxic than those treated with chemicals. Pallets stamped with “MB” indicate methyl bromide pesticide treatment and should be avoided due to harmful residues.
| Feature | Recommended Pallet Wood | Why It Matters |
|---|---|---|
| Wood Type | Softwood (Pine) | Lightweight, easy to paint or stain, widely available |
| Treatment | Heat Treated (HT) | Free of harmful chemicals, safe for indoor use |
| Condition | Intact, no rot or mold | Ensures structural integrity and clean finish |
| Size and Thickness | Planks approx. 1×4 inches | Ideal for cutting, assembling, and fitting design |
| Source | Furniture stores, nurseries, or local warehouses | Often give pallets for free or low cost, inspected quality |
Safety checks start with inspecting for cracks, splinters, or insect damage. Gently run your hand over the wood surface to spot rough spots that require extra sanding. Avoid pallets with visible oil stains or chemical smells. Wearing gloves while handling pallets can protect you from nails or splinters.
Many DIYers find local furniture stores, plant nurseries, or warehouses good sources for pallets at minimal or no cost. Before taking a pallet, confirm with the owner that it’s okay to collect it. Pallets reused in shipping produce or furniture tend to be cleaner and untreated. You can expect to pay $0 to $5 per pallet, sometimes less if you disassemble the pallet yourself.
Never use pallets treated with chemical pesticides for indoor signs to avoid toxic fumes and skin irritation.
Safe and Effective Pallet Wood Disassembly
To disassemble pallet wood safely without splintering or injury, the key is to work patiently with the right tools and proper technique. Pallets are typically held together with nails driven deep into the wood, so carefully removing these nails helps preserve the boards intact. Rushing or using excessive force can crack or break the wood, reducing your usable material for your pallet sign.
Start by equipping yourself with these essential tools: a claw hammer or pry bar for levering the boards, a nail puller or cat’s paw to withdraw stubborn nails, protective gloves to avoid splinters, and safety glasses to protect your eyes from flying debris. Using a reciprocating saw with a metal-cutting blade can also speed nail cuts in some cases, though this is better for experienced users. Here is a step-by-step checklist for dismantling pallet wood safely:
- Lay the pallet flat on a stable work surface to prevent movement.
- Use the claw hammer or pry bar to gently start loosening the boards at the edges, working your way along the length.
- Insert the nail puller under each nail head you expose to gradually remove nails without forcing the wood apart.
- Handle each board separately, lever slowly to avoid cracking, and set aside usable pieces.
- For pallets nailed tightly, lightly tapping the pry bar with a hammer can help loosen fasteners without splitting.
- Wear gloves and glasses at all times during the process to avoid splinters and eye injuries.
- Inspect boards for remaining nails before sanding or cutting for your sign project.
This method preserves the natural rustic character of pallet wood, which gives your sign that appealing charm. Expect the process to take 20-40 minutes per pallet depending on nail conditions and your techniques. Avoid forcing boards apart, which causes damage and increases risk of injury. If nails are particularly stubborn, cutting them with a reciprocating saw blade designed for metal can help, but use caution to keep the wood unscathed.
Selecting pallets that appear recently constructed with fewer nails reduces disassembly effort. Avoid pallets treated with harmful chemicals or those marked for industrial use. Following these steps will give you usable, attractive boards for your personalized pallet wood sign while keeping your hands and eyes safe.
Essential Tools and Materials for Pallet Sign Projects
To create a pallet sign, start by gathering basic tools and materials to prepare the wood, add your design, and finish with protection. Essential items include pallet wood itself, which you should clean and sand to prevent splinters and ensure paint or stain adheres smoothly. Sanding can be done using medium-grit sandpaper (around 80-120 grit) by hand or with a power sander, which will save time if you plan multiple signs.
Next, you need materials for decorating the sign. Paint, stain, or wood burner kits allow you to customize your message and appearance. Acrylic craft paints are budget-friendly and come in many colors. If you want a rustic look, staining with a gel or oil-based product applied using a brush or rag works well. A wood burner requires more skill but creates precise, permanent designs. Using stencils helps achieve clean lettering, especially for beginners.
Tools for assembly depend on your sign’s size and complexity. A hammer and nails or a drill and screws can fasten slats together or attach hanging hardware. For delicate work or smaller signs, strong wood glue combined with clamps makes a neat bond without nails or screws showing. Protective wearing gear like gloves and safety glasses reduce injury risk when sawing or sanding.
- Pallet wood (cleaned and sanded)
- Medium-grit sandpaper or power sander
- Acrylic paint, wood stain, or wood burning kit
- Paintbrushes and stencils for lettering
- Hammer and nails, drill with screws, or wood glue with clamps
- Protective gloves and safety glasses
Budget-friendly alternatives include reusing scrap wood instead of new pallet boards or substituting paint with household items like markers or crayons for temporary signs. Hand sanding is free but slower compared to renting a power sander, which costs around $30 per day at rental shops. Acrylic paints cost about $5 to $10 per set and last through many projects.
Good results show smooth, splinter-free surfaces with clean lines or lettering, depending on your decorating method. Signs that feel sturdy without loose nails or glue finish strong. Common problems include rough edges that make painting difficult, paint that peels due to poor wood prep, or assembly that wobbles because of uneven fastening or warped wood.
Step-by-Step Guide to Making a Basic Pallet Sign
Creating a basic pallet sign combines simple woodworking and painting skills that you can complete in about three hours. The process starts with preparing your pallet wood, then assembling it into a flat surface ready for painting your chosen message or design. Each step builds on the last, so take your time to achieve a clean, polished look. This project requires some basic tools and paints but remains one of the most accessible DIY home décor crafts.
Follow these steps for a straightforward pallet sign, such as a “Be Creative” design on white wood with colorful lettering. Adjust materials and times slightly based on your choices, like adding staining or extra decorative elements.
- Disassemble and prepare pallet wood: Carefully take apart the pallet boards using a pry bar and hammer, avoiding cracks or deep gouges. Sand each plank smoothly, focusing on edges to prevent splinters, using medium-grit sandpaper followed by fine-grit for a polished finish. Expect about 45 minutes for this step depending on pallet condition.
- Select and arrange planks: Choose the flattest, cleanest planks to form the sign face. Lay them side by side on a work surface, adjusting for a balanced look. Measure and trim boards uniformly with a handsaw or power saw to your desired height and width, typically between 12 to 18 inches tall by 24 to 30 inches wide. This will take around 20 minutes.
- Attach planks together: Flip your arranged planks and nail or screw two or three horizontal support boards across the back lengths to secure the sign boards in place. Ensure the supports are evenly spaced to prevent warping. Allow 15-20 minutes for assembly.
- Apply base paint or stain: Use a paintbrush or foam roller to apply white paint or a clear stain on the front surface. Allow at least 30 minutes to dry fully; drying times vary with paint type and room temperature. A primer coat beneath paint helps achieve a smooth surface and better durability.
- Transfer your design: Use a printed stencil or freehand your text or graphics onto the dry surface with a pencil. Having a clear outline makes painting easier and neater in the next step.
- Paint your message or artwork: Fill in the design with acrylic craft paints, applying two thin coats for vibrant color. Let each coat dry for about 20 minutes. Fine artist brushes work best for detailed lettering. You can add metallic accents or simple embellishments at this stage.
- Seal the finished sign: Apply a clear water-based polyurethane or acrylic sealer to protect paint from fading and wear if your sign is for outdoors. Two coats spaced 30 minutes apart work well and add durability without yellowing.
Most steps require some drying or waiting time, so you might want to split the project into two sessions to ensure good results. Planning refreshment breaks for drying saves rushing and paint smudges.
Always wear safety goggles and a dust mask when sanding pallet wood, especially if the pallet might have been chemically treated or exposed to unknown substances.
Designing Your Pallet Sign’s Message and Layout
Designing your pallet sign’s message and layout starts with choosing the right words, fonts, and graphics that reflect your style and purpose. Using templates or stencils makes transferring your design onto wood easier and more precise. A balanced layout ensures your sign looks polished and visually appealing.
Choosing Text and Fonts
Start by picking a clear and concise message that fits the size of your pallet wood. Short phrases or single words work well because long sentences can look crowded. Consider your sign’s purpose, whether it’s welcoming guests, showing a family name, or celebrating a holiday, and choose wording that feels natural and meaningful to you.
Select fonts based on readability and style. Simple sans-serif fonts or classic script fonts often suit pallet signs best, blending well with rustic wood. Avoid very thin or intricate fonts, as they can be hard to paint and may not stand out on rough surfaces. Using one or two complementary fonts keeps the design from looking cluttered.
Using Stencils and Printouts
If freehand painting feels intimidating, stencils or printed templates offer an easy way to transfer your design. You can buy pre-made stencils in craft stores or online, often costing $5 to $20 depending on size and material. For custom text, print your message in the desired font and size on regular paper.
Cut out letters or designs carefully with a craft knife, then tape the stencil or printout onto the pallet wood. Trace around the edges with a pencil or transfer the design by rubbing graphite paper between the printout and wood for clean outlines. This provides a guide for painting and reduces mistakes. Remove the stencil immediately after painting the edges to avoid smudges.
Tips for Balanced Layouts
Visual balance keeps the sign attractive and easy to read. Place your main message centrally and reserve larger or bolder fonts for it. Secondary information like dates or smaller quotes should be smaller and positioned above or below to avoid overcrowding. Leave equal spacing between words and graphic elements.
Adding simple graphics such as stars, arrows, or floral accents can improve your sign without overwhelming it. Use these elements sparingly and repeat shapes or colors to create coherence. Before painting, practice your layout on paper or use painter’s tape on the wood to map out your design, ensuring it fits and flows well.
Painting and Staining Techniques for Durable Finishes
Choosing between paint and stain depends on the look and durability you want for your pallet sign. Stains soak into the wood, highlighting the grain and giving a natural finish. Water-based stains are a good choice for pallet signs because they dry fast, usually about 1 to 2 hours, and they don’t raise the wood grain much. You apply stain with a brush or rag, working along the wood grain. After applying, wipe off excess stain with a clean rag for an even tone. Staining is ideal if you want a rustic or weathered appearance while protecting the wood from moisture.
Painting covers the wood, creating a more uniform, solid color that hides imperfections. Acrylic paint works well for pallet signs, especially for indoor or covered outdoor use. For signs exposed to weather, outdoor or latex paint provides better resistance to moisture and sun damage. Matte paint colors, like soft pinks or muted blues, can give a vintage feel. Paint takes longer to dry than stain; expect about 4 to 6 hours between coats. Applying multiple thin coats with a foam brush or small roller prevents drips and achieves a smooth finish.
To get a smooth, long-lasting finish, preparation is key. Sand the pallet wood with medium-grit sandpaper to remove roughness, then finish with fine-grit for smoothness. This helps paint or stain adhere evenly. Remove dust with a tack cloth or damp rag before applying any finish. For both paint and stain, apply thin coats in even strokes following the wood grain. Let each coat dry fully before adding another. For paint, two to three coats usually provide good coverage; for stain, one or two coats are enough.
Color choices can influence the style. Natural wood tones improve by stains suit rustic or farmhouse signs, while bright or pastel paint colors make playful, eye-catching decor. To add depth, paint the base color first, let it dry, then lightly brush on a second color or a wood stain to create a weathered effect. Using stencils with acrylic paint for lettering works well because the paint stays vibrant and crisp on the sealed surface.
Expect to spend about $10 to $25 on paint or stain per project, depending on quantity and brand. Brushes and rags add a few more dollars but are reusable. Drying times vary with temperature and humidity; temperatures above 70°F speed drying, while below 50°F can slow it down considerably. Avoid applying finishes in direct sunlight or high humidity to prevent bubbling or streaking. Proper finish application protects your pallet sign from fading and peeling, making your design last longer outdoors or indoors.
Creative Decorative Elements to improve Your Pallet Sign
Adding 3D elements, mixed materials, and seasonal decorations can make your pallet sign stand out and feel more personal. Using different textures and accents not only catches the eye but also adds depth and character to the rustic look of pallet wood. Thoughtful placement and secure attachment let your creative additions improve without overwhelming the basic sign design.
Common 3D Materials
Wooden letters or shapes are a popular way to add a dimensional touch to your pallet sign. You can either cut these from thin plywood or purchase premade letters at craft stores, which usually cost around $2 to $5 each depending on size. These letters typically measure 4 to 8 inches tall and can be painted to match or contrast with the sign’s background. Another option is using metal accents like small galvanized stars, hooks, or decorative brackets that add an industrial or farmhouse feel. These usually cost between $1 and $10 per item and can be attached with small screws or nails.
Mixed materials bring a unique flair. Burlap ribbons, cotton flowers, or greenery sprigs affixed with hot glue add softness against the wood’s rough edges. Incorporating natural elements like pinecones or dried florals secured with wire works well for a rustic vibe and is budget-friendly, usually under $5 per bunch. String lights on a battery pack are a creative accent to light up your sign at night; look for LED sets designed for indoor or outdoor use and expect to pay around $10 to $15.
Seasonal Decoration Ideas
Interchangeable wreaths make your pallet sign suitable for year-round use. Attach simple hooks or nails to the sign’s frame and hang a wreath that fits with the message. For example, a welcome sign paired with a spring floral wreath, a festive pine or berry wreath for winter holidays, and natural leaves or small pumpkins for fall. These wreaths can be DIY-crafted from inexpensive supplies like faux greenery, foam shapes, and wired ribbon or bought ready-made for $10 to $25+
Seasonal embellishments like small painted pumpkins, mini American flags, or hearts attached with wire add quick holiday flair. Use removable adhesive strips or tied-on ribbons to swap decorations easily as seasons change. For Valentine’s Day, a pallet sign saying “Love” might feature red paper flowers or hanging paper hearts to reflect the occasion.
Placement and Attachment Tips
Place 3D elements evenly to keep the sign balanced and maintain readability. For letter spacing, leave about ½ inch between each letter and about 3 to 4 inches of margin from edges so the sign doesn’t look crowded. Position seasonal wreaths or larger pieces centered or off to one side depending on the message and overall sign dimensions, typically 24 to 36 inches wide. Avoid placing heavy items near the top without strong support to prevent pulling or warping the wood.
Use a combination of adhesives and mechanical fasteners for durability. Hot glue works well for light items like burlap accents or small faux flowers but avoid it for anything heavier than a few ounces. For wood or metal pieces, small finishing nails, screws with anchors, or twisted wire offers a secure hold. When attaching string lights, use clear tape or lightweight clips designed for wood surfaces. Test hanging the sign with added elements to ensure it stays flat and does not tilt.
Always pre-drill holes for nails or screws to avoid splitting thin pallet boards when adding 3D accents.
Protecting and Sealing Your Pallet Sign for Longevity
To ensure your pallet sign lasts, especially outdoors, you need to protect it properly with sealants and weatherproofing methods. Clear sealants like polyurethane, spar urethane, and exterior-grade varnish can form a protective layer against moisture, UV rays, and temperature changes. Polyurethane is a popular choice because it’s affordable, easy to apply, and dries within 4 to 6 hours per coat. Use an exterior or marine-grade polyurethane if your sign will face direct sun and moisture. Spar urethane offers more flexibility and durability in changing weather, making it ideal for signs exposed to rain and intense sunlight. Expect to spend around $15 to $25 for a quart, which covers several signs depending on size.
Start by applying at least two coats of your chosen sealant with a synthetic brush. Lightly sand with 220-grit sandpaper between coats to keep the surface smooth and ensure adhesion. Make sure to seal all edges and corners, where water damage often begins. Let the sign dry in a dust-free area with temperatures between 65°F and 80°F to avoid cloudy finishes or runs. For small signs, spraying a sealant or using a foam brush can help achieve even coverage and minimize brush marks.
Indoors, pallet signs still benefit from sealing, but you can use general-purpose polyurethane or even wax to protect from dust and fingerprints. For indoor signs exposed to humidity, such as kitchens or bathrooms, a water-resistant sealant helps prevent wood warping. Keep in mind that some clear finishes may slightly alter the wood’s color or sheen; testing on a scrap piece first avoids surprises. Sealing also stabilizes paint or stain on your sign, preventing peeling or fading over time.
Maintenance involves regular cleaning and occasional resealing. Use a soft cloth or brush to remove dust and avoid harsh chemicals that strip the protective coating. For outdoor signs, inspect every six months for signs of wear like peeling, cracking, or dullness. Lightly sand the surface when damage appears, then apply another coat of sealant to restore protection. Reapply maintenance coats every 1 to 2 years depending on exposure and local weather.
Placing your sign in a shaded spot or under an awning extends its life by reducing direct sun and rain exposure. For porch signs, choose mounting hardware that allows easy removal so you can bring the sign indoors during extreme weather or winter months. Finally, avoid sealing the back if you want the wood to breathe, but protect the front, edges, and sides thoroughly. Taking these steps keeps your pallet sign looking vibrant and welcoming for years to come.
How to Hang and Display Your Pallet Sign Safely
Hanging a pallet sign securely while keeping the wood intact and looking good takes some planning and the right hardware. Pallet wood can be soft or uneven, so you want to avoid methods that split or damage it. Also, the hanging technique depends on the weight of your sign and the type of wall or surface you’ll mount it on.
The most common way to hang pallet signs is using D-ring hangers or sawtooth hangers attached to the back. D-ring hangers support more weight and keep the sign flat against the wall, which looks cleaner. Sawtooth hangers are easier to install but better for smaller, lighter signs. Both hangers attach with small screws, ideally ¾ inch long to avoid splitting the wood. Pre-drill holes smaller than the screw diameter to reduce splitting risk. For walls, consider what surface you’re dealing with:
- Drywall: Use wall anchors or toggle bolts rated for the sign’s weight. For signs under 10 pounds, plastic anchors paired with #8 screws are effective.
- Wood studs: Screws directly into studs offer the strongest hold, no anchors needed.
- Brick or concrete: Use masonry screws or anchors designed for these surfaces, drilling pilot holes with a masonry bit.
For heavier signs, like those over 15 pounds, install two D-rings spaced evenly on the back horizontally. Measure the distance between them, then transfer this to your wall for level placement. Use a level to ensure the sign hangs straight before fixing screws or anchors.
Some people prefer a more rustic look using heavy-duty picture hanging wire. Firmly attach eye screws or screw eyes on either side of the sign’s back, then string the wire between them. Use hooks rated above the sign weight. This method distributes weight and can be easier on uneven walls but adds a small gap between sign and wall.
An alternative for stands or shelves is using strong command strips rated for outdoor use, especially if you want to avoid holes. They hold light to medium pallet signs but don’t work as well on rough or textured pallet wood or outside in extreme weather. Follow these safety tips:
- Always check the combined weight rating of your hanging hardware to match or exceed your sign’s weight.
- Measure and mark carefully before drilling or hammering.
- Wear safety glasses when drilling, especially into masonry.
- When cutting or trimming the sign to fit, sand the edges afterward to prevent splinters.
Prices for hanging hardware vary, but a pair of D-ring hangers costs about $3, $5, sawtooth hangers about $1, $3 each, and wall anchors range from $5, $10 for a pack. Spending a little more on quality hardware prevents damage and keeps your pallet sign looking good over time.
Seasonal and Event Pallet Sign Ideas to Try Next
Seasonal and event-specific pallet signs offer an easy way to add personality and warmth to your celebrations and home decor. Crafting themed signs lets you tailor messages and designs to holidays, weddings, or changing seasons, making your space more inviting. These projects are affordable, customizable, and you can reuse the base wood, updating the surface for different occasions.
Fall and Holiday Themes
Fall-themed pallet signs fit perfectly on porches or inside your home to celebrate the season. You can start with a simple “Hello Fall” painted in warm colors like burnt orange, deep red, and gold, adding motifs such as pumpkins, leaves, or acorns. Create your background with a light stain or whitewash that preserves the rustic character of the pallet wood. Hand-paint seasonal greetings or affix stencils for crisp lettering. For Thanksgiving, consider a sign featuring a heartfelt message like “Grateful, Thankful, Blessed,” decorated with painted wheat or a cornucopia.
Holiday pallet signs are versatile and can include designs like Christmas trees, snowflakes, or wreaths made from paint, wood cutouts, or attached greenery. Winter woodland signs using dark stains or weathered finishes pair well with white or silver lettering. Adding LED lights behind or around the sign keeps the cozy glow at night. Creating wreath accents with seasonal items such as pinecones, berries, or dried flowers completes the look. These items typically cost under $20 if you use paint and basic materials, though adding lighting or hardware might increase expense.
Wedding and Party Signs
For weddings, personalized pallet signs add a charming rustic flair and direct guests with style. Customize the wood with the couple’s names and wedding date using stencils or vinyl transfer letters for sharp results. Lightly sanding the surface before painting helps the lettering adhere and appear crisp. Consider framing the sign with natural twine or attaching soft fairy lights for a romantic glow. Common phrases include “Welcome to Our Wedding,” “Find Your Seat,” or directional signs like “Ceremony This Way.”
Pallet signs also make great centerpieces or photo booth props with messages tailored to the event’s theme or colors. Using white paint on dark-stained wood gives a classic look, and featuring botanical designs or lace accents with hot glue adds an elegant touch. These signs usually take 2 to 4 hours to finish depending on size and detail and can be reused or repurposed as home decor after the event. Just make sure to seal the wood to protect it from moisture if displayed outdoors.
Everyday Rustic Decor
Rustic pallet signs don’t have to be reserved for special occasions. Hand-painted welcome signs add a sturdy, inviting feel to a porch, often featuring simple words like “Welcome” or “Home Sweet Home.” Using light pastel colors or a distressed paint technique can complement farmhouse or shabby chic styles. You can personalize them with family names or house numbers for practical decoration. Affordable outdoor sealers and primers prolong the life of these signs against weather.
Seasonal decor doesn’t always mean holidays. Changing the message from “Hello Spring” with floral accents to “Enjoy Summer” with sun and wave designs keeps the look fresh. Experiment with combining pallet wood and other materials, such as leather straps to hang the sign, which adds texture and interest. Creating interchangeable panels lets you swap themes without rebuilding the entire sign. Expect your cost to stay low, mainly paint and supplies, with reclaimed wood adding charm at zero cost if done yourself.
Always sand pallet wood thoroughly and check for splinters before starting your project to ensure safe handling and a smooth painting surface.
Avoiding Common Mistakes and Troubleshooting Tips
Splintering is a common issue when working with pallet wood that can make your sign unsafe and rough. To avoid this, always sand down the edges and surface with medium-grit sandpaper (around 120-150 grit), then finish with a finer grit (220) for smoothness. Skipping sanding could leave sharp edges that cause splinters. Use a sanding block or an electric sander to keep the wood flat and even, which helps the paint or stain adhere better.
Warping happens when pallet wood isn’t properly dried or is exposed to moisture and sudden temperature changes. Wood that warps can ruin your sign’s look and stability. Store your pallet wood indoors for at least a week before starting your project to acclimate it to your environment. Notice slight warping after assembly? Clamp the wood flat and let it rest for several days. Avoid wetting the wood unnecessarily during prep; if using stain, apply it thinly and let it dry completely between coats to reduce moisture buildup.
- Sand all pallet wood thoroughly to prevent splinters before assembly.
- Keep your wood dry and store it indoors to prevent warping.
- Use thin coats of paint or stain, allowing at least 4 hours of drying time between coats.
- Choose quality outdoor paint or stain to minimize peeling.
- Seal finished signs with a waterproof clear coat to protect from weather damage.
- Clamp warped boards flat and let them rest before attaching.
- Remove any grease or dirt with mild soap and water before painting.
Paint issues like peeling or bubbling usually occur when the wood surface isn’t clean or dry, or when paint is applied too thickly. Clean your pallet wood with mild soap and water and let it dry completely before painting. Use a high-quality acrylic latex paint or a wood-specific outdoor paint, which sticks better to pallet wood than house paint. Applying multiple thin coats, each drying for at least 4 hours, creates a more durable finish than one thick coat.
Experiencing paint bubbling after application might mean moisture was trapped beneath the surface. Let your sign dry fully in a ventilated area, then lightly sand the affected area and repaint. Peeling paint signals poor adhesion; sanding the edges of peeling spots before repainting helps the new paint stick better. Finish your project with a clear waterproof sealant or polyurethane spray to protect paint from weather elements and daily wear.
Step-by-Step Action Plan for Your Pallet Sign Project
Use this plan to build your personalized pallet wood sign efficiently. Each step guides you through the essential tasks and helps you track your progress.
- Day 1: Select clean, untreated pallet wood pieces that fit your sign size. Check for minimal cracks and no chemical stamps to ensure safety and durability.
- Day 2: Disassemble your pallet wood carefully using a pry bar and hammer. Confirm you have enough boards free from nails and damage.
- Day 3: Sand each board thoroughly with medium then fine-grit sandpaper. Run your hand over the boards to feel smooth, splinter-free surfaces.
- Day 4: Sketch your sign’s message and layout on paper. Adjust spacing and style until you’re confident it fits your chosen board size.
- Day 5: Apply your paint or stain following product directions. Allow at least 24 hours to dry and check for consistent colour coverage.
- Day 6: Add decorative elements such as stencils, decals, or rope accents. Secure everything firmly and let adhesives set completely.
- Day 7: Finish with a protective clear sealant to protect against weather and wear. Wait the recommended curing time before handling the sign.
- Day 8: Install hanging hardware appropriate for your wall type. Test the sign’s stability by gently shaking it after mounting.
Frequently Asked Questions
What Are Some Unique 3D Elements to Add to Pallet Signs?
Adding 3D elements like spoons or raised letters can boost visual appeal and make your sign stand out. Such details create a tactile experience and increase the artistic value of your pallet sign.
Can I Combine Multiple Pallet Signs into One Display?
Yes, grouping several pallet signs creates a dynamic focal point. Arranging different sizes or themes together improve overall decoration and adds depth to your wall space.
How Do I Repurpose Old Signs for New Pallet Projects?
Old pallet signs can be sanded and refinished to serve as new sign bases. Repurposing reduces waste and provides a weathered texture that adds character.
What Are Efficient Ways to Personalize Family Name Pallet Signs?
Using stencils for surnames or significant dates offers a crisp look on pallet wood. You can also paint freehand or apply vinyl decals for a custom touch.
Can Pallet Signs Be Tailored for Outdoor Use in Rainy Climates?
Yes, choose weatherproof stains and sealants designed for outdoor wood protection. Regular maintenance ensures your pallet signs withstand moisture and temperature changes.
What Types of Fonts Work Best for Clear Pallet Sign Messaging?
Bold, sans-serif fonts are easiest to read on rustic wood backgrounds. Choose high contrast paint colors to improve visibility from a distance.
Key Points to Remember
Creating your pallet sign combines practical woodworking with personal style. One good next step is to pick one of your favourite seasonal sign ideas and start gathering materials now. Building your first pallet sign will boost your skills and add a unique touch to your home decor.