Mirror Sign Ideas for Weddings: Expert Tips, Styles & DIY Guide
Mirror sign ideas can transform wedding décor, combining elegance with personalized messages that create lasting impressions. Using mirrors for your signs adds a reflective charm and versatility that fits many wedding themes. Start by selecting the right mirror size and frame to complement your venue and style, ensuring your message is clearly visible to guests.
Key Takeaways
- Choose mirror sizes between 18″×24″ for indoor receptions and 24″×36″ for outdoor ceremonies for optimal visibility.
- Weight matters: large floor mirrors can weigh 40 to 60 pounds, so use sturdy easels or wall mounts for support.
- Add custom UV-printed lettering to mirrors to achieve sharp, long-lasting messages without damaging the surface.
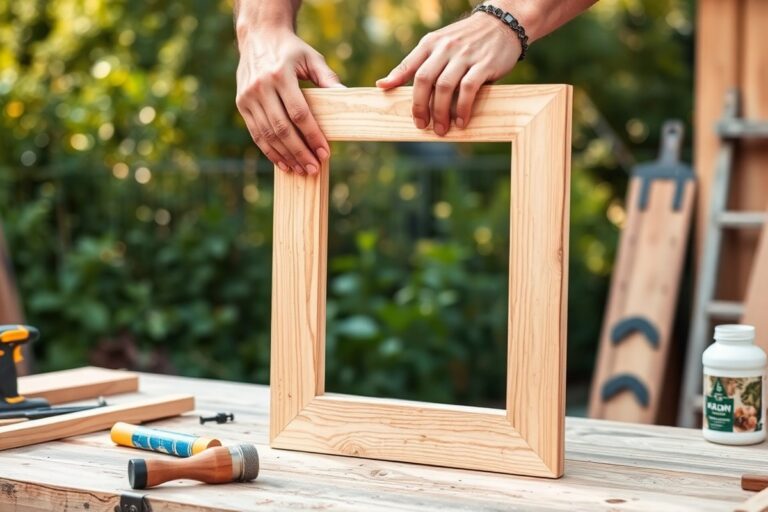
- Incorporate natural wood frames or floral garlands to improve vintage or rustic wedding themes for your mirror signs.
- Plan drilled holes 0.5 to 1.5 inches from the mirror’s top corners if you intend to hang your sign securely.
- Use wooden A-frame easels and soft uplighting to give floor mirror signs an intentional, elegant display.
Popular Wedding Mirror Sign Ideas to Inspire Your Day
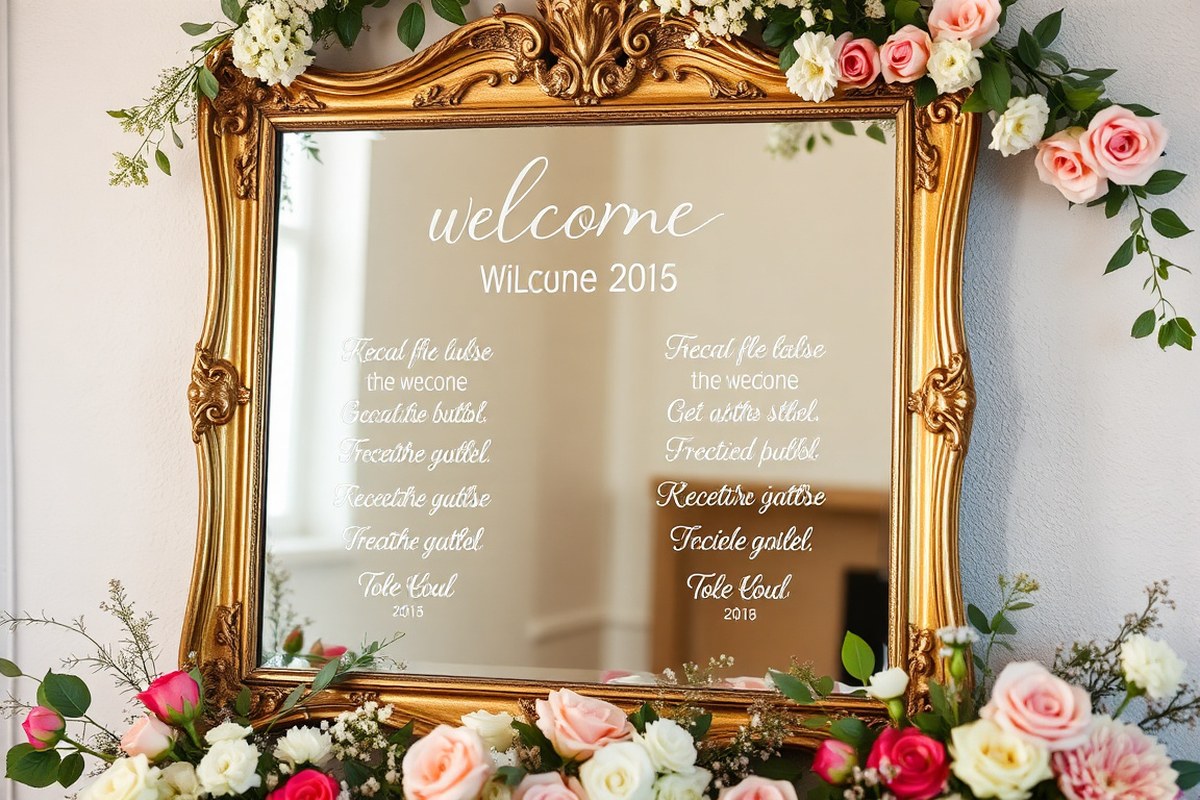
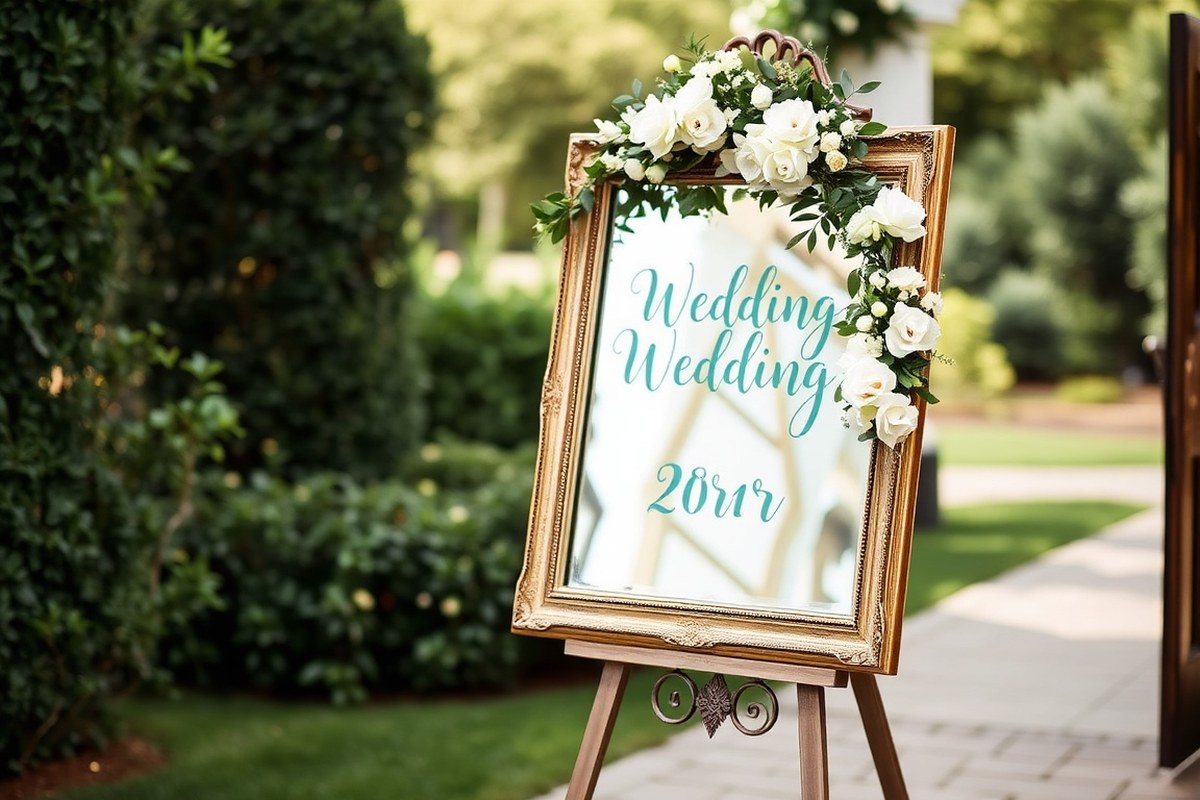
Wedding mirror signs are gaining popularity because they blend style and function, making your celebration feel bright and elegant. These signs serve both as decor and information centers, often placed at entrances or key spots like the bar or guestbook table. Choosing a mirror with a frame that matches your wedding theme, from sleek modern to rustic wood, boosts the overall aesthetic.
Messages on mirror signs can range from simple welcomes to quotes that reflect your love story or personality. Classic phrases like “Welcome to Our Beginning” or “Happily Ever After Starts Here” set a romantic tone. For a fun twist, signs at the bar can say “Sip, Sip, Hooray!” or guestbook reminders might read “Please Sign Our Guestbook.” The reflection of the writing on the glass adds a unique, glamourous layer to your wedding’s theme.
Mirror signs work well in many wedding environments. For outdoor venues, opt for larger mirrors with bold, easy-to-read lettering so guests can see them clearly in sunlight. Indoors, smaller mirrors with ornate frames improve tables or intimate spots. Hang mirrors by drilling holes roughly 0.5 to 1.5 inches from their top corners to maintain balance. Tabletop signs should feature modest frames that complement other décor without dominating. Renting or using a vintage mirror can be more cost-effective and adds distinctive charm.
- Welcome signs with romantic quotes or your wedding date
- Bar signs with playful phrases and metallic frames
- Guestbook reminder mirrors on small tabletop stands
- Rustic designs using dark wooden framed mirrors for barn weddings
- Seating charts or directional signs on large mirrors at entrances
Adding personal messages or your wedding hashtag on a mirror sign can create memorable photo opportunities. These signs reflect light and add dimension to your space, making them ideal for both day and evening events. Costs vary widely, from $50 for smaller custom signs to $300 or more for large, professionally designed mirrors. When planning, consider the legibility of the text and how your mirror’s size and frame style work with your venue, assuring your sign becomes a charming, functional focal point.
Choosing the Right Mirror Size and Frame Style
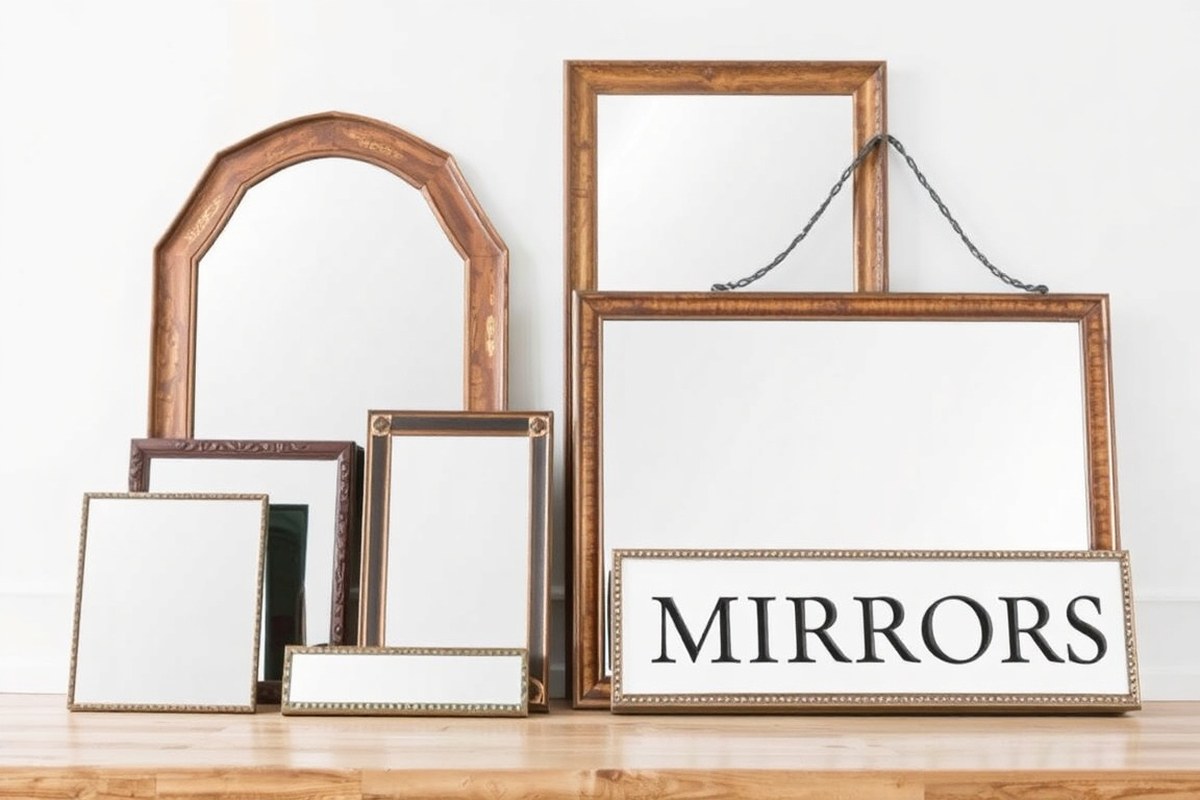
Choose a mirror size that balances clear readability and fits the display location while matching a frame style that improve your wedding theme. Mirror dimensions influence the message’s visibility and the sign’s presence in the venue. Selecting an appropriate frame style, from ornate vintage wood to sleek metal, creates harmony with your decor and sets the right tone.
Standard Mirror Sizes for Wedding Signs
Common mirror sizes for wedding signage range from petite 16″ × 24″ panels to larger 18″ × 24″ or more, depending on placement and message length. For signs displayed at adult eye level, 65″ tall placements work well, centering an 18″ × 24″ sign around 60″ high. Smaller mirrors suit tabletop decorations or aisle markers, while larger sizes suit welcome signs or seating charts.
Consider how far guests stand from the sign and how much text you need to fit. Larger mirrors improve readability but require bigger frames and sturdier mounts. Acrylic mirrors, such as 16″ × 24″ panels priced around $40 to $80 depending on size, offer lightweight, scratch-resistant alternatives to glass. The frame adds width and height, so account for that when measuring your intended display area.
| Mirror Size | Typical Placement | Approximate Price Range | Material Options |
|---|---|---|---|
| 16″ × 24″ | Tabletop signs, easel stands | $40, $80 (acrylic) | Acrylic, glass |
| 18″ × 24″ | Centered eye level signs | $50, $150 (glass or acrylic) | Glass, acrylic, vintage mirrors |
| Small mirrors (~12″ × 12″) | Aisle markers, cocktail lounge accents | $20, $50 | Glass, acrylic |
| Large mirrors (over 24″ wide/tall) | Main welcome signs, backdrop décor | $100+ | Glass, vintage styles |
Choose a size proportional to the venue space and the number of words to ensure guests can easily read your message without overcrowding. Balance between visibility and ease of transport or placement, especially for larger mirrors.
Frame Style Options by Wedding Theme
Frame style significantly impacts the overall impression of your wedding mirror sign. Rustic themes benefit from wooden frames, whether distressed for a rugged look or smooth for cozy warmth. Vintage weddings pair well with ornate, antique-style frames that feel storybook-worthy, often featuring gold, brass, or carved wood details.
Modern or contemporary weddings call for sleek, minimalist frames such as thin metallic (silver, black, or gold) edges or even frameless designs. For cocktail lounges or dessert tables, horizontal mirrors with minimal frames can add understated elegance without overpowering other décor.
Simple frames often offer more flexibility in matching colors and styles without competing with other elements. Select a frame that complements your chosen colour palette and mirrors the theme’s mood. Remember, larger frames mean a bigger overall sign, which impacts placement and transport.
Weight Considerations and Mounting Methods
Mirror weight varies by size, frame type, and material. Glass mirrors with ornate wooden frames can weigh 20 lbs or more in larger sizes, requiring sturdy easels or secure wall mounts. Acrylic mirrors reduce weight dramatically, often weighing half or less than comparable glass mirrors, which makes them better suited for portable or hanging signs.
For freestanding signs, ensure your easel or stand supports the mirror’s weight and size to prevent tipping. Wall-mounted signs or those attached to posts must have frames designed with hanging hardware capable of supporting the combined weight safely.
Use hanging hardware rated for at least twice the mirror’s weight to avoid accidents during the event.
Choosing the right balance between size and weight is key to safe, attractive placement. Heavier mirrors look substantial but need careful support; lighter acrylic options offer flexibility with less risk but may scratch easier if not handled properly.
Customizing Mirror Sign Lettering and Designs
Customizing mirror sign lettering and designs lets you create a unique statement piece for your wedding decor. You can choose from hand lettering, custom UV printing, or a mix of both to match your theme and personality. Selecting the right fonts, colours, and embellishments will improve readability and add style to your mirror sign.
Hand Lettering Techniques for Mirrors
Hand lettering offers a personal touch for your mirror sign and allows flexibility in style and placement. Using chalk markers or paint pens designed for glass surfaces works well because mistakes wipe away easily with a damp cloth. This method suits DIY projects where you want control over every brush stroke and font style on any mirror size.
Choose permanent or semi-permanent markers depending on how long you want the sign to last. Chalk markers erase easily for practice or reusing the mirror later, while acrylic paint pens provide a richer colour that lasts through the event. Ensure the mirror surface is clean and dry before starting, and plan your text layout with pencil or paper first.
Using Custom UV-printed Lettering Services
UV printing applies durable ink directly onto the mirror surface using ultraviolet light to cure the print. This professional service offers sharp, consistent lettering and can accommodate complex logos, gradients, or multiple colour layers. It’s an excellent choice for couples wanting a polished look without the risks of hand lettering mistakes.
UV-printed mirror signs start around $150, depending on size and design complexity, and usually require a week or more for production. Online vendors let you upload your design or choose from pre-set fonts and styles that hold well on glass. These signs can handle fine lines and small text, making them ideal for directional signage or detailed menus.
- Prepare your design file using vector-based software or choose a font style online.
- Submit your design to a UV printing service with mirror-compatible materials.
- Approve a proof to confirm colours and layout before production.
- Wait 5 to 10 business days for printing and shipping.
- Receive your mirror sign and verify print quality and colour accuracy.
Choosing Font Styles and Colours for Clarity and Style
Font choice affects both the aesthetics and readability of your mirror sign. Sans-serif fonts like Futura, Helvetica, or Montserrat offer a clean, modern look and stand out against reflective surfaces. Script fonts add elegance but require larger sizes and good spacing to remain legible.
Use high-contrast colours such as white or black paint against your mirror’s reflected background. White lettering on a darker backdrop or black on lighter surroundings improves visibility under varying wedding lighting. Avoid overly thin lines or intricate fonts on smaller mirrors, since reflections can blur details.
Tips for Adding Embellishments Like Foil or Paint
Adding foil accents or metallic paints can improve your mirror sign, creating eye-catching shimmer that photographs beautifully. Metallic gold, silver, or bronze complements many wedding themes and frames. Use adhesive foil for easy application or metallic acrylic paint for custom detailing.
Test embellishments on a small corner of your mirror to ensure adhesion and colour appearance. Combine embellishments sparingly with lettering, too many textures can reduce legibility. Let paint or adhesive properly dry per product instructions, which may take several hours, before handling or transporting your mirror sign.
Creative Uses of Mirror Signs Beyond Welcome Messages
Mirror signs serve many purposes beyond the usual welcome messages, adding both charm and utility to your wedding day. You can create an elegant seating chart on a mirror by neatly listing each table number and corresponding guest names directly on the glass. Use a fine-tip paint marker or vinyl lettering to ensure clarity. Place the mirror on an easel near the entrance to the reception to help guests easily find their tables without jostling for space or hunting for escort cards. A mirror about 24 by 30 inches offers enough room to list 8 to 10 tables with up to 10 names per table, depending on your handwriting size and style.
Another functional use is turning a mirror into a bar menu. Write out a clear and concise list of cocktails, beers, wines, and nonalcoholic choices with prices if appropriate. Positioning this mirror behind the bar or on a stand nearby directs guests’ attention, streamlining ordering and reducing confusion. A black or white paint pen contrasts well with most mirror backgrounds and can mimic a chalkboard feel at rustic or vintage-themed weddings. For example, on a 20 by 30-inch mirror, allocate about 3 to 4 inches of vertical space per drink category for readability.
Mirrors also work well as ceremony programs. Instead of traditional paper, list the order of events on a framed mirror placed at the entrance to the ceremony area. Use clear, simple fonts with ample spacing. This reusable display adds a sophisticated touch and serves as a lovely background for floral accents. Since guests often pass by this quickly, limit text to key points like “Processional,” “Vows,” and “Recessional” to avoid clutter. A mirror size around 18 by 24 inches is ideal to keep the program visible without overwhelming the space.
A creative twist involves adapting mirrors as guest books or favor tags. Set a mirror with instructions inviting guests to sign their names and leave messages using special markers that wipe off later if you want reuse. Decorating the frame with cascading faux greenery and flowers draws attention and encourages participation. To make favor tags, smaller mirrors cut into shapes such as hearts or circles can have guests’ names handwritten and attached to gifts. This personal touch doubles as decor and a keepsake. Ordering custom mirrors or cutting them yourself requires planning six to ten weeks ahead, especially if including hand-lettering or complex designs.
The success of these varied mirror sign uses depends on legibility and placement. Good lighting avoids glare, and using contrastive colors for writing improves readability. Careful planning ensures the mirror complements venue style and size, whether a rustic barn or sleek urban rooftop. Mirrored signs become popular in part because they photograph beautifully, capturing both the wording and reflections for memorable images. Avoid overcrowding mirrors with too much text or decorations, as this can confuse guests and detract from the visual appeal.
Best Display Options: Hanging vs Standing Mirror Signs
Choosing between hanging or standing your mirror sign depends on the mirror’s size, weight, venue conditions, and where you want to place it. Hanging signs work best for smaller to medium mirrors, typically under 30 pounds. You can install drilled holes to hang your mirror from a sturdy frame or wall hooks. For larger mirrors weighing 40 to 60 pounds, standing options like easels or sign stands are safer and easier to manage on the day.
Consider the venue space when making your choice. Outdoor weddings require extra caution with wind and stability. A mirror sign standing on a heavy easel or a weighted sign base offers better security than a hanging option. Indoors, hanging signs can save floor space and create an elegant floating effect, but make sure the anchoring points are secure and rated to hold the mirror’s weight.
For standing mirror signs, wooden A-frame easels are popular for their stability and style. Lower floral garlands or uplighting help anchor the sign visually and make it feel intentional. Light to medium-sized mirrors can also use metal sign stands or adjustable sign holders, which provide flexibility in height and angle.
- Use drilled holes and sturdy hooks to hang mirrors under 30 pounds from frames or walls.
- Choose a wooden A-frame easel for mirrors 30 pounds and above to ensure stability.
- Apply sandbags or weights to sign bases outdoors to prevent tipping in wind.
- Place mirrors on flat, even surfaces to avoid wobbling regardless of display type.
- Protect mirrors from extreme outdoor weather by positioning them in sheltered areas.
- Match the weight capacity of hooks or stands with mirror weight to avoid accidents.
- Decorate the base or edges of the mirror to create a finished and cohesive look.
Seek professional help for wall mounting very large or heavy mirrors to ensure safety and prevent damage.
Setting up mirror signs outdoors demands secure supports and wind mitigation strategies. Weighted easels or sign bases combine effectiveness with low cost, often around $30 to $70 for a basic heavy stand. Hanging outdoors poses higher risk unless the structure is strong and weatherstable. Indoors, hanging saves floor space and creates a sleek aesthetic but requires precise installation and hardware matching weight rating.
Look for easels with rubber feet or add non-slip pads to prevent movement on smooth indoor floors. Standing signs also allow easy placement at entrance aisles or corners where wall hanging isn’t possible. Consider height and angle; adjustable stands help guests read menus or schedules comfortably.
Step-by-Step DIY Guide for Making Your Own Mirror Sign
Making your own mirror sign involves careful cleaning, choosing the right materials, and applying lettering with precision. Taking these steps ensures a polished and lasting look perfect for your wedding day.
Essential Supplies and Tools Checklist
Gathering the right supplies keeps the process smooth and your sign professional-looking. You’ll need materials suited for glass surfaces and tools that allow you to work cleanly and accurately.
- Glass cleaner or rubbing alcohol for cleaning
- Lint-free cloths or microfiber towels
- Painters’ tape to secure stencils or protect edges
- Lettering options: paint markers, vinyl decals, or stencils with acrylic paint
- Small paintbrushes or fine tip markers for details
- Transfer paper for vinyl lettering
- Sealant spray compatible with glass to protect your design
- Optional: gloves to keep oils off the mirror
Mirror Cleaning and Surface Preparation
Preparing the mirror surface is important for good adhesion and clean lettering. Dirt, oil, or dust can cause paint or vinyl to peel or smudge.
Start by wiping the mirror thoroughly with a glass cleaner or rubbing alcohol on a lint-free cloth. Avoid ammonia-based cleaners if you’ll be applying paint markers, as some formulas react poorly. Work in a dust-free environment for best results. Let the mirror dry completely before applying lettering.
Applying Lettering Safely and Neatly
Clear, neat lettering sets the tone for the sign and can highlight your wedding’s theme. Whether you paint directly or use vinyl, following smart steps prevents mistakes and smudges.
Before starting, lightly tape your stencil or mark guide lines with a removable marker or pencil on the mirror’s edges. This positioning prevents shifting. Apply your paint marker or brush slowly to build up letters in thin layers. Let each layer dry for 5 to 10 minutes to avoid smudging. For vinyl, use transfer paper to place letters evenly and press out bubbles with a plastic card. Remove painters’ tape gently to avoid peeling paint.
Adding Decorative Touches and Finalizing
Once the lettering is dry, improve your sign with accents such as small flourishes, borders, or floral decorations. Use fine paintbrushes or matching paint markers for these details to keep work delicate and consistent.
Protect the design by spraying a clear sealant rated for glass surfaces. Apply 2 to 3 thin coats with 15 minutes drying time between each. This step helps prevent scratches and fading during your event and extends sign longevity if you plan to keep it afterward.
- Clean the mirror thoroughly with glass cleaner or rubbing alcohol; dry with lint-free cloth.
- Secure your stencil or layout guides onto the mirror using painters’ tape.
- Apply lettering with paint markers or paintbrush in thin layers; allow drying between coats.
- Carefully remove stencil and clean up any mistakes with a cotton swab and rubbing alcohol.
- Add decorative accents around the lettering with fine brushes or markers.
- Spray a clear glass sealant evenly; allow each layer to dry before applying another.
- Let the entire sign cure for at least 24 hours before handling or displaying.
Planning Mirror Sign Sizes and Placement for Various Venues
For indoor receptions, mirror signs around 18 inches by 24 inches usually work best. This size fits comfortably on an easel or table near entrances or key spots without overwhelming indoor spaces. Outdoor venues often require larger signs, around 24 inches by 36 inches or more. Outdoor settings typically have greater distances between guests and signs, so a bigger mirror improves visibility from afar, especially in open or sprawling event areas.
Positioning mirror signs where guests first arrive or gather ensures they get noticed. Near the ceremony entrance or along paths guiding guests toward seating works well. Placing signs at eye level, roughly 56 to 60 inches from the ground, optimizes readability while allowing comfortable viewing without bending or neck strain. Avoid placing signs too close to busy walkways to prevent crowding and smudges from frequent contact.
Adapting sign placement to lighting conditions is key. For outdoor weddings, target shaded or covered spots to reduce glare on the mirror surface, which can make text hard to see. Morning or late afternoon light angles offer softer illumination; positioning signs to face those light angles improve clarity. Indoor receptions with dim lighting benefit from mirrors near ambient light sources or supplemented with soft uplighting to highlight lettering without reflecting harsh light.
Guest flow affects where you place mirror signs. Position them along natural paths where guests pause or slow down, such as near cocktail areas or restroom entries. Signs near seating charts or menu displays should be angled so multiple guests can read simultaneously without blocking walkways. For larger groups, using multiple smaller mirrors spread out at key points can improve overall communication rather than one large sign hidden in a corner.
Mirror frame choice plays into outdoor durability and visual appeal. Frames made from weather-resistant materials like Russian pine or treated wood protect against moisture and sun damage. Acrylic mirrors suit both indoor and outdoor use, offering break resistance and a modern finish. Budget-wise, investing in sturdy frames or acrylic surfaces may cost more upfront, $50 to $150 depending on size, but prevents damage and last-minute replacements.
Good results look like guests easily stopping to read welcome messages or directions without crowding paths. Signs should remain clean and clear throughout the event; smudges or reflections that obscure lettering reduce effectiveness. Poor placement might mean guests miss important information, causing confusion or delaying event flow. Using the general size and height guidelines combined with analysis of your venue’s layout and lighting conditions will help you place mirror signs confidently for maximum impact.
Maintaining and Caring for Mirror Signs During and After Wedding
Keeping your mirror signs clean and intact during the wedding helps maintain their elegance and allows you to keep them as cherished keepsakes. To maintain them during the event, gently dust the surface with a soft, dry microfiber cloth every few hours to remove fingerprints or smudges without scratching the glass or damaging the lettering. Avoid harsh chemicals or abrasive cleaners that could wear off paint or vinyl letters. Instead, lightly dampen a cloth with water mixed with a drop of mild dish soap for tougher spots, then immediately dry with a clean cloth.
Protecting mirror signs from damage requires careful placement and handling. Set them on stable surfaces away from high-traffic areas where guests might bump or knock them over. Using a cushioned base or felt pads under standing mirrors can prevent scratches on both the mirror and the surface it rests on. For hanging signs, check hooks and supports for security every few hours to prevent falls. Consider covering the signs with breathable fabric covers before and after the event to keep dust off while allowing airflow.
After the wedding, storing mirror signs correctly prevents chips, cracks, and fading of any custom lettering. Clean them gently again to remove any last dust or sticky spots. Wrap the mirror in acid-free tissue paper or soft cloth to protect the surface from scratches, then place it upright in a sturdy box with padding like bubble wrap or foam sheets around all sides. Store the box in a dry, temperature-controlled space away from direct sunlight to avoid warping or fading. Avoid stacking heavy items on top of the box, as this can crack the glass.
If you plan to reuse the mirror sign, keep the lettering intact by avoiding harsh cleaners and excessive scrubbing. For removable vinyl lettering, carefully peel off after the event or cover with a removable decal for a second use. Painted designs can sometimes be touched up with matching paint, but proceed cautiously to avoid damaging the reflective surface. When transporting the mirror post-event, carry it vertically and hold it firmly to prevent accidental drops.
Always test your cleaning method on a small, hidden area of the mirror before proceeding, especially if your sign uses delicate paint or vinyl lettering, to avoid unwanted damage.
Step-by-Step Action Plan for Your Wedding Mirror Signs
Follow this plan to select, customize, and display mirror signs that highlight your wedding style and provide clear guidance to your guests.
- Before You Book Your Venue: Measure the intended sign locations to determine the ideal mirror sizes. Confirm the lighting and space to ensure visibility and accessibility.
- Three Months Before the Wedding: Decide on the mirror frame style and finish that matches your wedding theme. Order your mirrors early to allow time for customization.
- Two Months Before the Wedding: Choose your lettering style and wording. Send your design mockup to a professional sign artist or prepare materials for your DIY project.
- One Month Before the Wedding: Create or receive your finished mirror signs. Inspect each for legibility, style accuracy, and durability under possible weather conditions.
- Two Weeks Before the Wedding: Test your display method, hanging or standing, in a mock setup. Adjust stands, hooks, or easels as needed to secure and highlight each mirror.
- One Week Before the Wedding: Pack your mirror signs carefully for transport. Include cleaning supplies like microfiber cloths and glass cleaner for last-minute touch-ups.
- On Wedding Day: Place the mirror signs according to your planned layout early to adjust for lighting and foot traffic. Check visibility and stability once everything is set.
- After the Event: Clean and store your mirrors properly if you plan to reuse or keep them as mementos. Assess any damage for future improvements.
Frequently Asked Questions
What Are Some Unique Occasions During a Wedding to Use Mirror Signs?
Mirror signs work well for seating charts, bar menus, and direction guides throughout your venue. They help guests navigate and add charm beyond the welcome area.
Can I Use LED Lights with My Mirror Signs?
Yes, LED lights can highlight your mirror sign beautifully, especially for evening receptions. Choose soft white LEDs to avoid glare on the mirror surface.
How Do I Prevent Smudges on Mirror Signs During the Event?
To reduce smudges, handle the mirror with gloves before placement and assign a person to gently clean fingerprints with a microfiber cloth as needed.
Are Acrylic Mirrors a Good Alternative for Outdoor Weddings?
Acrylic mirrors are more durable and lightweight than glass, making them a practical choice for outdoor weddings with a lower risk of breakage.
Can Mirror Signs Be Integrated with Floral Arrangements?
Floral accents around the edges of mirror signs create a romantic look and tie the decor into the overall wedding theme effectively.
What Is the Best Marker Type for Writing on Mirror Signs?
Chalk markers offer bold color and can be easily wiped clean, making them ideal for temporary messages on mirror signs.
Before You Go
Mirror signs bring a unique blend of style and function to your wedding day, making messages more personal and the event flow smoother. Start by picking one key sign location and a message that reflects your style and your guests’ needs. From there, you can experiment with different sizes, frames, and lettering to find the perfect look for your celebration.