How to Make an A-Frame Sign: Complete DIY Guide with Pro Tips
How to make an A-frame sign starts with choosing sturdy materials like 3/4″ birch plywood for the sign face and solid wood for the frame. Cut the wood with precise 45-degree angles for clean joints, then assemble with hardware such as hinges and screws to allow folding. Begin by measuring your sign size carefully to ensure visibility without blocking walkways.
Key Takeaways
- Use plywood about 3/4 inch thick for durable, lightweight sign boards around 18 to 24 inches wide.
- Cut frame pieces with 45-degree angles to create clean, stable corners on your A-frame.
- Make sign faces around 3 feet tall and 2 feet wide to balance visibility and portability.
- Attach the frame sides with hinges for easy folding and transport of the sign.
- Choose lightweight materials to keep your sign under 9 pounds for easy carrying.
- Start your project by cutting two frame pieces one and a half inches longer than the sign height.
What Is an A-Frame Sign and How Does It Work?
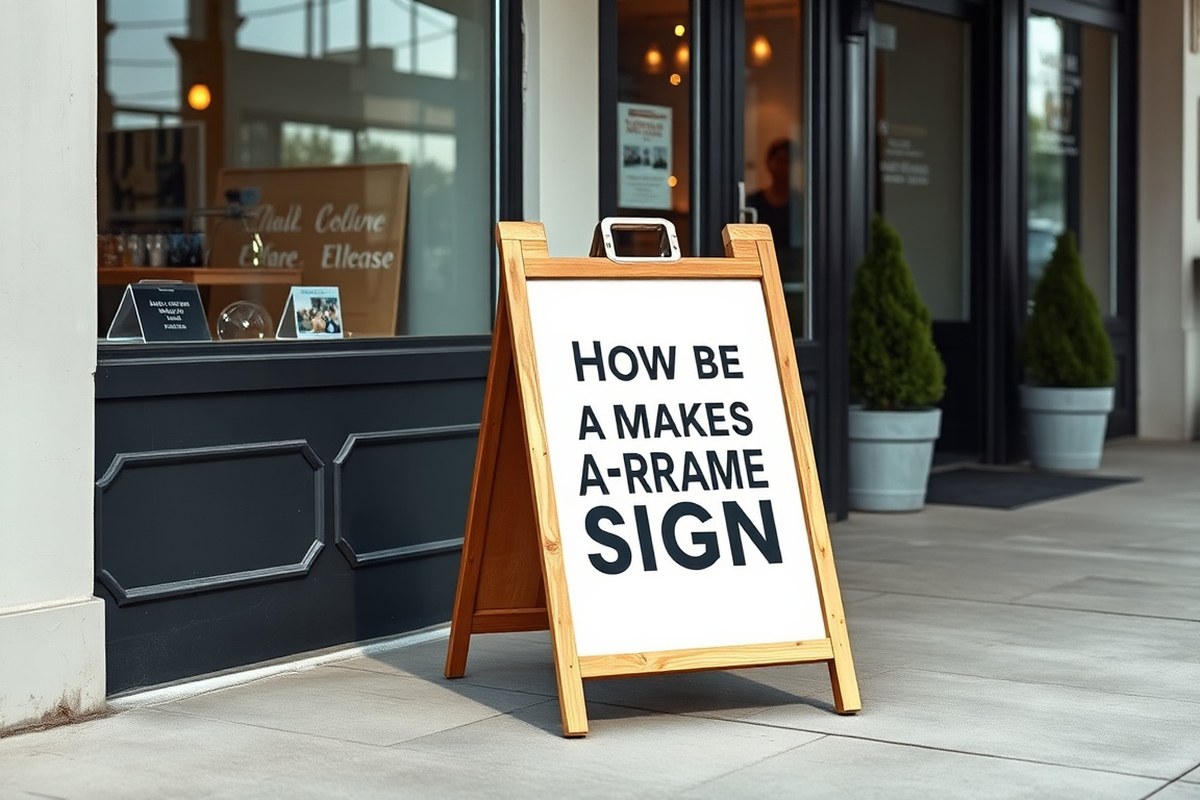
An A-frame sign is a portable, self-standing sign shaped like a capital letter “A” when opened. This design includes two flat panels connected at the top by a hinge, allowing the sign to stand upright when opened and fold flat for storage or transport. The triangular shape formed when set up provides stability, making it suitable for outdoor use even in mild wind. Typically, the sign faces measure about 18 to 24 inches wide, a size ideal for catching attention without blocking pedestrian walkways.
The way it stands is simple: the two sign panels lean against each other, creating a freestanding structure. When you fold the panels together at the hinge, the sign becomes flat and easy to carry or store in compact spaces. Some designs include a handle at the top hinge for easier transport. Weights around 8.8 pounds (4 kg) strike a balance between sturdiness and portability, helping the sign stay stable during regular use without being too heavy to move.
A-frame signs work well in many situations, making them popular for businesses and events. Storefronts use them to advertise sales, daily specials, or new products, often placed on sidewalks where they can grab the attention of passersby. You’ll also find them at farmers markets, art fairs, food trucks, and real estate open houses. Event organizers use A-frames to display directions or schedules outside venues. Their portability means you can move the sign easily to maximize visibility throughout the day or bring it indoors when the weather turns bad.
The effectiveness of A-frame signs comes from their visibility and flexibility. With over 68% of consumers saying they bought a product after noticing a sign, these signs influence customer behavior directly. The signs are fully customizable, allowing you to change messages frequently using chalk markers, paint, or printed graphics, which keeps information fresh and relevant to your audience. Choosing lightweight but sturdy materials ensures your sign will last but stay easy to handle.
Creating your own A-frame sign means replicating this folding “A” structure. The two panels should be roughly the same size, common practice is to add about 1.5 inches to the height of your sign board when cutting frame supports. Choose hinges that allow smooth folding and carry handles for comfort. This simple but effective design enables you to build a practical sign that folds flat for storage and assembly takes minimal time, producing a professional impression on your customers.
Simple Diagram Explanation:
Two rectangular panels joined at the top by a hinge form the “A” shape when opened. The panels lean against each other at a slight angle, resting on the ground and creating a stable base. When folded, the panels close together flat, reducing thickness to under 3 inches for easy storage.
Choosing the Right Materials for Frames and Sign Boards
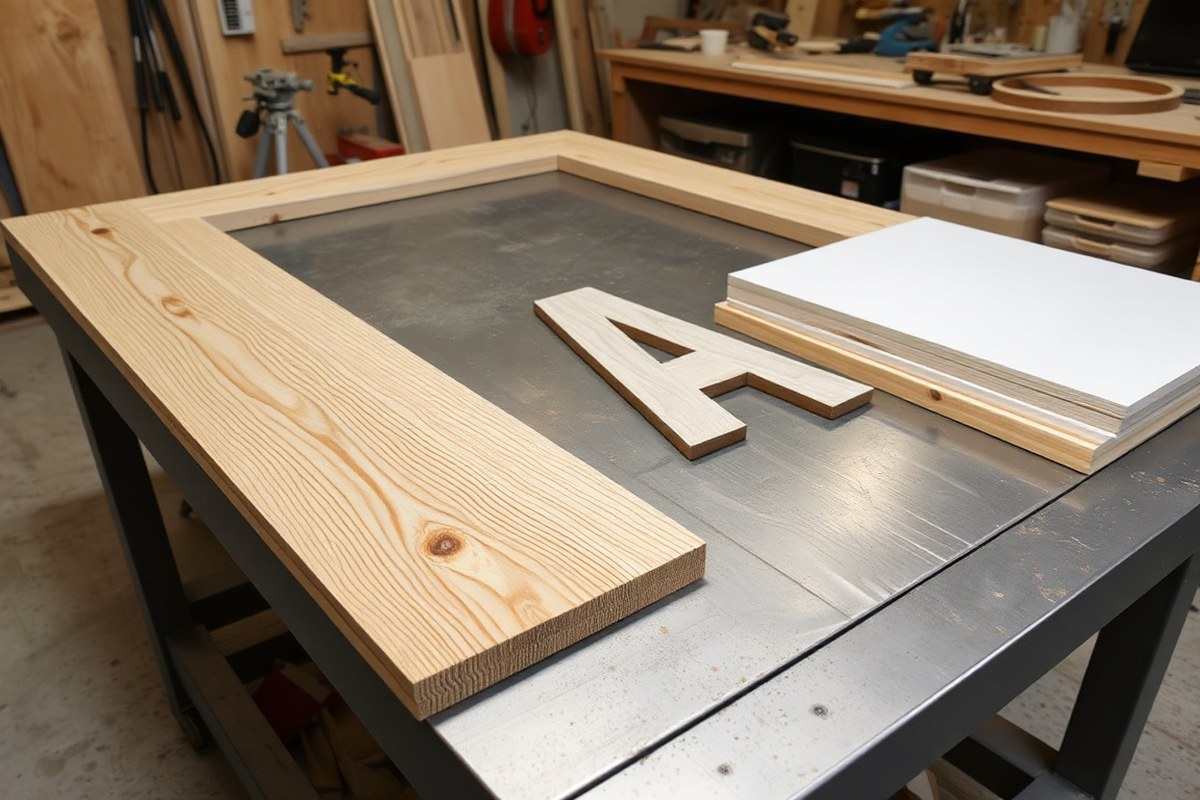
Choosing the right materials for your A-frame sign affects how durable, easy to move, and weather-resistant it will be. The frames usually come in wood, aluminum, or plastic, while the sign boards can be wood, metal, or plastic. Each has advantages and downsides depending on how you plan to use the sign and where you place it. Outdoor signs need highly weather-resistant materials to avoid warping, rust, or fading, while indoor signs can focus more on appearance and cost.
Wooden frames are a common choice for DIY signs because they are easy to cut, assemble, and paint or stain to match your brand. Using 1″x2″ pine boards helps keep the frame sturdy without being too heavy. Birch plywood is a good base for the sign face since it’s smooth and holds paint well. However, wood isn’t the best for wet conditions. You’ll need to sand it smooth with 220 grit sandpaper and apply a quality stain or paint that seals the wood to avoid moisture damage and warping. Wood frames also tend to be heavier than aluminum or plastic, so moving the sign around is harder.
Aluminum frames are lightweight and rust resistant, making them better for outdoor use, especially when powder-coated metal is selected. They don’t require as much maintenance as wood and will withstand rain and sun without warping or corroding for years. Aluminum frames usually come with separate inserts, so changing the sign face is simple. Aluminum signs cost more than wood, but their weather tolerance justifies the price, especially if you plan to leave them outside regularly.
Plastic frames, like the Signicade® brand, offer a good balance of weight, durability, and weather resistance. They handle outdoor conditions well, including rain and wind, without rust or rot. Plastic frames are usually the most portable option and don’t require treatment like wood does. The plastic boards are sturdy, but they might scratch more easily than metal. Plastic options generally fall in the mid-price range and are great if you need portability and durability.
| Material | Durability | Weight | Weather Resistance | Cost Estimate | Good For |
|---|---|---|---|---|---|
| Wood (Pine Frame + Birch Plywood Face) | Medium – can warp or rot if untreated | Heavy (harder to move) | Needs sealing or paint for outdoor use | Low ($10, $30 per frame and board) | Indoor use, custom look, budget builds |
| Aluminum Frame with Metal or Insert Board | High – rust resistant if powder coated | Lightweight and easy to carry | Excellent for outdoor, rain and sun | Medium to High ($50, $150) | Frequent outdoor use, professional look |
| Plastic Frame and Plastic Sign Board (e.g., Signicade®) | High – tough plastic resists weather | Lightweight and portable | Excellent for outdoor use | Medium ($40, $100) | Outdoor portability, ease of handling |
To decide which material works best, consider how often you’ll move the sign and the weather conditions it has to endure. Use wood if you are working on a tight budget and want a custom DIY look for indoor or mostly dry locations. Choose aluminum for a long-lasting, professional sign that can handle being outside in rain or sun without much upkeep. Pick plastic if you want the sign to be lightweight and highly weather resistant, especially for regular outdoor moves.
Make sure to seal and paint all wooden parts thoroughly before outdoor use to prevent warping and water damage over time.
How to Cut and Prepare Materials for Your A-Frame
Start by measuring and marking your materials carefully to match standard dimensions suited for A-frame signs. Cut your wood or plastic sheets with the right tools and safety gear to ensure clean edges without damage or injury.
Recommended Size Dimensions for Frames and Signs
The ideal frame size for an A-frame sign is around 25 inches wide, 45 inches tall, and 3 inches deep. This offers good visibility while remaining portable. Use 3/4-inch plywood for the sign face to balance durability with weight. Smaller signs are possible, but sticking close to these dimensions helps maintain structural strength and legibility.
Sign boards can also be cut to size at the store if you want to skip cutting at home. For thinner materials like corrugated plastic, weigh the setting before deciding, these work better indoors where portability matters more.
Essential Tools and Safety Equipment for Cutting
You will need a miter saw or circular saw for the wood frame pieces and a table saw or circular saw for cutting plywood or plastic sheets. Measuring tools like a tape measure and a pencil for marking are essential. Use clamps to secure materials during cutting for accuracy and safety.
Always wear safety glasses to protect your eyes from flying debris and hearing protection if using power saws. Work gloves help prevent splinters and scratches. Ensure your workspace is well-lit and clear of obstacles to avoid accidents.
Step-by-Step Cutting Instructions for Wood and Plastic
Follow these steps to measure, mark, and cut your materials precisely and safely.
- Measure your plywood or plastic sheet to the desired size, typically 25″ by 45″ for the sign face, and mark lines clearly with a pencil.
- Measure and mark your wood frame pieces to the correct lengths, considering a 3″ depth for the frame width.
- Secure your material firmly with clamps on a stable work surface to prevent slipping during cutting.
- Wear safety glasses, gloves, and hearing protection before powering on your saw.
- Set your saw blade to the proper cutting depth, just enough to cut through the material cleanly without excessive tear-out.
- Cut along your marked lines slowly and steadily, keeping your hands clear of the blade path.
- After cutting, smooth any rough edges with sandpaper or a sanding block to prevent splinters and improve finish quality.
- Inspect the cut pieces to ensure dimensions are accurate and edges are clean, making adjustments or recuts only if necessary.
Building the Frame: Assembly and Hardware Tips
Securely joining your cut pieces and choosing the right hardware ensures your A-frame sign stands firm, folds smoothly, and lasts through daily use. Selecting hinges that allow easy folding and using fasteners that provide strength without adding bulk are key to a balanced design. Here’s how to assemble a sturdy frame with effective hardware choices.
Step-by-Step Frame Assembly Process
Careful assembly of the frame pieces creates a strong base for your sign face and allows proper folding. Follow these steps to assemble your frame securely.
- Arrange the two side panels parallel to each other on a flat surface, with their outer edges facing up.
- Place the crossbars horizontally between the side panels, matching the width of the sign face to ensure proper support.
- Clamp the crossbars in place at positions near the top and bottom (about 2 to 3 inches from edges) to stabilize the structure.
- Pre-drill pilot holes through the side panels into the ends of the crossbars to prevent wood splitting.
- Attach the crossbars using wood screws long enough to embed securely (typically 1 1/4- to 1 1/2-inch screws work well).
- Repeat steps on the second frame side to create matching panels.
- Check for square corners by measuring diagonals; adjust before final tightening to ensure frame stability.
Using clamps and pre-drilling reduces the risk of cracking wood and misalignment. Secure joints withstand outdoor use, including moderate wind gusts up to about 10 mph, especially when the frame weighs around 8.8 pounds.
Hinge Types and Installation Best Practices
Choosing the right hinges affects how smoothly your sign folds and unfolds. Butt hinges and piano hinges are popular options. Butt hinges offer a simple, clean look and typically use two per sign, placed near the top and bottom of the frame’s inner edges for even weight distribution.
Piano hinges run the full length of the folding joint, providing continuous support and preventing wobbling during use but can be heavier. Install hinges with screws matched to the hinge size, pre-drill holes, and ensure they sit flush so the frame folds tightly without binding.
Place hinges about 2 to 3 inches from the frame edges. This avoids stress points and ensures a consistent fold angle. For added durability, especially if placing outdoors, use stainless steel or galvanized hinges to resist rust.
Choosing the Right Fasteners for Stability
Fasteners keep the frame rigid while maintaining light weight. Wood screws between 1 1/4 and 1 1/2 inches balance holding power and ease of use. Choose screws with corrosion-resistant coatings, like zinc or stainless steel, especially if your sign will face moisture.
Use flat-head screws so they sit flush with the wood surface, preventing snags during folding or transport. Avoid nails, as they can loosen over time with repeated folding and unfolding. For connecting crossbars to side panels and hinges to frames, screws provide consistent grip.
Consider adding a removable hook or clip system at the frame’s bottom or sides to hold the sign face securely but allow easy removal or replacement. For windy areas, pairing your A-frame with a dedicated sandbag provides extra stability without increasing frame weight.
Preparing and Painting the Sign Face for Impact
Proper preparation and painting ensure your A-frame sign looks professional and lasts outdoors. Sanding creates a smooth surface, priming helps paint adhere, and using the right paint improves visibility and durability. Clear lettering and color contrast attract attention and make your message easy to read.
Sanding and Priming for a Smooth Base
Start by sanding your sign board with medium-grit sandpaper, about 120 to 150 grit, to remove rough spots and any old finishes. Sanding smooths the surface so paint adheres better and prevents peeling. After sanding, wipe the board clean with a damp cloth to remove dust. Let it dry completely before applying primer.
Use a high-quality, exterior-grade primer suited for your sign material, such as an acrylic or oil-based primer for wood. Apply one or two coats with a foam roller or brush, allowing each coat to dry for at least 4 hours at temperatures above 50°F. Priming seals the wood, reducing paint soak-in and improving longevity, especially against weather exposure.
Choosing Paint Types for Backgrounds and Lettering
Use exterior latex paint or acrylic paint for the background color; these types offer durability and avoid fading. A foam roller works well for evenly applying paint on larger sign faces, while a good-quality synthetic brush helps with smooth edges and detail work. Allow at least 24 hours of curing after background painting before adding lettering to avoid smudging.
For lettering, Sharpie oil-based paint pens are highly recommended. They offer crisp lines and durable coverage, especially for white or light-colored letters. These paint pens dry quickly and resist weather and abrasion better than water-based markers or standard paint pens. They’re ideal for DIY painters aiming for clean, professional text.
Creating Clear, Attractive Lettering and Logos
Begin by sketching your lettering or logo lightly with a pencil. This outline acts as a guide to keep letters even and aligned. If available, use a stencil to ensure consistent letter shapes, especially for thinner or decorative fonts. For hand lettering, take time to practice your strokes on paper before applying paint pens directly.
Use high contrast colors to make your message stand out. For example, a white background with black or dark blue lettering improves visibility from a distance. Conversely, a dark background with white or bright yellow letters draws attention in shaded or busy environments. Strong contrast helps customers quickly read your sign at a glance.
Recommended Painting Preparation and Curing Times
Prepare about a day or two for painting your sign depending on weather conditions. Sanding and cleaning typically take 30 to 60 minutes. Primer requires 4 to 6 hours to dry per coat, with two coats recommended. Background paint needs 18 to 24 hours to cure before lettering or adding logos.
After adding lettering with paint pens, allow at least 6 to 12 hours of drying time before handling or placing the sign outdoors. Curing times lengthen in cold or humid environments, so adjust accordingly. Properly cured paint resists chips and fading, preserving your sign’s impact over time.
Test your paint and pens on a scrap piece first to check adhesion and color contrast before working on the final sign face.
Weatherproofing and Portability: Making Signs for Outdoor Use
Protecting your A-frame sign from rain, sun, and wind is essential for maintaining its appearance and functionality outdoors. Use materials like exterior-grade plywood or PVC board for the sign face, as these resist water and UV damage better than thin plywood or untreated wood. For the frame, treated wood or powder-coated metal reduces weathering. Applying a clear outdoor sealant over painted surfaces adds an extra layer of protection against moisture and fading.
Wind resistance depends largely on your sign’s weight and design. Signs that weigh less than 10 pounds may easily tip over in light winds, while signs weighing between 15 and 25 pounds offer better stability for breezy conditions up to 15 mph. In windy areas, attaching sandbags or using weighted bases can prevent tipping without sacrificing portability. Avoid making the sign too heavy, it should be manageable to carry yet heavy enough to stay grounded.
Portability relies on easy folding and lightweight components. A typical foldable A-frame design features hinges at the top, allowing the two sides to collapse together. Corrugated plastic signs fold flat for maximum portability but may not handle harsh weather as well. Consider adding a handle or strap to the frame for comfortable carrying. Compact dimensions when folded, ideally no wider than 24 inches and no thicker than 3 inches, make storage simpler.
- Use exterior-grade plywood or PVC board with waterproof sealant
- Choose treated wood or powder-coated metal for the frame
- Apply outdoor clear coat to painted surfaces
- Aim for 15, 25 pounds in weight for wind stability up to 15 mph
- Add sandbags or weighted bases in windy locations
- Incorporate a hinge folding system with top handles
- Keep folded dimensions under 24 inches wide and 3 inches thick
Applying these weatherproofing methods and design features will extend your sign’s outdoor life while keeping it easy to move. Check your local weather patterns and adjust materials or weights accordingly. Signs left unprotected often show peeling paint or warped boards within a season, requiring costly repairs or replacements.
Common Mistakes and How to Avoid Them
Many beginners building A-frame signs make common errors that can reduce the sign’s effectiveness, durability, and safety. One frequent problem is choosing an improper size for the sign face or the frame. Signs that are too small won’t attract attention, while oversized signs may be unstable and heavy to move. Aim for a width of 24 to 36 inches and a height of 30 to 40 inches for good visibility and portability.
Weak joints are another frequent issue. Joints that rely solely on nails or weak glue often come apart under wind stress or frequent handling. Use wood screws combined with waterproof wood glue for stronger bonds. Reinforce corners with metal brackets to improve stability. Make sure the frame stands evenly on the ground to prevent tipping, adjusting leg lengths slightly if needed.
Poor weatherproofing is common, especially when paint or sealant isn’t applied evenly or thoroughly. Signs exposed to rain and sun need multiple coats of exterior-grade paint or a UV-resistant sealant. Allow each coat to dry completely, usually 12 to 24 hours, before applying the next. Using stencils or printouts to design lettering helps avoid uneven or smeared paint, which weakens the sign’s visual impact and lifespan. The table below lists typical mistakes and practical fixes to help you identify problems early and build a sign that lasts and performs well outdoors.
| Common Problem | Why It Happens | Fixes |
|---|---|---|
| Improper Sign Size | Too small signs don’t attract attention; oversized signs are unstable and heavy | Stick to 24, 36″ wide and 30, 40″ tall for balance of visibility and portability |
| Weak Joints | Use of only nails or weak glue causes joints to fail under stress | Combine waterproof wood glue with wood screws; reinforce corners with metal brackets |
| Instability | Uneven leg lengths or no ground support cause tipping | Adjust leg lengths slightly; add rubber or non-slip feet for grip on surfaces |
| Paint Fading/Peeling | Thin paint coats or no UV protection; exposure to sun and rain | Use multiple coats of exterior-grade paint or UV-resistant sealant, dry 12, 24 hours between coats |
| Poor Lettering | Freehand paint without stencils; smudges and uneven shapes reduce legibility | Use stencils or printouts cut to size; apply paint with sponge brushes or rollers for smooth edges |
| Low Durability Designs | Designs not sealed or paint not weatherproof; no reinforcement on frame edges | Seal designs with clear, waterproof sealant; protect frame edges with edge guards or tape |
Improving your sign’s durability means spending time properly assembling and finishing each part. For example, using a high-quality exterior primer before painting reduces the chance of peeling. Carefully sanding surfaces smooths paint application and prevents chips. Paying attention to leg stability with adjustable rubber feet can prevent trips and falls on uneven sidewalks or grass.
To keep the lettering sharp, prepare stencils from printouts on heavy paper, tape them securely to the board, then use a stencil brush or small roller filled with paint to create crisp edges. Avoid thick paint layers, which drip or smudge easily.
When to Call a Professional or Buy Ready-Made Signs
Choosing between making your own A-frame sign and buying a ready-made or professionally designed one depends on the complexity, durability needs, and any legal requirements you’ll face. Basic designs with simple lettering can usually be handled well with DIY methods using tools like a Cricut or Silhouette to cut vinyl letters. These work well for short-term or occasional use, saving you time and money upfront. However, if your design involves intricate graphics, multiple colors, or requires perfect alignment and color consistency, professional services can offer higher-quality results that last longer and look more polished.
Another major factor is permits. Some cities require permits or must approve the size, placement, and type of signage, especially if your business is in a busy commercial district or near street-facing areas. These rules can vary widely, so contacting your local city or municipal office before creating a sign is important. If a permit is needed, professional sign makers often handle this process for you, ensuring your sign meets all local codes and reducing the risk of fines or having to remake your sign.
Cost and time savings will differ based on your skills and material access. DIY projects can cost as little as $20 to $50 for materials like plywood, paint, and vinyl, but custom professional signs typically start around $100 and can exceed $300 depending on size and complexity. Consider how much your time is worth and if you can get the quality and durability you need on your own. Long-lasting signs made with high-grade materials and professional finishes often require less maintenance over time, which can reduce replacement costs.
Use this checklist: Choose DIY if your design is simple, you have access to appropriate tools, local permits are not required, and budget is tight. Opt for a professional sign when your design is complex or detailed, you need a durable sign that withstands weather for years, or you must meet strict local sign ordinances. Keep in mind that lightweight and collapsible A-frame signs are easier to handle, so prioritize materials and assembly that any staff member can manage safely.
Always check with your local city office for sign permits before starting your project, as violations can lead to costly fines or the need to remove your sign.
Step-by-Step Action Plan for Making Your A-Frame Sign
Follow these steps to create a sturdy and effective A-frame sign that meets your business needs.
- Before you start: Choose weather-resistant materials like treated plywood and exterior-grade paint to ensure durability. Check your workspace and tools are ready.
- Day 1: Cut your frame pieces and sign boards to the right size as planned. Confirm your cuts are straight and measurements match on both sides.
- Day 2: Assemble the frame using corrosion-resistant screws and hinges. Test the frame opens and closes smoothly without wobbling.
- Day 3: Sand and clean the sign faces, then apply primer and at least two coats of paint. Make sure the paint is fully dry and even.
- Day 4: Add your lettering or graphics using durable materials such as vinyl decals or outdoor markers. Check that text is legible from a reasonable distance.
- Day 5: Apply a clear weatherproof sealant over your graphics to protect them. Let the sealant cure completely according to product instructions.
- Day 6: Attach any handles or weights for portability and stability. Place your sign outdoors and confirm it stands firm and is easily visible.
- After 2 weeks: Inspect your sign for wear or damage and touch up paint or sealant as needed to maintain appearance and protection.
Frequently Asked Questions
What Tools Do I Need to Make an A-Frame Sign?
Basic tools include a saw, drill, screwdriver, measuring tape, and sandpaper. Having clamps can also help hold pieces steady during assembly.
How Much Does It Usually Cost to Make an A-Frame Sign?
Costs vary based on materials but expect to spend $20 to $60 for a basic DIY sign using wood or plastic. Quality paint and weatherproofing add to the budget.
Can I Use Recycled Materials to Build an A-Frame Sign?
Yes, using recycled wood or plastic can work well if the materials are sturdy and weather-resistant. Just ensure they’re properly cleaned and prepped.
How Can I Make My A-Frame Sign More Eye-Catching?
Use contrasting colors and clear, bold fonts. Adding borders or simple graphics can improve visibility. Keeping the message short increases impact.
What Type of Paint Works Best for Outdoor A-Frame Signs?
Exterior acrylic paint is best because it resists fading and withstands weather exposure. Apply a primer first for better adhesion and durability.
Can I Add Interchangeable Sign Panels to My A-Frame?
Yes, design the frame to hold removable panels for easy updates. This saves time and cost when changing messages or promotions.
Wrapping Up
Making your own A-frame sign gives you control over materials, design, and durability. Start with a clear plan and take your time with each step to ensure the sign meets your business’s outdoor needs. Grab your materials and begin cutting your frame today to get your project underway.